

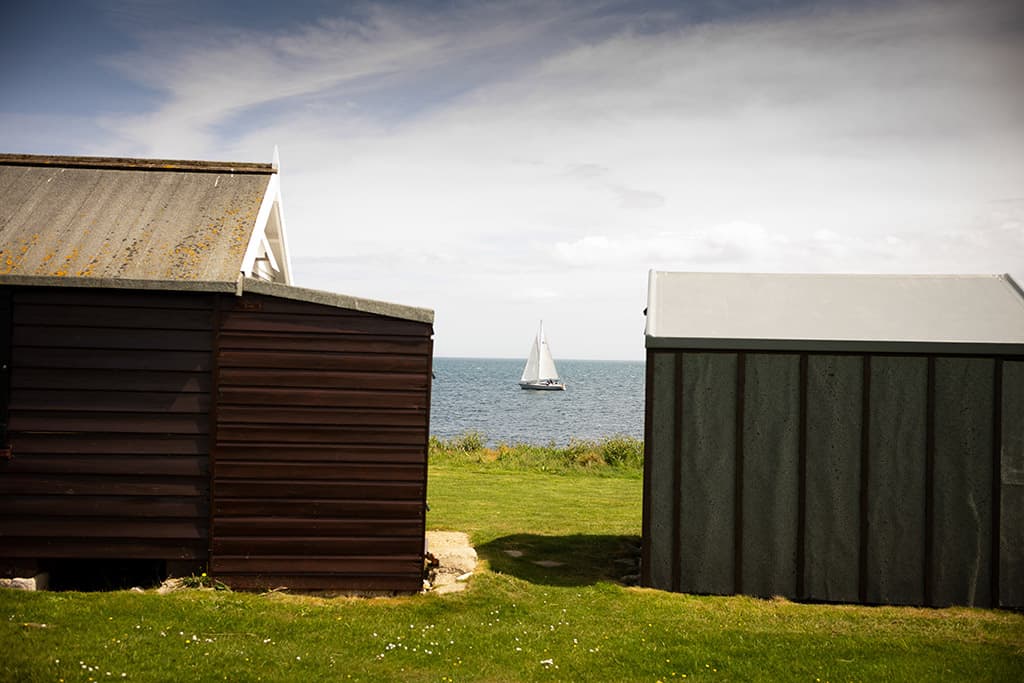
Why use manual focus (MF) when autofocus (AF) is accurate, lightning-quick and can track fast-moving subjects such as wildlife? Will Cheung explains when and how to use manual focus, as well as which subjects would actually benefit from using this setting, like night photography.
Focusing is fundamental to the imaging process. Many of us take it for granted that the autofocus technology in our cameras will get it right. It usually does, almost regardless of the subject and the lighting conditions. Over the decades since its debut in the Minolta 7000, camera manufacturers have invested a huge amount of resources in improving, fine-tuning and innovating how autofocus works. Accuracy, sensitivity, responsiveness and tracking skills have improved beyond all recognition.
Mirrorless cameras are a comparatively recent phenomenon and it’s true that early on in their development the AF on this camera type lagged behind DSLRs (see our guides to the best Canon DSLRs and the best Nikon DSLRs). But the AF in mirrorless cameras has caught up in spectacular fashion. To name a few models, the Nikon Z8, Canon EOS R3/R5, Fujifilm X-H2S, Nikon Z 9, OM Systems OM-1 and Sony Alpha 1 all boast remarkable AF skills with customisable patterns, eye/face/subject detection with quick and very tenacious focus tracking.
What’s more, they are as capable with live view as they are with viewfinder AF. That is not the case with DSLRs, which are generally excellent when the optical viewfinder is being used but are much less effective in live view where they can be slow and uncertain.

Why focus manually?
So, having extolled the many virtues of autofocus, you are probably wondering why we’re here suggesting manual focusing. There are several reasons why you should embrace it in your shooting workflow. At the very least, when AF lets you down you will know how to work round the problem.
Every AF camera and lens can be used to focus manually and who knows, you could get to enjoy that element of involvement so much that you invest in a new (or pre-loved) manual focus lens. The first thing to recognise is that while AF is undoubtedly brilliant, it’s not infallible. An AF camera, even a top-end mirrorless, will need your help in certain conditions and with particular subjects. So being aware of such moments and teaching yourself a few skills to manually focus accurately will stop you getting frustrated with losing pictures.
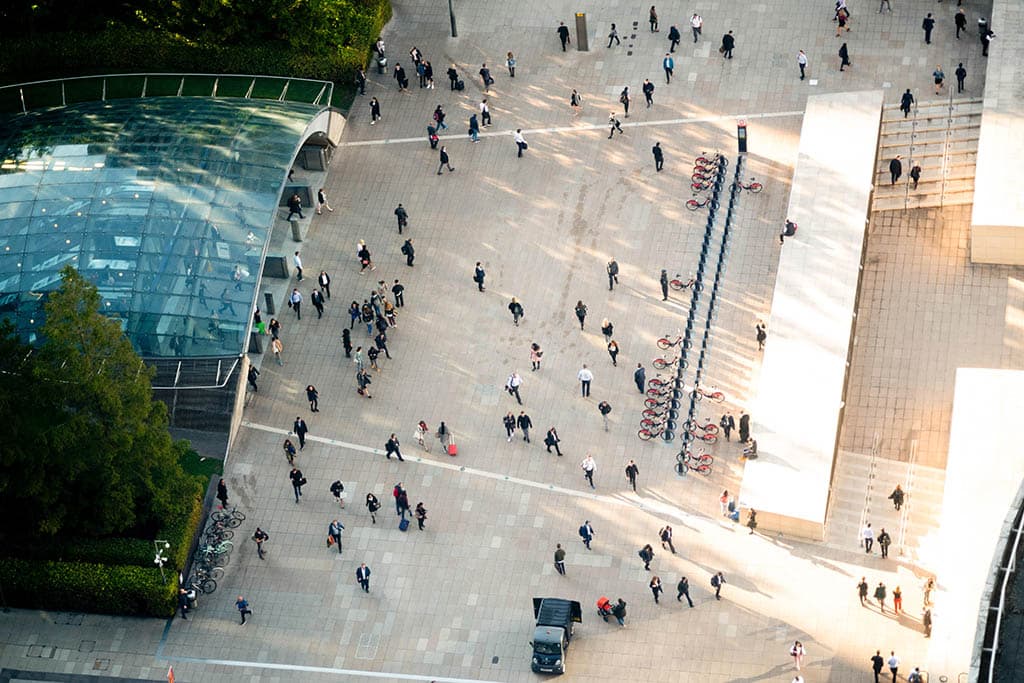
This AF uncertainty is usually due to the subject or scene in the viewfinder. The focus point might be trained on an area of even tone or perhaps the subject is high frequency. Such as animal fur or birds’ feathers. In both cases the camera might need assistance. Fast-moving subjects can also make an AF system struggle, although that does also depend on the camera/lens combination, your tracking skills and the subject itself.
The latest mirrorless models such as those mentioned earlier can track flying birds, sprinting athletes, planes in the air and racing cars at full speed. But they will struggle with erratically moving subjects or smaller subjects like insects. Or it could be a more technical issue, such as very low light levels and a lack of contrast. Modern AF systems are very sensitive but there is a limit, and even the camera’s AF illuminator assist lamp might not help.

How does manual focus work?
Manually tweaking focus is the answer when AF fails you. On earlier AF systems the focus motor had to be physically declutched, via a control on the lens or body (AF/MF switch), before manual focus was possible. That still might be the case depending on the kit, but many AF cameras have the option of full-time manual override.
So when the AF system racks the lens back and forth struggling to find focus, you just rotate the manual focus ring to get your shot sharp. Some cameras let you adjust focus once it has autofocused, and some need you to keep the shutter button partially pressed down.
With scenes with nicely defined edges, good contrast and in decent light, adjusting focus accurately without any extra aids is achievable, especially with DSLRs and their optical viewfinders. On mirrorless models with their electronic viewfinders (EVFs), using the monitor on its own can be more challenging.
Although some of the latest cameras have very high-resolution EVFs with 3.69 million or even 5.8 million dots and the very detailed viewing image can make focusing more assured.
It is worth mentioning that how the manual focus barrel works varies between brands. On some, the focusing action or ‘feel’ is close to a classic manual focus lens and very precise and responsive, while others seem to take an age to alter distance. Make sure manual focusing is optimised to your needs in the camera’s menu.
You might think that manual focusing is bit of a throwback to a bygone age but it remains an essential part of photography. The techniques are easy to learn and going manual might even give you even more enjoyment from your photography.
Top 20 tips for manual focus
Practice
Most of us are used to powering up our camera, composing the shot, then pressing the shutter release to get a sharp image. Manual-focus lenses take a little more effort. Douglas Fry has been shooting professionally for over 25 years. In 2000, he switched to using autofocus kit but he was never really happy with it and switched back to manual-focus lenses in 2014. He now uses them exclusively for around 300 commissions every year. His number-one tip is to practise focusing with manual-focus lenses.
He says, ‘Practice is a priority – you get better and faster at focusing, so eventually you’re able to keep up with a moving subject. It’s just a case of knowing how fast and how far to rotate the focus ring to keep pace with your subject.’
Set the diopter
As you’re using your eyes to assess the focus when using a manual-focus lens, it’s essential that you get the best possible view and that the diopter on your camera’s viewfinder is set correctly. The little adjustment dials are easily knocked out of position on some cameras, so it’s worth checking your camera’s before you start shooting. It’s just a case of rotating the dial one way or the other until the point of focus is at its sharpest. Of course, this relies on the lens being focused, so it might be an idea to pop an autofocus lens on your camera just to check you’re happy.
Look for light
Just like an autofocus system, our eyes need to be able to see some detail or contrast to be able to focus. That means there needs to be some light and the point of focus probably shouldn’t be a featureless monotone panel. If the subject you are interested in lacks contrast or is in a dark area, consider moving it into some light or directing a light source towards it. Alternatively, focus on something in the light and with detail that is about the same distance away from the camera.

Use live view mode
If you use a mirrorless camera, you shoot in live view mode permanently, which has some advantages for manual focusing (more on this later). If you’re using a DSLR, it’s worth considering activating the live view and composing the image on the screen on the back of your camera – you can’t use live view with a DSLR’s viewfinder. It’s not ideal to use the screen in all shooting situations, but it’s great for still life photography, landscape photography and macro photography – anything when the camera and subject are still.
Zoom in for best results
One big advantage of a live view feed is that you can zoom into the preview image to enlarge the most important part of the scene. This is a huge bonus when you’re focusing manually – provided that neither you nor your subject is moving. With some camera and lens combinations, the live view image automatically enlarges where the active AF point is (even though the camera/lens is set to manual focus) as soon as the focus is turned. That doesn’t happen with lenses that don’t have electrical contacts, but it’s often possible to customise a button to activate the magnification/zoom with a press.

Use focus peaking
Focus peaking is another useful feature of mirrorless cameras and some DSLRs in live view mode. When this is activated, the camera highlights the points of highest contrast on the screen (or in the viewfinder with a mirrorless camera). The highest contrast areas are usually the points of sharpest focus, so you can use peaking to guide your focusing. It’s usually possible to set the focus peaking indicator to one of a small selection of colours – white, red and yellow are common. Ideally, select a colour that contrasts well with the scene you’re photographing.
Focus wide-open
Some manual-focus lenses close down to the shooting aperture at the point of capture, but not all do. If you have to manually close the aperture on a lens, close it after you’ve focused. As well as giving you the brightest possible view while you focus, the depth of field is at its most limited, which means that you see the strongest difference between what’s in and out of focus.
Use hyperfocal distance focusing
The hyperfocal distance is that magical focus distance at which the lens produces the maximum possible depth of field at any given aperture. You can use this technique with any lens, but the focusing scale on most manual-focus lenses makes it easy.
All you need to do is decide the aperture you want to use, then on the focus scale, line up one of the two markers for that aperture with the infinity symbol. The other marker for the aperture indicates the closest point of focusing. Landscape photographer Jeremy Walker says, ‘I routinely use hyperfocal distance focusing to get the best from my Zeiss Milvus and Leica lenses. Some photographers prefer to focus on a specific subject in the scene, but I like to think in terms of depth of field.’
Focus and move
The focus-and-move technique is especially useful with macro lenses, particularly when you want to get the greatest magnification possible. Simply set the lens to its closest focusing point and move the camera forwards (or backwards) until the point that you want to be in focus is perfectly sharp. You only need to make very small movements to have a dramatic effect with a macro lens, so it can help to have the camera mounted on a micro positioning plate on a tripod. This enables you to move the camera very gradually by turning a screw thread.
Pre-focus
Manual-focusing masters such as Douglas Fry have no trouble focusing on fast-moving subjects, but even he recommends pre-focusing when you know where your subject is going to appear. With the focusing done, you can check the exposure and concentrate on getting the composition just right when the subject arrives.

Set the optimum settings
Manual-focus lenses are great for street photography because, with a little preparation, you can shoot instinctively. The first step is to decide what aperture you want to use. f/8 makes a good starting point because it produces reasonable depth of field. Then, either set the focus scale to focus on a point you find works well for your subject and lens – for example, 2m – or set the lens to the hyperfocal distance (see tip number 8 above).
Then, set a shutter speed that freezes any accidental camera movement but doesn’t require a very high sensitivity (ISO). A shutter speed of 1/60sec or 1/125sec is a good choice for handheld street photography. Finally, set the sensitivity to automatic so that you don’t need to worry about having to keep changing the settings. You can just concentrate on the composition and getting the subject within your focus range. Once you’re comfortable with this setup, you don’t even need to lift the camera to your eye, you can shoot with the camera at your hip or any other level.
Try something different
All Lensbaby lenses are manual focus, and while they can produce ‘straight’ images, their magic is in the creative effects they can create. Wedding and portrait photographer Robert Pugh regularly uses a Lensbaby Twist 60 on his Sony full-frame cameras (see our guides to the best full-frame cameras and best Sony cameras) for engagement, wedding and portrait shoots, because he loves the swirl effect it creates towards the edges of the image.
He explains, ‘I like to shoot something a bit different and to do the work in-camera. It saves me time editing my images and when I show my client a shot or two on the back of my camera during the shoot, it helps them loosen up and enjoy themselves, so we get even better images.’
Get technical
Manual-focus lenses offer a couple of technical advantages over autofocus lenses that tend to get overlooked. For instance, if you’re shooting a series of images to stitch together to make a panorama, you can’t forget to turn off the AF and the focus won’t shift halfway through the sequence. So next time you plan to create such an image, maybe reach for a manual-focus lens. Also, unlike autofocus lenses, some manual-focus lenses have markings to indicate how the focus needs to be adjusted for infrared photography – that’s handy if you have an IR adapted camera.
Switch focusing screen
Back in the days of film, we used to swap focusing screens like camera straps. We bought one that we liked and suited our purposes. A split image focusing screen, for example, makes it easier to see when you’ve nailed the focus manually. If you’re shooting with a film camera, it’s definitely worth investigating whether it can accept a different screen and seeing what options are available. It’s far less common to change the focusing screen in a digital camera, but if you hunt around on the internet, they can be found for some models.
Use a loupe
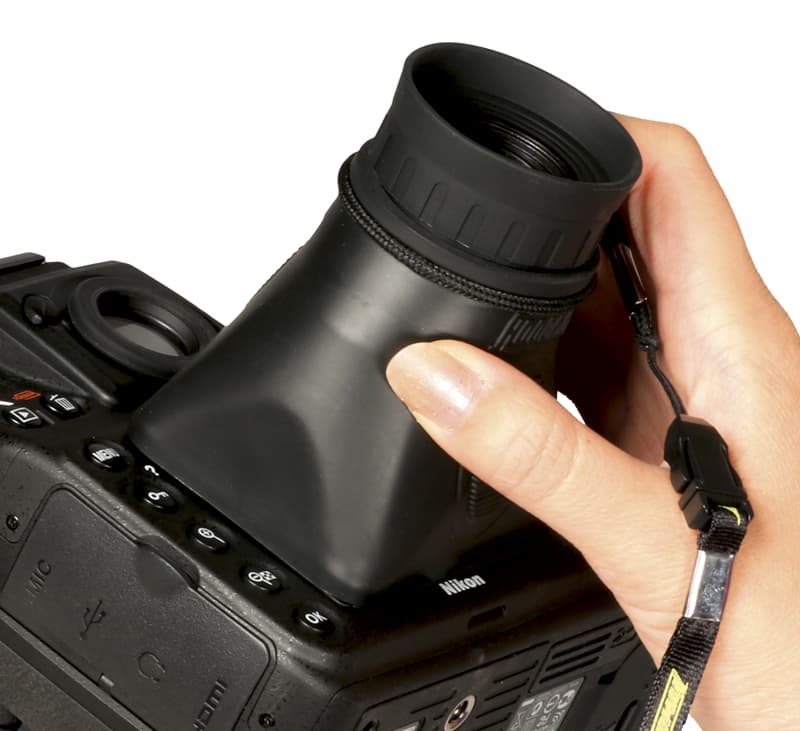
Many people find it easier to concentrate on the composition of their images when surrounding distractions are excluded from the view – in other words, when they use the viewfinder rather than the screen. However, if you want to use live view on a DSLR, you have to use the screen. A screen loupe basically turns the screen on the back of camera into a large viewfinder, cutting out any distractions and, most importantly, cutting out reflections so it’s easier to see details and focus manually. Alternatively, look for a viewfinder magnifier that will slip on to your camera’s viewfinder instead of the eyecup to give you a clearer view of the scene when you focus.
Get an adapter
There are literally thousands of second-hand manual-focus lenses available to buy, with many costing less than £50. If you hunt around charity shops, you may be lucky and find some treasure for even less. Then all you need to use them on your modern camera is an adapter. SRB Photographic is a great port of call for these: they sell a huge range, with prices starting at under $20 / £20. And once you have an adapter, you’ll have a new hobby – looking for additional lenses to mount on it.

Shoot continuously
I’m not a fan of the phrase ‘spray and pray’, but it can be helpful to set your camera to continuous-shooting mode in some situations. When you’ve prefocused, for example, if your subject is moving very quickly, you might not be able to time your shot as perfectly as you’d like. So shooting at a few frames per second can really help. However, part of the beauty of using a manual-focus lens is that it helps you engage with your subject and photography, so don’t shoot in continuous-drive mode at the expense of developing that connection.

Embrace the flaws
If you spend a fiver on an old lens and it turns out to have the best optical quality you’ve ever seen, fantastic! Thank your lucky stars. But the chances are, it’s been around a while and is a little battered. And, of course, it may never have been that good in the first place.
Modern production methods and advanced coatings mean that we are really spoiled by the lenses of today. Older lenses may be rather soft and suffer from heavy vignetting, chromatic aberration and flare. But rather than fight it, enjoy these aspects of your lens. Turn it towards the sun so that the light bounces around inside, use the vignetting to frame your subject and learn to love the fringing. You’re shooting with the real deal, not adding effects on the computer after the event.
Try a modern manual lens
While there are lots of great second-hand and vintage manual-focus lenses, there are quite a few in current production, too. Zeiss, for example, makes some fabulous manual-focus lenses for modern cameras, Leica’s M-range is entirely manual focus and Voigtländer has some gems. One of the benefits of opting for a modern manual-focus lens is that the manufacturer has ploughed all their knowhow into the optics to create the best image quality they can for the money.
Take your time
All three of the professional photographers mentioned in this article love using manual-focus lenses. And one of the reasons why they love them is because they feel that by focusing manually, they are drawn further into the process of creating their images. So they become more important to them and they enjoy their photography more.
As Jeremy Walker explains, ‘I’m a landscape photographer, so my subjects don’t move much and I can take my time when composing the image. I find that using a manual-focus lens helps me to think much more carefully about what I want to say about a scene, how much depth of field I want and which aperture I need to use. It’s an enjoyable process that has certainly benefited my photography. if I could give only one piece of advice to anyone who’s thinking of using a manual-focus lens, it would be to slow down and take your time.’
Six subjects where Manual Focus can actually work better than Autofocus
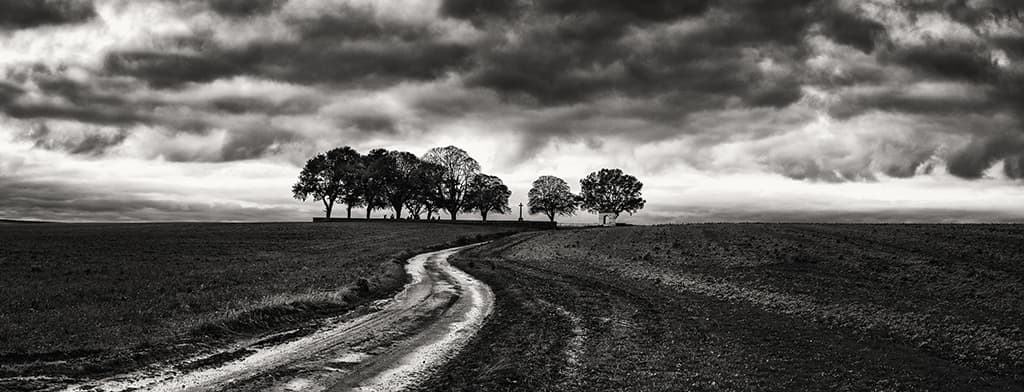
1. Astrophotography and night photography
AF generally does not work for stars because they are too small and dim. You may think that with such distant subjects, all you do is focus on infinity and your shots will be sharp. But that’s not the case. The best advice is to aim the lens at the brightest star (or planet!) in the sky and use infinity focus as a starting point. Focusing through the viewfinder or live view using the focus magnifier to check focus. Adjust focus and reshoot if needed. For more, see our guide to astrophotography

2. Macro
When you’re up close for macro work, the amount of depth-of-field, even at f/11, isn’t great and you might only get a few millimetres of acceptable sharpness. Focusing manually can make the difference between a keeper and a failure. Take insects. You need to get in close for a reasonable-sized image in the frame, whether with a macro lens or a telephoto lens at minimum focus, and AF can be unreliable. Go manual and adjust the focus barrel, or sway in and out with the focus fixed to make sure the essentials are sharp.

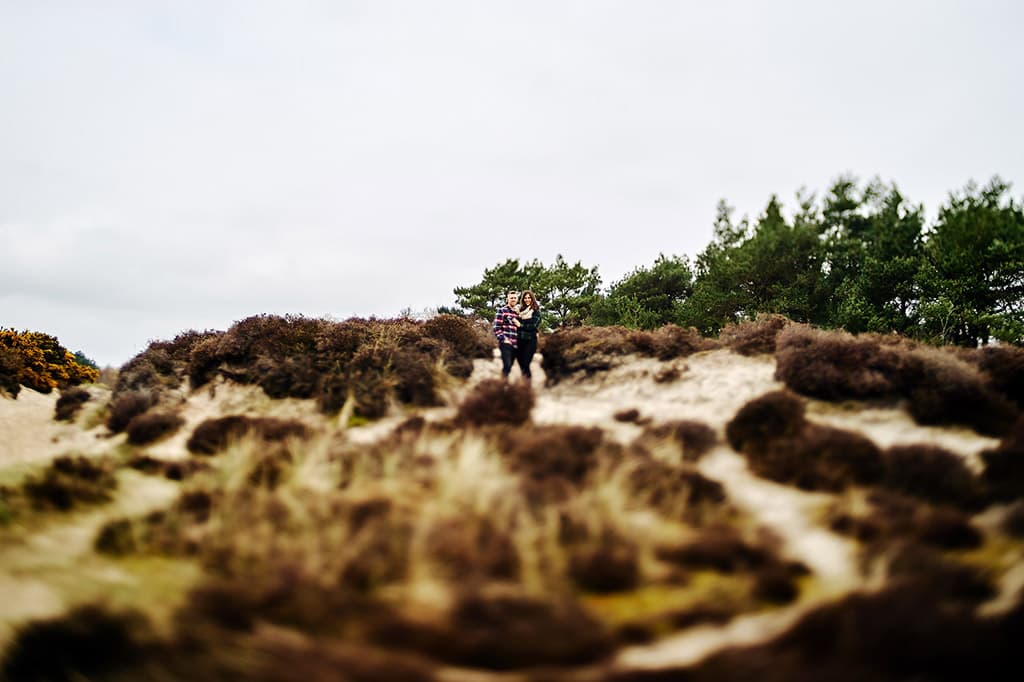
3. People
Using fast-aperture lenses at their wider values is a tried-and-tested technique for getting a shallow depth-of-field and nice blurry backgrounds. However, an AF system, even with eye detection, might not focus on what you want.
Focusing manually can ensure the image is sharp where you want it to be. Remember, using the camera’s focus magnifier to check focus before taking a shot can slow the shooting process. So just ask your subject to hold still until you have the focus right. For more see our guides to portrait photography.
4. Reflections
Reflections can confuse an AF system and your subject might not be sharp. Possibly owing to the lack of contrast, the multi-layered nature of the subject or the nature of the reflecting surface. Manual focus will get you straight to the result you want. Whether you prefer to focus on the reflection, the reflected subject or somewhere in between, relying on depth-of-field to get both aspects acceptably sharp.

5. Street
If you find that your AF kit is not hitting the spot, go manual and use zone focus. On a 35mm lens setting a focus distance of 3m an aperture of f/11 will give you good sharpness. Roughly, from 1.5 to 10m so you can shoot away.
On AF cameras/lenses, a distance scale might not be available. So just autofocus on a subject that is 3m from you and then switch to manual focus. If your AF lens in MF has a focusing barrel that moves with just a touch, a piece of gaffer tape will stop that. It’s well worth keeping a few bits of tape handy for such occasions. Check out our guide to street photography for more tips.

6. Sunrises and sunsets
There’s no lack of light here so you might think that AF would deal with the situation with no problem. But if the focus area rests on a region of even tone, or the sun’s disk itself, AF can rack back and forth. You can redirect the AF point where there is some contrast for the AF system to work, or take over and manually focus. This also has the advantage that once you’re focused up you can try different compositions or format orientations knowing the focus is sharp.

Related articles
- Prime vs Zoom lenses: which is best
- Common lens problems and how to fix them
- Master manual focus, exposure and flash
- How to get sharper shots in tricky focusing situations
- Which autofocus settings should I use?
- How to get better autofocus on mirrorless
Follow AP on Facebook, X, Instagram, and YouTube.


