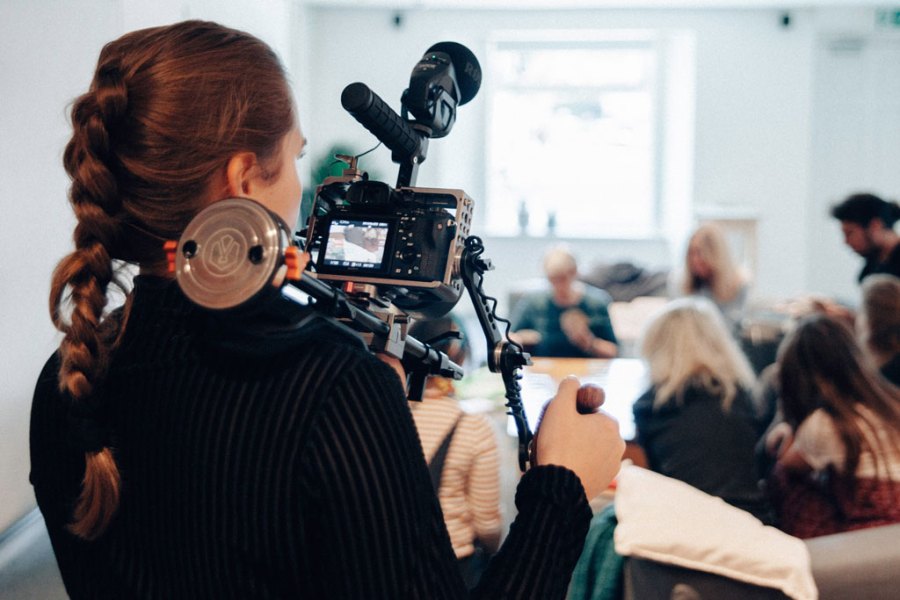
Welcome to our complete, start-to-finish guide to how to make a YouTube video with your video camera. We provide tips on how to record high-quality footage, then edit, package and present it for a YouTube audience. Beginners, amateurs, even those already posting videos to a YouTube channel, will benefit from the expert insights in this guide.
Pretty much every digital camera released nowadays has some video capability as well as photography. If you have a camera and a lens, you can start recording footage today.
The first and best tip we can give you is just that: simply start making stuff. The bar to entry has never been lower for making video. An afternoon spent shooting test footage to learn how your camera works will cost nothing more, and should be fun.
Whether you use a DSLR, a smartphone, a mirrorless camera or a compact, you’ll likely have the basics of what you need to start shooting great YouTube videos. So, let’s dive in and take a closer look at how to make a YouTube video with your camera.
For the right kit, don’t forget to check our our guides to the best cameras for video and the best lenses for video. Or, if you’re sticking with the smartphone, we have a dedicated explainer on how to record the best videos on an iPhone.
How to make a video with your camera:
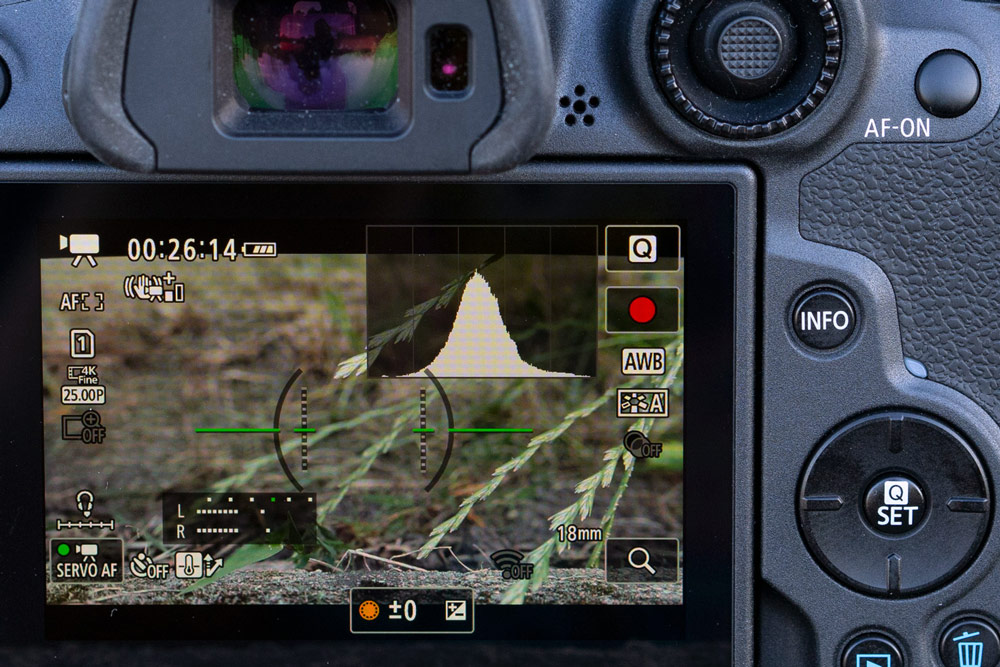
Again, the first step to take is to get to know your camera! Most cameras now feature a dedicated video mode on the main mode dial on the camera, though some give a switch between stills and video operation. When you activate the dedicated video mode, the screen will present corresponding options, with the aspect ratio and scene correctly framed.
Once in video mode, you’ll look at the options available, and make choices about resolution, frame rates, and more. We go through these in detail below…
Video Resolution
Defined as the level of detail and clarity in a video image, video resolution is the first key setting. It is typically expressed as a combination of two numbers – the horizontal pixel x the vertical pixel count (1920×1080) or 4K (3840×2160). If you’re recording vertical video, then the simplest resolution to start with is FullHD.
Most common video resolutions include:
- SD (Standard Definition): 720×480 pixels for NTSC or 720×576 pixels for PAL
- HD (High Definition): 1280×720 pixels (720p)
- Full HD: 1920×1080 pixels (1080p) (16:9)
- 4K UHD (Ultra High Definition): 3840×2160 pixels (2160p) (16:9)
- 4K CINE / DCI: 4120×2160 pixels (17:9)
- 5.7K: 5744×3024 (17:9)
- 6K: 6144×3456
- 8K: 7680×4320
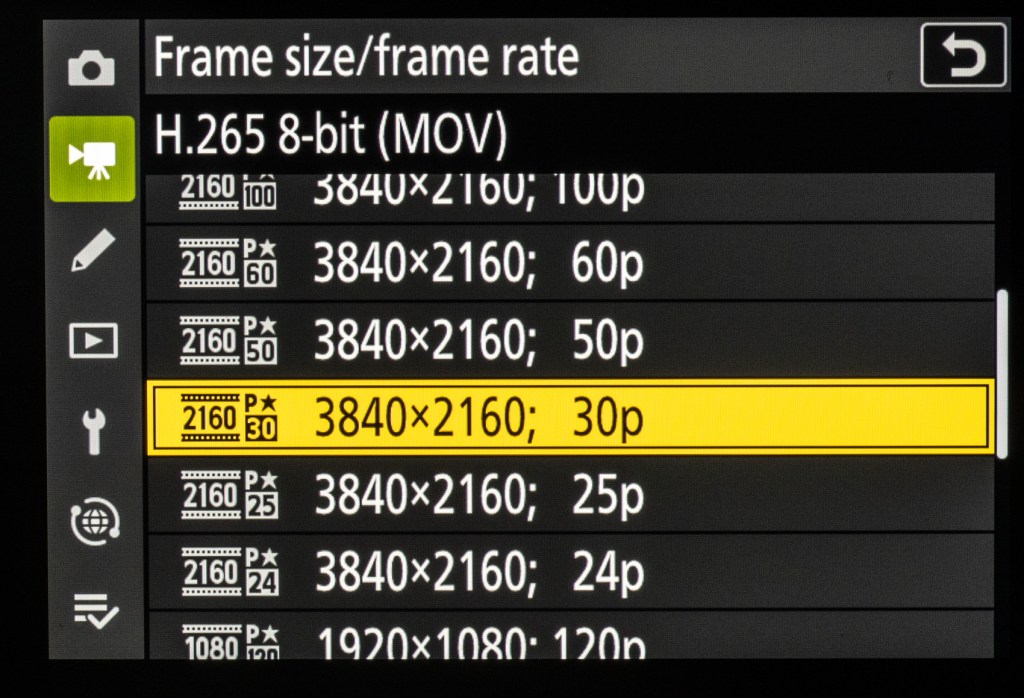
Most cameras offer at least Full HD recording (1920×1080 pixels) and with an aspect ratio of 16:9. This gives good enough quality for the majority of recordings and productions on YouTube. Even some of the biggest YouTube stars stick with Full HD resolution – MrBeast, we’re looking at you.
Luckily YouTube doesn’t mind too much whether you record in Full HD or 4K video resolution. They care more about the content and presentation of your video – more on this later!
A note on video recording and resolution – after recording your footage, you’ll need to edit the videos. If you have an “average” PC or laptop, then editing 4K or higher resolution can be a very slow process. Indeed, depending on how old your computer is, footage shot at these resolutions may be even be next to impossible to edit, with the software stuttering and freezing every time you try to work with your clips.
If you’re starting out and don’t have a high-spec computer, then it is worth starting with Full HD video while you get to grips with everything. This will speed up your workflow, and still produce a great-looking end result. With practice, and a system that can handle it, working with higher resolution video recorded at 4K (and above) can be useful if you want to crop into the footage and reframe the shot while maintaining Full HD quality – giving yourself more options in the edit.
Nb. Check your camera make and model, and check online reviews to see which video features your camera has.
Frame Rates – What frame rate should I use?
Understanding frame rates is crucial for capturing, editing, and delivering video content effectively. In the past, when you’ve seen a camera’s video resolution spec listed, you’ve likely seen it as something like 4K 30p or Full HD 60p. In those cases, “30p” and “60p” refer to the frame rate, meaning 30 and 60 frames per second, respectively.
The most common standard frame rates for video are:
- 24fps This frame rate is often used in film production and provides a cinematic look.
- 25fps Commonly used in PAL broadcast systems.
- 30fps Commonly used in NTSC broadcast systems and digital video.
- 60fps Frequently used in video games, sports broadcasting, and high-motion content.
- 120fps and higher Used in high-speed recording and slow-motion playback.
You’ll need to decide what frame rate to use, depending on what kind of video you are recording. For most videos, 25fps (frame per second) is a perfect choice. Almost all cameras will offer 25fps video. Some will offer this, as well as 24fps, or faster speed such as 50/60fps.
To slow down your footage, using a faster frame rate like 50/60fps can be useful, as you’ll be able to play it back at half the speed. For this though, the higher the frame rate you can use, the better, so don’t be afraid to push it up to 120fps and beyond if your camera affords this. Bear in mind too that higher frame rates will often only be available at lower resolutions.
How to make a video – Stabilisation is key!
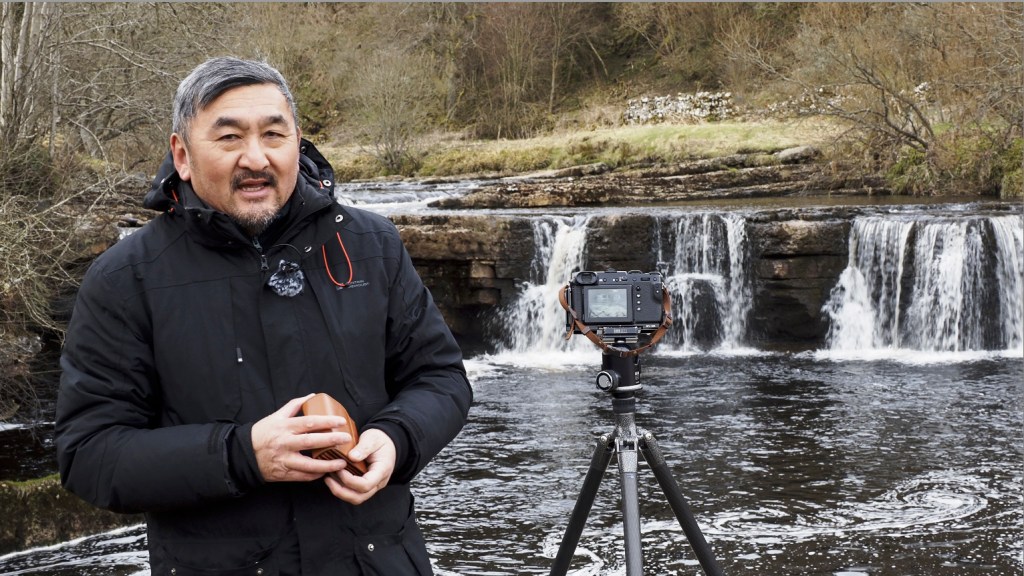
One of the keys to recording decent footage is its stability. Worse than that, unstable footage looks awful and is a turn-off. If your camera doesn’t have a very good in-body image stabilisation (IBIS) system, then we’d recommend the use of a tripod, monopod, or a gimbal so that you can record smooth and steady footage.
With a tripod shaky footage is avoided, and you have a grounding for a professional look. It’ll also make it easier to move the camera position when needed, especially if you have an easy to use tripod head. Look out for a video head if you’re going to be buying a new tripod and/or head.
Among the many brands to consider include 3Legged Thing, Benro, Gitzo, Manfrotto and Vanguard. Check out out ultimate guide to tripods for a rundown of key things to consider, and some suggestions of the best models on the market right now.
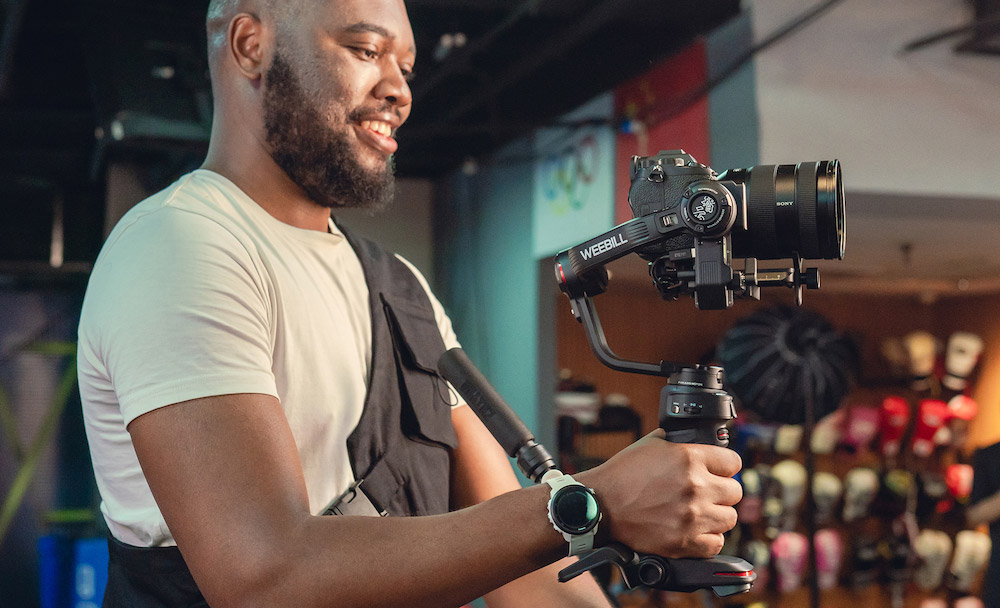
Of course, the drawback with a tripod is that the camera has to remain still. If you want to introduce motion into your footage but keep that smooth stability, a handheld gimbal is a great option for stable video shooting. The Zhiyun WEEBILL 3, shown below works really well and is good value at $319 / £295. We have more options listed in our guide to the best accessories for video.
Maintain your focus
Along with stable footage, ensuring your video is correctly focused (and the main subject is in focus, and stays in focus) is another key factor in making good quality footage.
Some cameras have very good autofocus (AF) systems that work well while recording video. Specs are different for every camera, but the best thing to do is to simply test out filming different subjects, stationary and moving, and seeing how well your camera copes. Does it quickly lock focus on the subject you want it to find? Is it able to maintain that focus when the subject moves?
If your camera isn’t the best when it comes to video autofocusing, then you might want to consider fixing focus on your subject when you start recording, which will keep them sharp as long as your subject doesn’t move. It can also be worth checking your camera’s autofocus settings, as you may be able to activate different modes to improve video autofocus in different situations.
Alternatively, use manual focus and adjust when needed. Some cameras let you fix focus, and then adjust while recording, using the touchscreen – just be careful if using this feature that the camera doesn’t pick up the noise of you touching the screen.

Many cameras have face, eye and subject-detect autofocus functionality. The effectiveness of such features vary but they are generally very accurate and tenacious, capable of keeping track of the subject as it moves around in the frame. If that subject is you and you are working within a few metres of the camera, eye-detect AF can do a great job and the latest systems can acquire focus remarkably quickly.
Forward-facing monitor
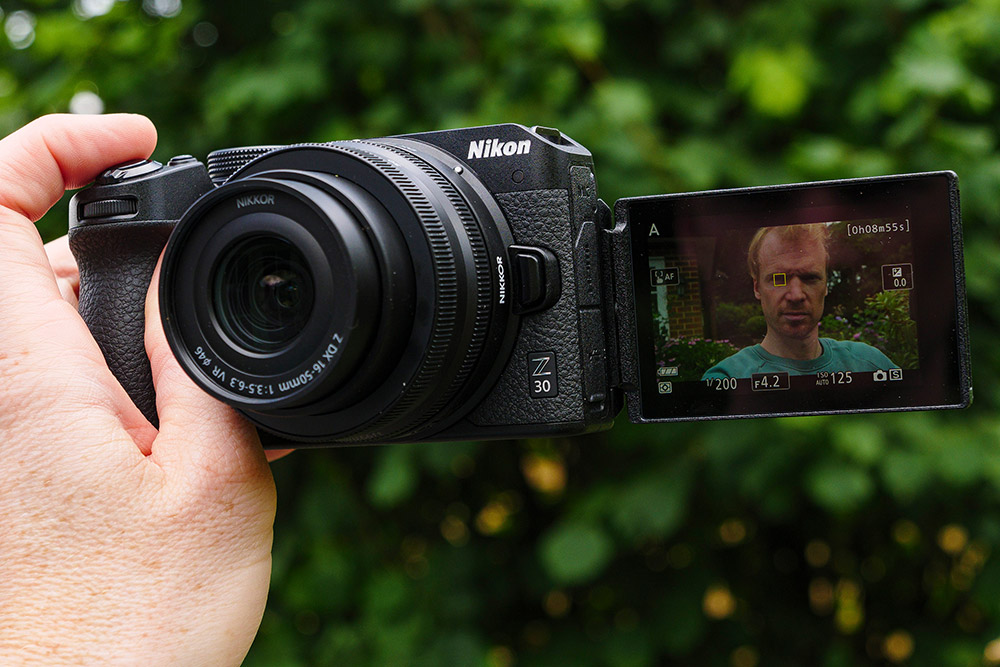
If you are filming yourself, a camera with a forward facing monitor will be hugely helpful – we’d go so far as to say essential. Being able to constantly monitor your framing, focus and exposure while you’re shooting is a must; you don’t want to have to redo a huge chunk of footage because you didn’t notice until too late that the camera was focusing on the background. Vlogging cameras like the Nikon Z30 and the Sony ZV-E10 all have forward-facing monitors.
If you have a camera that doesn’t offer a front-facing screen, you can always invest in an optional monitor that is plugged into the camera’s HDMI output. This can be positioned to face forward so you know you are in shot – and in focus.
Exposure in video
There are other settings that can affect how your video looks, including the aperture, the ISO speed used (lower is generally better), and the shutter speed. Almost everything you learnt in our guide to exposure regarding aperture, ISO speed and shutter speeds applies to video recording. We’ve gone through shutter speed below, as this is something to be aware of.
Shutter speed
As a general rule, ensure your shutter speed is twice the frame rate (fps), so if you’re recording at 25fps, the shutter speed should be 1/50 of a second. However, as with photography, the faster the shutter speed, the less light there is, so keep this in mind – particularly when recording video in low-light.
What shutter speed do I need for different frame rates?
- 24fps – the shutter speed should be 1/48s
- 25fps – the shutter speed should be 1/50s
- 50fps – the shutter speed should be 1/100s
- 60fps – the shutter speed should be 1/120s
Audio quality is important!
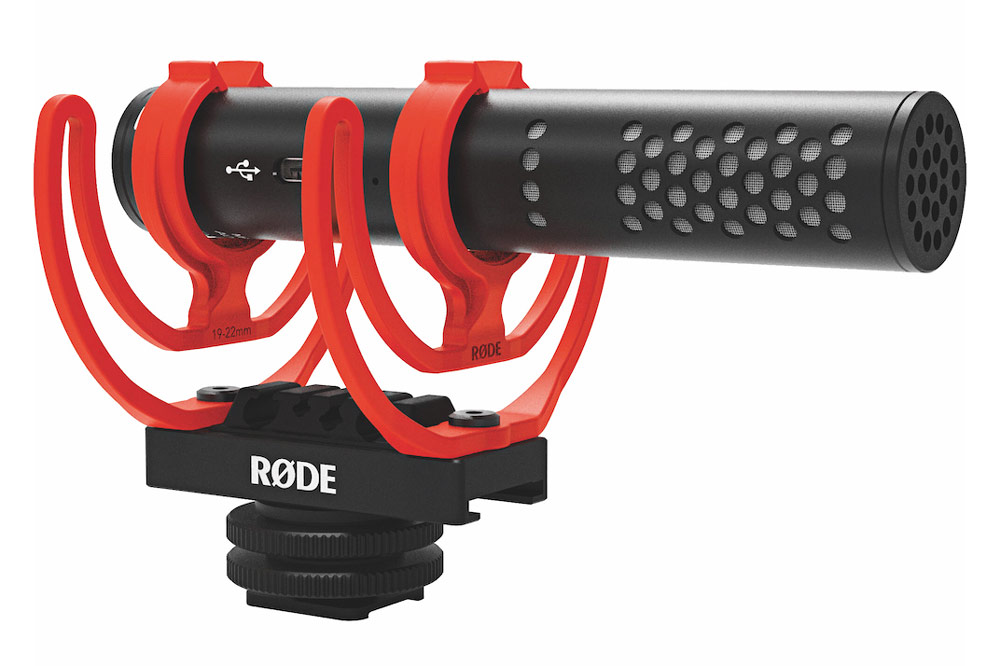
You’ve probably heard this before and it’s true – a good video is 50% visual and 50% audio. The audio quality can make or break your content. If you’re lucky, your camera will have a great set of built-in microphones that sound amazing. In most cases, however, it is advisable to use an external mic or audio recorder.
In fact, there have been videos published on YouTube, using low-quality cameras – but because the content was good, and the audio quality high, they attracted hundreds of thousands of views notwithstanding.
On-board microphones are generally limited when it comes to quality audio. Shooting outdoors, they are also susceptible to wind noise, while the whirrs and clicks of camera handling can also be picked up. Some of the latest vlogging-oriented cameras are better and can be fitted with a furry windshield, sometimes referred to as a ‘wind muff’ or a ‘dead cat’.
Cameras that can shoot video usually have a mini jack socket for plugging in an external microphone, which is definitely the best way to go, especially when shooting videos outdoors. Many will also allow you to connect a microphone wirelessly, commonly via a Bluetooth connection.

There are different types of microphone that are suitable but a good practical option are the very small wireless microphones such as the Joby Wavo Air (shown above), Hollyland LARK M1 ($129 / £130) or the Rode Wireless GO II ($299 / £259). Really small, impressive working range, long run times and capable of crisp audio, these microphones are a good investment for YouTubers. Rode, and Joby, Hollyland, Rode and Sennhieser offer microphones for home studio and on-camera use.
Unlike when taking a photo – you can’t just use Photoshop to fix it later – and trying to fix audio problems later can be a real nightmare. For this reason, it’s also recommended that you use headphones (or earphones) to check the audio quality, and this is where a headphone socket on your camera is essential.
Headphone sockets are becoming a common sight on more recent digital cameras and if you’re a keen video shooter, it’s an important feature. Recommended headphones include the closed-back, over ear Rode NTH-100 at $149 / £99.
If you do need to fix audio problems later, than the latest video editing software has made some real progress recently in adding useful audio processing features, including voice processing. See our guide to the best video editing software.
If you want to master audio on your video, have a look at our guide to best value audio options for video.
On the subject of audio, you might have the voice of angel, but a track of background music can enhance things immensely, adding atmosphere and mood to your masterpiece. Once you get a good following you may want to pay and subscribe to a music streaming service but to start, try royalty free music. Providers to check out include Artist, Free Stock Music.com and YouTube’s Audio Library.
Light it up
Clearly, it depends on the situation and if you are shooting outdoors, can usually rely on the stuff provided by the sun. Indoors and in low light, a continuous LED light can make a huge difference and you don’t have to spend a fortune to get a decent unit; and lights can be mains or battery-powered.
If you have the budget go for a LED light with colour temperature control. This means you can adjust the output to match the colour of the ambient lighting.
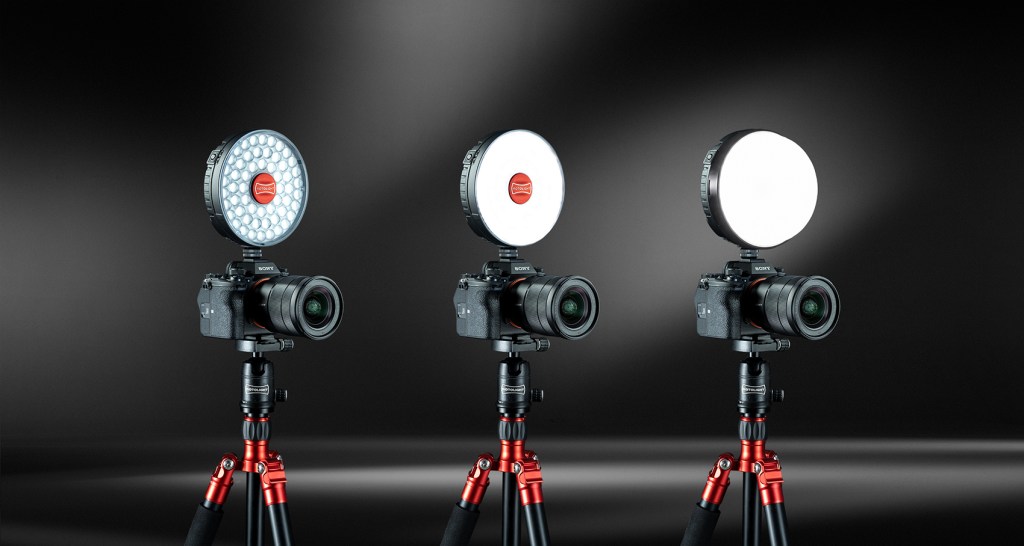
Smaller lights can be mounted on the camera hot-shoe while bigger ones will need a lighting stand. This is more cost and of course extra kit to carry, so depends upon what you are shooting and the content of your footage. Many YouTubers use their home as their studio so at least you can control lighting and a couple of lights fitted with diffusers can give a flattering, consistent light.
Continuous lights from Aputure, Godox, Kenro, NanLite and Rotolight are among the many brands to consider.
How do I record entertaining videos?
That’s the million-dollar question, of course, and can be the difference between 20 views or 2000 views. But one thing we would say is that if you’re passionate about something, then this is a great start. Record what you know, and be inspired by other people’s videos to see what works and what doesn’t work.
Start by thinking about your viewer. Most people are time-poor and many may have very short attention spans. Furthermore, with the huge quantity of fresh content uploaded onto sites such as YouTube every day, you need to work hard to engage viewers and hang on to them.
Professional movie makers have story boards and of course we’re not prescribing such professionalism – but put yourself in the position of your potential viewer and try to keep things moving by having a shooting plan for your videos. Keep content targeted and a mix of outdoor and indoor locations can work well too.
It is always a good idea to record more video footage than you need. By recording additional clips, known as B-Roll (What is B-roll footage? – Adobe) you can use these to cover up any mistakes made in key footage (known as A-Roll). But remember, you are not producing a full length feature film and the most effective YouTube videos last up to 20-25 minutes.
The opening segment of your videos needs to keep the viewer interested. So many YouTube photography videos go downhill rapidly after the first few seconds. Many have tedious, drawn out intros that waste much time scene-setting. This is a typical intro from a landscape YouTuber…
It starts with footage of the photographer driving to the location, getting out of the car, putting on their boots, having a cuppa while bemoaning the early start but looking forward to the fantastic light they are going to shoot. Then follows a painstakingly dull commentary on the contents of their bag – notably, their packed lunch – before describing what they are going to shoot. Next comes footage of his walk from the parked car, before you see them arrive at a gate or stile, negotiatie it and walk into the distance with a few close ups of their boots splashing through puddles. This goes on until they finally arrive at the location. Not great video!
If you were bored reading that, then we have made our point. Yes, viewers can scroll through irrelevant stuff, but are likely to have moved on to videos with a more lively, engaging, and targetted approach.
The maxim emerging from this is to keep intros short, snappy and engaging. A little scene setting is fine but don’t drag it out; and remember the purpose of the video.
Of course, as a photographer your viewers will be expecting to see some of your decent shots. Don’t keep your wonderful stills to the end of the video because they might have switched off by then, but use them throughout. It’ll keep the viewer engaged and because your pictures will be awesome (won’t they?) there’s something to keep your audience on the hook.
Editing video
Once you’ve recorded your video, you’ll then have a number of video files (normally ending in .mp4, or .mov). Use the software on your computer to bring those video files together and edit them to create one video file, which you can then upload to YouTube, and others like Vimeo, TikTok, Instagram etc.
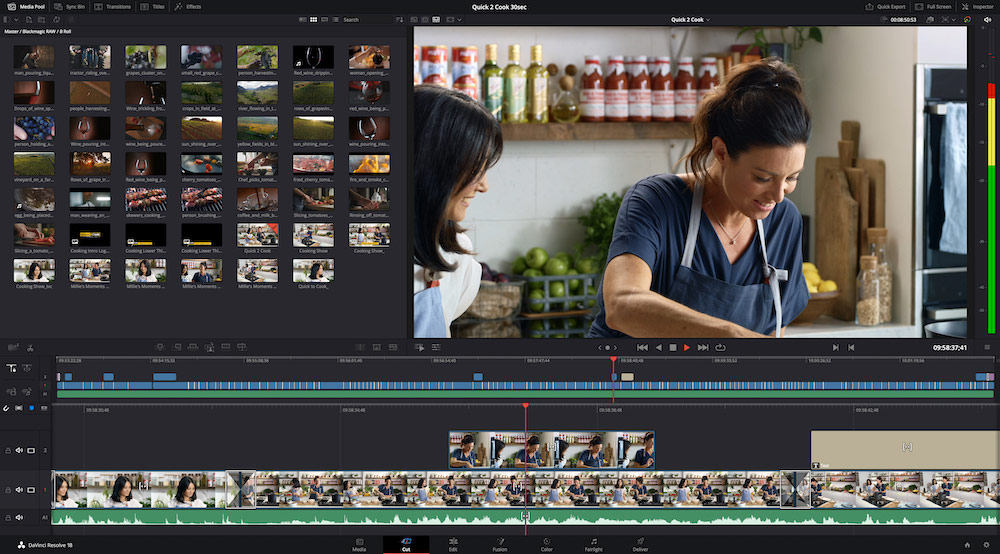
How do I edit videos for YouTube?
To edit footage, you’ll need to use some video editing software on your computer. These let you put several different video files (or clips) together, cut out any unwanted scenes or mistakes, as well as add different titles and effects to the video, as needed.
Here are some of the most popular video editing packages available:
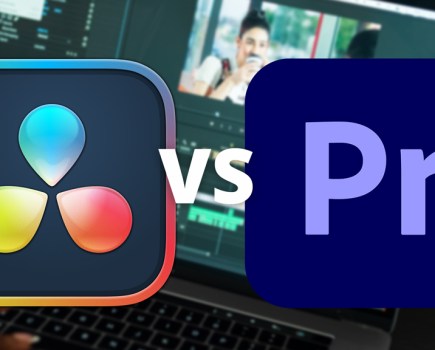
- Davinci Resolve – FREE
- Adobe Premiere Elements – $99 / £86.56
- Adobe Premiere Pro – $20.99 / £26.49 per month
- Apple Mac: iMovie – FREE
- Windows: Photo – includes a FREE video editor
We’d recommend trying the free software that comes with your computer to begin with, as this can often do a reasonable job, and keeps things simple for beginners. Once you’ve got the hang of editing video files into one file, and find you want to do more with your video, then Davinci Resolve is an excellent choice, particularly as it’s free, and offers advanced controls.
See our complete guide to video editing software!
Think about creating a catchy title and amazing Thumbnail!
Titles: This is where you’re creativity can shine, and is essential to capture the clicks and views of YouTube viewers. Try working on making your title SHORT, snappy, and to the point. If it’s too long, people won’t be able to read the full title, and will not know what the video is about. You’ll also need to work on short, captivating text for your thumbnail. A good sell is to promise the viewer something. It might be on the lines of ‘Take your sharpest-ever shots’ or ‘Photoshop’s secret feature unveiled.’ Of course, you need to try to deliver whatever you promise.
Thumbnails are probably one of the most important things on YouTube: They can either make or break your video, and are the first thing people see when looking at videos on YouTube. Many people don’t even read the title, but instead click the most interesting and captivating thumbnail available. This is where your many years of Photoshop skills will come in useful.
How to make a thumbnail that’s catchy, engaging, and clickable
If you don’t have Photoshop, then you can use online tools like Canva and Adobe Express, to create thumbnails with pre-made templates. Shooting some additional photos while recording your video can be helpful so that you have some high-quality images to put into the thumbnail.
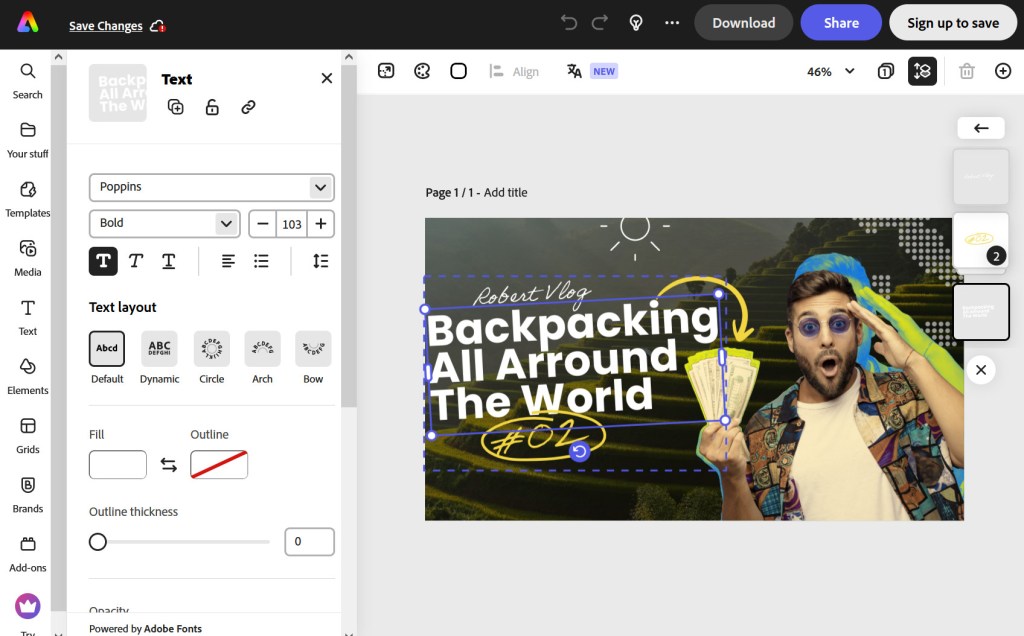
You’ll also need to be aware of thumbnails often showing much smaller on screen, depending on the device used, so big clear text and catchy graphics can help here.
How to upload your video to YouTube
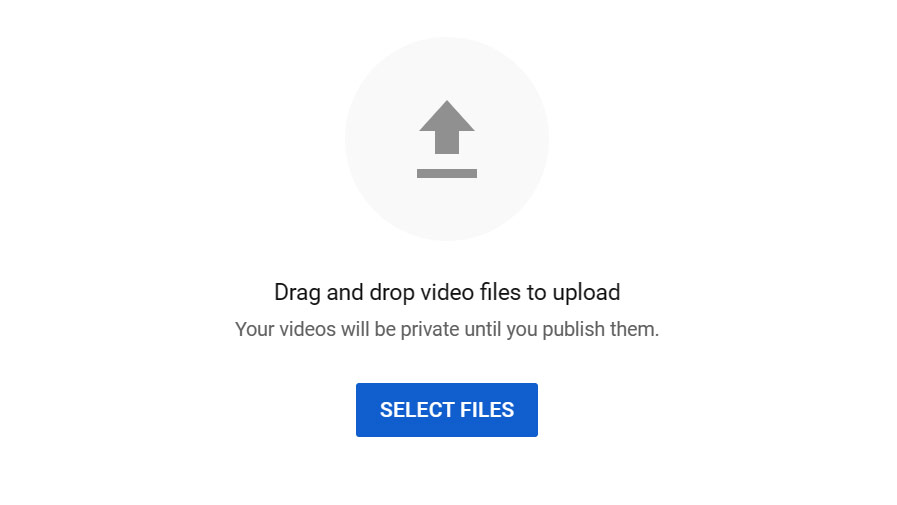
Once you’ve completed your video, it’s time to share it! Go to YouTube.com, and look for the upload icon in the top-right of the screen:

Click Upload video, and you’ll be presented with the following screen, where you can drag and drop your video file. Once you’ve done this, YouTube will start uploading the video, and you can fill in the title, and upload your thumbnail. Once the upload is completed you can click the publish button and your video will be live on YouTube! (Once processed).
Whether you share your video with YouTube, Facebook, Vimeo, Instagram or TikTok, make sure you get the best results by sharing it with your friends, and ask anyone interested for feedback on what they thought. You’ll also be able to get feedback from people who watch the video from reading the comments.
Advanced editing: Using LUTs for colour-grading videos
Look Up Tables (LUTs) offer a flexible and efficient way to achieve consistent and stylized colour-grading results in editing. They are commonly used to enhance visual aesthetics, create specific moods, and achieve desired looks in various media production workflows. Using LUTs for your video editing will greatly improve the look and feel of your videos, taking them from basic to professional. You can read more on how to use LUTs effectively for your videography here.
Have a look at our videography section for more great hints, tips, and how-to articles, plus have a look at our guide to vlogging. Find the best cameras for video, vlogging and YouTube.
Related reading
This article is part of the AP Improve Your Photography Series – in partnership with MPB. You’ll find a whole range of further articles in this series.
Lead Photo by Vanilla Bear Films on Unsplash.