To get the best from video recording with your camera, and achieve greater control and consistency over how videos look, shooting in flat profiles such as Log and Cinelike is the way to achieve this
There inevitably comes a time for photographers and videographers where in-camera processing no longer gives you the results and creative control you’re looking for – which is why a lot of stills shooters still prefer raw rather than JPEG. With video, getting greater creative control and improved image quality means getting away from shooting in Normal/Standard colour profiles to capturing footage in flat Log profiles.
The term Log may sound strange and you may be wondering if it’s more difficult to use, which it is to a degree. But like everything, once you understand the basics, you’ll be well on your way to greatly improved video. So, the big question here is, what are Log profiles?
A flat colour profile
Log profiles for video
Flat colour profiles, including Log and Cinelike, are designed to take advantage of the dynamic range of camera sensors while capturing a large colour gamut. Dynamic range is the difference in stops between the lightest and darkest parts of a scene that your camera can capture without losing detail. And when shooting in Log, some cameras can capture as much as 15 stops of dynamic range.
Normal/Standard colour profiles can’t hold all of the information captured by the sensor, so detail in either the shadows or highlights has to be clipped and the camera makes further decisions about what detail is retained. Log profiles, however, can contain more image data so they can maximise the dynamic range your camera is capable of capturing and hold it within a video file where the image data can be taken advantage of at the editing stage.
Post-capture processing for Log
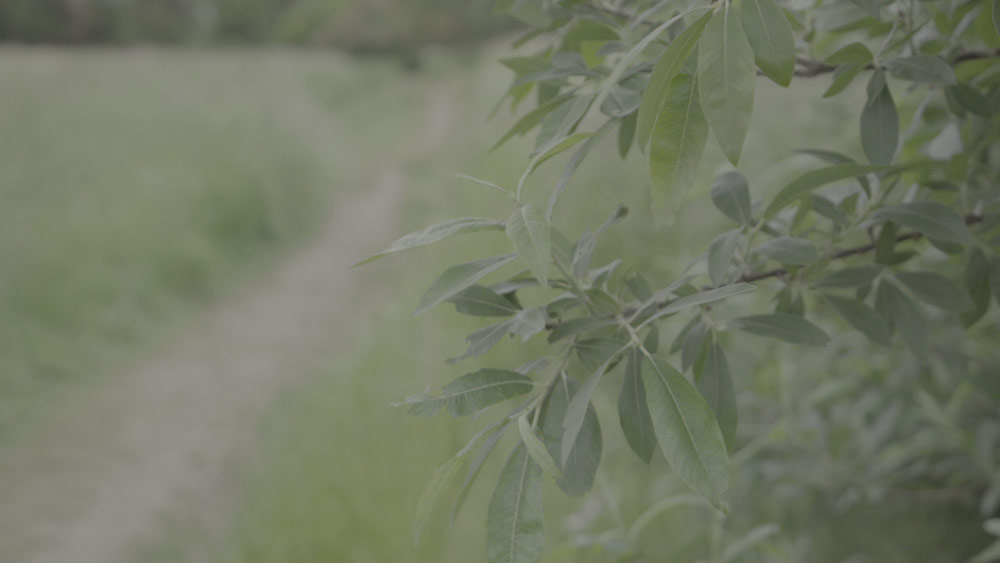
The footage you capture in Log looks washed out and, well, flat – because contrast and saturation are reduced to help capture the all-important dynamic range. It looks similar to a raw file in stills photography. During the post-processing stage, you may choose to clip shadows or blow the highlights, but having all of that image data to hand means that you can make creative decisions about how the footage looks, especially since Log footage is better for colour grading than video shot in Standard/Normal profiles.
Different types of Log
Cameras that can shoot in Log or Cinelike have versions created by the manufacturer. For example, there’s Canon’s C-Log, Fujifilm’s F-Log, Nikon’s N-Log, Panasonic’s V-Log, Sony’s S-Log and DJI consumer drones, depending on the model and except for beginner options, can shoot either D-Log, D-Log M or D-Cinelike.
When shooting in Log profiles, most cameras use a high base ISO which is often in the region of ISO 640 or ISO 800; it’s the lowest ISO setting that provides the highest dynamic range, so it’s best to shoot at the base ISO for Log as often as possible to take advantage of this and to avoid introducing noise into shadow areas.
The high base ISO is simply because when shooting in Log, the camera sensor records light and exposes differently to shooting in Normal/Standard profiles to maximise dynamic range. And this means that you’re often going to need to use ND filters to control exposure and achieve the correct shutter speed for the video framerate you’ve set.
The alternative to Log is to shoot in Normal/Standard colour profiles, which are designed for straight-out-of-camera footage where little to no adjustments are required. But just like JPEGs in photography, these profiles effectively bin much of the image data recorded by the sensor for smaller in-camera processed files.
For many people, this level of convenience is ideal, and some professionals may even shoot in these profiles in certain situations. But if you want to capture video that’s as close to Raw as possible but without the hassle, not to mention most mirrorless cameras and DSLRs can’t shoot Raw video, shooting in Log will provide the creative freedom, consistency and versatility you’re looking for.
See the YouTube video below:
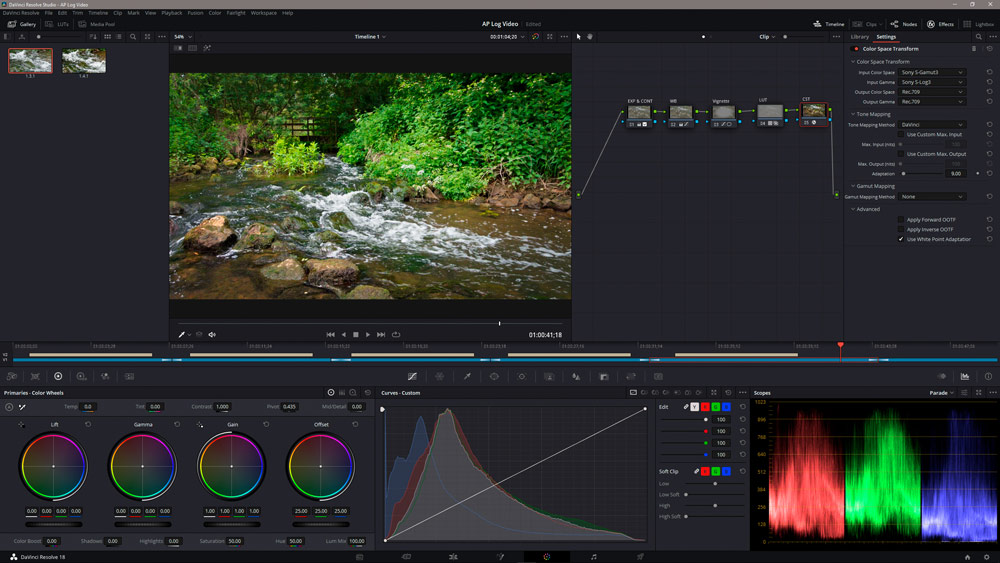
Once you’ve shot, downloaded and imported your Log footage into your preferred video editor, it will need to be processed and colour graded for stylistic effect. We go into greater depth about how to do this in our article on LUT colour profiles, where we use DaVinci Resolve to process and colour grade F-Log footage, and Photoshop to colour grade footage captured in a Normal/Standard colour profile.
What is raw video and how does it differ from Log?
Raw video is similar to raw files in photography: you can think of both as being like a digital version of a negative where a full or a close to full sensor readout is captured. This means that even more image data is captured than when shooting in a Log profile but there are some downsides.
Raw video is much more future-proof than other formats alongside the image quality benefits, but the downsides are that file sizes are huge, much larger than Log, which makes storage problematic and playback at full resolution requires incredibly powerful computers. There is a way around this called proxy editing, where smaller versions of the video files are created for editing purposes, but for many people, it’s the file sizes and the fact that their cameras can’t capture raw video that give enough of a reason to avoid it.
Processing raw video footage is similar to Log profiles, so once you’re confident with this, raw is the next logical step if you’re happy with larger file sizes and can create a proxy workflow. Raw undoubtedly provides the best image quality and the ability to make adjustments, just like Raw files in photography, but for many people Log profiles provide a close alternative that’s more than sufficient for them.
How to set up your camera to shoot Log
Setting up to shoot Log or Cinelike, depending on which your camera offers, is incredibly simple, but there are a few camera features that are worth taking advantage of to aid with focusing and exposure. Once you’ve adjusted all of the settings, you can then save them to one of the custom user modes on the mode dial so you don’t have to set the camera up for shooting Log video every time you intend to shoot and then back to normal again.
Sony cameras, for instance, keep the Log colour profile visible even when you shoot photos, so setting up custom user settings is extremely useful and saves a huge amount of time. Some cameras keep video profiles and video settings separate from photo shooting settings, such as Fujifilm models, so for these you simply set them up accordingly and then switch between stills and video as and when you need to and your desired settings remain in place.
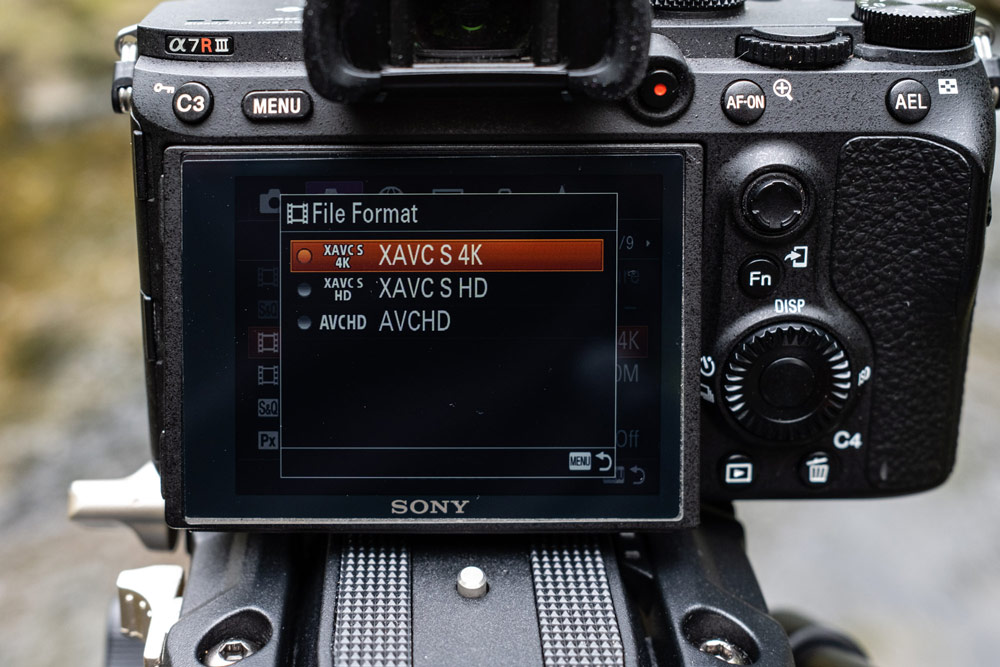
1. Set your colour profile
All cameras are slightly different in how you set Log/Cinelike shooting; some require the colour profile to be set, while others simply have a Log option that can be selected within the video menu. Once Log or Cinelike has been selected, you can also adjust and customise other settings with some cameras if you know what you’re doing and require a specific result, but in many situations the stock Log settings are perfect and require no further adjustment.

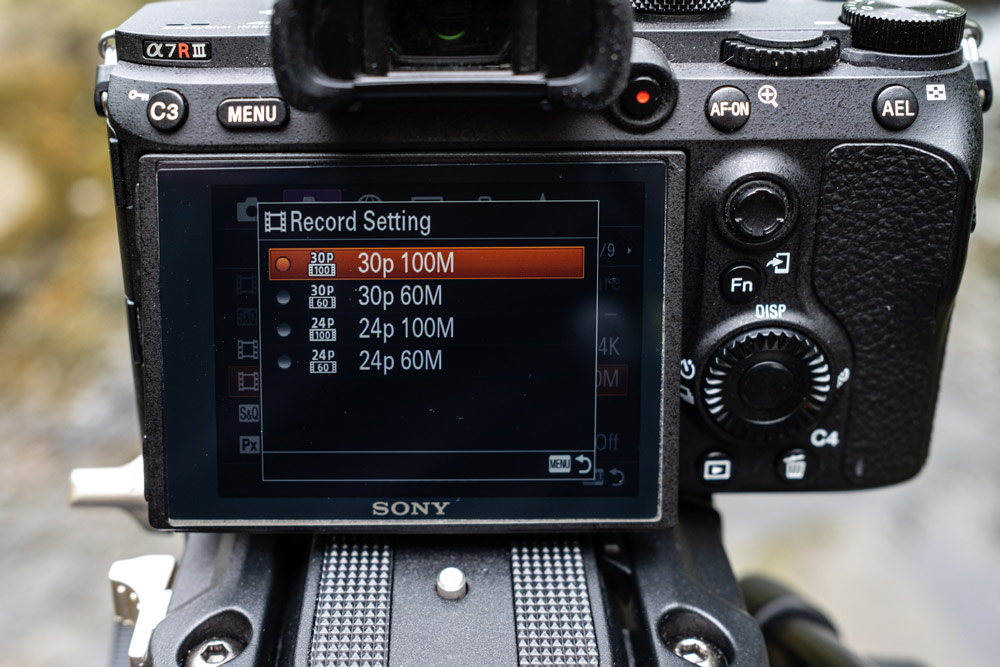
2. Set the resolution
Once again, all cameras are slightly different where with some, like the Sony used here, resolution and framerate/bitrate are set separately. With others, all three settings are applied within the same menu slot so steps 2&3 are applied together. For the majority of people, 4K is the best option based on resolution and file sizes. Plus, even if you intend to export video at FHD (1080p), you’ll enjoy higher image quality reducing down from 4K footage and you can even crop and zoom slightly.
3. Set the framerate and bitrate
Framerate is important and if you’re looking for the most cinematic results, set the camera to 24fps. The camera here was set to NTSC at 30fps because the example video is hosted on YouTube. Bitrate is the next setting and the higher the bitrate the higher the quality of the video, but the downside here is larger file sizes. This camera tops out at 100Mbps at 30fps, but with other cameras you may be able to set 100, 150, 200Mbps or higher when shooting in a Log profile.
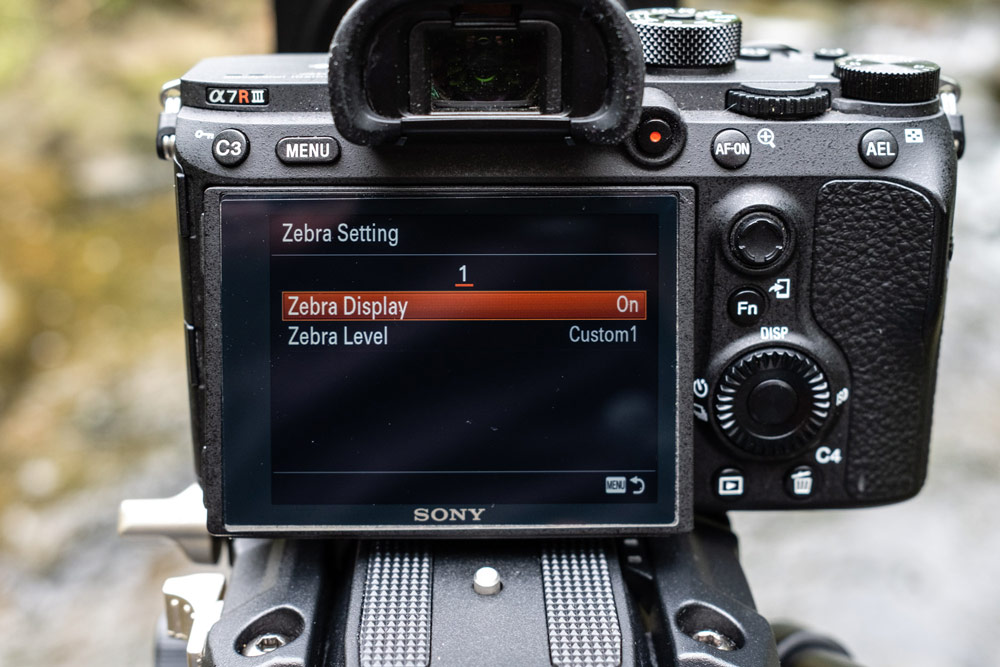
4. Switch on guides
Zebras are a great visual aid for avoiding overexposure, and the percentage amount can be set below 100% so you can be sure that highlights are never blown. Different cameras have a percentage to set zebras to when shooting in Log because the camera clips highlights below 100%, so it’s worth researching the amount for your camera. The camera here was set to 94% in S-Log3 using the custom zebra level option. Also, set focus peaking to Mid Red to make it easier to focus manually.
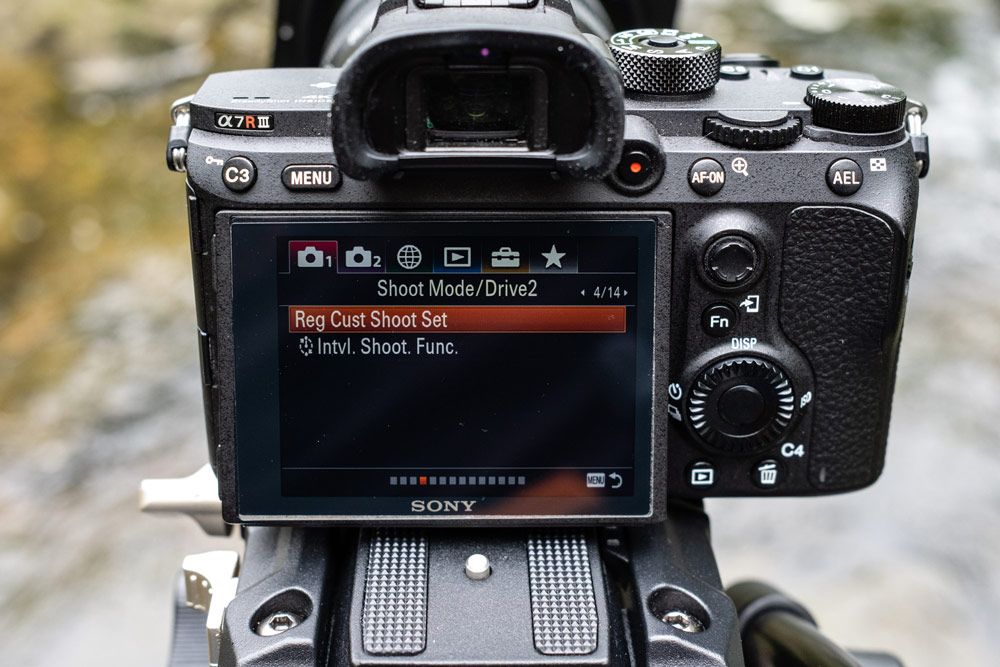
5. Save custom user settings
Many cameras allow you to save custom user settings to a custom position on the mode dial so you can instantly access the desired set-up. This allows you to move between settings quickly depending on what you’re shooting and can save a huge amount of time and effort.
The Sony A7R III here remains in the colour profile that’s set in all shooting modes, so saving all video settings to a custom slot means that once everything is set back to normal for photos, the video settings are saved for later use.
How to shoot video with Log
Shooting in Log is pretty much the same as shooting in any colour profile, but one aspect of exposure that’s important is to expose to the right (ETTR). This is where you expose as brightly as possible without blowing the highlights, using the histogram and zebras as a guide.
The reason for this is that when shooting in Log, many cameras use a higher base ISO than when shooting in Normal/Standard colour profiles which can be as high as ISO 800. This is because the camera sensor works differently to maximise dynamic range. So, by exposing to the right and then adjusting exposure in post, you effectively minimise noise in the shadows.
1. Use manual settings
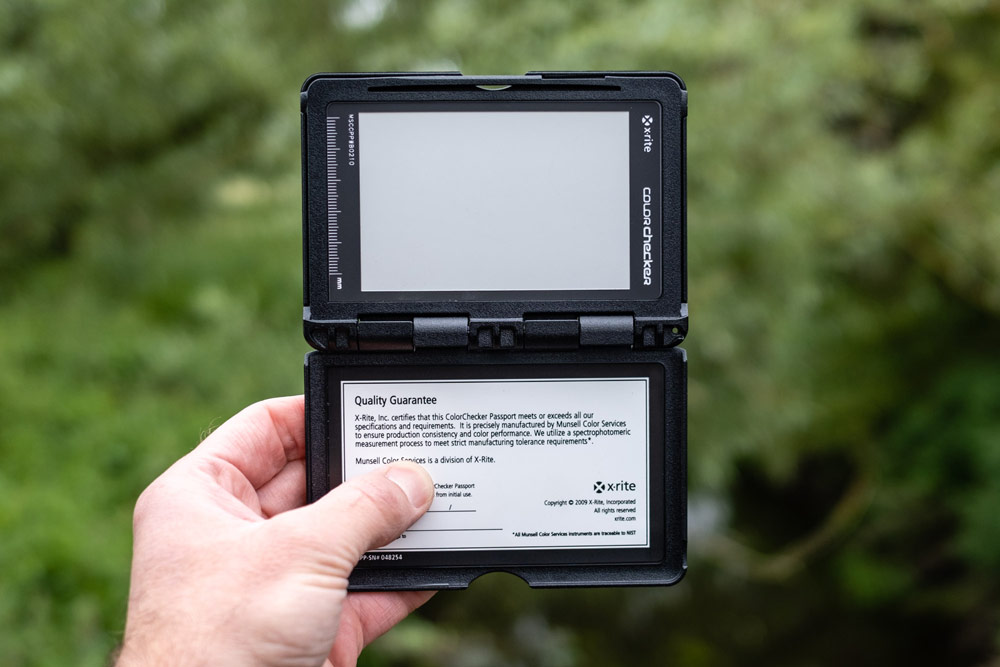
For video, it’s important to use manual settings so there are no variations in ISO, shutter speed, aperture and white balance within the same video clip. White balance is incredibly important because shifts in colour balance look awful in the same shot and are a hassle to fix in post, so either use a white balance preset such as Daylight and Cloudy or create a custom white balance using a grey card. The latter is the most reliable if you have a grey card, but presets are better than Auto.
2. Set exposure
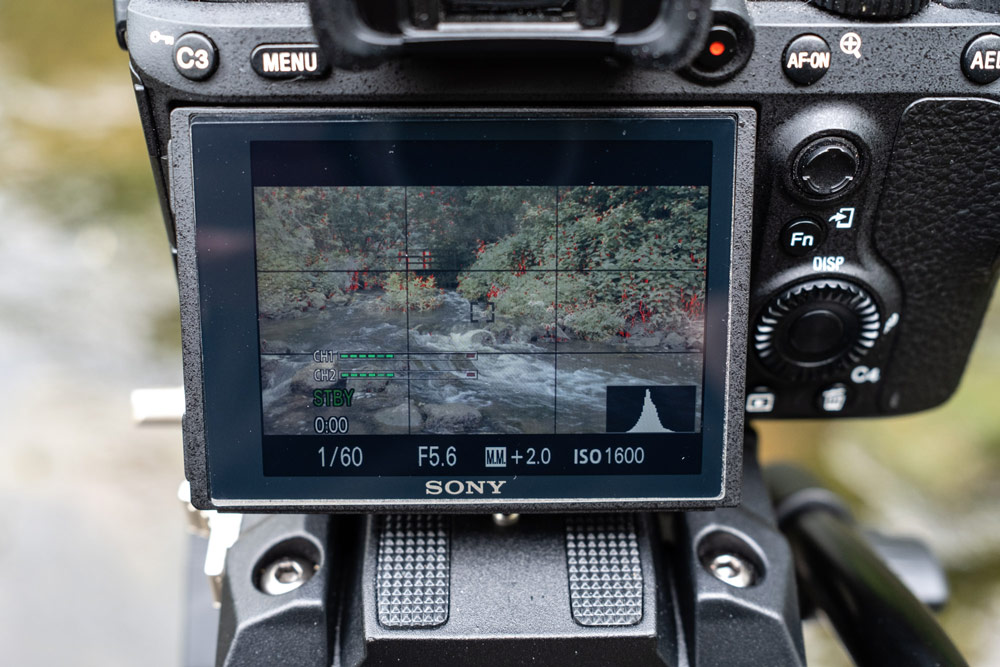
When shooting video, it’s best to shoot manually so exposure is locked in place and use the 180-degree rule to ensure that movement is captured naturally. This is easy, you simply set the shutter to double the frame rate of the video, so 24fps at 1/50 sec, 30fps at 1/60 sec and so on. You then set the aperture and if the scene is dark you may need to increase ISO like we have here to ISO 1600, but this does reduce dynamic range. If the scene is too bright, move on to the next step.
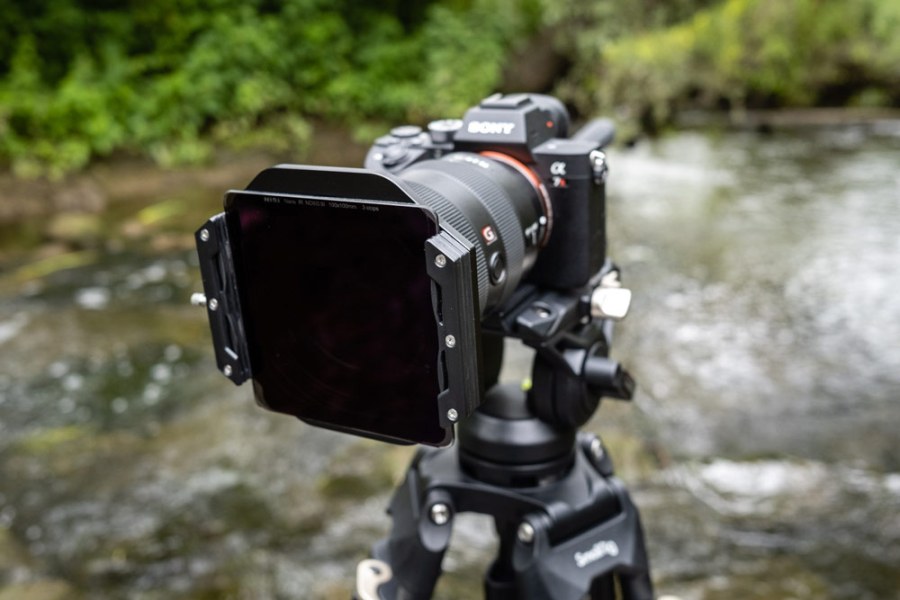
3. Control exposure with ND filters
If the scene and exposure are too bright at the required shutter speed and desired aperture, you will need to use ND filters to control exposure. Both square filters and screw-in filters work for video, but many videographers prefer to use variable ND because you can quickly and easily adjust the density without having to remove the filter.
Simply select the correct ND density or rotate the variable ND until the scene is exposed to the right using the histogram and zebras as a guide.

Further reading
- Best cameras for video recording and vlogging
- Best lenses for video
- Best video-editing software (free and paid for)
- Best external screens for video
Follow AP on Facebook, Twitter, Instagram, and YouTube.