The rise of smartphones has changed the way we make videos and share them. With its advanced camera capabilities, iPhone has become a powerful tool for aspiring content creators. From optimizing settings to stabilizing footage, Musa Bwanali shares her top tips for recording the best videos on an iPhone.
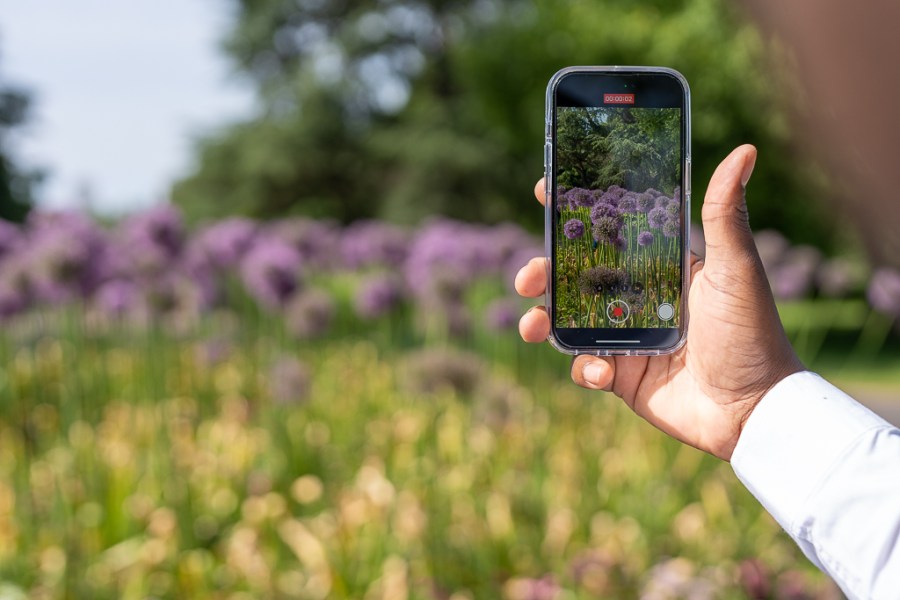
What are the best settings for recording videos on an iPhone?
Before you start shooting, take time to understand the camera settings on your iPhone.

Video Resolution
Most iPhones can shoot in 720p, 1080p or 4K resolution. Depending on which platform you intend to use for sharing your video, always select the highest resolution possible. This ensures maximum detail and clarity in your footage. Go to the phone’s camera settings to adjust the resolution. Keep in mind that higher-resolution videos will occupy more storage space, so keep an eye on your storage capacity.
Instagram does not display 4K footage so the best setting for shooting reels is 1080p HD at 60fps. This will allow for high-quality videos when you publish them, and will also save space on your device.

Frame Rate
The frame rate will depend on your specific needs. The standard frame rate for most videos is 24 or 30 frames per second (fps), which provides a smooth and natural look. However, if you plan to capture fast-moving subjects or want to achieve a slow-motion effect, consider higher frame rates, such as 60 or 120 fps.
HDR (High Dynamic Range)
Enable HDR mode in your iPhone’s camera settings. HDR captures a wider range of colours and details, resulting in more balanced exposure, especially in high-contrast scenes. This setting can enhance the overall image quality of your videos.
Grid Overlay
Use the grid overlay to frame and compose your shots. The grid divides the frame into nine equal parts, following the rule of thirds. Aligning your subject with the grid lines can create visually pleasing and well-composed shots. To enable the grid feature, open your settings, scroll down to ‘camera‘ and switch on the ‘Grid‘.
These settings should provide a useful starting point. From there, adjust them according to subject and location to achieve the desired effect.
How to take video like a pro with an iPhone
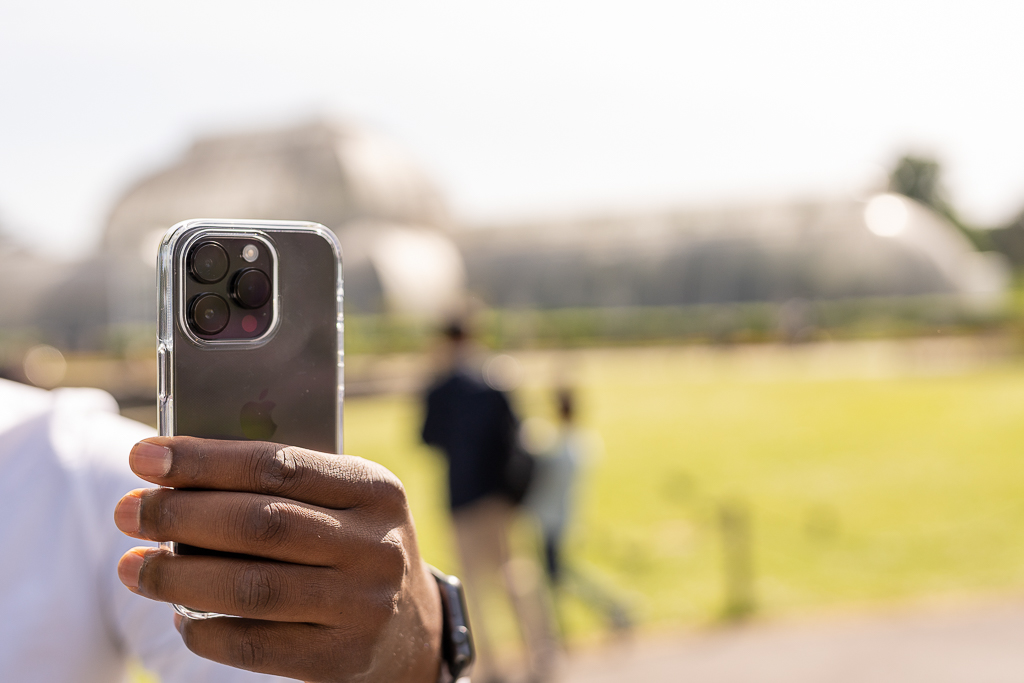
With the right cameraphone settings enabled, it’s time to look at how to capture the best iPhone videos.
- Always use the back camera. Rear cameras have better quality and better filming capabilities than selfie/front-facing ones.
- Clean the lens. Before you press that red button, make sure the camera lens is clean. We leave smudges when we hold our phones, which can affect the clarity of the video. Wipe the lens gently with a soft cloth.
- Use the grid overlay to align your shots and use the rule of thirds to guide you with placing the subject in the best and most flattering frame of the screen.
- Get the best light. Always try to shoot in well-lit areas and adjust the exposure and focus by tapping the screen of your phone. This allows you to control the brightness and ensure that the subject is in focus. Experiment with different areas of the frame to find the right balance of light.

How to go from basic to professional videos on an iPhone
To level up your iPhone videography skills, you will need to invest in a few accessories and put in the time:
- Stabilize your videos to get those smooth, professional-looking shots. Invest in a tripod or smartphone stabilizer like a gimbal. A gimbal will also allow you to achieve cinematic camera movements.
- Use an external microphone. The iPhone built-in microphone is decent but an external microphone will elevate the quality of your video.
- Edit your videos. Use video editing apps to trim clips, adjust colours and add transitions to enhance video quality. This takes time and practice but is highly rewarding when done right.
- Practice, practice, practice. Videography is a fun and dynamic art that takes time to hone as a skill. Keep experimenting with settings, lighting techniques and ideas for recording videos.
Filming is not solely dependent on your equipment but also on your creativity and storytelling abilities.

If you’re keen to develop your smartphone video skills, you may also want to read:
- Video your life like a Wes Anderson film
- Best smartphones for video
- Best phone camera accessories for photography and video
Follow AP on Facebook, Instagram, and YouTube.