
Advertising feature
Affinity Photo is one of the best subscription-free editing tools out there, and its power features include the ability to turn your photographs into textured illustrations and artwork. Rod Lawton explores the power of blend modes
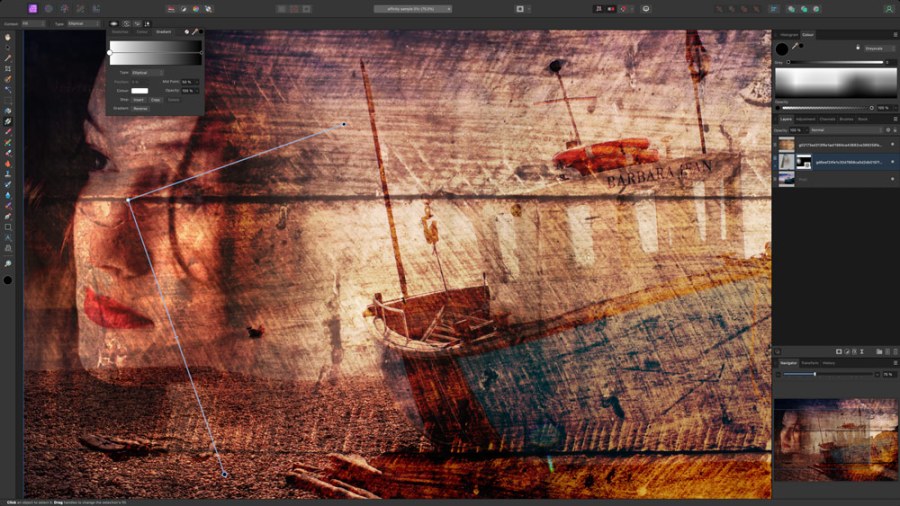
In this instalment we’re taking a look at some of the more advanced layer blending options in Affinity Photo 2. We’ll take the image we worked on in the previous instalment and turn it into a textured illustration using free-to-use images from the Stock panel in Affinity Photo and the magic of layer blend modes.
We want to add a female portrait to this image to create a kind of impressionistic collage, and rather than searching through all your own photos to find an example, there are plenty of choices right at your fingertips, thanks to Affinity Photo 2’s Stock panel. This displays free-to-use stock photos from two different sites – Pixabay and Pexels. You choose which one you want to use from the drop-down menu.

This ordinary image of a boat…
By default, the blend mode for new layers is set to ‘Normal’, which means the current layer simply covers up what’s below. But if you scroll down through the options on the blend mode menu on the Layers panel, you’ll see the blending effect changes with each option. See our video below for the full guide

…can be easily turned into something very special
Watch Rod’s in-depth video on Affinity Photo 2 blend modes now
Further reading
Combine and mask image layers in Affinity Photo 2
Master adjustments and masks in Serif Affinity Photo 2
Master RAW editing with Affinity Photo 2
How to master Affinity Photo 2 for iPad
Create perfect panoramas with Affinity Photo 2
Use Affinity Photo 2 to remove distractions
Why Affinity Photo 2’s HDR merge is a winner
Master Affinity Photo 2


