Advertising feature
Affinity Photo 2 is one of the best subscription-free editing tools out there, and its power features include the ability to combine images using layers. Discover how to use layer masks effectively to make them blend perfectly

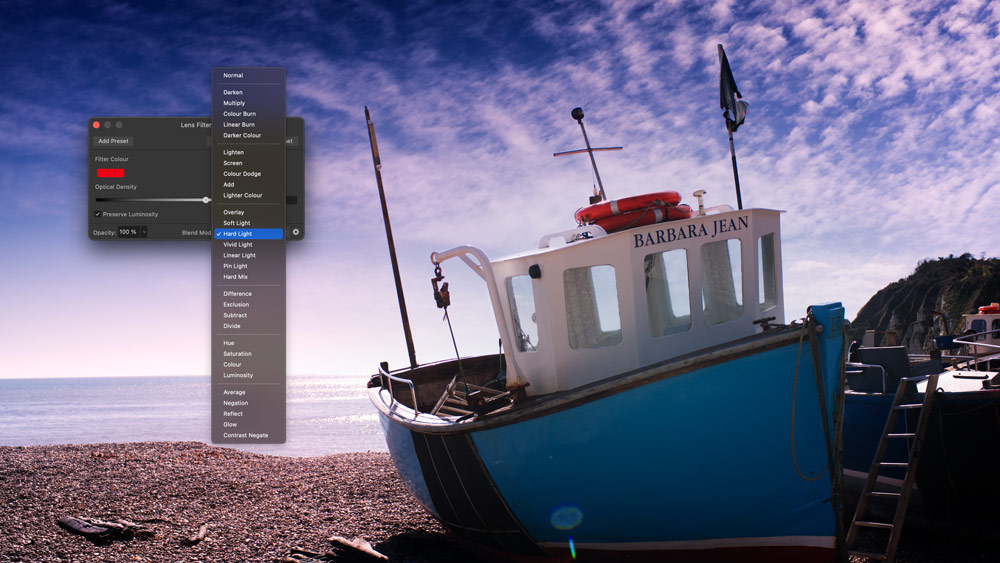
This photograph of a fishing boat (above) on a shingle beach has nice colours and an interesting composition but a rather plain sky – so let’s try to replace it with a different sky in Affinity Photo.
Of course, there are many programs that can do this for you now using the power of AI, but this is a chance to explore the many different masking tools in Affinity Photo, including the new Live Mask layers and Compound Masks.

The finished result
Mastering masks in Affinity Photo 2
These can work alongside regular layer masks, which you can create with Affinity Photo’s gradient and brush tools. You can think of layer masks as being like transparent overlays that control which areas of the layer are visible.
Where the mask is black, that part of the layer becomes transparent and the layers below come through.
Where it’s white, the layer is opaque and covers up what’s below. Masks often include shades of grey, which create partial transparency.

See our video below for a detailed step-by-step guide
Combining image layers in Affinity Photo is not difficult, but does need a bit of masking know-how. It’s not all about AI. It’s about understanding how masks work, how to create good layer masks and how to blend layers so that they look seamless and believable.
Affinity Photo has all the tools you need to achieve exactly that – see our video below for a full guide!
Further reading
Master adjustments and masks in Serif Affinity Photo 2
Master RAW editing with Affinity Photo 2
How to master Affinity Photo 2 for iPad
Create perfect panoramas with Affinity Photo 2
Use Affinity Photo 2 to remove distractions
Why Affinity Photo 2’s HDR merge is a winner
Master Affinity Photo 2


