Award-winning boudoir photographers, Magdalena Sienicka and Tianna Jarrett-Williams, explain everything you need to know about lighting for boudoir photography and the equipment you need to set up your own studio.
Boudoir photography is a genre with a strong focus on capturing intimate and sensual images of women in an artistic way. It can be seen as a celebration of intimacy, empowerment, and self-love, while providing an opportunity for women to feel confident, beautiful, and comfortable in their own skin.
Boudoir allows for self-expression and for women to showcase their unique personalities, beauty, and sensuality through careful methods in posing, lighting, and styling. When many think of boudoir, the usual images that come to mind includes lingerie, sultry low-key imagery of women in a bedroom. However, by definition, boudoir refers to a private sitting room, a quiet space for relaxing and can be a space for hair and makeup or quiet reflection.
To explore the creative opportunities of setting up a boudoir studio, both Tianna and Magdalena joined to collaborate on how best to shoot beautiful boudoir portraiture. In this essential boudoir photography guide there are tips on how to make the most of minimal props, available natural light and flash, how to pose clients to flatter their bodies and to make them feel incredible.
Lighting for boudoir photography
Light is everything. It is a crucial element of photography, and especially important in boudoir when used creatively. Whether it is natural light or artificial, understanding how to use it effectively can greatly enhance the mood, tone and style of your images. Magdalena’s studio predominantly makes use of natural light, as she felt it is the best option to create natural and soft, feminine images.
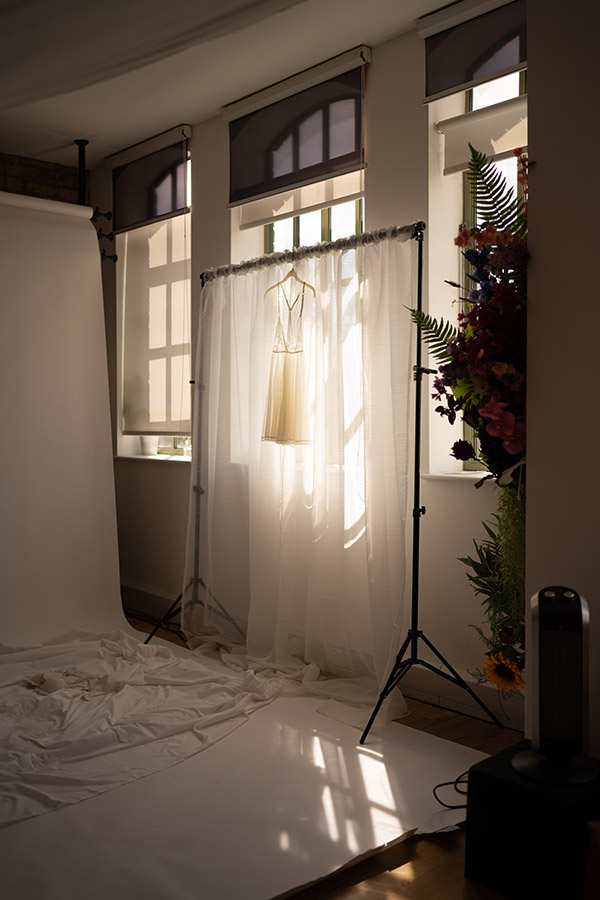
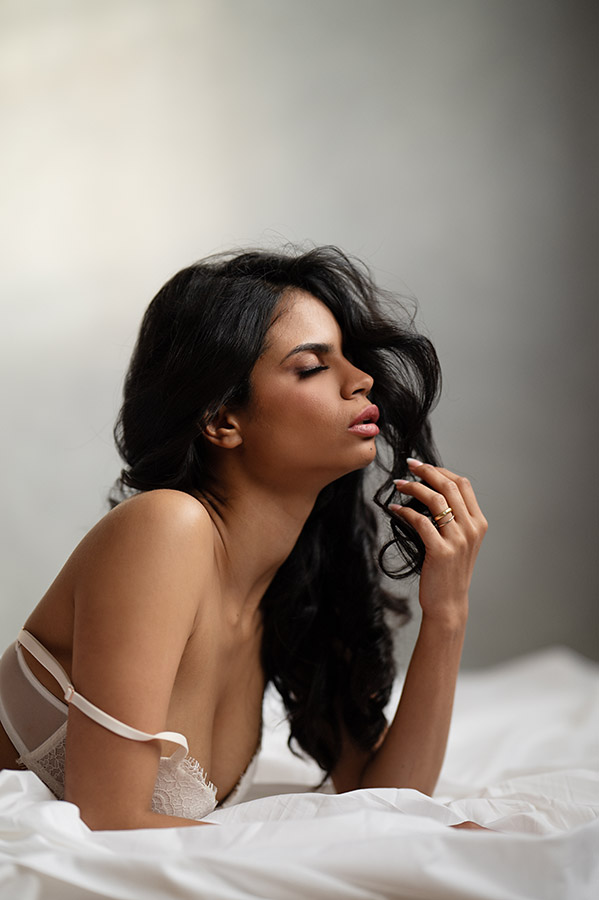
Natural light can be softer and more flattering, making it ideal for boudoir photography. Image credit: Tianna J-Williams Photography
Natural light
Natural light is regularly preferred by photographers of boudoir, because it often has soft and flattering qualities. The warm, golden glow of late afternoon light is particularly beautiful and very versatile. Therefore, with careful manipulation of camera settings, in conjunction with posing, you can completely change the look of images; making use of depth and dimensionality with light and shadow. Another way to make use of natural light is using reflective tools or surfaces where you can bounce light, which can really elevate the look of the images.
The downside to natural light at times is that it can be deeply unpredictable, as well as inconsistent, especially in the UK. It can be challenging indoors, too, when there is a limit on available light. However, this can be used to your advantage, creating silhouettes or by moving to artificial light which offers consistent and controllable lighting.
See our guide on how to capture stunning portraits in natural light
Natural Light: Diffused or Direct Hard Sunlight
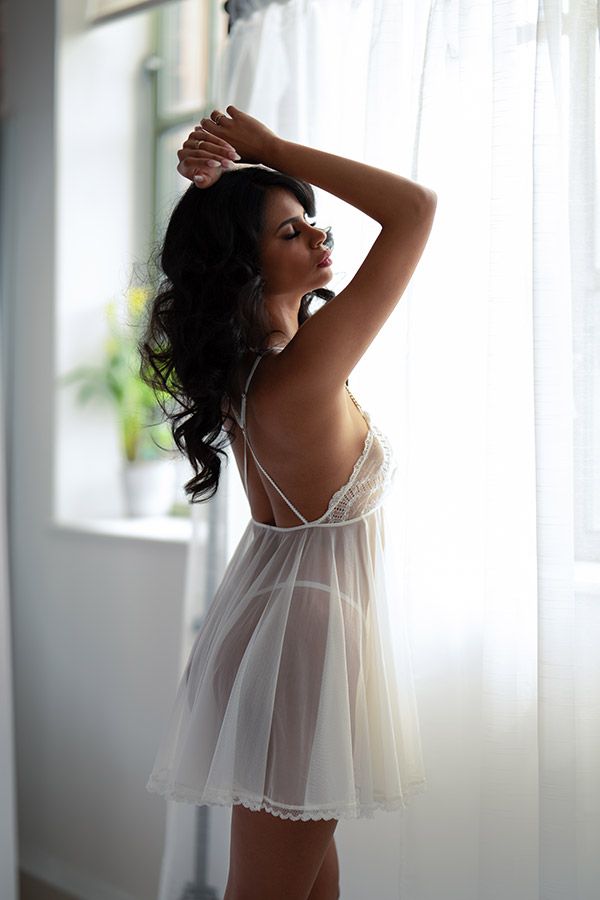
So, what do we do with natural light? In the first instance, most photographers want to soften the existing natural light coming from their windows. This is called diffusing light, meaning that the light is fundamentally filtered through a soft material such as sheer curtains.
Commonly, diffused light outdoors is when the light from the sun is spread through the clouds, creating very even and soft light. The curtains would help to really soften any hard light and reduce the exposure and intensity of the light coming through the window. This creates incredibly flattering light which is a bonus for boudoir.
Preferred to direct sunlight, which produces strong shadows and often overexposed highlights, it creates a far more natural and intimate feel. Tianna had the opportunity to start with diffused natural light in her studio, these images turned out soft and gave the impression of a loft style room or bedroom.
Direct sunlight
This type of light is often seen as the enemy to most photographers in the field of portraiture and weddings. However, Magdalena has found a unique way of building it into her workflow which enables her to create striking images, with strong lines; while maintaining their natural, summery feel.
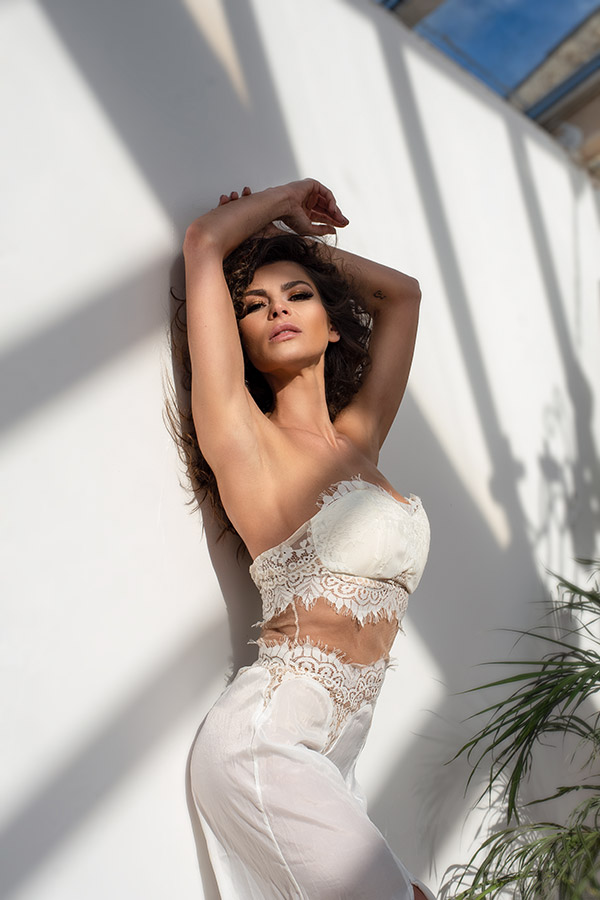
Use hard light to your advantage, the strong shadows can create leading lines and enhance your image. Image credit: Magdalena Sienicka. Nikon D750, Nikon 50mm f/1.8G, 1/160sec at f/8, ISO 80
In Tianna’s studio, the opportunity for a setup using hard light was too good to ignore, resulting in this image below: dramatic yet still very soft and feminine with the pose and clothing. Below are two examples, demonstrating different angles.
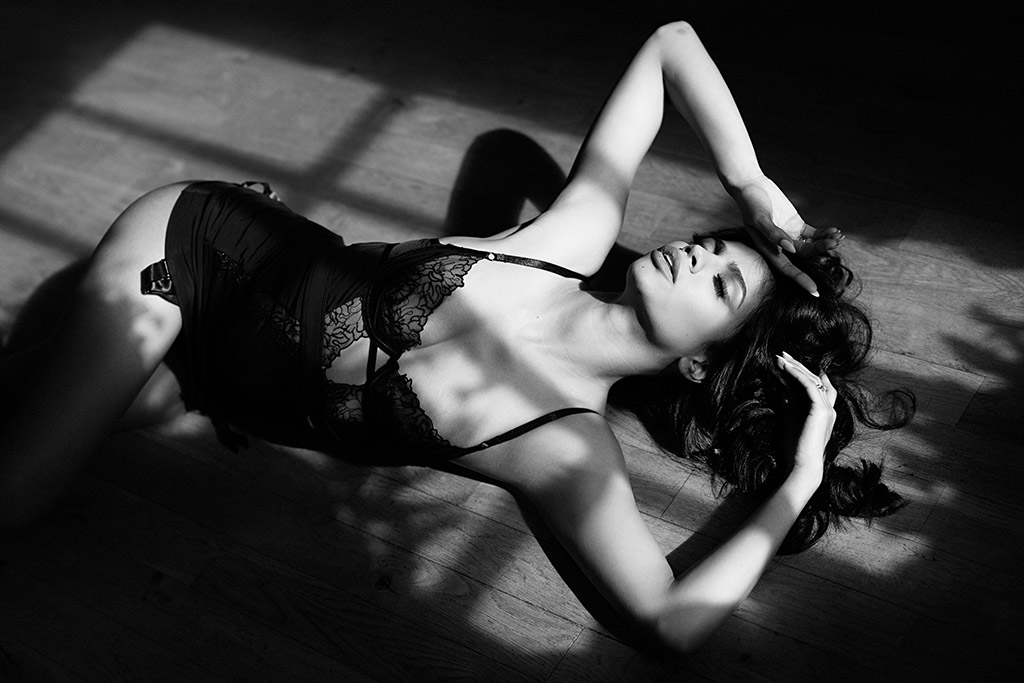
The hard light and strong shadows help to isolate your subject and draw attention to specific parts of your image. Image credit: Tianna J-Williams Photography. Nikon Z6II, Nikkor Z 50mm f/1.2 S, 1/1250sec at f/2, ISO 100
Flash Photography
Strobe, or flash photography can create incredible results when used in the right way. Tianna prefers studio flash because of the complete control it gives her over the strength, direction, and warmth of the light. It is also invaluable in environments where available natural light is low or non-existent. By working with Magdalena and following her advice both photographers have worked together to mix their approaches. By using mixed lighting, or purely artificial light, using multiple light set ups and reflectors to create stunning and unique imagery, the possibilities are endless.
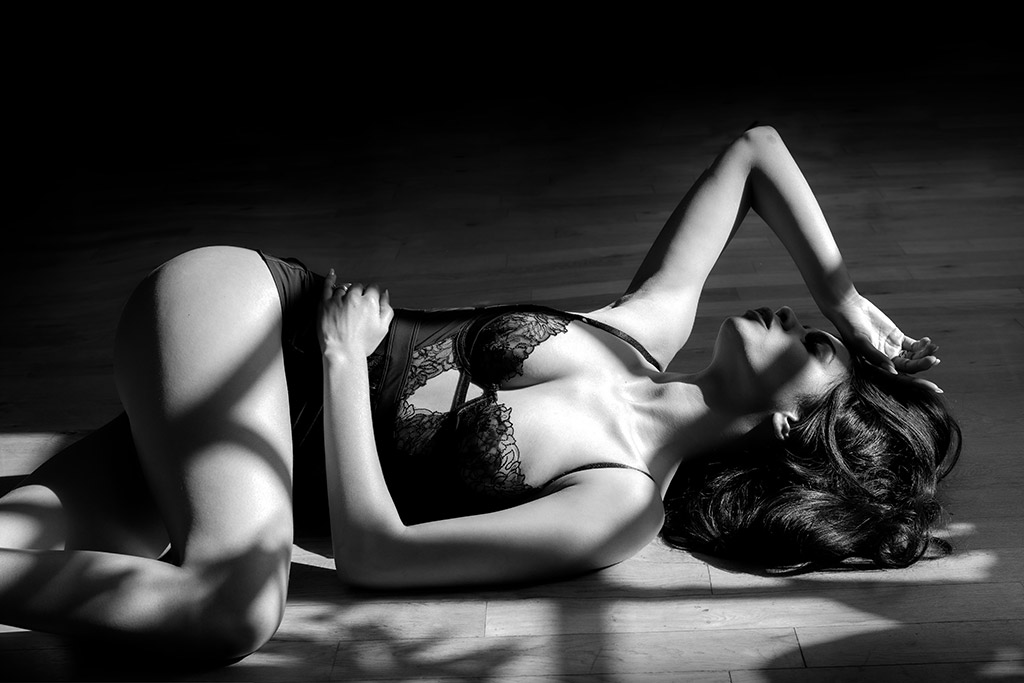
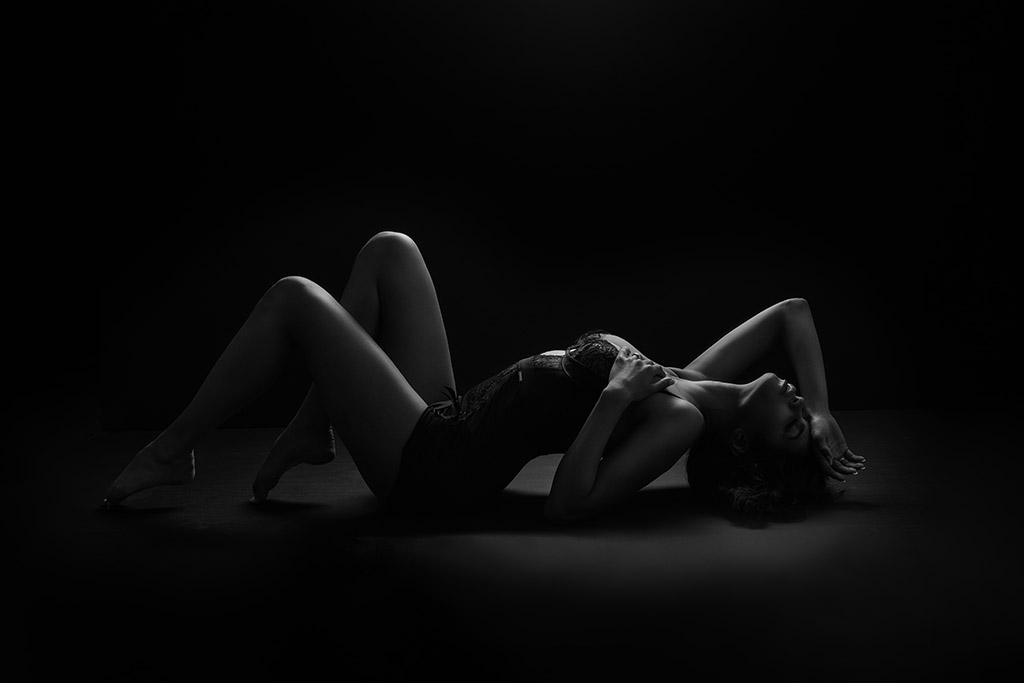
Low key imagery is perfect to define the shapes and curves as well as hide ‘imperfections’ such as stretch marks which many women prefer not to display in their images. These also pay homage to the allure of the curves and mystery of a woman’s body. Here, strong posing is key so by maintaining soft hands, deep curves and careful lighting position, these types of images are beautiful and tasteful, especially if the client is nude.
This image was created using two Elinchrom lights (ELC 500) and two Elinchrom Strip Boxes 150x30cm on either side of the model. With the addition of a second light, there is more room to be creative and adds separation which is particularly useful with darker backgrounds and scenes.
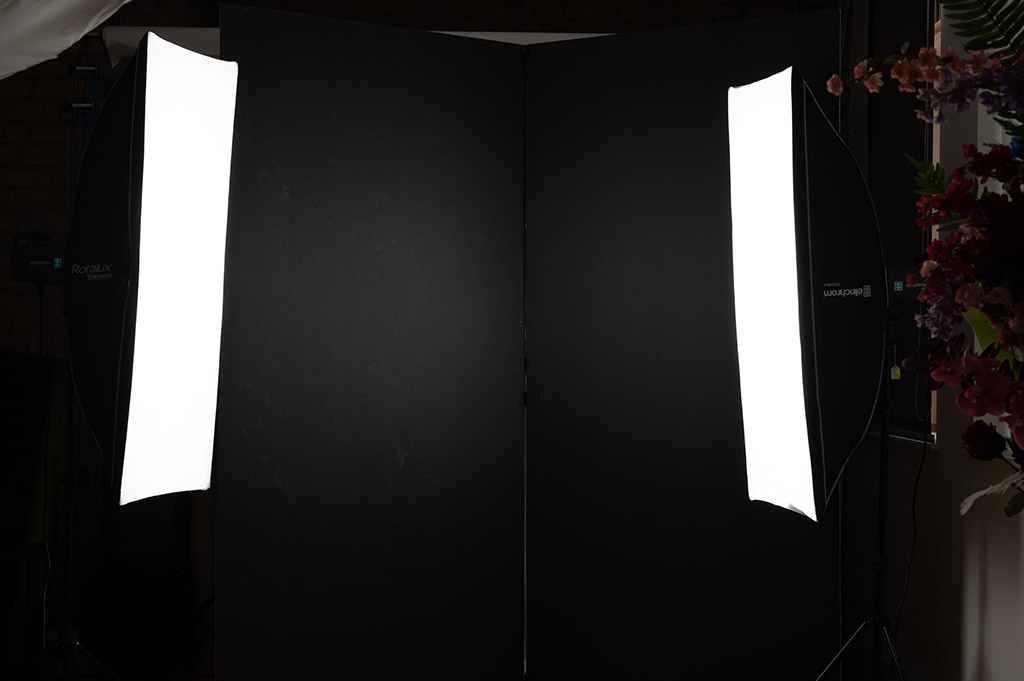
The large StripBoxes set up on either side of the model create a very flattering even, soft lighting. Image credit: Tianna J-Williams Photography
One light typically is enough to create most low-key boudoir photographs, which means for a lot of photographers, this keeps things simple and achievable. Interestingly, similar photographs can be achieved using natural light, by positioning your client around 45 degrees from the source of light.
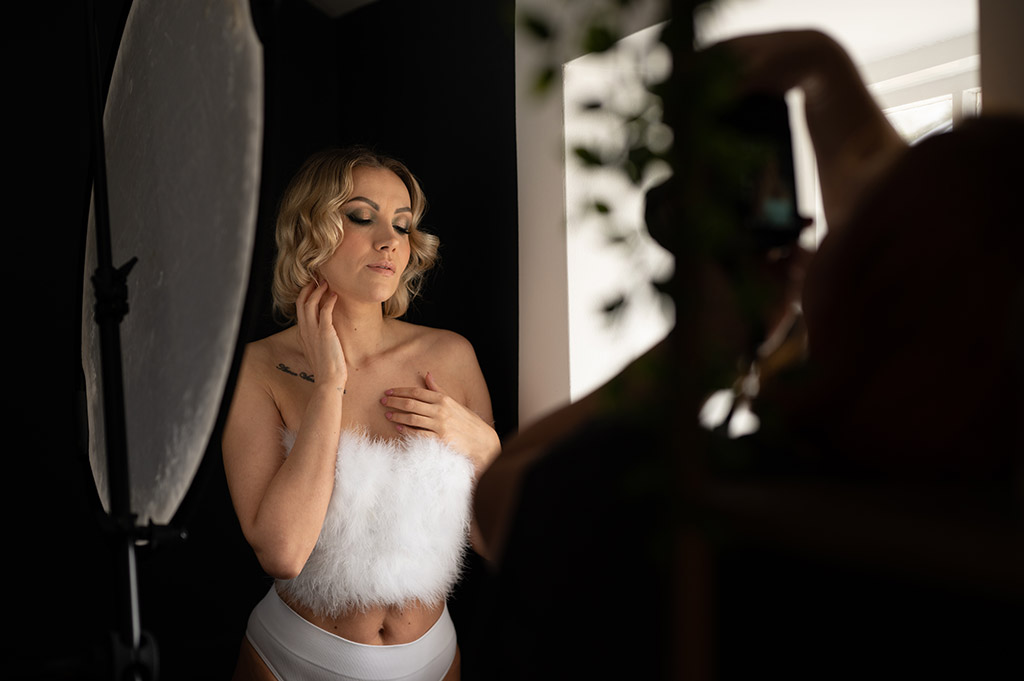
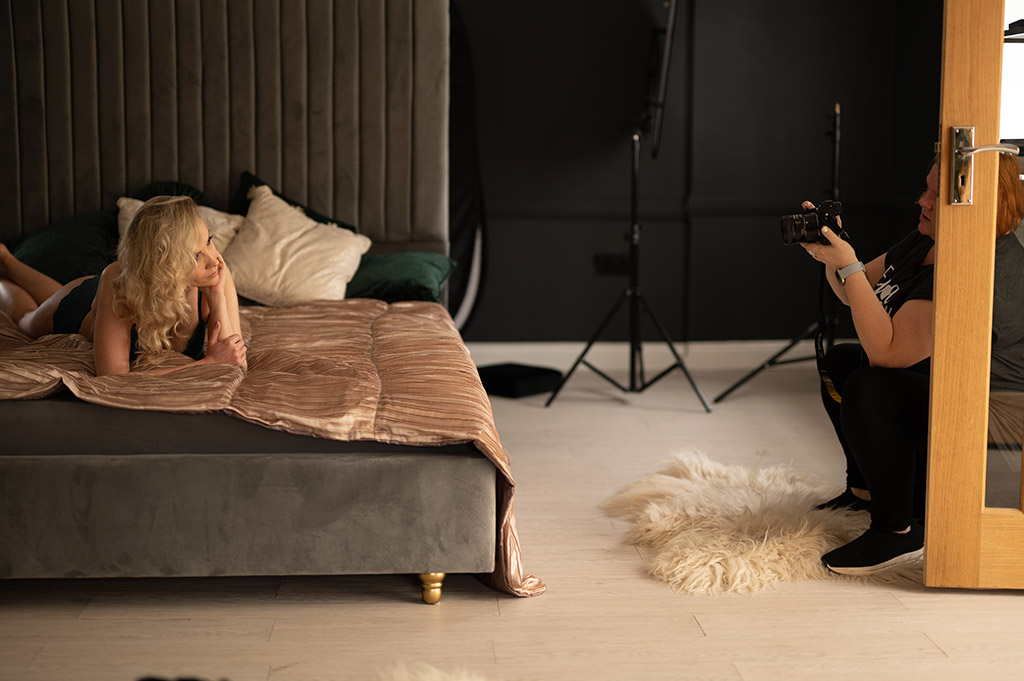
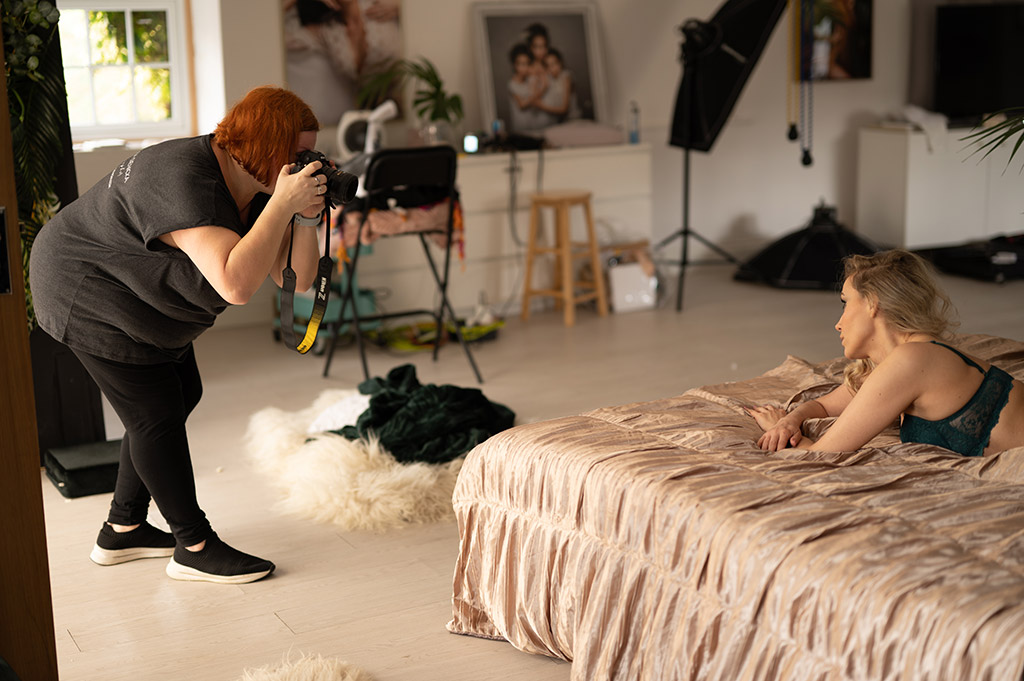
Behind the scenes captured by Tianna J-Williams Photography. Here, Magdalena directed her client 45 degrees adjacent to a window with natural light, no diffuser coming in. There is a reflector on the left-hand side, to bounce light in and lift the shadows on the left-hand side.
What equipment do you need for boudoir photography?
Lenses
When choosing lenses for boudoir, the focal length preference is usually around 50-85mm, which is typical for portraiture. Many favour prime lenses, the purest form of glass, delivering unparalleled sharpness and superior low-light performance. Their compact and lightweight design makes them a favourite among portrait photographers who seek that extra edge in image quality and depth of field. However, the downside is that you’ll need to swap out lenses or adjust your position to compose the perfect shot, which for some photographers, is part of the experience.
On the other hand, a versatile zoom will offer the gift of range and adaptability. With just a twist of the wrist, you can effortlessly transition from a wide scene to a tight close-up, all without changing your position. However, this convenience comes at a cost; larger, heavier, and often less sharp than their prime counterparts, zoom lenses may also struggle in low-light situations.
Ultimately, the choice between prime and zoom lenses comes down to your needs, preferences and what you shoot – whether you crave the supreme sharpness and intimacy of a prime lens, or the dynamic adaptability of a zoom lens, there’s no denying that both have their benefits.
Take a look at some of the best lenses for portraits.
Magdalena’s Kit Bag for boudoir photography
Nikon Z6 II, a 50mm f/1.8 and 24-70mm f/2.8.
Coming from a portrait background, Magdalena’s preferred lens of choice is the 50mm f/1.8 lens. This is because it allows her to shoot full length portraits but also capture close ups offering a shallow depth of field and maximising the use of natural light. Her 24-70mm is on hand when she requires that extra bit of flexibility. If you have a small space, you can give the impression of a bigger space. Magdalena uses this lens for ‘birds eye view’ shots capturing the client and scene from above, including full length shots on a bed or floor.
Tianna’s Kit Bag for boudoir photography
Nikon Z6 II, 50mm f/1.2, 85mm f/1.2, 35mm f/1.8.
Also from a portraiture background, Tianna started off with a 50mm f/1.8 lens, however, having the widest available aperture at f/1.2 gives her more opportunity for incredibly soft depth of field combined with beautiful clarity and sharpness, particularly with the newly released 85mm f/1.2 lens. With a strong preference for primes, Tianna has the full freedom to move without needing to adjust her focal length. This enables her to feel more ‘in the moment’ with her clients. The 35mm is used for when wider scenes are needed, for example, her clients laying down on the floor.
Studio Equipment and Lighting for boudoir photography
The Elinchrom D-lite 1, deemed an entry level light with variable power from 0.1 through to 5.0 is more than enough for the very large majority of studios. Elinchrom’s recently released ELC 500 strobes with LED modelling bulbs offer more power and flexibility at both ends of the power spectrum. A more affordable option is available, the ELC 125.
Optional lighting includes a battery powered Elinchrom ONE, which is small but mighty, packing enough punch for a small and portable light. Useful for outdoors and location work, or even in the studio where minimising trailing cables is a priority. For flash triggers, Elinchrom SkyPort triggers are another essential item when using flash and enabling communication between the lights and camera, with various options for different effects.
Modifiers
Elinchrom 150x30cm strip softboxes create rim lights, ideal for low key photography and creating separation between the subject and backgrounds.
The Elinchrom (69”) 100cm Octabox is small and compact and useful in smaller studio spaces or for creating much more dramatic light. Positioned at around 45 degrees, in the same way you would position a client for natural light.
Creative Modifiers
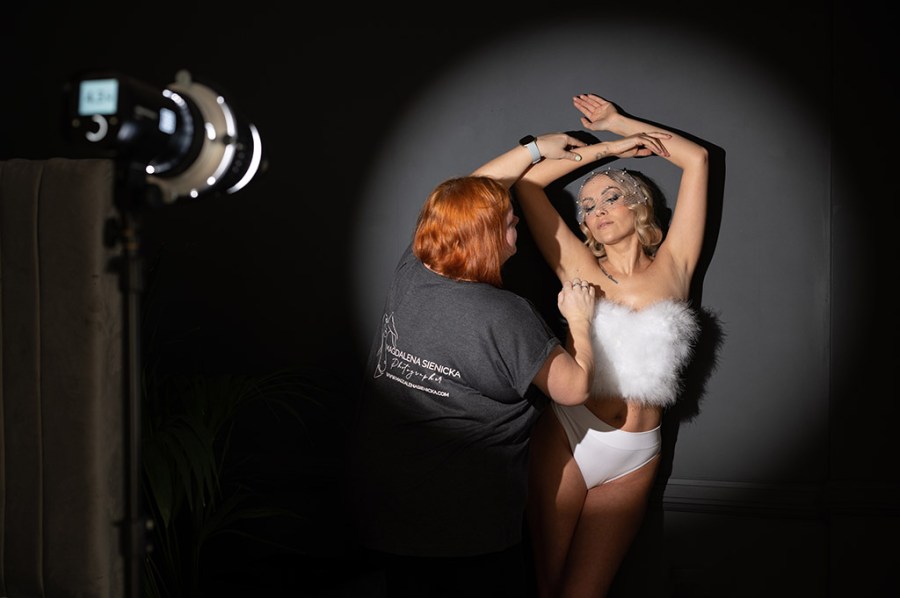
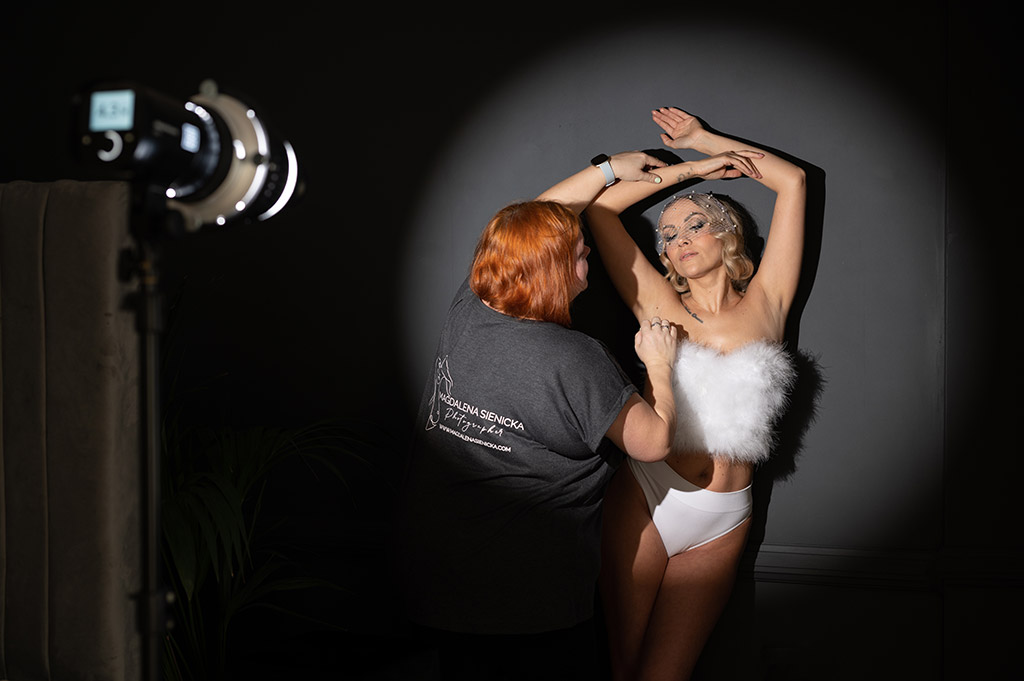
Use an optical Spot to project shapes based on hard light onto the client for more creative photography ideas.
Reflectors
Affordable, flexible and a studio essential piece of kit! If shooting alone, you’ll need a reflector stand and arm to attach it to or alternatively you can prop up the reflector on stools.
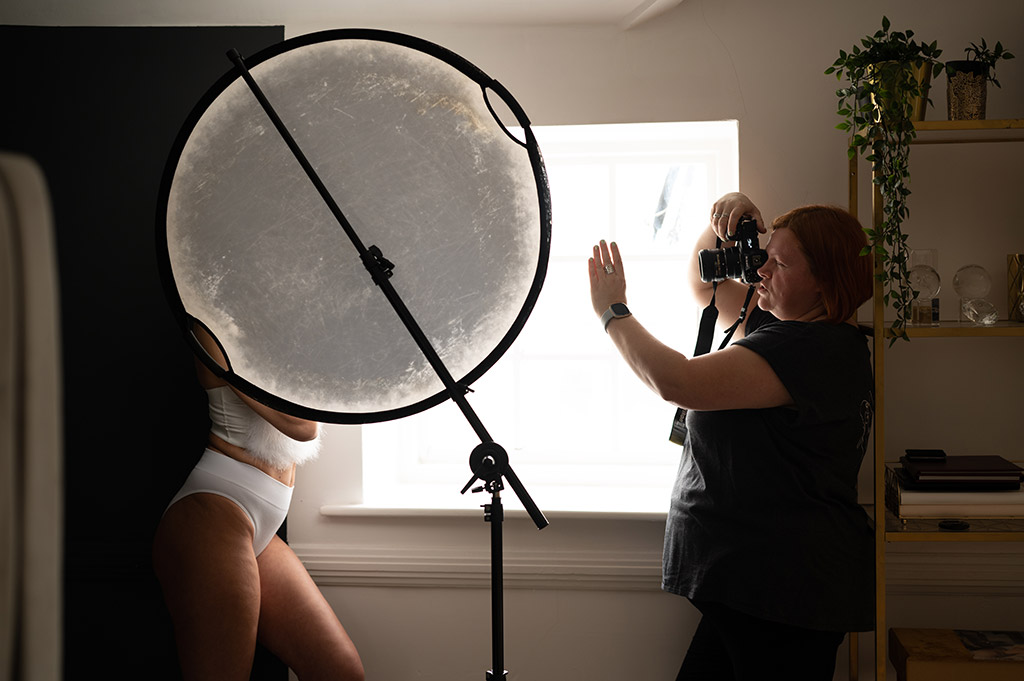
Behind the scenes using a reflector to bounce back light fill in the shadows, captured by Tianna J-Williams Photography
Light stands
These are essential pieces of kit, to support lighting equipment and these can double up as stands to attach reflectors to them if you don’t have a free hand.
Backgrounds
When thinking of what backdrops or scenes to photograph, anything can be used! A wall – plain or brick is perfect! Equally paper, hand painted, canvas, a bespoke design, such as flowers or foliage are also great for any photographer to consider.
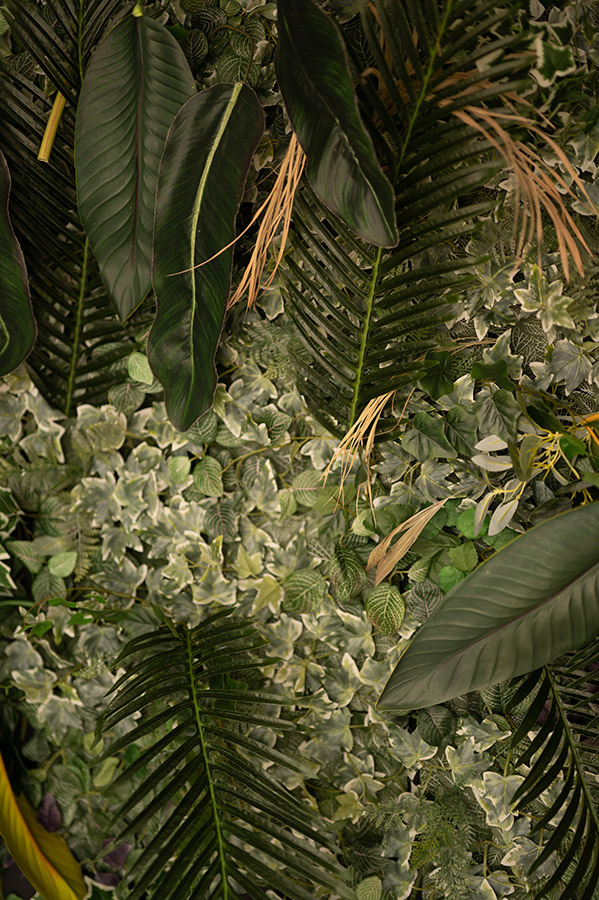
Artificial plants make an interesting and versatile background. Tianna J-Williams Photography (At Magdalena’s Studio, natural light), Nikon Z6II, Nikkor Z 50mm f/1.2, 1/125 sec at f1.2, ISO100
There aren’t any limits to what can be used. If there are a lot of distracting elements in the background, consider using large plants such as palms to disguise the backdrop along with a shallow depth of field to blur the background.
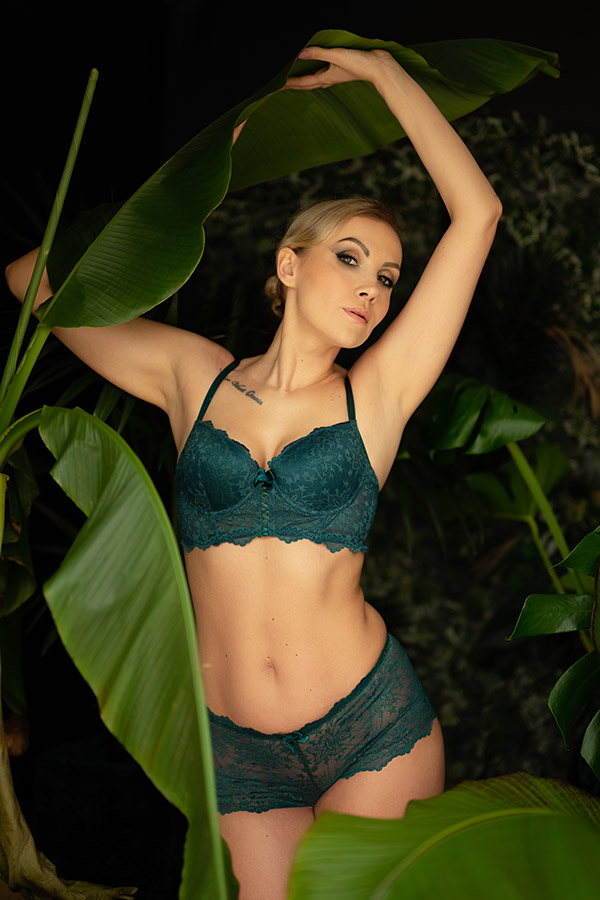
Use a shallow depth of field to blur the background and focus the attention away from distracting details. Image credit: Tianna J-Williams Photography (At Magdalena’s Studio, natural light), Nikon Z6II, Nikkor Z 50mm f/1.2, 1/125 sec at f1.2, ISO100
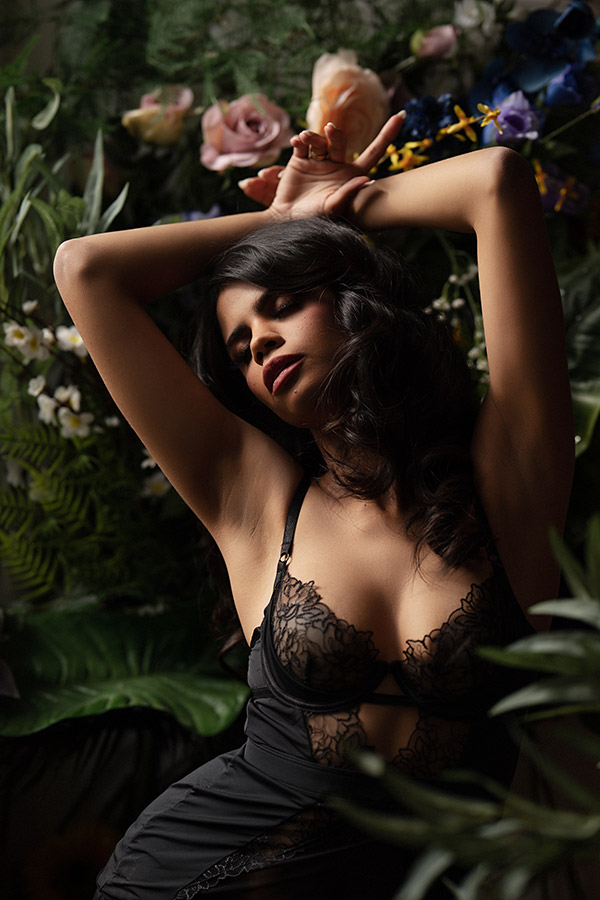
Image credit: Tianna J-Williams Photography. Nikon Z6II, Nikkor Z 85mm f/1.2, 1/1000 sec at f2, ISO100
The ‘Shower’ Set up below is much more simple to create than it appears and you can use flowers or keep the background plain using v-flats or insulation boards (which you can attach foliage and flowers to) from Wickes. You then need a thin acrylic panel or plexi-glass to create the effect of a client being in the shower, using water sprayed onto the surface. This creates a beautiful effect to shoot through.
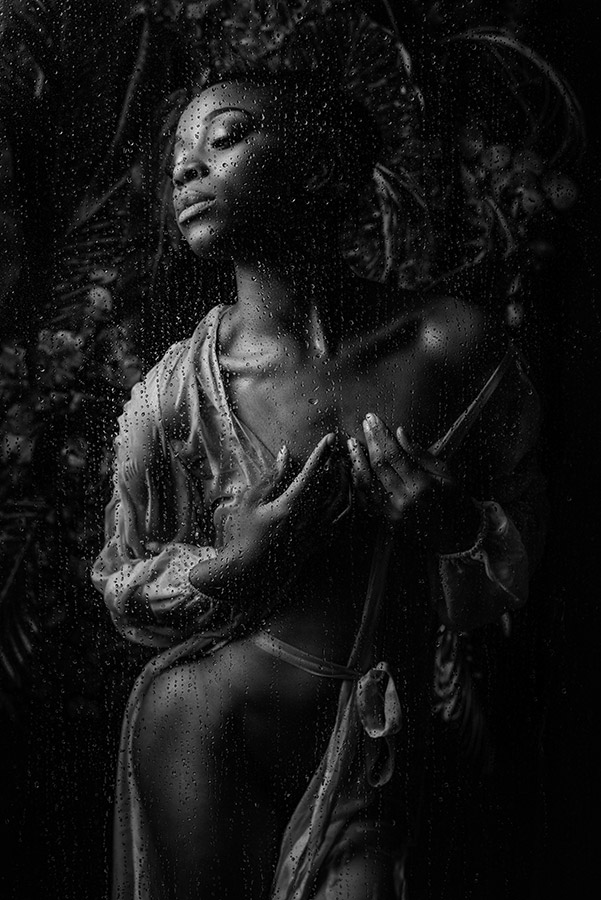
Use an acrylic panel to create this in-the-shower effect. Image credit: Magdalena Sienicka. Nikon D750, Nikon 50mm f/1.8G, 1/160sec at f/5, ISO 200, flash.
Setting up a Home Studio
Shooting from home has its advantages and disadvantages. Magdalena began her boudoir journey in her home studio, which meant making use of a room in her home designed for a boudoir photoshoot. This included using a bed, beautiful linen and duvets, a painted wall which also doubled up as a backdrop along with stylish, modern decor to give it a boutique feel. This creates a relaxing environment for the client and therefore a much more comfortable and pleasant experience for them.
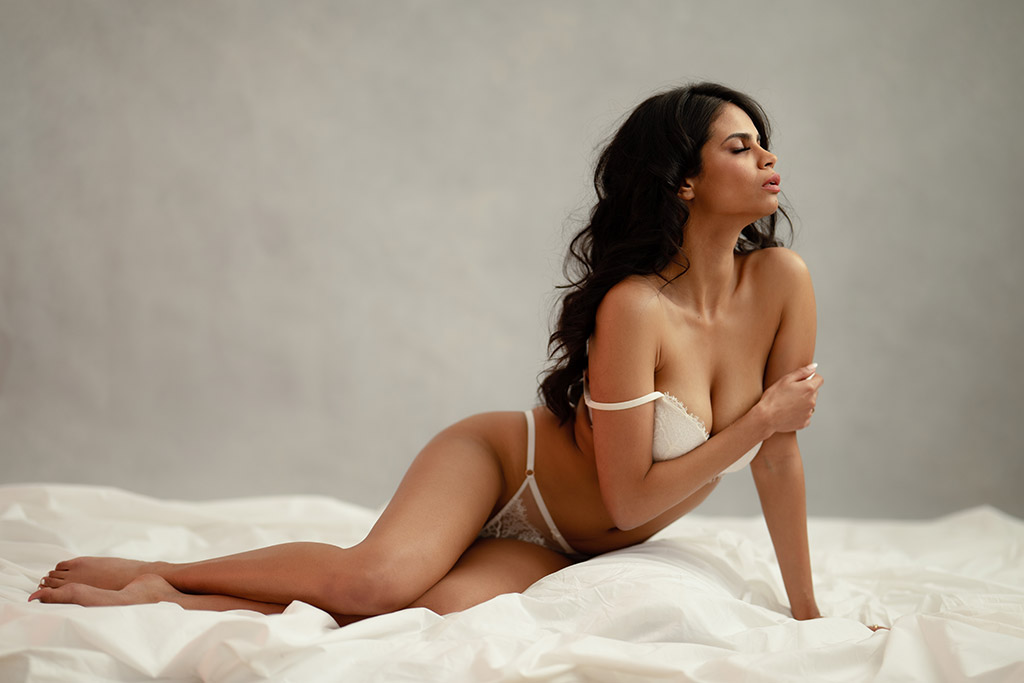
If you are tight on space use an inflatable double bed or create one by placing a duvet on the floor. Image credit: Tianna J-Williams Photography. Nikon Z6II, Nikkor Z 85mm f/1.2 S, 1/250 sec at f/1.2, ISO 100
So, what do you do if you don’t have a bed? No problem, inflatable double beds work exceptionally well as they give the impression of a typical bed set up however, they can be packed and stored away to maintain maximum space to shoot other sets. Another space saving option is to create a bed on the floor! You only need to use a large duvet, your choice pillows and bed linen and this can create the illusion of a bed even in a small space.
On the other hand, having a bed can be of huge benefit and whether you mix this with flash or have the luxury of perfect, diffused natural light, you can use this to your advantage and create fresh, modern boudoir imagery.
Other accessories
Voiles are a sheer curtain fabric that allow a reasonable amount of light through but can be quite soft and beautiful for a boudoir setting. If they do not diffuse enough light, you can double or triple the layers for even softer light.
Black out curtains will offer you the ability to control the amount of light you get from your windows, this way you can create images with more control over the natural light and add depth and texture to low key images.
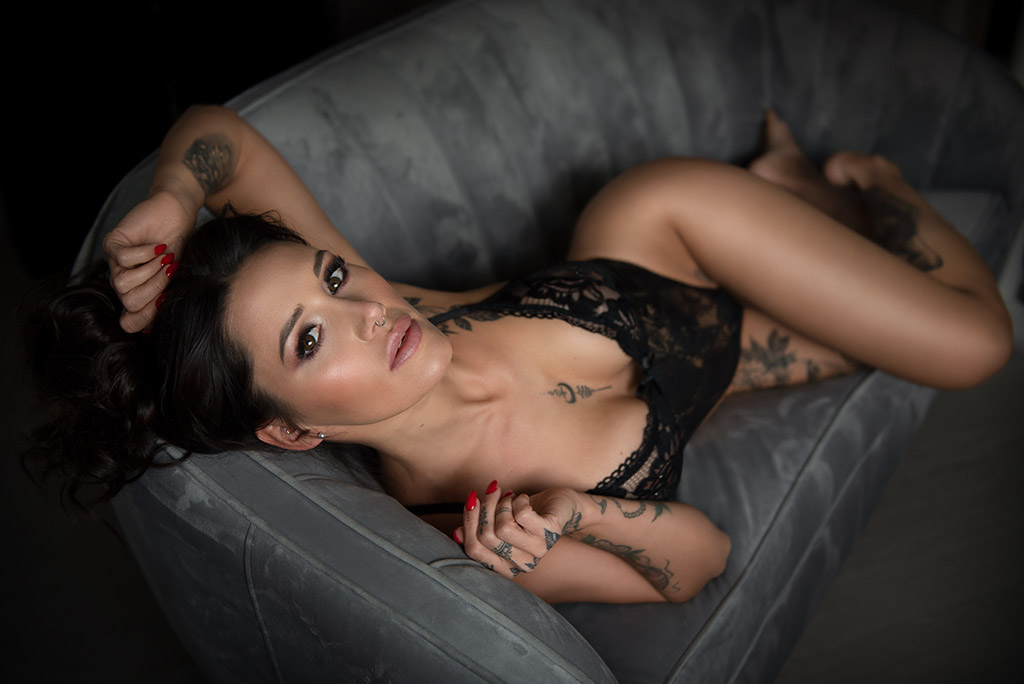
Use blackout curtains to create low key captures. Image credit: Magdalena Sienicka. Nikon D750, Nikon 24-70mm F2.8, 1/250sec at f/2.8, ISO320
If you don’t have any available natural light via a window or patio door, you can create the effect of natural light using LED panels which are usually attached to a wall. The benefit of these is they do not take up too much space, they can also be diffused with voiles and controlled with curtains.
Other items and props to include are chaise lounges, armchairs, and sofas as well as stools. Encourage the client to lay across the sofa or chaise and either shoot from the ‘light’ side for a more broadly lit image or the shadow side for a much lower key image.
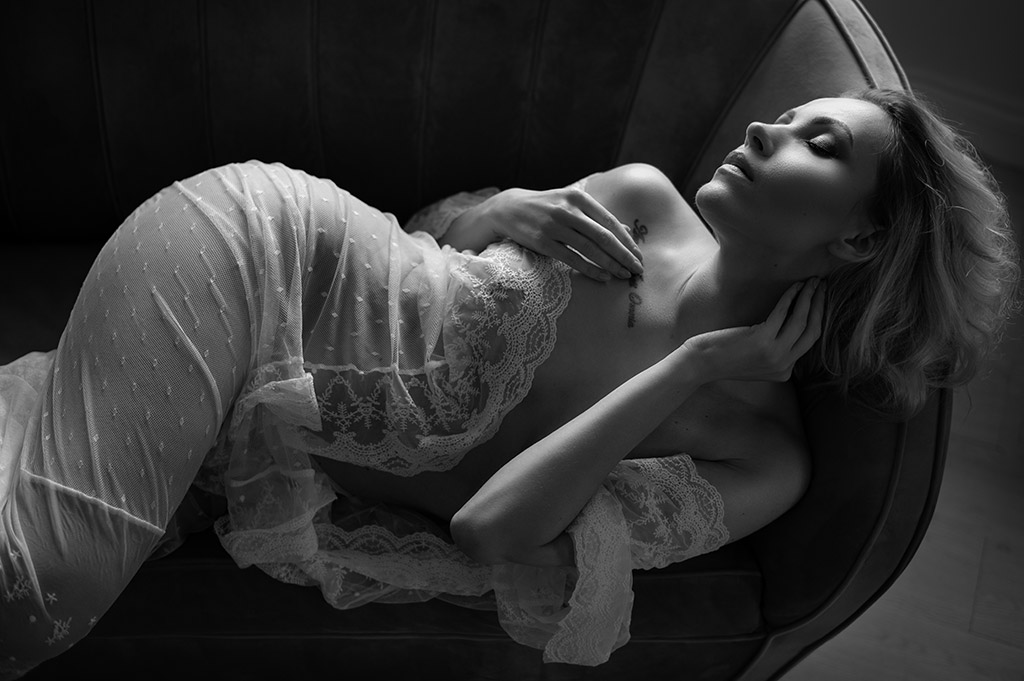
Image captured from the ‘shadow’ side by Magdalena Sienicka. Nikon Z6II, Nikon 50mm f/1.8G, 1/250 sec at f/2.2, ISO 160.
Top tips for shooting boudoir
Posing
- When considering the position of your subject’s head, ensure the chin is pointing forward to elongate the neck. This defines the shape of a woman’s face which gives a flattering look.
- Hands are a major component of posing to create the feel of sensuality and relaxation but are the most difficult to pose. Try bending the wrists, this will help to soften the hands and fingers.
- Hips are deemed very feminine, and every woman has a different body shape. A woman with a more athletic body can push their hips closer to the camera to give the impression of more curves. On the other hand, a plus size woman can draw her hips further away from the camera to create a more flattering pose.
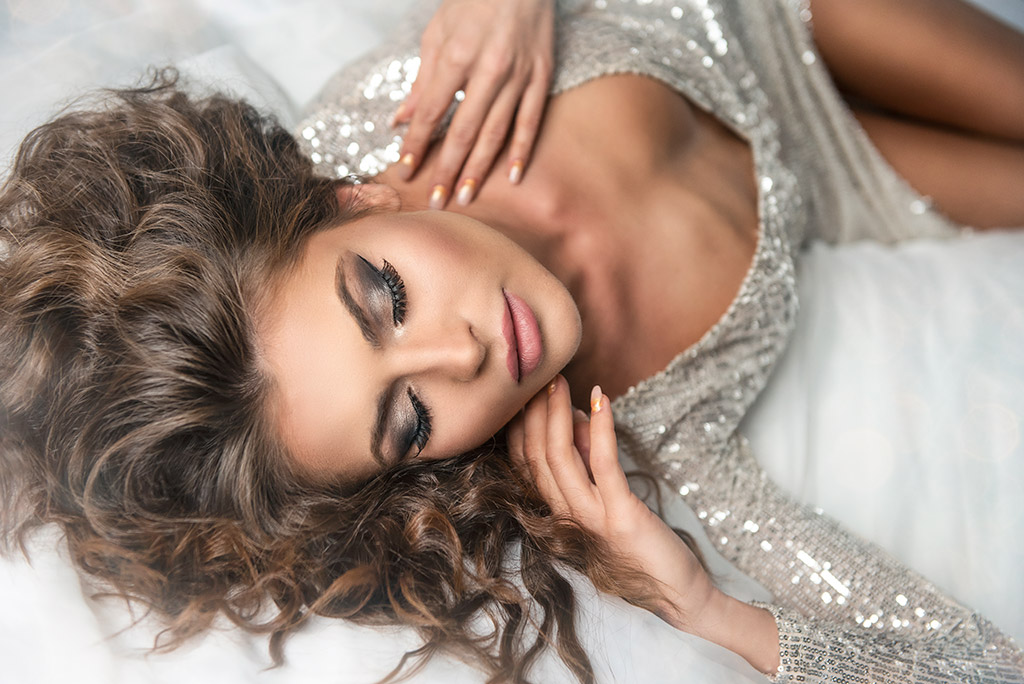
Shoot some beauty style portraits that your client can share online. Image credit: Magdalena Sienicka. Nikon D750, Nikon 24-70mm F2.8, 1/125sec at f/3.2, ISO 800
Portrait
- Don’t forget to shoot a beauty style portrait! Many women may not want to share images of themselves online in lingerie, but these images will give them the opportunity to comfortably share online with friends and family and makes it a perfect marketing opportunity for the photographer.
- Use unusual crops for artistic style portraits, these are unique and are creative and make incredible wall art options for clients.
- Hair and makeup are fundamental to boudoir photography, not only does it create a beautiful experience for the client, but they also look their absolute best, feel amazing and leaves the photographer with less retouching afterwards. Finding one who’s work you love, and morals align with yours can lead to an incredible partnership going forwards.
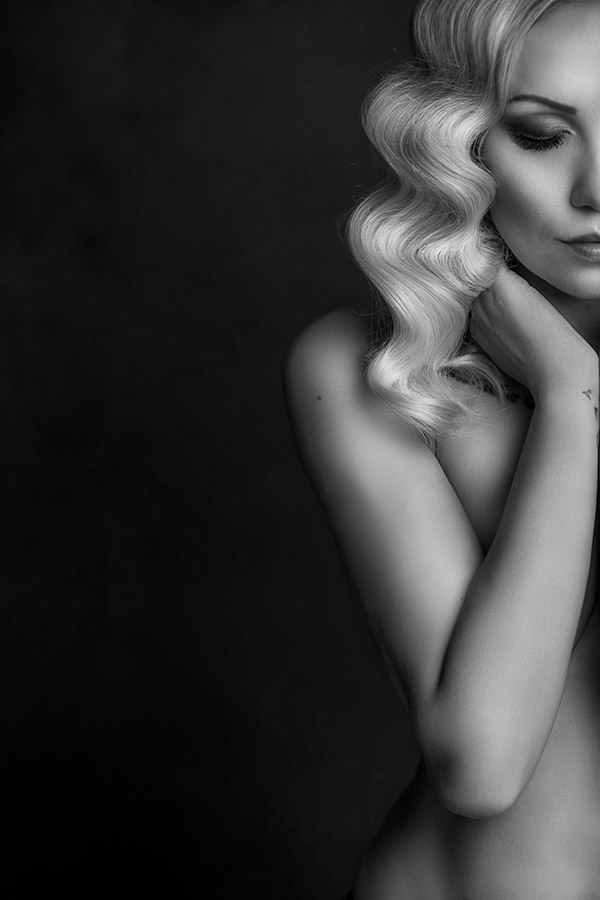
Use unconventional crops for an artistic feel. Image credit: Magdalena Sienicka. Nikon D700, 100mm F2.8, 1/200sec at f/5, ISO 200
General
- Try to avoid having male partners in the studio during the session, as women are likely to feel more comfortable, less shy, and less judged. However, be open to them having a few photographs together. These images can equally be empowering for both.
- Client Guides are a useful way to help your client prepare for their upcoming session. Essential things to include are an address for the studio, contact number and a map with parking suggestions nearby. This guide can contain suggestions for grooming such as skin, hair, and nails. Tips on where to shop for lingerie and what to expect from their boudoir session. These guides should contain information on your pricing, collections, and wall art options. This will ensure your clients will be fully prepared for their boudoir experience.
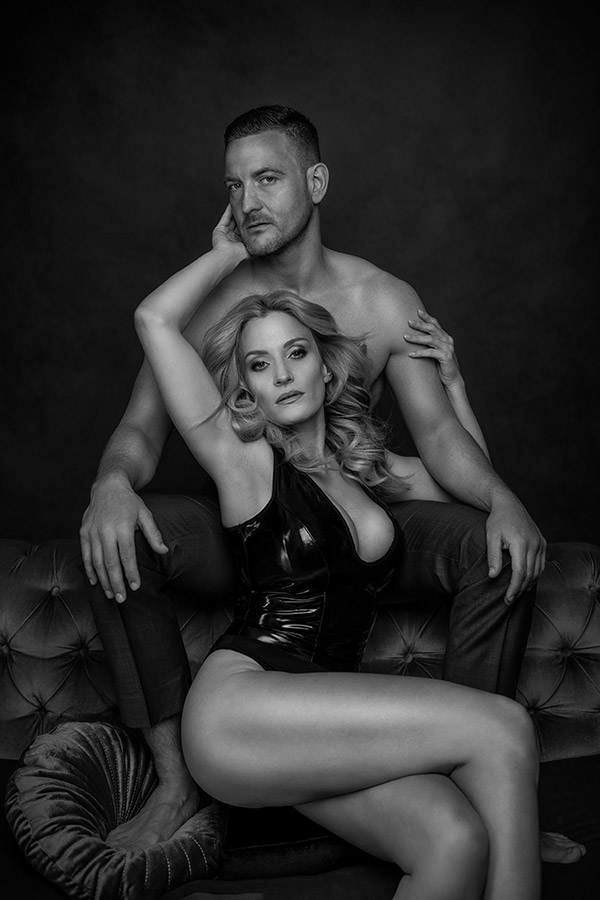
Taking a few photographs together with their partner can be empowering for your clients. Image credit: Magdalena Sienicka. Nikon D750, Nikon 24-70mm f/2.8, 1/125sec at f/3.5, ISO 200
Ultimately, there are no real limits to boudoir photography, the creativity is in the hands of the photographer and what they have available to use in their space. With careful planning and an open mind, the opportunities become endless.
Magdalena Sienicka
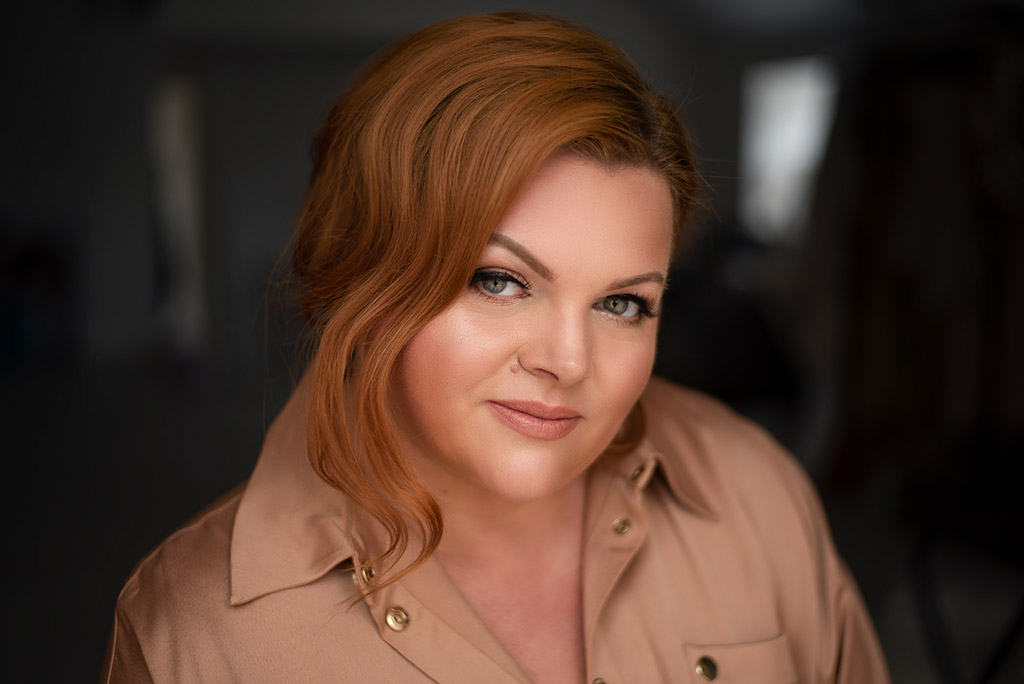
Magdalena is a multi-award-winning photographer based in Kettering and offers a boudoir and beauty experience designed to bring out the best in every woman, making them feel unique and special.
Recently, Magdalena has become an internationally recognised educator with her 14 years of experience in the field of boudoir photography and is therefore highly regarded and knowledgeable, teaching other photographers to develop their skills and working knowledge on the art of beauty and boudoir photography.
See more at www.magdalenasienicka.com
Tianna Jarrett-Williams
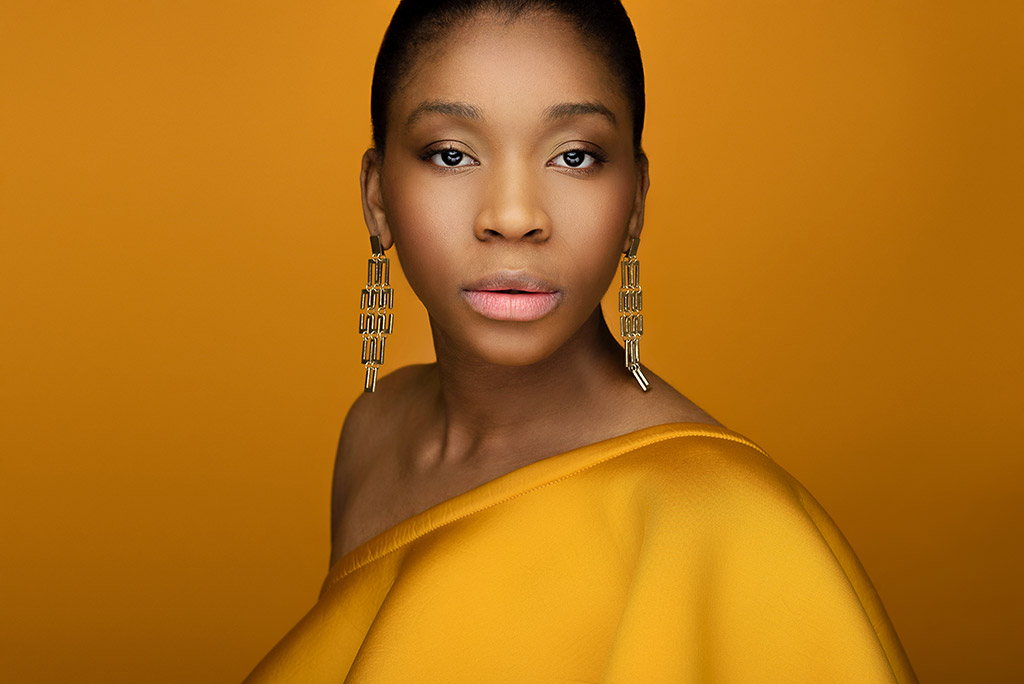
Tianna is a Birmingham based photographer who chose to specialise in maternity and motherhood following a brief career as an NHS midwife at a busy maternity unit. Tianna’s midwifery experience underpinned her belief in empowering women during their pregnancy experience through photography.
Recently Tianna became a Nikon Creator, a handpicked member of a Nikon photographers’ community, who shoot exclusively with Nikon equipment and regularly feature at events as educators and speakers around the UK and Europe.
See more at www.tiannajwilliamsphotography.co.uk
See Tianna’s portrait lighting secrets.
Related articles:
Maternity photography – your complete guide
Lighting tips for maternity photography
The do’s and don’ts of working with models
How to shoot like a fashion photographer

