

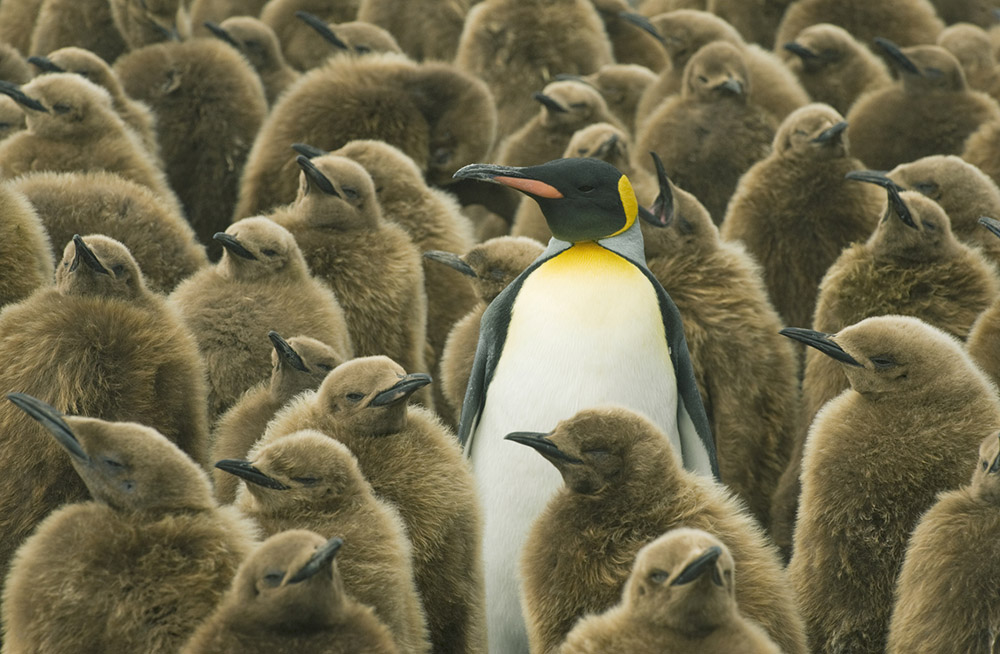
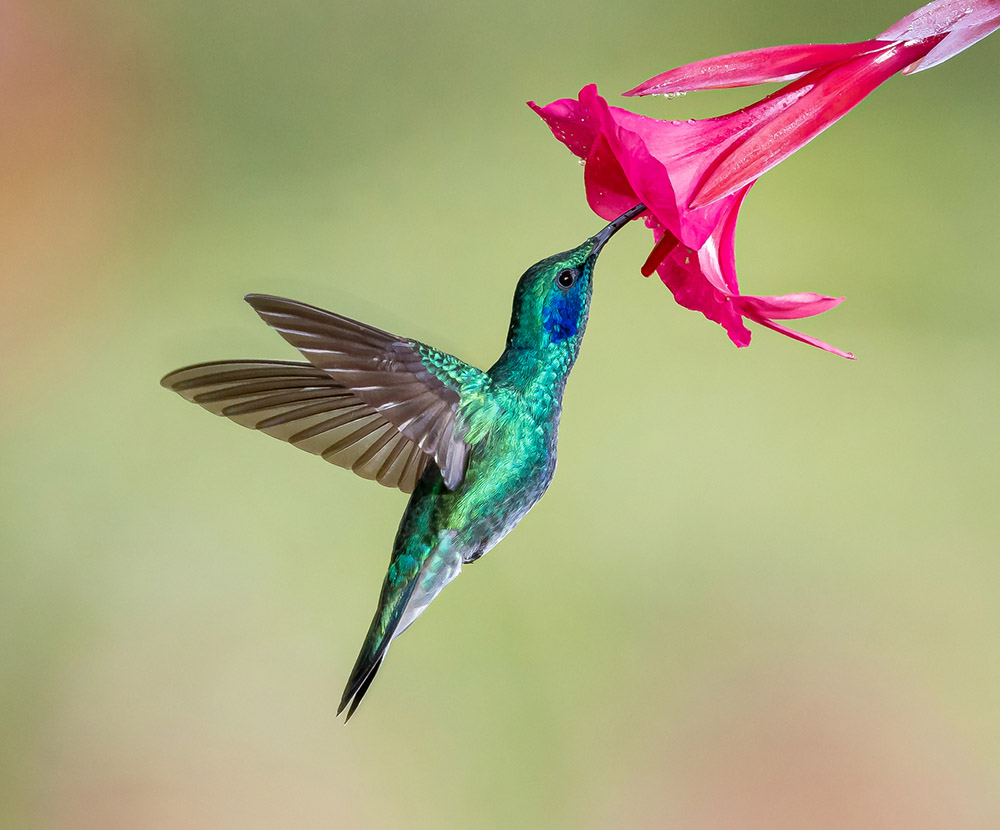
Our complete guide to wildlife photography covers researching subjects, choosing equipment, and selecting the best camera settings.
For those who love natural surroundings, photographing wildlife can be both therapeutic and rewarding. It could also drive you mad if approached in a hurry. Patience and preparation are among the essentials for this kind of enterprise. Animals, especially wild ones, are unpredictable!
In this guide, we collect everything you need to know to capture outstanding wildlife shots, from recommended photography kits to camera settings and tips on research and approaching animals.
Wildlife photography starts with research
The key to becoming a better wildlife photographer is to first know your subject. Learn about their habitat, diet, behaviour, and when they’re on the move. Is the animal dangerous, timid or aggressive? Are they found in packs or alone? Not only will this ensure you’re fully prepared when out in the field, but you’ll be better at anticipating their movements, keeping safe and taking great photographs.
It’s a good idea to seek out other wildlife photographers and check out their guides to learn from the best. Photographers like Mattias Klum, Will Burrard Lucas, Frans Lanting and Amy Gulick, to name just a few, can provide great inspiration.
There are many wonderful images among the Wildlife Photographer of the Year past and present winners, too. We have a vast library of articles on wildlife and nature photography in the wildlife photography section of this website, and if you know what type(s) of animal you want to photograph, you should be able to find a specific guide to photographing them: be they birds, nocturnal animals, or Rhinos in Africa.
What kit do I need for wildlife photography?
Start simple
If you’re reading this guide because you are new to wildlife photography, you may assume you need fancy and expensive long lenses. This really is not the case. All you need to get going is a camera and lens.
We’ve spoken to many wildlife photographers who started out with their existing kit. For example, Sam Hobson made his name using a wide-angle lens (not your typical go-to lens for wildlife). His wide-angle, award-winning Bristol city fox images are incredible and well worth checking out.
Budget options
If you do want to invest in a more traditional long-zoom wildlife lens, the Sigma 150-600mm f/5-6.3 Contemporary DG OS HSM is a great budget option. One of these second-hand can be picked up for around $1,000 / £900.
There’s also a range of other lenses that are well suited to wildlife use, or for a simpler option, an ultra-zoom camera could be a good option. For more options, check out our guide to the best budget telephoto lenses for wildlife and best lenses for wildlife photography.
For those with a smaller budget, an extender is worth considering. This piece of kit fits in between your lens and camera body, so make sure you purchase one that is compatible with your camera system and existing lens.

An extender’s job is to increase the focal length of a lens. For example, a 2x extender on a 200mm lens will convert the lens to 400mm. An x1.4 extender on a 200mm lens will increase the lens to 280mm. It’s worth noting that the extender will decrease your widest aperture setting. For example, if your lens can open up to f/2.8 with an x1.4 extender aperture setting will become f/4. With a x2 extender, you will lose 2 aperture stops so your widest setting will become f/5.6.
Extenders vary in price, and we’d recommend hunting around on the second-hand market to save money.
Which camera is best for wildlife photography for beginners?
The same applies: all you really need to start is a camera and a lens. In addition to this guide, check out our picks of the best cameras for wildlife photography, which have everything from budget-friendly models for beginners to the absolute best professional cameras on the market.
Watch and observe wildlife
It’s better to resist the temptation to start snapping as soon as you spot an animal. Stand back, observe and assess the subject and environment first. Watch how the animal behaves. Are they okay with your presence? Where is the light coming from? Where is the best background? Is their behaviour predictable? Are you in the best position?
Sometimes we can achieve more by slowing down and shooting less. Be prepared to return to the same location and have perseverance to get a good shot. Don’t feel disheartened if you don’t achieve what you want right away – Rome wasn’t built in a day!
You also need to know when to stop. The welfare of the animal needs to be put above your needs to get a great shot. For example, mothers with newborns will feel very threatened if you are too close, and avoid clambering around on rocks when birds are nesting. This is why you need to research thoroughly, as there is no excuse for ignorance. Leave each environment you’ve been in with no trace.
Read this guide to being an ethical wildlife photographer.
Wildlife camera setup and settings
There is no right or wrong shooting mode for photographing wildlife. Each photographer will have their own approach – ensuring that the camera is set up and ready to go is the main thing. We want to be ready to capture action as it happens.
As a good starting point, I find it easiest to shoot in Shutter priority mode. In this mode, you can fully control the shutter speed and leave the camera to work out the best aperture and ISO speed setting. Although your camera calculates these settings, you need to be aware of what your aperture and ISO speed settings are reading.
- Put your camera into Shutter priority (S or Tv)
- Check the light – increase your ISO setting if need be
- Open the aperture wider if you need more light
Use a fast shutter speed
Using shutter priority will be of particular benefit for fast-moving subjects. Using a fast shutter speed, such as 1/500s, for a subject in movement is a good starting point. For very fast movements opt for 1/1000sec or above. If your subject is slow-moving, or stationary, then you’ll be fine with a setting of 1/200sec or above (depending on the lens you’re using). For stationary subjects, you can also use aperture priority and have more control over how much of the scene appears in focus.
To make sure you get sharp wildlife shots, there are three main things to consider: the shutter speed, aperture setting and focus.
If you don’t yet have a grasp on shutter speeds, apertures and ISO, we suggest you spend some time getting to know these settings on your camera and to experiment with the different effects they can achieve. For a refresher, read our guide to exposure, aperture, ISO, shutter speeds and more.
Aperture setting
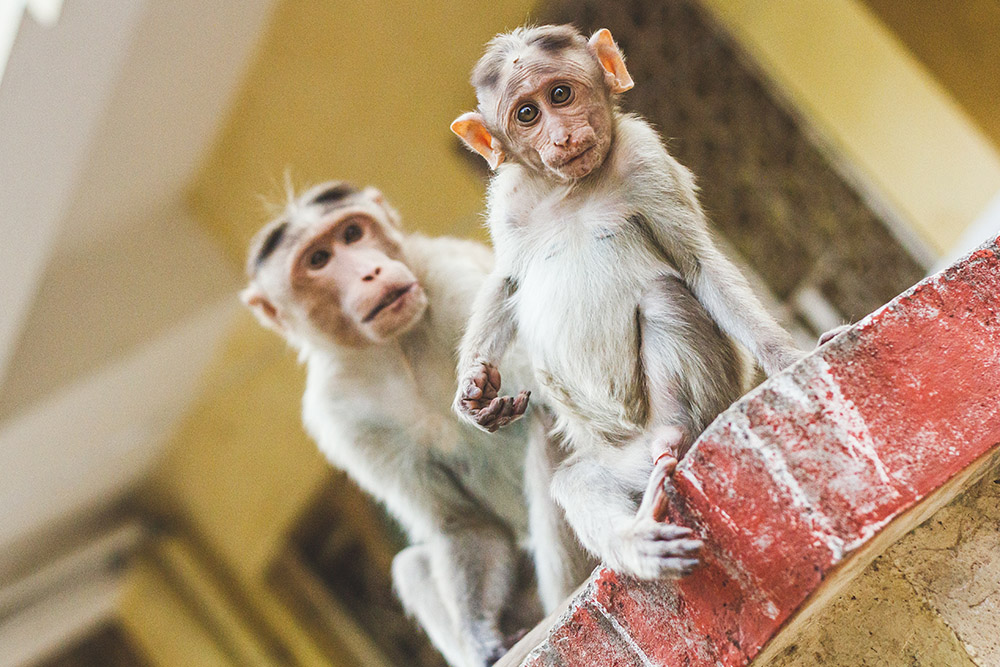
How much of the animal do you want sharp? For example, if you are close and focus on the eye at f/2.8, the eye will be sharp but the face will blur. This can look great if that’s what you desire, but for other features, like the nose to be sharp, you’ll need to close the aperture down. In this example, the Rhesus Macaque monkey in the foreground is in focus and the one behind is soft, as the image was taken at f/2.8 (on a full-frame camera).
Focus
Focus needs to be spot-on. Our preferred method is to use the single-point AF setting on our camera and set the focus to continuous AF tracking. That way, if your subject is moving (even little movements), you’ll have more chance of keeping it sharp. Trying to predict where your subject will move into the frame helps with this aspect, and again, this is where your research will help.
The latest mirrorless cameras from Canon, Nikon, Sony, Olympus and Fujifilm offer subject detection AF for a variety of wildlife depending on the camera model chosen. Subjects include birds (Olympus and Fujifilm) and pets (cats and dogs), along with other animals. Plus, the system is designed to detect and focus on the subject’s eyes! This is an extremely helpful feature for this genre.
For fast-moving animals, you can also use Burst mode (also called continuous shooting mode) where the camera takes a sequence of shots in rapid succession by pressing the shutter button only once. This way you can increase the chances of capturing that desired fleeting moment. Some cameras go even further and include pre-burst capture, and start taking photos before the shutter button is fully pressed. Both of these options are great for photographing wildlife, just make sure you have enough storage available as it will quickly fill up your memory card.
Motion and when not to be sharp
There are some circumstances in wildlife photography when a slow shutter speed is more appropriate than a fast one. For example, capturing the motion of flocks of birds flying across the sky, or panning with a moving animal to blur the background and give the feeling of motion. You can experiment with this technique to produce something different.

Push the ISO
Any photographer will tell you that they love a low ISO setting, as they then don’t have to deal with noise. However, when shooting moving subjects like wildlife, we have to be prepared to push the ISO up and embrace the grain. It’s more important to have a subject sharp and a little grainy than completely unusable. If an image has too much noise, then you can always process the raw files, and reduce it further.
Technical perfection should not be the main aim of wildlife photography. Many great images of animals have been captured which are slightly blurred. The quality of a shot should be assessed on other factors, too – if it tells a story, is unusual or dramatic, then be inclined to overlook minor flaws.
The background is essential!
The background setting of your wildlife image is undoubtedly as important as the main subject, whatever your approach, as it can completely change the look of an image. To shoot a strong animal portrait, look for a plain background to frame your subject against. In some circumstances (certainly not all), you may even be able to drop in a plain background behind the subject(s).
For example, if you set up a bird feeder in the garden, you could do so in front of a studio backdrop and choose whatever colour you want behind. Although there is much we can’t control in wildlife photography, sometimes we can create better conditions for ourselves to enhance our luck.
In a wide-angle wildlife image, the setting is vital as well. You want to use the scene to tell the story. Experiment with different camera angles – often coming down low gives an alternative take on a scene – for an unusual perspective.
Keep wildlife photography local
We recommend looking to see what’s on your doorstep and keeping your wildlife photography as local as possible – even in the city there are many wild animals around, including birds, squirrels, pigeons, foxes and more. Another advantage to shooting locally is you can keep returning to the same spot daily, and eventually capture that amazing shot you set out to achieve.
Stay in one spot
It may seem tempting to run after your subject. However, you’ll probably have more success by staying in one spot, camera ready. This is especially true for shooting small and fast animals. They get spooked easily and run away, or you end up with blurry shots of them on the move.
My final tip for this guide is to use a garden or local park, both of which are great settings for wildlife photography. Ten minutes sitting still in a backyard can reveal how much wildlife we have all around us. Observing first, watching for behavioural patterns, are preparation for getting great shots.
Article: Claire Gillo and AP Staff, Lead image: James Warwick, Getty Images
- Beginners guide to different camera types.
- Beginners guide to different lens types.
- Beginners guide to using a camera to take photos.
- Beginners guide to Exposure, aperture, shutter, ISO, and metering.
- Understanding white balance settings and colour
- 10 essential cameras accessories for beginners
- Guide to the Art of photography and composition
- Beginners guide to Photoshop Elements and editing photos
- Complete guide to Portrait Photography
- Complete guide to Macro Photography
- Complete guide to Street Photography
- Guide to Landscape Photography
- How to shoot Action and Sports Photography
Further guides on wildlife photography:
- Wildlife conservation photography: Tom Svensson reveals all
- How to be an ethical wildlife photographer
- How to capture fast-moving birds (and animals)
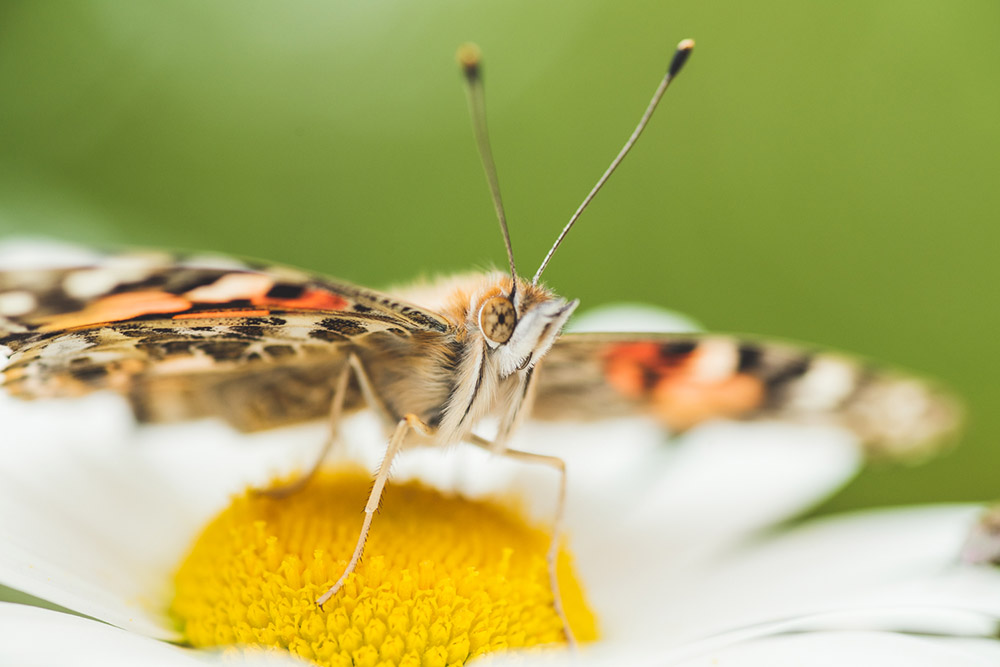
- How to photograph butterflies
- How to photograph animals
- How to photograph pets
Updates
- April 2026: Price references checked
Follow AP on Facebook, Instagram, YouTube and TikTok.


