

How do you turn colour images into striking black & white? Rod Lawton shares his expert tips for colour mixing, dodging and burning and vintage effects
Anyone who has tried black & white photography will know that it’s not as simple as it seems. You can switch to your camera’s black & white modes, turn the saturation down to zero in your photo editor or wade through long lists of presets and still not achieve drama, depth and richness. It’s because black & white is visually very different to colour and not just in the obvious way. It relies on contrast, light and shade and composition for its effect, and you need to develop a different kind of eye when taking pictures.
The beauty of black and white photography is that it suits many genres – landscapes, portraits, fine-art and street, for example.
Before going on any further though, make sure your black and white images are as good as they can be before you even start editing. Don’t miss our guides to the best cameras for black and white photography and our complete guide to black and white photography
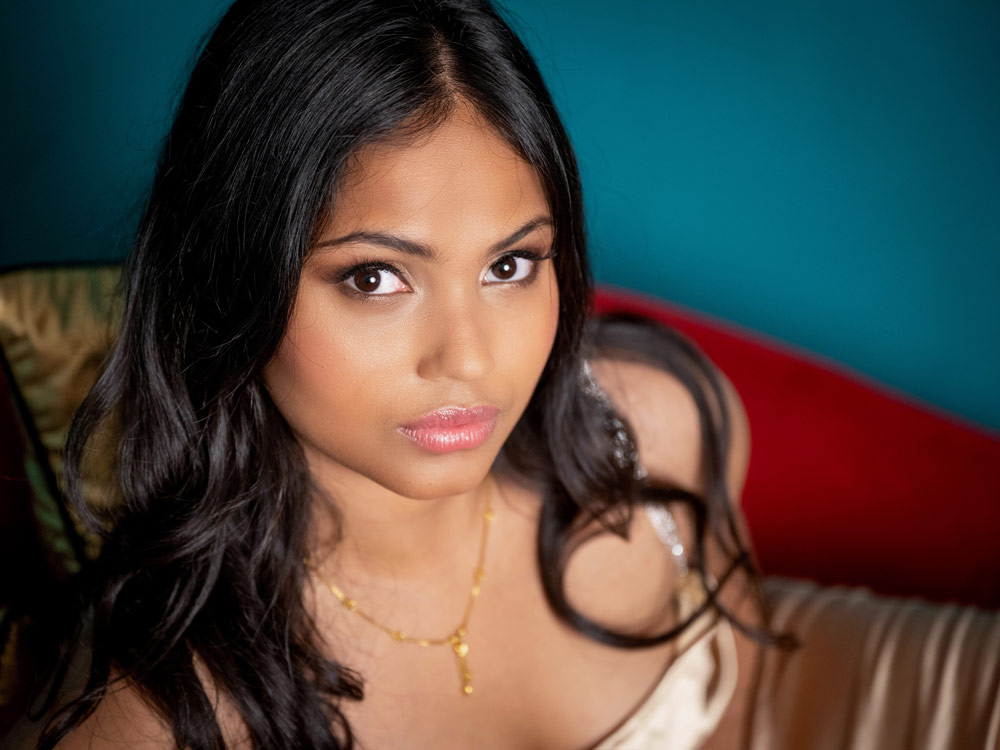
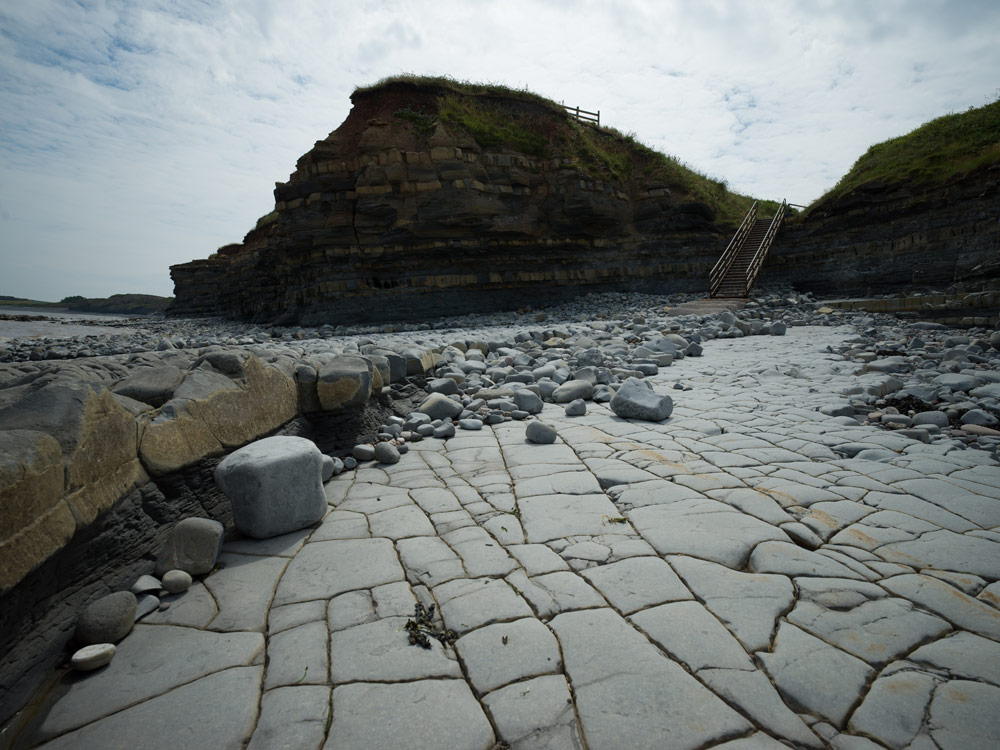
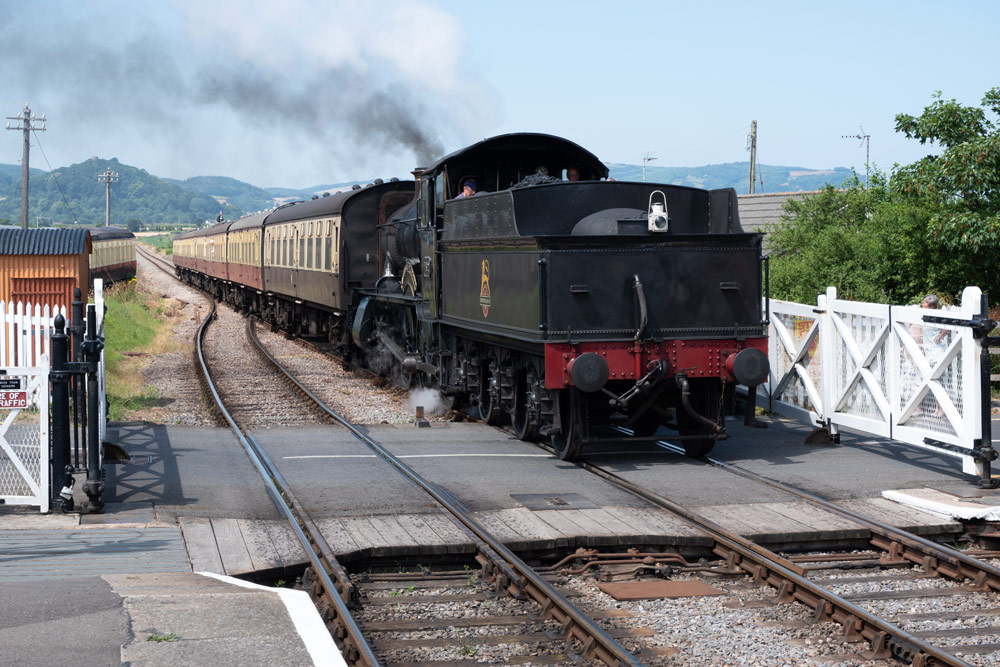
Before
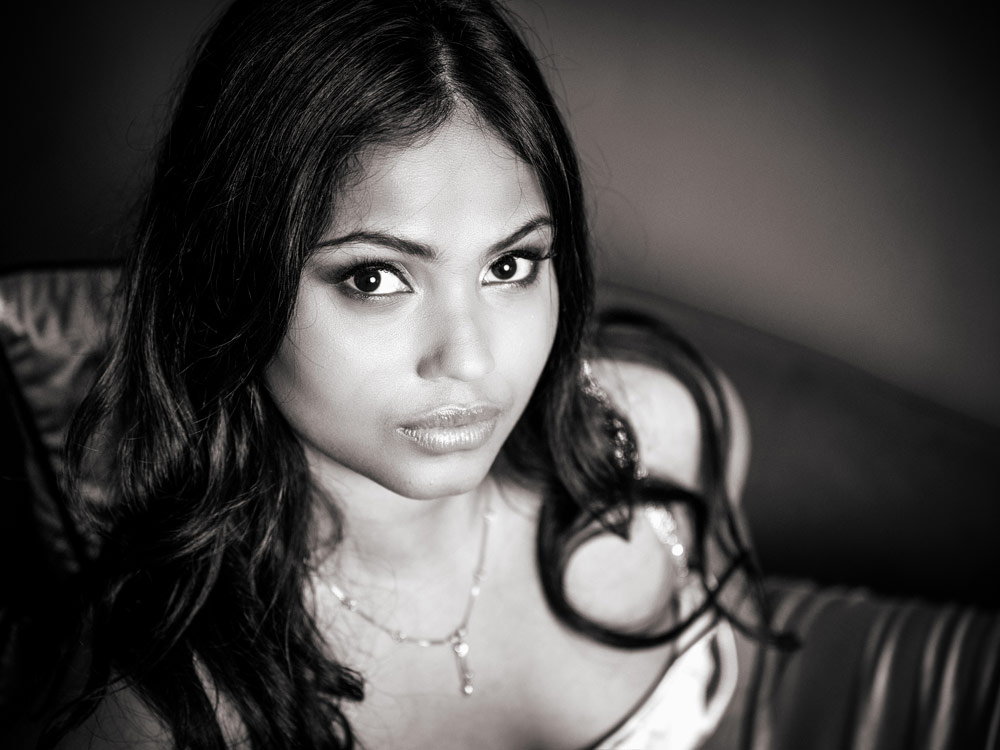
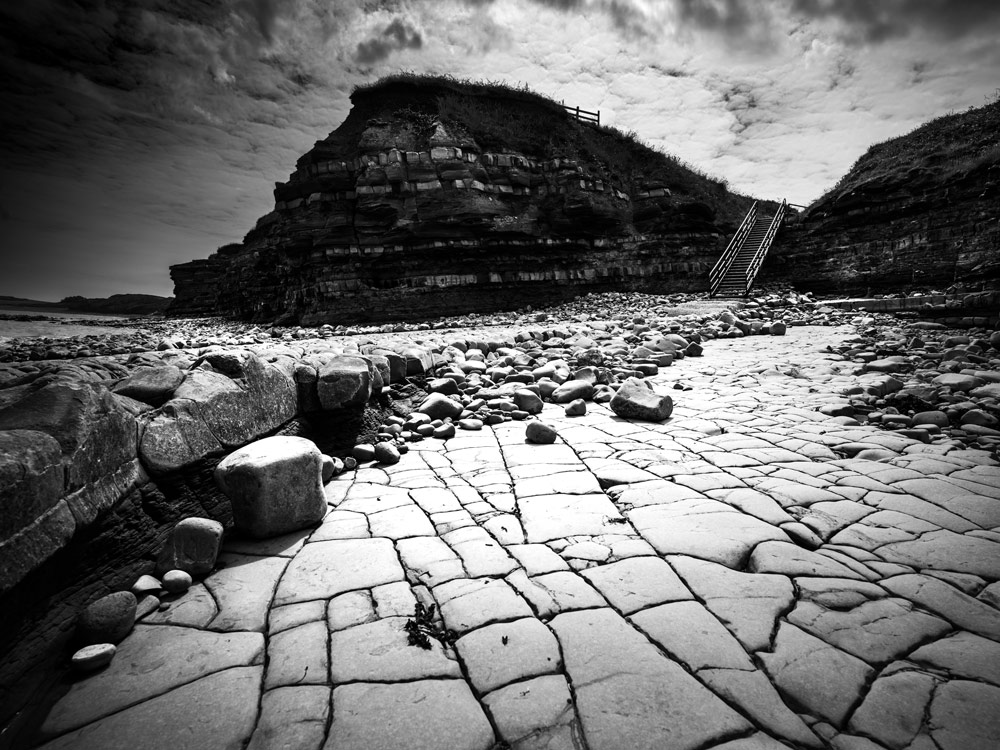
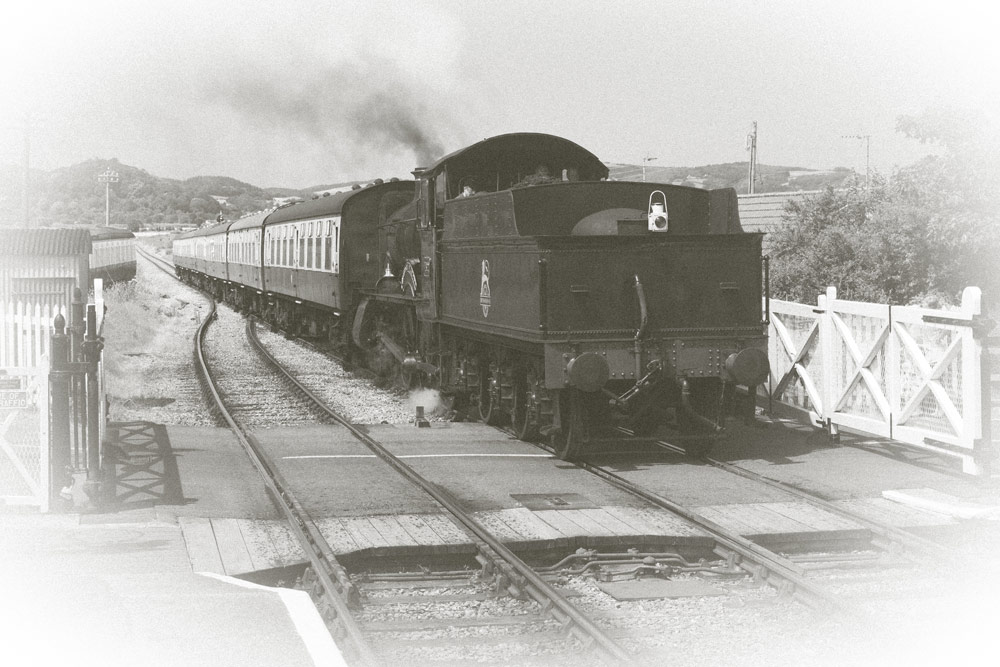
After
So let’s get started. You need a different set of skills for black & white photo editing, as some of the best black & white imagery of the past was made in the darkroom, just as much as it was in the camera. These days, of course, we have digital darkrooms – ie your computer and editing software – where just about anything is possible.
But since digital cameras are designed for shooting in colour, how do you translate this successfully into mono? That’s what this article is for, covering three different stages in the black and white photo editing workflow.
We’ll start off with basic conversion techniques for black & white photo editing that give your images real depth, move on to the advanced dodging and burning techniques used so much by darkroom experts, then finish off with ways to replicate the vintage and retro effects that were once achieved with film and chemicals.
The editing walkthroughs are based around Adobe Lightroom since this is one of the most popular photo editing tools today, but the techniques are universal and can be used in just about any photo editor, from Photoshop to Affinity Photo.
Photoshop or Lightroom – which is best for black & white photo editing?
Our walkthrough below is based around Lightroom, but you can follow exactly the same steps in Photoshop. When you open a raw file in Photoshop it opens in Adobe Camera Raw, which has exactly the same editing tools as Lightroom Classic, albeit in a slightly different interface.
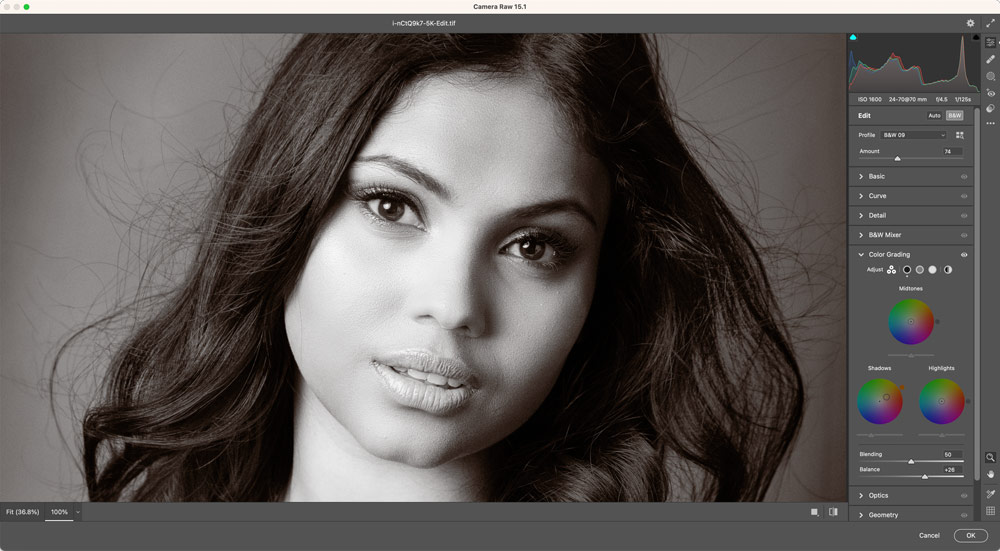
The Camera Raw interface
What’s more, once you’ve carried out your black & white edits here, your image opens in Photoshop, where you can carry out more advanced processes not possible in Adobe Camera Raw or Lightroom. If you’re working with JPEG or TIFF images that bypass Adobe Camera Raw, you can use the Camera Raw filter in Photoshop to access those tools. Or, if you start from Adobe Bridge, you can right-click a JPEG or a TIFF image and choose ‘Open in Camera Raw’.
Basic colour to black & white conversion
Colour mixing
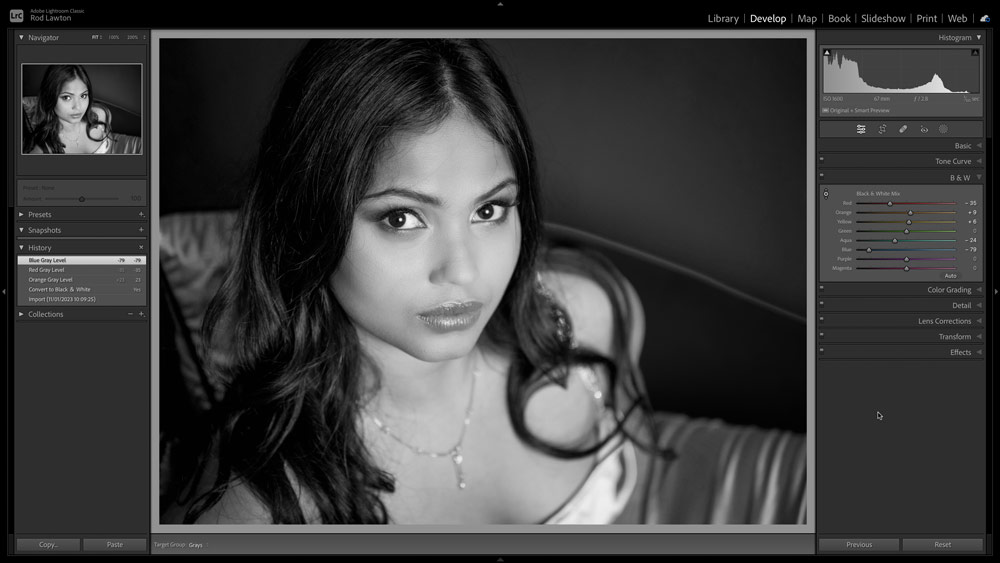
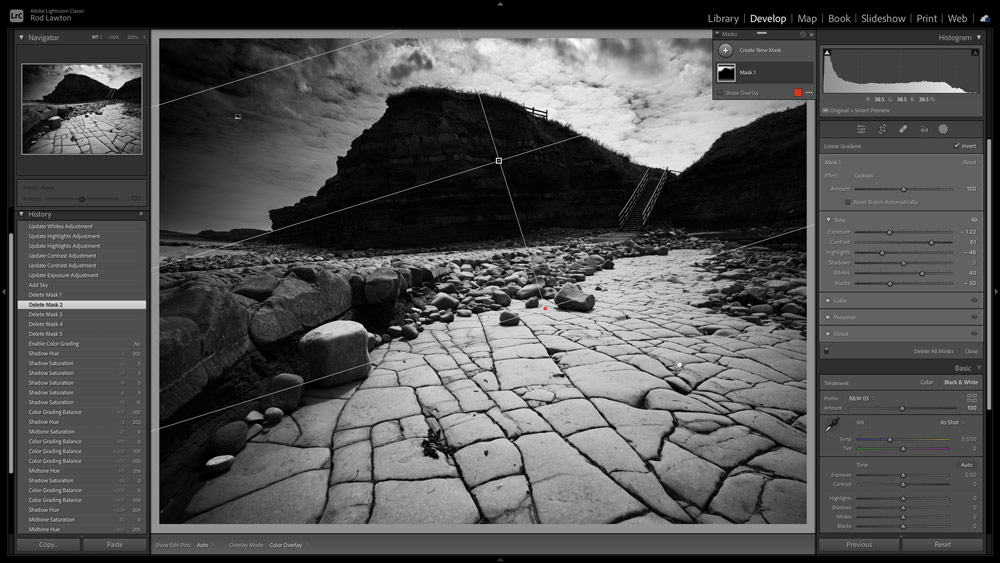
In black & white you can control how colours translate into shades of grey. With black & white film you use colour filters over the lens to do this, and you can do the same with Lightroom’s B&W panel, which becomes available when you switch to Black & White in the Basic panel.

Choose from different black and white profiles in the right hand panel of Lightroom.
Choosing a profile
Using the B&W panel to adjust the colour conversion can involve a good deal of time and guesswork, but there are newer, quicker ways to get satisfying black & white tonality using Lightroom’s Profiles drop-down in the Basic panel. This one is called BW 02 and looks like a good starting point.
The profiles do not change the adjustments and sliders, so you can further adjust your settings.
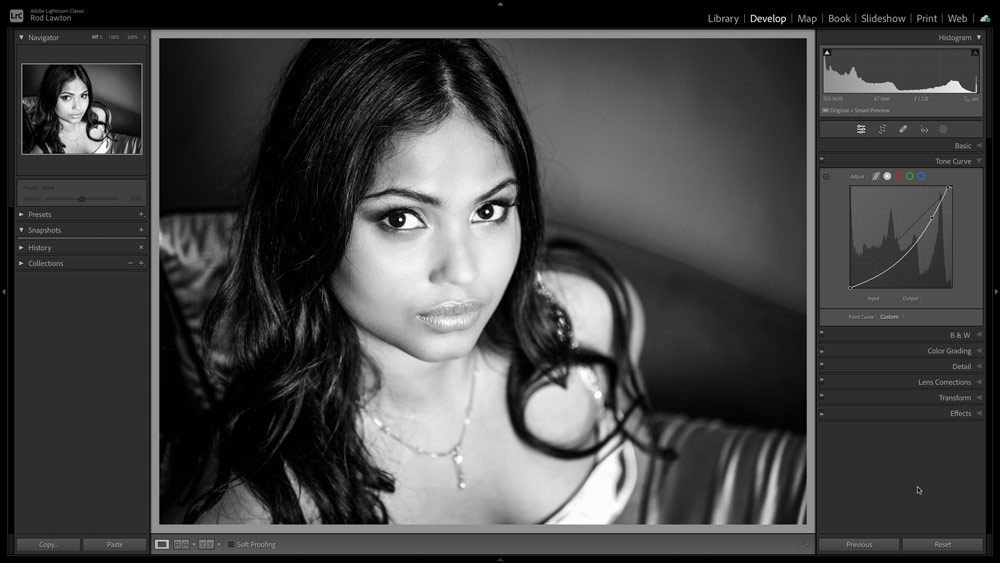
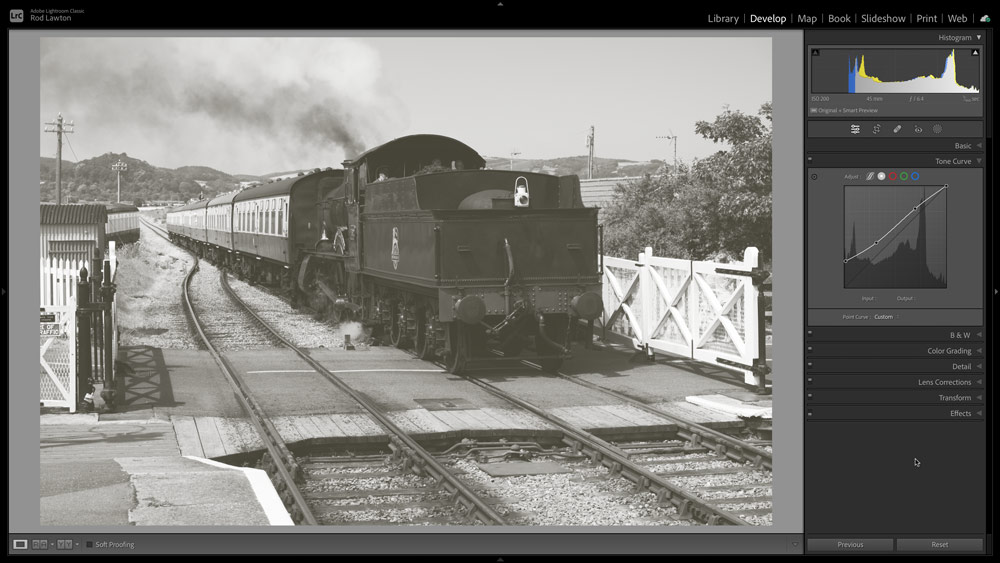
Tone Curve
The advantage of using Profiles in Lightroom is that unlike Presets they don’t include ready-made editing adjustments – they are like raw ‘pre-processing’. So we can use the Tone Curve panel to make this image darker and richer without having to work around any existing Tone Curve settings.
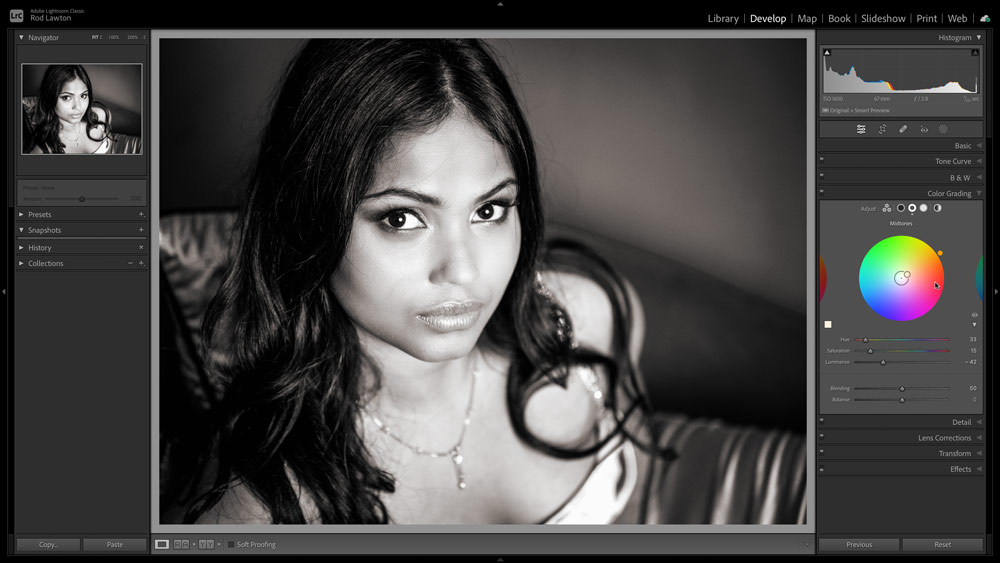
In the colour grading menu, you can choose to add colour separately to the highlights, midtones or shadows.
Color Grading
There’s more to black & white toning than slapping on a sepia tint! It’s a delicate art that can really intensify black & white images if it’s done subtly. In Lightroom you use the Color Grading panel for this. All we’ve done here is add a subtle yellow-orange tone to the midtones.
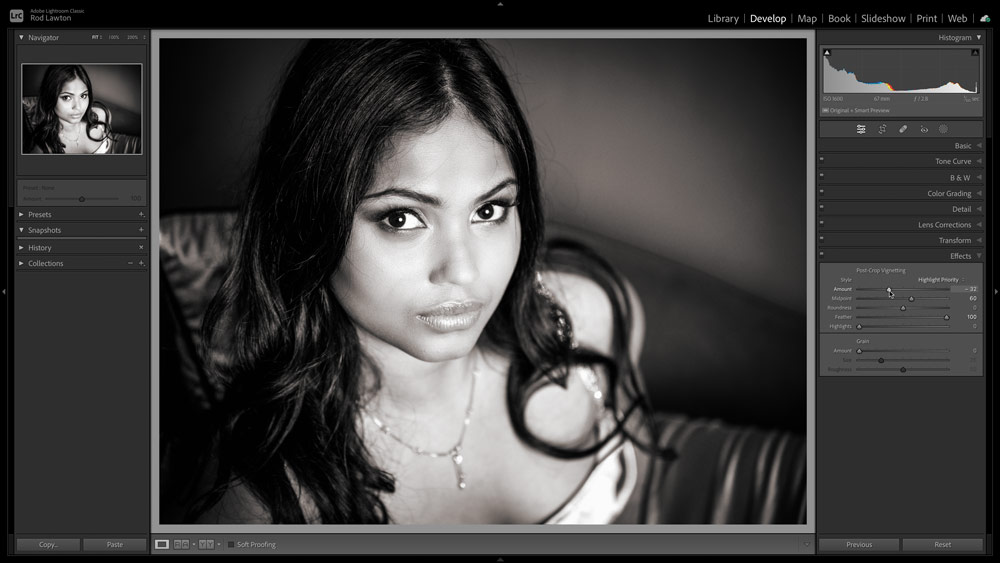
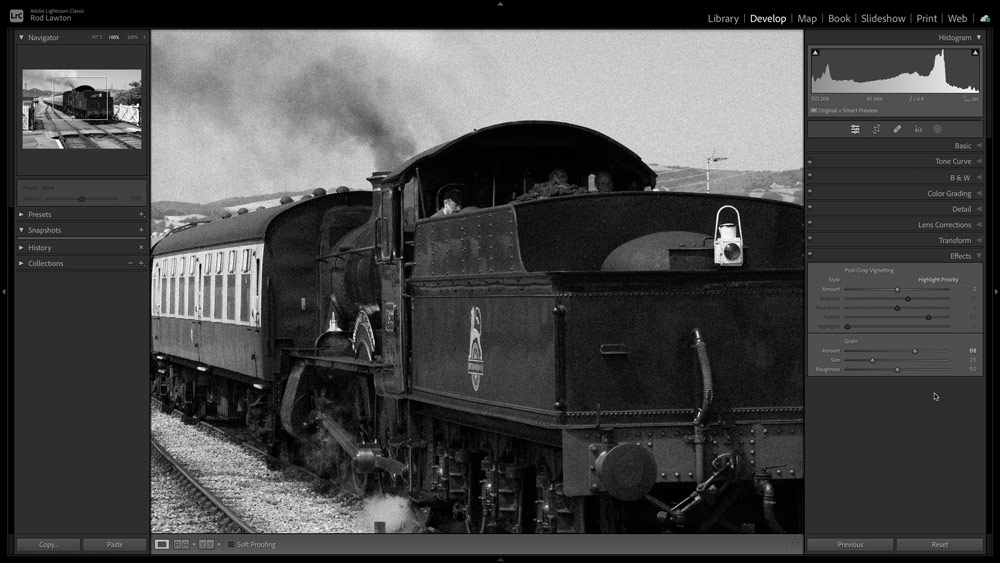
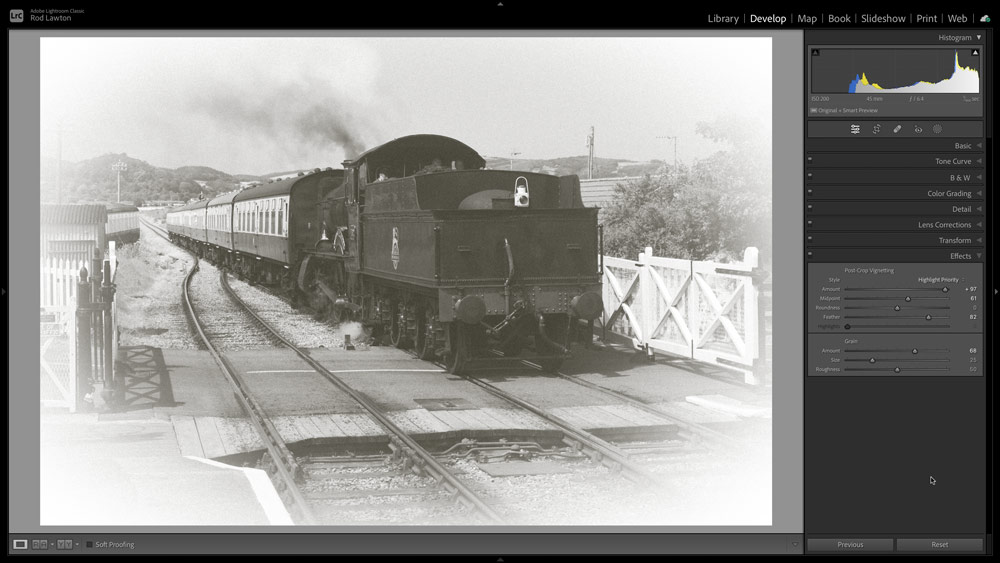
You can find the post-crop vignetting option under the Effects dropdown panel.
Post Crop Vignette
Black & white often benefits from local tonal adjustments. Darkroom workers will know this as ‘dodging and burning’, and there’s a lot more on this in the next section. For this image, we’ve simply added a Post Crop Vignette in Lightroom’s Effects panel to darken the edges for more depth.
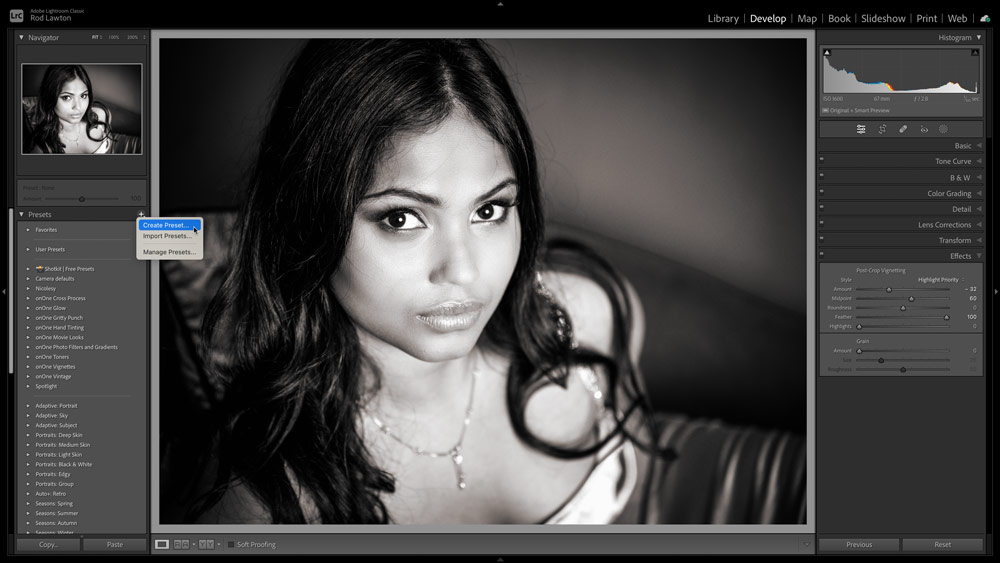
If you like the adjustments you made don’t forget to save them as a new preset.
Save a Preset
The advantage of ‘non-destructive’ photo editors like Lightroom is that you can save your adjustments as Presets to use on other images. To do this in Lightroom, click the ‘+’ button at the top of the presets panel. In the settings dialog, you can choose which adjustments you want to save.
How to recreate dodging and burning digitally
Dodging and burning is a classic black & white technique, and there can’t be many darkroom workers who haven’t helped their prints along with a bit of ‘burning in’ to darken a bright sky or a bit of ‘dodging’ to lighten the face in a portrait. See our guide to moody monochrome landscapes here.
Many photo editors still have Dodge and Burn tools even now, but these days it’s more common to use local adjustment tools and masks to ‘burn in’ or ‘dodge’ different areas of an image. Our walkthrough uses Lightroom, which has the advantage of working directly on raw files where you have access to the extended tonal range in your ‘digital negatives’. In Photoshop or Affinity Photo you could use adjustment layers.
Before
After
The advantage of digital dodging and burning is that you can apply much more sophisticated adjustments to more carefully controlled areas. Better still, you can go back later and make adjustments if you need to. So why go to all this trouble? Because dodging and burning can bring your black & white images to life. It can be used not only to give your image a full range of tones, but to focus your viewer’s attention where you want it, emphasise your subject, tone down a background, ‘relight’ your subject and even alter the whole compositional structure.
The other thing about black & white is that you can get away with more extreme adjustments. Black & white is already one step removed from reality and much of its strength comes from its graphic appeal rather than pictorial realism.
Top tip: Don’t be a histogram slave
You’ll get lots of advice about how to ‘read’ histograms, how to avoid shadow and highlight clipping, how to achieve the ‘right’ histogram shape and so on. It’s all very well meant, but in black & white the normal rules don’t apply.
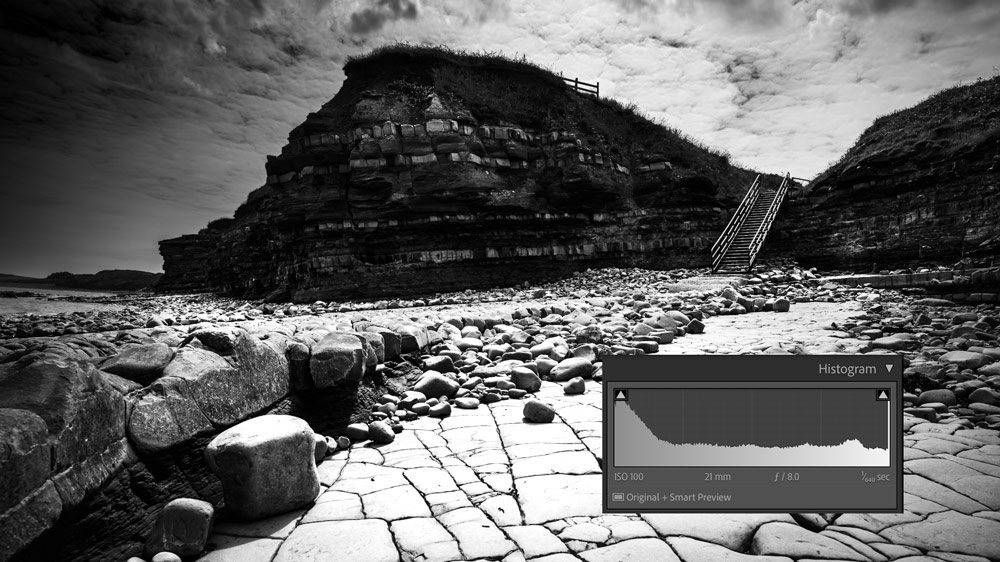
Large areas of solid black (clipped shadows) rarely look good in colour but can be fine in black & white, and clipped highlights are the same – they don’t look good in a colour image but areas of ‘white out’ can work perfectly well as part of a black and & image’s graphic effect. Just remember that histograms are there to tell you what’s happening, not tell you what to do. In black & white photography in particular, if it looks right it is right.
Dodging and burning to add depth and drama to black & white photo editing
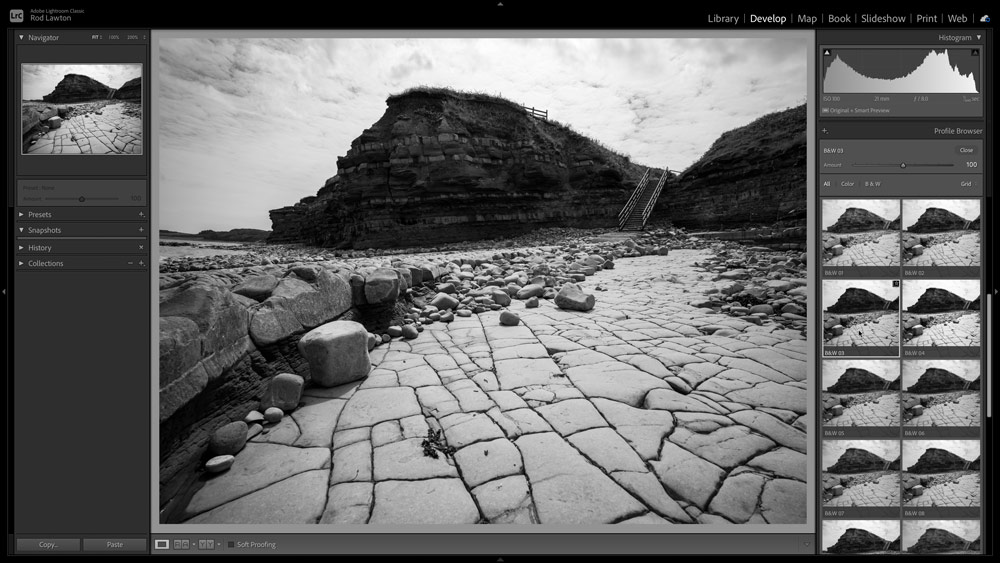
BW 03 profile
As with our portrait shot, we’re starting with one of Lightroom Classic’s inbuilt Profiles. Choose Browse from the Profile drop-down in the Basic panel and scroll down to the B&W section. We’re choosing BW 03 because it has a ‘look’ that’s close to the effect we want. This is just the start, though.

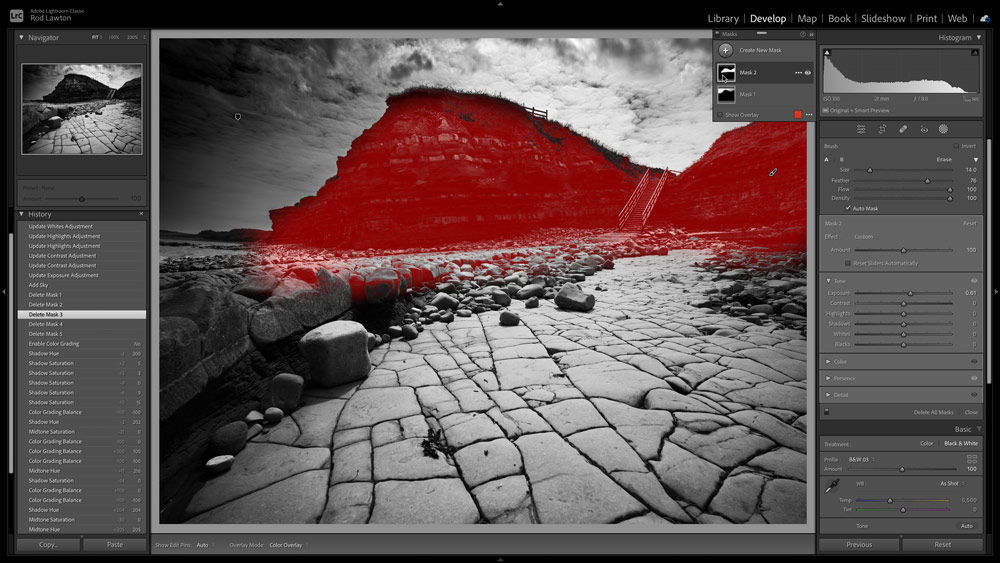
Find the new Ai Sky Mask tool under Masking or use the keyboard shortcut Shift+W
Burn in the sky
First, let’s make the sky a lot darker and more dramatic. Normally you might use a linear gradient mask for this, but Lightroom now has an AI-powered Sky mask tool, which almost always does a great job. We’ve reduced the Exposure, increased the Contrast and boosted the Whites.
Use the AI Sky masking tool with the option to intersect it with the linear gradient tool to achieve smooth transitions
Intersect Mask
The only problem with Lightroom’s Sky masking is that it doesn’t show a naturally looking lightening effect towards the horizon. So we click on the three dots alongside the mask in the panel, choose Intersect Mask with… and then Linear Gradient to blend in the sky mask with a gradient.
Use the adjustment brush with increased exposure to dodge/lighten specific areas.
Dodge the cliffs
To be honest, we probably could have burned in the sky perfectly well with a simple Linear Gradient – dodging and burning doesn’t have to be precise! Our next job is to ‘dodge’ or lighten the cliffs, and Lightroom’s Adjustment Brush is ideal for this with a small Exposure boost.
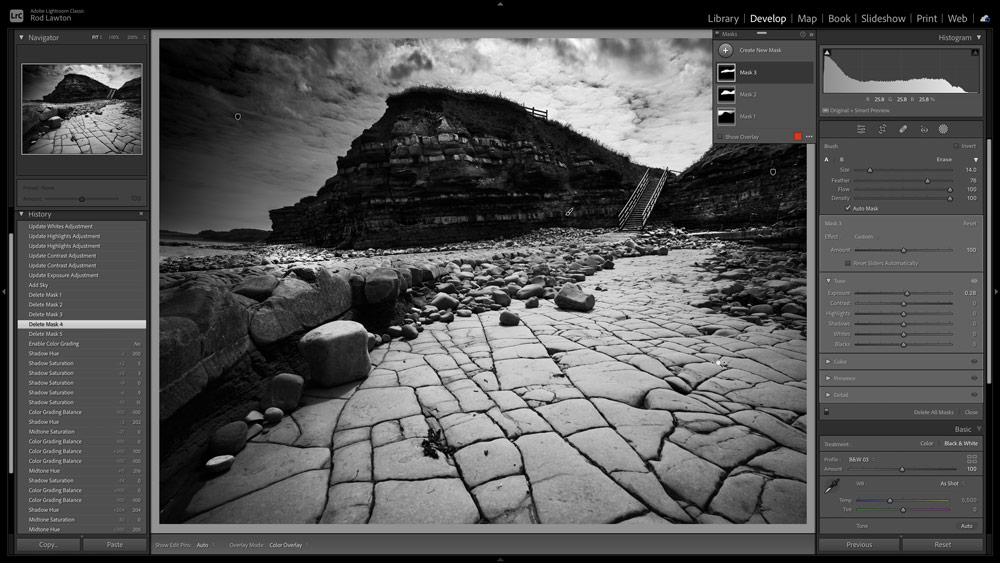
Use the Auto Mask option to avoid any overspill.
Double-dodge!
You can do as much dodging and burning as you like, building adjustments on top of each other. The top of the cliffs looked a little darker than the rest, so we’ve used another Adjustment Brush mask to lighten that area too. Using the Auto Mask option helps prevent any adjustment ‘overspill’.
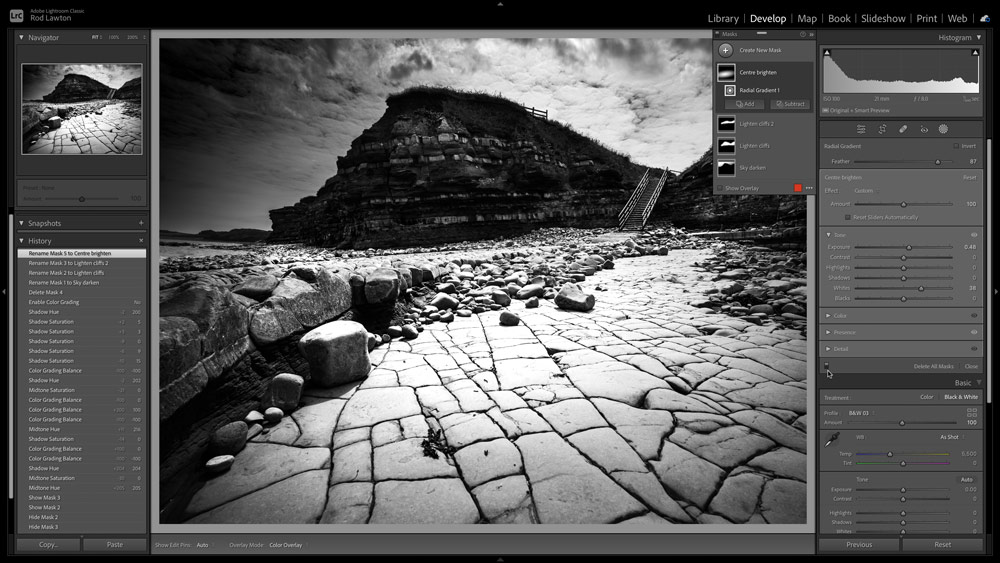
For the centre of the image use Radial Gradient Mask, find it under Masking (Shift+W), + create a new mask.
Use the Radial mask for the centre
It’s very easy to flatten out the contrast in an image with all these adjustments, so here’s a quick and dirty tip to add contrast and ‘sparkle’ to a scene. It’s simply an elliptical Radial Gradient, tilted slightly and with a boost to the Exposure and Whites sliders to ‘add light’ to the scene.
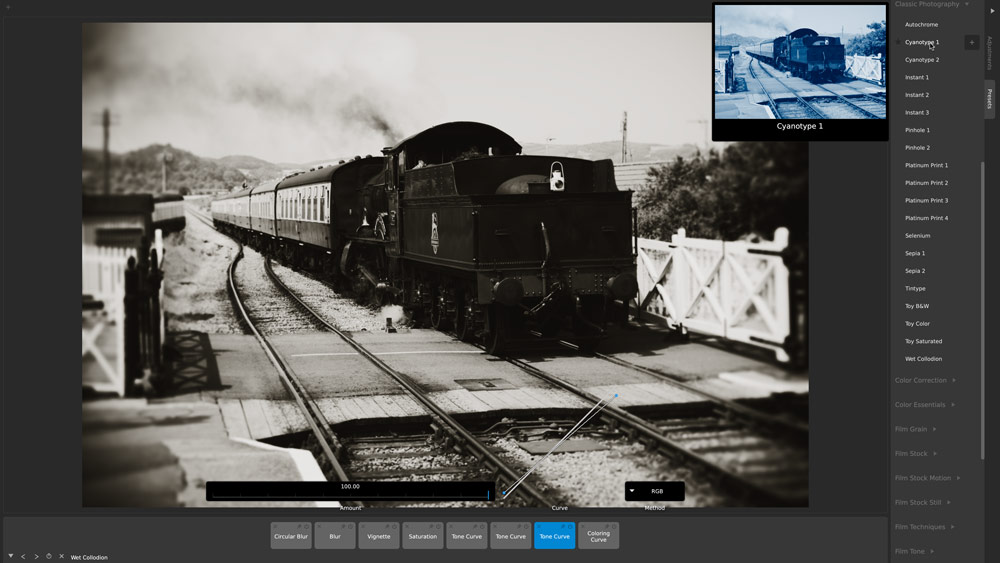
How to recreate vintage and retro effects with black & white photo editing
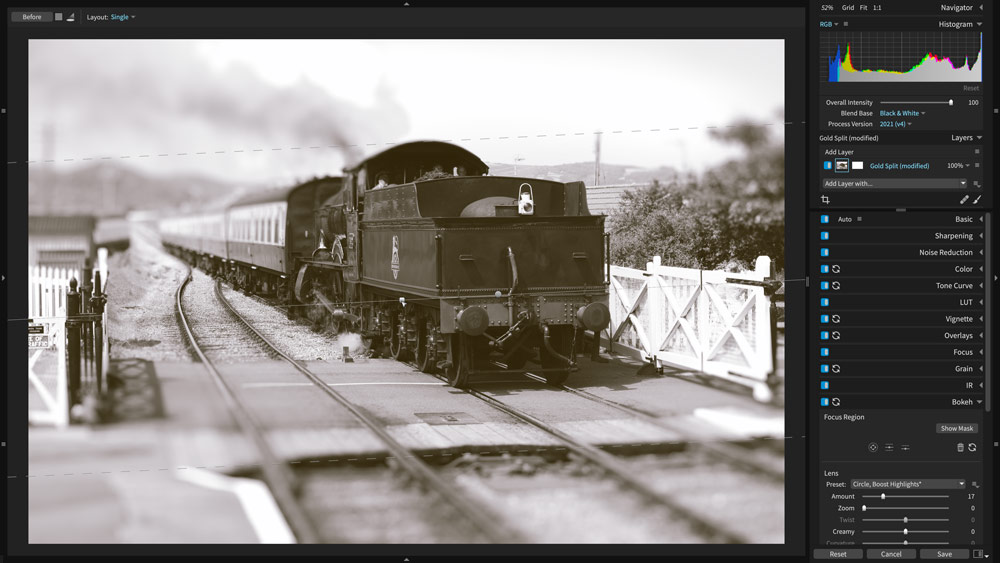
So far we’ve looked at how to recreate the power of black & white photo editing using colour conversions, profiles, toning and dodging and burning. But this still creates a very modern ‘digital’ look.
What if you want all the other things that go with classic black & white, such as grain, borders, vignettes and even camera ‘mistakes’ such as blur, double exposures, light leaks and more? A program like Lightroom can only take you so far because many of these techniques require direct pixel editing and custom-designed tools that you only get in dedicated software or plug-ins.
Before
After
Plug-ins are a very effective solution, especially when working with raw files, because they let you use your regular software for raw processing and basic adjustments and then ‘round-trip’ your image to the plug-in just for its specialised tools before returning the image to your regular editor.
Some programs, such as Capture One, use ‘external editors’ rather than plug-ins, but the end result is the same. You’ll see some software suggestions in the tips box on this spread, and three are featured in our walkthrough below. The first three steps show some effects you can achieve in Lightroom and the second three show what you can do with plug-ins. It is very easy to overload your images with ‘retro’ effects and ruin them.
The best black & white photography may have a very bold effect, but it’s often achieved with a series of subtle adjustments used sparingly. Black & white photography might look as if it should be simpler than colour, but it demands – and repays – a very different set of skills.
How to get the classic analogue look
To adjust Grain open the Effects dropdown panel on the right.
Adding grain
Adding authentic-looking grain used to be a complicated business using noise, blur, blend modes and more. Now, though, almost every photo editor can add realistic-looking grain – including Lightroom. Zoom to 100% and use the Grain Amount slider in the Effects panel to add grain.
To adjust the Tone curve you can either drag the sliders or grab the line in the panel above
Fades and matts
You can get an instant vintage effect with a ‘matt’ look. Here, the darkest tones aren’t a solid black but fade to a mid-dark grey. It sounds like a tonal disaster, but it looks rather good, and it’s easy to do in Lightroom’s Tone Curve panel – just drag the black control point, bottom left, upwards!
Under the Effects dropdown panel use the Post Crop Vignette tool to brighten up the edges.
Vignette to white
There’s a third, really nice vintage effect you can apply in Lightroom using the Post Crop Vignette tools in the Effects panel. This time, though, you drag the Amount slider to the right to fade the edges of the images to white. It works especially well with the matt effect in the previous step.
Using the Exposure X7 plug-in with Lightroom to add a blurred effect
Bokeh effects
But Lightroom definitely has its limits for vintage effects, and this is where you need plug-ins. Here we’re using Exposure X7 (which also works as a standalone program) to add a ‘bokeh’ (blur) effect. You can’t quite replicate real blur, but you can get close enough for a convincing bokeh ‘look’.
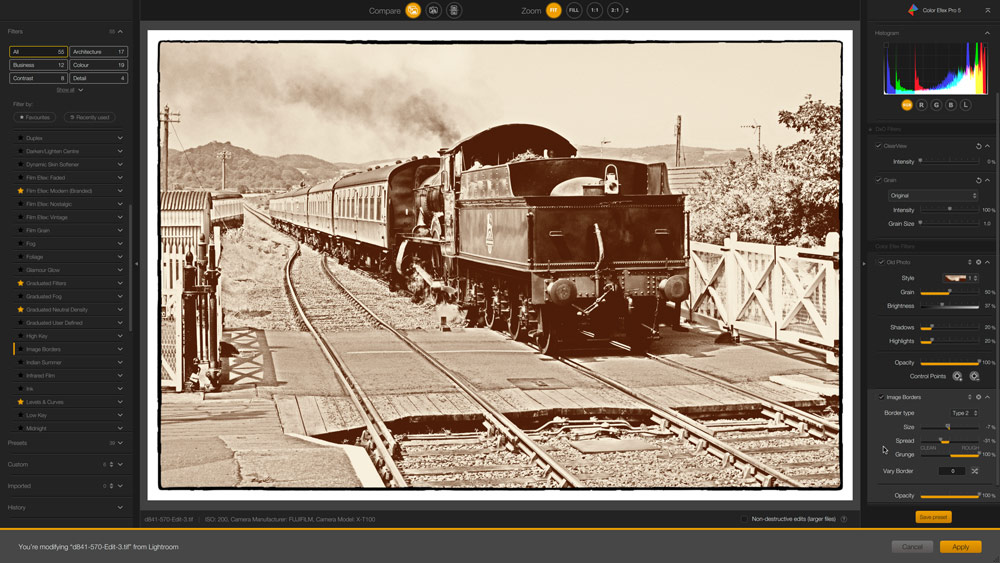
Nik Collection Efex Pro includes interesting vintage looking borders.
Frames and borders
Black & white images often look even better with a border, and there are lots of plug-ins that can do this. We’ve chosen Color Efex Pro (not Silver Efex Pro) from the Nik Collection because it offers the same border choices but also this terrific Old Photo effect, which Silver Efex Pro doesn’t have.
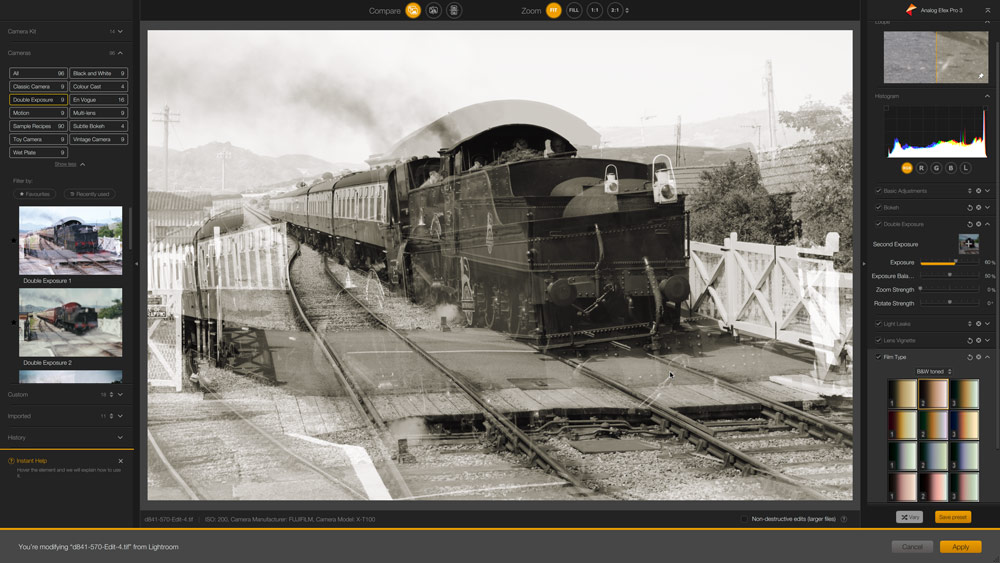
You can create stunning multiple exposures with the Nik Collection Analog Efex Pro.
Multiple exposures
And here’s another effect you won’t find anywhere else, this time in Analog Efex Pro. It doesn’t just replicate vintage ‘looks’, but also old camera defects, like this ‘accidental’ multiple exposure effect. Silver Efex Pro is the best known black &white plug-in, but Analog Efex Pro does more.
What is the best specialized software for black & white photo editing?
Exposure X7
An outstanding ‘analog’ editing and effects tool with some wonderfully evocative presets (standalone and plug-in)
ON1 Photo RAW/Effects
A powerful all-in-one editor and effects tool with some great black & white presets (ON1 Photo RAW standalone, ON1 Effects plug-in)
DxO Nik Collection
Includes Silver Efex, Analog Efex and Color Efex, all three of which are very powerful black & white tools in their own different way (standalone and plug-in)
DxO FilmPack 6: Replicates classic films and processes in a scientifically authentic way, complete with a ’Time Machine’ history lesson (standalone and plug-in)
CameraBag Pro
A marvellous collection of editing tools and analog film effects well worth trying out (standalone)
See our in-depth guide to the best software for black & white photo editing
Further reading
- Black and white landscape photography
- Black and white portrait photography
- Black and white fine art photography
- Black and white street photography
- Black and white on smartphones


