
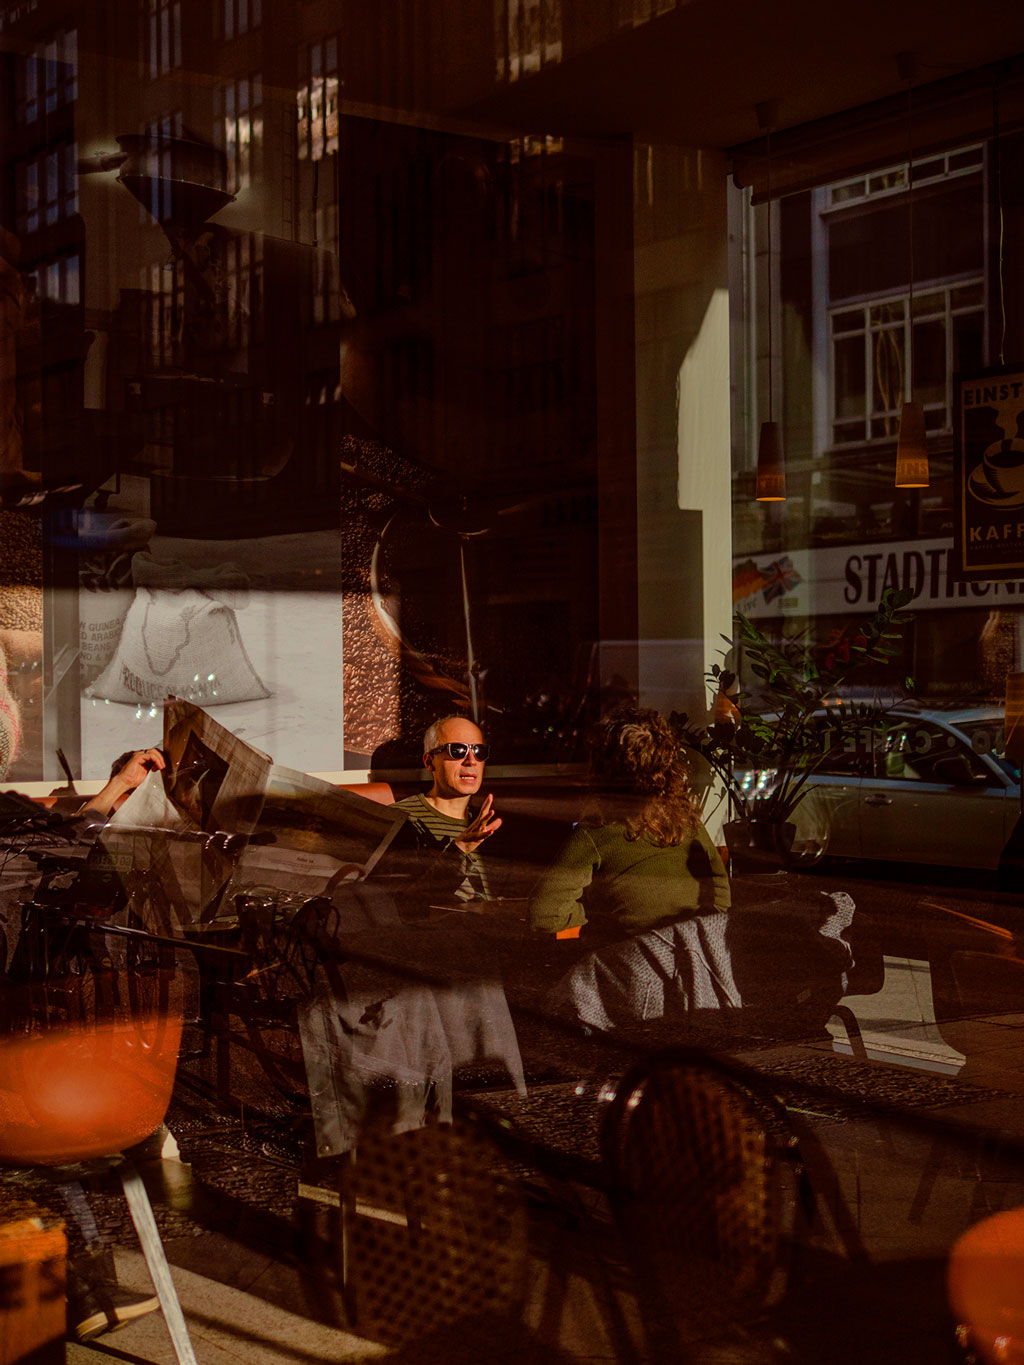
The way you set up your camera can have a dramatic effect on how your street pictures will look. Preparing your camera for street photography is crucial to the atmosphere and messages that they convey. Damien Demolder shows us how.
When pointed in the right direction with all its controls set to auto, a modern camera is clever enough to produce a well-exposed image with the right thing in focus. This is alright for simply recording the likeness of a scene before you. To make more of it, though, it’s worth learning the difference between f/1.4 and f/11, amongst other lessons about your camera.
The emotion, atmosphere, excitement and dynamism of your urban surroundings can all be enhanced by your camera and lens settings, capturing images that reach beyond a mere physical likeness of the world about you and the people in it.
Setting up your camera for the street
Where – and, equally, when – you perceive an emergent image from the bustle of the street, you will form an idea of what you want to highlight. From this point, your needs are beyond the limitations of your camera’s auto modes.
How you present the essence of your vision to draw the viewer in will influence your next decisions. Understanding why your lens has over 20 aperture settings will come into play, even though you can only use one at a time.
The best camera settings for street photography
Damien’s recommendations:
- Aperture priority
- Widest aperture
- Daylight white balance
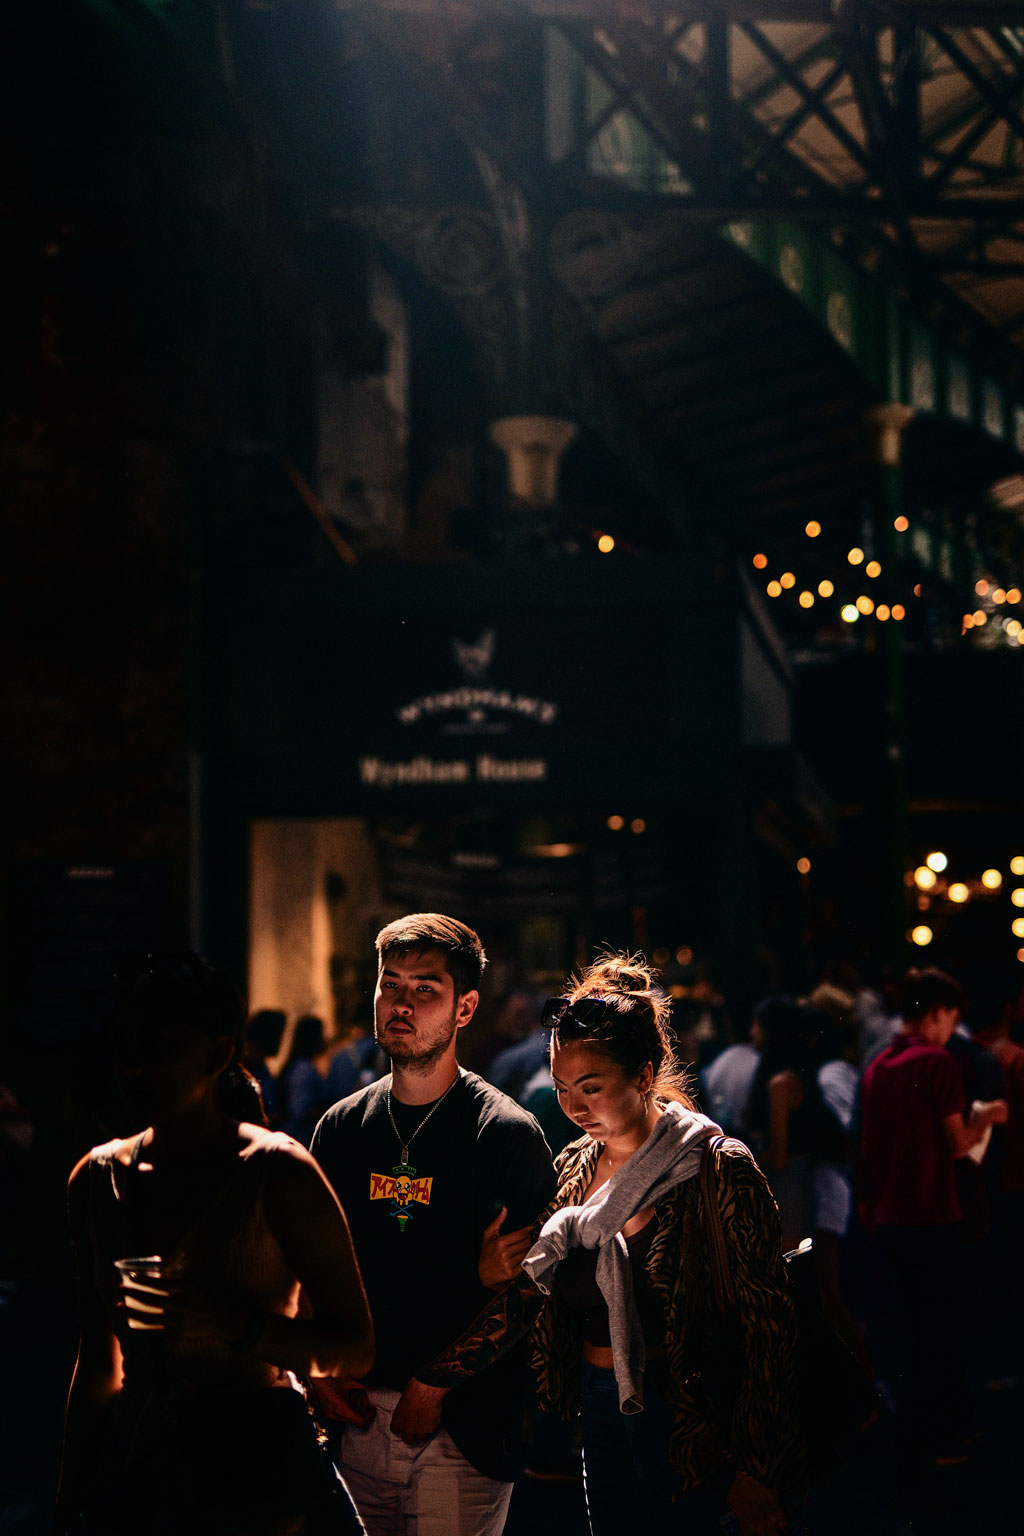
- Around ISO 400 (daytime) 6400 (night time)
- Touch Shutter enabled
- Whole area metering
What is the best aperture for street photography?
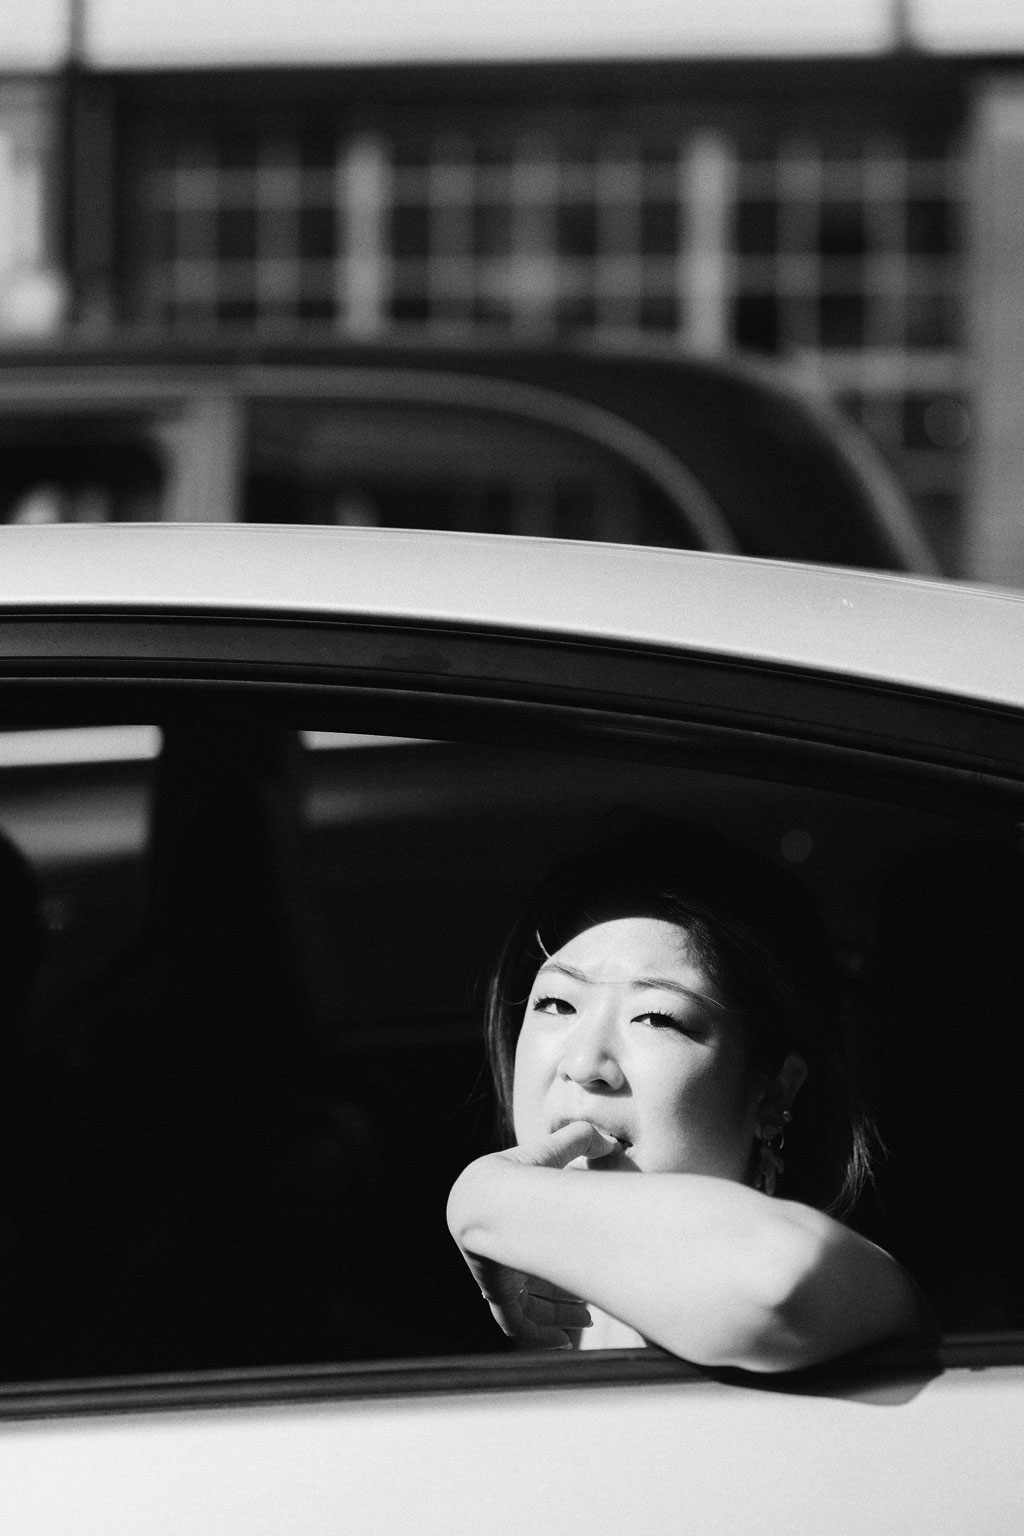
I’ll start with apertures, as they are the main drivers behind my camera settings when shooting street scenes. The aperture value itself is not as important as the depth of field it creates – no one will know which f-stop you used, but they will see its effect in the picture and how it controls the way they see the subject. I aim for an aperture that creates a definite visual effect.
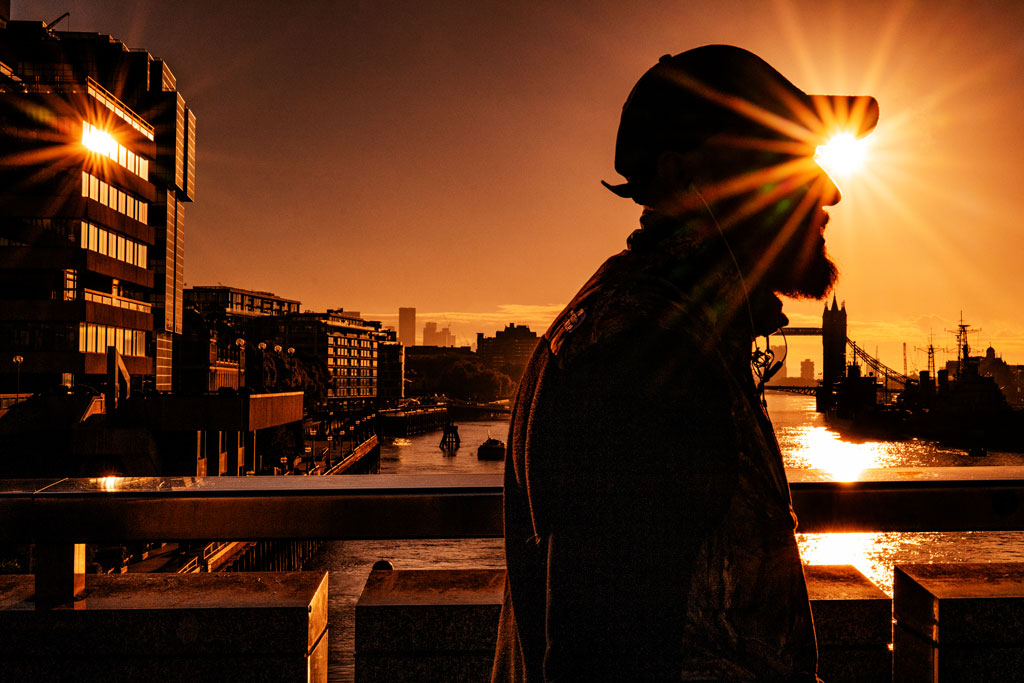
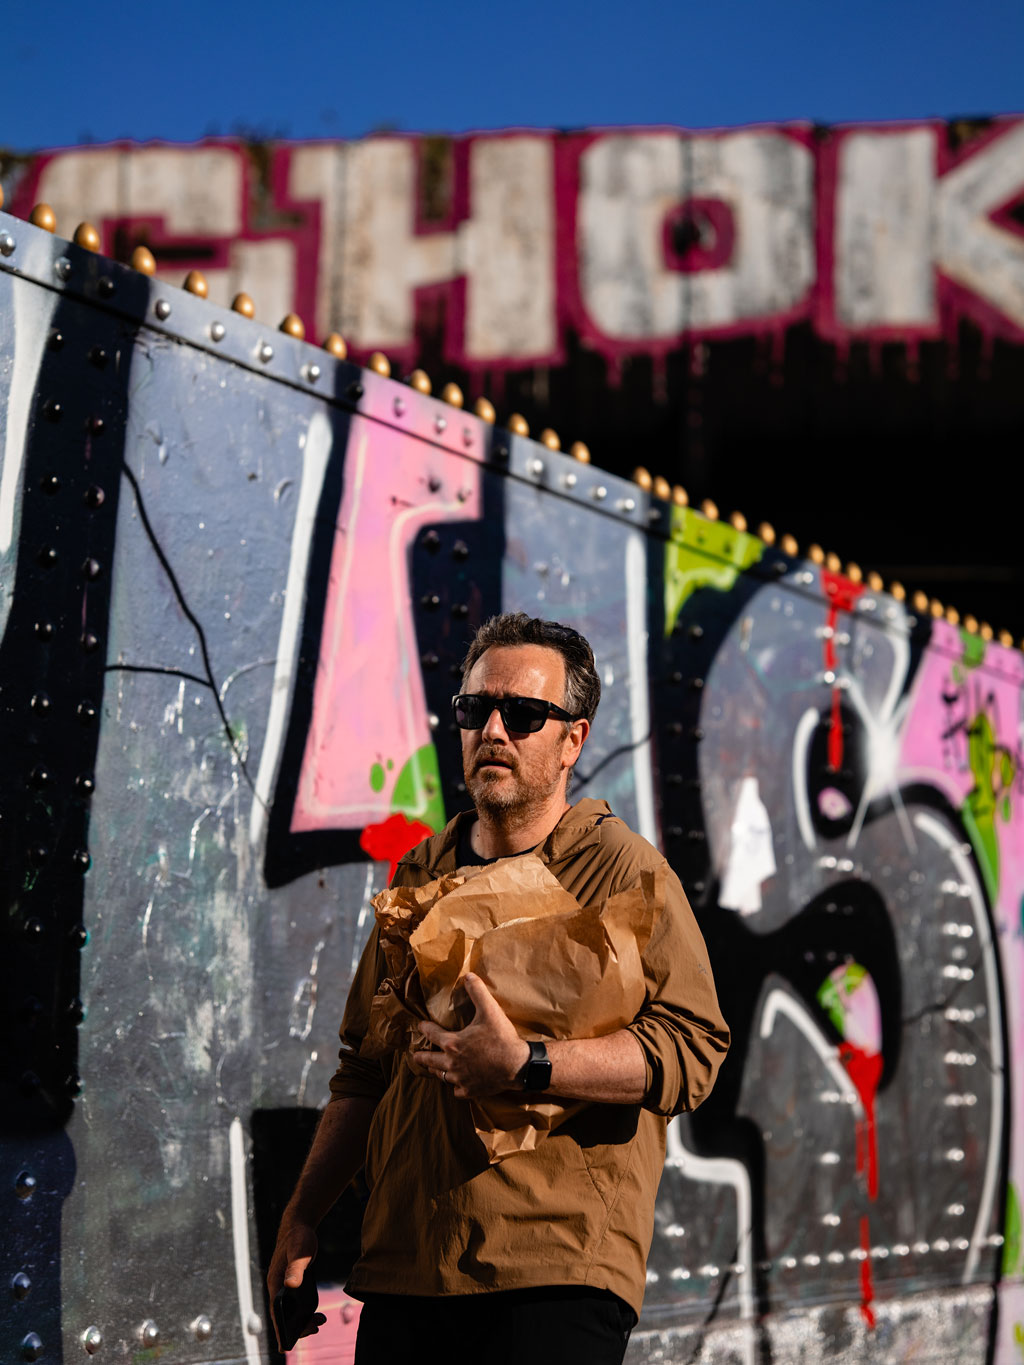
These tend to be at the extremes of the range: I like f/1.4 the most for its dramatic pull of the eye and its isolating effect on the subject. f/16 or f/22 will render the whole scene in spectacular and graphic detail. In street photography, I don’t have much use for the ‘safe’ apertures like f/5.6, as they tend to produce a result that is reliable but unexciting.
The best apertures of any lens are those in the middle of the range. This is almost always true, scientifically speaking – it is where resolution, contrast, vignetting, and edge aberrations are most favourable to the technical quality of your pictures. Street photographers, however, aren’t scientists. They are artists, who value the visual and emotional appeal of an image much more than the line pairs per millimetre that can be recorded.
The widest and smallest apertures of any lens tend to be those that perform least well technically; yet they very often produce the most exciting results. But a drop in resolution at f/22 might be worth it if the lens delivers a jaw-dropping sun star. For better technical quality, stay at least one stop away from the smallest aperture.
What is the best shutter speed for street photography?
Once I’ve picked the aperture I want to work with, I consider the shutter speed needed for the effect I’d like to create. In most cases, I want to freeze the action in the street as I’m often shooting people who are moving. Sometimes the people I shoot are static, but to save constantly shifting my settings, I tend to keep a fast shutter speed all the time: unless there isn’t much light, in which case, I will engage my brain!
For general outside pictures in which people are travelling around the frame, I’ll have a shutter speed between 1/500sec and 1/16,000sec. I won’t set this manually, as I like to work in aperture priority exposure mode, so I adjust my ISO settings to make the shutter speed shift up and down.
Again, to save adjusting the ISO for every shot, I generally keep it quite high to give myself a good margin for changing conditions and environments. If the shutter speed slides up to 1/16,000sec, it doesn’t matter, but if it drops to 1/60sec, it does. I’d rather have a bit of noise from an ISO 1600 image than subject blur from a shutter speed that was just a bit too long for the encounter. There are no rules in art, of course, but street shots in which the subject is slightly blurred can look like mistakes.
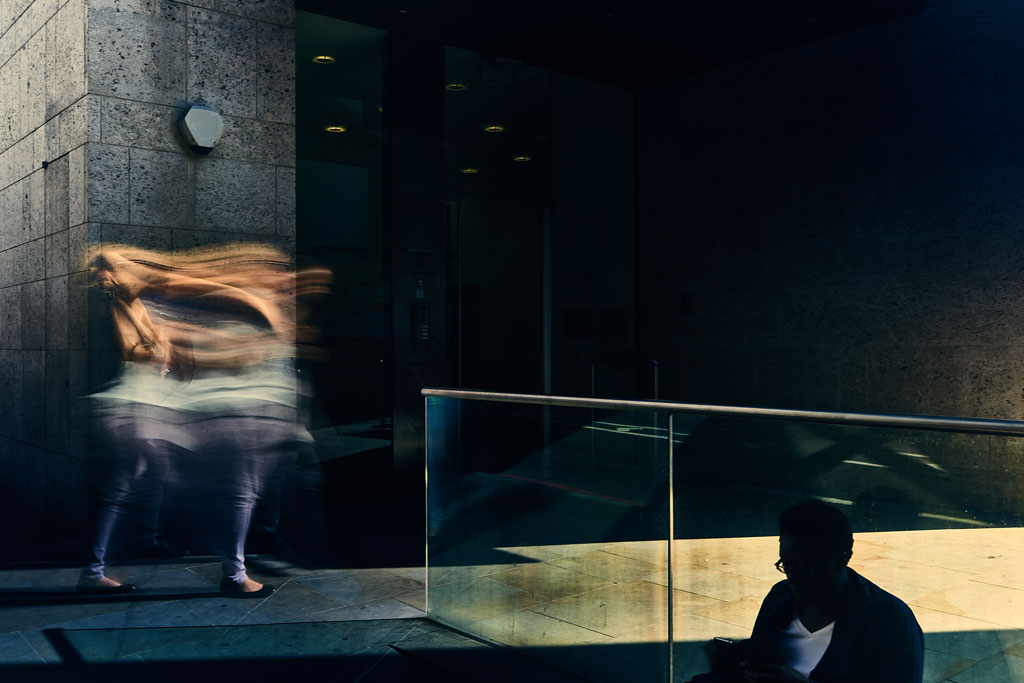
If you want blur in your subjects, it’s better to go the whole hog and make it obviously deliberate. The shutter speed that will be right for the occasion will depend on how much blur you want as well as how quickly the subjects are moving across your viewfinder.
Too long a shutter speed and you might find the subject just disappears, so aim to start testing at around 1/4sec for people travelling at a walking pace about 15ft from the camera.
What are the best autofocus settings for street photography?
Adjusting your ISO settings manually doesn’t take much mental processing power and brings with it many advantages in speed and flexibility. In many other genres of photography, your camera’s auto ISO mode can deal with this issue entirely, leaving you to concentrate on your subject. Street photography, though, is action photography, and we need to be in control of our shutter speeds.
Is it okay to shoot with Auto ISO?
Auto ISO modes are designed to avoid camera-shake and will assess the focal length and aperture you are using and then adjust the ISO to deliver a shutter speed that ensures a shake-free image. However, auto ISO doesn’t account for moving subjects, so while 1/125sec might be a safe shutter speed at which to use a 50mm lens, it’s no good if your subject is a person riding a bike, say.
You can of course set limits on the range of ISO values your auto ISO mode can use, and you can also control the range of shutter speeds the camera uses, which will make using auto ISO ‘safe’. Of course, you must unset and reset these controls when you venture into a different environment. This can’t be done properly at a moment’s notice, so could cost you a shot in the new scene.
Avoid using auto white balance
To convey the true atmosphere of a scene in your pictures, avoid auto white balance. Auto white balance settings are very clever and extremely effective at neutralising coloured tints in the lighting of the moment, so that the true colours of the subject shine through.
Essentially, auto WB, or a custom WB, are great when representing accurately the colours of a scene is what matters to your photography. My issue with auto white balance is that the process can remove some of the colours that made us react to that scene in the first place.
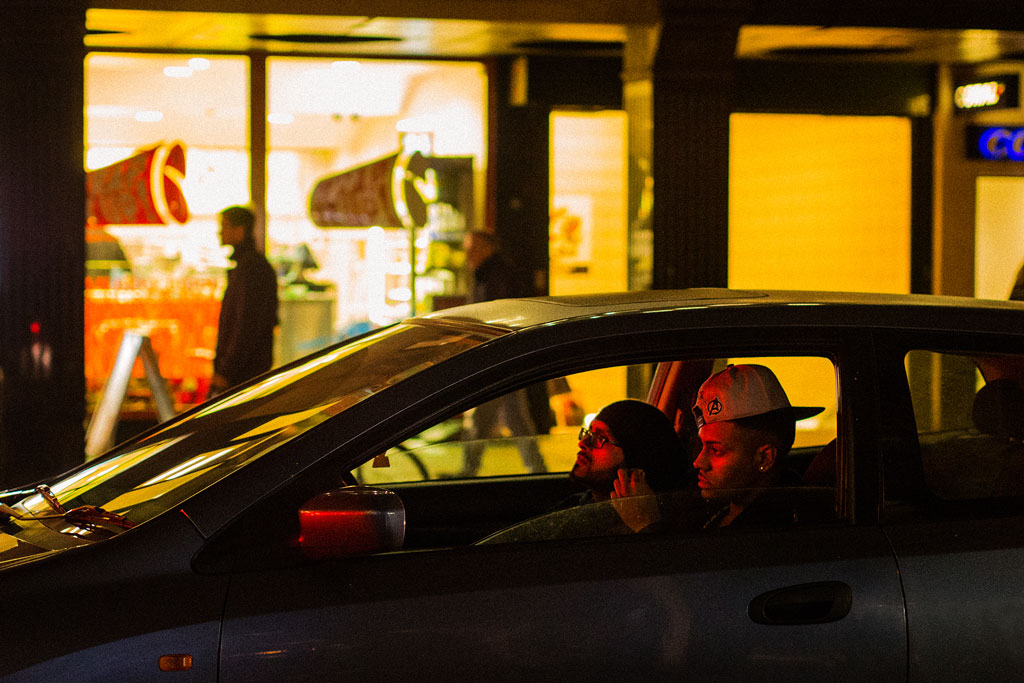
Auto WB modes can also render a setting more sunny than it actually was great if you want to enhance your memories of a dull holiday; but not for capturing the ambience of town on a cold, bleak morning.
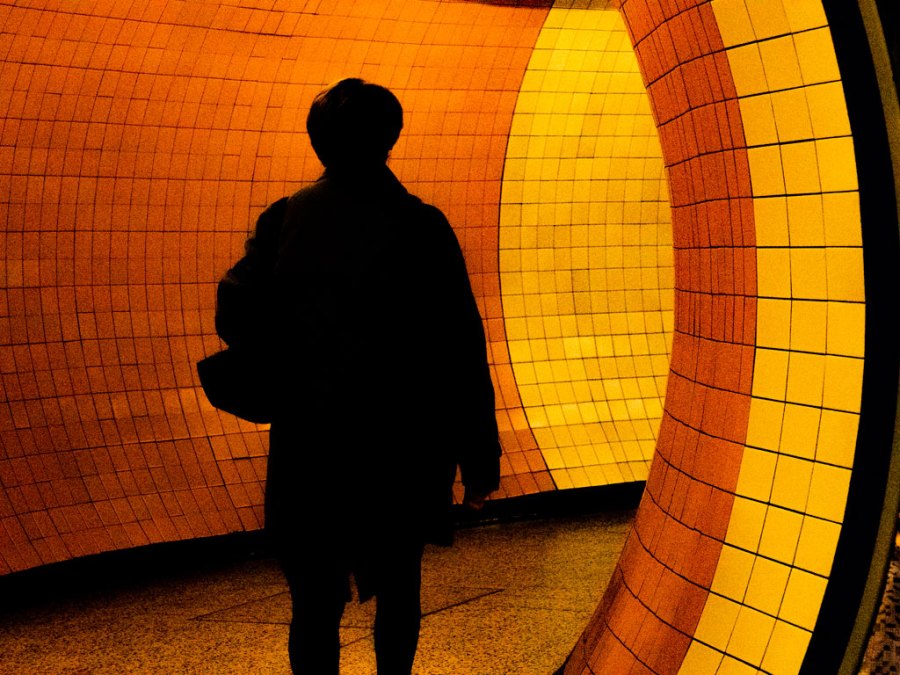
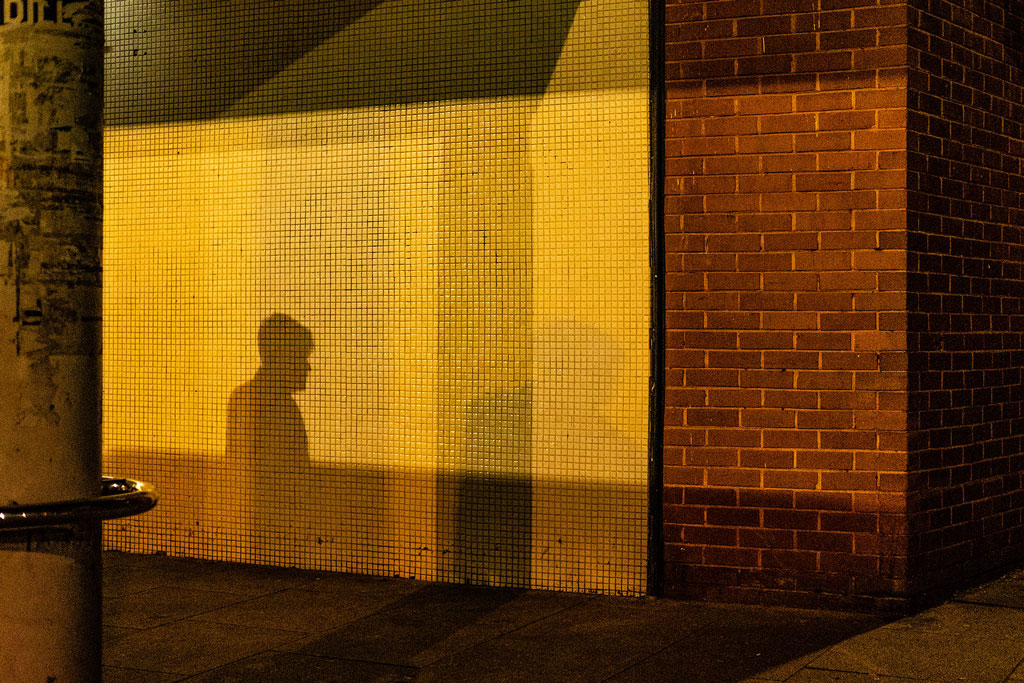
AWB can also remove the warmth of a tungsten-lit interior, or the unnerving green tint of an underground car park lit with dirty fluorescent strip lights. The colours we meet with our eyes affect how we feel in their presence, as these are what we react to and compel us to stop and shoot, so we want them to be integral to the pictures we take.
We see with a Daylight white balance for the most part, so that’s what I always set when shooting the street. People often comment that shooting in raw allows those colours to be added back in afterwards, but colours are very hard to remember, and most people would forget to consider it while processing. It is easier just to capture the right colours at the time.
Should I use mechanical shutter or electronic shutter?
I really value the ability to shoot silently when I’m in the street, as this allows me to shoot unnoticed and to take multiple shots of the same thing without the shutter sound clearing the area. To shoot silently we need to engage the electronic shutter – something only mirrorless camera shooters can do in a practical way.
Of course, if you look very, very closely you might be able to see that pictures taken with an electronic shutter have slightly more image noise than those shot with a mechanical shutter, but in real life no one is actually going to notice the difference.
The electronic shutter often gives us access to a set of high shutter speeds that the mechanical shutter can’t match, which then allows us to shoot with a really wide aperture in brighter conditions without resorting to a neutral density filter.

Things you’ll want to watch out for, though, include banding when shooting in areas lit by fluorescent lights – such as in shops and on trains – and distortion when the subject is moving quickly across the frame. Both problems can be fatal to an image and on few occasions will you be able to get away with the effects. In these situations, switch back to a mechanical or electronic first curtain mode.
Most cameras offer to switch between mechanical and electronic shutter modes automatically for you, particularly to reach those high shutter speeds, so it is something to keep an eye on.
Use your in-camera profiles
I like to get my pictures as close to finished in-camera as I can. This isn’t because I’m some fanatical purist who doesn’t crop or manipulate images, but because it makes my life easier during and after the shoot.
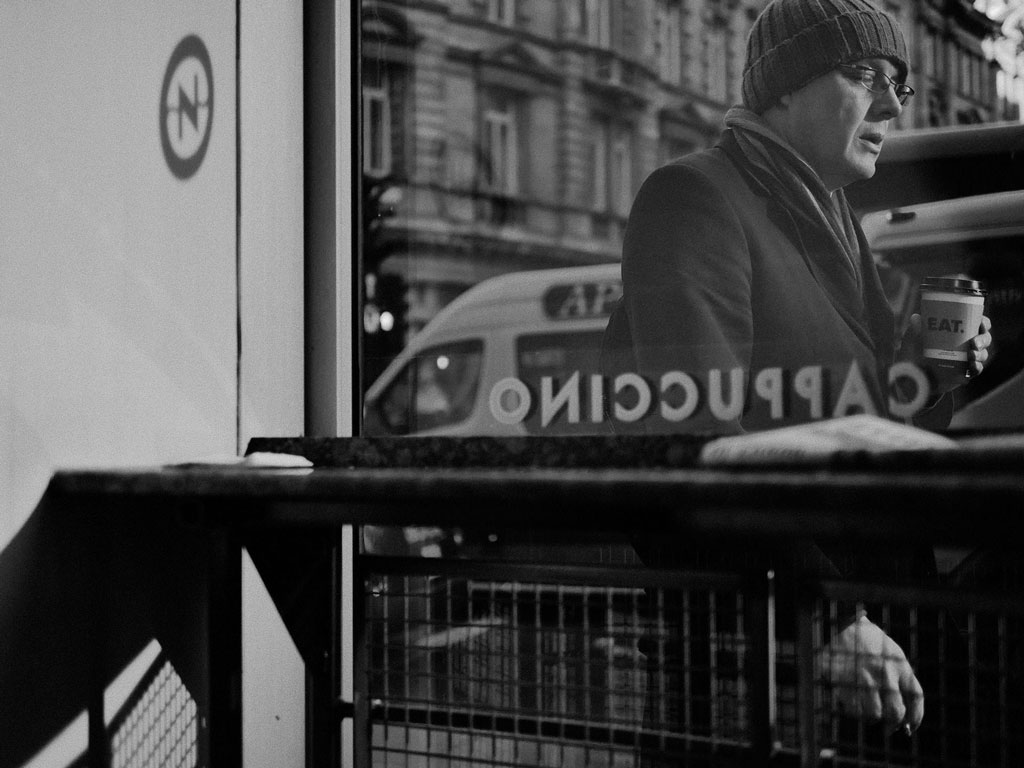
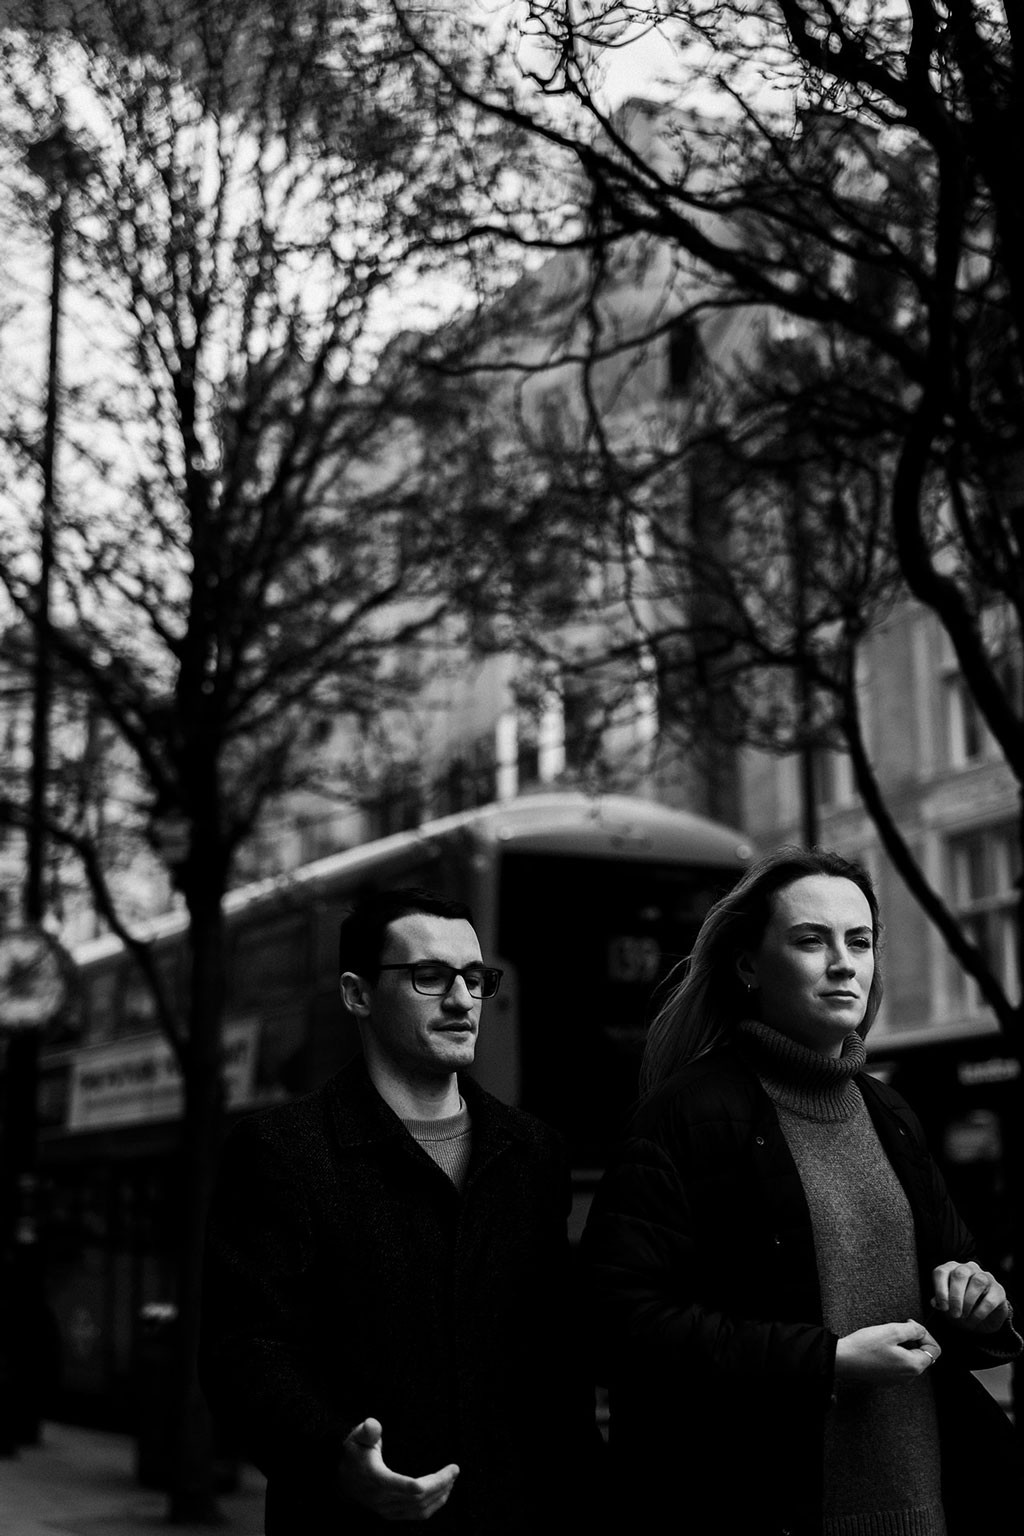
I like the Portrait Photo Style in Lumix cameras when I’m shooting in colour, and Monochrome when I’m in black and white. I like to see the full effect of the image while shooting, rather than have to imagine its appearance once it’s been through Photoshop. I adjust exposure (and contrast with the Monochrome Photo Style) so that the picture on the back of the camera looks as close as possible to how I’d like the finished picture to look .
To see the intended image on the back of the camera often inspires me to shoot more because I can see how well it is all working. I might notice something cool in the image or scene that I may have missed had I waited until afterwards to manipulate the raw file. That spurs me on to shoot more and make the most of the element that so appeals to me in the moment.
Equally, this helps me to see when things aren’t working, and when I need to change something or simply abandon the idea and look for something else.
Seeing the almost-finished image on the back of the camera should be exciting (if it isn’t, it won’t be later either) and it makes the whole process much more enjoyable. Seeing a technically optimal but flat raw file on the rear screen is never exciting, and it leaves all the creative work until later, when you might not truly remember what drew you to the scene in the first place.
Of course, I shoot in raw so most of the colour and contrast changes I make in-camera are lost in Camera Raw (though some can easily be reinstated in the Camera Profile drop down) but I also process a few raw files in-camera too so that I have references for the way the images looked when I shot them. Shooting all RAW+JPEG is a good, if memory-heavy, way to do this too.
Want to know more about black and white photography? Check out our guide to black and white photography and Black and white street photography tips from the experts.
How to choose the best lenses for street photography
Focal lengths
I like a standard lens for the system I’m using – so a 50mm for full frame, 32mm for APS-C or 25mm for Micro Four Thirds. The angle of view matches what I can concentrate on, and I believe what most viewers are comfortable with. About 90% of my street pictures are shot with this kind of focal length. However, I also like a 24mm-style wide when I’m working close up and when I want to include lots of background.
These standard and wide focal lengths preserve a connection between the viewer and the subject and offer a ‘being there’ perspective that is often lost when captured through long lenses. However, there are no right or wrong focal lengths – just different effects that create a different feel. Experiment and find the angle of view and the distance between you and the subject that suits the look you want. And check our guide to optimal lenses for street photography
Aperture trade-offs
Fast apertures allow us to shoot in low light without having to crank the ISO up into zones in which noise becomes a real problem. Apertures like f/1.2, f/1.4, f/1.8, f/2 and f/2.5/8 all work well, but when you get to f/3.5 you may struggle to shoot at night and to create a shallow depth of field that makes the subject jump out from the frame.
If you only intend to work with small apertures, you’ll have a wider and cheaper range of lenses to pick from, but a more limited range of effects and atmospheres you can produce.
Size and weight
High-spec lenses tend to be bigger, heavier and more expensive than more regular lenses, so you need to decide how much you want a wide aperture and how much weight you can carry all day. Bigger fast-aperture lenses will also make your kit bigger, and you will stand out more, so again determine how comfortable you are with that. While I love a tiny camera with a pancake lens, I’m also prepared to go big and heavy for the sake of really sharp images at really wide apertures.
Best camera-lens combos for street photography
Canon EOS M50 Mark ll with Canon EF-M 32mm f1.4 STM
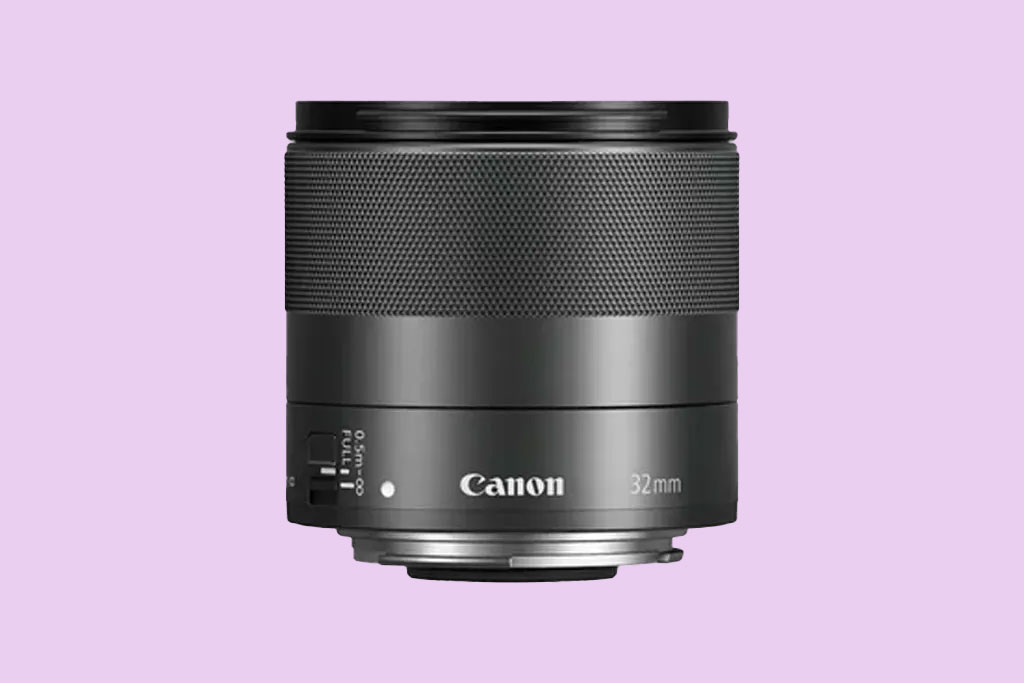
Price: $579 / £420 (camera), $570 / £360 (lens)
The Canon EOS M series has a limited range of lens options but it does offer Canon technology in a small package and at a more reasonable price than the R system. The EOS M50 ll brings DSLR-like controls to a tiny body, and provides a hinged touchscreen that makes shooting from all angles and focusing anywhere in the frame easy. The 32mm f/1.4 lens acts as a standard lens, and that fast maximum aperture allows low-light shooting and a nice shallow depth of field.
Fujifilm X-Pro3 with XF 50mm f/1.0 R WR
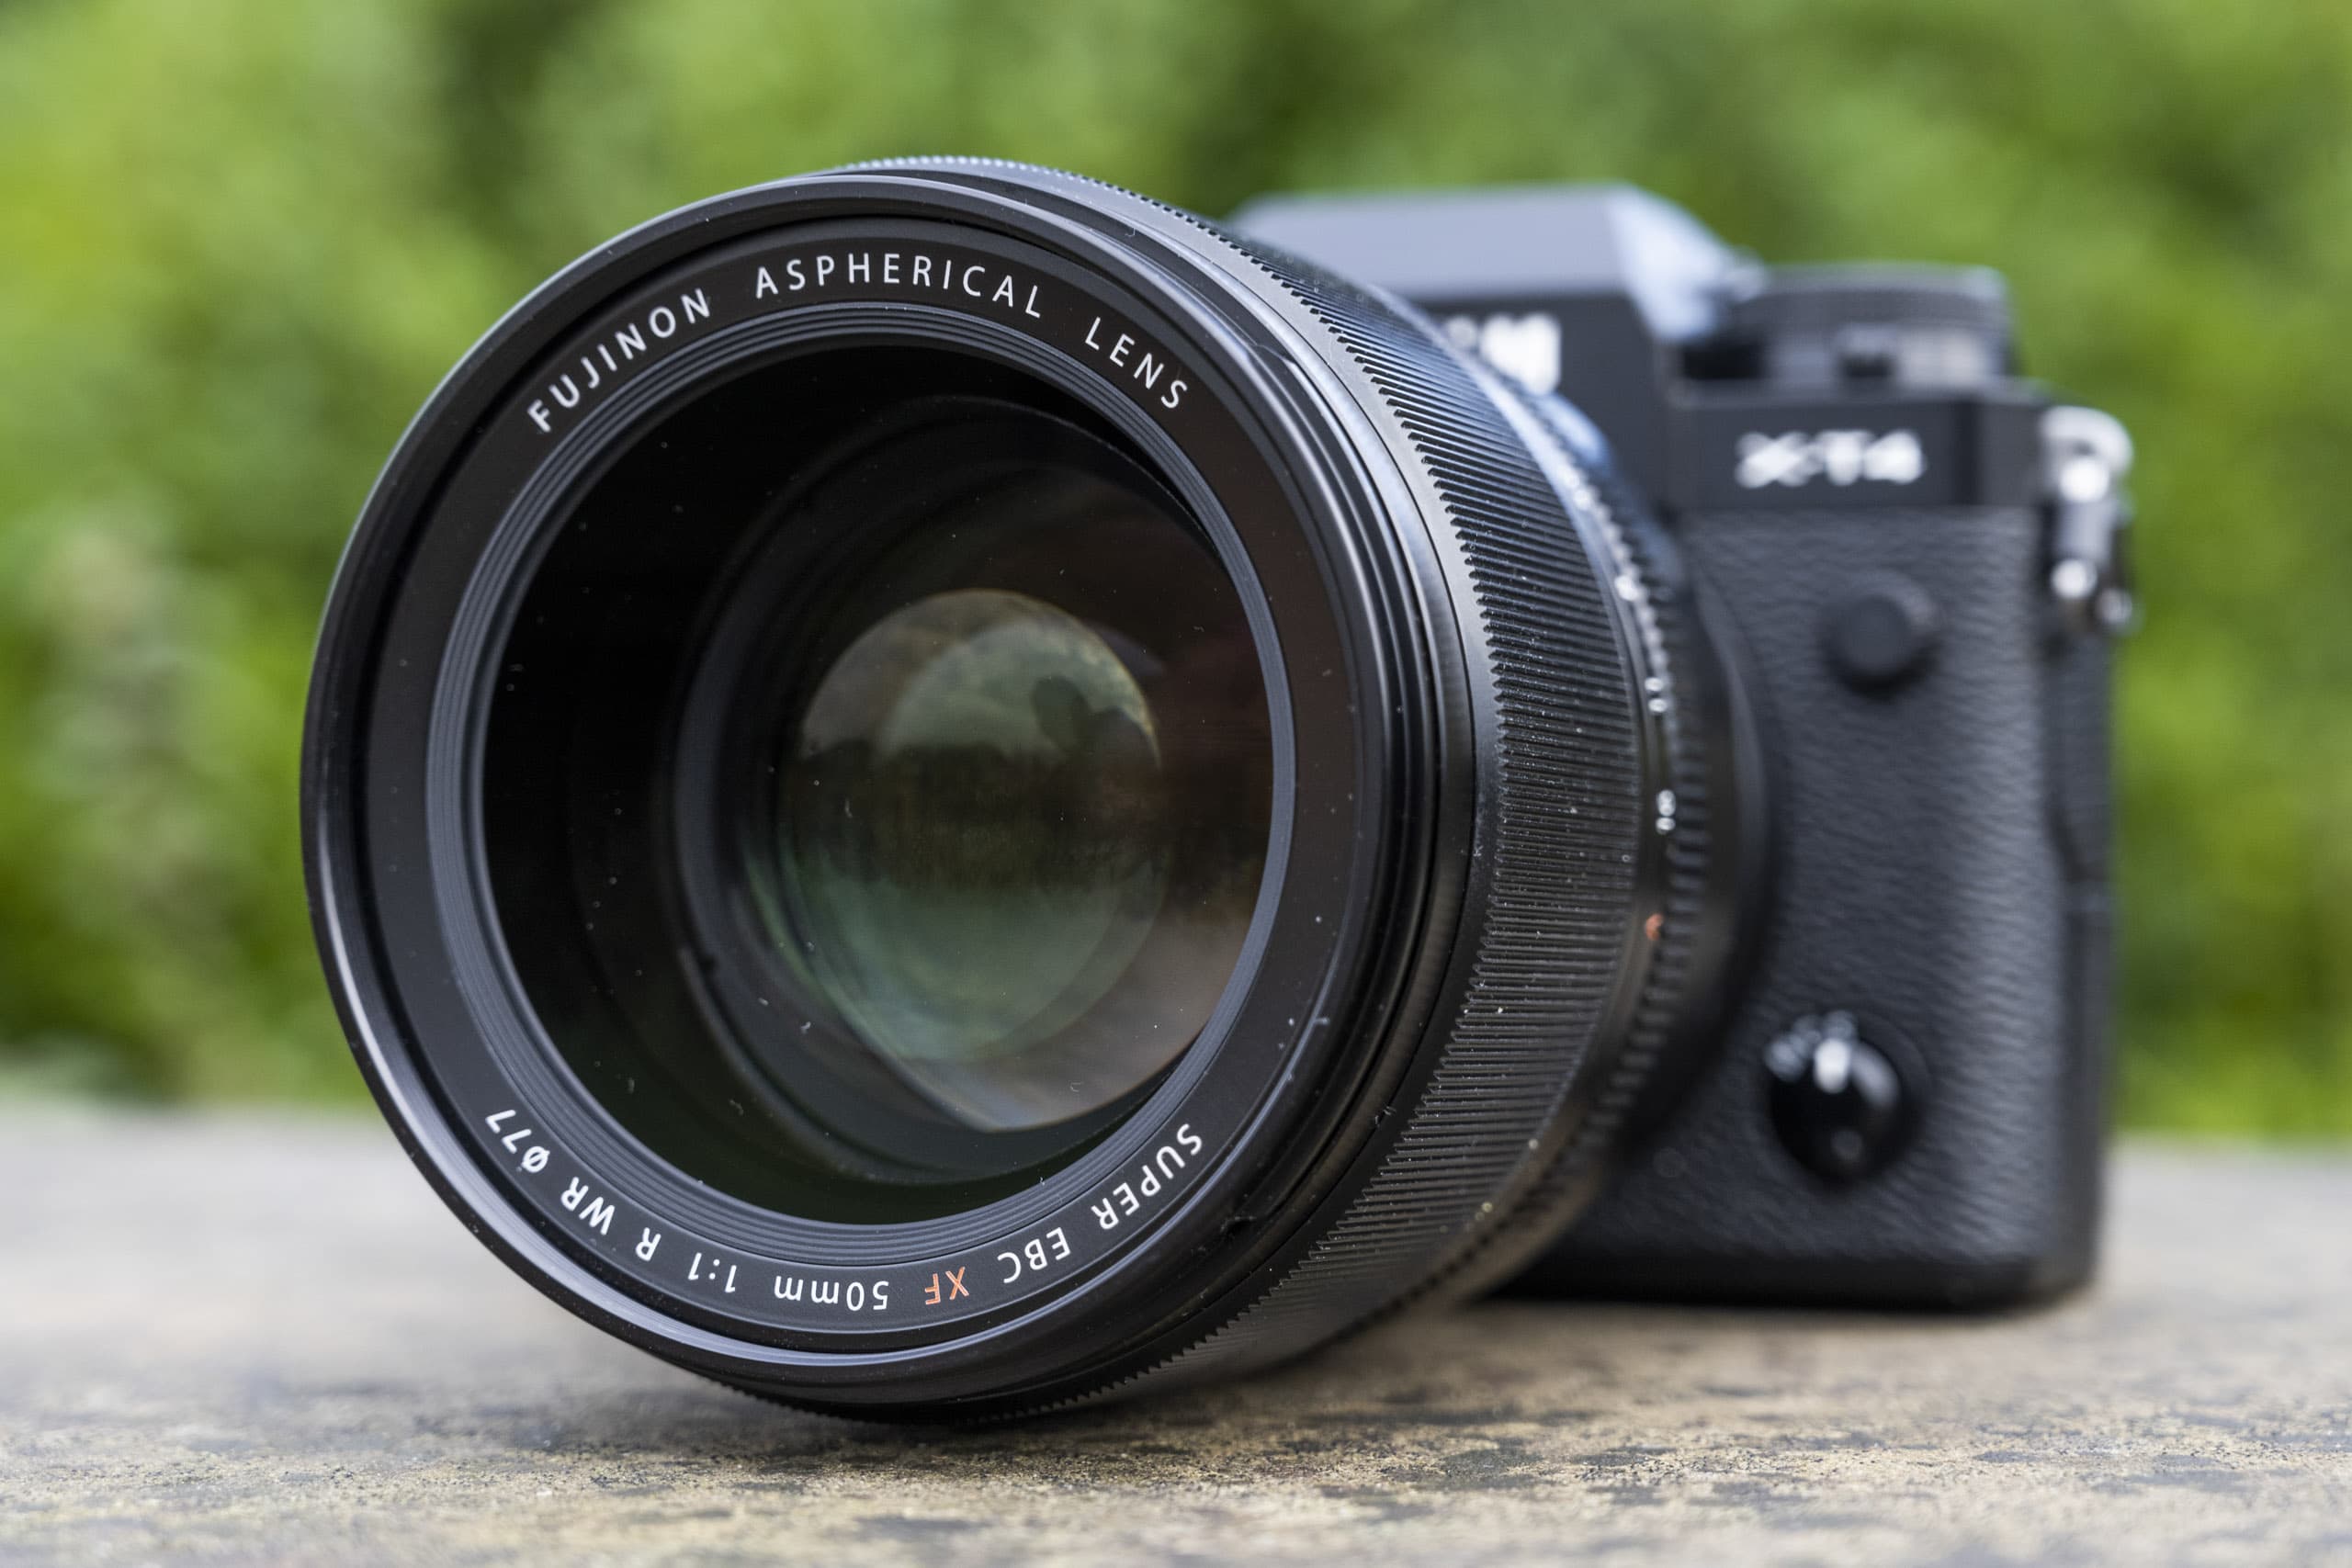
Price: from around $1,995 / £1,150 used (camera), $1,499 / £1,469 (lens)
Okay, so this is a bit of an extravagance, but the XF 50mm f/1.0 is an exceptional lens that not only has a dramatically wide aperture, it is also sharp wide open and creates a unique look. The X-Pro3 is an odd pairing size-wise perhaps, but the smaller body keeps the kit a little more compact, and the X-Pro series all make great street cameras. The camera offers a host of built-in styles for a wide range of looks, and the raw files are lovely to work with.
Hasselblad X2D with XCD 2.5/55V
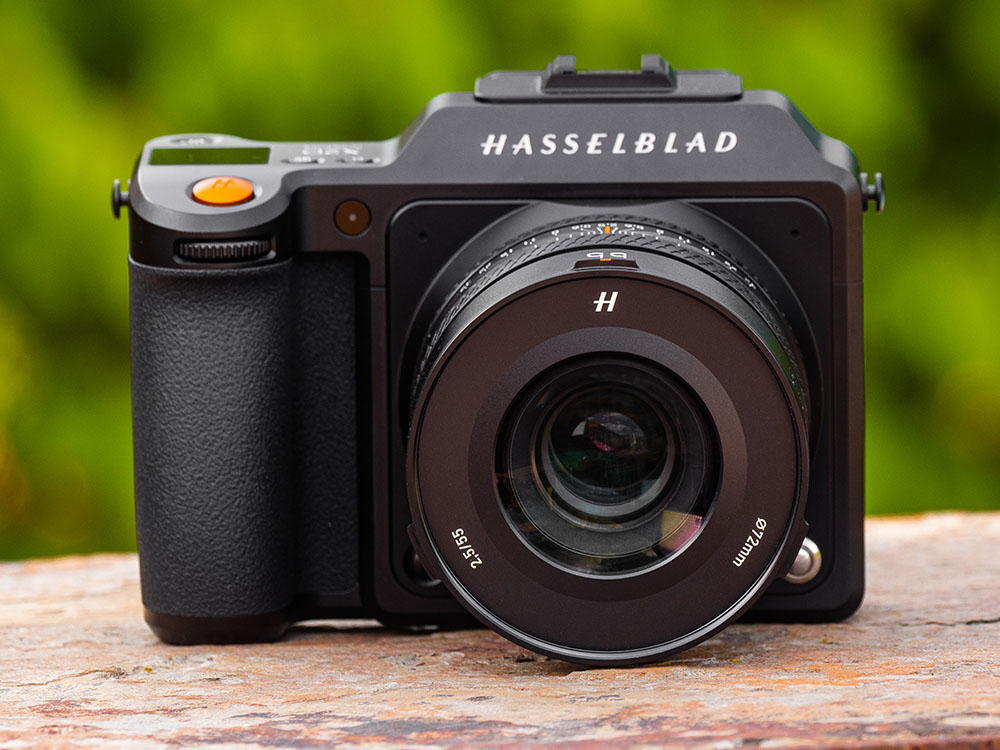
Price: $8,200 / £7,369 (camera), $3,699 / £3,559 (lens)
A medium format camera mightn’t be an obvious choice for street photography, but the larger sensor of the Hasselblad X series makes for a pretty unique look when you make the most of the faster apertures of the new XCD-V lenses. The AF of the X2D is much quicker than the other X bodies, but you’ll need to aim elsewhere in really fast-moving situations. At walking pace action, the camera will keep up, and the pictures will look amazing.
Leica M11 with APO-Summicron 50mm f/2 ASPH
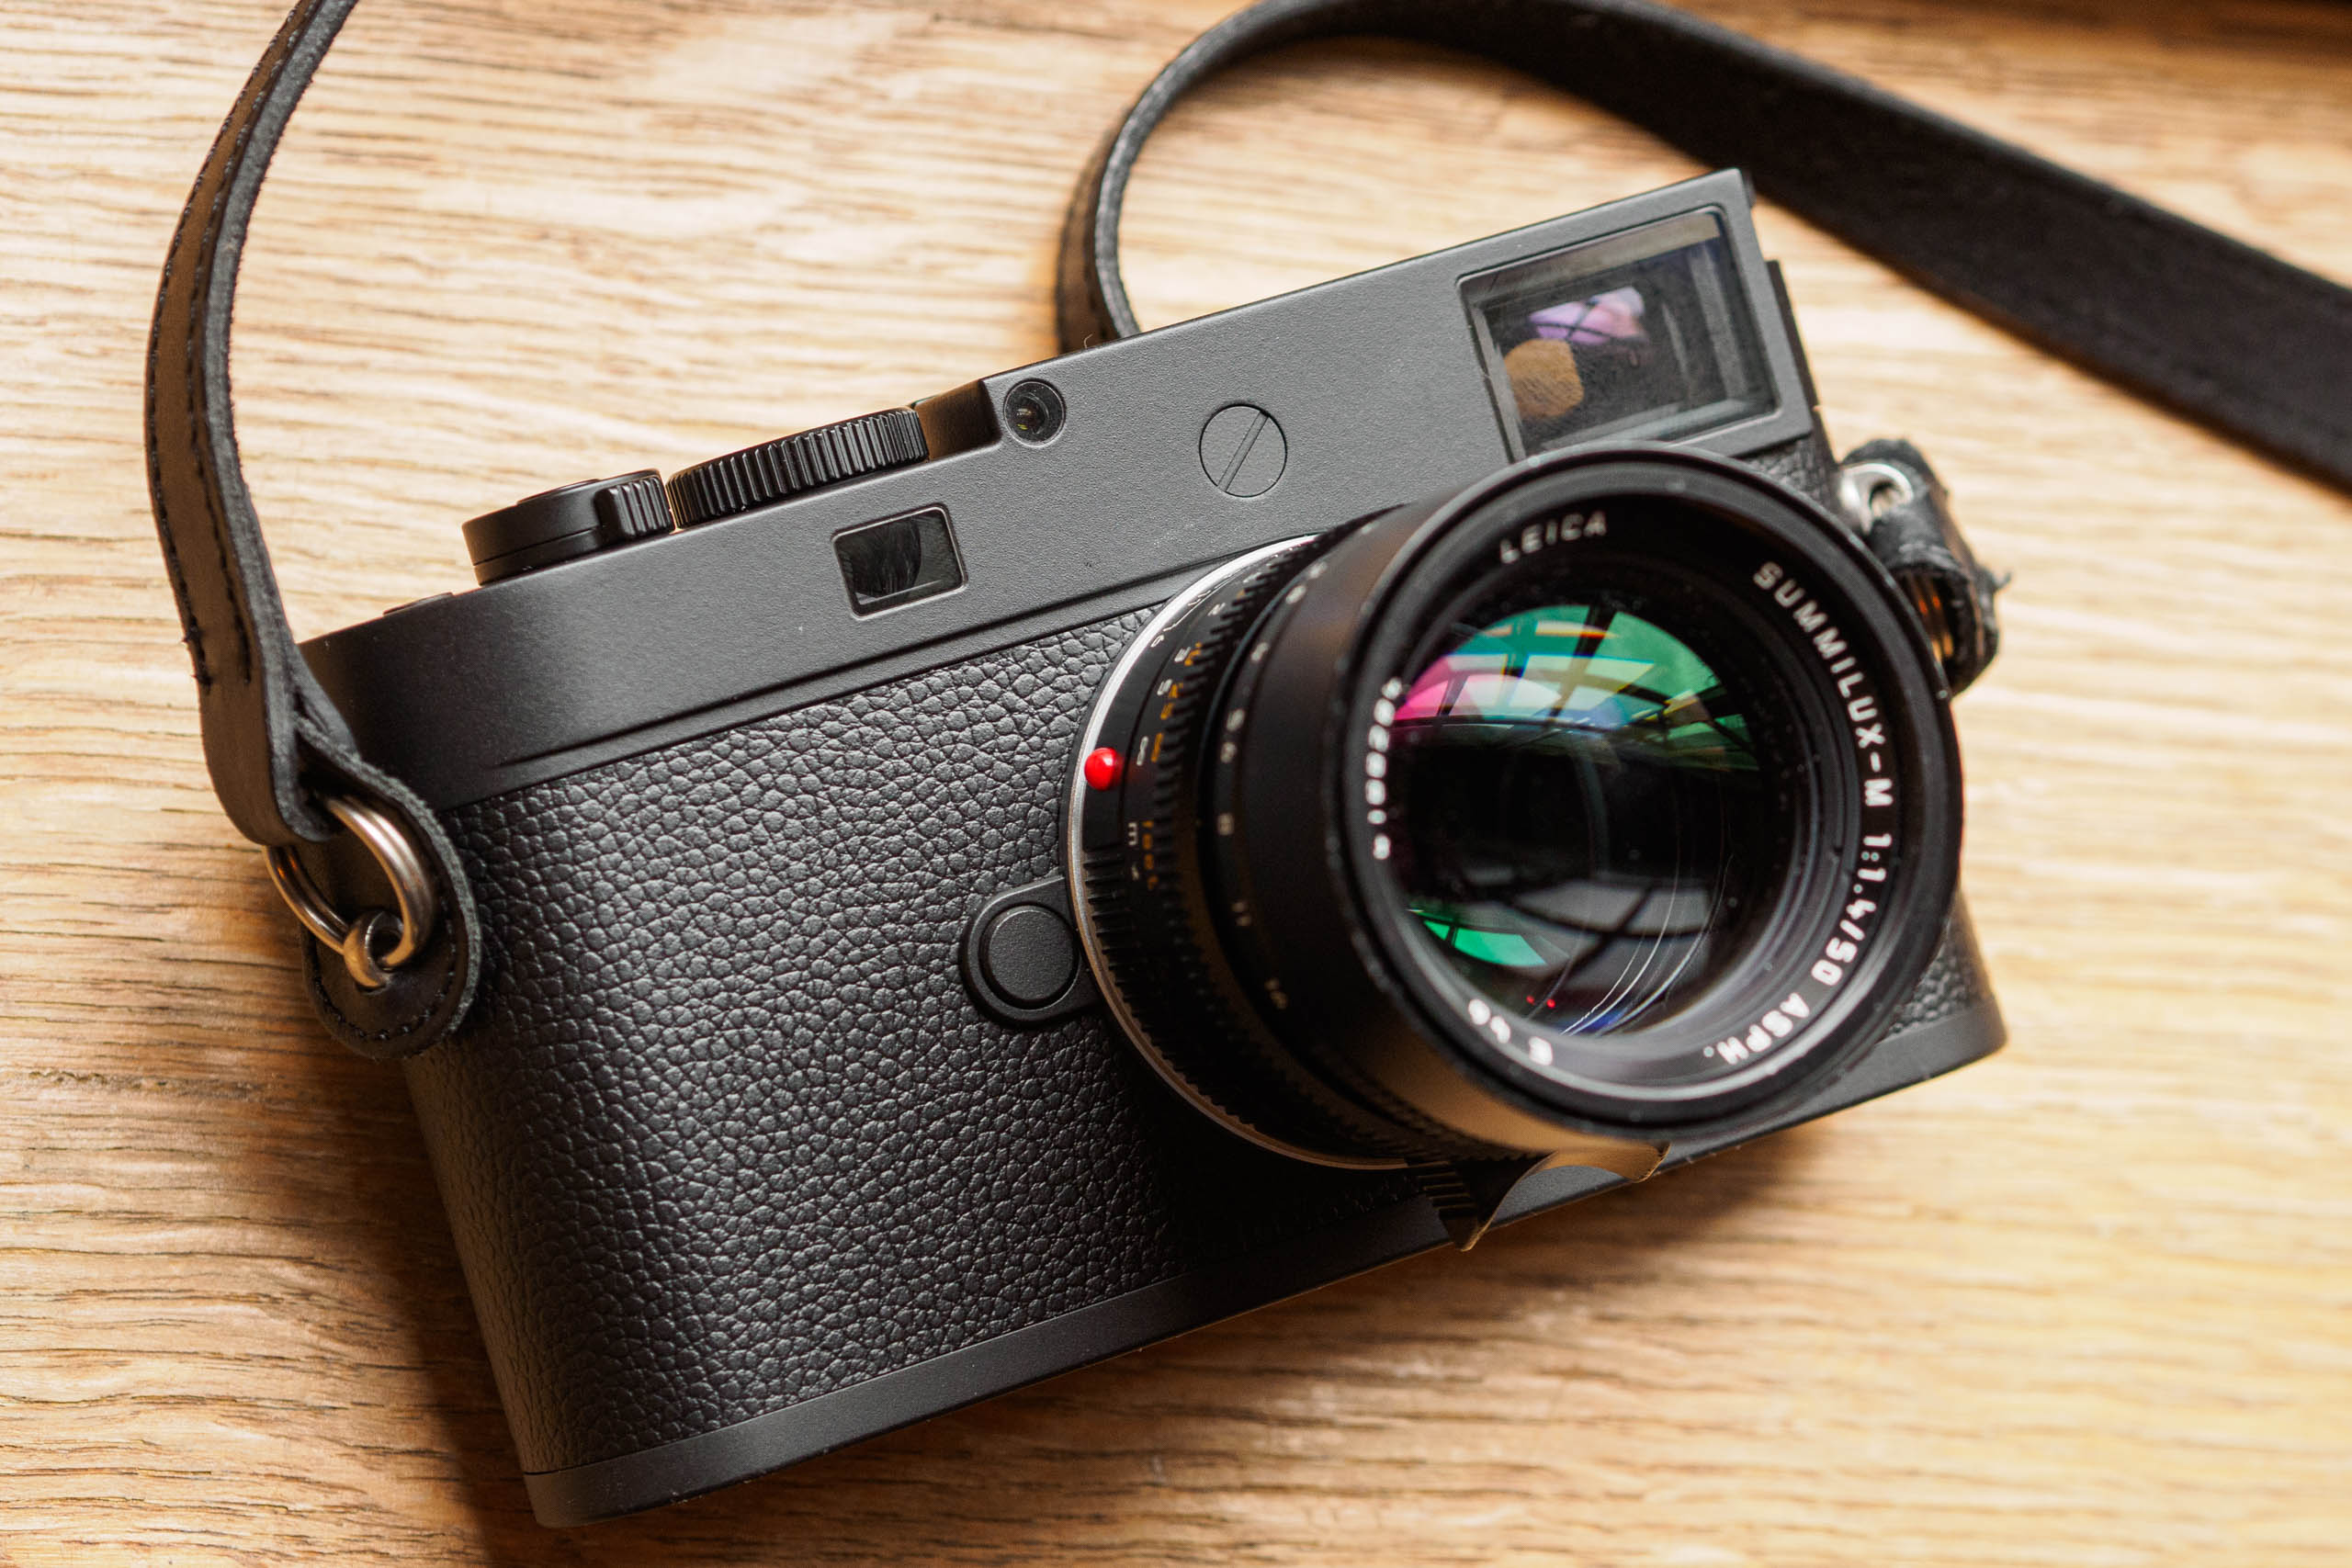
Price: $8,995 / £7,800 (camera), $5,095 / £4,220 (lens)
Manual focus can be hard work if you want a shallow depth of field as moving subjects are a challenge, but stopping right down allows action and focus to come together. The M11 has exceptional image quality and the f/2 APO 50mm has the resolution and contrast to make the most of it. Live view shooting makes the latest Leica M cameras modern, but through-the-rangefinder is still a great way to work. For a classic (softer) look, consider the £3,550 50mm f/1.4.
Nikon Z 6ll with Nikkor Z 50mm f/1.8 S
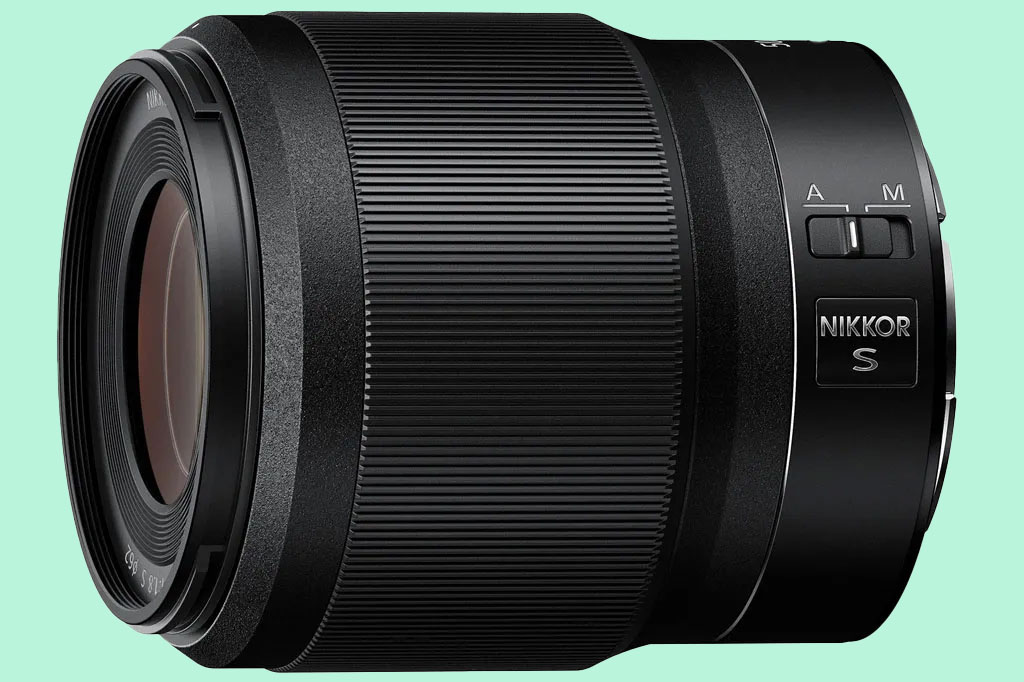
Price: $1,497 / £2,299 (camera), $427 / £489 (lens)
Nikon’s Z 6ll is its most popular camera and it makes a great option for street photographers with its fast reactions, great AF system and in-body IS system. Nikon has just announced a tiny 26mm f/2.8 pancake that looks exciting, but for more regular shooting the 50mm f/1.8 S is a good option and offers a wider aperture. The Z 40mm f/2 SE is very tempting, not only for its cool looks, but also its nine-bladed iris that’ll produce attractive out-of-focus highlights.
Olympus OM-1 with M.Zuiko Digital ED 12mm F2.0
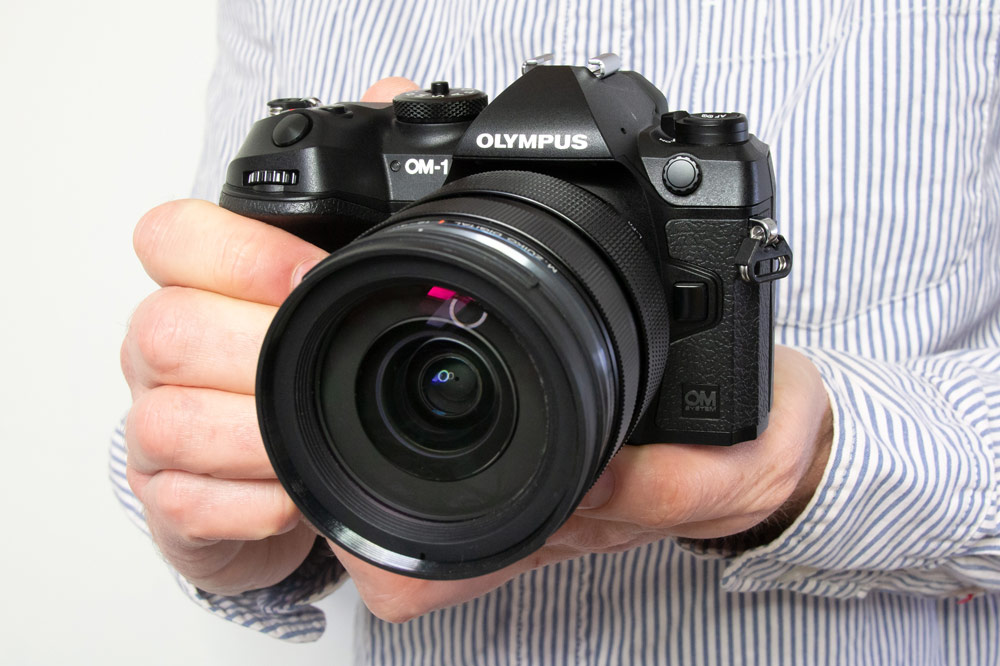
Price: $1,499 (current Black Friday price) / £1,130 (camera), $400 / £699 (lens)
The Micro Four Thirds format makes a lot of sense for street work, and Olympus has a host of small, light and reactive cameras. The company’s OM-1 has an excellent AF system and fast reactions, making it a great choice for street. It is probably the best MFT camera for stills at the moment, and it offers all the control and image quality of a much larger camera. Coupled with the 12mm f/2 you’ll have a powerhouse with a nice wide view from some first-class glass.
Panasonic S5ll with Lumix S 50mm f/1.8
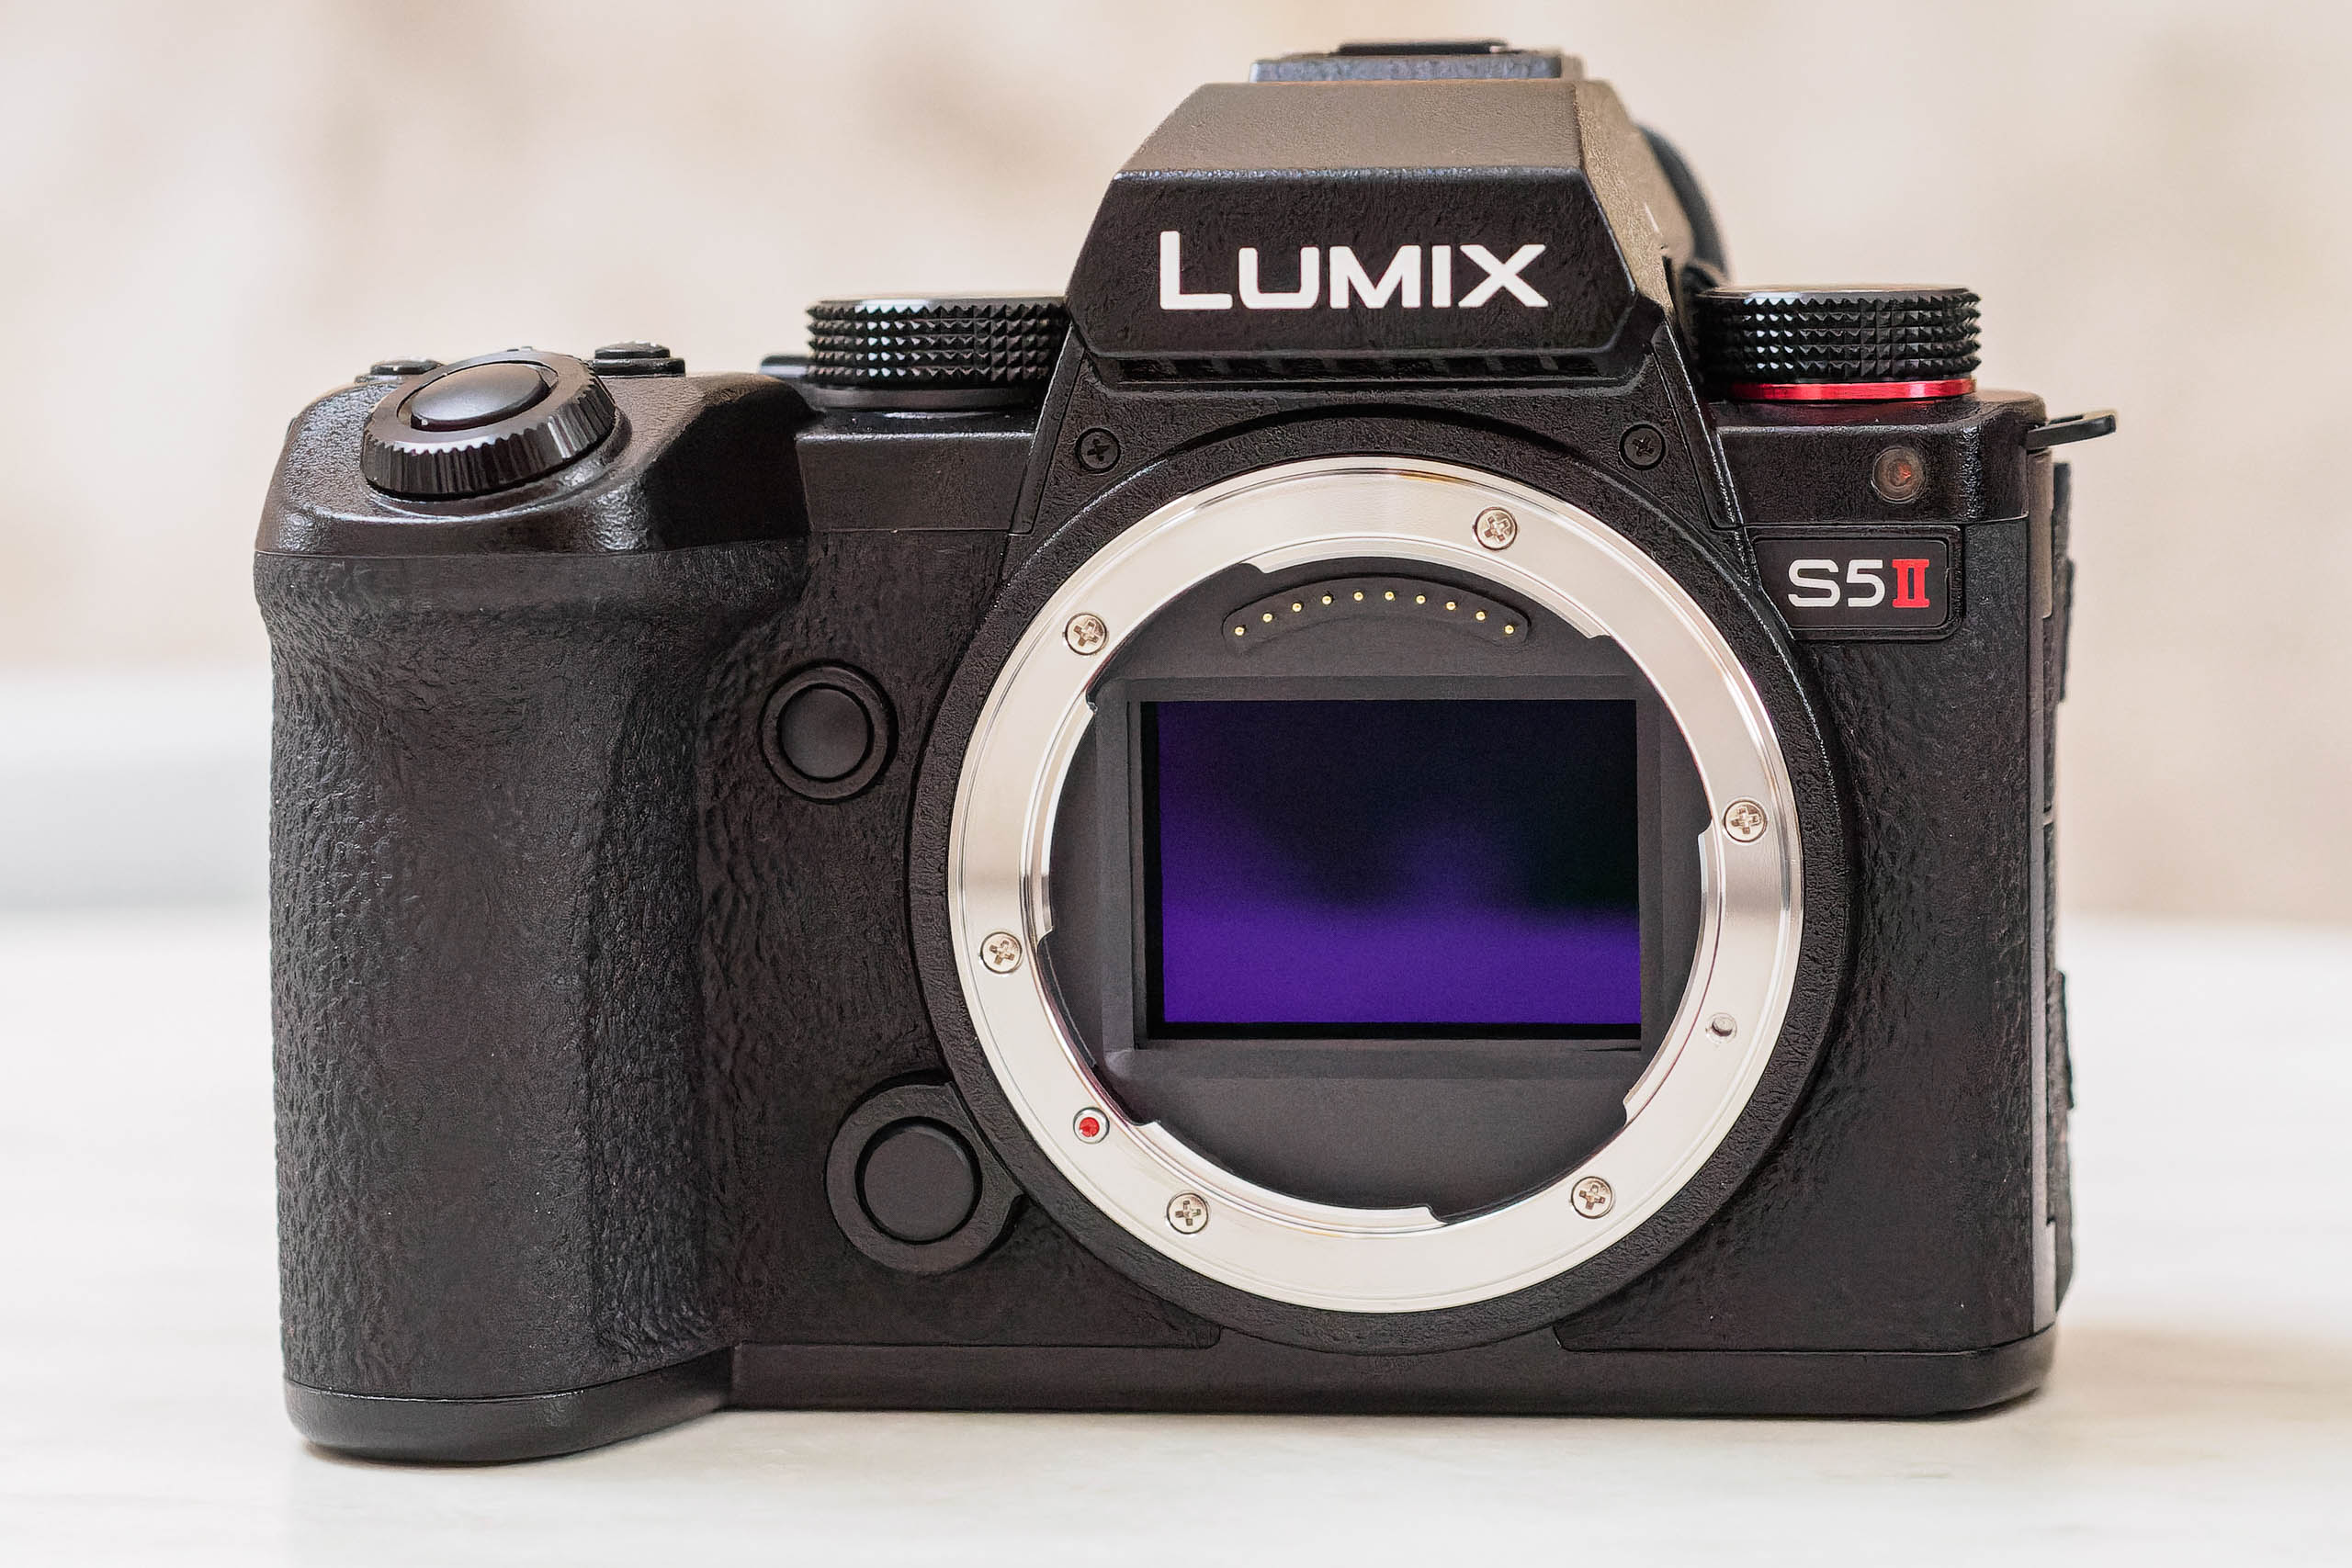
Price: $1,997 / £1,999 (camera), $447 / £429 (lens)
While the Lumix S5ll is a full-frame camera, it is also pretty small and light and has similar reactions to the speedy Lumix G9. The new AF system will help in low light, and the exceptional image stabilisation will allow long shutters without a tripod when you want blur. Also, small and light is the Lumix S 50mm f/1.8, though the 24mm and 35mm lenses will appeal to those who like a wider view. The f/1.4 50mm is amazingly good, but also big in size and price.
Check out our picks of the best lens for street photography in 2024 for more options.
What is the best camera for street photography? Check out our picks of the very best cameras for street photography as well as the best camera phones for photography in 2024 if you shoot street photography with your smartphone.
Related content:
- Street Photography guide
- Black and white street photography: Tips and techniques from the experts
- The 12 best cities for street photography around the world
- Using smartphones for street photography
Follow AP on Facebook, Twitter, Instagram, and YouTube.


