The Film Simulation modes are one of many reasons why Fujifilm’s cameras have such a devoted fanbase. Available to some degree on all X-series and GFX-series cameras, Film Simulations are essentially digital scene modes that emulate classic film stocks.
As a lover of film as well as digital shooting, I can definitely admit that I’d been a little snobby about the Film Simulation modes in the past. However, having spent the past few weeks using them on a combination of my own X-T20 and an X-T5 kindly lent to me by Fujifilm, they are quite simply just a lot of fun. Being able to apply these distinctive, stylish looks to your images while you’re out and about shooting is immensely addictive, especially if you’re the kind of shooter who (like me) prefers to spend as little time wrestling with editing software as possible. There’s a reason after all that Fujifilm is our pick for the best camera brands for JPEGs.
Here is a rundown of the essentials you need to know about Film Simulation modes – including how to access them, what they do, how to customise them, and which cameras you can find them on.
How to access Fuji’s Film Simulation modes
Accessing the Film Simulation modes on your Fujifilm camera is very simple. The Film Simulation selector is mapped by default to the left button on the D-pad on the rear of the camera – tap it in the normal shooting mode, and the Film Simulation selection screen will pop up, allowing you to scroll to your preferred selection.
The Q menu also lets you switch Film Simulation modes – to access it, hit the ‘Q’ button, then navigate to the film-roll symbol where your current Simulation is listed. Use the horizontal wheel to scroll between selections.
You can select a Film Simulation for JPEG or Raw shooting. However, the Simulations don’t actually do anything to Raw files, beyond changing how they look in the thumbnail preview, and adding a flag to instruct compatible Raw processors to automatically apply the profile to the file when it is imported (which, of course, is the work of moments to undo).
For the purposes of this article, we’re looking at Film Simulations in the context of shooting JPEGs – as that’s really what they’re designed for.
What are Fujifilm’s Film Simulation modes?
Here is a rundown of the various Film Simulation modes offered by Fujifilm cameras. There are currently a total of 20 available across Fujifilm’s portfolio of cameras.
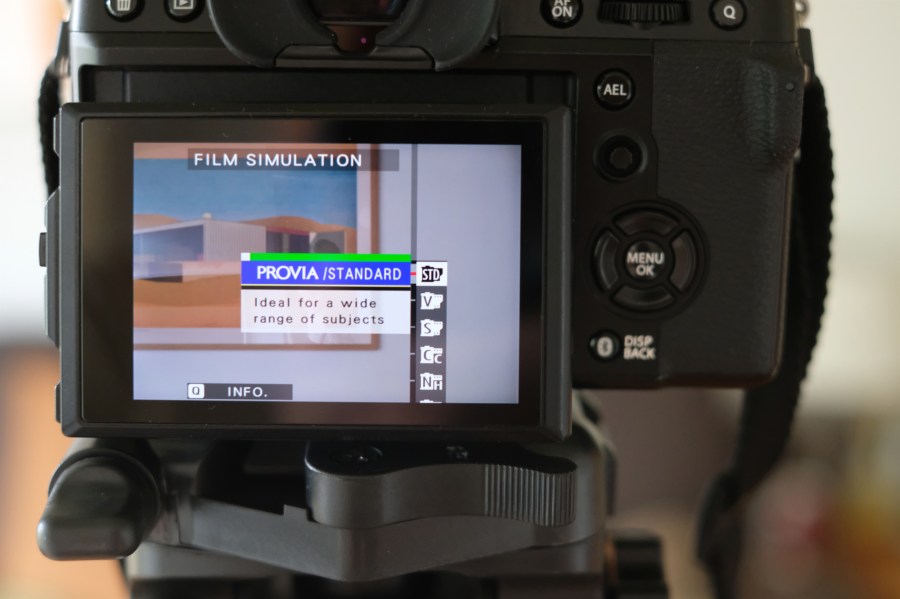
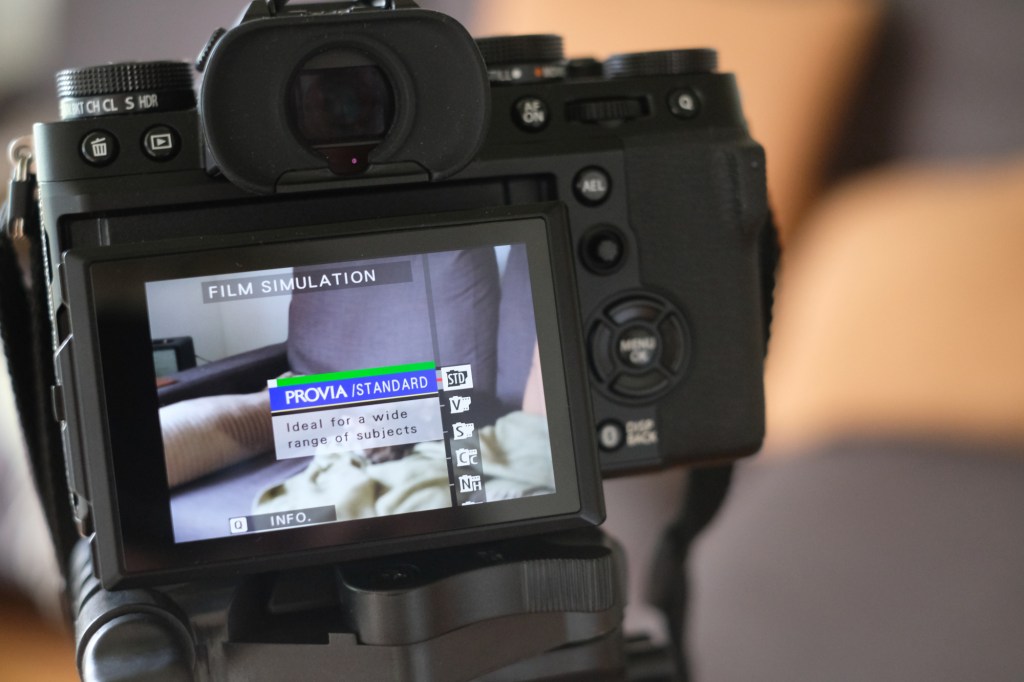
Provia / Standard
“Provia / Standard” sits at the top of the Film Simulation list, and is the default setting. If you simply turn on a Fujifilm camera and capture an image in JPEG format, it will have this Simulation applied to it.
As such, the Provia mode – based on Fujichrome Provia slide film – is very much a jack-of-all-trades. It produces accurate colour rendition, neither overly saturated, nor too washed-out. Skin tones are accurately rendered, and if you take it out on a sunny day, you’ll get images with plenty of colour and pop. By the same token, if you’re out on a drab day and you shoot it with Provia – guess what, it’ll look drab.
Provia is a good choice for family snapshots, holidays and general day-to-day photography. For those times when accuracy is perhaps a bit more important than artistry.
Velvia / Vivid
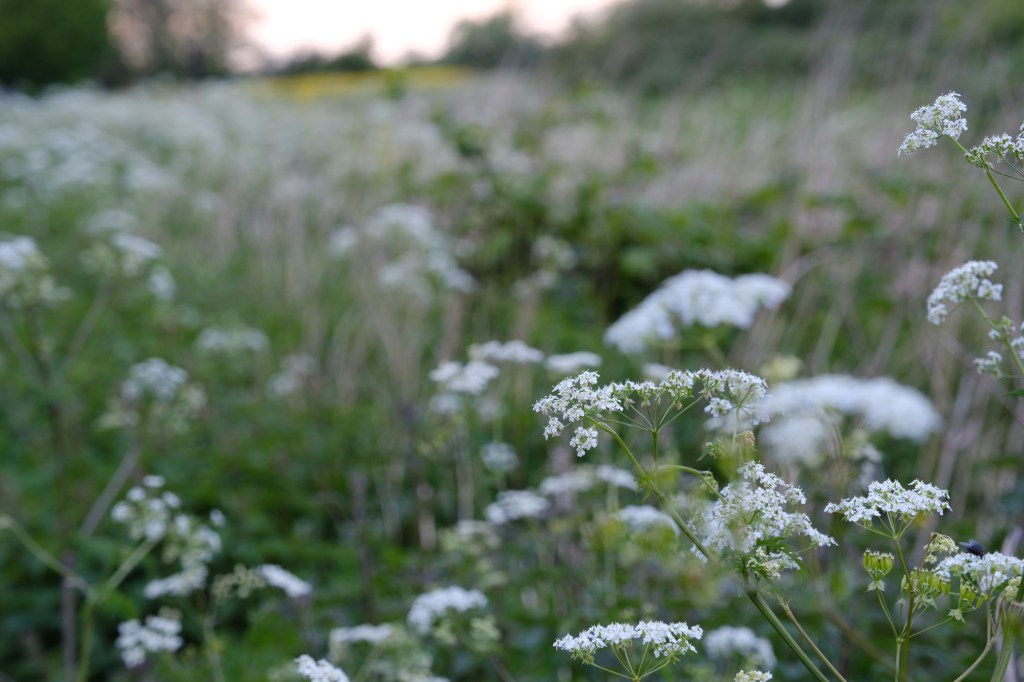
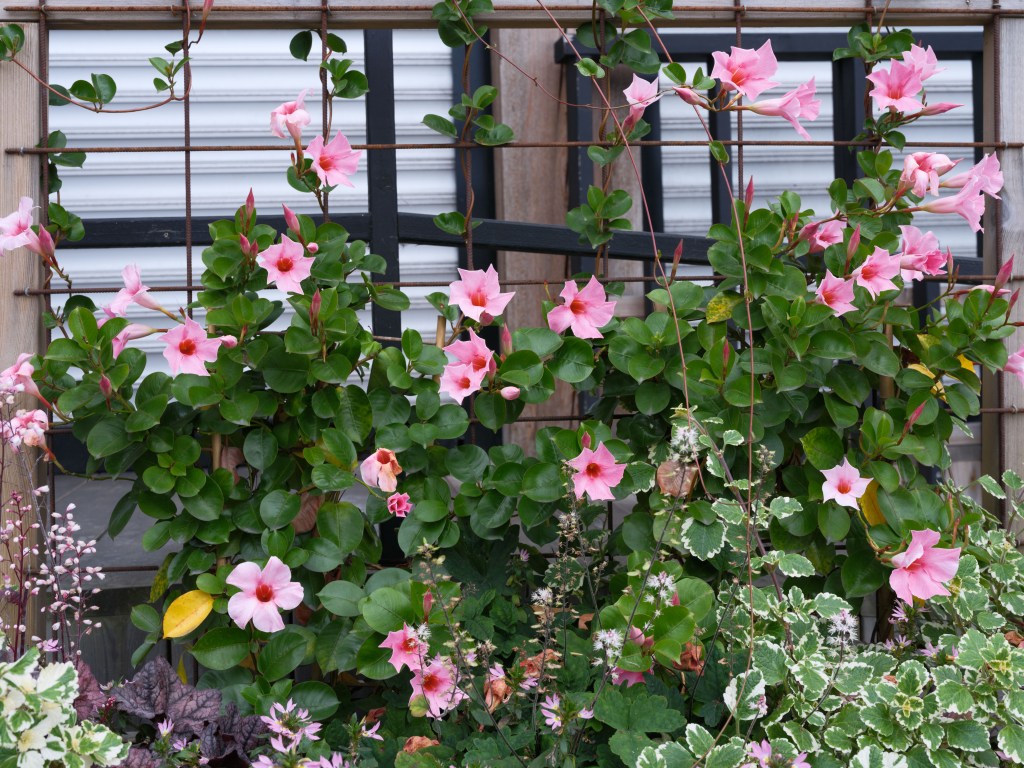
One of the most popular Film Simulation modes, based on one of Fuji’s most famous films, Velvia is unmistakable. Based on the slide film of the same name, it delivers punchy contrast and brilliant colours dialled up to eleven. For vivid green leaves, sumptuous orangey sunsets and spectacular blue seas, nothing beats it. Contrast is strong, drama is high.

It’s generally not one for portraits, as its saturated colours are neither super-accurate nor particularly flattering for most people’s skin tones. Otherwise, it’s a whole lot of fun, and great for any situation where you want to emphasise colour.

Astia / Soft
This soft Simulation is based on Fujichrome Astia 100F, and it’s essentially the inverse of Velvia. Contrast is gentle, colours are soft, and skin-tones are delivered faithfully, making this one a particular favourite among portrait photographers.
While it is generally known as the portrait Simulation, I think Astia lends itself to a lot of different shooting situations, and it’s also a good choice of default mode for those who want something a bit more characterful than Provia.
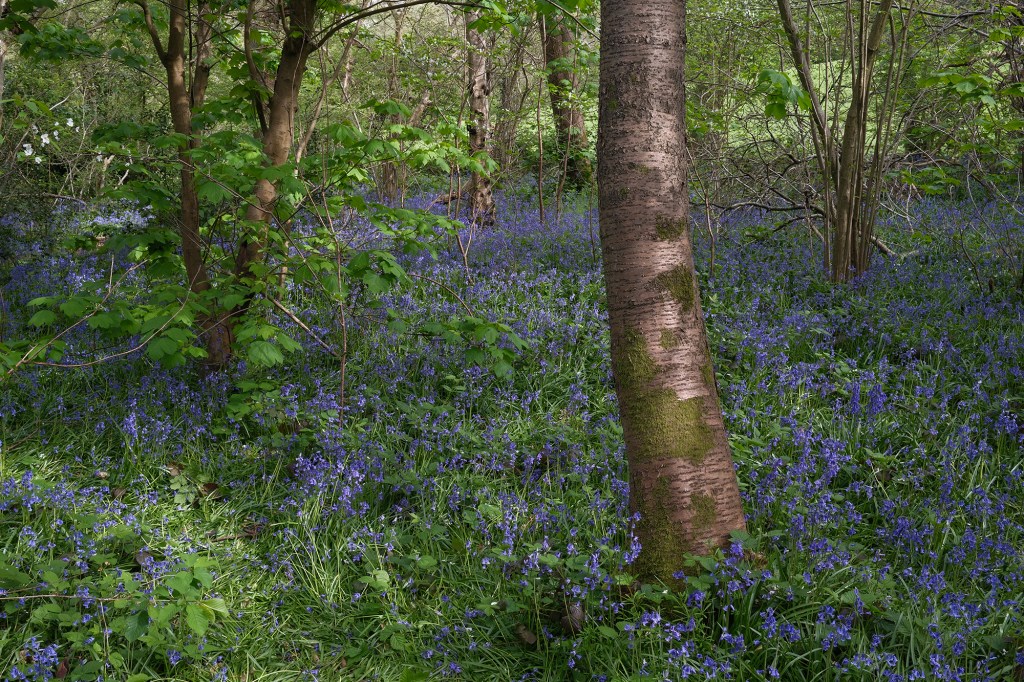
Classic Chrome
Everybody likes this one. Arriving back in 2014, Classic Chrome is available for most X cameras, and was the first mode not to be explicitly based on an existing Fuji film stock. It was designed to evoke the classically cool look of mid-century magazine journalism. Low, pale saturation blends with hard shadow contrast, and skies in particular are rendered with a rich tonality.
I also think it comes into its own on grim, overcast days when you can’t get much life out of colours, but don’t want to switch to monochrome. Dial in Classic Chrome and embrace a moody, gritty look.

Reala Ace
This is the newest Film Simulation mode, and the only one I haven’t experimented with for this piece – because it’s currently only available on the medium format GFX100 II and the hard-to-get X100VI.
AP’s own Andy Westlake gave it a spin in his review of the GFX100 II, describing it as ‘yet another really attractive colour mode to choose from… [with] similar tonality to the Standard/Provia mode, but lower colour saturation.’
Pro Neg. Hi
There are a couple of Film Simulations based on Fuji’s 160NS professional colour negative film stock, which was optimised to deliver natural skin tones and smooth colour transitions. This one, Pro Neg Hi, is the more dramatic of the two, with dynamic contrast and harder shadows that make it a good choice for emphasising lines and textures.

Pro Neg. Std
The other Pro Neg option is a flatter profile that lends itself well to editing. Tones are subtle and skin tones are natural, with subtle differences between colours well-delineated. Fujifilm recommends this as a good choice for those who are in control of their own lighting.
Classic Neg.
This Simulation is based on good old Superia, a legendary Fujifilm stock that you can still pick up in stores today. Like Classic Chrome, it delivers a fairly muted colour palette that’s brilliant for urban shooting. You get plenty of latitude in shadows and highlights, with wide dynamic range.

Nostalgic Neg.
Now we’re talking. I’ve got a soft spot for Nostalgic Neg – though you do need to be using a relatively recent X or GFX camera in order to get it. Its warm tones evoke the look of a classic, dare I say it, Kodak-like print. There’s lots of detail in the shadows, and this Simulation is practically begging for you to find a nice, honey-like sunset to really show off its dulcet amber tones in the highlights.
Originally, Nostalgic Neg was only available for GFX cameras; however, it has found its way via firmware to newer X cameras like the X-T5.
Eterna Cinema
This is a video-first Simulation, originally introduced with the X-H cameras. Like a Log profile, it delivers fairly understated colours, flat contrast and broad dynamic range, designed to maximise detail captured under the assumption you’ll be colour-grading it later.
Eterna Bleach Bypass
It may share the “Eterna” name; however, Eterna Bleach Bypass is designed to be used for both stills and movies equally. It’s quite a pronounced look that definitely won’t be everyone’s cup of tea, with bumped-up contrast and low saturation for a gritty effect.
It’s named for a colour film development technique in which the bleaching part of the process is skipped, resulting in reduced saturation and exposure latitude, but heightened contrast and grain.
Acros
Fujifilm offers two sets of black & white Film Simulations, and Acros is likely to be the one you find yourself reaching for. It delivers beautiful clarity in black & white images, as befitting the Neopan 100 Acros film that inspired it, with its super-fine grain. If you want a bit more grit, you can up the ISO or use the Grain settings in the Image Quality menu (see ‘How to create your own recipes’ below).

Fujiflm’s monochrome modes offer the option to recreate the effect of a colour filter being placed over the lens. So as well as a standard Acros mode, you also have:
- Yellow filter: enhances contrast, darkens skies
- Red filter: enhances contrast and darkens skies even further
- Green filter: lightens the tones of green leaves and foliage
Monochrome
This is a more straightforward b&w mode than Acros – it’s essentially a monochromatic version of the default Provia setting. Once again, you have the yellow, red and green filter options in addition to the standard setting.

Sepia
Just what it sounds like. Useful if you’re running a Wild West-themed photobooth; less so otherwise.

Which Film Simulation modes are on which cameras?
All Fujifilm X and GFX cameras, going all the way back to the very first X100, offer at least some Film Simulation modes. They’ve been around since FinePix cameras in the early 2000s. Annoyingly, there doesn’t seem to be a complete, up-to-date list of exactly which Film Simulation modes are available for which cameras – believe me, I have looked.

In general, the newer your camera, the more modes you’ll have. The X-series camera with the most Film Simulation modes is the X100 VI, which has a total of twenty.
- Provia
- Velvia
- Astia
- Classic Chrome
- Reala Ace
- Pro Neg. Hi
- Pro Neg. Std
- Classic Neg.
- Nostalgic Neg.
- Eterna/Cinema
- Eterna Bleach Bypass
- ACROS (Std, Ye, R, G)
- Monochrome (STd, Ye, R, G)
- Sepia
Almost as well equipped are the X-T5, X-S20, X-H2 and X-H2S, which all have 19 – the same list as above, minus Reala Ace.
Next is the X-T30 II, which has 18 Film Simulation modes, lacking both Reala Ace and Nostalgic Neg.
Beyond that, you can expect to see fewer and fewer modes depending on how old your camera is and which version of the X-Trans sensor it has. To give you an idea, here is the Film Simulation list from my X-T20, which was released in 2017:
- Provia
- Velvia
- Astia
- Classic Chrome
- Pro Neg. Hi
- Pro Neg. Std
- ACROS (Std, Ye, R, G)
- Monochrome (STd, Ye, R, G)
- Sepia

How to create your own Film Simulation recipes
If you want to tweak or customise the way a Film Simulation mode looks, this is very easy to do – and once you’re happy with how it looks, you can save your edits as a custom preset. This effectively gives you a way to create your own Film Simulation recipes.
Navigate to the “IQ” menu, which is the first section that appears once you press “Menu”. Here you have a suite of image quality options you can tweak to your liking. First, select the Film Simulation you’d like to use as your baseline (pick Provia if you want a neutral starting point).

From there, you can experiment with a number of different settings. You can change the white balance or dynamic range settings, use a tone curve to bump up shadows or highlights, smooth out skin, and more. There are also a few specific settings for giving your images a more “filmic” look (note that not all cameras will have all options):
Grain Effect
As it sounds, this adds an artificial layer of film-like grain to your images, giving them some texture and atmosphere.
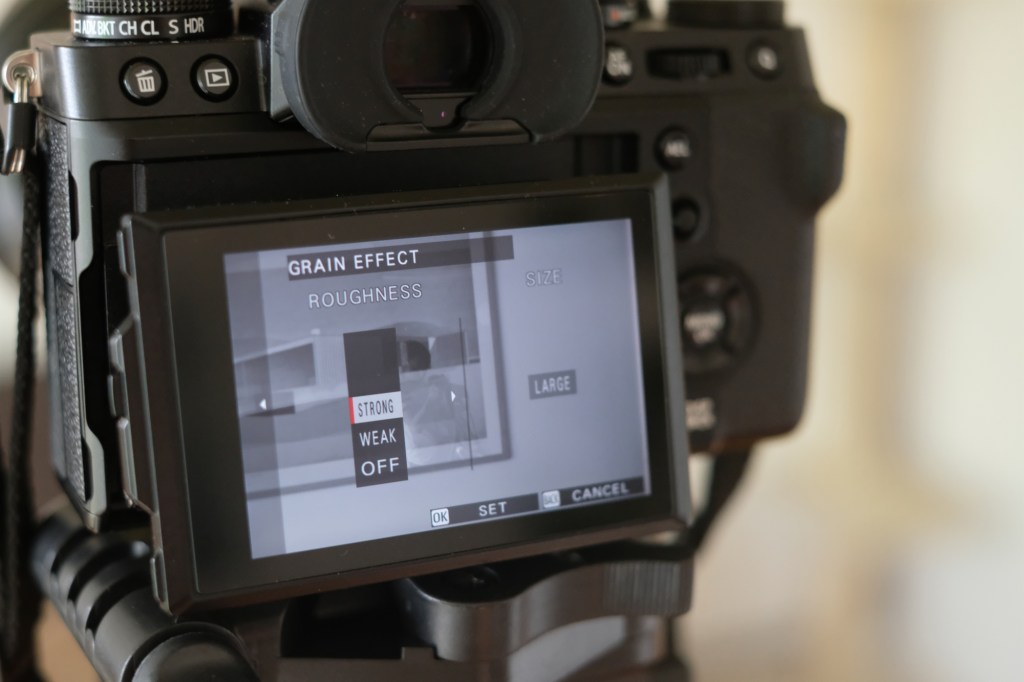
On newer cameras, you can fine-tune the grain to your liking, with “Roughness” options of “Off”, “Weak” and “Strong”. The grain size can also be set to “Small” or “Large”.
Colour Chrome Effect
Introduced with the X-T3 and X-T30, this is quite a subtle effect that’s designed to produce deeper colours and a wider range of tones when shooting in bright conditions. If you’re out shooting in nature and it’s a bright day with a lot of glare, Colour Chrome is a good way to rescue some colour.
It was inspired by Fujichrome Portia, a film that was produced for a short time in the 2000s and billed as offering ‘more contrast and colour than Velvia’.
Colour Chrome FX Blue
This is a slightly tweaked version of Colour Chrome that only affects blue tones. Great for putting a bit of life back into skies and seas, it’s not dissimilar in effect to a polarising filter – though the effect isn’t as pronounced.
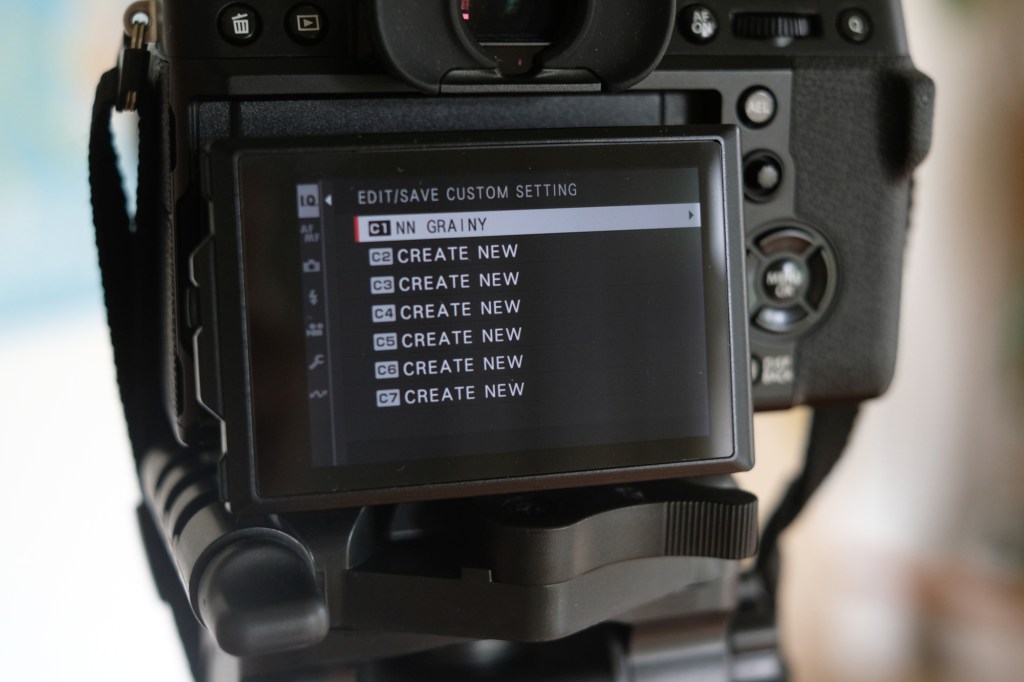
Once you have a combination of settings that you like, you can save them as a custom recipe for easy future access. Navigate to “Edit/Save Custom Setting” in the IQ menu, and from there you can save your edited settings as one of six custom profiles. Then, in the future when you want to use it, simply go to “Select Custom Setting” and pick it off the list.
Ultimately, Film Simulations are one of the reasons that Fujifilm cameras are so much fun to use. They’re there for experimentation and creativity. So, if you haven’t used them before, give it a go next time you take your Fujifilm camera out to shoot, and see what kinds of images you can create.
Further reading:
- Fujifilm announce the new 40MP X-T50 with IBIS!
- Forget the Fujifilm X100VI, the X-T50 is the perfect travel camera
- Fujifilm X100VI Field Test – Is six the best?
- Fujifilm X100 Series: The complete guide
- Nobody does it better: which maker has the best film-simulation modes?
Follow AP on Facebook, Twitter, Instagram, YouTube and TikTok.