
Let the battle between in-camera pixel shift vs the software-based super resolution commence. James Abbott investigates two approaches that promise to quadruple image resolution.
The ability to capture ultra-high-resolution images for producing extra-large prints or to increase the resolution of lower-resolution cameras – those around the 20-30MP mark – is an enticing prospect for photographers. And with more and more cameras offering in-body image stabilisation (IBIS), a related feature known generally as pixel shift, where a series of images are taken in quick succession as the sensor shifts position, can be used to create ultra-high-resolution raw files.
Pixel shift is a feature that camera manufacturers naturally use as a selling point and on paper, it sounds amazing. But like many multiple exposure-based techniques, it’s certainly not without its downsides: huge file sizes, the necessity to keep the camera locked solid on a heavy tripod, the need for a powerful computer, hefty storage requirements and the potential for ghosting of moving elements in a scene. But what you ultimately have to ask yourself is, are these and the many images that need to be captured worth the result in some cases?
To put this into perspective, pixel shift typically quadruples the raw file size a camera is capable of capturing. But some implementations go further – the Canon EOS R5 can even produce 400MP images. Some cameras, such as OM System/Olympus and Panasonic, create the larger raw file or JPEG in-camera. But most will capture between four and 16 shots that are then merged in the relevant camera manufacturer’s software to create a new raw or JPEG file with eye-wateringly large dimensions and storage requirements.
Alternatively, Adobe Camera Raw and Lightroom offer a feature called Super Resolution which also quadruples image dimensions. This works with raw files from almost any camera, except mobile phones, and creates a new DNG file. This allows you to continue to enjoy the processing benefits of capturing raw files, albeit with a larger image file that’s interpolated purely in software, rather than by using multiple native-size raw files merged together.
Which cameras have pixel shift?
Without creating a full list of all of the cameras that offer pixel shift functionality, we’ll instead cover the camera manufacturers where some of their camera models provide this feature. The main requirement is that the camera offers IBIS, and each manufacturer has its own name for the feature. Typically, the pixel count is increased four times, which coincidentally matches the image size increase offered by Adobe’s Super resolution.
- Canon – IBIS High Resolution
- Fujifilm – Pixel Shift Multi Shot
- Hasselblad – Multi-Shot
- OM System/Olympus – High Res Mode/High Res Shot
- Panasonic Lumix – High Resolution Mode
- Pentax – Pixel Shift Resolution System
- Sony – Pixel Shift Multi Shooting
How to shoot pixel shift images
1. Set up on a tripod
Although some cameras offer a handheld pixel shift mode, shooting with the camera firmly attached to a tripod will always provide the best results. That said, with cameras that do offer a handheld mode, you can still get better results than single-shot mode and it’s much more convenient than using a tripod.
2. Attach filters as required
Shooting in pixel shift modes is the same as shooting normally, so if you use filters these can be attached as normal before you begin shooting and set exposure. Filters are essential with high-contrast landscapes, because shooting bracketed exposures for HDR would introduce even more movement.
3. Shoot in pixel shift mode
Set your camera to program, aperture priority, shutter priority or manual mode and use the settings you would normally. Switch on pixel shift within the camera menu and set the delay between shots to the shortest duration for natural light or one second or more if using flash for recycling the flash.
4. Merge your files
If you’re using a camera that doesn’t combine pixel shift images in-camera, you’ll have to load your image files into the manufacturer’s software and follow the process to merge all the raw files into a new larger raw file, that can then be edited as normal in software such as Lightroom.
How to use Adobe Super Resolution
1. Select and edit

Select the raw file that you would like to interpolate using Super Resolution and process it as usual. You can do this after applying Super Resolution, but having a ‘finished’ image beforehand can be useful to be sure you want to increase its size. Plus, all adjustments are carried over to the new DNG.
2. Apply Super Resolution
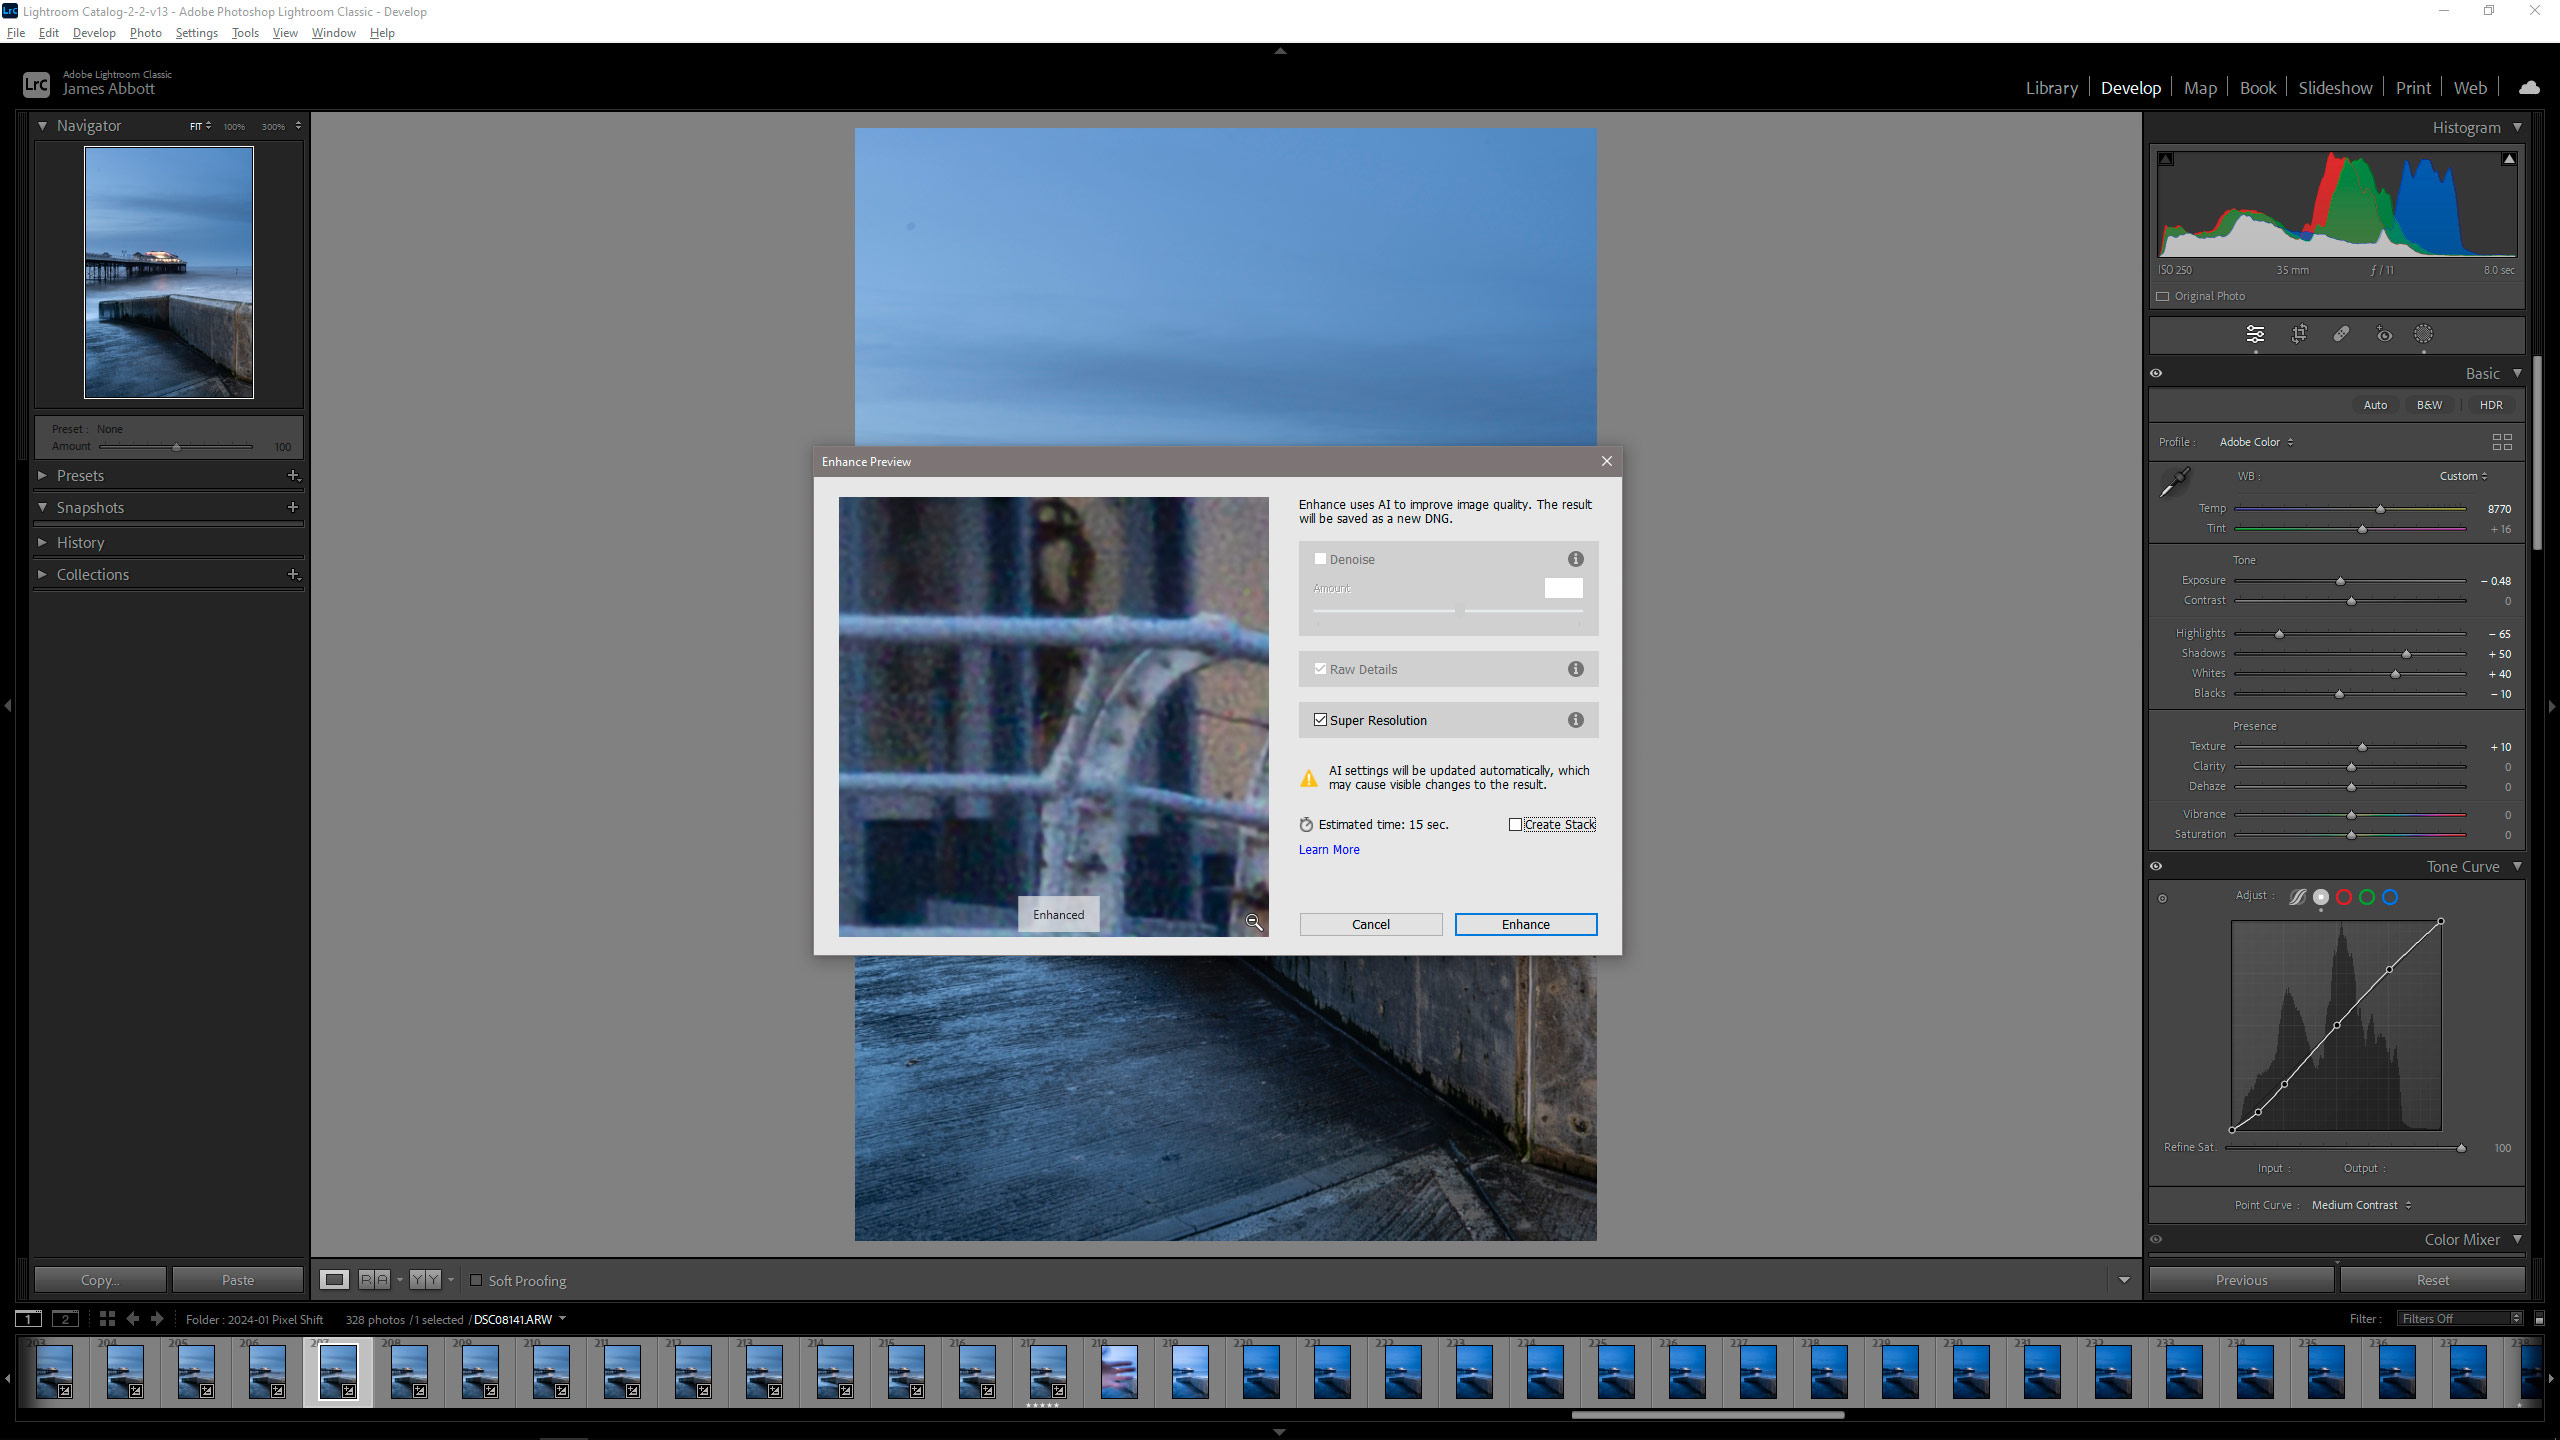
Right-click on the image thumbnail and select Enhance from the menu. When the dialogue opens, make sure that Super Resolution is checked – you can’t also apply Denoise. Left mouse click on the image window to see the before if you want to. All you need to do now is hit OK and a new DNG will be created.
Capturing moving and static subjects
Subjects with movement are notoriously tricky for pixel shift but static subjects are more suited to the feature
Getting things right in-camera capture is often the best way to shoot because it provides the best possible raw file for editing, as opposed to crossing your fingers and hoping that you can fix problems in post. So, with this in mind, the idea of using pixel shift as an in-camera method of capture logically suggests that it will provide the best results.
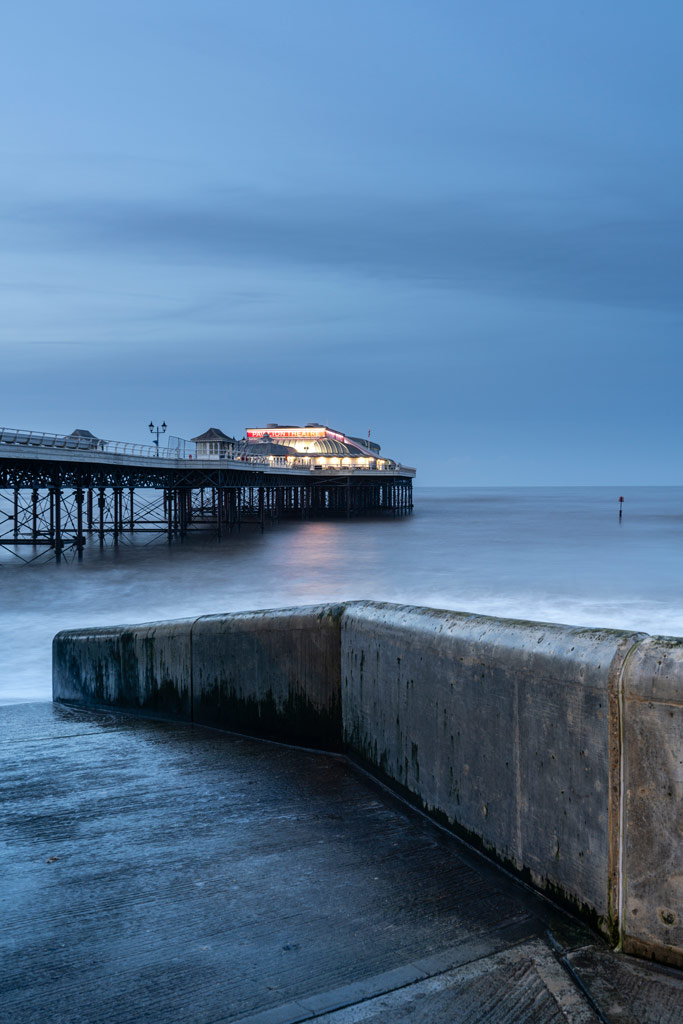
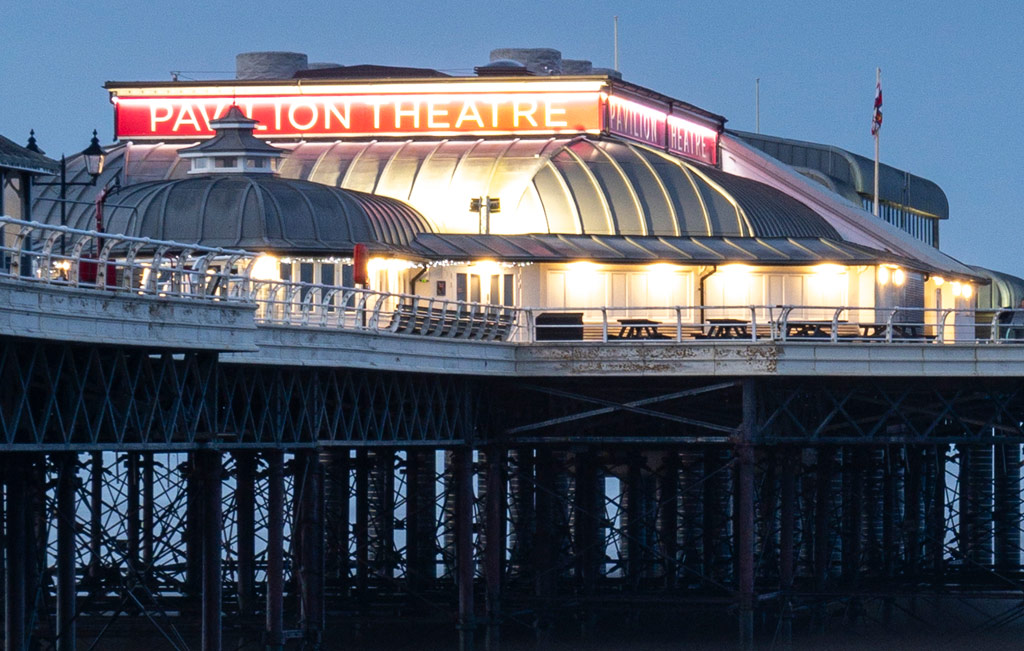
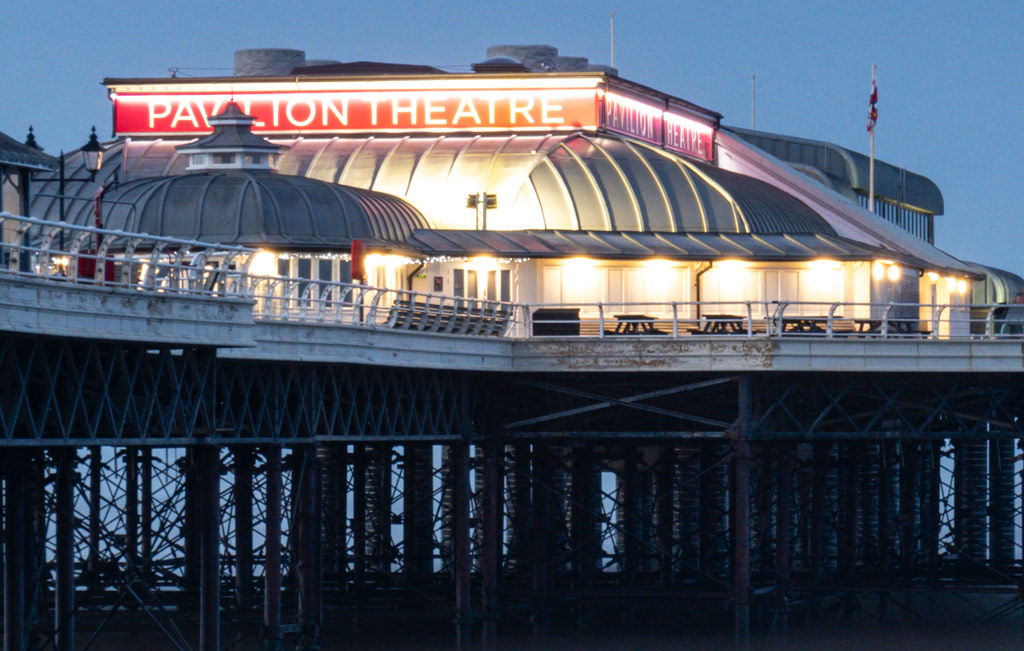
To compare the results between native resolution, Adobe Super Resolution, pixel shift images processed using the camera manufacturer’s software, and pixel shift images processed using a convoluted manual Photoshop technique, I shot with a Sony Alpha A7R V. This camera captures 16 images in quick succession which have to be merged together in Sony’s Imaging Edge software to create a new high-resolution raw file. This takes the file dimensions from the native size of 9504×6336 pixels (121MB raw files) to a whopping 19008×12672, 1.82GB file.

We’ll discuss the results of all the approaches in a moment, but this file size is obviously excessive. In contrast when using Adobe Super Resolution, which also increases the image file size from this camera to 19008×12672, the resulting DNG file that’s created is a much more palatable 229MB. My computer is powerful, but it did struggle when combining 16 raw files in Imaging Edge and using a manual merging technique in Photoshop.
Moving subject results
Looking at the results of a seascape with a rough sea, the Imaging Edge software has done a fantastic job of making the rough sea look natural. To be honest, this is easy for the software to deal with because this area of the image lacks detail, but with an image with finer moving detail such as foliage, there would be a visual stutter/ghosting present. In terms of sharpness, this is the least sharp version of the image with a haziness present in brighter detail areas.
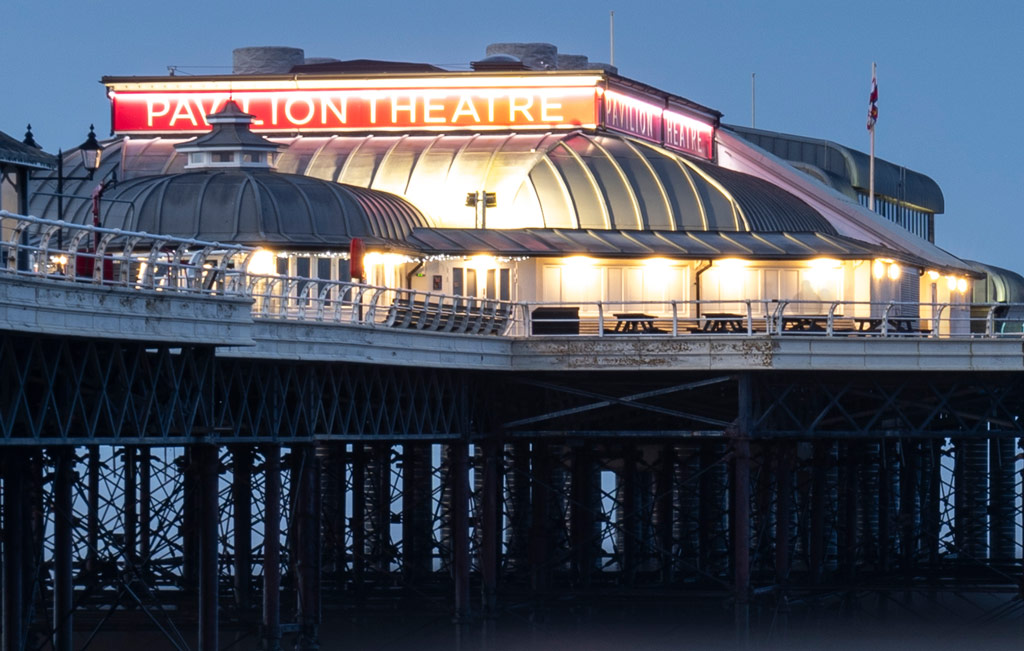
The images taken were shot at blue hour, and blue is the noisiest RBG channel, so grain is present in all images except for the version merged manually in Photoshop. This is because noise is irregular so this method smoothed out during the merge. Movement is simply blended, so it’s not as effective as Imaging Edge, but it works with the water here because it looks like a longer exposure than it was; but for movement of finer details, it would inevitably produce an inferior blend. The overall result is slightly sharper than that from Imaging Edge.

The version that’s arguably the best is the one created by applying Super Resolution to a standard raw file, because this provides the sharpest result. More artefacts are visible in some areas though due to the noisiness of the blue channel. But the fact that you can apply Super Resolution to any raw file and only have to shoot one exposure is much better than having to shoot 16 121MB raw files and then create a 1.82GB raw file on your computer.
Working with static subjects
To get the most effective results when using pixel shift, it’s best to shoot inanimate objects in a controlled environment, so indoors or in a photo studio. Here, there’s little chance that the tripod and camera will be moved even slightly by the wind, and the subject itself is completely still. This does, of course, severely limit the application of the feature.


If you shoot still life or product photography in a controlled environment, then pixel shift undoubtedly works well, but it still requires a lot of processing unless you’re using an OM System/Olympus or Panasonic Lumix camera with the feature. These cameras produce a higher-resolution raw file in-camera, which results in a much more efficient workflow. But successfully capturing movement in the scene often remains a challenge.

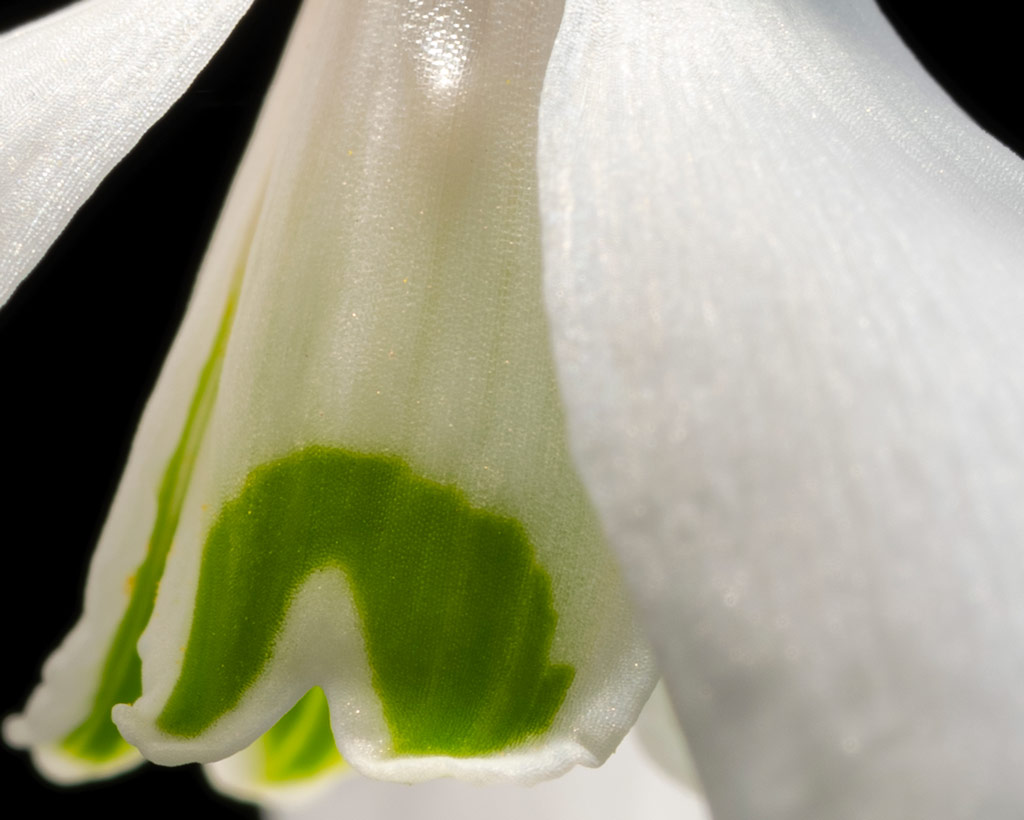

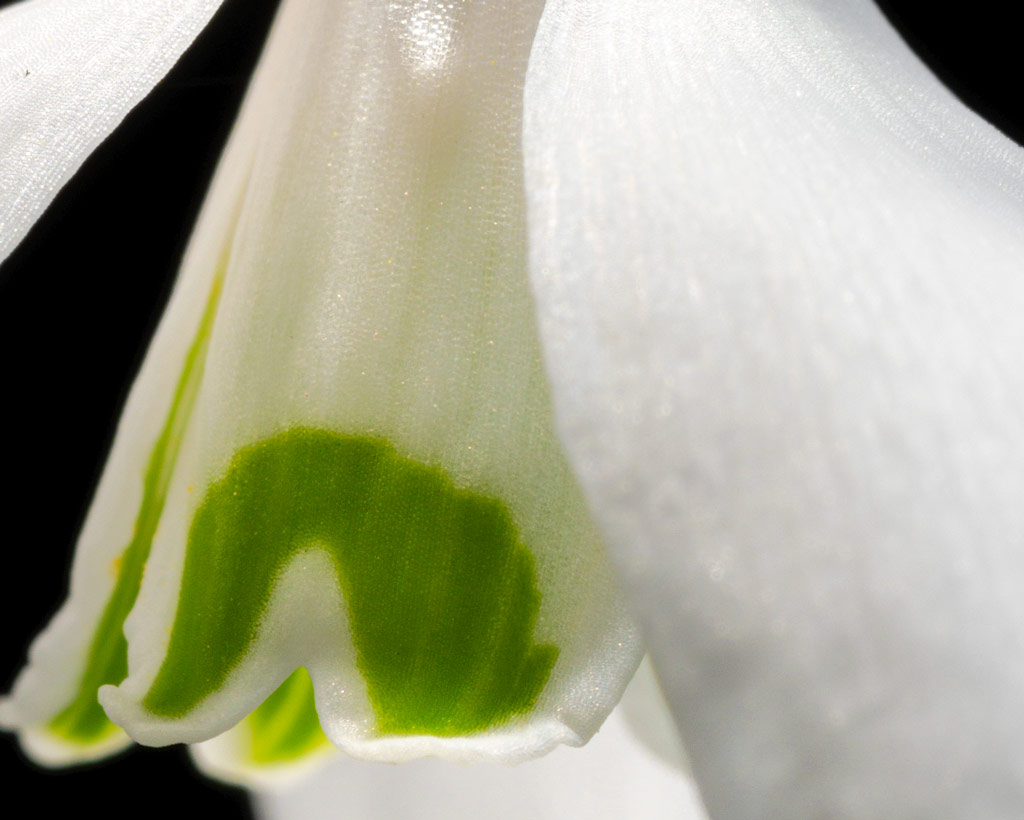
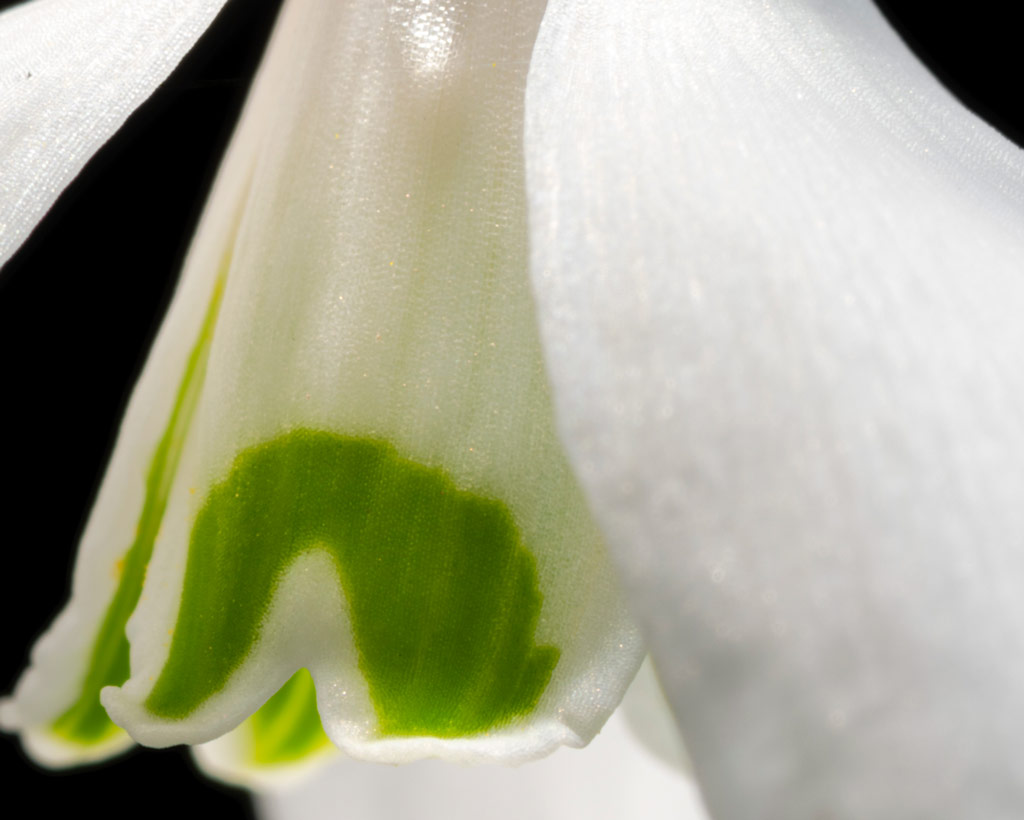
Which is the best overall?
In a controlled environment where no movement is present and shooting a snowdrop flower head with a macro lens, the results from all three methods of interpolation are extremely close. The version created with Imaging Edge is ever so slightly softer than the other two, with the Super Resolution coming in second and the Photoshop method producing only a marginally sharper result.
The difference between the three is minuscule, almost imperceptible, so with that in mind and the fact that Super Resolution was the second sharpest of the three in this situation, it’s safe to say that Super Resolution is the most effective and economical way to increase image resolution based on the two different types of subjects. Ultimately though, all three produce great results for static subjects, and it’s only when pixel peeping and, ultimately, splitting hairs that you can just about see a difference in this situation.
The conclusion that Super Resolution is the best method of the three came as a surprise because it’s 100% software-based and doesn’t combine existing pixels – it multiplies what’s already there. But it’s reassuring that this interpolation method is available to everyone regardless of the camera they shoot with, as long as they have an Adobe Photography Plan subscription. Plus, the fact you only need one raw file for this method saves a huge amount of time shooting and editing, saves storage and doesn’t require an incredibly powerful computer, is fantastic.
Related reading:
- “The results can be amazing.” How Photoshop’s new Super Resolution feature transforms older shots
- Complete guide to ISO: tips to boost your camera skills
Follow AP on Facebook, Twitter, Instagram, YouTube and TikTok.


