
Essentially, tripods are designed to support your camera and lens, eliminate camera shake and ensure sharp photos which are in focus.
Whether you are into landscapes, still-life, and macro photography, tripods are useful. They force you to slow down, making it easier to make fractional adjustments to compositions and settings. These invariably result in a more considered approach and, consequently, better results. We rounded up some tripod advice from professional photographers just for you.
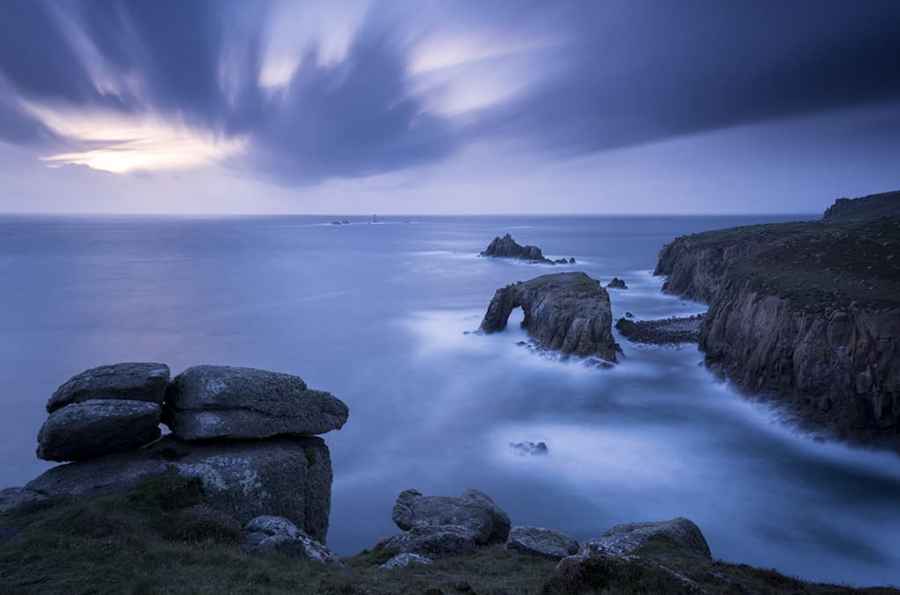
Featured image: Storm approaches Enys Dodnan Arch, the Armed Knight Rock, and Longg Ships lighthouse at Land’s End, Cornwall, UK. September 2016. Ross Hoddinott.
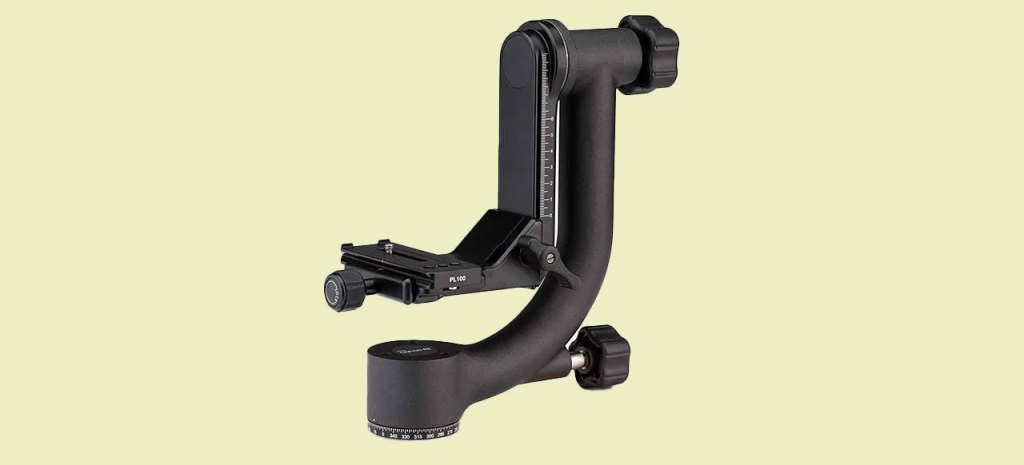
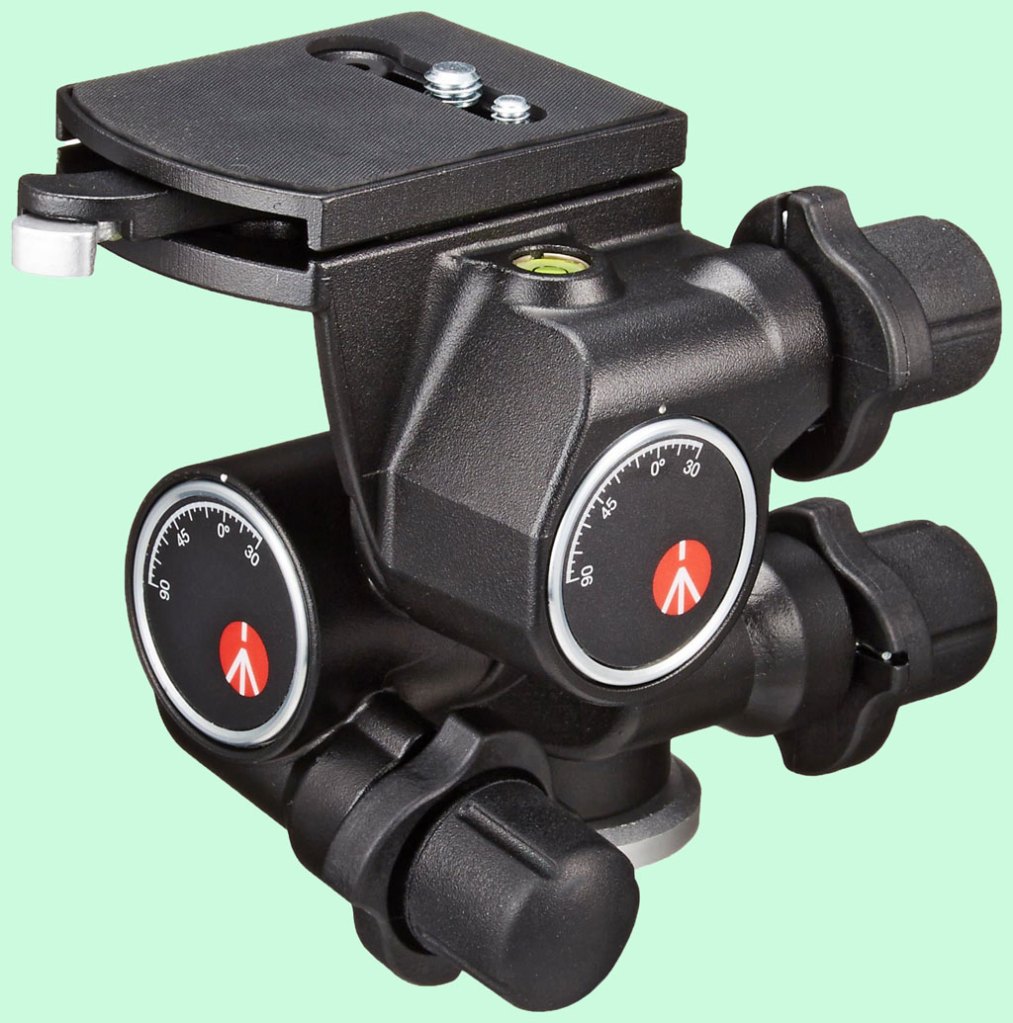
Specialist tripod heads
Ball and three-way heads are perfect for smaller budgets and a variety of subjects. However, if you specialise in landscapes or architecture and need absolute precision, invest in a geared head, and if you’re passionate about wildlife and need to pan and tilt while keeping your camera level, a gimbal head (pictured)will transform the way you shoot.
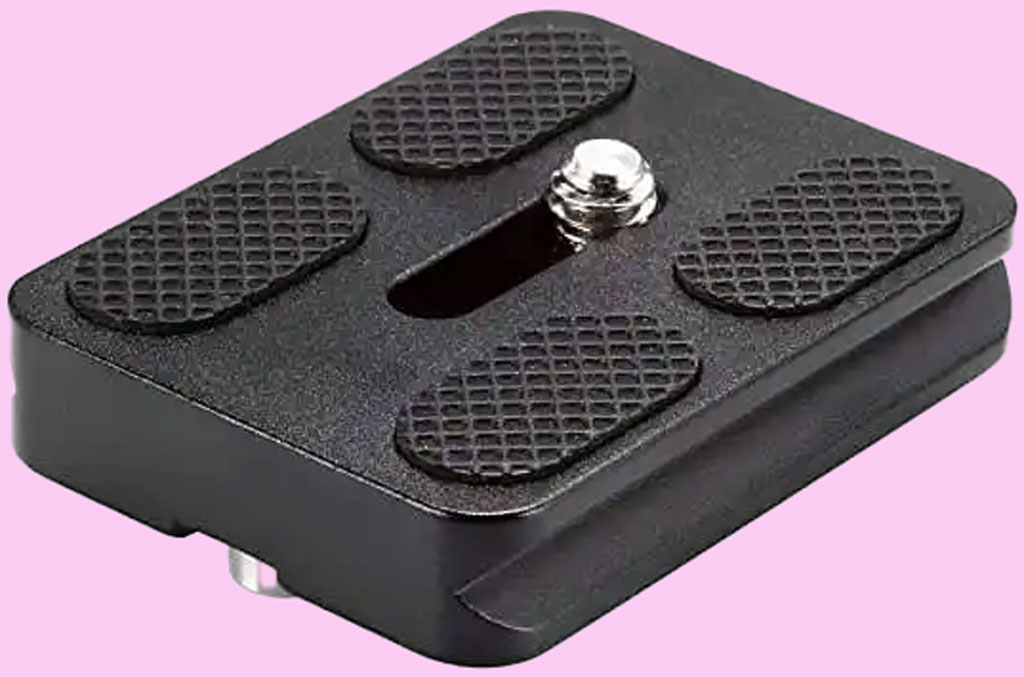
Tripod plates
While most manufacturers produce their own tripod plates, the Arca-Swiss is a universal quick-release plate compatible with most tripods. And as plates are always the first tripod accessory to go missing – who hasn’t left theirs attached to the bottom of a camera? – it’s wise to invest in a few spares so you don’t get caught short
For tips on how to choose a tripod, have a look at our complete guide to tripods.
Pro tripod advice from Ross Hoddinott
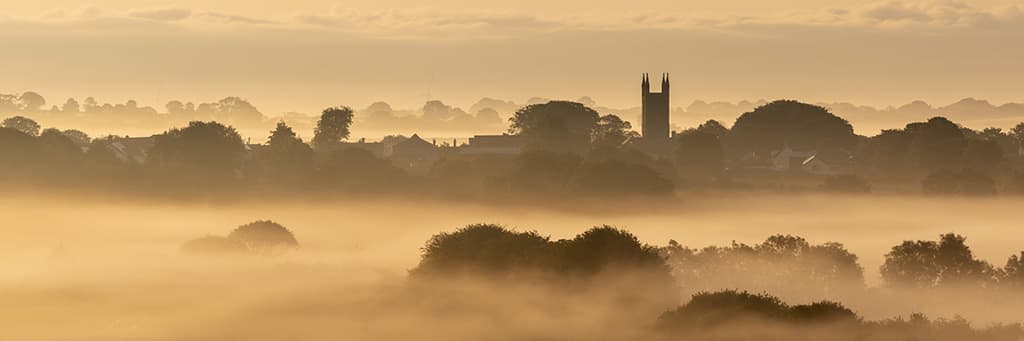
Creating a stitched panoramic
The misty conditions were irresistible on this particular morning. With such a wide and impressive vista to capture, I didn’t want to be confined to my camera’s standard aspect ratio. The scene suited a letterbox format, so I decided to create a stitched panoramic. It is best to do this in vertical format to create less distortion and capture more information. A tripod is key for this technique. It is essential to get the legs completely level, so ideally I would use a tripod that has a built-in spirit level – a dedicated levelling base is better still. In this instance, I carefully adjusted my tripod legs, peering down at the spirit level on the top plate of my Gitzo Systematic until the bubble was perfectly central.
Once the legs are level, use the virtual horizon on your camera (or a hot-shoe-mounted spirit level) to level your camera. Now, when you pan your camera, it should remain perfectly level. You are ready to capture your sequence. It is important to ensure exposure and white balance remain constant frame to frame, so I recommend you shoot in manual exposure mode and select one of your camera’s WB presets or a custom WB. It is also best to avoid using a polariser, as the level of polarisation will alter as you move the camera. Pan the camera between each shot, allowing an overlap of around 30% from one shot to the next. Allow extra space top and bottom of the composition for cropping.
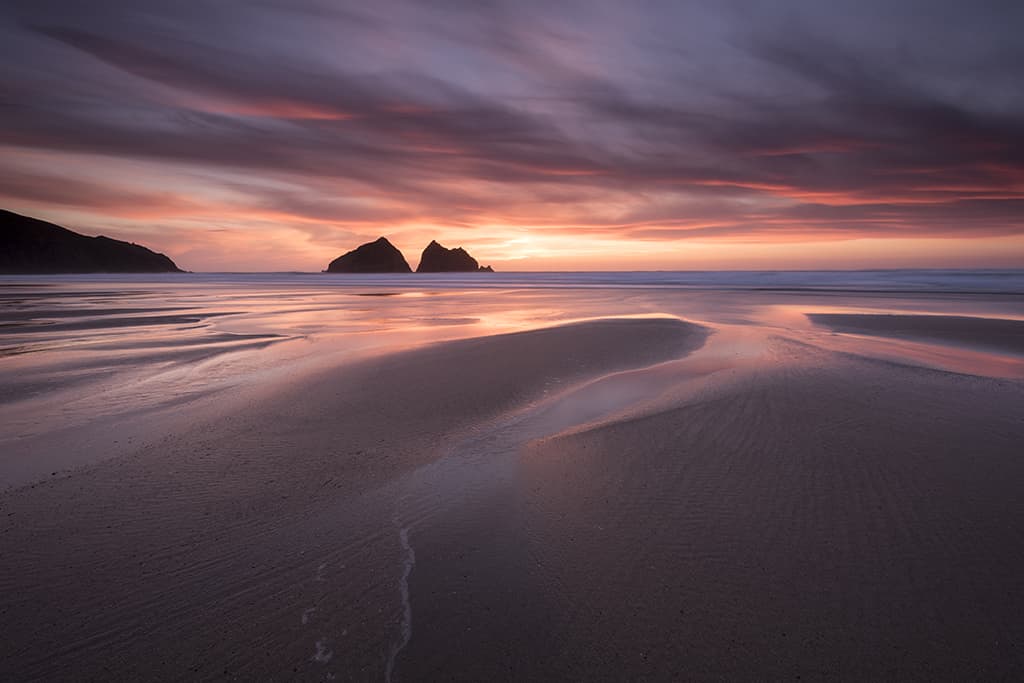
Shooting low-light landscapes
Typically, the best time of day to capture moody landscape images is at dawn and dusk, when skies can be full of drama. The blue hour, prior to the sun rising and following sunset, is one of my favourite times of day and can provide magical conditions, but light levels are low. If you are shooting a coastal scene such as this one, you will typically want to select a smallish aperture – in the region of f/11 or f/14 – to provide front-to-back sharpness. As a result, shutter speeds will be lengthy and a tripod will therefore be essential. When using a tripod, remember to switch off Auto ISO to prevent the camera from trying to compensate for the lack of light by selecting a high but noisy ISO speed.
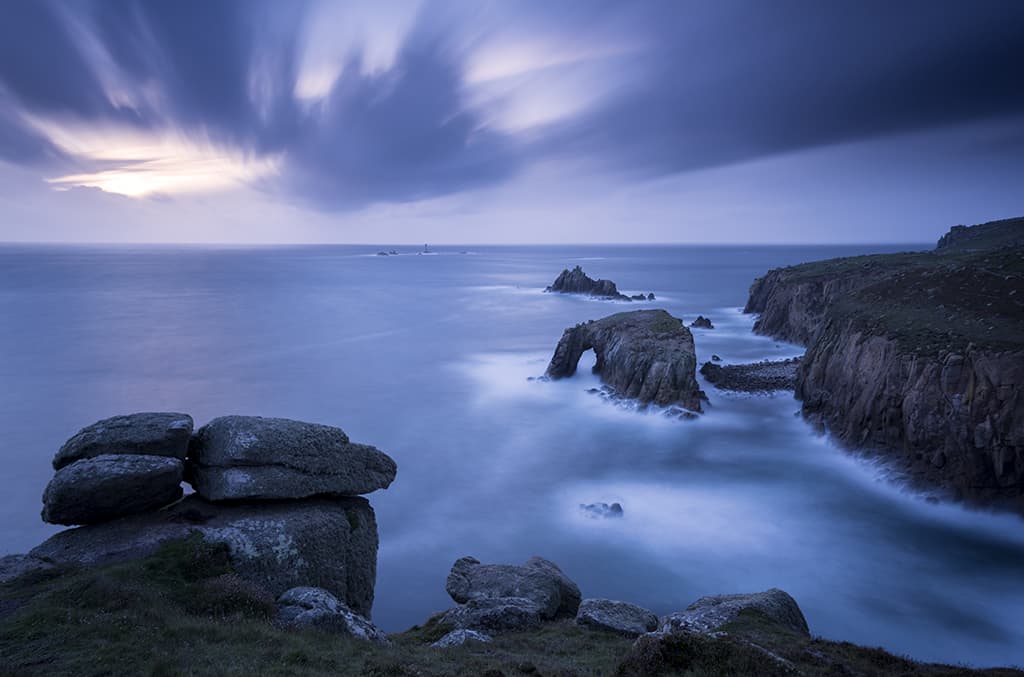
A tripod is not only essential to ensure shake-free images in low light, but it allows you to use corrective and creative filters. For example, in this instance, I needed to use a graduated ND filter to reduce the contrast between the bright sky and darker landscape, but the camera needs to be in a fixed position to align the grad precisely with the horizon. A tripod also allows photographers to use solid ND filters to generate artificially long exposures of several seconds (or even minutes) to creatively blur subject motion.
Using a tripod for wildlife photography
A long lens in the region of 400mm or 500mm is often essential if you wish to capture frame-filling shots of wildlife. However, telephotos are typically long, heavy and unwieldy. To ensure stability and comfort, particularly if working from a hide, a tripod is a must-have support and it was essential when I captured this shot. A gimbal head is a good choice when using longer lenses, as they are designed to balance your camera and lens and provide fluid and seemingly weightless movement compared to a standard head.

A low, ground-level viewpoint can produce very natural and intimate images of nature. Opt for a tripod design that allows you to splay legs wide and work close at a low level. Tripods with a short centre column, or a centre column that can be positioned horizontally, are a good choice. If you want to shoot from ground level, it may be best to swap your tripod for a beanbag to support and cushion your telephoto instead.
Using a tripod for still-life photography
When I took this image, I carefully arranged the sweets, creating a little tower of love hearts. To highlight the top sweet against a diffused backdrop of colour, I opted for a large aperture of f/5. When using a large aperture at a high magnification, the depth of field is wafer-thin so focusing has to be pinpoint-precise. But, thanks to using a tripod, I could activate live view and then use the zoom button to magnify my point of focus for ultimate focus accuracy.

When shooting still-life shots in a studio, or maybe your dining room table, take time to construct and refine your composition. I favour using natural light whenever possible, and a low ISO to generate the best image quality. However, shutter speeds are often slow as a result. Using a tripod gives me the stability I need. And to ensure I don’t create any small movement by physically depressing the shutter button, I always use a remote device or my camera’s self-timer.
Ross’s pro insight
I’m a long-term Gitzo and Manfrotto user and their head and support have always met my demands. I mostly use Gitzo Systematic legs. These are designed without a centre column, allowing me to quickly shoot at a low-level perspective when shooting close-ups of flowers and insects. It is sturdy, reliable and – thanks to its carbon construction – doesn’t weigh a ton. Even when shooting the coast in wild weather or long exposures in low light, it remains steady.
I’ve long favoured a geared head for my photography, using Manfrotto 405 and 410 heads. Geared heads allow you to make micro-adjustments to your composition without needing to release and tighten levers or knobs. The precision this head allows is great for macro photography, but it is great for landscapes too. If I need to travel light, I will swap to a Gitzo Traveler or Manfrotto Befree GT XPro.
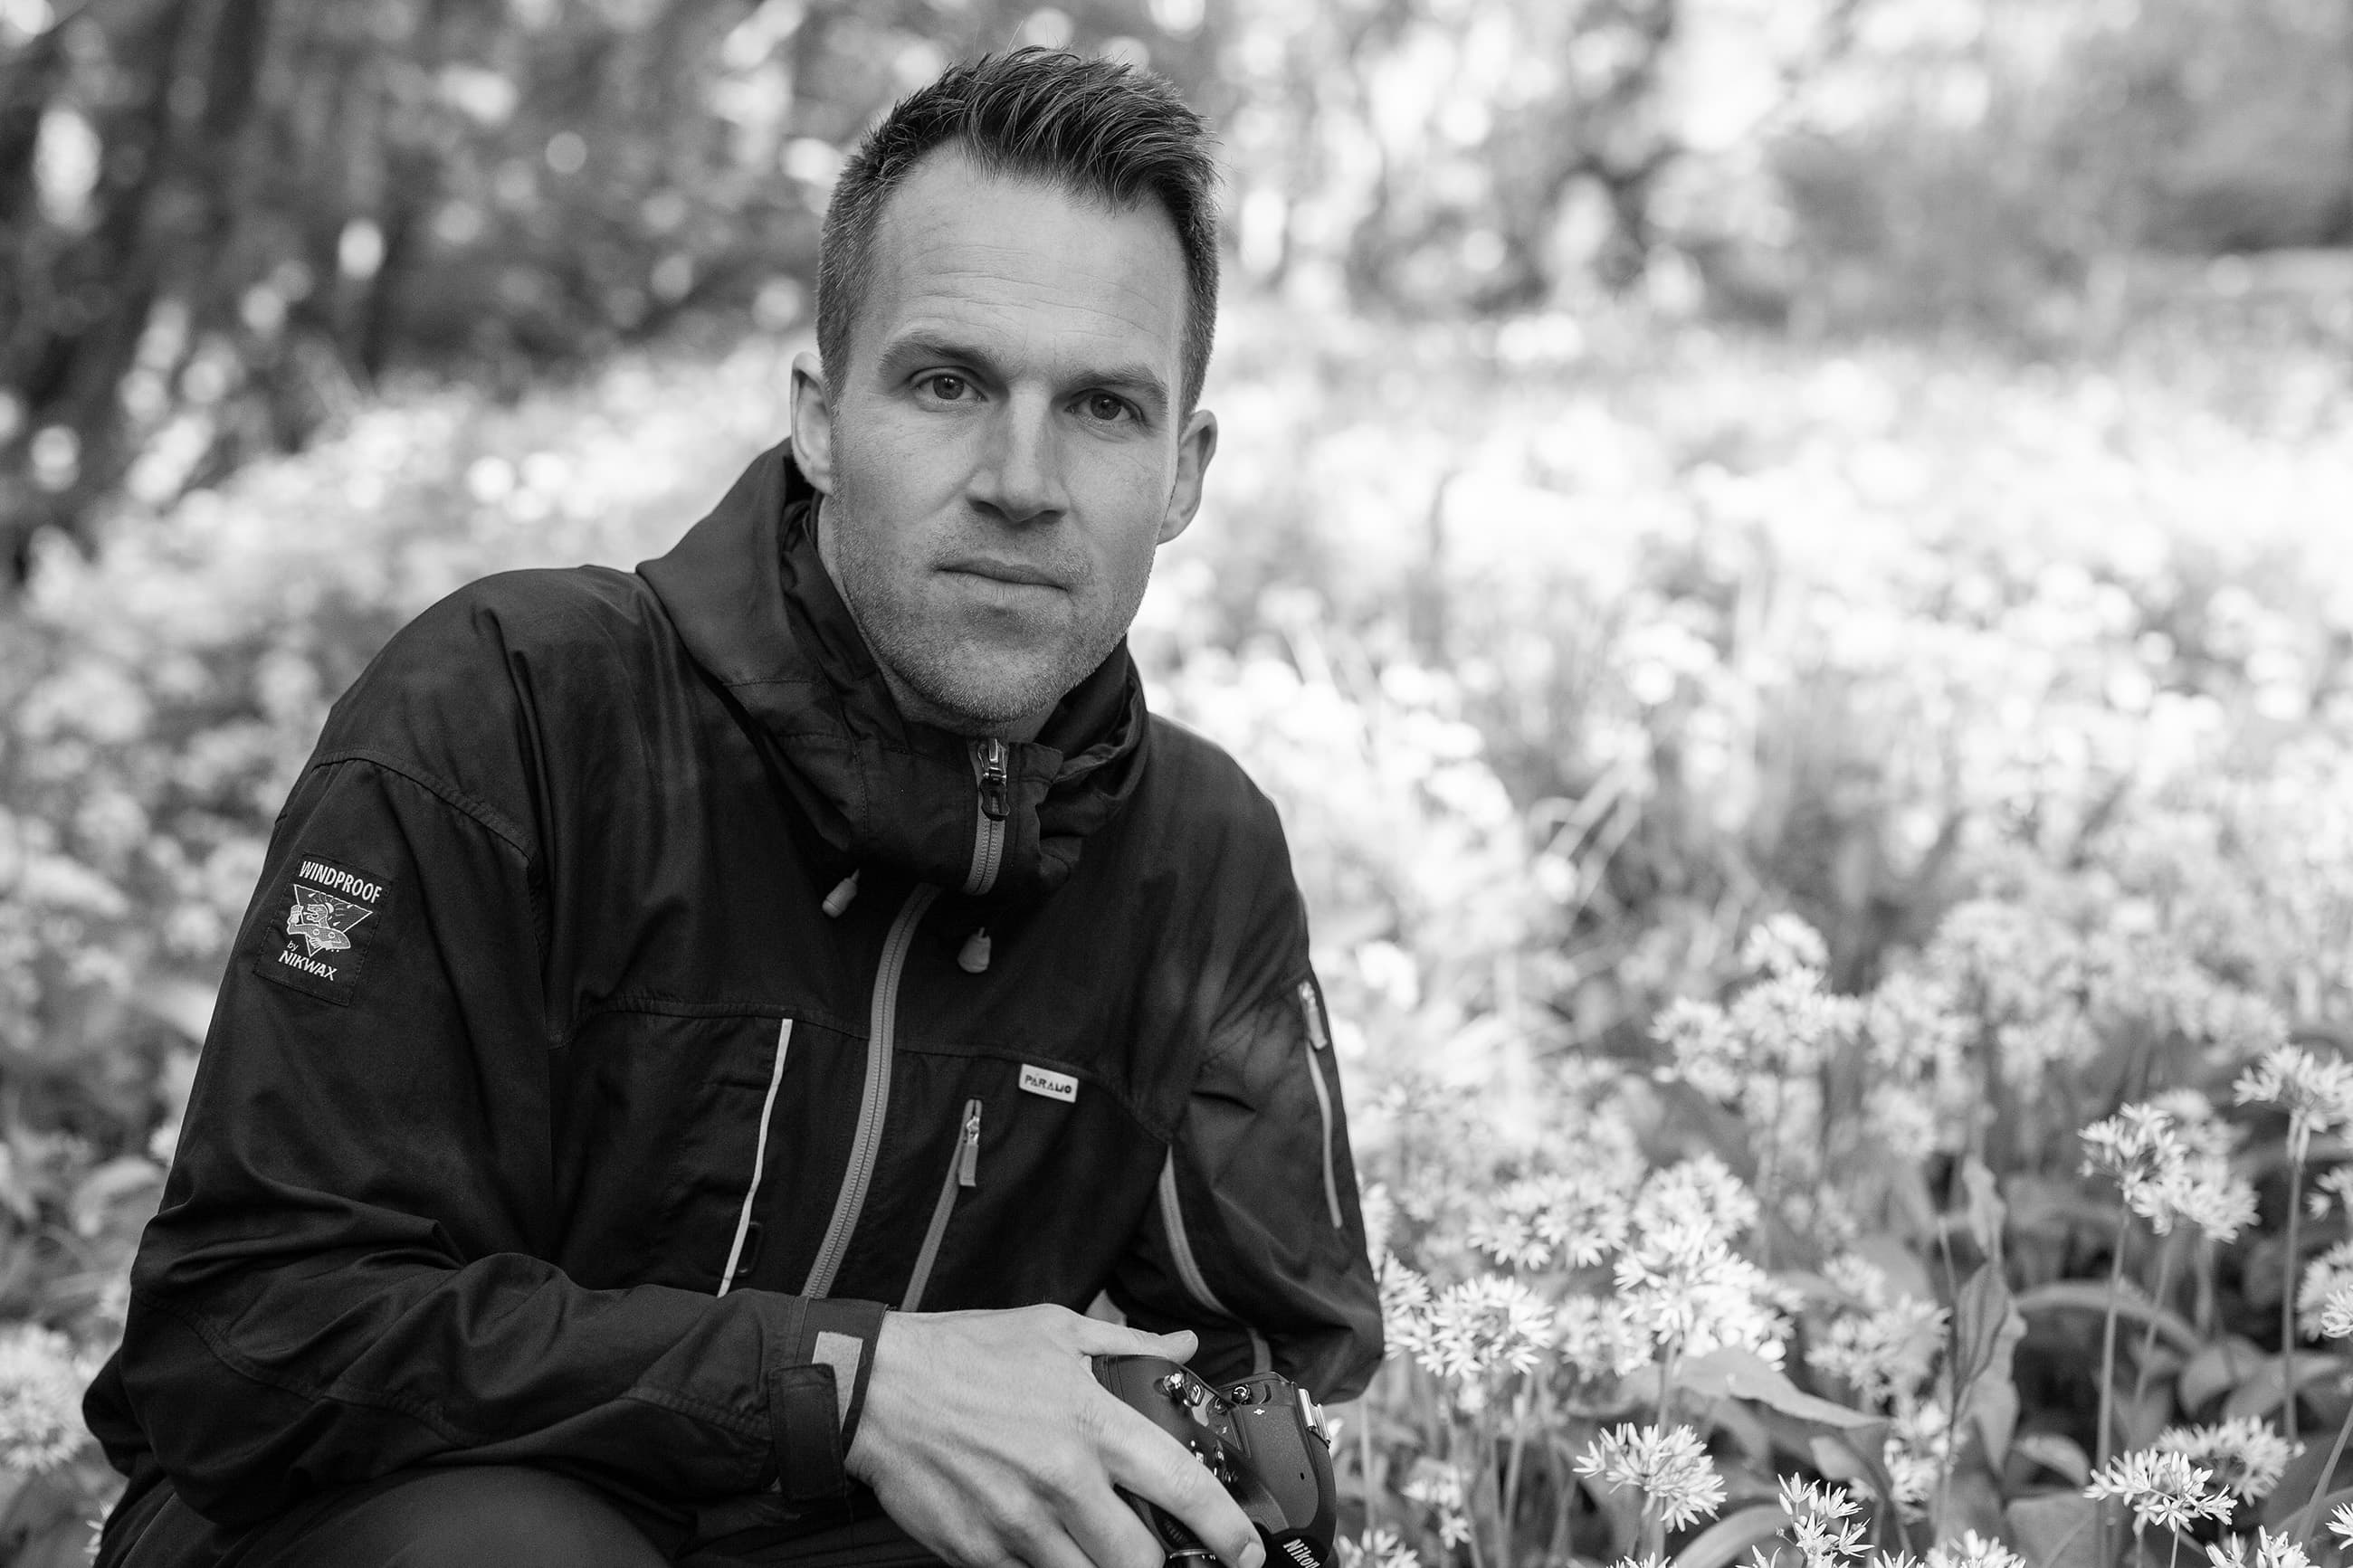
Your guide: Ross Hoddinott – Ross is one of the UK’s best-known landscape and nature photographers. Based in north Cornwall, Ross is a multi-award-winning photographer and a Manfrotto Ambassador. See his website for more.
Pro tripod advice from Verity Milligan
Using a tripod for architectural photography
Tripods are essential for the type of architectural photography that I undertake. Often, I am shooting at either end of the day when I’m capturing outdoor scenes and therefore I’m working with little light. This advice applies even more when capturing architecture indoors at any time of the day. For this image, taken in the old postal tunnels under the Mailbox in Birmingham, there was only minimal lighting and it would have been impossible to get this image without the use of a sturdy tripod.
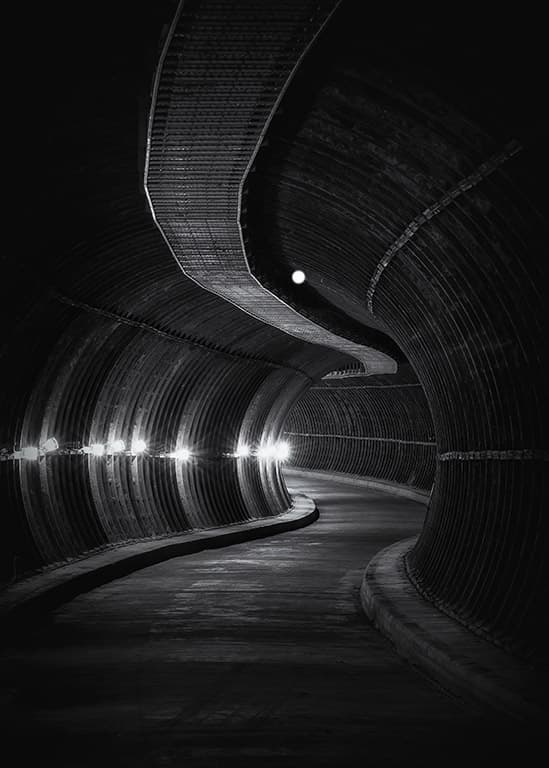
Interior architectural photography is a different medium from outdoor architectural endeavours. When capturing images in an indoor space, it’s not always about shooting wide-angle, but more about a sense of place and detail. For this shot, I wanted to capture the curve of the tunnel and so I used a 70-200mm lens. The lens was mounted onto my tripod using the tripod collar rather than the camera to ensure maximum stability.
HDR – High Dynamic Range
North Norway in winter is a changeable place. There are only a few hours of light, but the sun remains low in the sky and feels like a perpetual sunrise/sunset. A tripod is essential because you’re always working with low light and therefore a slow shutter speed. Using a wide-angle lens I positioned the tripod and camera at a high angle to ensure I could capture both the foreground and mountains.
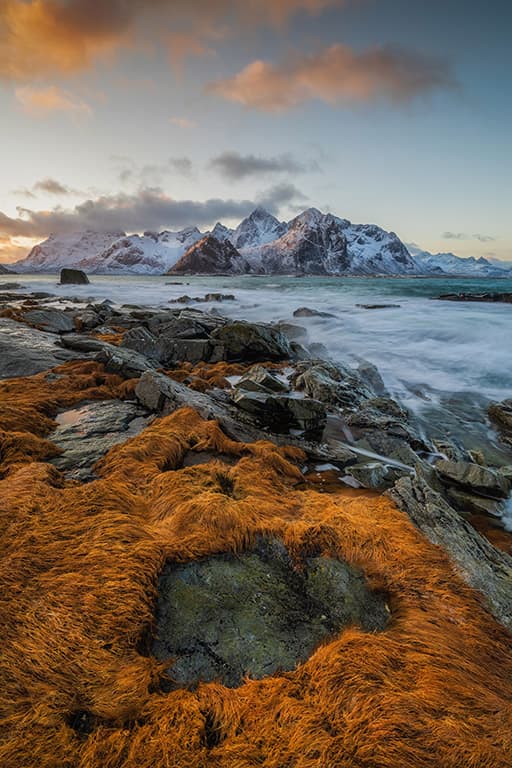
There are only certain times I use HDR as a photographic technique, and it’s usually when I’m pushing the dynamic range of my camera to the maximum, the conditions are changing fast, and I need to ensure I retain as much detail as possible. I take three images: normal exposure, 1 stop down and 1 stop up. This usually gives me enough information to combine the images together in Lightroom. I make sure that my focal point is positioned around two-thirds into the frame so I get an even exposure as a base image, allowing the camera to compensate up and down a stop for the other two captures.
When you’re taking several images at various exposures it’s important that those images align when you’re post-processing. If there’s any movement this can create ghosting and misalignment, which can ruin the photo.
Verity’s Pro Insight
I use a Gitzo Mountaineer Series 2 with a Gitzo Series 3 quick-release centre ball head. I’ve used many tripods in the past and always compromised on cost, which ended up with me feeling frustrated when the results were less than desirable.
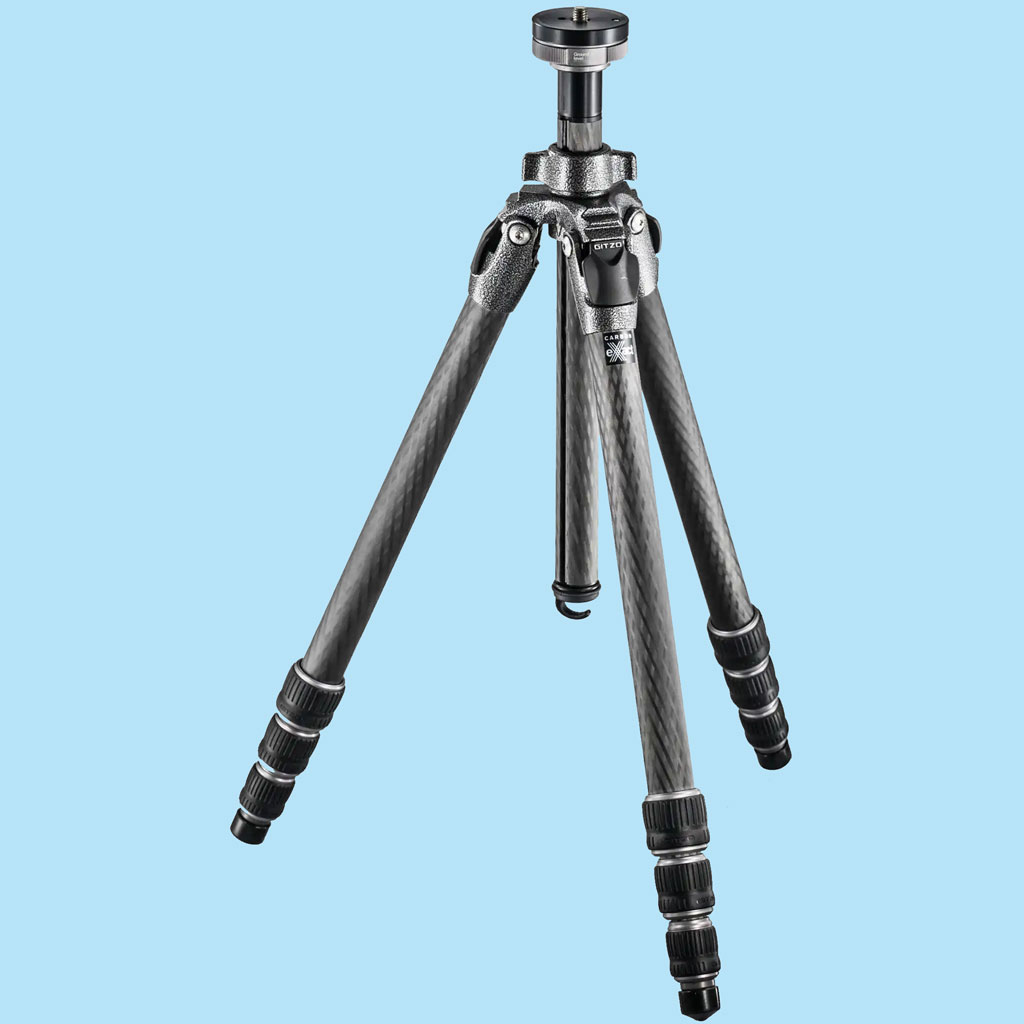
I’ve rarely had that issue with the Gitzo: it’s sturdy, portable and resilient. It has been up mountains and in the sea and has been worth every penny. The ball head allows me to quickly move from landscape to portrait orientation with minimal fuss, which is exactly what I need when I’m in the field.
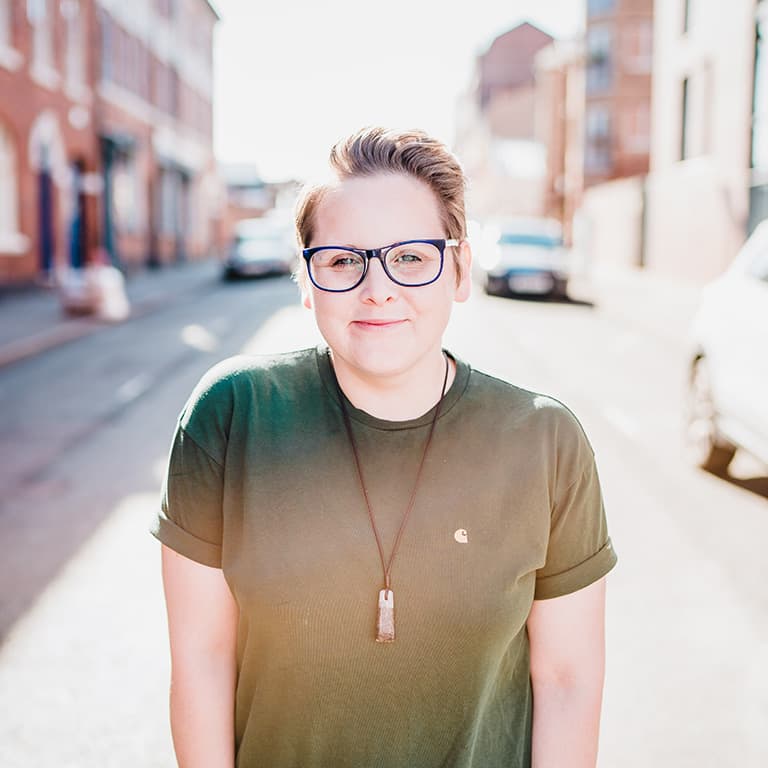
Your guide: Verity Milligan – Verity is a professional urban/landscape photographer based in Birmingham. She has worked on campaigns for international organisations, leads workshops for Light & Land and is an ambassador for Zeiss and Lee Filters. She’s happiest when outdoors at dawn. See her website for more.
Pro tripod advice from Tim Cornbill
Using a tripod to capture traffic trails
Start by thinking about a location – a first port of call may be somewhere high up. Traffic trails work best when you can see them laid out in front of you, rather than standing by the side of the road. This could be a bridge looking over a busy motorway or even a car park in a city centre. Compose the shot so the traffic disappears into the distance so you get the Star Wars-esque ‘travelling into hyperspace’ feel.
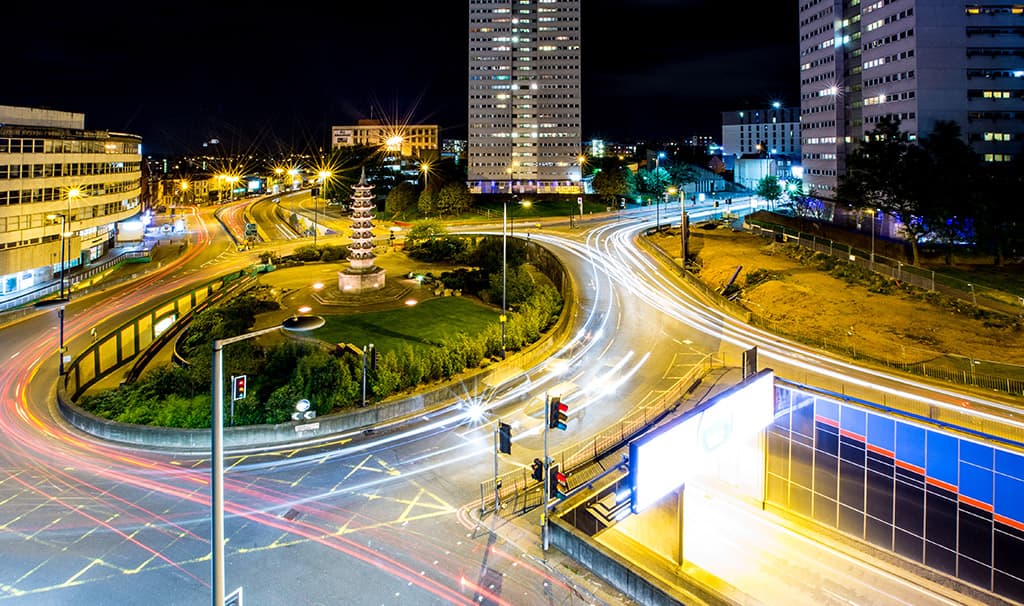
Depending on how busy the roads are you will have to set your exposure time to ensure you get the full shape of the road in the shot. Be wary that if you set the exposure time too long you can end up with a block of light, rather than pin-stripe lights, which can ruin the desired effect. If you’re looking at slow-moving traffic, think about using an aperture of f/16 or above, which will help to extend the exposure time in order to get the full trail in while also creating starburst effects from any static light sources. Try this with different lenses and you’ll see that the stars will have more spikes dependent on how many elements are within the lens.
More on painting with light.
Using a tripod for astrophotography
In order to capture any detail in the night sky you’ll naturally be looking at long exposure times. Dependent on the focal length of the lens, there is a simple ‘rule of 500’, meaning you divide 500 by the focal length of the lens in order to determine the maximum exposure before stars will start to trail due to the rotation of the Earth. For example, if you are using a 16mm wide-angle lens to capture the Milky Way, your maximum length of exposure will be 31.25 seconds (500 divided by 16).
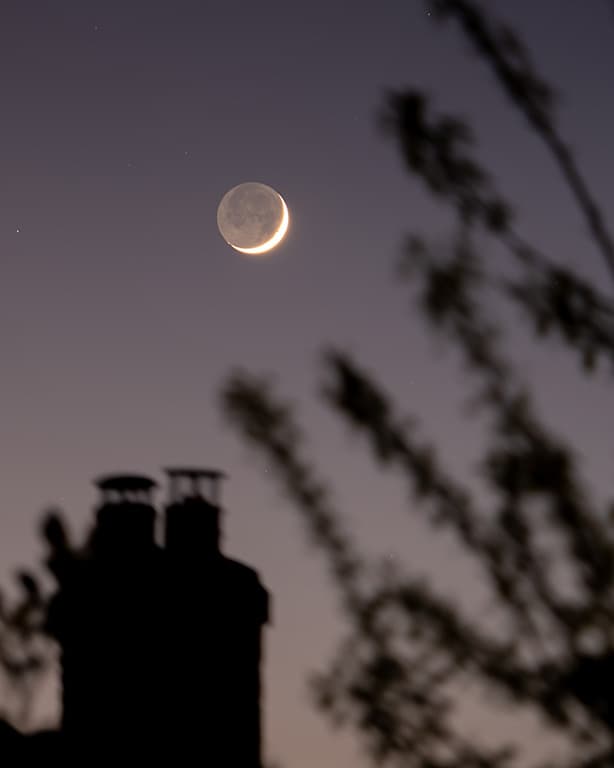
To work with long exposures, you should consider using an equatorial mount, which attaches to the top of a tripod. You will have to align the mount with Polaris (the North Star), and depending on the accuracy of the alignment, you can then extend your exposure times beyond what is determined by the 500 rule.
Focusing in the dark is tricky as you’ll be reliant on manual focus. If you leave autofocus on, the lens will endlessly zoom in and out trying to find a light source, which generally won’t be bright enough for it to detect. The only sources you may be able to autofocus on will be the moon and the brighter planets. To manual focus, move the focus point to the infinity marker, shoot a long exposure and review the image. Zoom in on the stars and check whether they are sharp, and if not give a slight tweak to the focus and try again.
This trial-and-error method may be laborious, but it will save you a huge amount of disappointment when you load your images up on the big screen and can see immediately that they are out of focus. Beware also that the focus may slip on certain lenses, either by a small touch, or by the weight of the focus ring, so it is always best to keep checking.
Tim’s Pro Insight
I started with a Manfrotto Befree tripod (which I still use), but this doesn’t hold up with larger bodies and lenses, so I invested in a Manfrotto XPro 90 Carbon, which didn’t weigh a huge amount more than the Befree, although it is a little longer to carry around. I couple it with a ball head to give me a fast method of composing my shot when I couple the camera to the mount, and the flexibility to track subjects when loosed off. It’s been a reliable companion for me over the past five or so years.
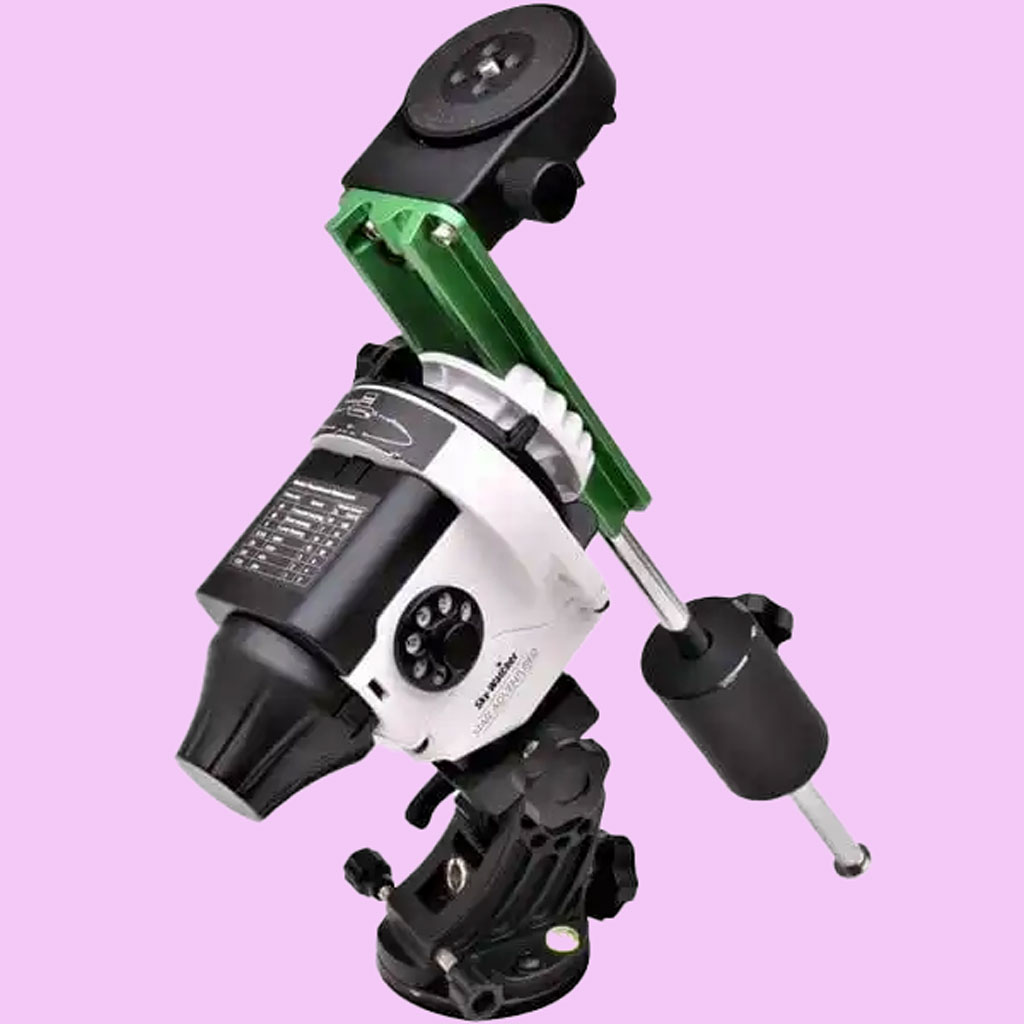
For my more technical astrophotography work, I couple the tripod base with the Sky-Watcher Star Adventurer, which is an entry-level portable equatorial mount for my camera. When aligned correctly it gives great accuracy for tracking the rotation of the Earth, so you can get away with even longer exposures of the night sky.
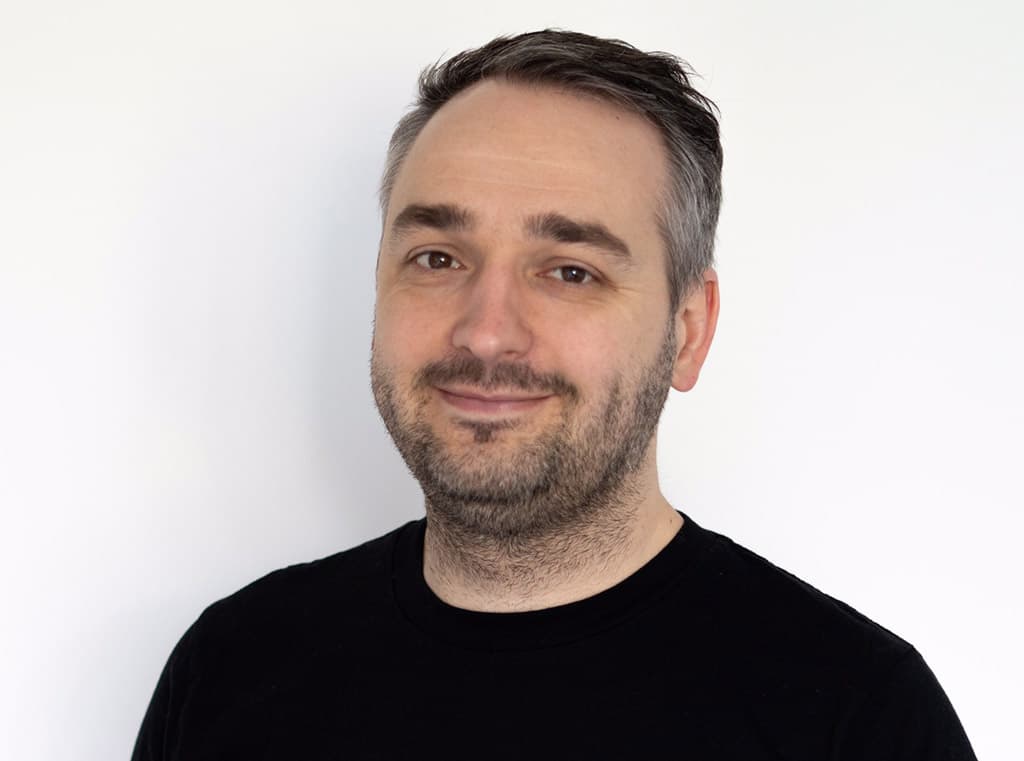
Your guide: Tim Cornbill – Tim is a multi-award-winning photographer based in Birmingham. He is the author of Urban Photography and was the winner of the Sony World Photography Award for Architecture in 2017. Visit his website for more.
Further reading
Follow AP on Facebook, Twitter, Instagram, and YouTube.


