Low-light photography is a challenging type of photography that we will all face one day, whether we like it or not. Being prepared and knowing what to do when faced with low-light situations will help you keep shooting, and help you get the best possible shots, even when shooting in low-light. This guide to low-light photography will help you and guide you through need-to-know tips and techniques for shooting in low-light. David Clapp gives us his top tips for low light photography.
Welcome to the AP Improve Your Photography Series – in partnership with MPB – This series is designed to take you from the beginnings of photography, introduce different shooting skills and styles, and teach you how to grow as a photographer, so you can enjoy producing amazing photography (and video), to take you to the next level, whether that’s making money or simply mastering your art form.

Each week you’ll find a new article so make sure to come back to continue your journey, and have fun along the way, creating great images. If you’ve found these articles helpful, don’t forget to share them with people you know who may be interested in learning new photography skills. You’ll find a whole range of further articles in this series.
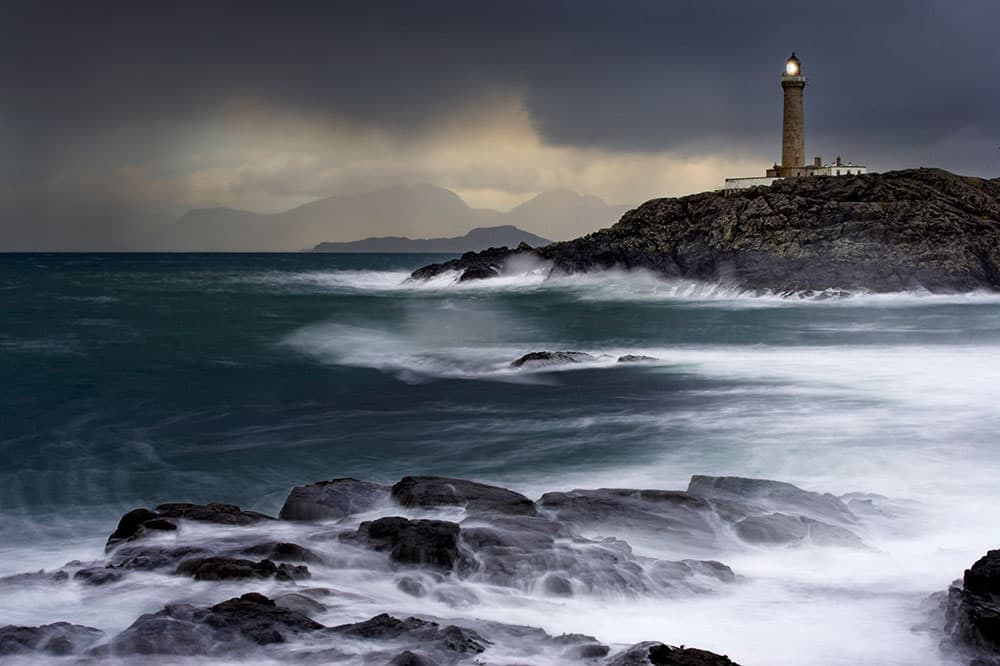
Ardnamurchan Lighthouse, the most westerly point in Scotland, UK. Canon EOS-1D Mark II, 180mm, 4sec at f/29, ISO 50. Credit: David Clapp
David’s top tips for getting ready to shoot
- Colour balance – Colour balance can be critical when shooting in low light. Most modern LCD screens are very accurate. Ensure you have a colour balance that matches the scene (I recommend using the K setting), and then dial in a value.
- Filters – Although not absolutely essential, graduated filters will help to control the light – especially when the contrast of the sky is excessive in comparison to the ground. Graduated filters are great for controlling light in the landscape, but align them carefully so their use is invisible.
- 2-sec timer – Use a remote release or the self-timer mode for hands-free shooting. The use of an additional feature, Mirror Lockup, can only benefit, especially if your setup is not the most stable. This keeps your hands off the camera so you can gain maximum sharpness.
What camera mode is best for low-light photography?
- Camera settings – To ensure you get the very best imagery, you need to check your camera settings so that you are shooting in raw, and the camera’s meter is set to a matrix or evaluative mode. For ultimate control over the scene, you can shoot in manual mode, choose an appropriate aperture, and ISO speed, and then set the shutter speed as required.
What is the best ISO setting for low-light photography?
- All low-light photography will require either a higher ISO speed or a tripod. Unless you are shooting silhouettes into the light with a high ISO, then a tripod is essential kit, especially if you want to shoot at lower ISO speeds. As to the “best” ISO speed for low-light photography, you’ll need to work out what the lowest speed you can use whilst still having a fast enough shutter speed, and appropriate aperture.
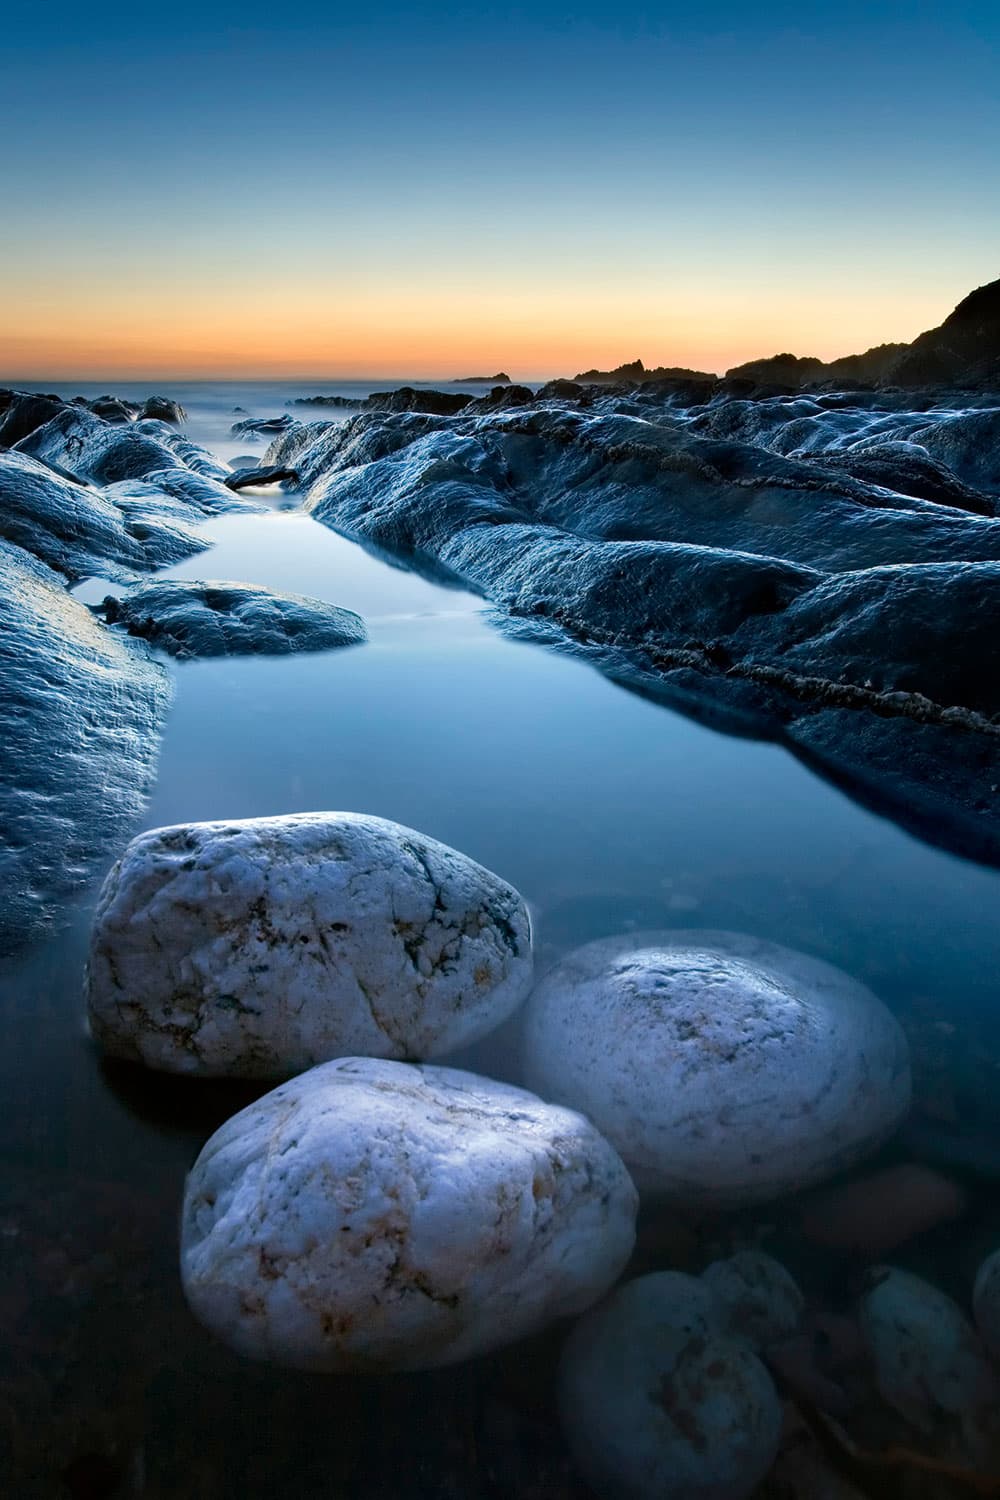
Sunset at Butter Cove, Bantham, Devon, England. Canon EOS 5D, 17-40mm, 30sec at f/16, ISO 200. Credit: David Clapp
One of the most critical lessons I have learned over the years is how our use of light defines us as photographers. Those who wait, with composition set, for the unusual or the sublime, will reach further and deeper into our hearts than those who simply collect. Composition is the stage and lighting is the performance. Those who favour light for composition will often fail to connect, just as those who choose composition over light, leave us to imagine what could have been. Let me take you to a quieter time of day, to an intricate but richer world of darkness and of light.
When first starting out in photography, it is fair to say that timing is the most overlooked fundamental. Waterfalls and receding waves aside, it is also one of the least spoken about and can be quite confusing. Ever packed up, driven away and then seen the remarkable scene unfolding in the rear-view mirror? On the dawn workshops I lead, I am often asked ‘Why are we leaving so early?’ But when the rich predawn glow leads to a fairly unexciting sunrise, everyone is glad they made the right choice and came along. What we are identifying here is that there are many valuable moments outside the obvious and we need to learn not only when these occur, but also when they are about to happen.
My one rule for shooting landscapes is: ‘It’s best to stay put until you need a torch.’ Cameras now have wonderful dynamic range to be able to see into those shadows, so use them to their full potential. On the coast, the beach becomes deserted just when the light and dark come together magically and balance perfectly. It’s something I learned on clear evenings, shooting the south Devon coastline. The best shot was often taken 40 minutes after sunset, when the horizon was glowing orange and the sky a deep blue. There are some important factors to consider before changing the topic to shooting in a city, so let’s look at these.
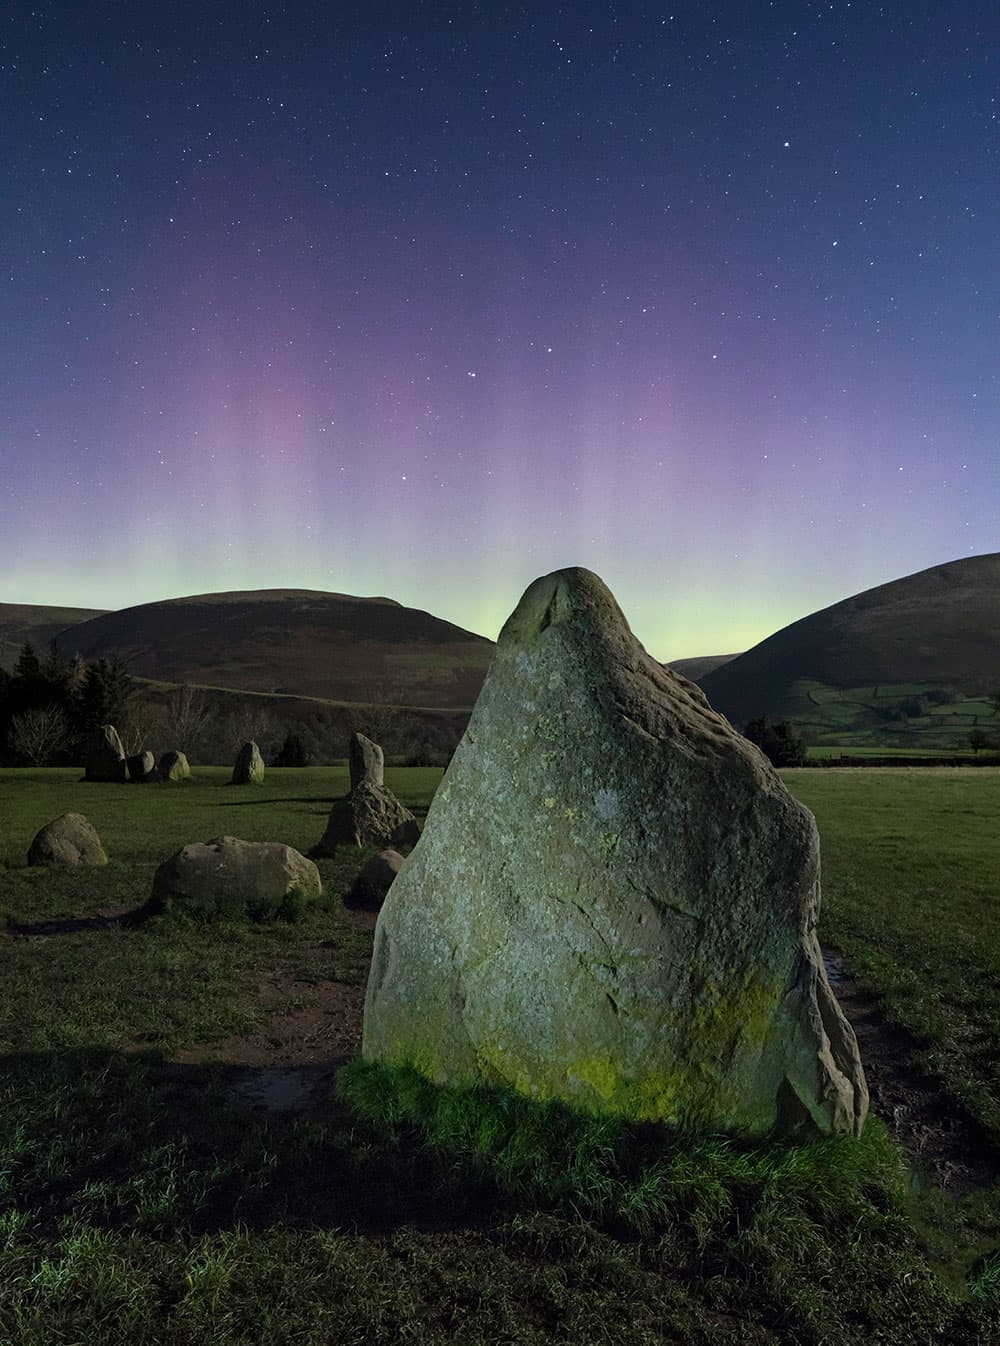
Aurora over Castlerigg Stone Circle, Keswick, Cumbria. Canon EOS 5D Mark IV, 24mm, 25sec at f/8, ISO 3200. Credit: David Clapp
Shooting low-light at the coast
First, you will reach a point when, for around 10 minutes, everything in the scene will come together. Saturation and contrast will balance before twilight gives way to the night. Resist taking a picture until all aspects come together. There is no point pressing the shutter until this crescendo is reached. Why? It will just look like daylight, without anything special. Moments later, once the balance is lost, the shadows become jet black and the connection is lost, as the eye becomes confused by the lack of detail. No ISO increase or extended shutter speed can compensate for this inevitable light failure, so switch on the torch and go home.
Your camera direction in relation to the sun will greatly influence the timing in low light. If you have a viable composition in the opposite direction to the sunset, the light will fall much faster as the earth spins away. If you are lucky to have two compositions, one in each direction, you will literally become a military gunner, spinning the camera as you turn into and away from the light. Spend your time looking at the shadows between shots. Can you still see them? This is crucial.
Then let us not forget the power of silhouettes. Let’s throw the ‘shadows rule’ in the bin now and embrace a far simpler compositional approach. Shooting into the light when the contrast is extreme can simplify things in a magical way by abandoning the need to retain detail in the shadows. Think of cracked branches of a tree against twilight, silhouetted and reflected people on a glassy beach, or a long-lens shot of the Big Ben tower against the rising moon. With this rule you can simply expose for the light and throw the subject into the black with great effect.
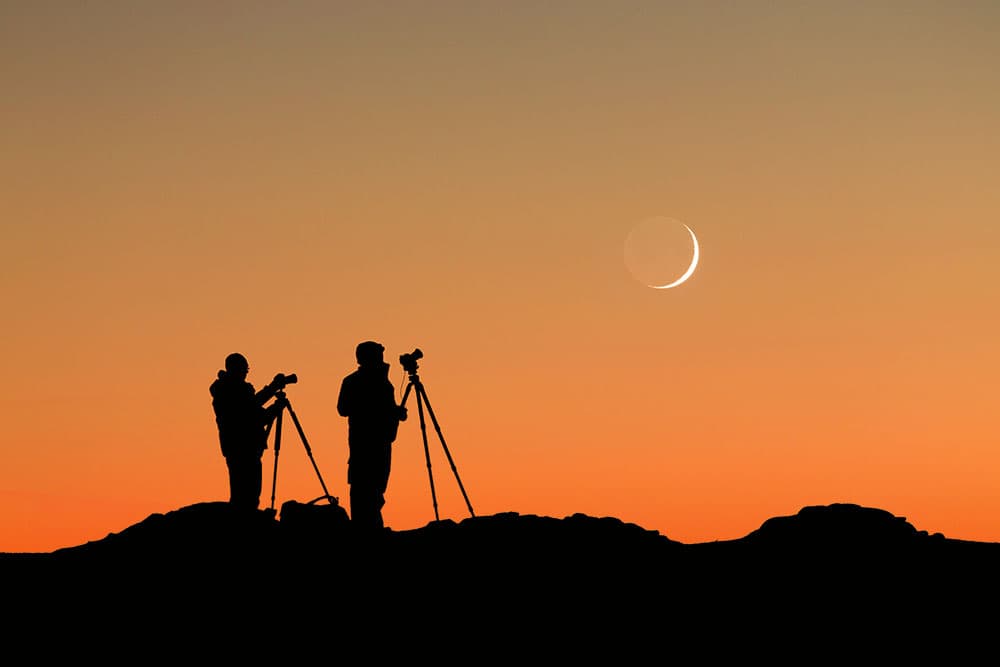
Two photographers capture the evening sky with the moon setting behind them, Eystrahorn, Iceland. Canon EOS-1D X, 70-300mm, 1.6sec at f/8, ISO 800. Credit: David Clapp
Now let’s consider the technical pointers. Ten years ago, in digital’s infancy, dynamic range was a much bigger issue than it is now. My first digital camera, the Canon EOS 5D Mark I, had a nine-stop dynamic range. But now all digital cameras far exceed this, with at least 12-13 stops, even for crop sensor cameras. This means a huge range of detail is captured. Remember, all of a digital camera’s recovery is in the shadows, with very little recovery available in the highlights, so always ensure that the highlights are not blown.
As we often deal with excessive contrast, graduated filters can help immensely. Often the brightest part of the image for the landscape photographer is the horizon, so graduated filters can keep things under control and extend options. Exposure-blending in low light, by taking a range of exposures on a tripod, can help fix contrast later on in Photoshop. It can help get areas of the picture under complete control and improved on.
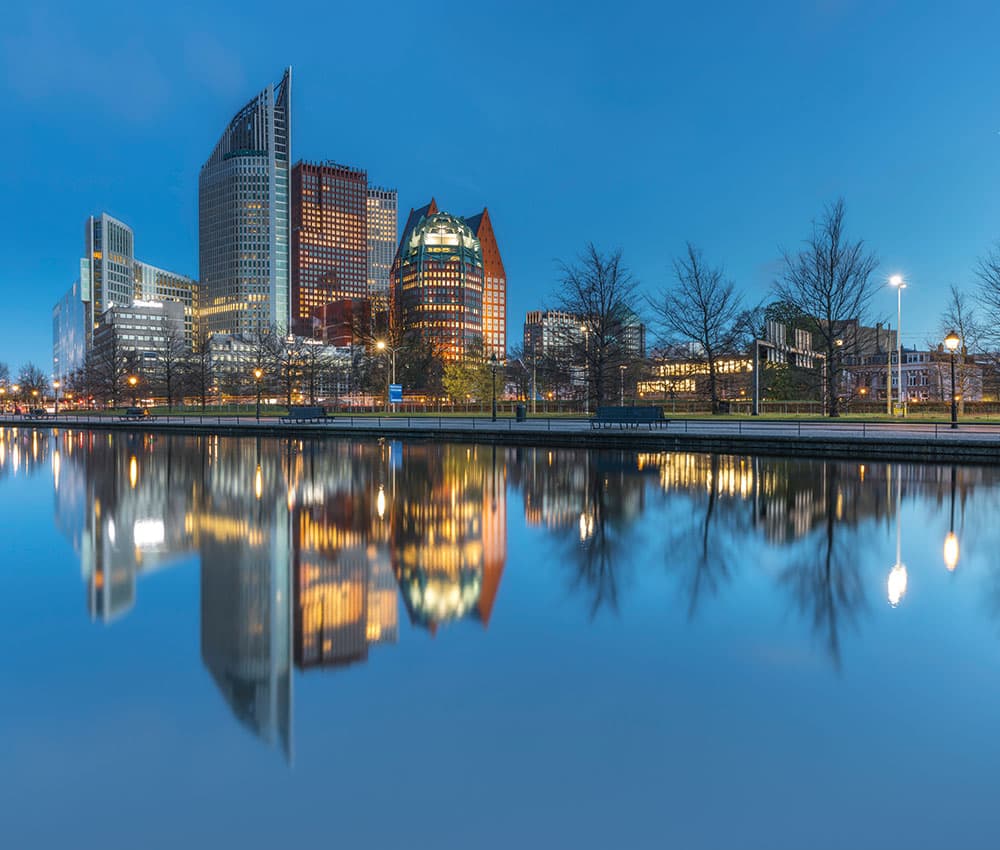
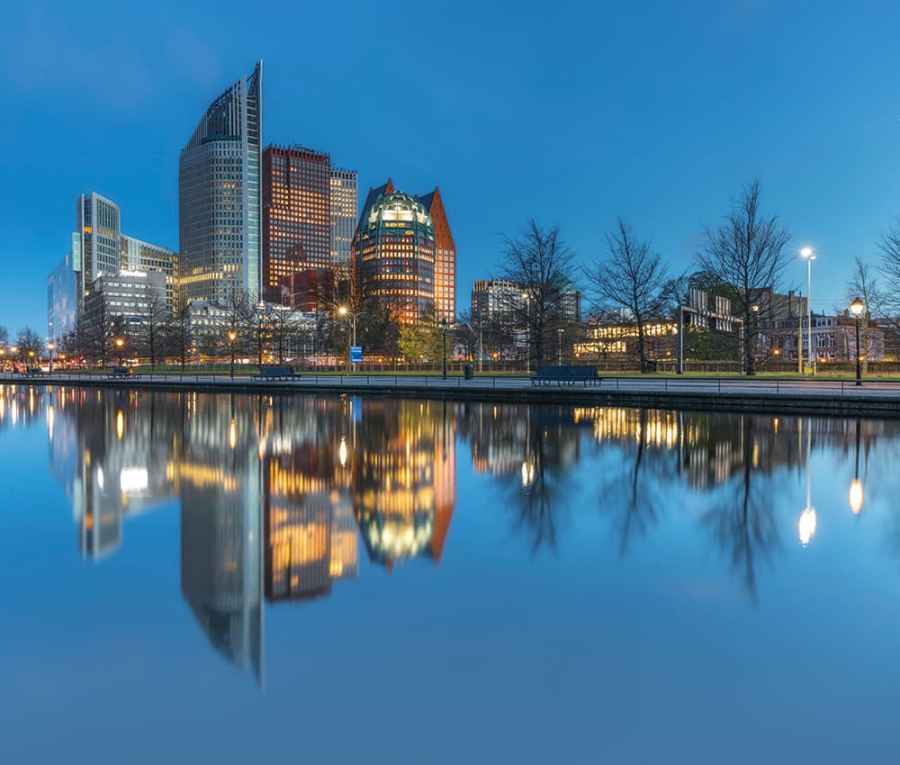
The Hague Business District, Netherlands. Canon EOS 5D Mark IV, 24mm, 20sec at f/11, ISO 50. Credit: David Clapp
Shooting low-light photography in the city
The low-light city photographer has the same issues and perhaps more to contend with. With a mix of natural and artificial light, low-light photography decisions are even more critical. We also have to include multiple colour balances into the timing, but the principle is still the same.
Low-light cityscapes can be spectacular, and over the years, I have found that certain locations, such as the metropolises of Hong Kong, Singapore and Shanghai have such a vast height and array of light sources that they can be photographed all night, literally.
Other European cities become overwhelmed with heavy orange sodium lighting as soon as the light starts to fade, so it’s very important to take this into account.
Remember, when the flash- snapping crowds empty a sunset viewpoint – after an uneventful orangeade-coloured ball sinks into the sea – perhaps the magic that didn’t happen is yet to come. By embracing the edge of darkness, you’ll push your portfolio into a new and exciting world.
3 tips for the low-light city photographer
- When working in cities it’s a very good idea to spend time walking around your subject during the day – not only to work out camera angles, but also to ensure your own safety. Using London as an example, a tripod will alert security and lead to police interaction if you try to fight your corner, so find out what you can and cannot do in advance. It’s not worth the hassle.
- Expect to win and lose on your first low-light shoot, especially if you are learning the area. You may find that unsightly sodium street lighting is so overwhelming past a certain time, that you will abandon the night shoot and work both at dawn and dusk, using smaller windows of opportunity to get all your subjects covered.
- Try to coincide your city shoot with a full moon. Nothing looks more beautiful than a full moon rising over the cityscape, so try to plan your angles using a smartphone app, such as The Photographer’s Ephemeris or PhotoPills. The power of the moon acts like a gigantic flashlight, so the sky never gets truly dark, which helps lift those deep blues and provide a fabulous backdrop.
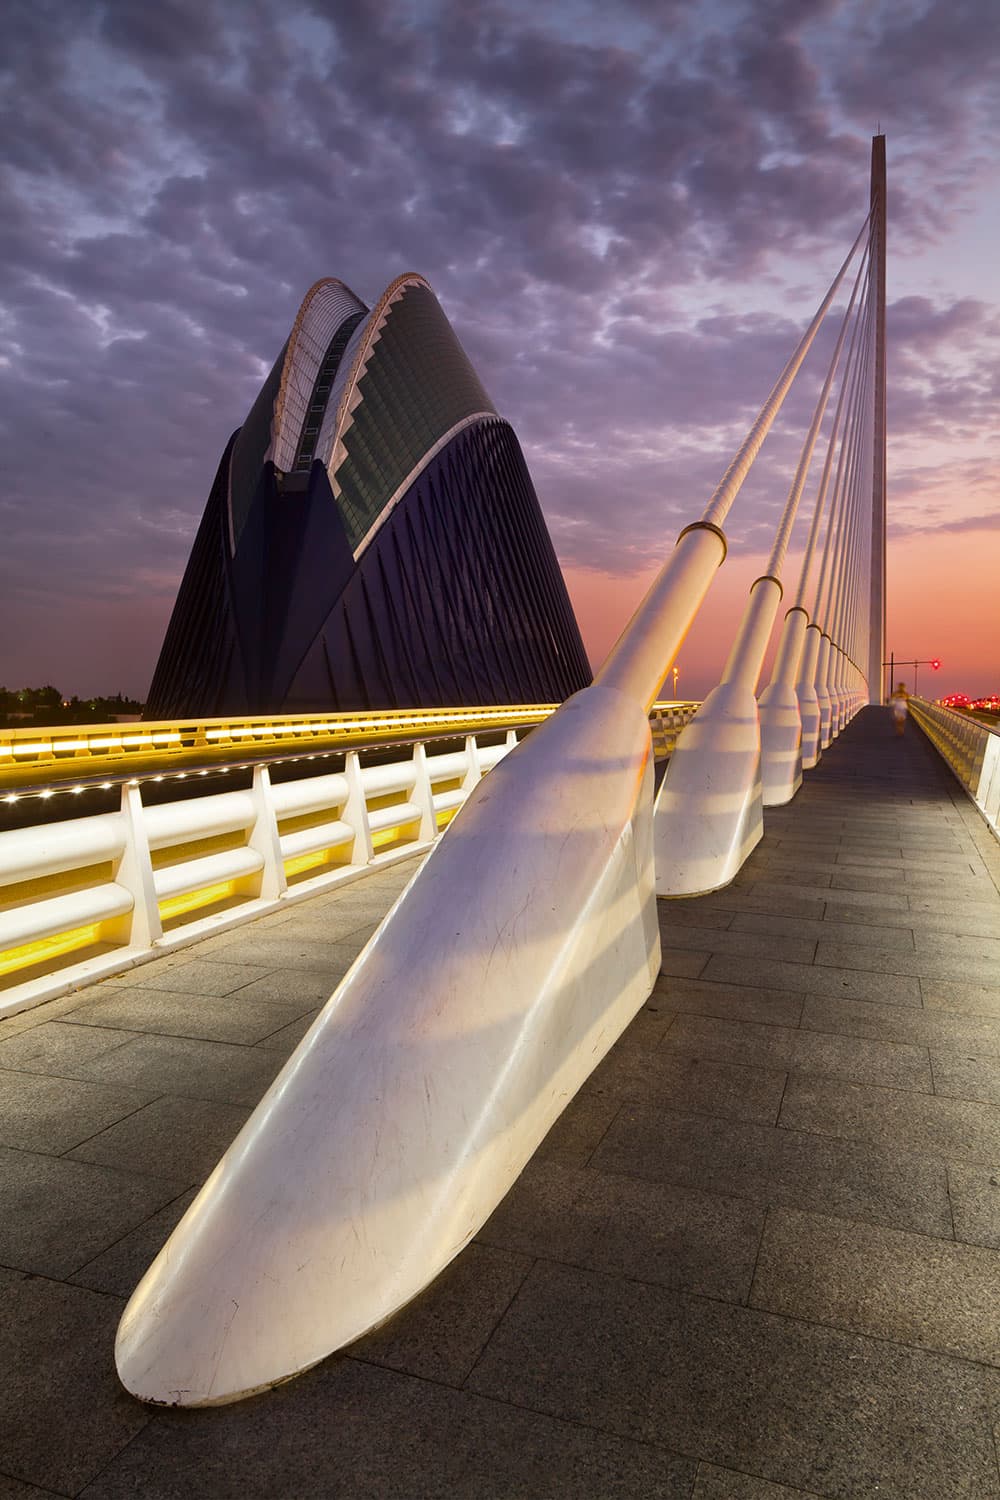
The Agora as seen from the park bridge in Valencia, Spain. Canon EOS 5D Mark II, 24mm, 5sec at f/11, ISO 100. Credit: David Clapp
Low-light photography panoramas
Low-light panoramas require a significant amount of time and planning but are well worth the extra thought when you see the end result. The first and most crucial point is to consider your timing very carefully.
If you have to shoot seven 30sec images, that’s 2mins 30secs of exposure time. If you consider at least 10secs in between each shot to recompose the next frame, that’s more than one minute more. The light between the first and end frames can be as much as five minutes, so the light can drop significantly between the first and last frame, making a very odd end result.
- Step 1 Unless you are working in a tighter space, I suggest using a focal length of at least 50mm for a panorama to avoid a rather stretchy or bulging look. I prefer to work further back with even longer focal lengths for most of my images, and have recently got into shooting each frame at nearly 600mm, for a very small but detailed slice of the view.
- Step 2 Work out the start and end points of your panorama. Using a longer lens will make for a super high- resolution shot, but it will take many more exposures to accomplish.
- Step 3 Turn on live view and engage the histogram. Pan through the scene to find the brightest part of the view and set your shutter speed to get the best exposure based on this zone. You may start out thinking the panorama will be underexposed, but you will soon swing into the correct exposure.
- Step 4 Engage the rule of thirds grid view in live view. It’s a common misconception that panoramic heads are needed for scenic work, but all you need is the grid switched on to provide a third overlap between each of
your exposures.

The moon rising over the city centre, Rotterdam, Netherlands. Canon EOS 5D Mark IV, 100-400mm, 6sec at f/8, ISO 400. Credit: David Clapp
How do you shoot in low light – 5 quick tips
Step 1 – Composition
Do not tether yourself to a tripod at the start. Move around, find the correct height and focal length and then chop the air – ‘the tripod goes here, at this height.’ All the decisions have now been made. No more tethered frustrations thinking you can’t see the shot.
Step 2 – Aperture
Next, make some decisions about your composition – does it require a larger depth of field such as f/16? If so, it will let less light into the camera. If you are photographing from a viewpoint, or your subject is further away, then you can choose a wider aperture like f/5.6.
Step 3 – Set your shutter speed
Simply look through your viewfinder and set the shutter speed so the exposure needle is in the middle of the exposure scale. This doesn’t necessarily mean you will have the right exposure, it just means you have set the camera to a good starting point.
Step 4 – Live View mode (for DSLR)
Engage your camera’s live view and switch on your histogram. This will give you an accurate render of the colours in each channel. You will regularly see highlights clipping out in the red channel at sunset, so ensure a 3-channel histogram is switched on.
Step 5 – Test shots
Take a test shot based off that exposure setting, and check the result. If the image does not match what you see, then it is usually an exposure or a colour balance issue. Nudge your shutter speed so that the highlights are very close to clipping, or apply a filter for the sky and lift the exposure even more.
With 12 years as a leading UK professional landscape, architecture and travel photographer, David Clapp classifies himself as a jack of all trades. Making a hit in the early digital days, he pioneered work in moonlight, astro and infrared. He is represented by Getty Images, Canon UK, and leads workshops worldwide.
More reading:
Best cameras for low-light photography
How to photography low-light urban landscapes
More low-light photography tips
Tune in next week, for the next article in the series of the AP Improve Your Photography Series – in partnership with MPB.
- Part 1: Beginners guide to different camera types.
- Part 2: Beginners guide to different lens types.
- Part 3: Beginners guide to using a camera taking photos.
- Part 4: Beginners guide to Exposure, aperture, shutter, ISO, and metering.
- Part 5: Understanding white balance settings and colour
- Part 6: 10 essential cameras accessories for beginners
- Part 7: Beginners guide to the Art of photography and composition
- Part 8: Beginners guide to Photoshop Elements and editing photos
- Part 9: Beginners guide to Portrait Photography
- Part 10: Beginners guide to Macro Photography
- Part 11: Beginners guide to Street Photography
- Part 12: Beginners guide to Landscape Photography
- Part 13: How to shoot Action and Sports Photography
- Part 14: How to shoot wildlife photography
- Part 15: Raw vs JPEG – Pros and cons
- Part 16: How to create stunning black and white images
- Part 17: How to photograph events and music
- Part 18: Pet photography – how to photograph pets
- Part 19: The ultimate guide to flash photography
- Part 20: The ultimate guide to tripods
- Part 21: Create awesome photos with light painting
- Part 22: Beginners guide to file and photo management
- Part 23: How to shoot food photography
- Part 24: Complete guide to outdoor light
- Part 25: Top tips for stunning car photography
- Part 26: How to master waterfall photography
- Part 27: How to use social media as a photographer
- Part 28: How to get started in film photography
- Part 29: How to connect your camera to your phone
- Part 30: How to make a great video recording with your camera
- Part 31: Why you should join an online community
- Part 32: Find the best online website to share and sell your photos
- Part 33: How to photograph weddings – our guide to wedding photography
- Part 34: How to find joy and inspiration in photography
- Part 35: How to shoot like a fashion photographer
Find the latest Improve Your Photography articles here.

