If you’re getting serious about detailed macro photographs, then you’ll need to work out what photo editing software to use. Adobe Photoshop is fantastic when focus stacking landscapes that typically consist of three to 12 focus bracketed exposures. But as soon as you’re shooting a high-detail close-up subject with twenty-plus focus brackets, (some macro photographers shoot over 100 stacked images), Photoshop takes forever to blend the images, even if they’re JPEGs. What’s more, removing the blur that appears in the image is time-consuming on top of this, using a combination of bringing in individual bracketed shots to Mask in and also using the Remove Tool.
Helicon Focus 8 can load large numbers of images and blend them extremely quickly – in seconds. And although we worked with JPEGs here to keep things simple, with Adobe Raw Converter installed, you can even import raw files that are then exported to a new blended DNG file that can be processed in Lightroom. There’s also a Lightroom plugin that can be installed to make this process seamless. The strength of the software is the ability to use the Retouching Tools and all of the focus bracketed images, individually, to easily remove blur in the rendered image. Helicon Focus 8 comes with a 30-day free trial so if you shoot macro photography, it’s well worth trying.
How to blend focus stacked images with Adobe software
1. Process and stack
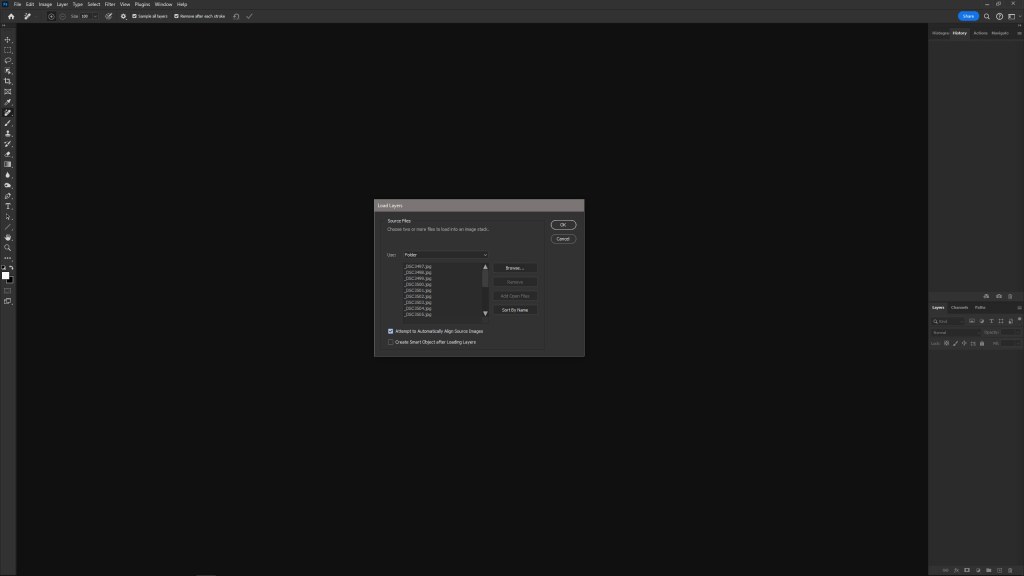
Process your images in Lightroom and sync the settings before checking Exposure is identical in each. Next, export in JPEG format to a folder on your Desktop. Open Photoshop and go to File>Scrips>Load Files into Stack. Select Folder from the Use dropdown menu and find your folder of JPEGs. Check Attempt to Automatically Align Source Images and hit OK.
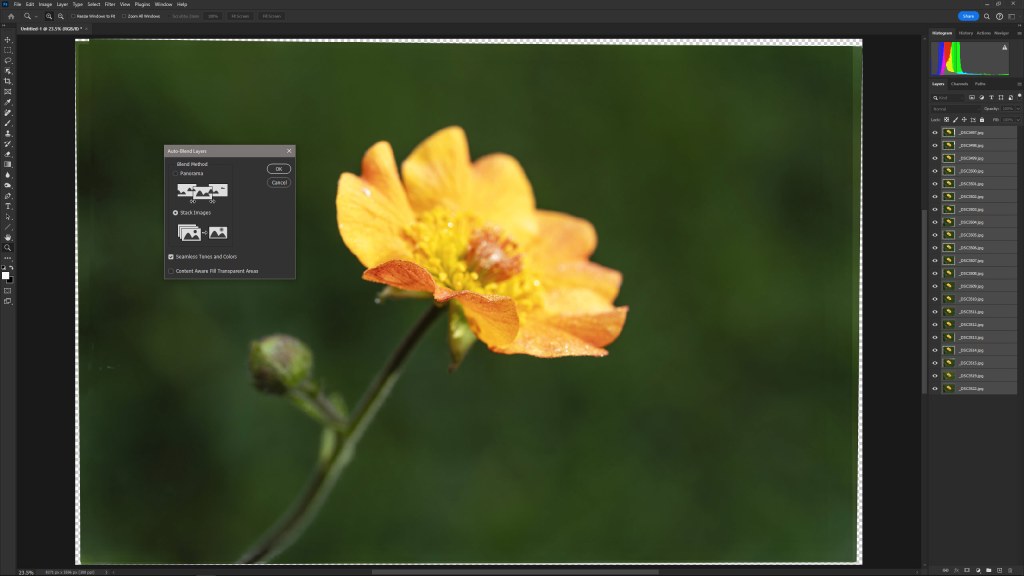
2. Auto-Blend Layers
Once the images have loaded as aligned Layers, select all Layers then go to Edit>Auto Align Layers and make sure Stack Images and Seamless Tones and Colors are checked. Click on OK to begin the automatic blend and go and make a cup of tea or do something else because this process can take five minutes or longer depending on the number of images.
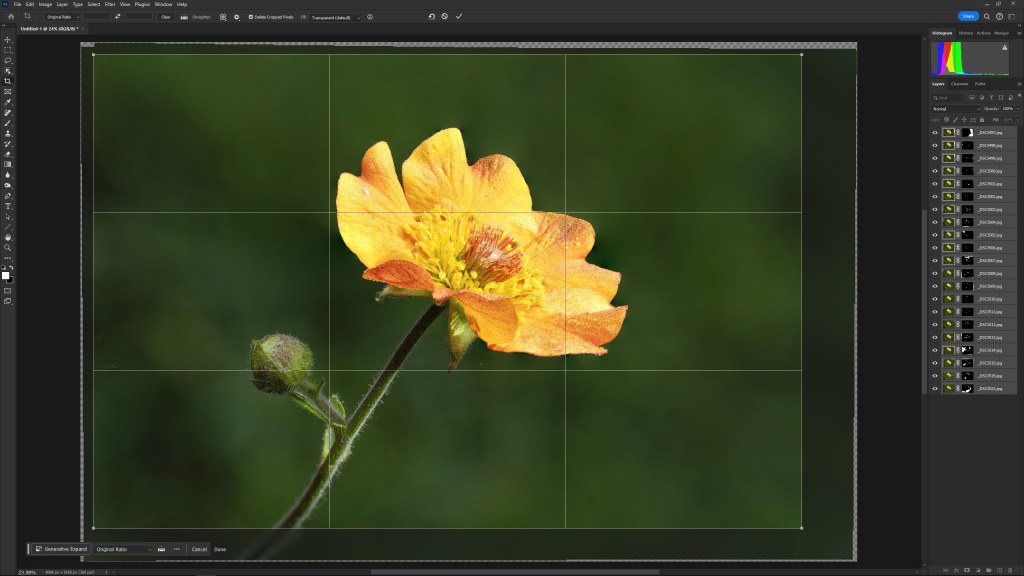
3. Crop and retouch
Once blended, crop the empty space and obvious alignment lines and blur from the edges of the image. Right mouse click on the active Layers and select Flatten Image. Next, zoom in and check for blur. If there is blur or misalignment, this can be removed by identifying which image you need and loading this in as a Layer to blend with Masking and by using the Remove Tool.
How to blend focus stacked images with Helicon Focus 8
1. Process and import
Process your images in Lightroom and sync the settings before checking Exposure is identical in each. Next, export in JPEG to a folder on your Desktop. Open Helicon Focus, then the folder on your desktop and drag the images into the software interface and the source images will load into the software ready for Rendering into a single focus stacked shot.
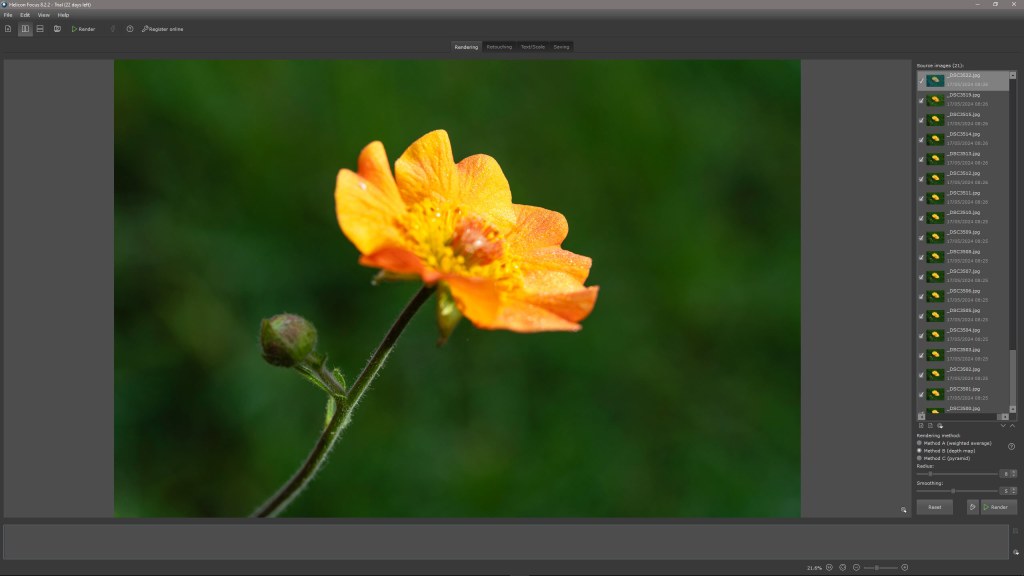
2. Render images
By default, Helicon Focus is set to Rendering Method B (depth map) with Radius at 8 and Smoothing at 4. Leave these settings in place because they typically work well and as a beginner to the software, this keeps things simple. Click the Render button and Helicon Focus will merge all of the individual shots in a matter of seconds, showing the depth mapping in the process.
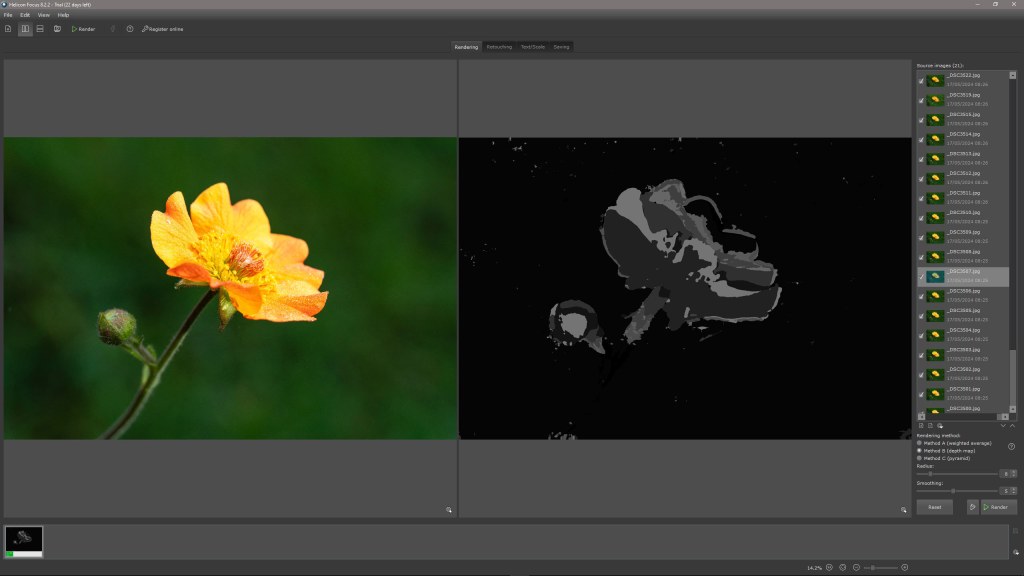
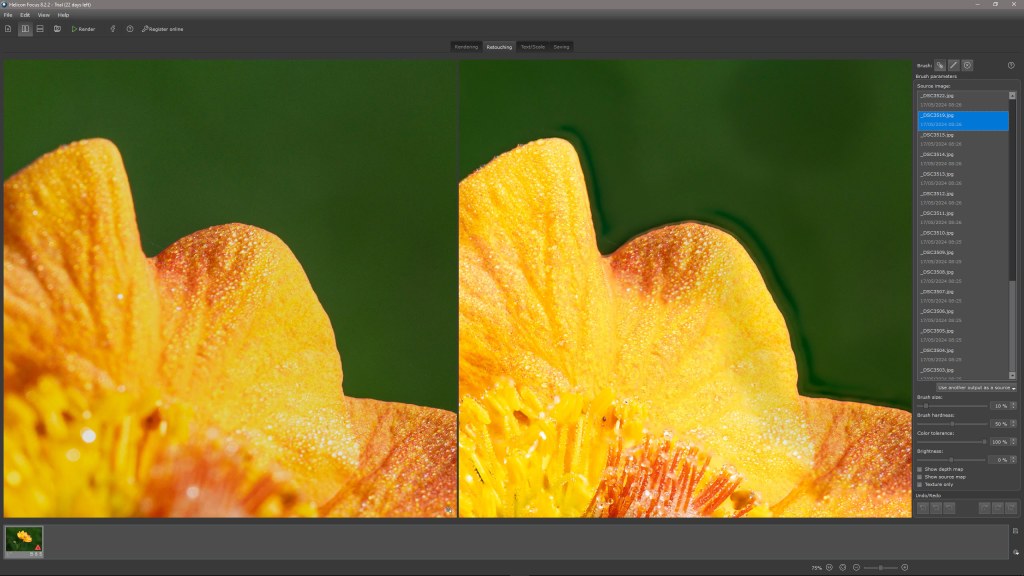
3. Retouch the blur
Click on the Retouching tab at the top of the two image windows. On the left is the active Layer/bracketed shot, and on the right is the rendered image. Zoom in, and where there’s blur or ghosting, click on the Source image stack on the right to find the correct Layer and simply paint in sharpness. Continue all around the image until as much blur is removed as possible.
If you would like to take your macro photography to the next level read our top Macro Photography Tips and Techniques and macro photography lighting tips.
Looking for a guide for a specific subject have a look at our helpful guides on how to shoot insects and our Top tips for close-up flower photography with a macro lens.
Don’t have a kit yet? No problem, our guide to the best cameras for photography and best macro lenses alongside the best smartphones for macro will help you easily choose your new gear.
Related reading:
- How to get pin-sharp close-up and macro shots
- Focus stacking: achieve pin sharp macro shots of delicate subjects
- Best editing software for close-up and macro photography
Follow AP on Facebook, Twitter, Instagram, YouTube and TikTok.