When depth of field is seriously limited, precise focusing is crucial. Thankfully, as Tracy Calder explains, there are plenty of things you can do to increase your chances of pin-sharp close-up and macro shots – from making the most of Artificial Intelligence to limiting your range and taping over your AF button.
For more inspiration, see our beginners’ guide to macro photography and the best-value macro lenses. Without further ado here are 30 ways you can get pin-sharp close-up and macro shots.
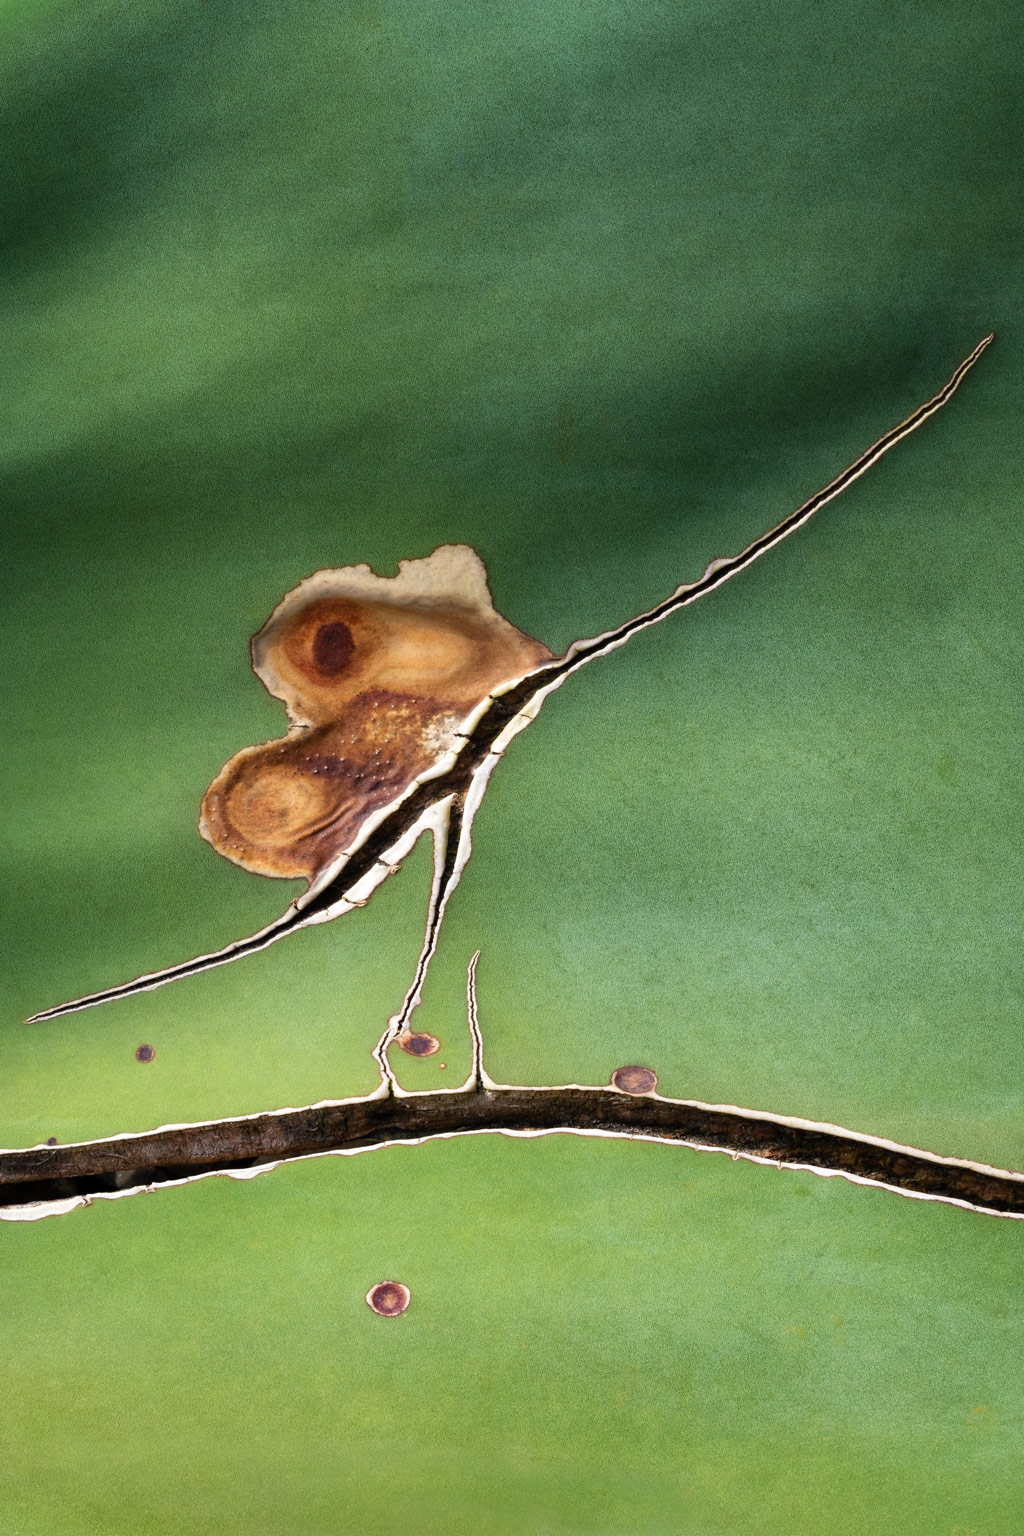
1. Get creative
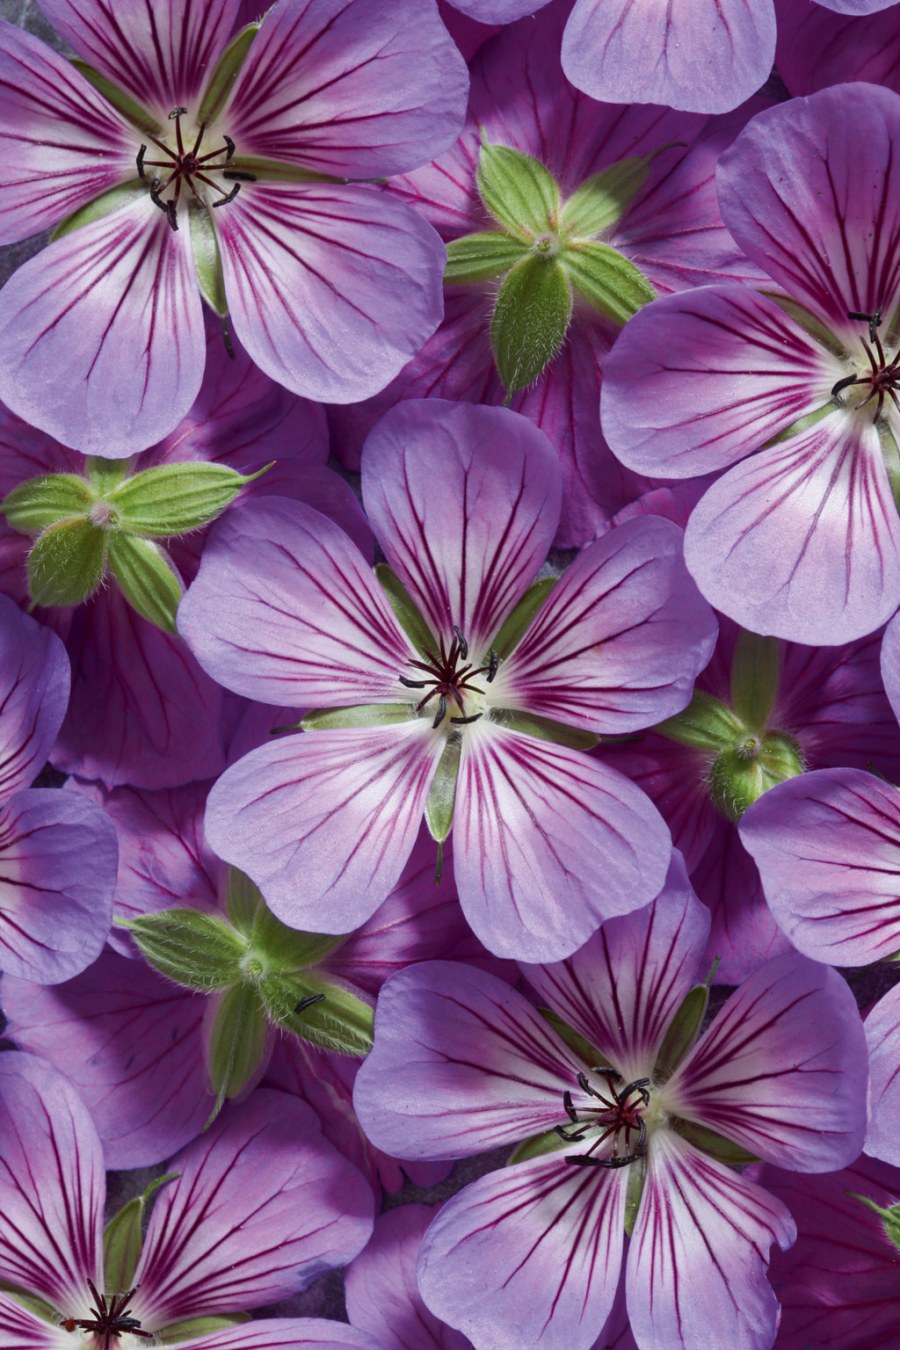
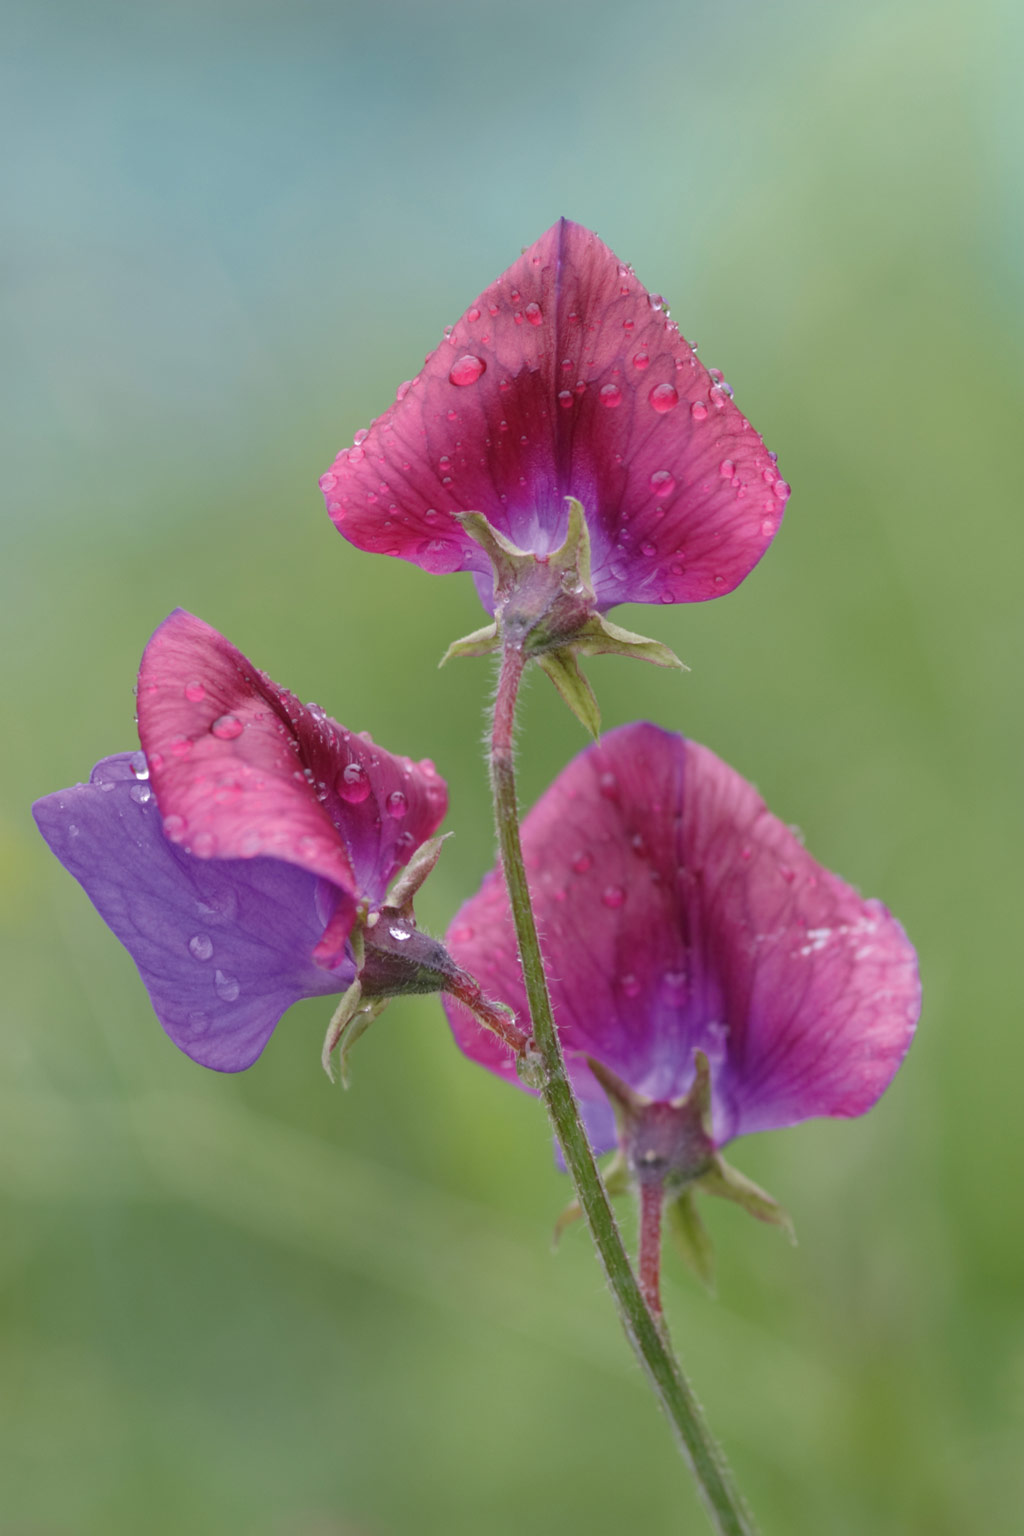
Macro photography and shallow depth of field go hand in hand, but this needn’t be a problem if you approach the out-of-focus areas of your image with an air of curiosity and possibility. A wash of colour behind a plant can create a beautiful, painterly effect, for example.
2. Do the splits
If, like me, you started out using a film SLR, you will be familiar with the idea of using a split focus screen. Imagine my joy when manufacturers started to include this as an option in digital cameras! Simply switch to live view, select the split-image focusing aid and rotate the focusing ring until the separate parts of the image line up. So satisfying!
3. Hit the ground
Just like wildlife, plants look great when you get down to their level, so wear waterproof trousers and use a garden kneeling pad. While some tripods allow you to get down low, I find a beanbag can be useful. I know a photographer who uses an inflatable swimming armband as a camera support! You can buy beanbags empty or filled, but make sure the material is waterproof, and the filling won’t hold moisture (Wildlife Watching Supplies has a great selection).
4. Get some support
When the zone of focus is seriously limited, even the slightest movement of the camera will result in the subject falling out of focus, so invest in a decent tripod – preferably one with a central column that can be positioned at 90° – and use it! If you’re worried about carrying the extra weight, think carbon fibre and buy a strap to hold it over your shoulder (Op/Tech has a good range). See our guide to the best tripods here.
5. Get familiar
Play around with all of the focusing aids on your camera and choose one that suits you, and the situation, best. If you use focus peaking (which assumes the sharpest parts of an image have the highest contrast) you will usually have an option to alter the colour of the highlights. Choose a colour that contrasts with the scene so that you can see what’s going on. It’s also worth experimenting with the focus peaking level: most cameras have at least two options.
6. Watch the weather
When the wind speed rises above 10mph, flowers will zip about the frame, moving in and out of focus. On these occasions it’s wise to use a support (the Wimberley Ground Plamp is a good option) to hold a flower steady. Failing that, photograph flowers with thicker stems, such as tulips, or plants weighed down by rain or dew.

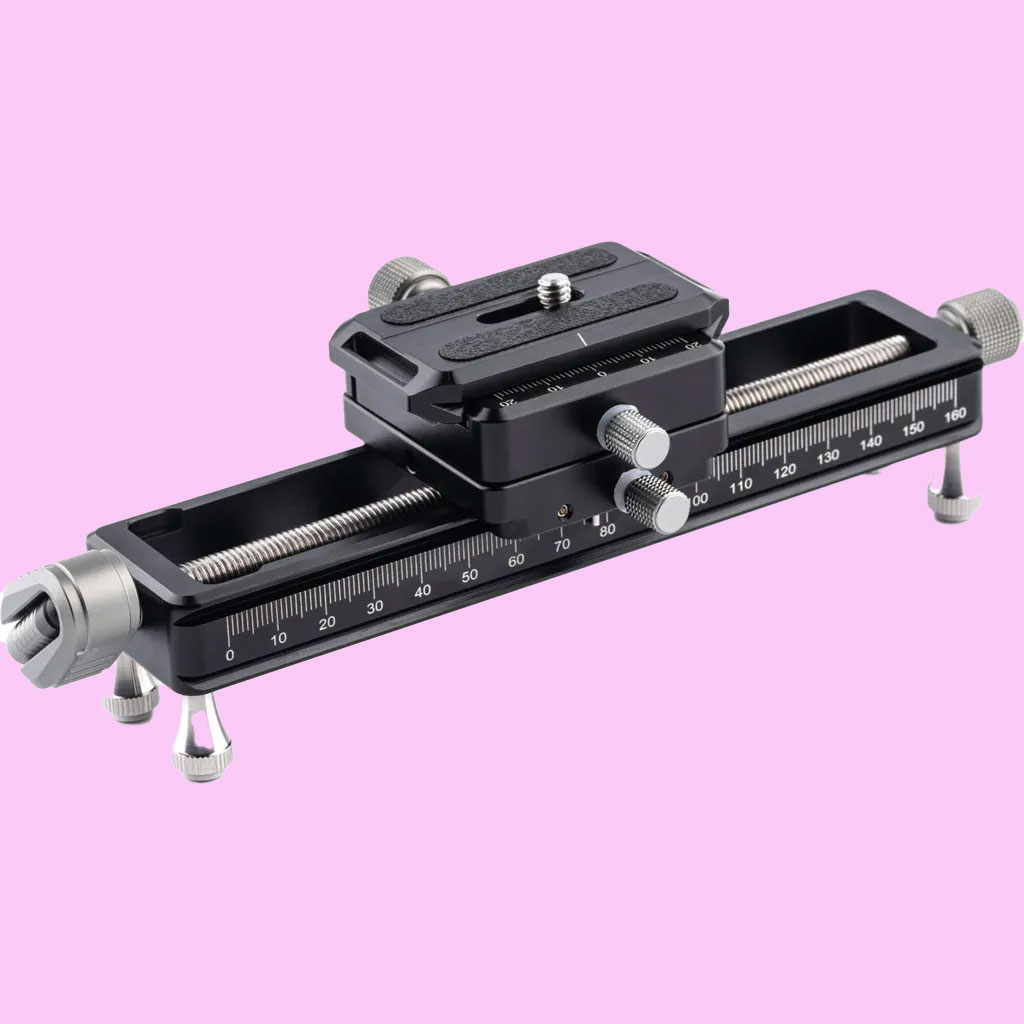
7. Don’t go off the rails
Precision framing and accurate focusing are essential for close-up work, so if you’re focus stacking, or plan to make seriously small adjustments then a set of macro rails can prove invaluable. These rails fit onto a tripod head and allow you to move the camera backwards and forwards in tiny increments. More expensive versions will often allow lateral movement, too. The NiSi NM-180 Macro Focusing Rail is an excellent choice.
8. Straighten up
Keeping your camera – more precisely, the sensor – parallel to the subject will ensure you are not wasting any of the depth of field available to you. At high magnifications this can be just millimetres. If your camera has a focus peaking option, where coloured highlights appear over areas of high contrast, use it to see which parts of your subject are in or out of focus at any one time.
9. Look sharp
Many cameras now offer in-camera focus stacking – this is where a series of shots are taken at slightly different focal depths and combined to produce an image with ‘extended’ depth of field – but you can achieve excellent results on your own, with a little assistance from macro software such as Helicon Focus and Zerene Stacker.
10. Magnify your view
To ensure focus is exactly where you want it, you can instruct the camera to show you a live magnified view on the LCD monitor or via the viewfinder. Most cameras allow you to toggle between 5x and 10x, but this will vary across models and makes. You can use live magnified view before or after autofocus or manual focus.
11. Set a limit
To improve focusing speed, and accuracy, see if your lens has a ‘focus limiter’ option. Using this switch, you can change the search range from Full – which tells autofocus to search from the closest focusing point to infinity – to Limit, which instructs AF to search from the distance you select to infinity. Choosing Limit will stop the lens from hunting backwards and forwards through the entire focusing range, and also saves battery power.

12. Consider the alternatives
There are plenty of accessories that will effectively reduce the minimum focusing distance of your lens. Some can be used in conjunction with a macro lens, too. The NiSi Macro Close-up Lens is a favourite, but I’m also a fan of the Raynox DCR-250. It’s worth experimenting with extension tubes, reverse adapters and bellows too.
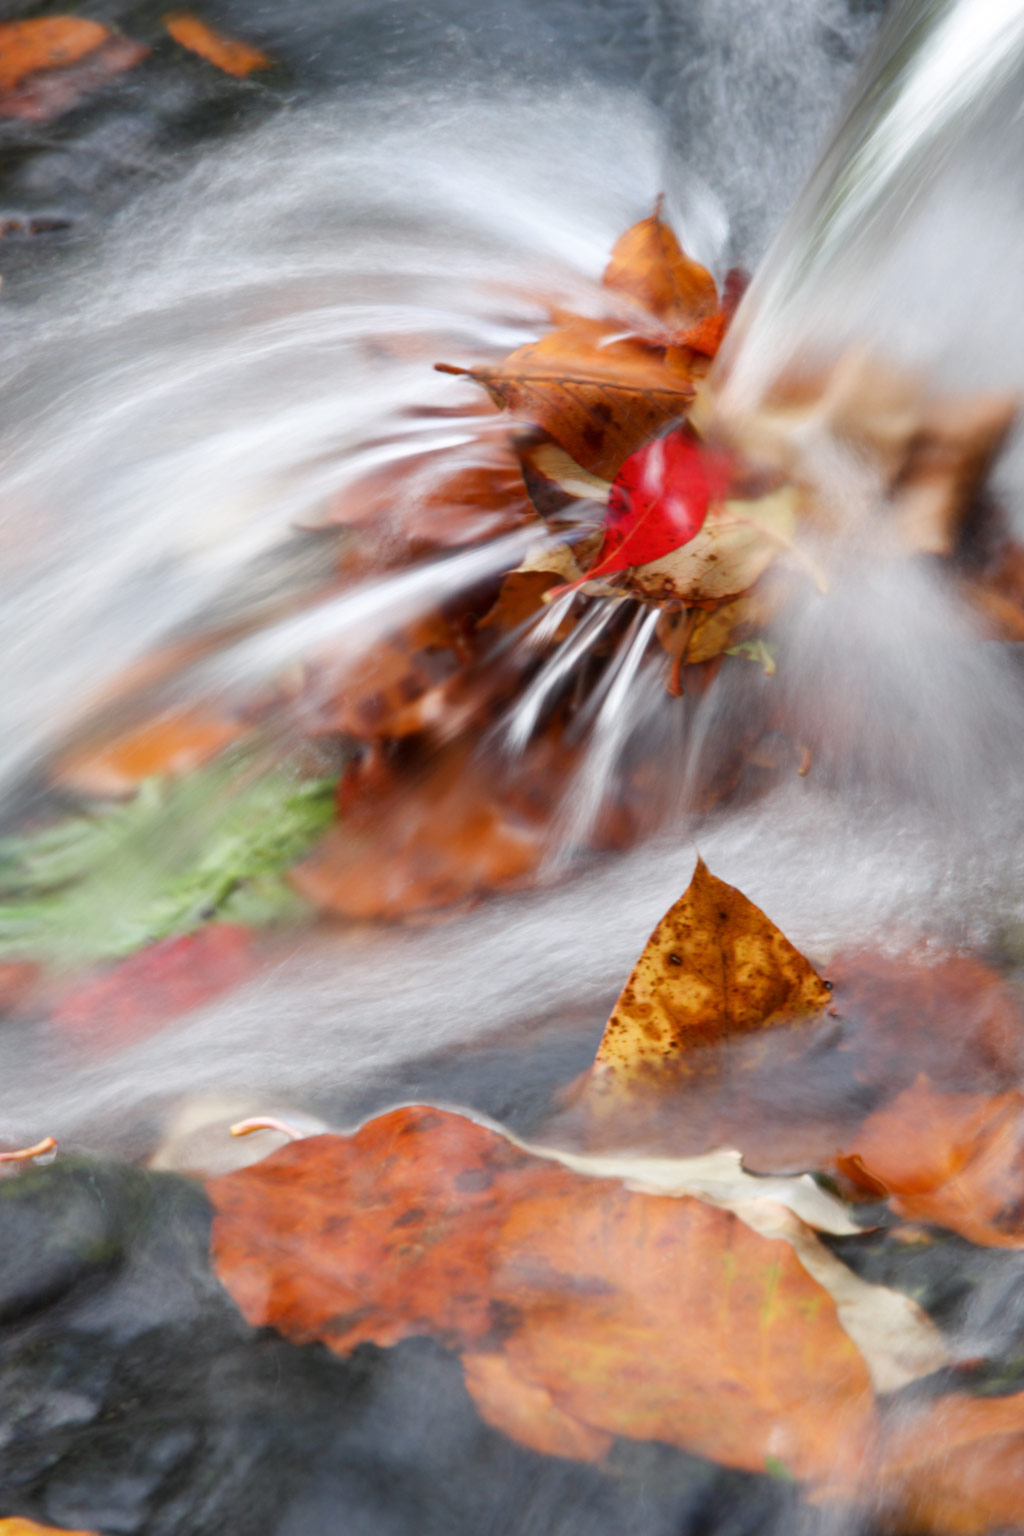
13. Break the rules
It’s easy to fixate on getting everything in the frame super-sharp, but when blur is used intentionally it can be highly effective. Blur can give the illusion of movement or speed, it can help to simplify a composition and
it can draw attention to specific areas of a picture. Concentrate on selecting your point of focus and then play around with depth of field.
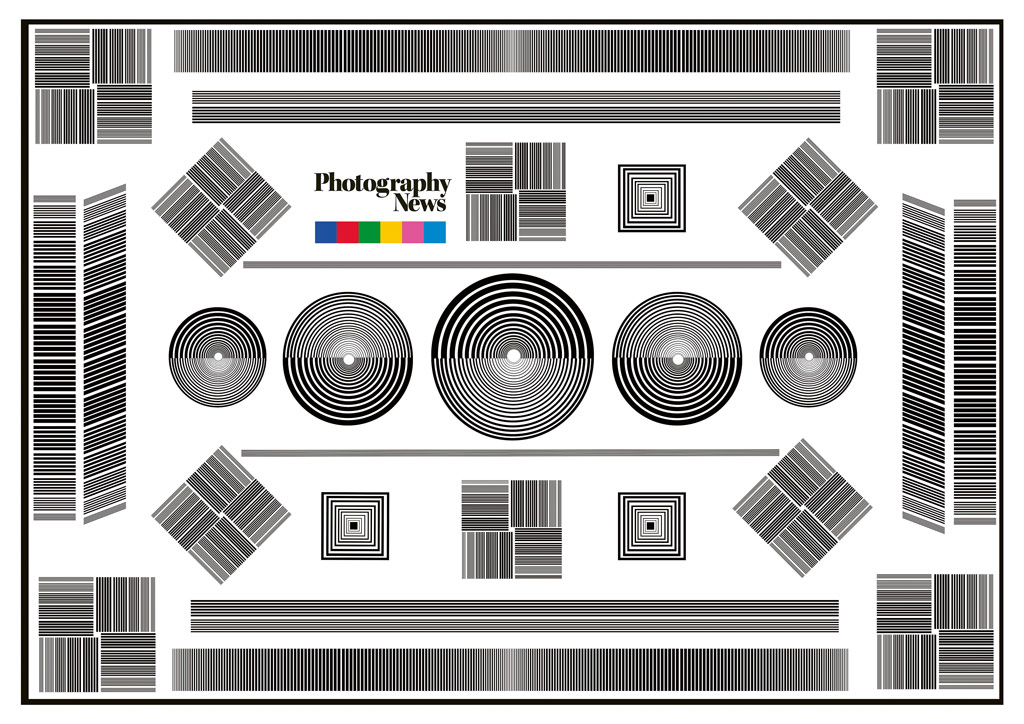
14. Put it to the test
If you want to know how sharp your lens is at any given aperture, use a lens test chart. Alternatively, mount your camera on a tripod, place an object featuring writing about 2.5m in front of your lens; set the camera to aperture priority, select the lowest ISO, set the aperture to its maximum, and fire away. Use the self-timer to avoid any camera shake. Work through the entire aperture range and then check the results at 100% on a computer.
15. Keep it sweet
Most lenses are not uniformly sharp at every aperture. Generally speaking, lenses don’t perform at their best at the extreme end, so for maximum sharpness you need to find the ‘sweet spot’. This ‘spot’ is usually a few stops down from the widest aperture, so if a lens has a maximum aperture of f/3.5 then the sweet spot will be around f/8 or f/11.
16. Embrace the future
Artificial Intelligence (AI) is revolutionising the way we focus cameras; the Canon EOS R3 is one example. This camera allows you to select an AF point, or a subject to track, just by looking at it, known as eye-tracking. All the major brands now have models which have been ‘taught’ to tell the difference between humans, vehicles and animals. The Sony Alpha 7R V even has an Insect Eye Autofocus option.

17. Be consistent
If you’re shooting a focus stack, it’s important the lighting, composition and exposure remain consistent. If the sun suddenly appears from behind a cloud and illuminates your subject, for example, it might lead to inconsistencies that are hard to fix later. To prevent this, shoot in overcast conditions, where possible.
18. Look sharp
Some of the best compositions fall at the final hurdle owing to lack of focus. However, there are a number of software options you can try which are designed to help you ‘rescue’ a slightly unsharp image. Topaz Sharpen AI, for example, uses Artificial Intelligence to tackle three types of blur: motion, focus and softness. (It can be used as a standalone program or as a plug-in for Lightroom and Photoshop).

19. Let there be light
Focusing is easier when there’s extra light on your subject, especially when you’re using AF, so consider using a reflector to bounce light into shadier areas. It can also be worth using a handheld LED, particularly to illuminate flowers or dark areas under mushrooms. The Joby Beamo is a good option and can be fitted with a diffuser. For studio work, Adaptalux has a fab range of customisable macro lighting options.

20. Know the lingo
If you’re in the market for a macro lens, it’s important to understand the language manufacturers use in their tech spec. There’s a difference between ‘minimum focusing distance’ and ‘working distance’, for example. Minimum focusing distance is the measurement from the sensor to the subject, while working distance is the measurement from the front of the lens to the subject. (A longer working distance is preferable for shooting insects – see tip 22.)
21. Go manual
One photographer I know suggests taping over your camera’s AF button when you’re shooting macro. AF is amazing for most situations, but it can fall short when it comes to close-up work. The subject is usually extremely close to the lens, and often in low light, which will cause AF to struggle. What’s more, manual focus allows you to position the focus exactly where you want it, which is ideal when you’re shooting through foreground elements like grass.
22. Stay away
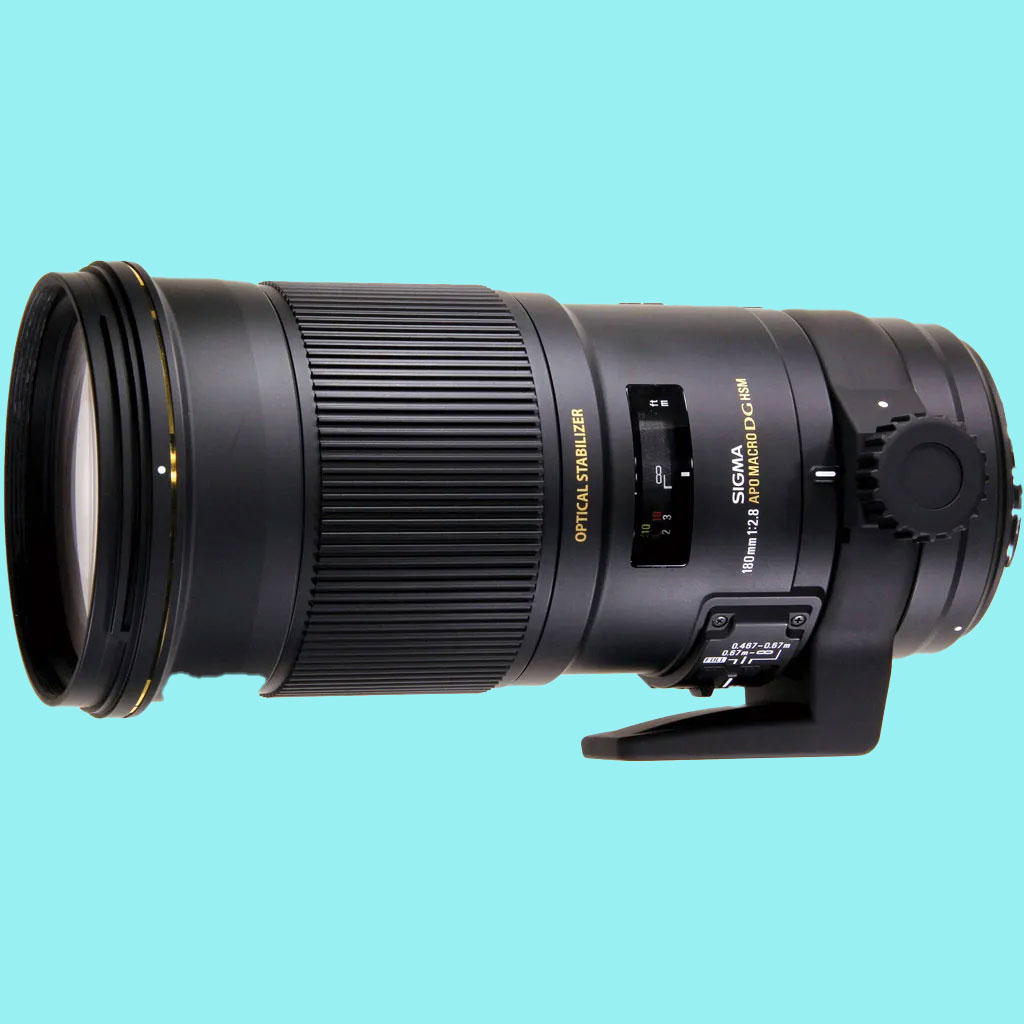
Sun-loving insects, like butterflies, will take flight if you get close and throw your shadow over them, so it’s best to use a macro lens that allows you to keep your distance. Lenses such as the Sigma 180mm f/2.8 EX APO DSG HSM have a focal length (and working distance) that’s long enough to produce frame-filling pictures without disturbing your subject. Don’t miss our guide to the best-value macro lenses.
23. Experiment with AF modes
If you’re trying to get sharp pictures of a moving subject – such as a butterfly on a plant stem being moved by the wind – switch to continuous autofocus (often called AF-C or AI Servo AF) which instructs the camera to track the subject and maintain focus. Better still, use continuous AF in conjunction with back-button focusing.

24. Back it up
How you choose to record the background in your images is a matter of taste – just remember that the further away a backdrop is from your subject, the more out of focus it will appear. As such, if the background is a few metres away from a plant you can usually get away with an aperture of around f/11 before distracting elements begin to appear. If you can’t find a clean background, (nor throw a distracting one out of focus), consider using a piece of card, clothing or the plain side of a camera bag behind your subject.
25. Believe in bokeh
Bokeh is a term used to describe the rendering of out-of-focus areas in an image. Photographers often describe it as being silky, smooth, creamy, beautiful or sweet. The level and quality of bokeh you achieve depends on a number of things: the lens you use, the distance between the subject and background, and the aperture you select. For maximum blur you need a fast lens; something that will open to f/2.8 or more. The lens you use – or more accurately the shape created by the aperture blades – will determine the shape of the bokeh you obtain in the final image.

26. Improve your chances
If you decide to handhold the camera, there are a number of things you can do to improve your chances of obtaining a pin-sharp result. Firstly, adopt a stable body position – lean against a wall, lie on the ground, kneel down – think of your body as a tripod. Secondly, fire off a burst of frames and hope that one of them will be sharp. Thirdly, hold the camera against your face and use the viewfinder to compose, rather than the LCD monitor. (Some people even manage to focus stack while handholding – see Oliver Wright’s videos.)

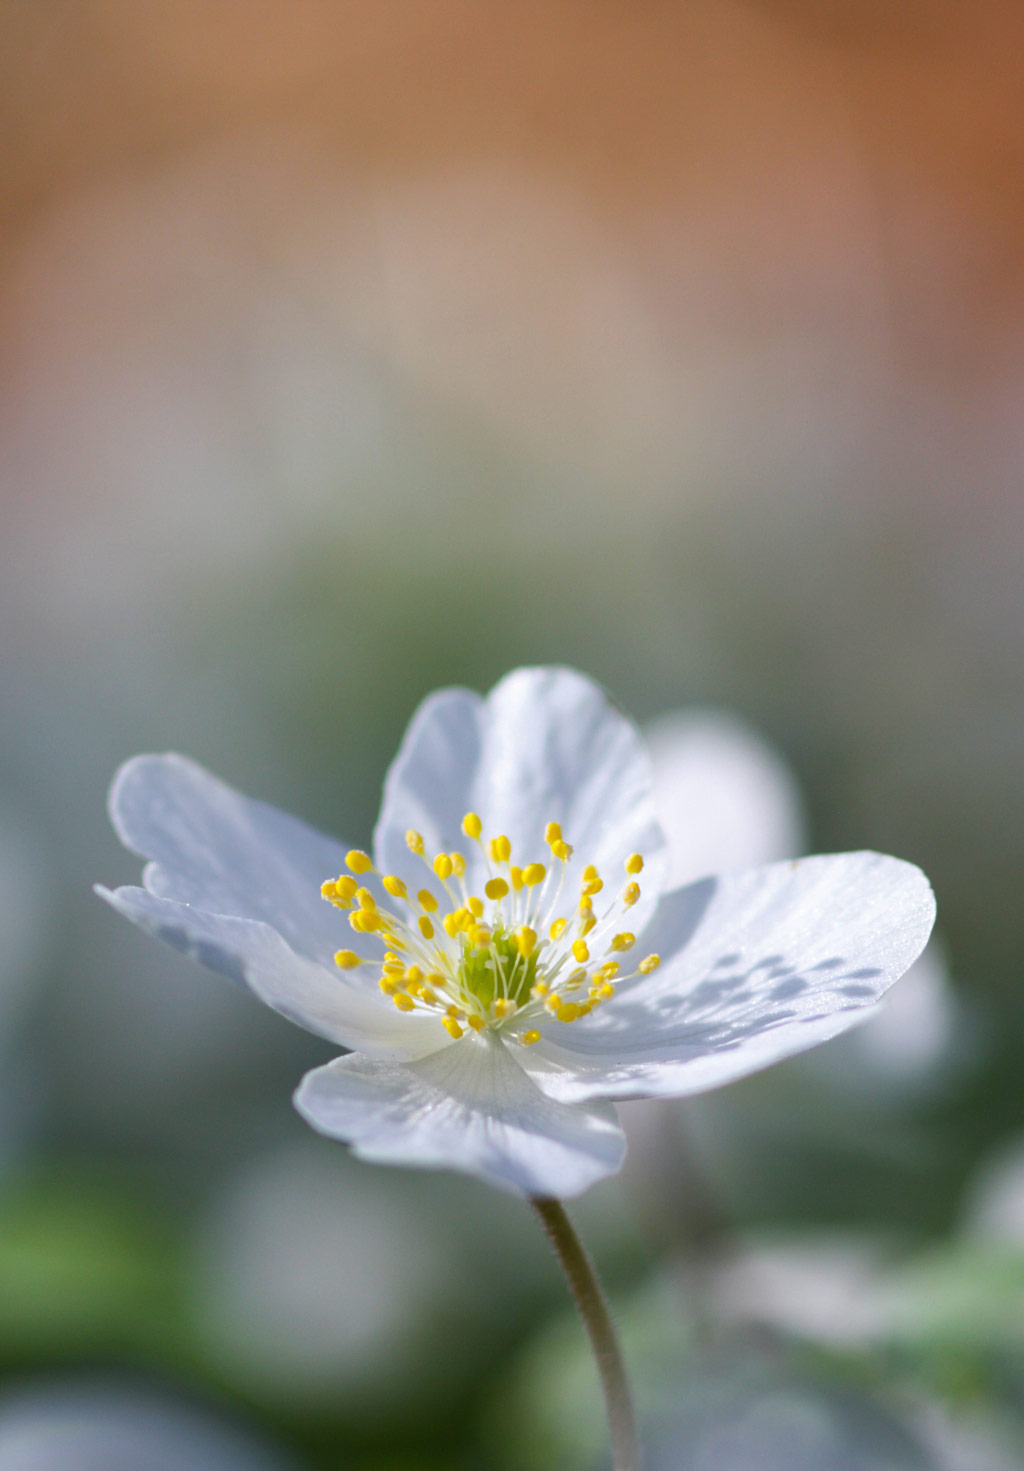
27. The eyes have it
When depth of field is limited and you’re shooting an insect (or any animal, for that matter) it’s usually best to train your lens on the eyes. It may seem strange, but you can use a similar technique with flowers, where the centre of a bloom acts as the ‘eyes’.
28. Keep moving
Learning how to select/move between AF points quickly is essential if you’re out in the field. I primarily use single point AF because it allows me to lock focus on a very specific part of the subject such as the centre of a flower. There are several ways to move the AF area; this varies between models and makes of course, but it’s definitely worth customising buttons to help speed up the task.
29. Think flash
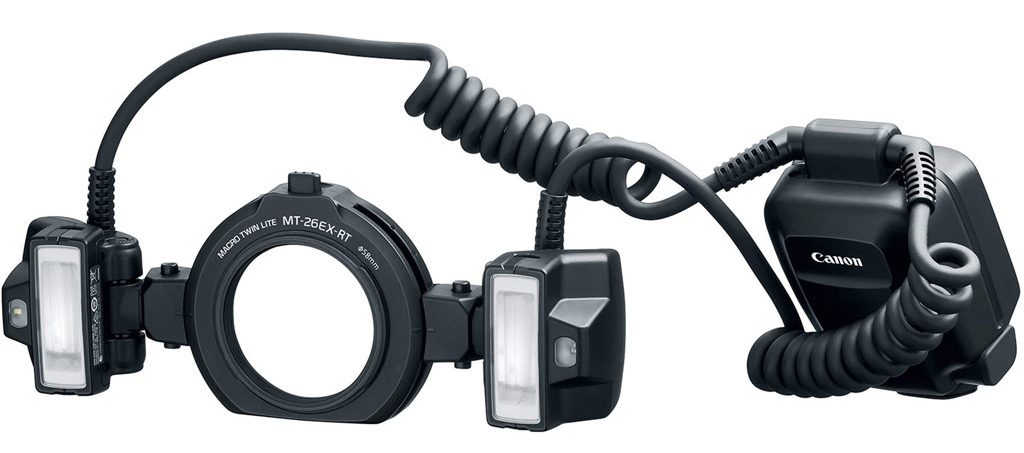
If you select a small aperture to maximise depth of field, the resulting shutter speed might not be enough to freeze a moving subject. Naturally, you can increase the ISO to give you more flexibility, but this might result in unattractive noise. To solve the problem, try introducing a burst of flash. The in-built flash on your camera is unlikely to do the job for close-up work: the light can be flat, and the flash may cast a shadow over your subject. Look instead at off-camera options or specialist units such as Canon’s Macro Twin Lite MT-26EX-RT. If you use flash for macro, then diffusion is key.
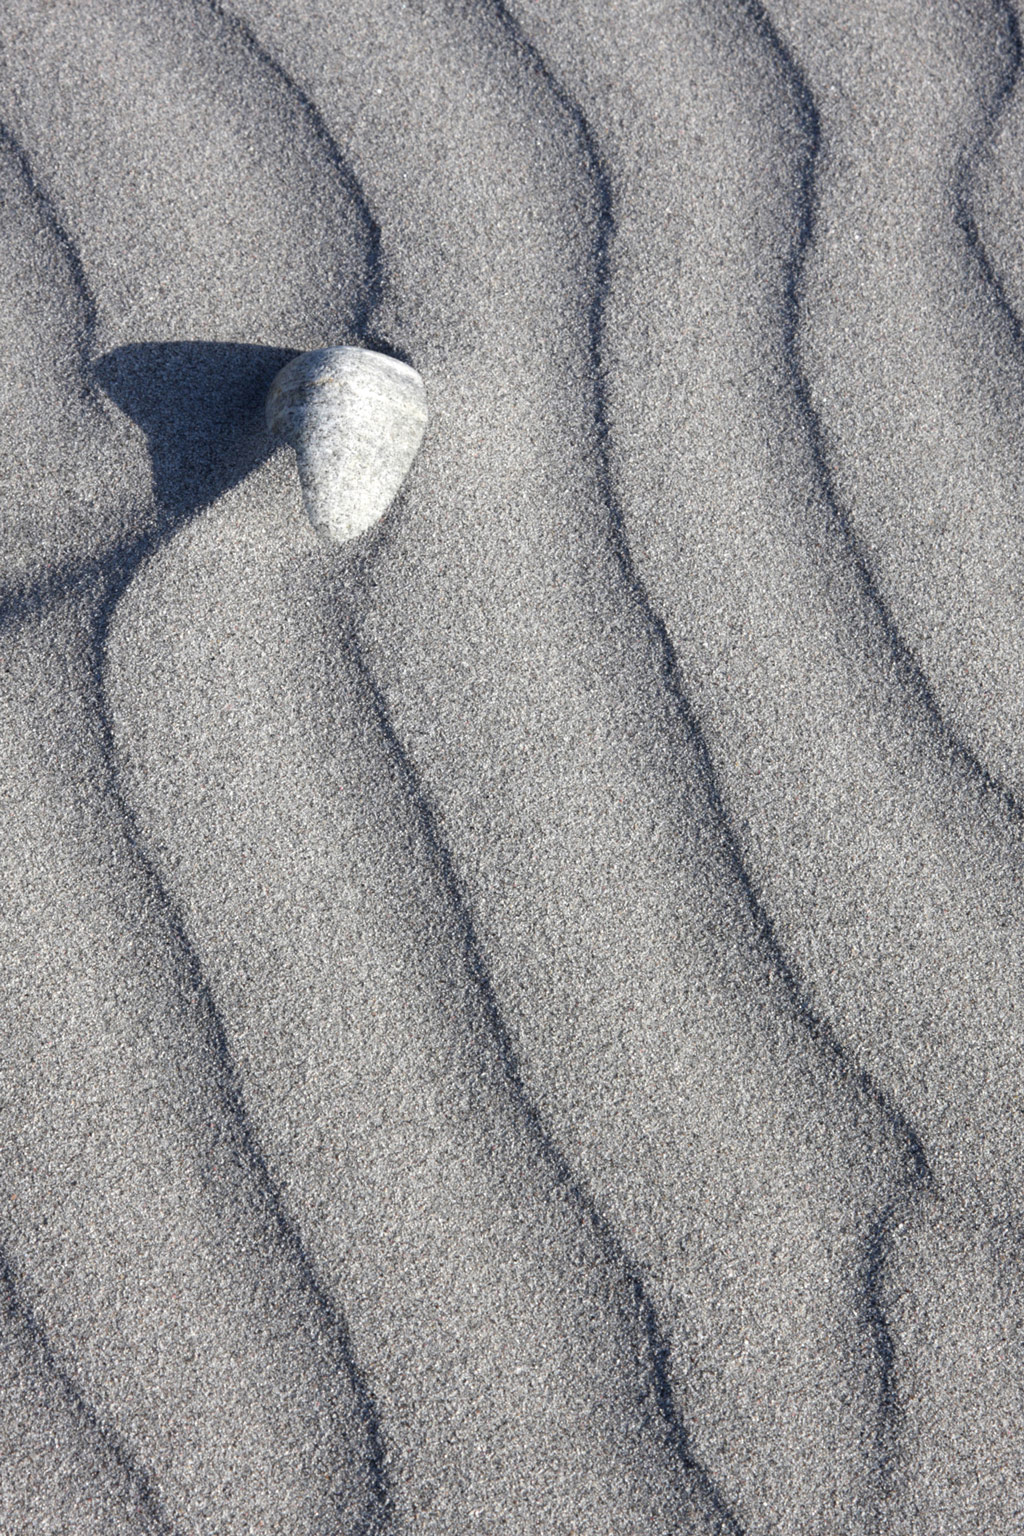
30. Direct the eye
You can use precision focusing as a way of directing the viewer’s eye around the frame – the sharpest area is where the eye will fall first, regardless of most other factors such as colour etc. Ask yourself what attracted you to the subject and train your lens on this specific part.


Tracy Calder is a photographer, writer and former editor of Outdoor Photography magazine. In 2018 she co-founded Close-up Photographer of the Year (CUPOTY). Last year she was awarded a gold medal from the RHS for her Plant Scars series. Her work has been exhibited at The Photographers’ Gallery, National Portrait Gallery and Saatchi Gallery. Check out her website and follow her on Instagram.
Now that you’ve read our guide to pin-sharp close-up and macro shots, have a look at these related articles:
Follow AP on Facebook, Twitter, Instagram, and YouTube