As I reach for my sun visor to block the blinding sun and navigate the winding country roads towards Doddington village, it strikes me that today’s field test could be my hardest challenge to date. My journey has me pulling onto the stunning grounds of Doddington Place Gardens ahead of schedule, so I use the extra time to research how best to capture images of birds in flight.
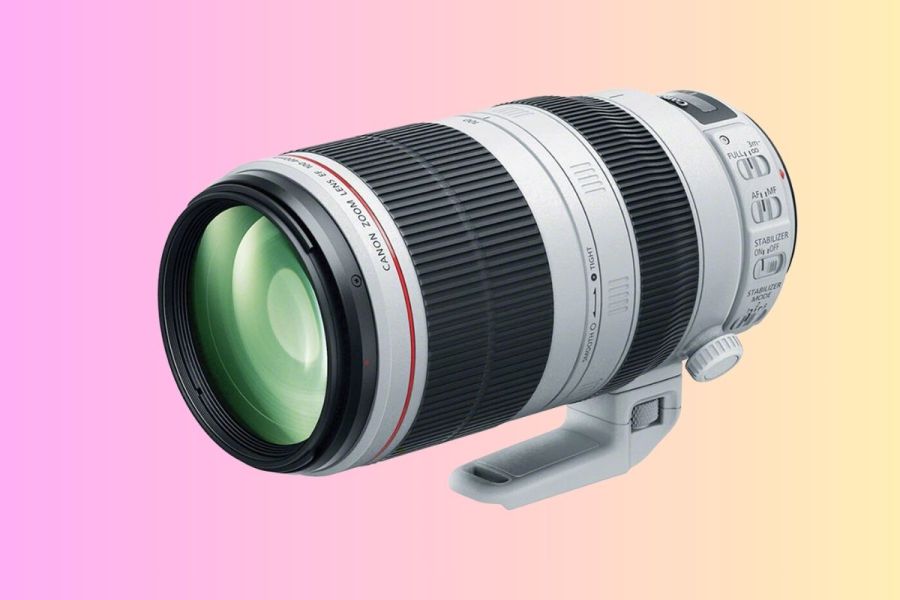
I’m paying a visit to The Hawking Centre to experience photographing birds of prey with one of Canon’s most popular telephoto zooms and a great choice for wildlife photography – the EF 100-400mm f/4.5-5.6L IS II USM ($2,399/£2,599).
It’s a Canon EF-mount lens, which means it’s designed for use on Canon’s DSLRs, but it can also be used on Canon RF-mount mirrorless cameras with an adapter. Alternatively, photographers with a Canon R-series mirrorless camera may prefer to invest in the Canon RF 100-400mm F5.6-8 IS USM ($649/£699) or perhaps the Canon RF 100-500MM F4.5-7.1 L IS USM ($2,899/£2,979).
Having not photographed birds of prey for many years, I reach for my monopod and kit bag with a tricky decision to take. Do I start by using the lens with the Canon EOS 5D Mark III or pair it up with the EOS 7D Mark II? Thinking about the pros and cons of each, I incline towards the 7D Mark II.
My thinking is the extra reach (160-640mm) that I’ll get from coupling the lens to an APS-C body could be of benefit. The wider spread of AF points across the frame might be helpful, too.
As I enjoy a morning brew with Aaron, my falconer for the day, I prepare by attaching the lens hood to prevent today’s low sun playing havoc with glare and flare. As the hood locks into place with a click, it exposes the new slide window that Canon has added to allow faster operation and access to circular polarising filters.
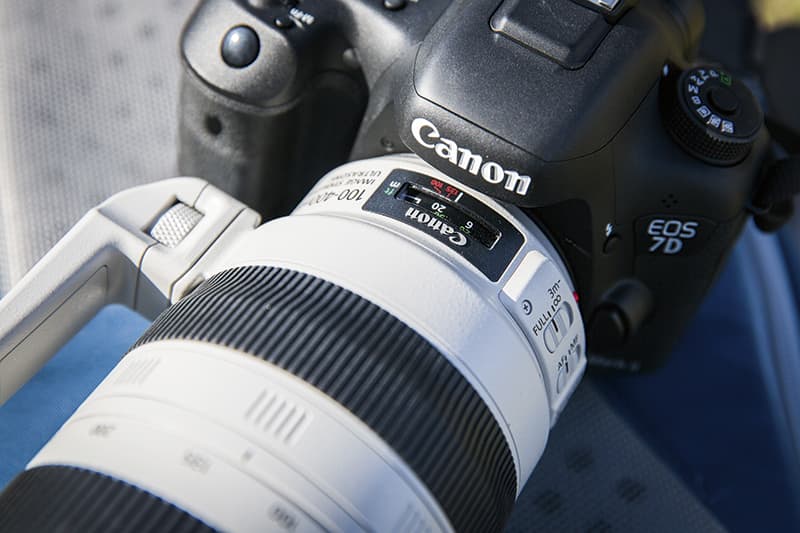
Before I know it I’m stood outside the aviary with hawks to my left and falcons to my right. While the barn owls are weighed prior to their morning flights, I take the opportunity to capture some close-ups of the larger birds of prey. Setting the 7D Mark II to aperture priority and dialling the maximum aperture of f/4.5, I slowly extend the zoom beyond 100mm, at which point I become aware of the lens’ aperture closing to f/5.0 at 130mm and to f/5.6 at just a fraction past 300mm.
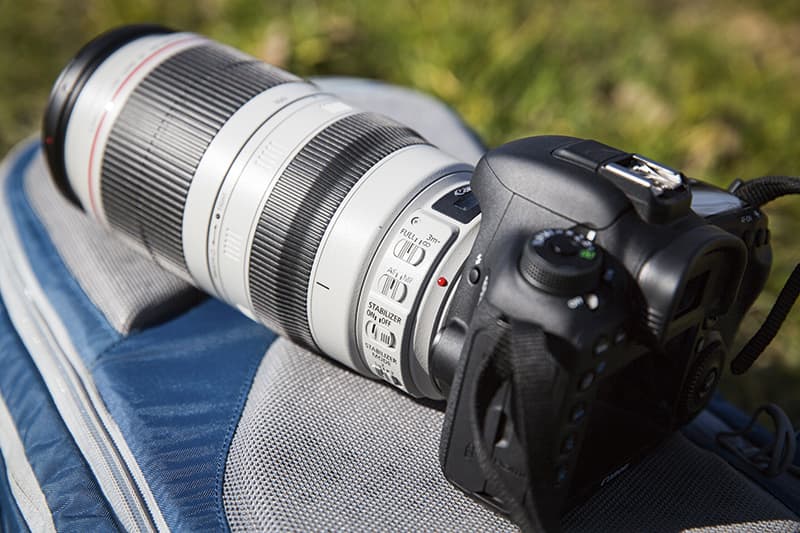
With the trees in the background a good distance from my subject, I compose tightly on a bald eagle’s head and rattle off a few frames. A quick magnified inspection around the image on the screen reveals the lens’ nine aperture blades deliver a particularly pleasing bokeh, rendering any out-of-focus points of light as an attractive circular shape.
With a few successful shots under my belt, it’s time to put the lens through rigorous testing. Lens and camera slung over my shoulder, I opt to leave the monopod behind. Weighing in at 1,640g, it already feels more portable than other telephoto zooms such as Sigma’s 150-600mm f/5-6.3 DG OS HSM S, which is a monster by comparison.
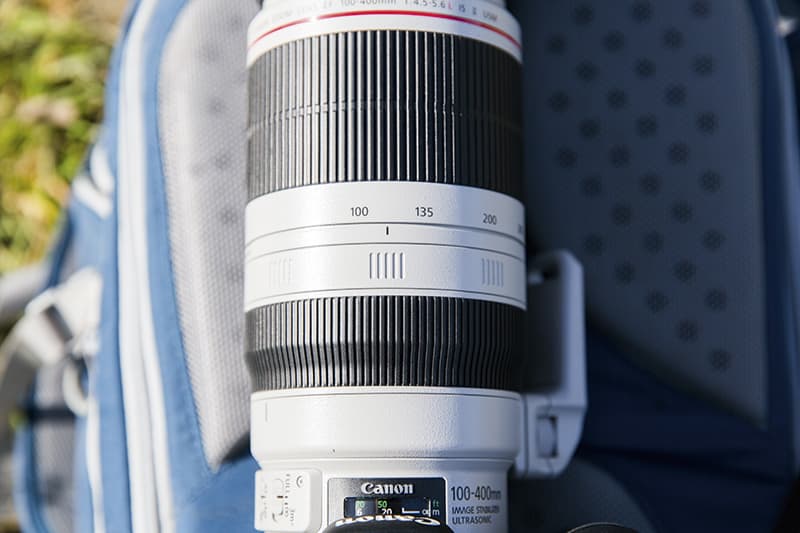
As I contemplate the best autofocus settings for capturing the stunning barn owl that’s been brought out to fly, it’s unleashed from the glove and glides over to perch on a cast iron gate. Realising the potential of getting a better shot in the portrait format, I rest the lens’ rather small tripod plate on the palm of my hand for some additional support and with a quarter turn of the zoom ring I set the lens to 300mm – which works out to be a 480mm equivalent on the DSLR I’m using.
At this moment I appreciate my decision to pair the lens with the 7D Mark II – I wouldn’t have been able to zoom in as tightly with the lens connected to the 5D Mark III, unless I used the EF 1.4x III converter that I just remembered I’d put in my jacket pocket at the last minute.
Repositioning the AF point over the eyes, I half depress the shutter and am staggered by just how quickly the lens locks focus on the target in a near-silent manner, allowing me to capture the shot in the nick of time.
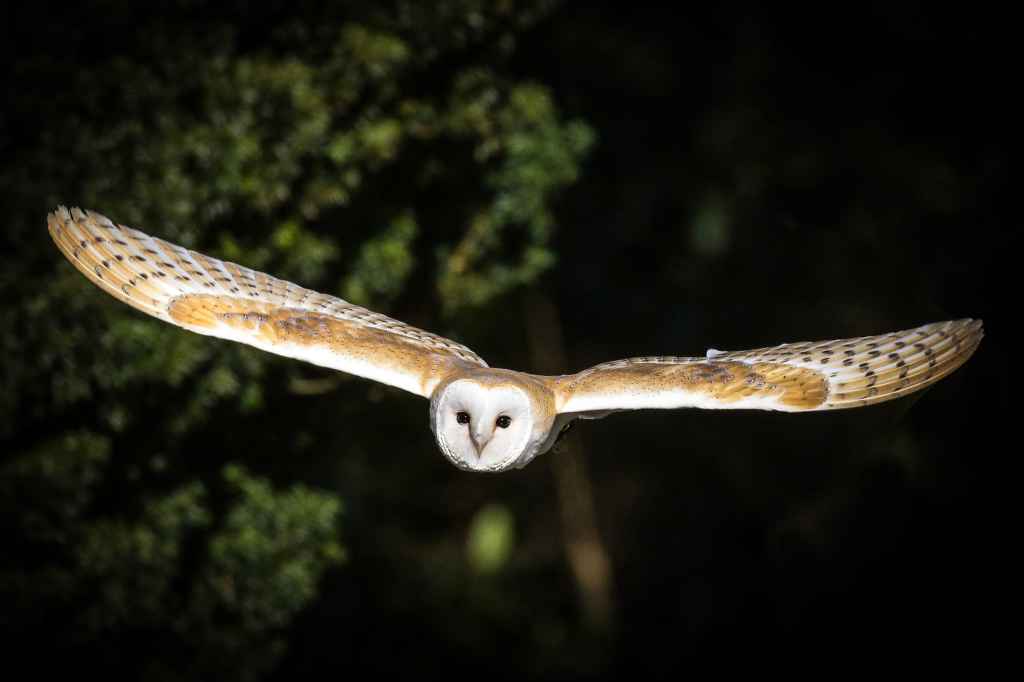
Walking through the immaculate gardens presents the perfect vantage point to attempt the shot I’m really after – an owl in full flight flying directly towards the lens. Setting the AF system to AI servo and the drive mode to its 10fps setting, I liaise with Aaron to make the shot possible and rattle out a continuous burst as the owl swoops towards me.
Reviewing these shots, I’m shocked to discover that not one of the 14 frames I’ve captured is sharp. This zero per cent success rate immediately has me questioning whether the fault lies with the lens, or with my technique.
A quick glance at my AF mode on the LCD identifies the issue. Not only am I still selected on single-point AF rather than Zone AF, which is far too restrictive for birds moving so quickly through the frame, the rapid burst isn’t giving my DSLR and its autofocus a chance to keep up.
Bearing in mind a DSLR’s autofocus sensor only detects when the camera’s mirror is down, I switch the drive mode to low-speed continuous (3fps) and deploy the 7D Mark II’s new wide-zone AF mode. Instantly my success rate improves and on my second opportunity I get the shot I’m after.
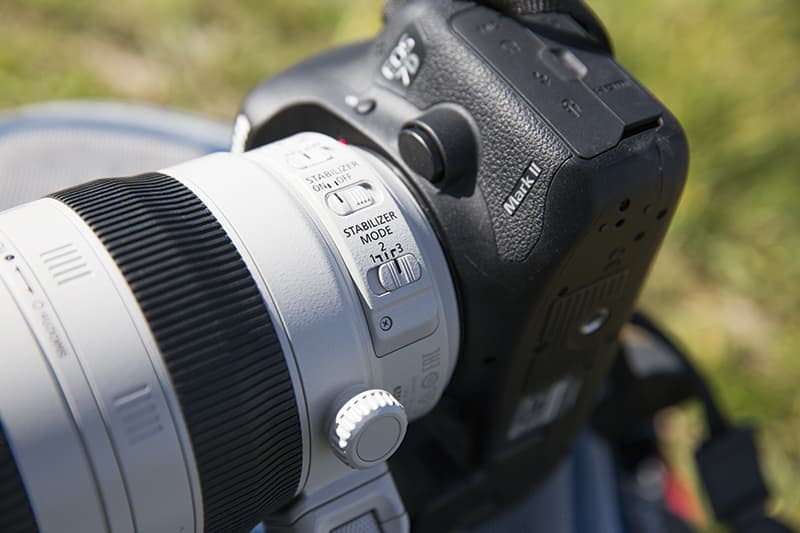
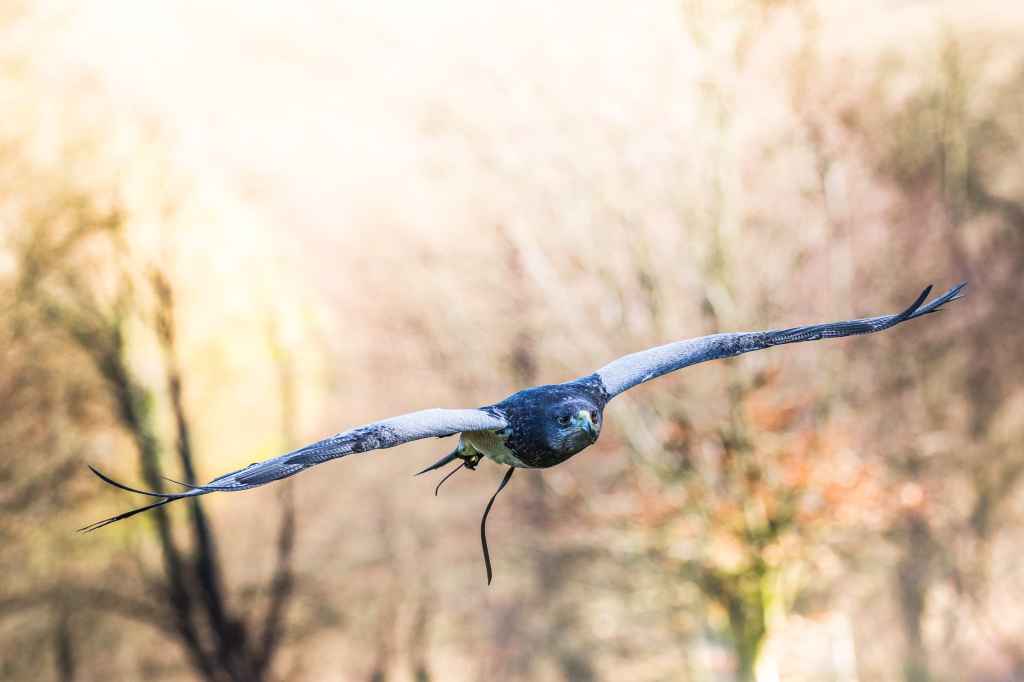
After a morning’s shooting with the lens’ four-stop image stabiliser turned on I’m interested to know what difference it makes. As if by coincidence, the moment I switch the stabiliser off, a fleeting opportunity to capture wild hawks circling above us presents itself. “You’ll do well to capture those birds so high,” Aaron comments. Seeing it as a challenge, I quickly attach my 1.4x teleconverter, turning the lens into a whopping 224-840mm equivalent.
Regrettably, autofocus with the converter attached doesn’t appear to be working, leaving me with little choice but to remove it again – something I later discover was an issue caused by not updating the 7D’s firmware to v1.2.1. Loosening off the friction control ring that’s designed to prevent the zoom from creeping when carried over the shoulder, I set the lens to its maximum telephoto setting and employ Canon’s IS mode 3 – in which image stabilisation is active and ready for use the moment the shutter releases; but it’s not in effect until that precise moment.
The result of this means I’m not fighting against the IS doing its work as I attempt to track the hawks through the viewfinder. I’m so satisfied by the images I’ve taken of the wild hawks above and how well the new IS mode works, it becomes my default IS mode for the rest of the day.
Out of curiosity, switching the IS system off and on a few times at maximum telephoto reveals just how powerful an influence the IS system has on counteracting camera shake when the lens is used handheld. A quick handheld test reveals it’s possible to get pin-sharp images of stationary subjects at 400mm (640mm equivalent) with a shutter speed as slow as 1/25sec provided you’ve got a steady hand, which is mightily impressive.
A few hours later, during the afternoon session while photographing the hawks and eagles, it crosses my mind about how much I could get for my older EF 100-400mm f/4.5-5.6L IS USM to put towards an upgrade to this lens. At first I was unsure about how I would like the twist zoom mechanism compared to the older push/pull style that I’ve got used to over the years.
Although I swear the older method of push/pull zooming remains the quicker way to get to full telephoto and vice versa, I prefer the aesthetic of twisting the barrel to zoom. As I discovered later in the day, though, it’s possible to extend and contract the zoom in a push/pull manner provided the friction collar is loosened fully and you operate the zoom by holding the hood.
Vignetting
Although not so much of a concern on my field test, while using the lens with an APS-C body, a closer study of images shot with the lens attached to our full-frame EOS 5D Mark III did reveal signs of vignetting throughout its focal range.
With the zoom set to 100mm, it’s traceable between f/4.5-5.6, but all traces disappear quickly by the time you reach f/6.3. It’s a similar story when the zoom is set to 200mm, but as you get towards 300mm the dark corners are more obvious, particularly when the aperture is opened to its f/5.6 maximum.
All traces of vignetting disperse by f/11 at 300mm and by f/16 at 400mm. It should be noted that while the vignetting the lens produces at its wider 100-200mm end isn’t derogatory to the final image, and in some cases can help to draw the viewer’s eye to the centre of the image, the vignetting at 300-400mm is more offensive and users will want to enable the relevant lens profiles in Camera Raw or DxO to correct this.
Canon EF 100-400mm f/4.5-5.6L IS II USM Field Test – Final Thoughts
Other than the fairly small tripod plate, which would have been better if it were made longer to aid carrying the lens, plus the fact the focus distance window is so close to the lens mount on the top of the barrel that it was partially obscured by the 7D Mark II’s viewfinder, I found very little to fault using the telephoto zoom in the type of environment for which it’s made.
Inspection of images on my iMac revealed exceptional levels of sharpness, with the optimum sweet spot between 100-200mm found between f/6.3-8. At the longer end of the zoom, opening the aperture to around f/5.6-6.3 delivers the sharpest results, but as mentioned above, vignetting is ever present at these settings. The rapid autofocus and superb image stabiliser is where the lens really excels. For those photographing fast and erratic subjects, such as birds or action sports, it doesn’t disappoint.
For more options have a look at the Best Canon EF lenses.

