
We are continuing to run this tutorial as a tribute to Photoshop guru Martin Evening, who passed away at the end of last year. In this last tutorial, he sorts out your photo-editing and post-processing problems and shows you how to convert images to black and white in Lightroom. Martin was all about helping photographers master photo editing, so we are sure readers will find it helpful.
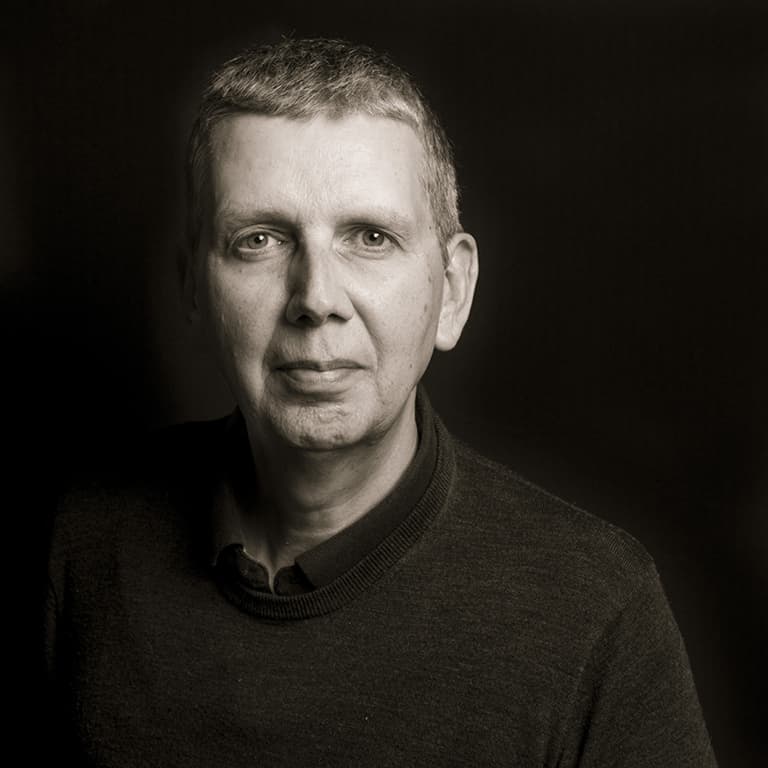
Your guide: Martin Evening
Martin Evening had a background in advertising and landscape photography. He was also well known for his knowledge of Photoshop and Lightroom, plus books on digital imaging. See our tribute here.
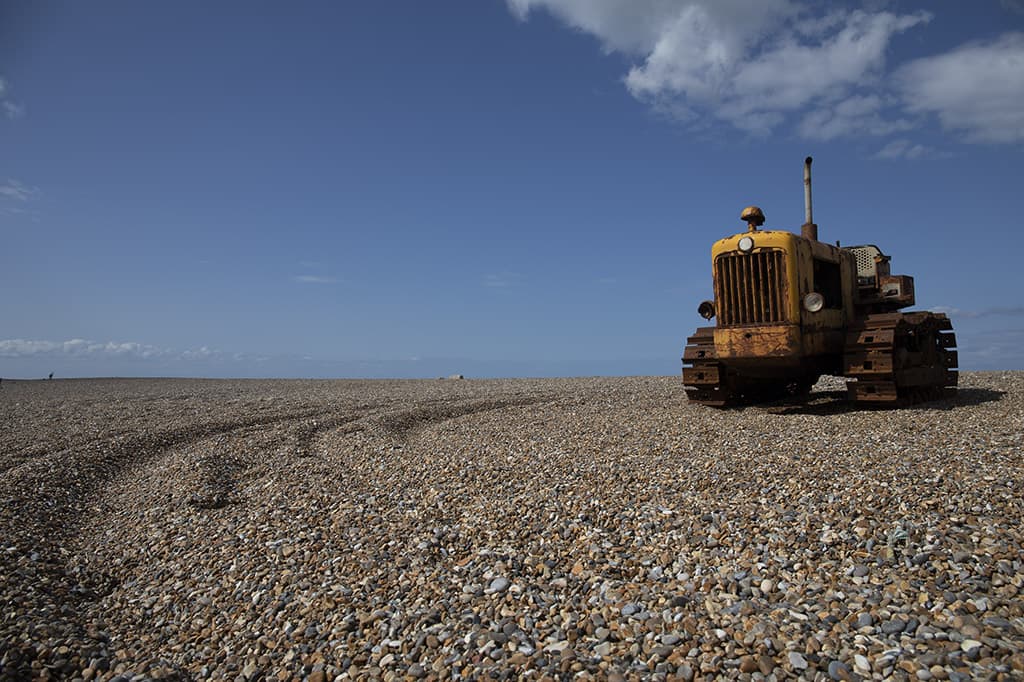
Paul’s original
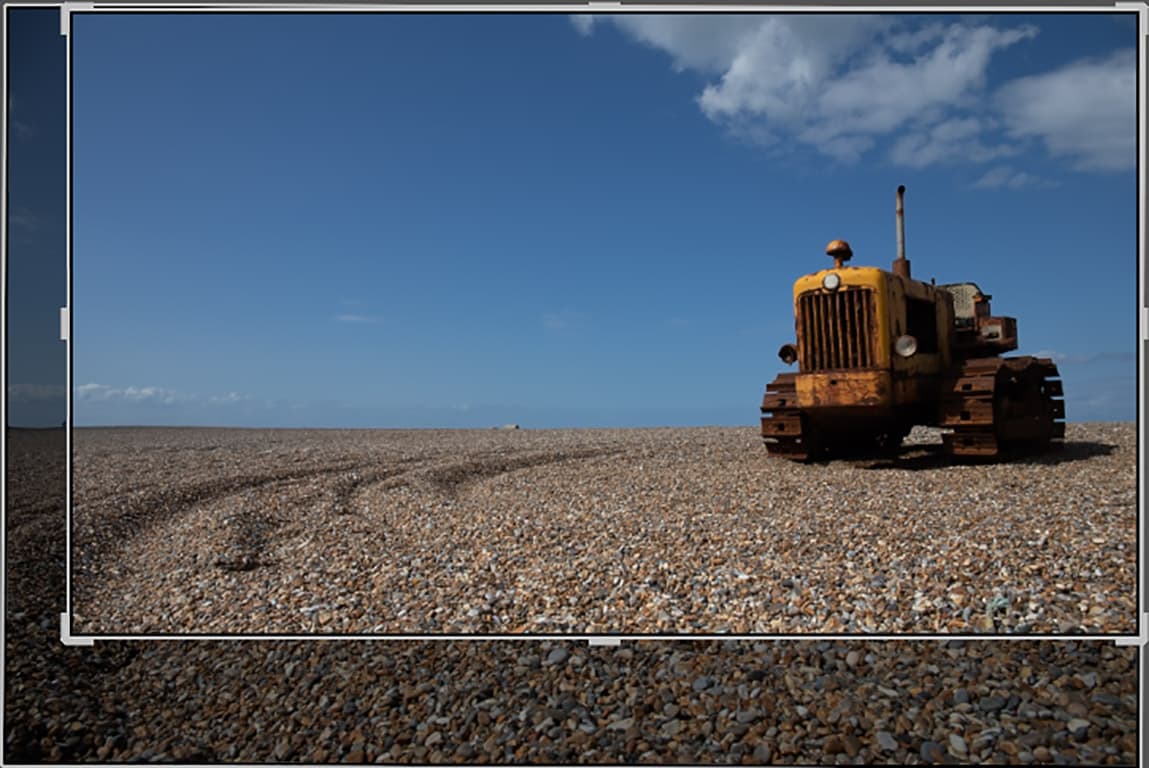
This photograph was taken on Weybourne Beach, Norfolk. AP reader Paul Smith writes:
‘The sea-weathered rusty tractor in this scene, used to haul fishing boats, caught my eye due to its character and the bright colours against the deep blue sky. Although the colours of the tractor stood out, I struggled with the composition.
Eventually I settled on shooting wideangle using a low-down viewpoint so as to use the track imprints as lead-in lines to the main subject and to remove other distractions from the composition.”
How to convert images to black and white in Lightroom – Martin’s technique
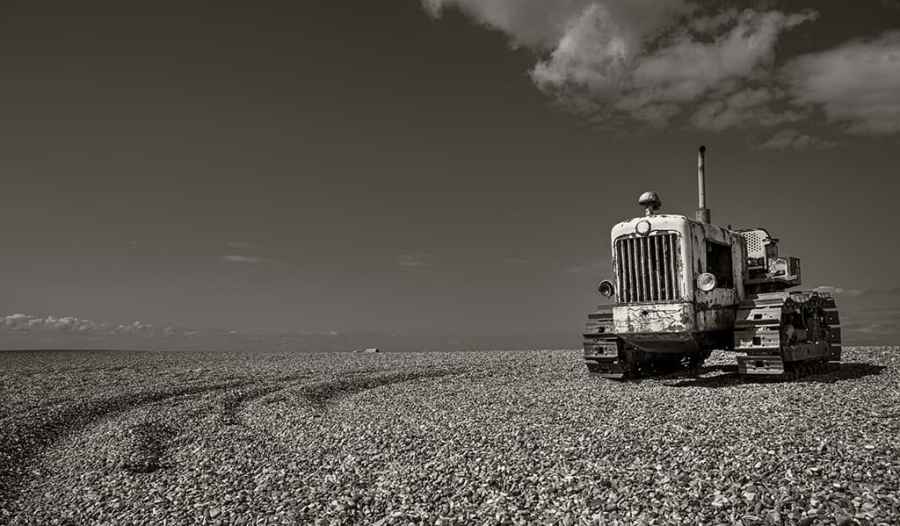
My response was to apply a cinematic crop to the photograph to focus more on the tractor, and to use a localised filter adjustment to make the tractor stand out more. Paul was keen to see how the photograph would look in black & white.
I therefore used the Profile Browser in Lightroom to select a suitable black & white profile, where I then modified the intensity to achieve the desired black & white conversion.
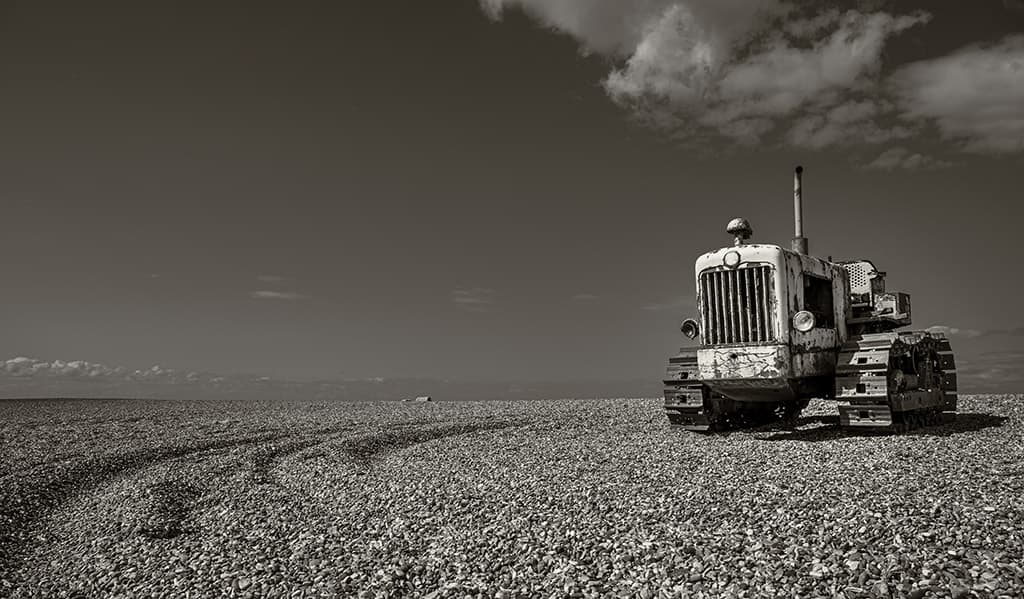
Martin’s conversion
Step-by-step: Martin’s mono conversion in Lightroom
1 Crop the image
To start with I selected the Lightroom Crop Overlay tool (R) and applied a cinematic crop to the photograph. In doing so I applied the ‘rule of thirds’, where the horizon line lay on the bottom third dividing line. I also trimmed the left side as well.
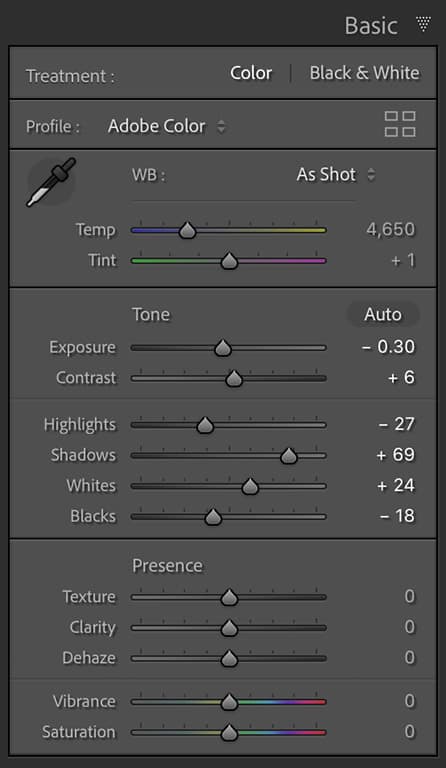
2 Basic adjustments
I then opened the Basic panel in the Lightroom Develop module and adjusted the Tone sliders to improve the brightness and contrast. I darkened the Exposure slightly, but at the same time I dragged the Shadows slider to the right to lighten the darker tones.
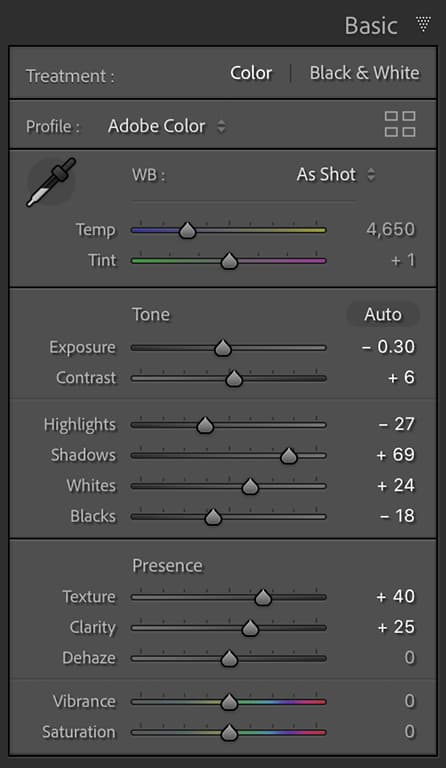
3 Presence adjustments
Next, I went to the Presence section below. Here, I increased the Texture slider amount to add more micro contrast detail to the beach pebbles. I also dragged the Clarity slider to the right to add more midtone contrast. These combined adjustments made the tractor stand out more.
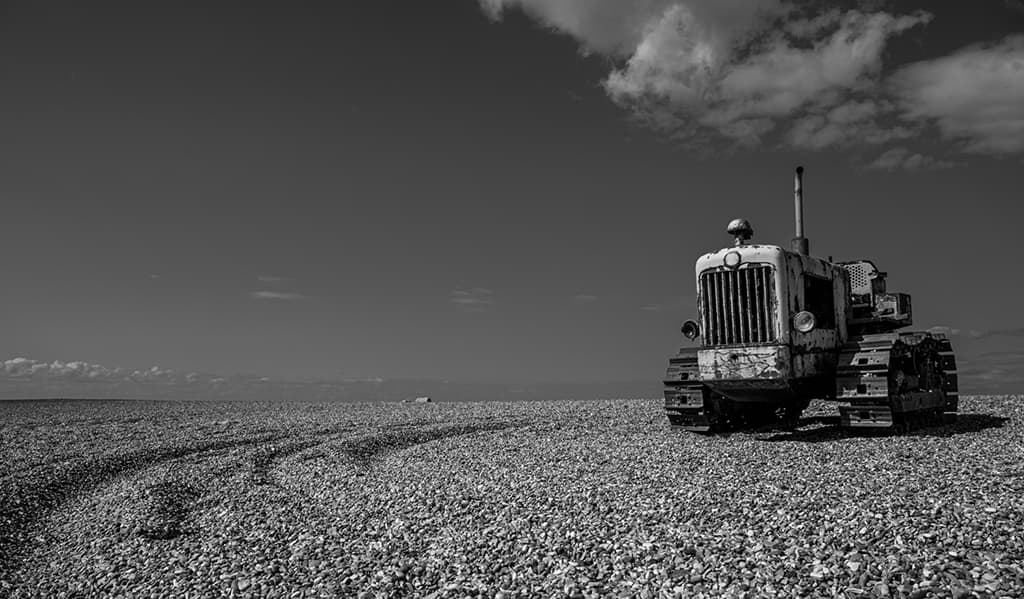
4 Convert to B&W
Clicking on the Black & White tab in the Basic panel applied a basic monochrome profile conversion. To explore other possibilities, I clicked on the Profile Browser button in the Basic panel to review all the other B&W profile options, including the B&W 09 profile I selected here.
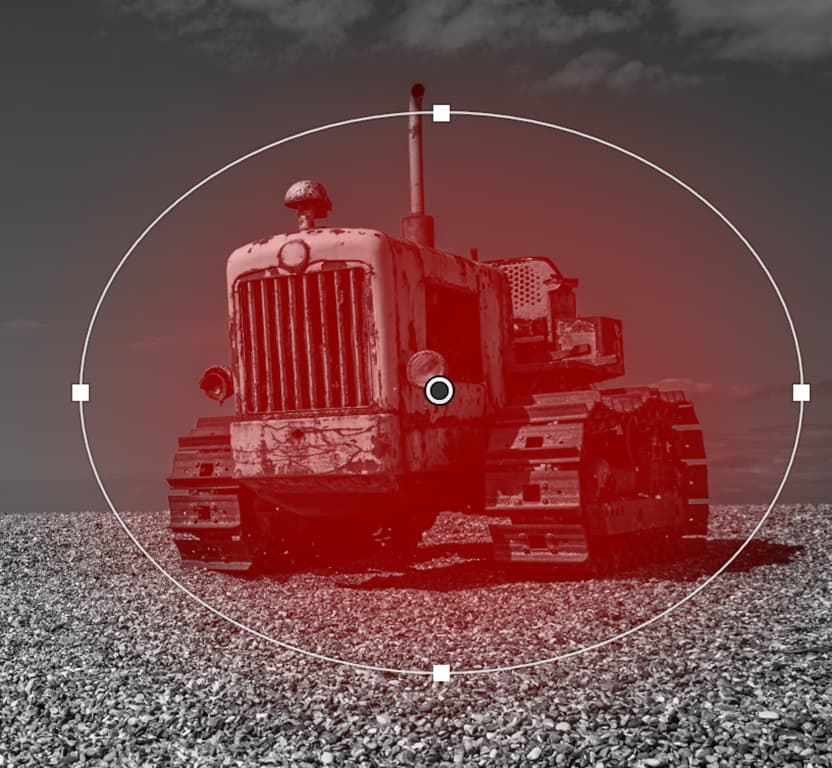
5 Add a Radial Filter
In this step I selected the Radial Filter tool (Shift+M) and added a new Radial Filter adjustment on top of the tractor. By default, this selected the outer areas to adjust. I checked the Invert box and set the Exposure slider to +0.75, to lighten the inner selected area.
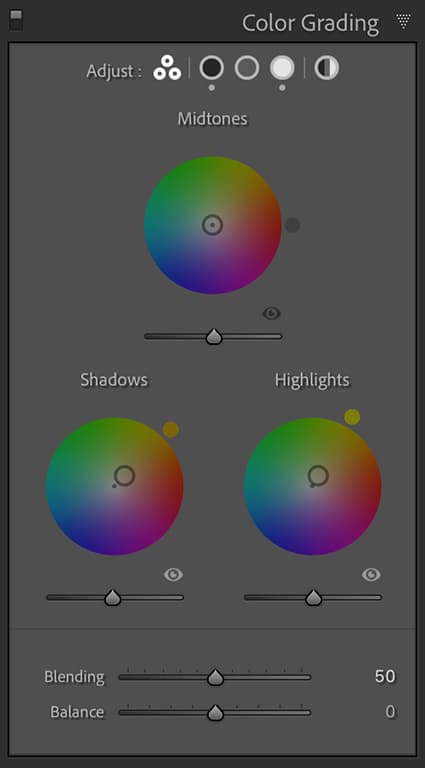
6 Add a split tone
Finally, I opened the Color Grading panel, where I clicked inside the Shadows colour wheel to apply a warm sepia tone colour to the shadows. I then did the same, clicking inside the Highlights colour wheel to apply a green sepia colour to the highlights.
Radial Filter Adjustments
The Radial Filter in Lightroom can be used to add circular or elliptical localised adjustments, which you can refine by dragging the boundary handles.
Radial Filter adjustments can be applied either outside or inside of the selected area. You can also use the Brush Edit mode to add to or erase a Radial Filter adjustment.
When editing this photograph, I did happen to use an Erase brush with Auto Mask selected, to prevent the lightening adjustment from also lightening the sky. My aim here was to add a soft spotlight type of adjustment to the side of the tractor.
If you are feeling inspired read our top tips for black and white photography and our complete guide to black and white photography
Further reading
- Best software for black and white editing
- Best free Adobe Lightroom presets
- Best Adobe Lightroom presets
- Best free photo-editing software
- Best cameras for black and white photography
Follow AP on Facebook, Twitter, Instagram and YouTube


