Landscape and nature photographer Guy Edwardes reveals the pros and cons of drop-in filters for mirrorless
Not so long ago, I finally made the decision to buy a mirrorless camera in the form of a Canon EOS R5, but not for the reasons you might think. For me to consider upgrading to any new camera it would have to offer a significant advantage over my current set-up. The Canon EOS R5 alone didn’t seem to offer a particularly compelling reason to switch. However, all of a sudden I noticed a ‘feature’ that did catch my eye.
EF-EOS R adapter
In order to use EF lenses (for more options have a look at our Best Canon EF lenses to buy guide) with the Canon R-series bodies, it’s necessary to use an EF-EOS R adapter. While there are third-party options available such as the Viltrox EF-EOS R Auto Focus Mount Adapter, Canon offers three EF-EOS R adapters and one of them incorporates a drop-in filter. Initially, there were only three compatible filters on offer from Canon (clear, polariser and variable neutral density), so it wasn’t until a few other companies began offering a range of compatible drop-in filters that it really got my attention.
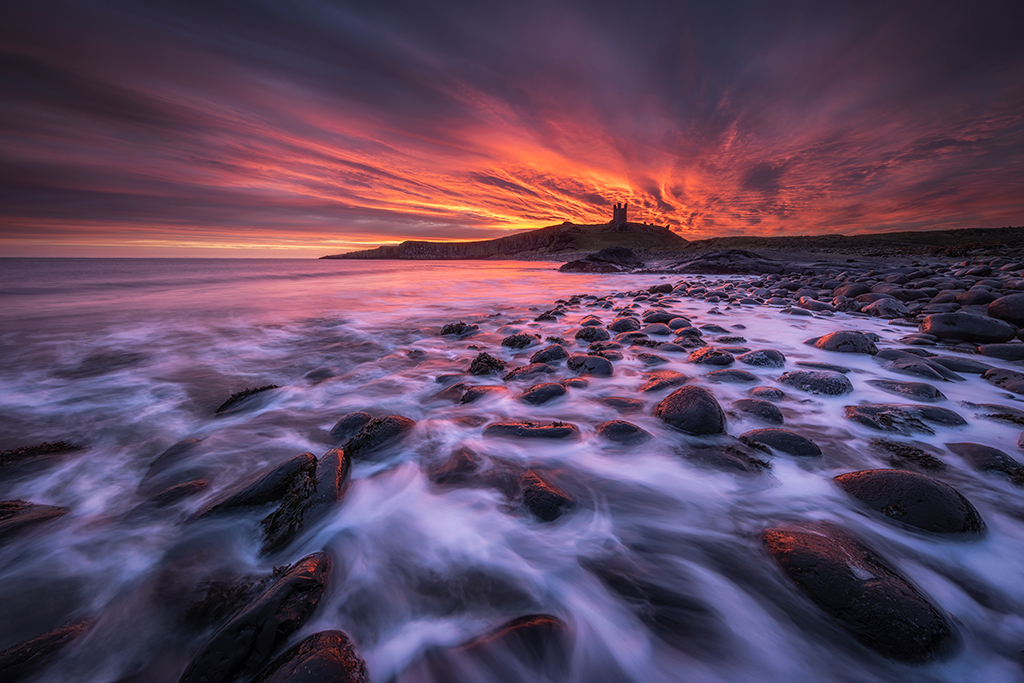
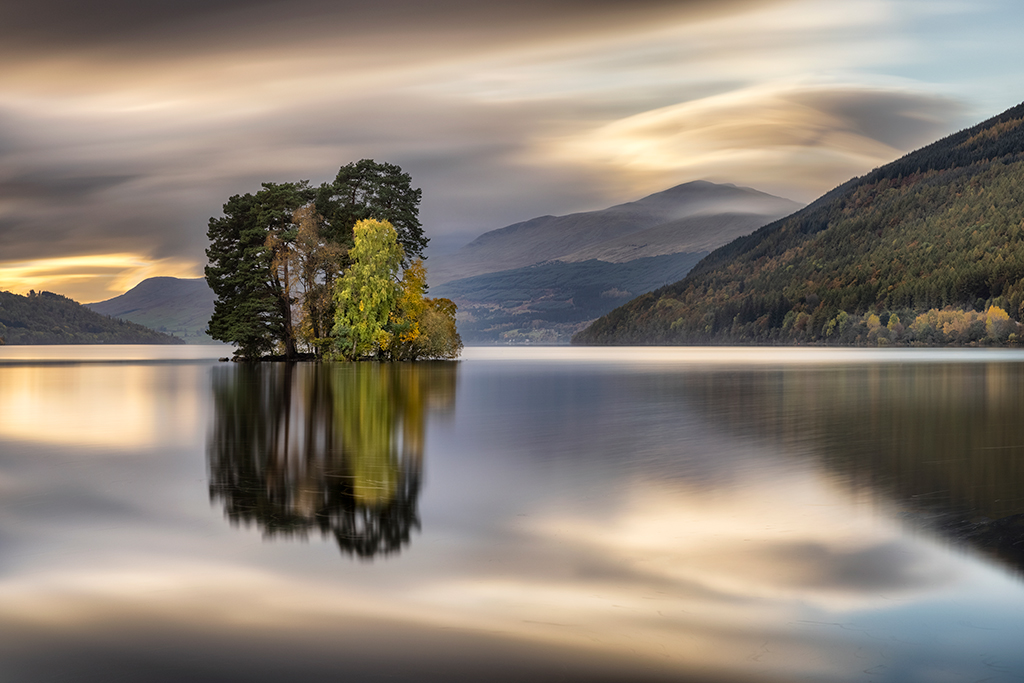
Dunstanburgh Castle, Northumberland. Canon EOS R5, Canon EF 11-24mm f/4L, 2 secs at f/16, ISO 100, tripod, Kolari 3-stop ND drop-filter used to achieve 2-second exposure time
I regularly use various strengths of neutral-density filter and a polarising filter for my landscape photography. I don’t use graduated filters, so currently they are all 82mm Heliopan glass screw-in filters (with a stepping ring to fit lenses with 77mm threads). Although these offer great image quality, there is no denying that they can be fiddly to put on and take off. It’s easy to cross the threads or worse, drop the filter!
Stacking filters can also result in vignetting when using wide-angle lenses. It seemed to me that a drop-in filter system could eliminate most of these issues while also providing several other benefits.
The main advantage
Perhaps the most significant advantage and the main reason for me investing in the Canon EOS R5 is that the drop-in filter adapter finally allows me to very easily use neutral-density filters with ultra-wideangle lenses like Canon’s EF 11-24mm f/4L USM and EF 8-15mm f/4L fisheye USM. Previously, the use of filters with these lenses had only been possible with either very fiddly or cumbersome solutions. Canon UK, Breakthrough Photography and Kolari kindly sent me several samples of their drop-in filters to test with my Canon EOS R5.
A filter of some sort has to be in the adapter as it forms part of the optical pathway and is required for the focusing to work properly. Currently I’m using Canon’s own clear filter and also its polariser.
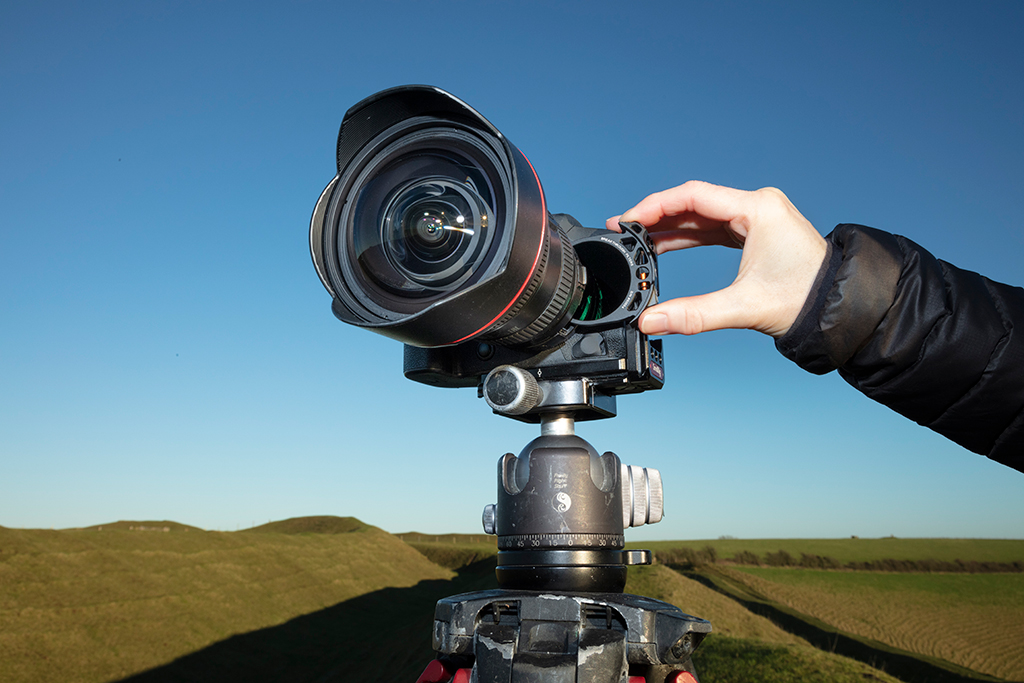
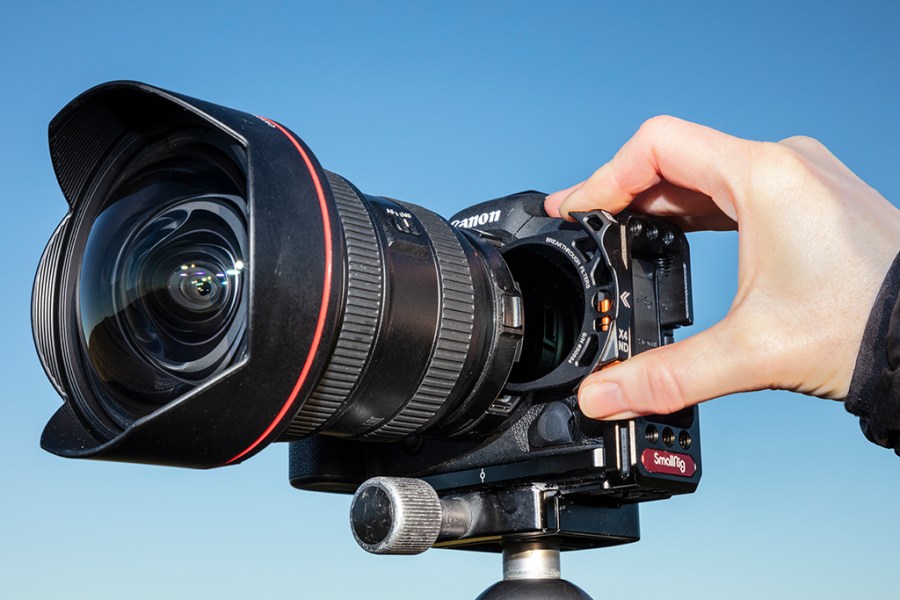
Inserting Breakthrough Filters’ 10-stop ND into Canon EF-EOS R adapter on EOS R5 with Canon EF 11-24mm f4L attached
Drop-in VND
I’ve never been a fan of variable neutral-density filters (VNDs). In theory they sound great, but in reality, due to the way they work, I have never been able to guarantee an even effect across the frame. However, the drop-in VND from Breakthrough Filters is by far the best I have used to date. I think possibly due to its smaller size and its position at the rear of the lens, any uneven effect is reduced.
Care has to be taken when to use it and with which lenses, but good results are consistent enough for me to confidently use it on a regular basis.
One of the great things about the 1.5-11 stop VND filter is that you can use it to shoot a bracketed set of exposures without changing the camera settings – very useful if shooting long exposures with moving water, as each exposure will show a very similar water effect, making it much easier to blend exposures seamlessly in software.
This is a technique I have used frequently in the past, but it’s not easy when you have to screw traditional filters on and off the front of the lens without moving anything!
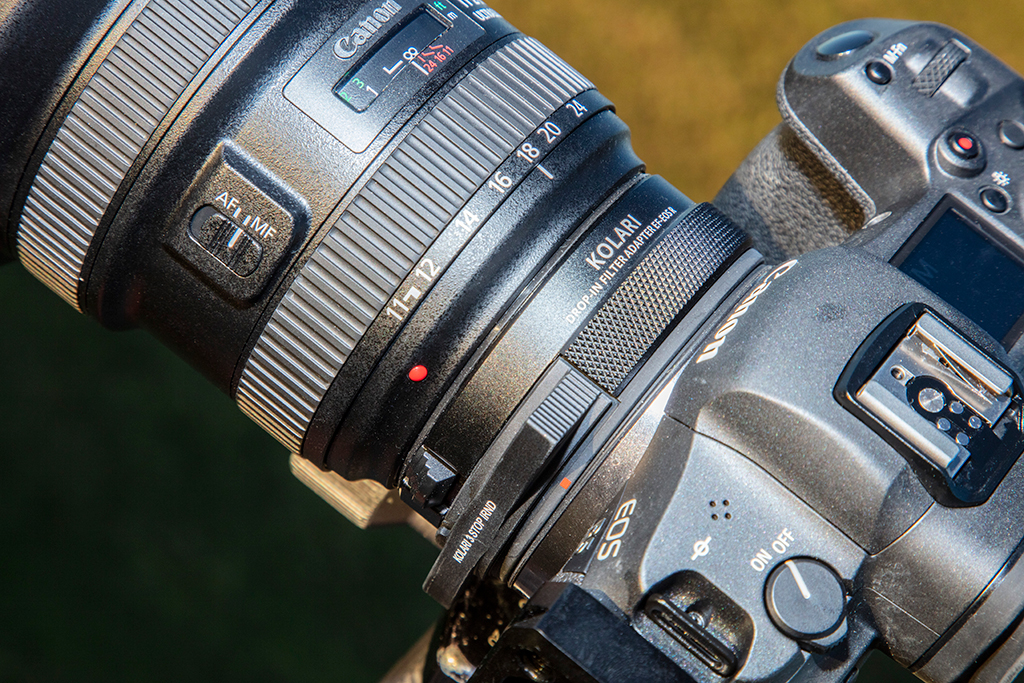
Storage
I store my drop-in filters in a small pouch on my belt, so they’re always easily accessible. They can be ‘slotted-in’ far more quickly than screwing a traditional filter onto the front of the lens.
I can now use two filters without vignetting when using lenses as wide as 16mm (one drop-in and one screw-on). An advantage over alternative body-mounted clip-in filter systems is that filters can be added without removing the lens, minimising the chances of moisture and dust causing issues.
Drop-in filters have significantly sped up my workflow in the field and have already allowed me to achieve images with extreme wideangle lenses that were previously impossible.
Advantages of drop-in filters
+ Quicker and easier to use
+ Enables filter use with extreme wideangle and fisheye lenses
+ One set of filters works for all lenses
+ Reduced risk of vignetting when using multiple filters
+ Eliminates risk of cross-threading or stuck filters
+ More usable variable neutral-density filter
+ Reduced size and weight of filter kit
+ Easier to exposure-bracket using neutral density filters
Negatives of drop-in filters
– Currently only an option when using Canon EF lenses on RF bodies
– Costly clear filter has to be in place when no filtration required
– Access to filter slot may be difficult when shooting in vertical format on a tripod
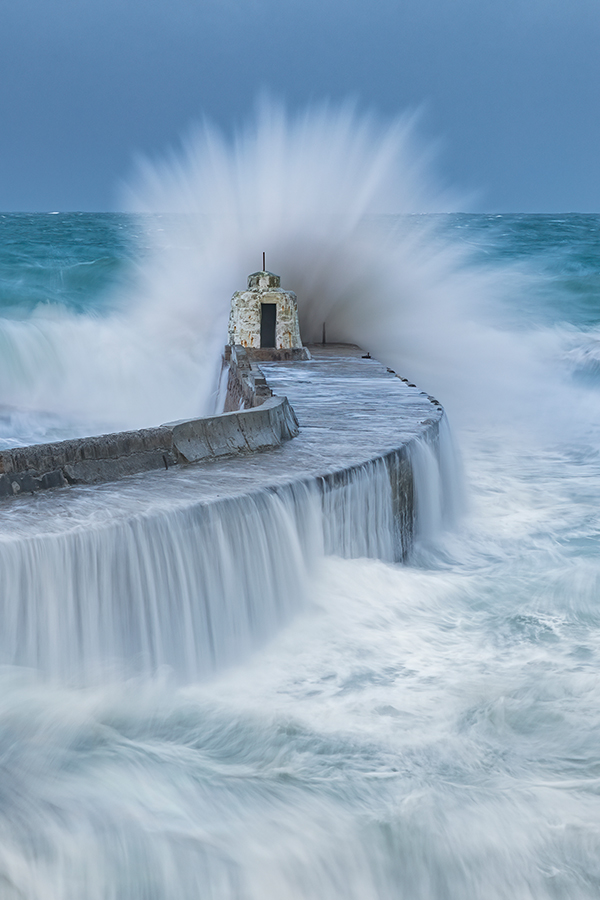
Portreath Harbour, Cornwall. Canon EOS R5, Canon EF 24-70mm f/2.8L II, 1/2sec at f/11, ISO 100, tripod, Breakthrough VND used to achieve precise 1/2sec exposure time
Top tips for exposure bracketing with drop-in ND Filters
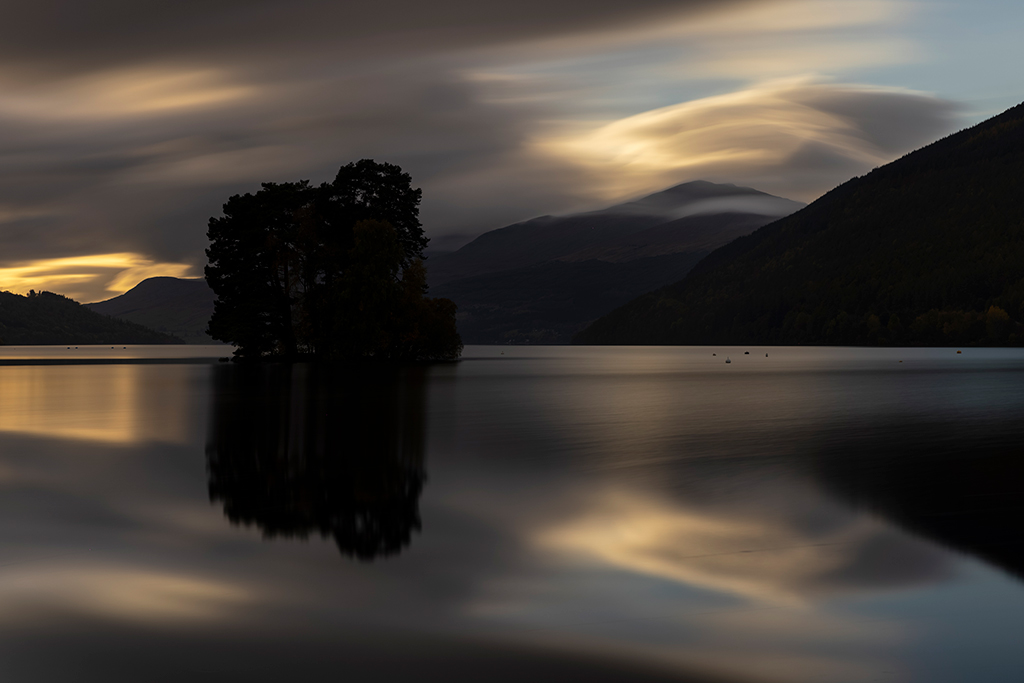
1. Find your composition and mount your camera on a sturdy tripod. Switch to manual exposure mode and bring up the live histogram. Determine correct exposure settings, including the correct aperture for the required depth of field and exposure time to achieve the desired effect in moving water. These settings will remain the same for all exposures.
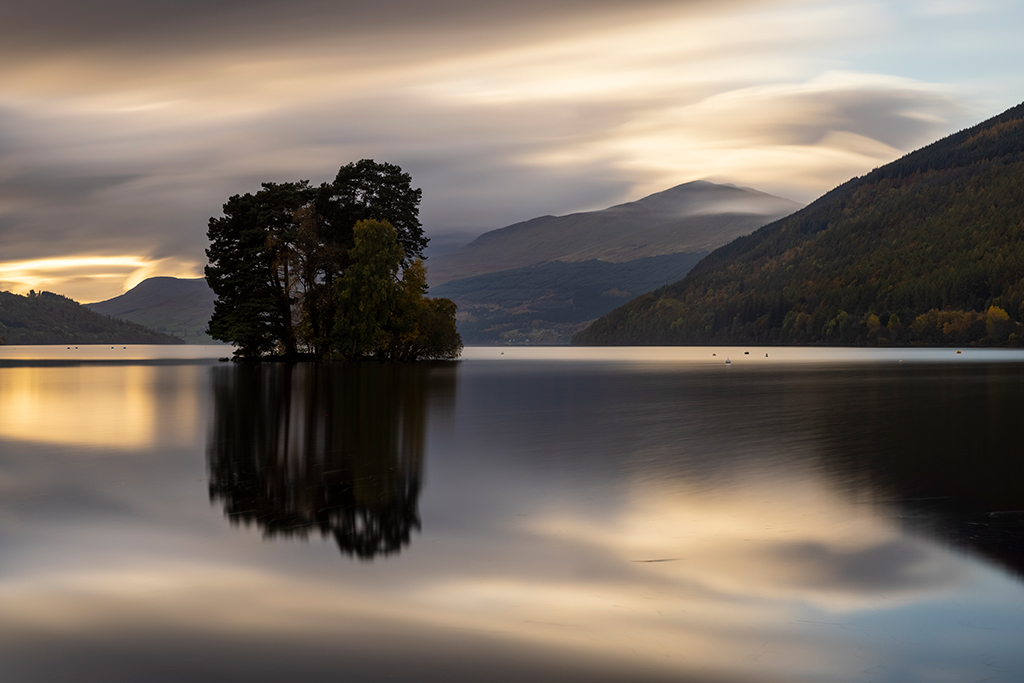
2. Insert an ND filter that will give you the correct exposure for the highlights in the image. Replace that filter with a lighter ND to expose for the mid-tones. The number of filters used will depend upon the amount of contrast in the scene, but your final exposure may be with the clear filter to expose for the darkest shadow areas.
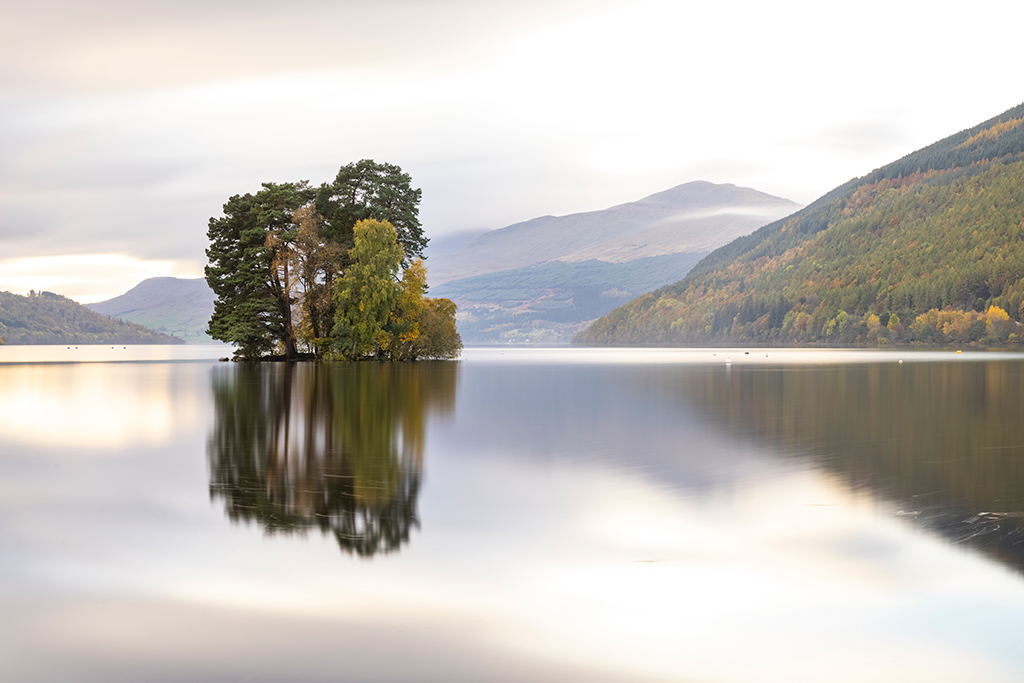
3. The resulting set of exposure-bracketed images can then be blended in software (such as Merge to HDR in Adobe Lightroom, or by using layers and masks in Adobe Photoshop) to create a final image that captures the full dynamic range of the scene. If using a variable ND filter, simply rotate the filter to change the brightness of the image for each exposure.
Drop-in filter reviews
Canon
Canon’s own clear filter and polariser work perfectly well. Image sharpness is unaffected compared to using the standard EF-EOS R adapter. Its VND filter on the other hand has a strong blue colour cast, so I cannot recommend it.
Breakthrough Filters
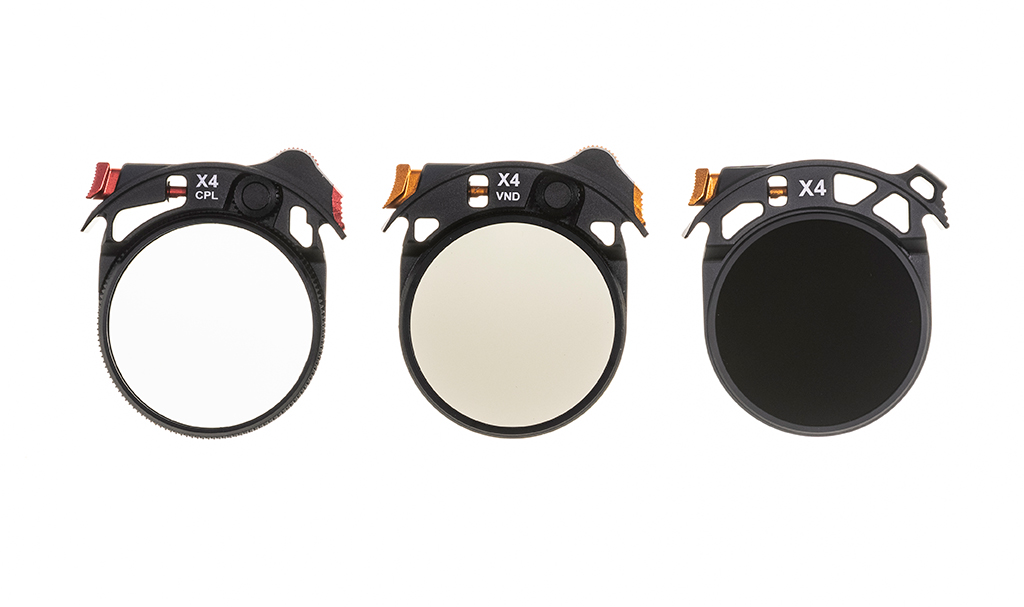
Breakthrough Filters offer an extensive range of drop-in filters. Their design has been very well thought through. They click into place very positively, but also with the lightest touch (so no chance of moving the camera when using them). They are optically excellent with minimal colour casts. Their VND filter is particularly good with a fairly uniform effect across the image at all settings, but with a slightly warm tone. These filters can be used in the Canon adapter or Breakthrough’s own adapter. Currently available for pre-order direct from breakthrough.photography.
Kolari
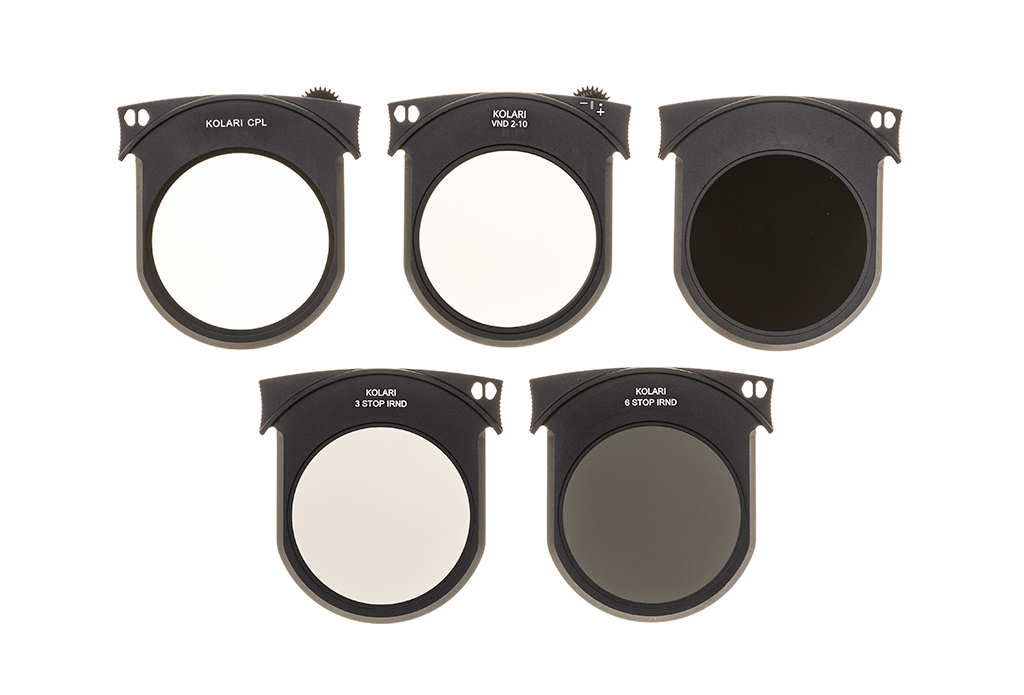
Kolari also offers a broad range of drop-in filter options right up to a 20-stop ND. Optically they are very good with excellent sharpness and minimal colour casts. Their design makes them slightly less easy to use as you have to push the filter quite firmly into the adapter, so there’s a chance of moving the camera if using ND filters for exposure bracketing. On the other hand, they won’t accidentally fall out. These filters only work in Kolari’s own high-quality drop-in adapter. Available now from kolarivision.com.
See more from Guy Edwardes.
Related Articles:
How to use filters for better landscapes
Best lens for landscape photography in 2023
Lens filters – how to use them properly
Best filters for landscape photography

