Feature-packed smartphones mean you have a powerful camera in your pocket. But can a phone really replace a ‘proper camera’ for serious photography? Jeff Carter reveals how to get the best out of your phone when shooting outdoors
The first thing to remember when using a smartphone for more serious work is to stop thinking of it as a ‘snapshot’ camera and treat it like a DSLR or mirrorless set-up. Composition and lighting are equally important for mobile phone photography.
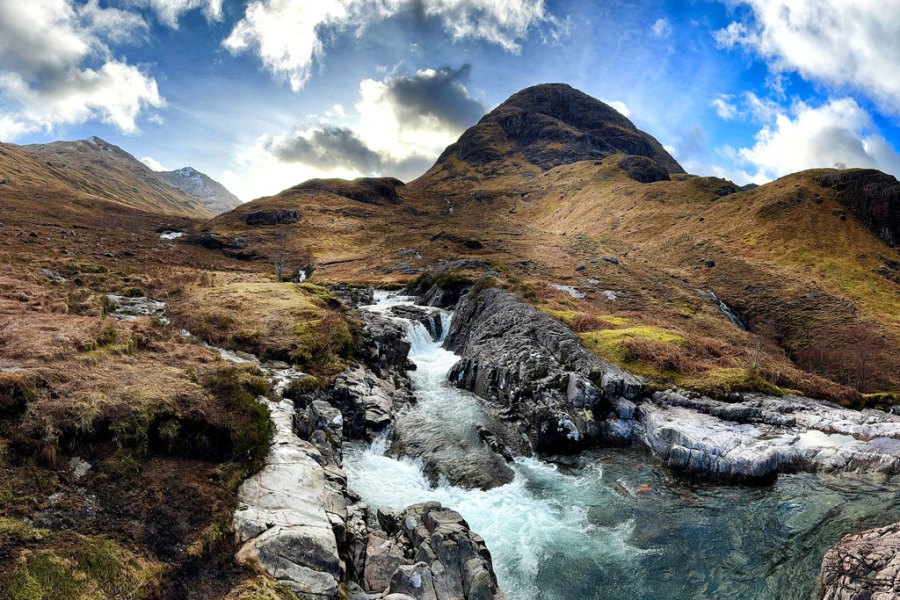
The latest smartphone sensors pack a mighty punch, with 48MP or more being common these days, but these sensors are quite small. This means a very deep depth of field even with the fast apertures that phone cameras have, which is perfect for landscape photography, and noise can be more of a problem in low light. However, the clever software engineers have found solutions that negate almost all these issues, with the latest phones being packed with firmware to simulate shallow depth of field and reduce noise significantly in low light.
There is also the issue of the lenses having a fixed, usually very fast, aperture. The latest iPhone, for instance, has an f/1.78 aperture on the main camera and f/2.2 and f/2.8 on the ultra-wide and telephoto respectively. While a fast aperture can be useful in low light or indoors, they are not adjustable, and this must be taken into account when shooting long exposures.
While phone batteries last a long time, when you are using it as a camera for a long period, the battery will drain quicker, so to be on the safe side it is best to pack a power bank when out shooting.
The same rules apply
Any landscape photographer will tell you that the best time of day is just before and just after dawn or before or after sunset when the sun is low in the sky (the golden hour), and this doesn’t change if you use a mobile phone.
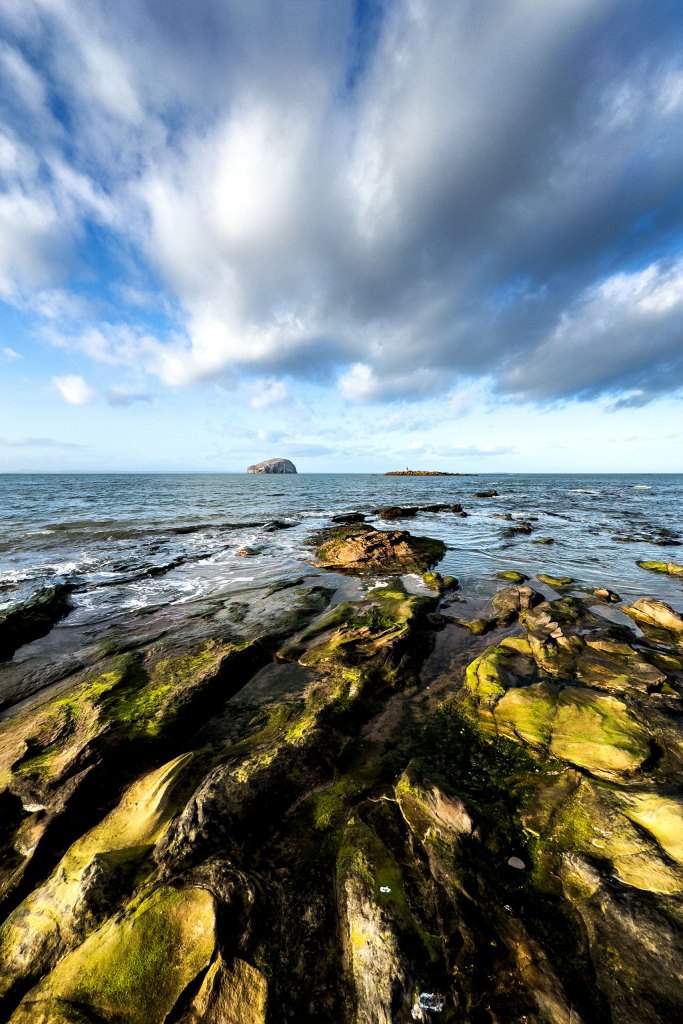
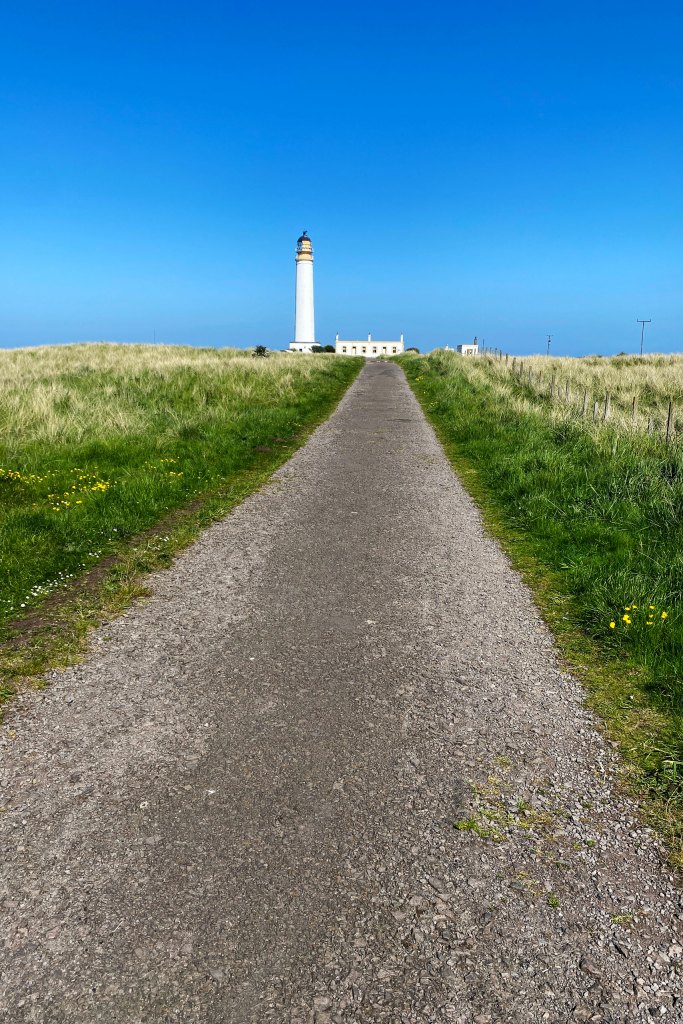
Rule of thirds and lead-in lines are two of the most commonly used composition techniques used for landscape photography and are relevant no matter what camera you use. Most camera apps have the ability to display a 3×3 grid on the screen and some even have a spirit level, both of which assist in composition, so it’s worth making use of these.
Lens selection
Most high-end smartphones have two or even three lenses giving a super-wide, wide and telephoto option built in. The latest iPhone 15 Pro has a 0.5x, 1x and 3x optical lenses built in, with the addition of a 15x digital zoom (5x optical and 25x digital on the Pro Max). Add-on lenses are also available, which increases the flexibility of the main camera.
Like all things in photography, you get what you pay for, and the cheap end of the market really isn’t worth bothering with. Moment, a US-based manufacturer, produces a set of five lenses – fisheye, wide-angle, telephoto, macro, anamorphic – which are built to a high standard with optical glass and metal bodies.
Most smartphone cameras have one sensor with the headline megapixels (48MP in the case of the latest iPhone) and the other cameras will be lower resolution (12MP in the iPhone, for example).
External lenses all use the main camera, so you can adjust the focal length of the main camera and gain the maximum image size with no loss of quality. The most useful lenses for landscapes are wideangle and telephoto.
Apps
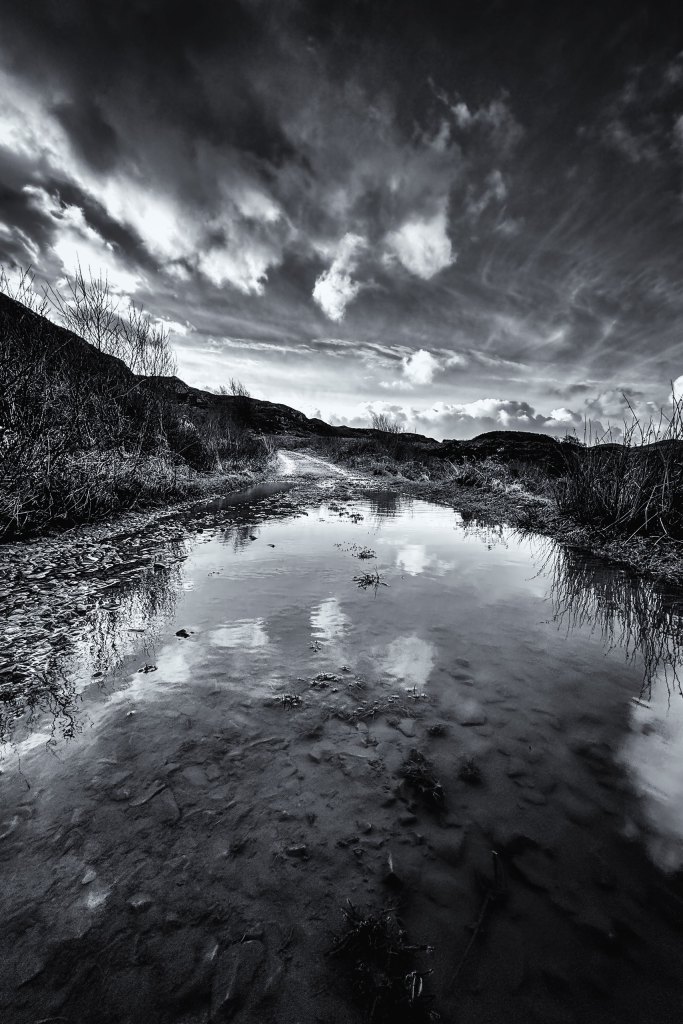
The camera app built into most smartphones is a very powerful tool, with lots of built-in features like ‘night mode’ or ‘live mode’ for long exposures. However, on the iPhone, these built-in app don’t allow for manual control of the settings. There are several camera apps available, such as ProCam8 and Pro Camera by Moment. I use the latter because it also provides in-camera corrections for any of the Moment lenses I mentioned earlier.
These third party camera apps allow manual control of the shutter speed, ISO, focus and white balance. It also allows other useful functions like focus peaking, histogram, highlight and shadow clipping. You can choose to shoot in JPEG or raw, or both, and the screen can be set to show a grid and a spirit level.
Like the camera app, your smartphone will come with editing software built in. However, these tend to be rather basic and if you want more control there are plenty of photo editing apps available. I have used Photoshop Express, but my preferred mobile editing software option is Snapseed. It provides a number of useful tools for editing on the move and, most importantly, it allows edited files to be saved as a copy, so you don’t have to overwrite your original file.

Smartphone Landscape Photography Kit List
- Smallrig Dual Handle Phone Cage: Keeps your phone secure and allows items to be bolted to the frame such as handles, lights and a tripod. The handle also includes a Bluetooth shutter release.
- Mini Tripod: A mini tripod is always useful. I recommend the type with flexible legs to allow it to be placed around poles or fences for added flexibility.
- Moment Lenses: Added flexibility allowing the user to get the highest quality from the main (larger) sensor. The Moment 18mm wide and the 58mm telephoto are most useful for landscapes.
- Filters: Variable ND and CPL filters are always useful for landscape photography, and for smartphone photography it is no different.
- Peak Design Wrist Strap: This useful strap keeps the phone attached to your wrist when walking around. Using a wrist strap keeps it safe from theft and when working near water. Easy to remove when it’s not needed.
Useful features
Live Photo –Long Exposure
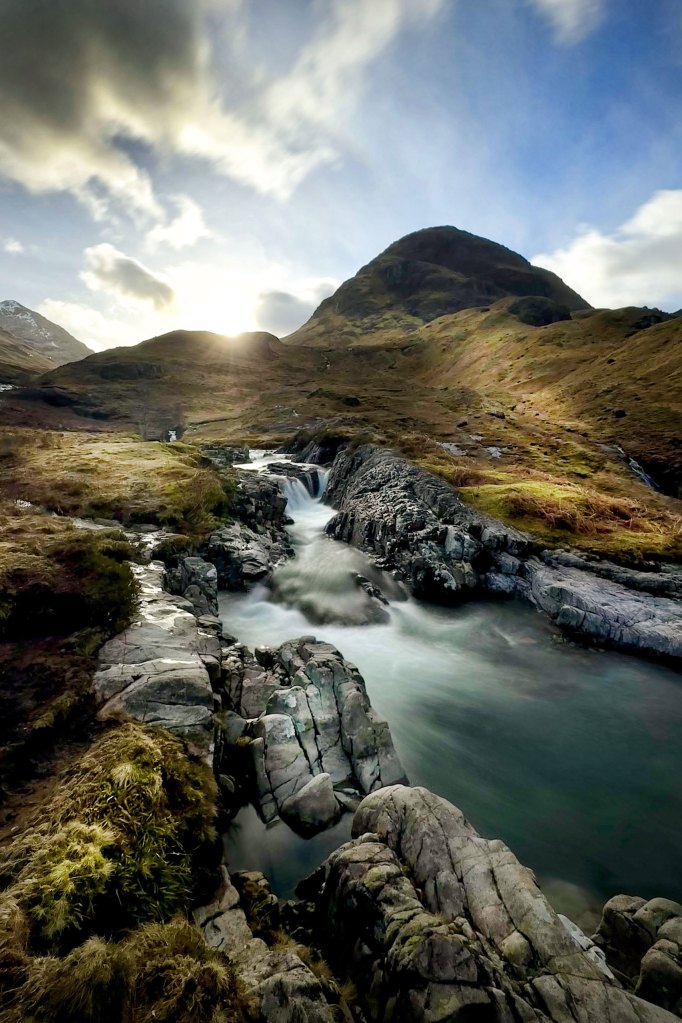
Selecting Live Photo before you take a picture means the iPhone records a short video of 1.5sec. In post editing you have several options, with ‘long exposure’ being one of them, transforming moving water and fast-moving clouds with motion blur.
To enable Live Photo, tap the Live Icon so it doesn’t have a line through it. Tap the shutter release to take the image. Open the image from your photo folder. There is a Live Photo dropdown box in the top left. Select ‘Long Exposure’ from the dropdown menu.
Panoramas
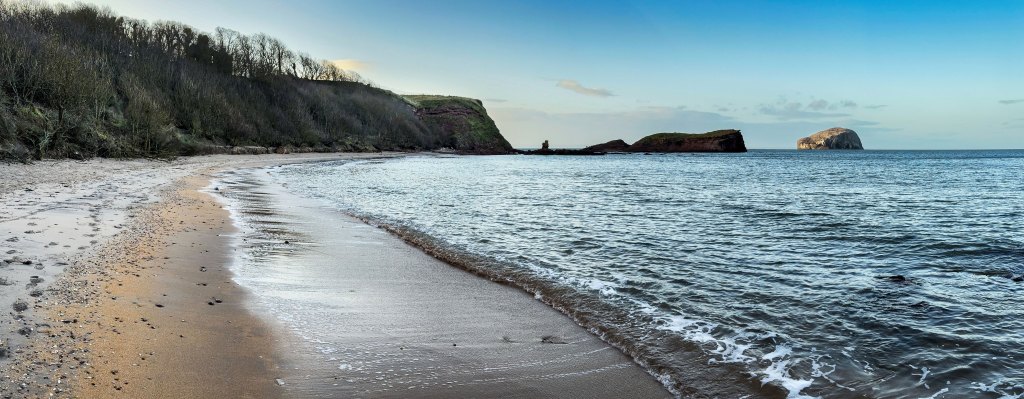
Creating a panoramic image is simple and effective on a smartphone. Select ‘Pano’ on your camera app. This is on the bottom row of the iPhone screen. Make sure the arrow is facing the direction of travel you wish to make. Tap the shutter release and move the phone continuously across the scene, keeping the arrow on the line. Tap the shutter release to finish the image.
Night mode
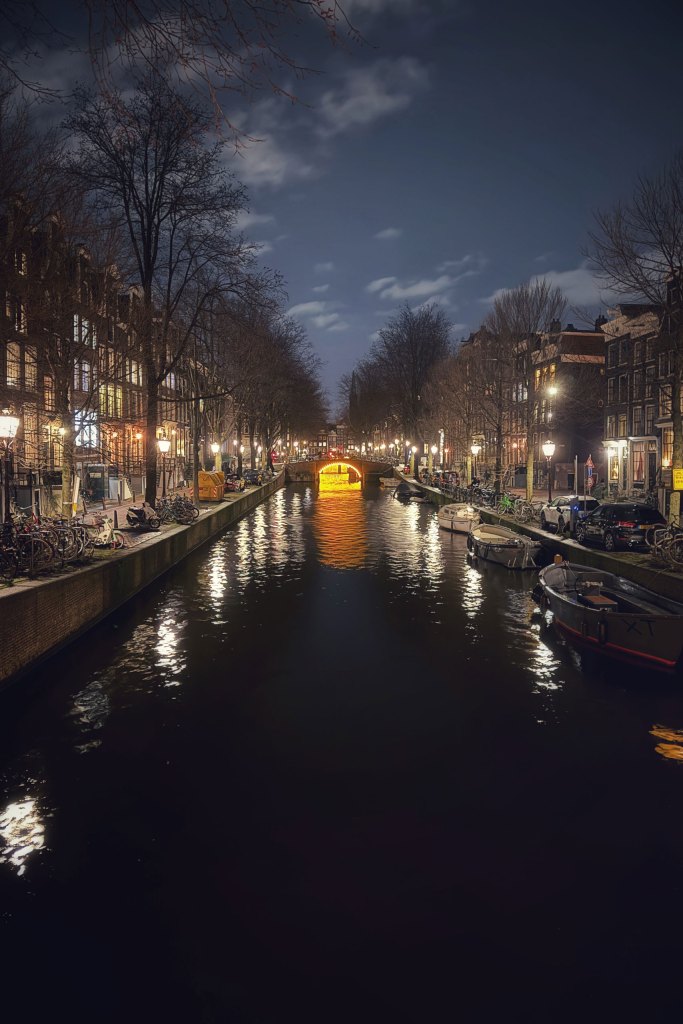
This mode allows you to take images in very low light, which is useful for late night urban landscapes. Images taken in Night mode can be taken handheld, but it is best to put the phone on a solid surface or on a tripod. Night mode usually turns on automatically when needed; the icon is at the top left of the screen. There will be a number indicating how long the exposure will be. You can adjust the exposure time by selecting Night mode in the bar just above the shutter button.
Jeff’s top tips for capturing an array of landscape scenes
The Postcard Shot
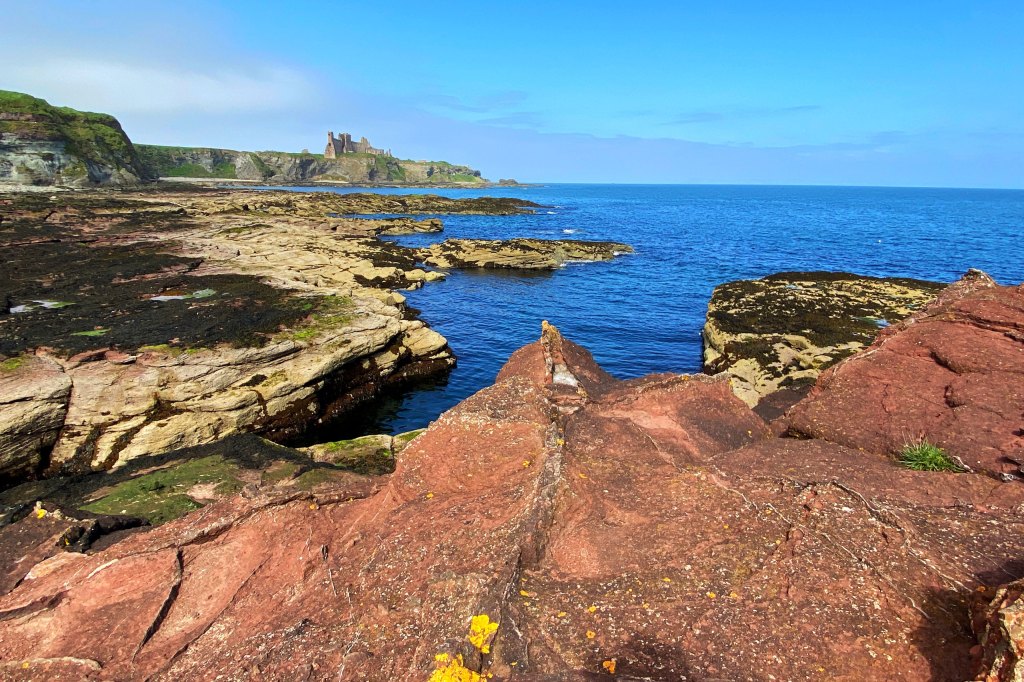
This is the first shot of a scene, which is usually the most obvious angle or composition. I take this as my ‘banker’ shot, the image that I would be happy with if I couldn’t get anything else and wouldn’t look out of place on a postcard.
Frame the Shot
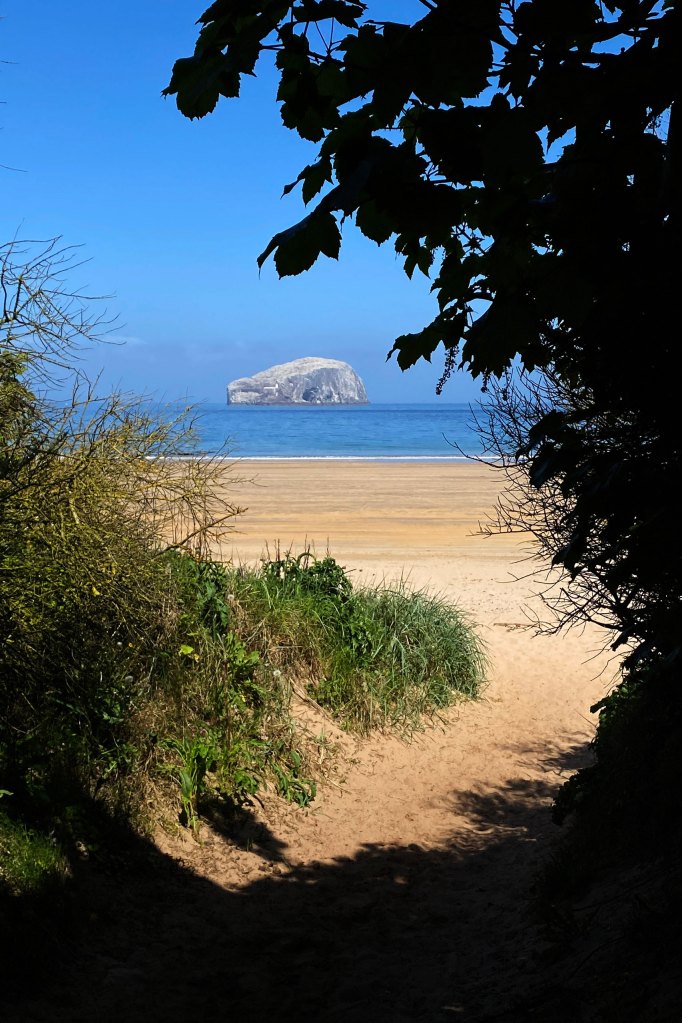
I try to find something to frame the main subject. This could be a tree with branches and leaves curling around the subject. Alternatively, it could be a window frame, archway or another structure.
Panorama
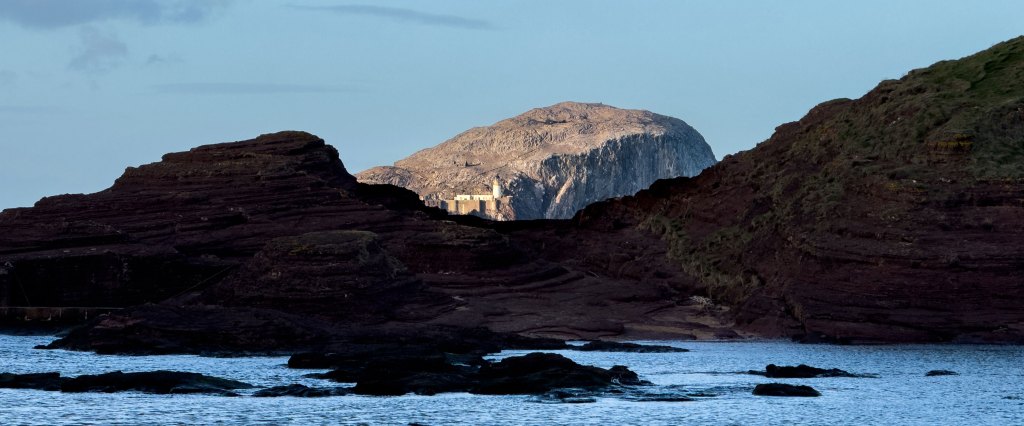
Does the scene lend itself to a panoramic view? Sometimes there is a lot of sky and foreground, which can either be cropped out at the editing stage or the smartphone’s panorama function comes into its own.
Details

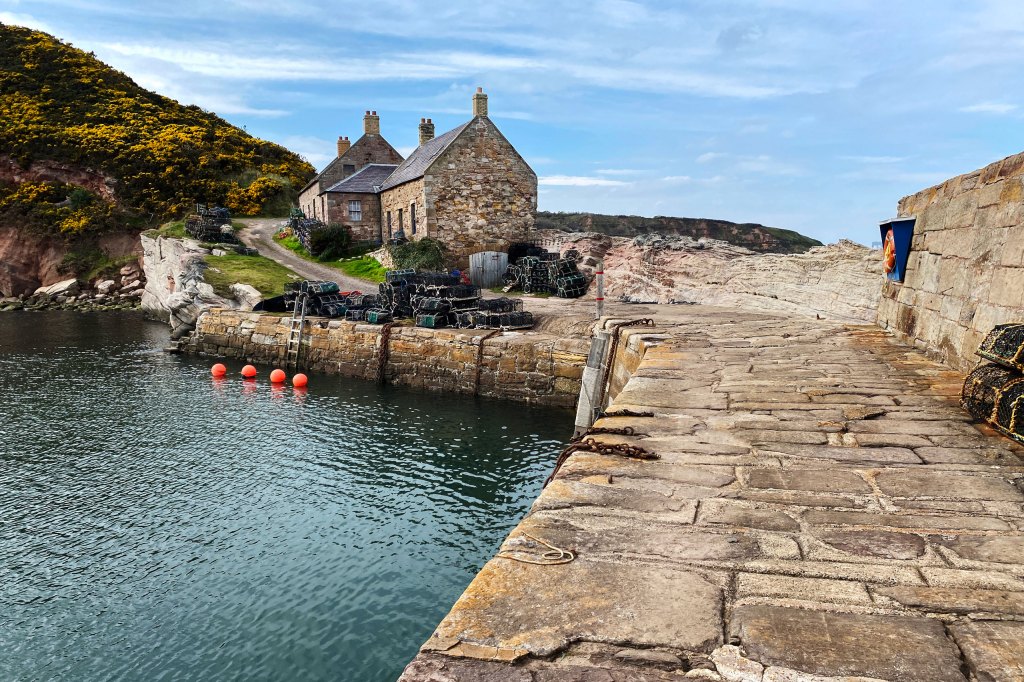
Once I have the ‘big picture’ I start to look for something making use of small details. At Seacliff, the small harbour has a lot of rusty machinery, which is great to photograph. Getting in close and framing Tantallon Castle between the spoke but focusing on the rusty metalwork gives this shot a different and creative perspective.
Conclusion
One of the advantages of a smartphone is its portability and the fact most people have it on them at all times. The good news is you can shoot excellent images using just your phone no matter where you are, whether that’s a budget phone or a flagship phone. My favourite place for landscapes is the Highlands of Scotland or the beautiful coastline near to my home in East Lothian.
There’s an old saying that the best camera is the one you have on you at the time you need to take the shot. The latest smartphone cameras certainly pack a mighty punch and the ability to shoot in different file formats, to fit filters and additional lenses have increased the flexibility of the camera that is always in your pocket. Will it replace a DSLR or mirrorless camera? That’s down to us as individual photographers but the results you get from your phone are certainly not second best any more.
Article by Jeff Carter
With over 30 years of photographic experience, SE Scotland-based motorsports photographer Jeff Carter has travelled the world in search of that perfect shot. The former Fujifilm X Photographer has also carved out a reputation for his landscape work, running workshops in and around his home in Dunbar and further afield in the Highlands. Visit www.macleanphotographic.com and Instagram: @maclean_photo
Related reading:
- Best UK landscape photography locations
- Questions to ask yourself before shooting landscapes
- Top tips on how to take great vertical landscape photos
Follow AP on Facebook, Twitter, Instagram, YouTube and TikTok.

