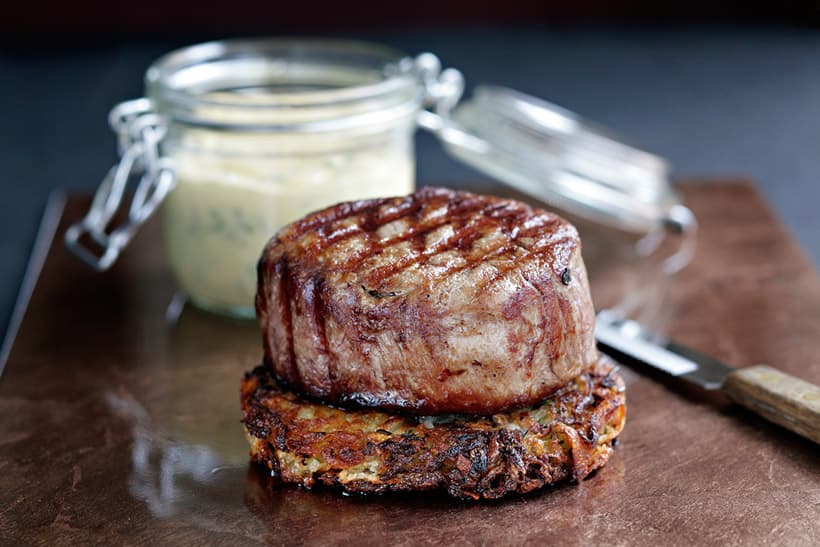
If you’re looking to take better photos of your food, then this complete guide on how to shoot food photography is for you. Whether you’re shooting at home, or a complete beginner, this article will guide you through the process and help you take better food photos.
Welcome to the AP Improve Your Photography Series – in partnership with MPB – This series is designed to take you from the beginnings of photography, introduce different shooting skills and styles, and teach you how to grow as a photographer, so you can enjoy producing amazing photography (and video), to take you to the next level, whether that’s making money or simply mastering your art form.

Each week you’ll find a new article so make sure to come back to continue your journey, and have fun along the way, creating great images. If you’ve found these articles helpful, don’t forget to share them with people you know who may be interested in learning new photography skills. You’ll find a whole range of further articles in this series.
This article is by Michael Powell, a professional photographer, and food photographer, so you know you’re getting advice from someone who knows what they’re talking about.
While browsing in a charity shop recently, I came across a recipe book from the early 1980s. Leafing through it I was struck by how few recipes were illustrated with photographs. The few that were included, however, were studio lit, formal, shot around f/22 and immaculate to the point of sterility.
Some of the dishes didn’t look real, and probably weren’t, since all kinds of techniques were deployed back then to tart up tarts and fluff up pheasants. Instant mash, for example, was commonly used in place of ice cream as it was often fluid under the studio lights.
Thankfully, people soon realised that cookery didn’t need intimidating Haynes-style manuals, as best-seller lists overflowed with recipe books written by chefs who understood that most people were too busy or too tired to spend half a day preparing supper. The recipe seemed achievable, and with an emphasis on photography it looked it too. Writers and chefs started talking about flavour, freshness, informality, simplicity and speed.
I work mostly in editorial, illustrating tasty recipes that don’t require MasterChef and Michelin-star talent to cook it. Almost all of it is shot inside the home of the chef and very rarely in my studio. Flash gear usually stays in the car boot, as natural light is so often a perfect partner to natural food. Bouncing, reflecting, directing, flagging and generally controlling it to suit the food is my objective – and it’s where the fun begins.
Food Photography Lighting
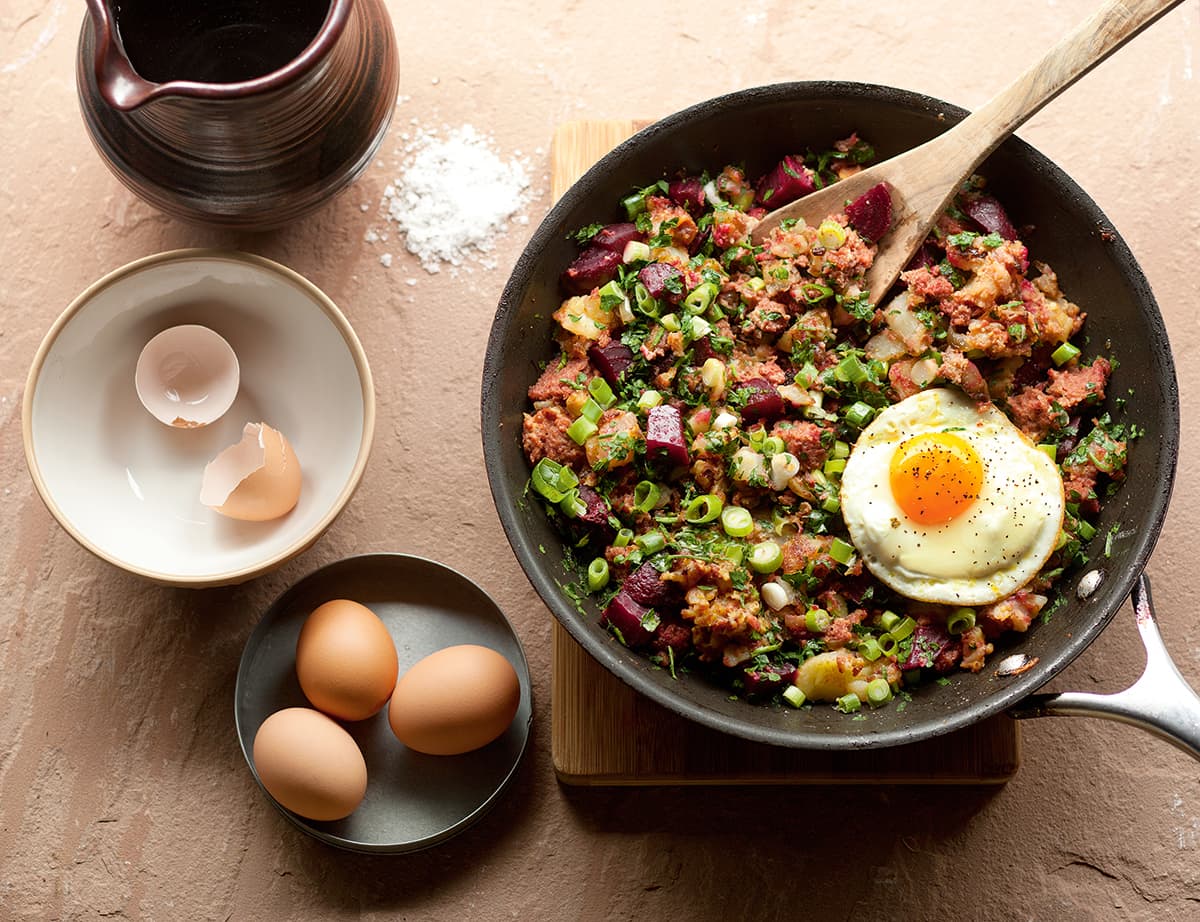
Natural light is often the perfect partner when it comes to making food photography look authentic
Photographers often baffle others by pointing out nice light, perhaps the setting sun’s raking effect and long shadows. That second-nature observational skill is a vital asset when photographing food, so if the light is gorgeous in the sitting room at 11am, I’ll be set up and ready, but by 4pm I might have moved to the study on the other side of the house via the kitchen and landing.
Often I’ll shoot a dish, then spot completely different light when taking the plate back to the kitchen and quickly start again. I often need to shoot pictures that can be used seasonally; Easter cakes, asparagus for spring, turkeys for Christmas, and always at the wrong time of the year. I once shot a bonfire-night-themed soup in June in a downstairs loo, complete with sparklers to get a long enough exposure. Food goes off quickly, so I like to get the safe shot and then start experimenting.
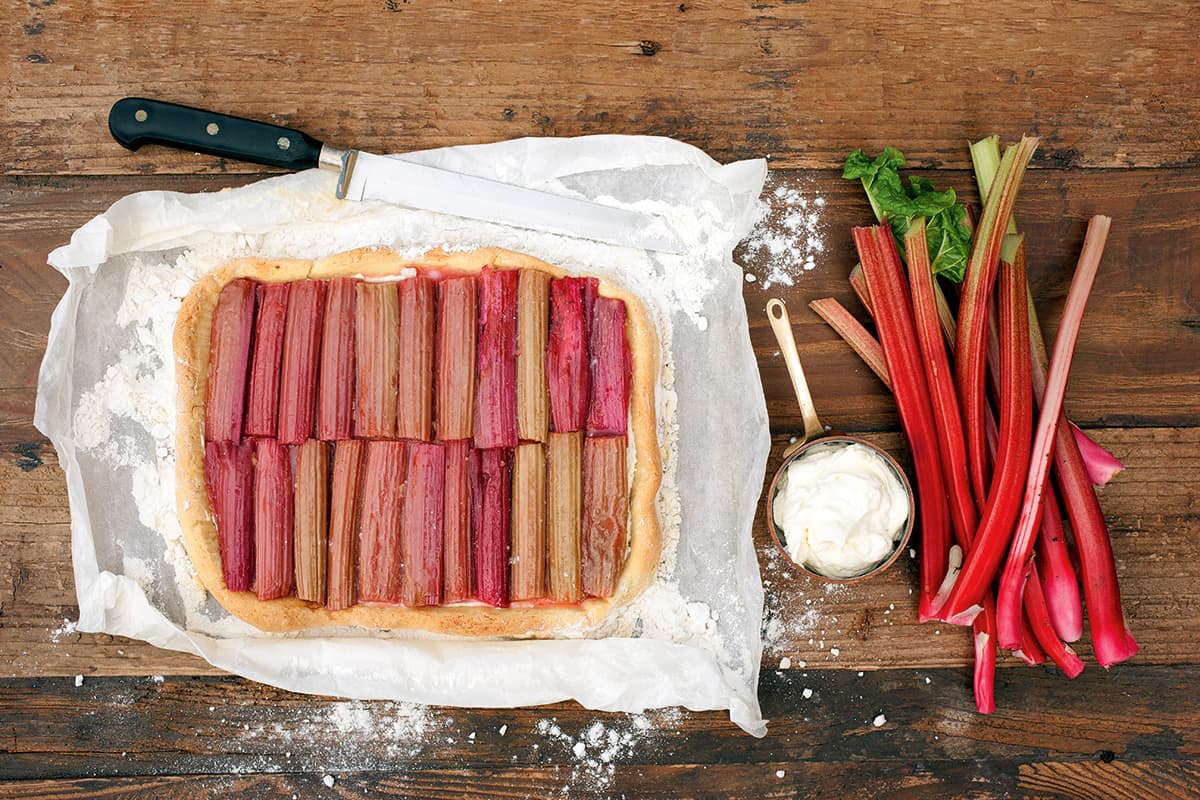
Taking a look straight down can work particularly well with flat foods, such as tarts and pizza
That charity-shop cookbook from the early ’80s is testament to the skill and inventiveness of large-format transparency studio photography, albeit with a little fakery. I wouldn’t have fancied biting into the apple painted with nail polish, or the ice cream made from Cadbury’s Smash, so it stands to reason that as much as great ingredients produce great food, lovely pictures are easier to create of lovely food. If you can’t wait to reach for the knife and fork, that means it will probably photograph well. Virtually all the food created is eaten during and at the end of the shoot.
A talented chef and food stylist can make all the difference because, as well as having culinary skills, he or she is able to spot a potential problem on a plate when my brain is full of white balance and not whitebait. Rachel, who creates much of the food I photograph, has a hilarious skill for spotting rude shapes in food. She should have hosted That’s Life.
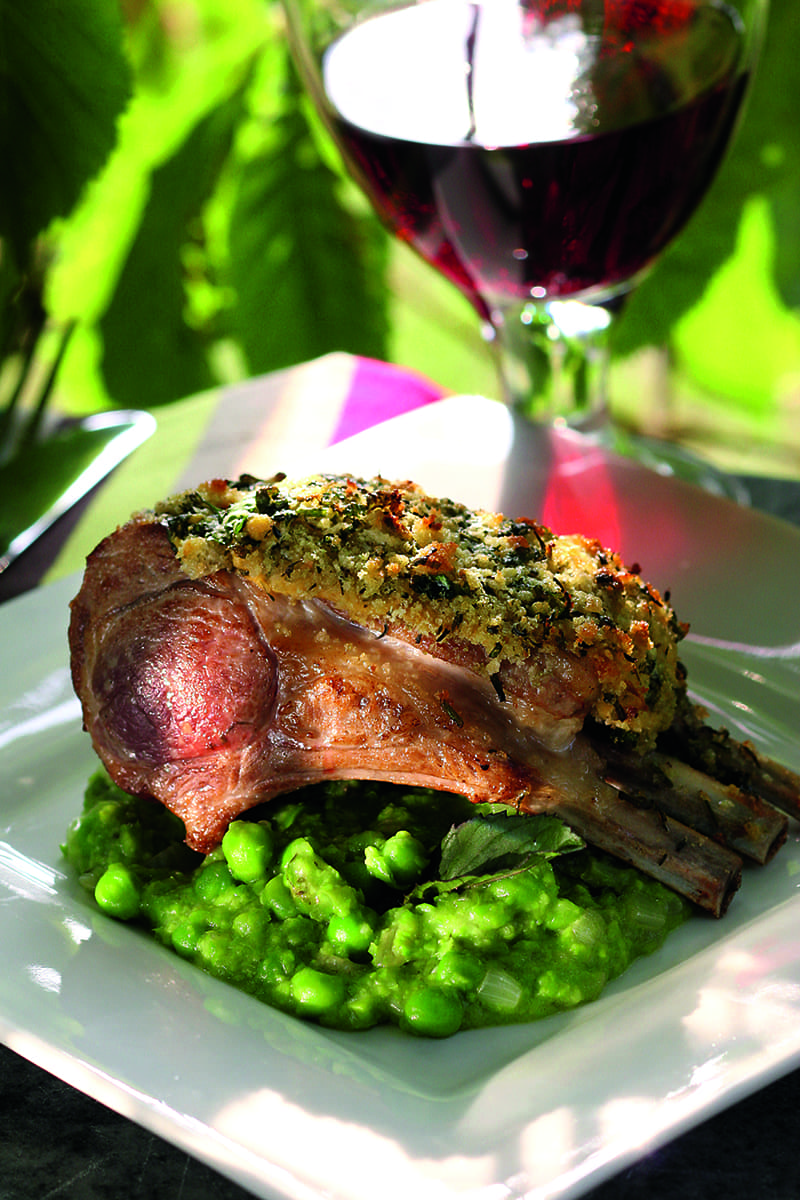
Reflectors and flags can be incredibly important to lift shadows in food and hold areas back
Camera and settings for food photography
I have achieved similar results to all the techniques mentioned here using just studio lighting, but somehow the pictures lacked the edge of realism required to convey home-cooked food.
I use a Canon EOS-1Ds Mark III, which I adore. I find the full-frame sensor ideal, especially when using the Canon TS-E 90mm f/2.8 lens. I try not to overuse its tilt-and-shift mechanism for effect, but it is really useful when controlling depth of field. We went through a very shallow depth of-field trend for a while, but I tend to shoot mostly around f/4.5 and, where necessary, I use the tilt to bring parts of the dish that are important into focus, such as the main ingredient and perhaps a garnish or an accompanying dish further back in the frame.
I often shoot for editorial clients, so sometimes creating out-of-focus space in the frame pleases editors who like to overlay text. Another fine lens is the Canon EF 100mm f/2.8L Macro IS USM, which combines close focusing with a nice working distance and image stabilisation.
The Canon RF 100mm F2.8L Macro IS USM is the RF-mount macro of choice if you’re shooting with a Canon mirrorless camera, or if you’re shooting with a different camera have a look at our recommended macro lenses.
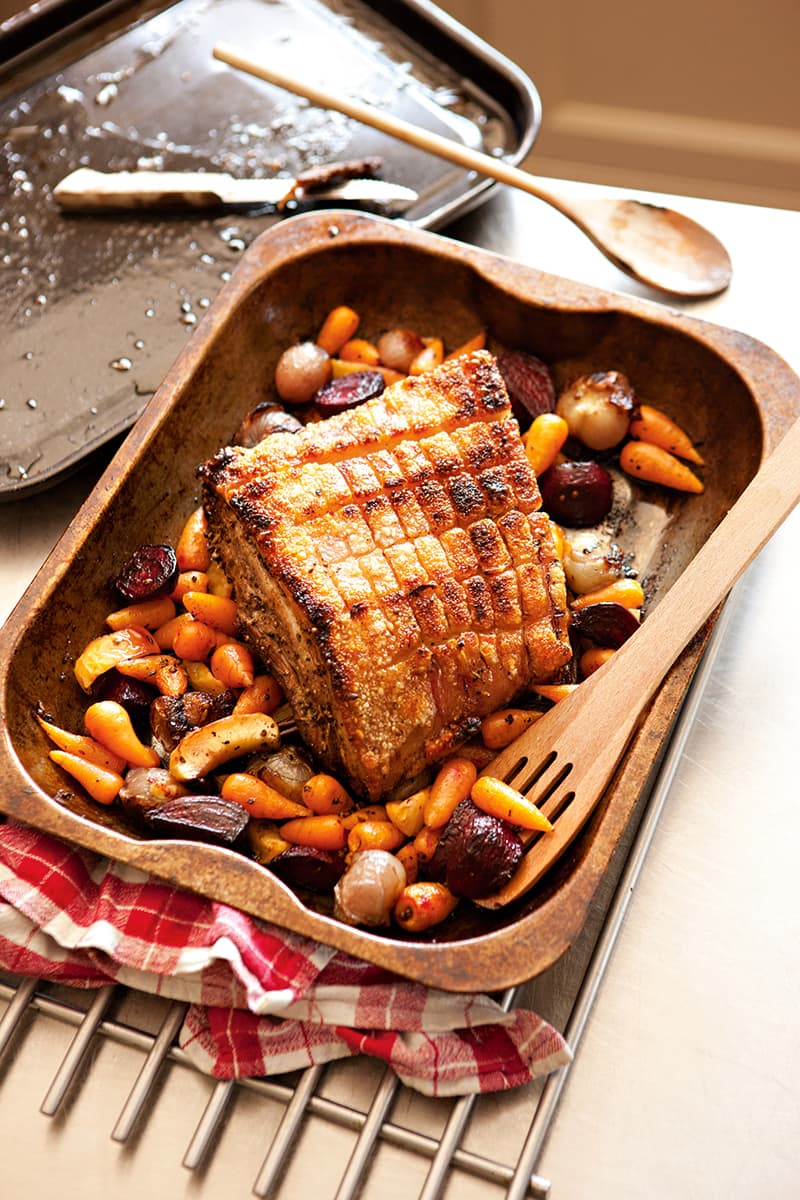
A 100mm macro lens is a great choice for food photography, offering a decent working distance
I don’t like using tripods and shoot handheld as much as I can before grabbing a monopod or tripod if light is fading. The usual rule about avoiding shake by using a shutter speed in excess of focal length applies with these lenses. I pride myself on a steady hand, but try to avoid slower than 1/125sec when shooting handheld.
My pictures are often used on trucks and exhibition stands at a width of three metres, so I have to be strict with myself when daylight tails off. The EOS-1Ds Mark III has two card slots and I usually shoot raw, but with food there’s often a team around me (possibly including the client) who want to see what is going on. I dislike working tethered as I need to be able to suddenly set up elsewhere for better light, so I use the SD slot with a Wi-Fi-enabled card that allows me to ping fine JPEGs to my iPad, which then gets passed around the house.
How to style your food
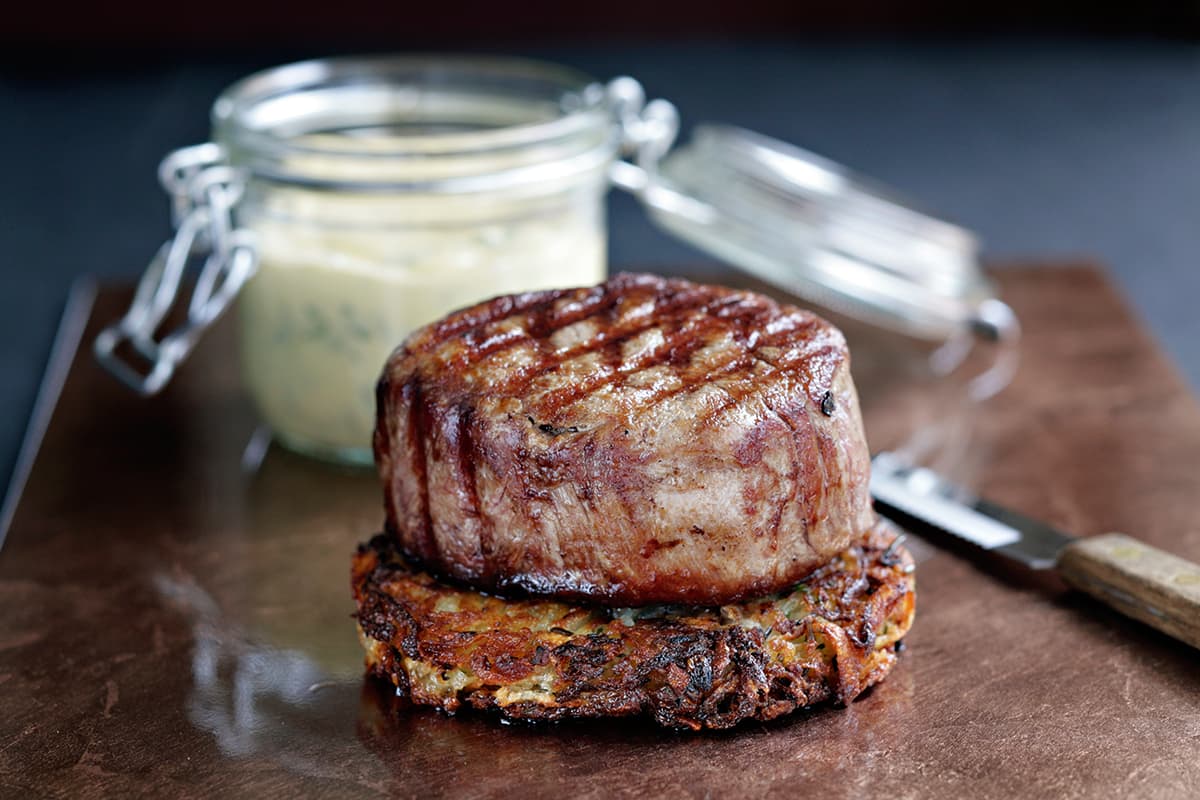
You don’t need a good food stylist to take great shots, as inspiration is all around
Food follows trends like anything else, so styling constantly evolves. Not everyone has a food stylist to hand, but luckily inspiration is all around. Food and interiors magazines are crammed with ideas. Shabby chic interiors have been a popular design trend for some time, and you can see its influence in food photography. Textures are important right now, and the right food shot on stressed wood and vintage materials can look stunning.
Keep an eye out for interesting backgrounds and props, ready to bring them out at a moment’s notice. Whether it’s natural stone samples from a builder’s merchant, unusual surfaces from junk shops, fabrics from curtain makers, period plates and cutlery from antique dealers, napkins from a supermarket – all can lift a shot. Unexpected colours work well too. I see a lot of blue props in contemporary food photography and I think it works well because so little food is naturally that colour.
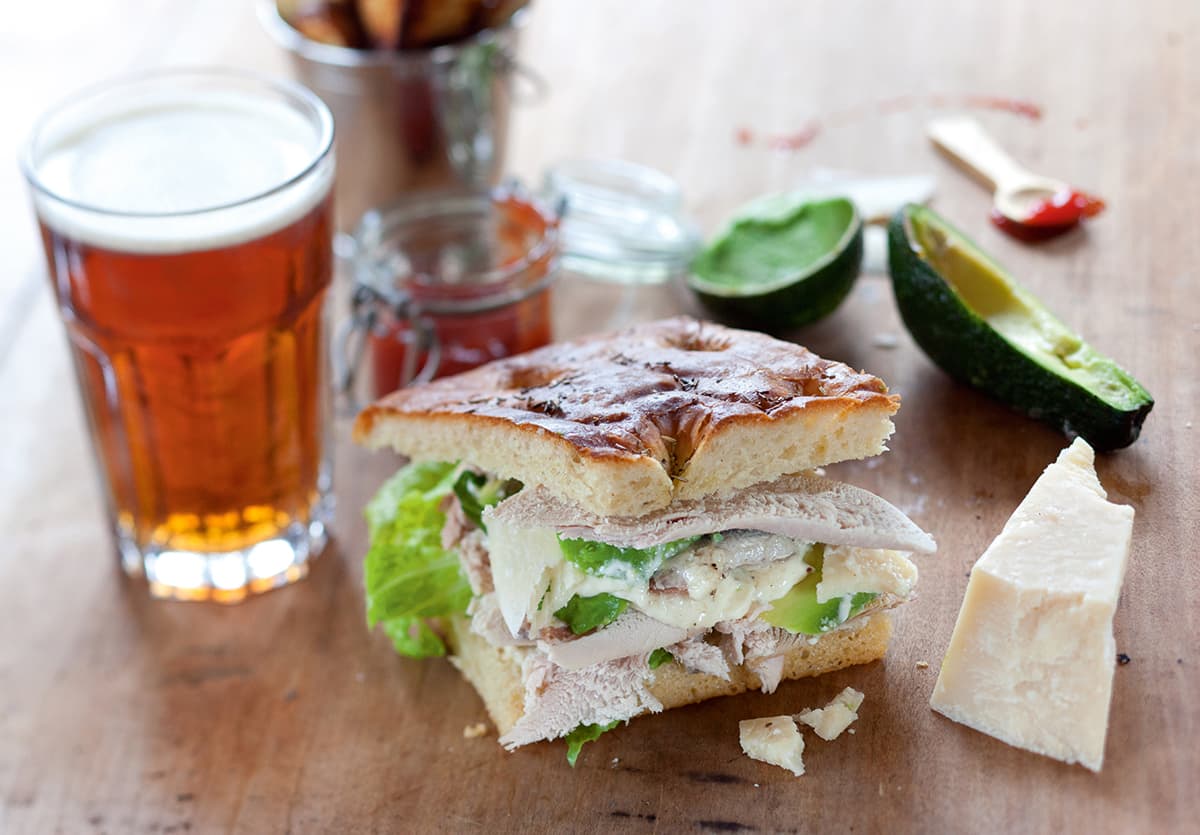
Keep an eye out for interesting backgrounds and props to enhance your shots
Beware of seeking perfection
I do use Photoshop, but as with so much photography it often really is quicker to sort a compositional problem at source. Cover up a chip in you china with food and blot a splash with paper by all means, but remember you can end up removing the very thing that makes the dish appealing. When you have the safe shot, try digging in with cutlery as if about to eat to see if the shot improves.
Top tips for better food photography
1. Work around the subject
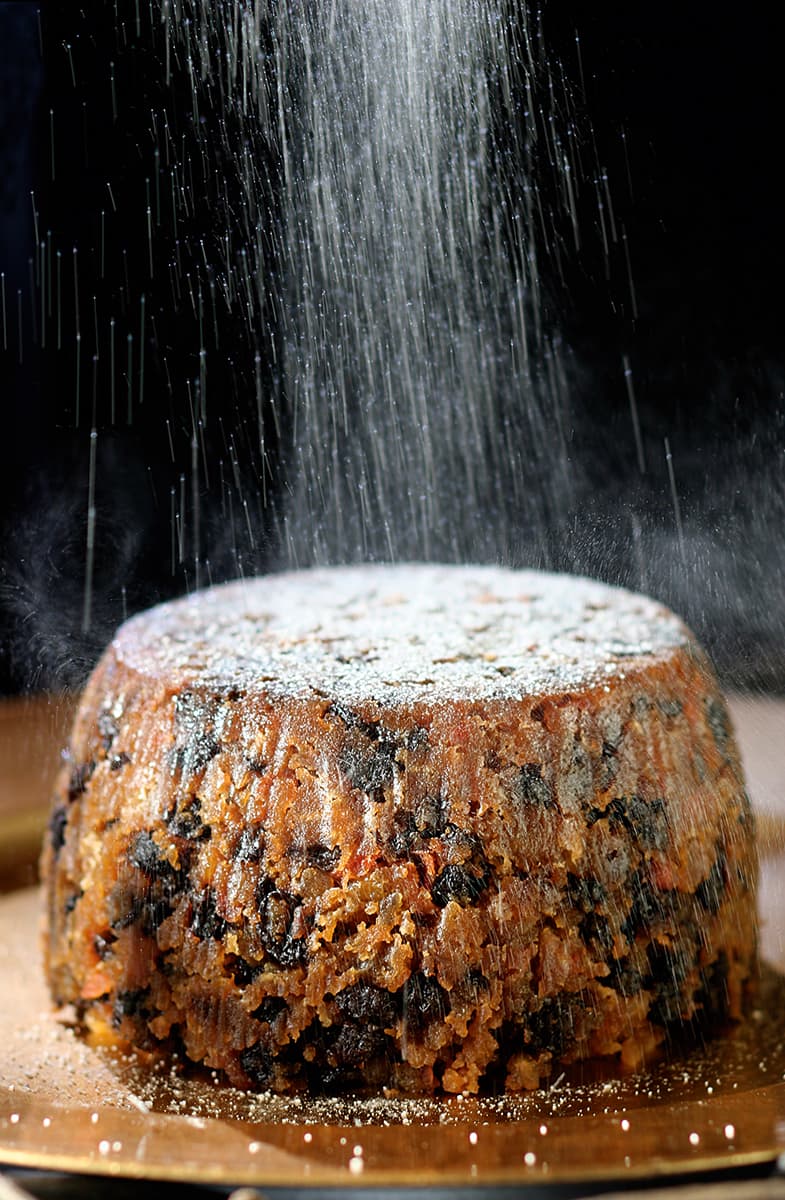
This is the first piece of advice I was given when studying photojournalism more than 30 years ago, and it applies to food photography too. For commercial shoots, I have to focus on the most important ingredient, but sometimes a better shot lurks elsewhere in the viewfinder: the crumbs, the pastry’s texture, the beads of oil.
This Christmas pudding shot was elevated by using a sieve to drop icing sugar. A slow sync speed was used to capture correct daylight exposure with a very small burst of flash from a radio-triggered Speedlite and a FlashBender attached to highlight streaks of falling sugar.
2. Use Reflectors and flags
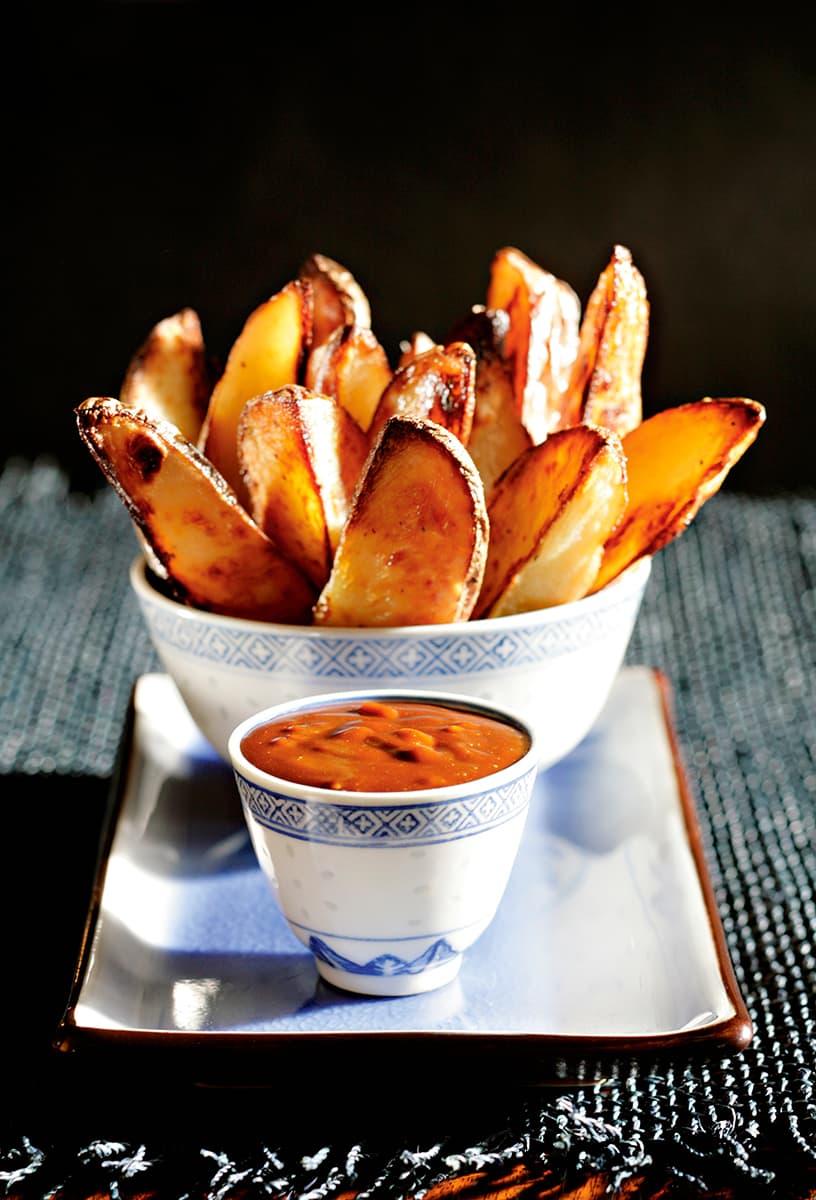
I carry a lot of Manfrotto reflectors (previously known as Lastolite), including a TriGrip and even a 1.8m Panelite reflector, but my most frequently used reflectors are actually cheap mirrors, and the small shaving ones are brilliant at putting detail into darker foods and shadows.
For these Chinese-baked chips with satay, I balanced direct sunshine from the right with a small mirror from the left. A black foam board flag was used behind the food to hide a distracting background and add contrast.
3. Turn off Autofocus and get moving
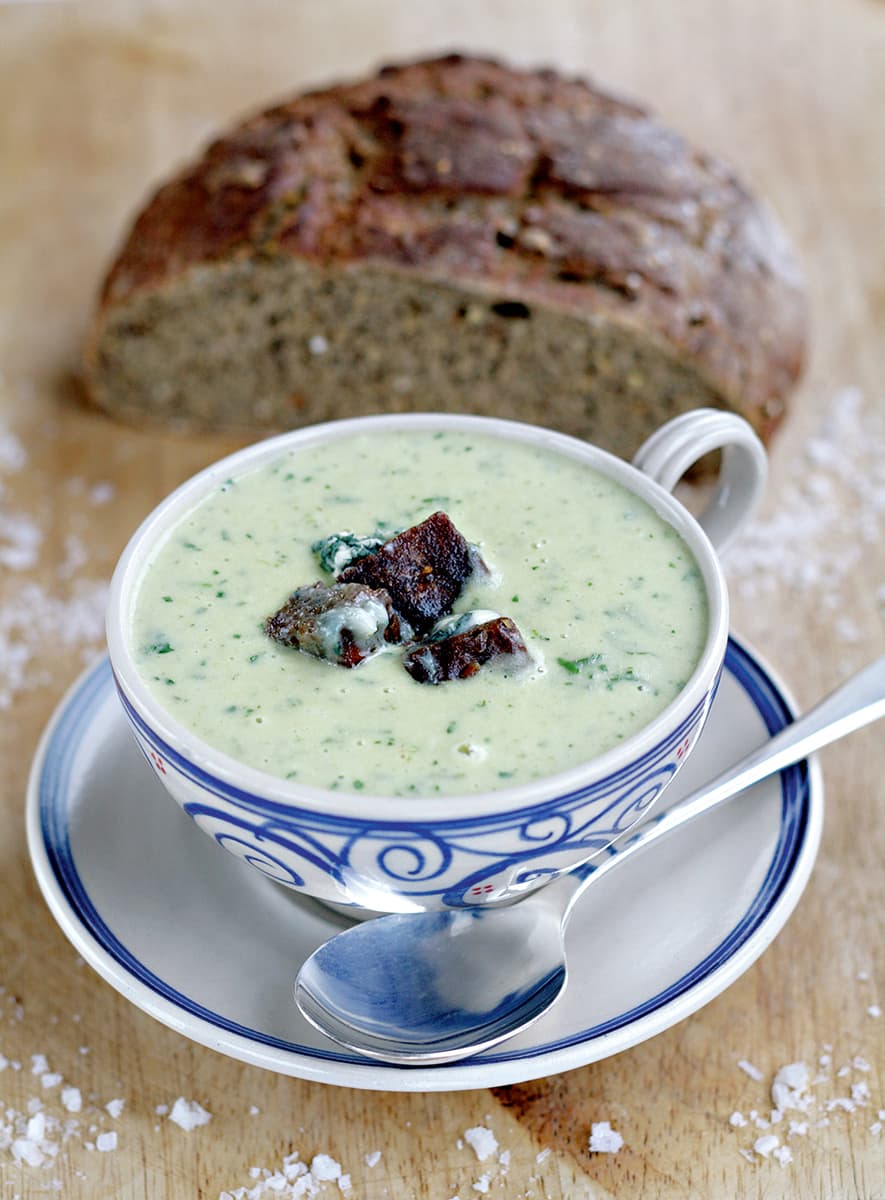
There’s a lot of depth in food front-to-back and top-to-bottom. That critical point of focus is easily missed by AF, and if the food is low in contrast the AF can frustratingly start to hunt. You don’t have much time before that beautifully prepared fresh dish starts to resemble a heat-lamped motorway services meal. A contrasting focal point, such as herbs or croutons, can help with liquids such as soup. If the AF had settled on the wrong part of this crouton even slightly, the shot would not have worked. I liken it to the unsettling effect that focusing on the furthest eye has in portraiture.
4. What angle is best for food photography?
Much food looks great shot at the angle we are used to seeing just before diving in with cutlery. However, take a look straight down too, particularly with flat foods such as pizza and tarts. A really low angle can add drama to taller and piled foods, but watch the background.
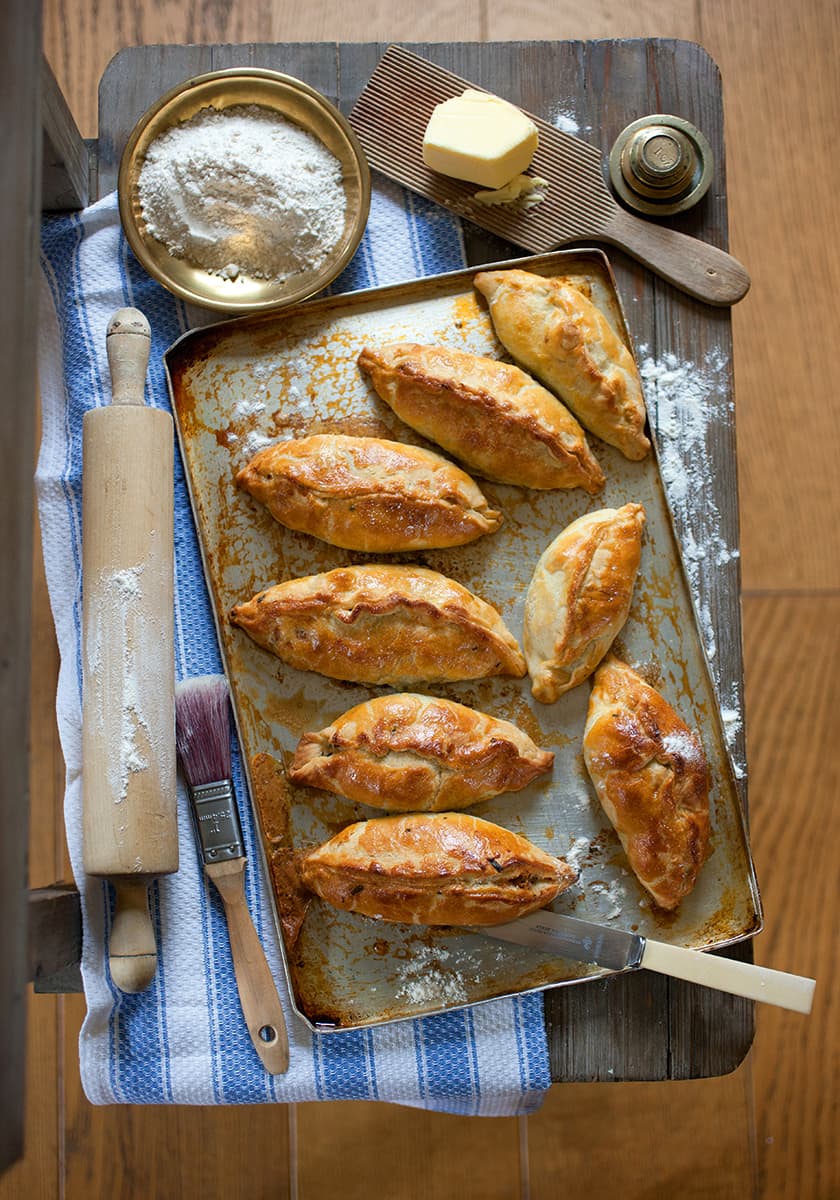
These pasties were first shot on a dining table before we decided we liked the shapes seen from directly above. A small mirror has been used from the bottom to beam daylight back into the shaded side of the pasties.
5. Be adaptable
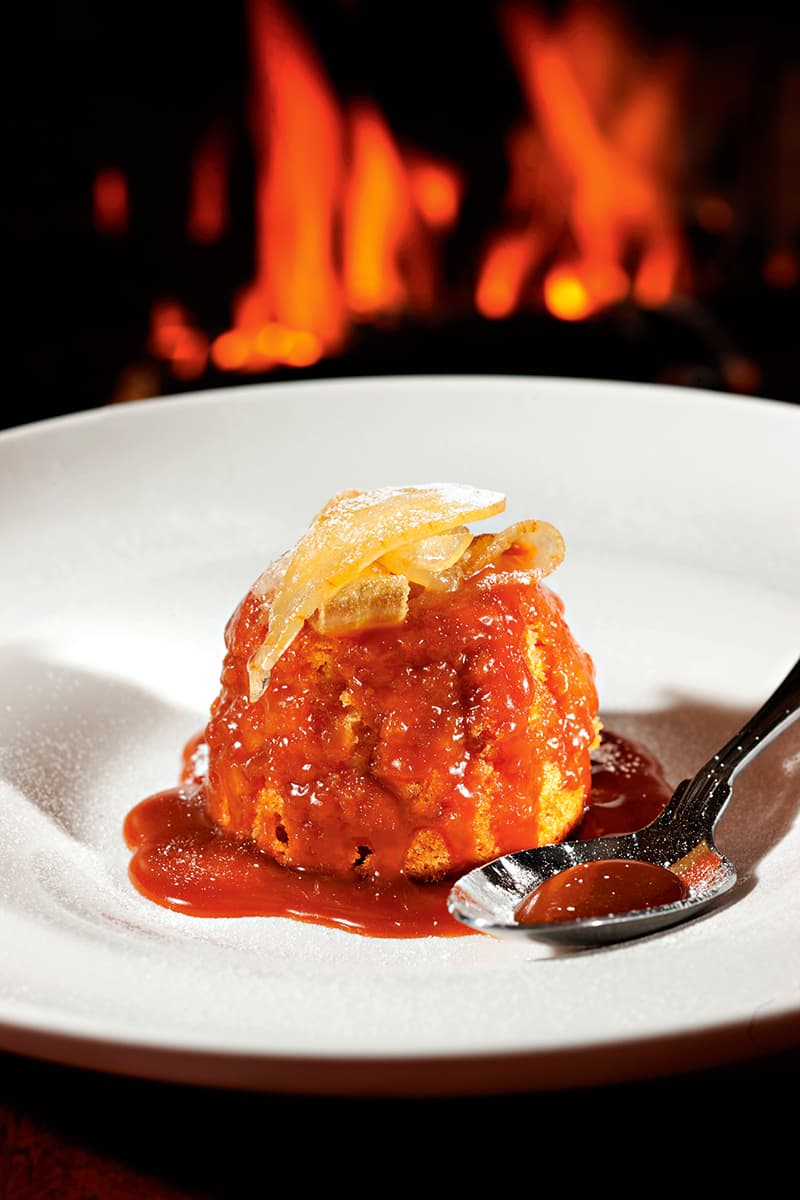
Changing light and weather can scupper your plans, so be prepared to change your shot entirely if necessary. This means being in control of your equipment and having the technical skills to change tack completely.
This parsnip and ginger winter pudding picture was a sudden change of mind, where I had to quickly balance daylight, very low power flash and flames from the hastily made fire. I needed a fairly slow exposure to catch the flames (1/25sec) and didn’t really have time to set up a monopod or tripod, so I steadied myself and the camera on the back of a dining chair.
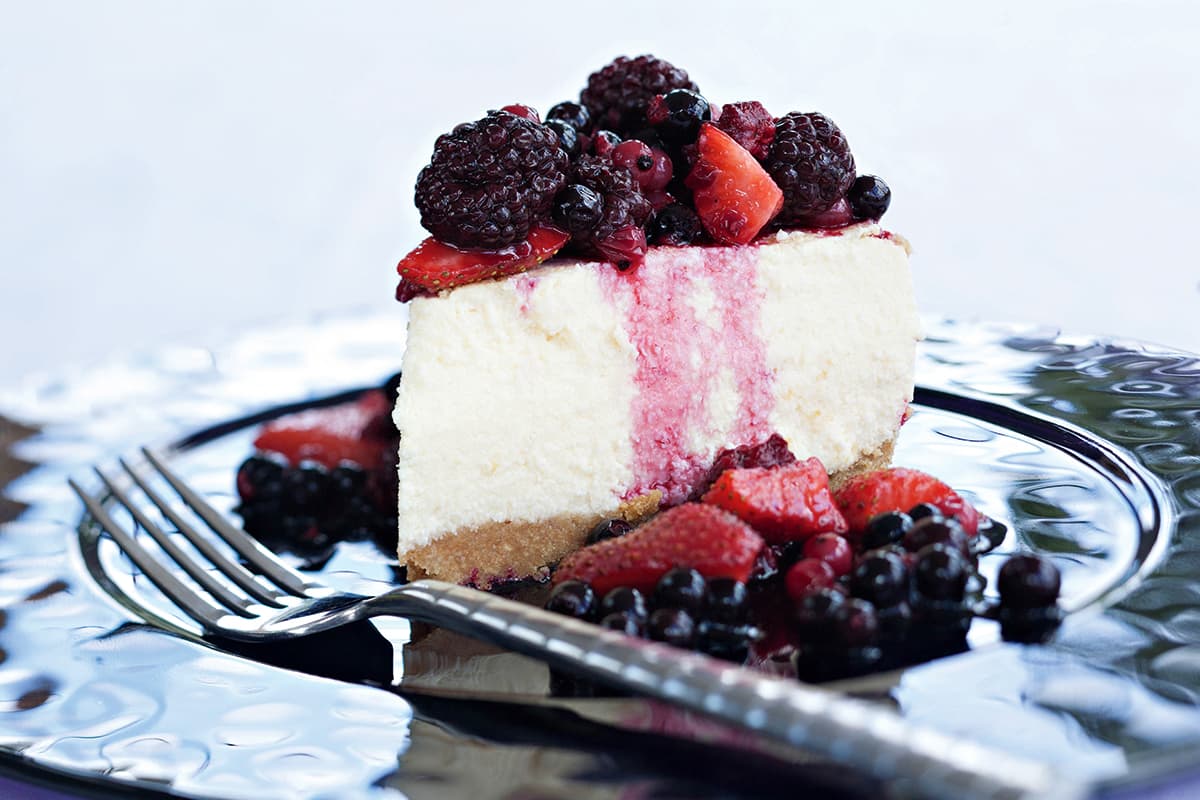
Turn off your camera’s AF and try subtle movements back and forth until you achieve focus
Food photography kit list
Tilt-and-shift lens
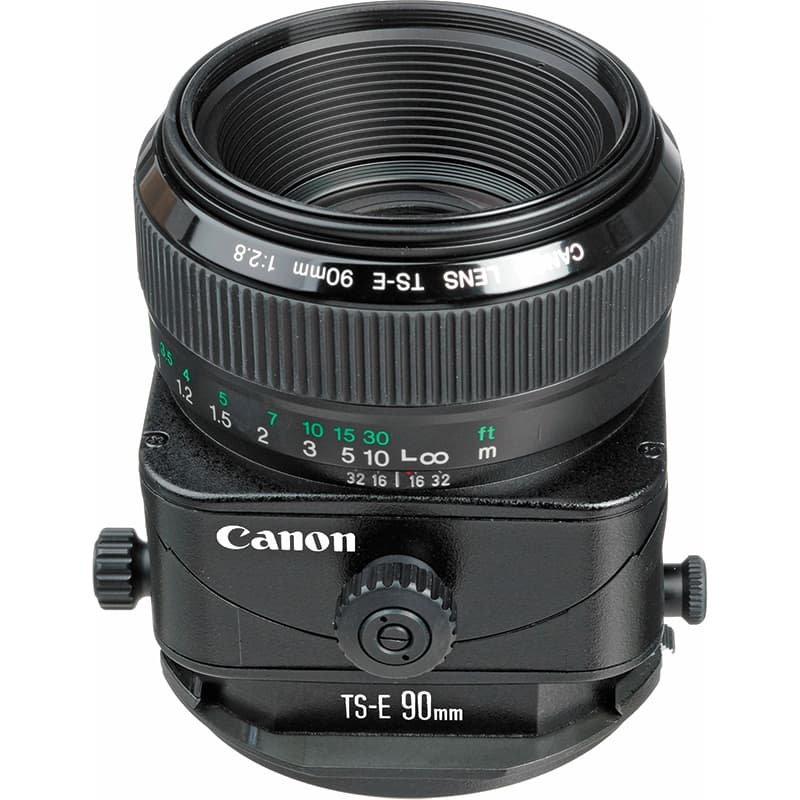
I use a Canon TS-E 90mm f/2.8 tilt-and-shift lens. I can control the plane of focus with the tilt, and the position of the subject in the frame using shift. With food, I often bring two elements of a dish not positioned together into focus and leave the rest untouched. It is manual-focus only and reminds me of the old FD lenses I used in the 1980s on a Canon F-1. If you don’t have a tilt-shift lens, then a macro lens is essential, especially when you need to get close to smaller food.
Reflectors
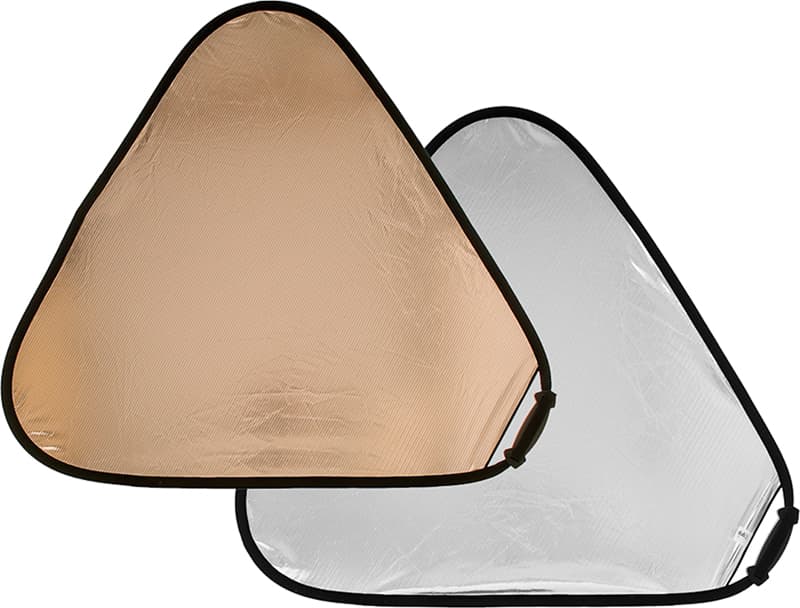
I use everything from a tiny shaving mirror to a Manfrotto 1.8m Panelite. The gold and white TriGrip is especially useful as I can place the straight edge on a table where the round ones slip off. The gold side is great for ‘warming up’ pastry.
Wi-Fi card and iPad
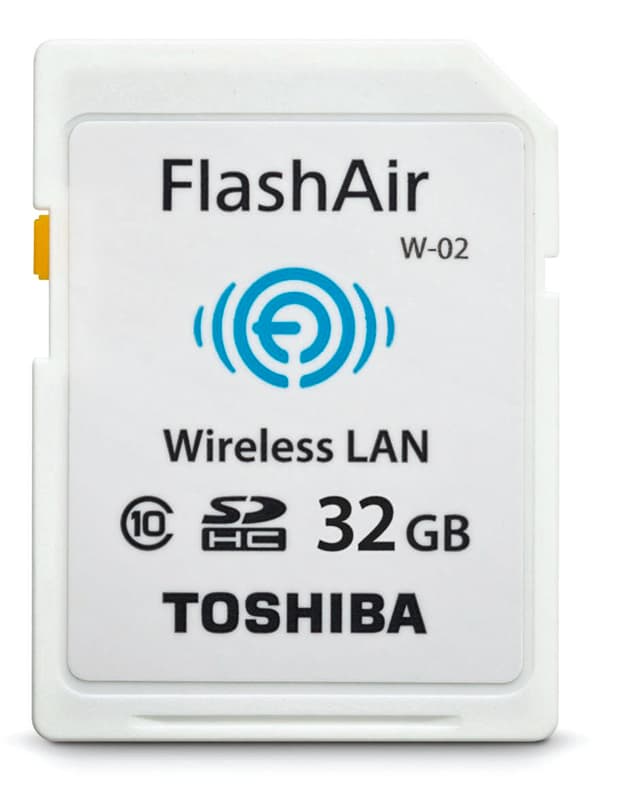
I like to react quickly to the light, so I prefer not to shoot tethered. A Wi-Fi SD card set to best JPEG is a simple way to let everybody in the room see what I am shooting. The CF slot is set to record raw only. If you’re using a more modern camera, then the built-in Wi-Fi will be especially handy.
Expodisc
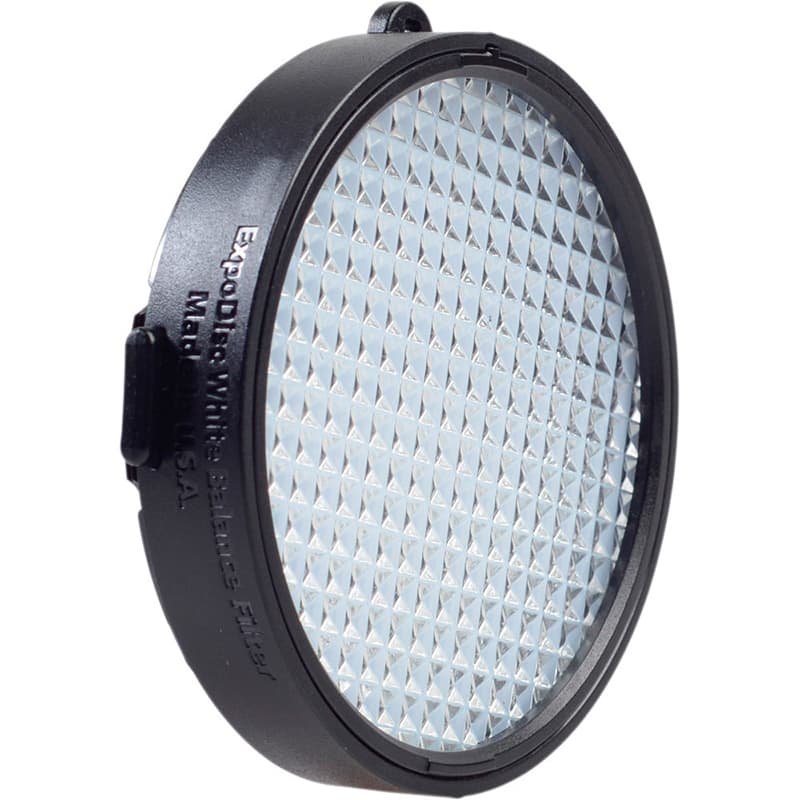
I find inaccurate food colours as jarring as colour casts on skin tones, so I set custom white balances using an Expodisc for good colour rendition and to speed up my raw workflow later.
Wet Wipes, lens wipes and kitchen roll
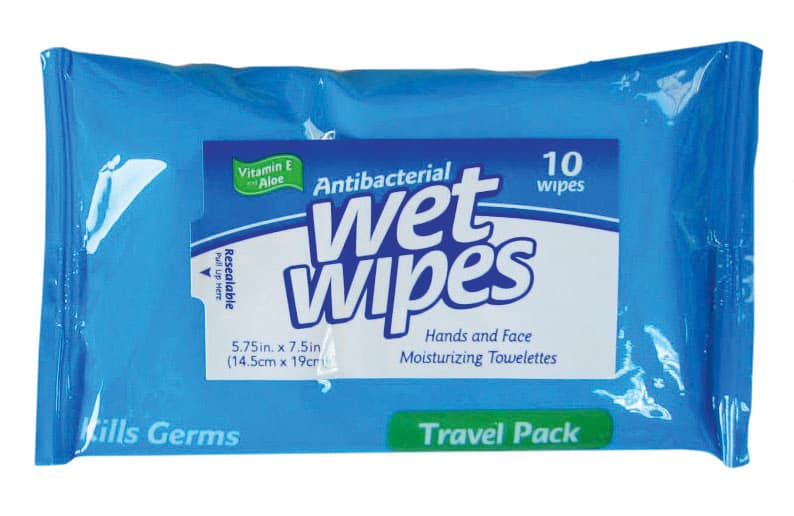
A cheap bit of kit here, but still essential. Food is messy, greasy and sticky, and is easily transferred to your gear, so the Wet Wipes are for my hands, the lens wipes for my iPad, and the kitchen roll for touching up unwanted spots and spillage on plates and props.
Alternative lenses for food photography
Canon EF 100mm f/2.8L Macro
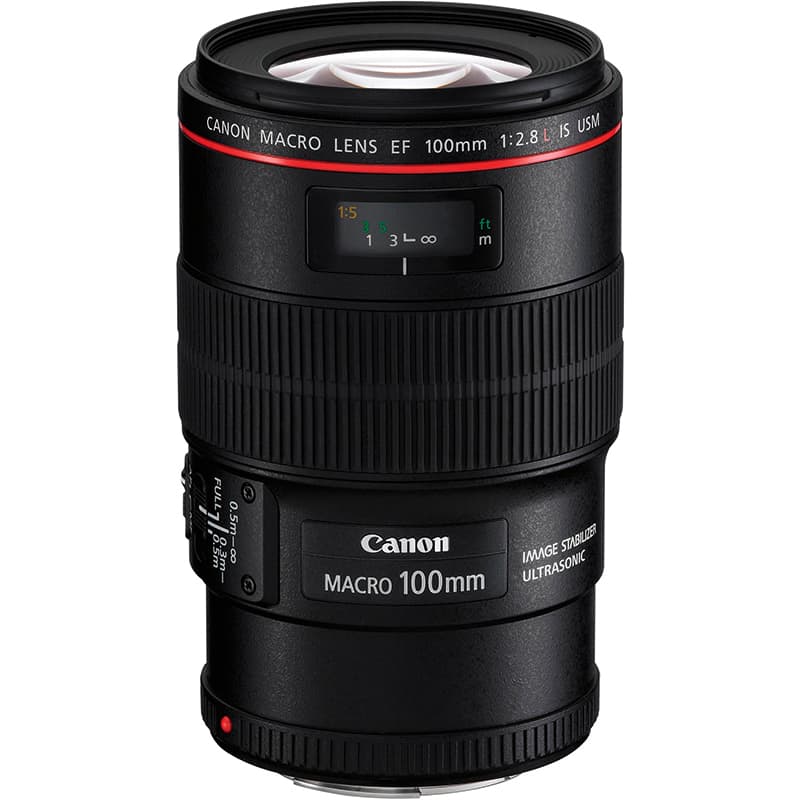
Hardly a budget lens at £600, but almost half the price of the TS-E, and it features IS where the TS-E doesn’t. There’s also a cheaper non-L version, which will save your wallet some cash.
Tamron 90mm f/2.8 Di VC USD Macro
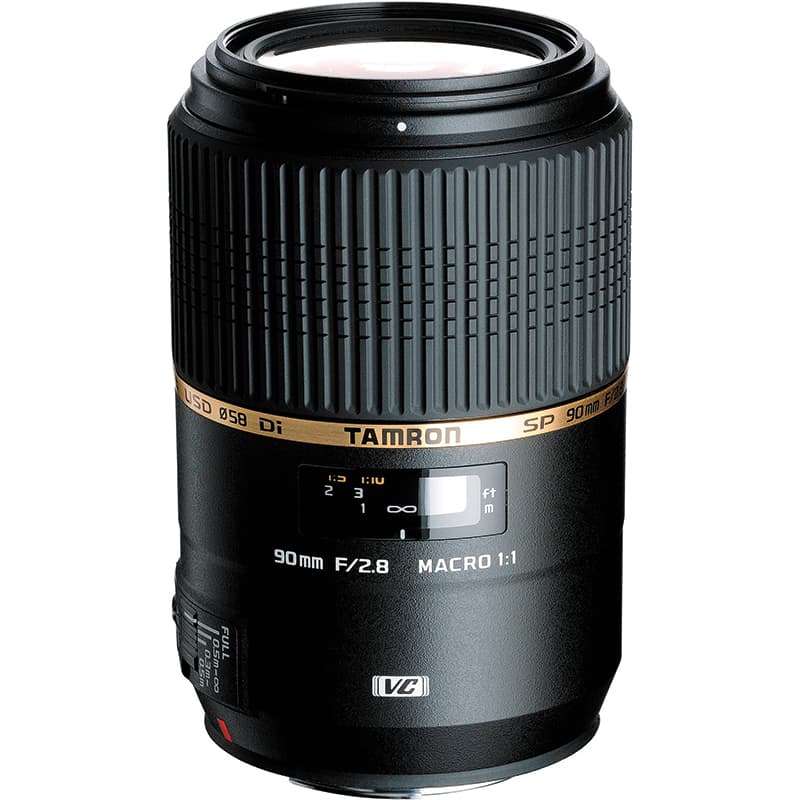
The latest incarnation of this popular lens features both image stabilisation (VC) and Tamron’s Ultrasonic Silent Drive (USD) for fast and quiet AF. Available for Nikon and Canon DSLRs, you should easily be able to find one of these second-hand.
Canon EF-S 60mm f/2.8 Macro
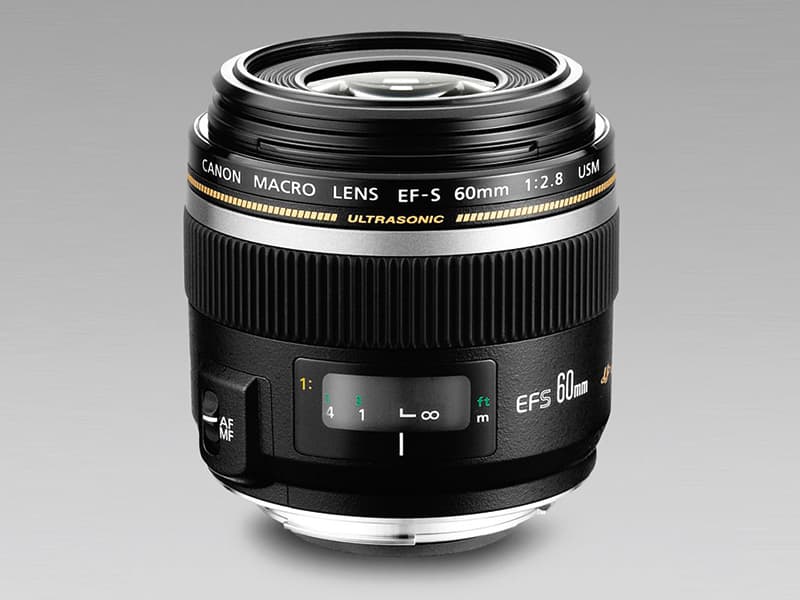
For those using a cropped sensor to create a short telephoto, the Canon EF-S 60mm f/2.8 Macro USM is a great alternative for Canon’s APS-C DSLRs.
You’ll find even more options in our guide to the best second-hand macro lenses.
Pink Lady Food Photography competition
The Pink Lady Food Photography competition is the world’s most prestigious celebration of all that is special and significant about food photography and film. The competition is open to everyone – professionals and amateurs – and well worth entering if you’ve got some great food photography to share. Visit www.pinkladyfoodphotographeroftheyear.com
About Michael Powell – www.michaelpowell.com
Michael trained as a press photographer and has worked for countless Fleet Street titles, which includes a 10-year stint at The Times. He started shooting food 10 years ago and has shot everything from pavlova to Pavarotti. He has been a finalist in both the Pink Lady Food Photography Awards and Arts Photographer of the Year.
Tune in next week, for the next article in the series of the AP Improve Your Photography Series – in partnership with MPB.
- Part 1: Beginners guide to different camera types.
- Part 2: Beginners guide to different lens types.
- Part 3: Beginners guide to using a camera taking photos.
- Part 4: Beginners guide to Exposure, aperture, shutter, ISO, and metering.
- Part 5: Understanding white balance settings and colour
- Part 6: 10 essential cameras accessories for beginners
- Part 7: Beginners guide to the Art of photography and composition
- Part 8: Beginners guide to Photoshop Elements and editing photos
- Part 9: Beginners guide to Portrait Photography
- Part 10: Beginners guide to Macro Photography
- Part 11: Beginners guide to Street Photography
- Part 12: Beginners guide to Landscape Photography
- Part 13: How to shoot Action and Sports Photography
- Part 14: How to shoot wildlife photography
- Part 15: Raw vs JPEG – Pros and cons
- Part 16: How to create stunning black and white images
- Part 17: How to photograph events and music
- Part 18: Pet photography – how to photograph pets
- Part 19: The ultimate guide to flash photography
- Part 20: The ultimate guide to tripods
- Part 21: Create awesome photos with light painting
- Part 22: Beginners guide to file and photo management
Find the latest Improve Your Photography articles here.

