Raw files may contain the maximum amount of data that you can get from your camera’s sensor, but you have to process them and save them in a universal format like JPEG before you can share them. As well as taking extra time, processing raw files on a computer can encourage us to make some of the most important decisions about our images at the wrong stage. Despite the amazing technological strides that have been made with digital cameras and the advancement in image-editing software, the old adage about ‘getting it right in-camera’ is still valid and thinking about the final look of your image at the shooting stage can actually help you to become a better photographer. So perhaps it’s time you started concentrating on your JPEGs and stopped relying on raw files?
Image size and quality
If you’re switching your attention to JPEG files and not relying on raw files to correct any issues on a computer, the first thing you need to do is make sure that you’re shooting the largest, best-quality JPEGs you can. With some cameras, such as the Sony A7 III, this may mean that you have to check three settings: the file format, JPEG quality and JPEG size. With Nikon cameras, there are two settings to check in the menu: Image quality (JPEG Fine* is the highest quality) and Image size (use Large). With other cameras, for example, the Olympus OM-D
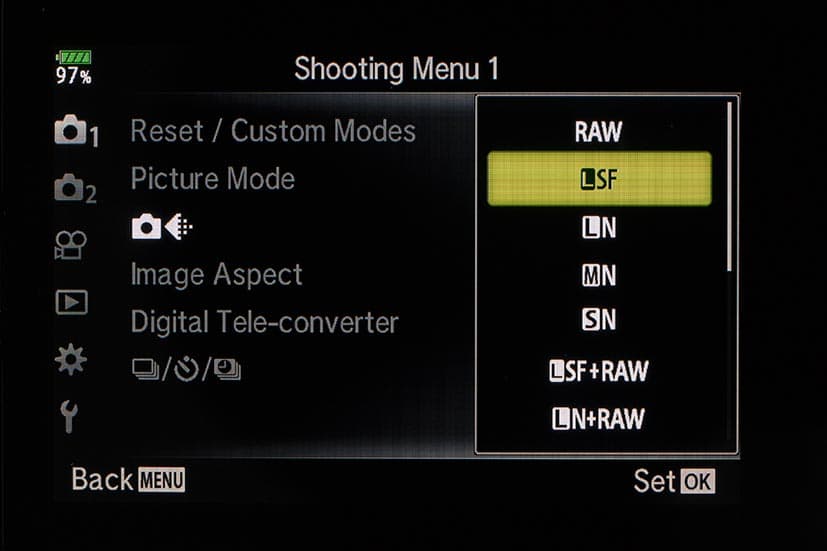
E-M1 Mark II, there’s only one parameter to check. Selecting LSF (Large Super Fine) in the file type and quality settings on Shooting Menu 1 ensures that you’re going to capture the largest, best-quality JPEGs, but you need to activate this option in Custom Menu G. If you want the safety net of raw files, opt for LF + RAW in the menu.
White balance
With the basics sorted, you’re now ready to think about the best settings for individual images. Most cameras have a reasonably reliable auto-white balance system, but you’ll often get more consistently attractive images if you shoot with a specific white balance setting. Outdoors, for example, the Daylight or Sunny setting is usually a dependable choice. However, you need to keep an eye on the image colour if you move into deep shade or artificial light. While it’s worth trying the white balance settings that are intended for those conditions, setting a custom white balance value ensures you get things just so. The basic process of setting a custom or manual white balance value is the same, but the mechanics vary a bit from camera to camera.
With Olympus cameras, for example, you need to select the white balance control, scroll to one of the custom settings, then press the Info button to access the One Touch WB feature before pointing the camera at a neutral subject, pressing the shutter button and confirming the setting. Canon and Nikon do things the other way around – you shoot the white balance target as normal, then set the custom white balance mode and select the image you want to use for the calibration. Whichever method your camera uses, once you’ve done it a couple of times, it takes just a few seconds. It’s well worth carrying a grey card or a target like the X-rite ColorChecker Passport. And of course, these can help you get the exposure right as well as the white balance.
Colour options
Next, take a look at the colour options available for your image. These have names such as Film Simulation mode (Fujifilm), Picture Style (Canon), Picture Control (Nikon), Picture Mode (Olympus) and Creative Style (Sony), but there are also usually a selection of filter effects that can be applied. It’s also possible to tailor the impact of the colour modes by adjusting the contrast, sharpness and saturation. I recommend experimenting with these so you find the settings that produce results you like. As a rule, the options with Landscape in the name boost greens and blues, but you may prefer subtler colours. It can be hard to assess how colours translate into black & white, so even if you want to process raw files to create monochrome images, I urge you to shoot in your camera’s monochrome mode. It will help you see whether you’re on the right track with your composition. It’s usually best to increase the contrast a notch or two when you’re shooting in monochrome as many cameras produce quite muddy results. Conversely, if you decide to use one of the toning settings, keep the strength of the colour low – this is an example of when less is more.
Aspect ratio
Most cameras give you some control over aspect ratio. Sony is a bit stingy with this on models like the A7 III and A7R III, offering only 3:2 and 16:9, but other manufacturers include options such as 1:1 (square), 5:4 and 4:3. Even 65:24 has started to appear in cameras such as the Panasonic Lumix S1 and S1R.
While many photographers decide on the aspect ratio of their image when they’re sitting at their computer, it’s too late to improve the composition with a step or two in one direction or the other. If you select the aspect ratio in-camera, you get the chance to assess the composition so you can ensure that objects are correctly aligned within the frame. You’ll also develop an understanding of which scenes suit different aspect ratios. Something to bear in mind, however, is that if you just shoot JPEGs, the only way to switch from square format to 3:2 or 16:9 is to crop the file. If you shoot raw at the same time, you have the chance to ‘undo’ the aspect ratio crop as the camera captures data from the whole sensor.
Best camera settings for JPEG
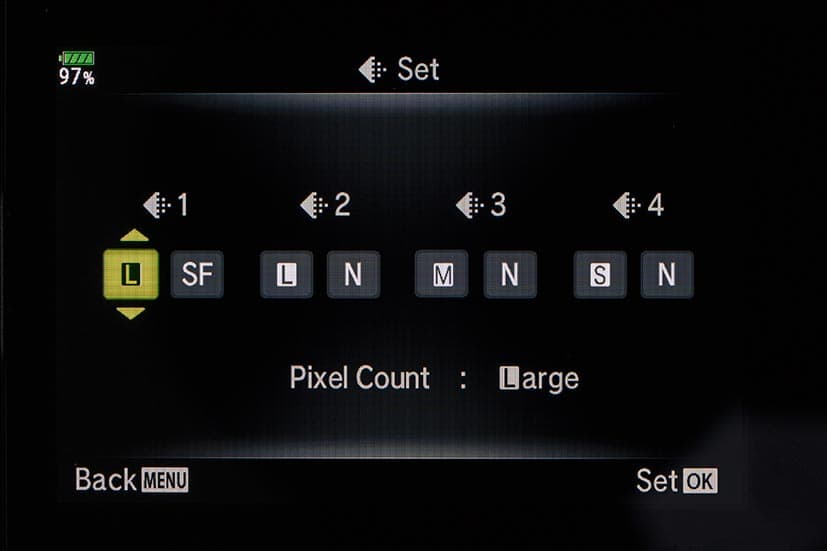
Using the Olympus OM-D E-M1 Mk II as an example, make sure the highest image quality settings are enabled.
Set the image size to large to ensure that you capture the full resolution of your sensor and use the best quality – Super Fine in this case.
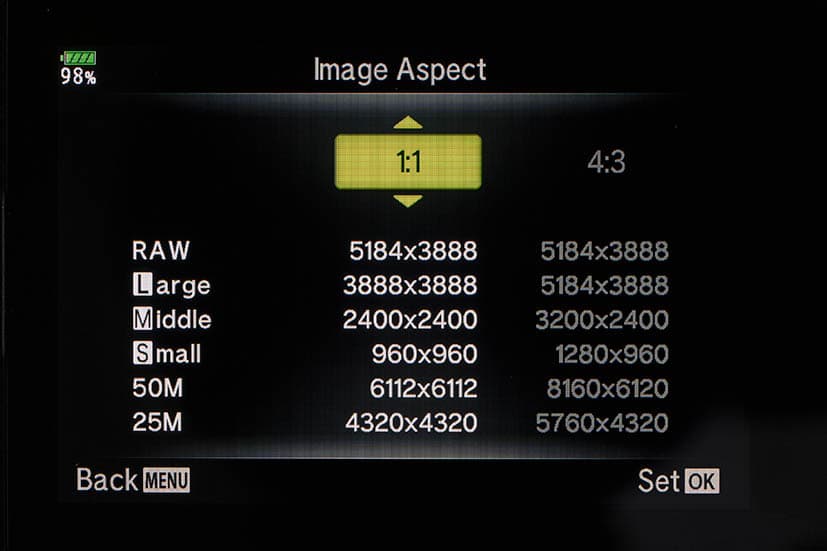
Select the aspect ratio that you want to use for the image. Setting this at the shooting stage helps to perfect the composition.
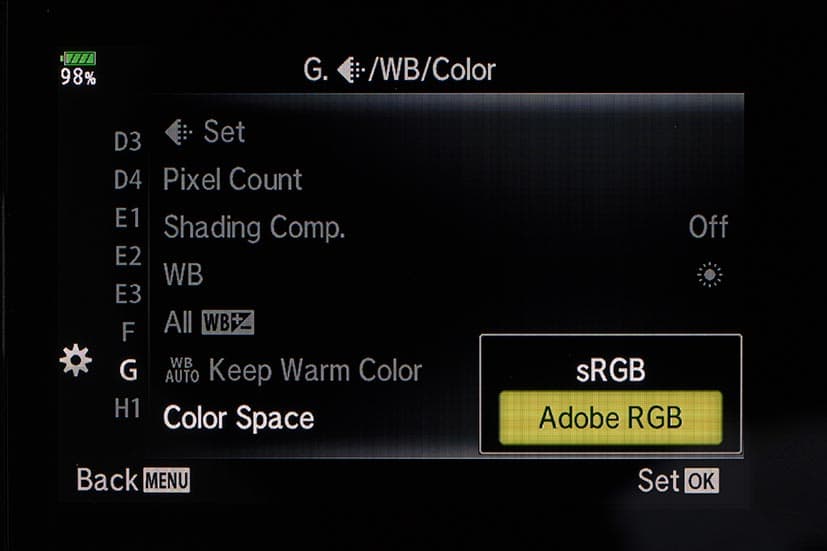
Using the Adobe RGB colour space captures the largest and best colour palette available
on your camera.
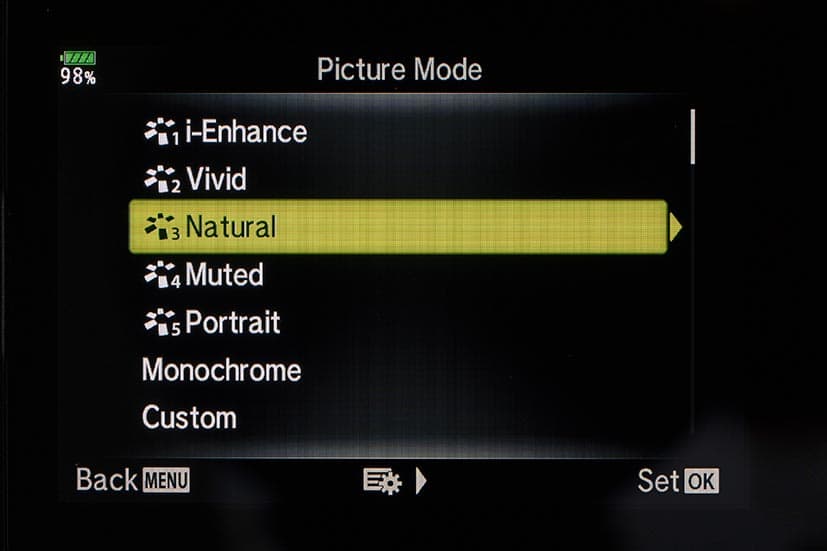
Experiment with the Picture Mode options to find the ones you like best and use them to optimise the colour of each image you shoot.
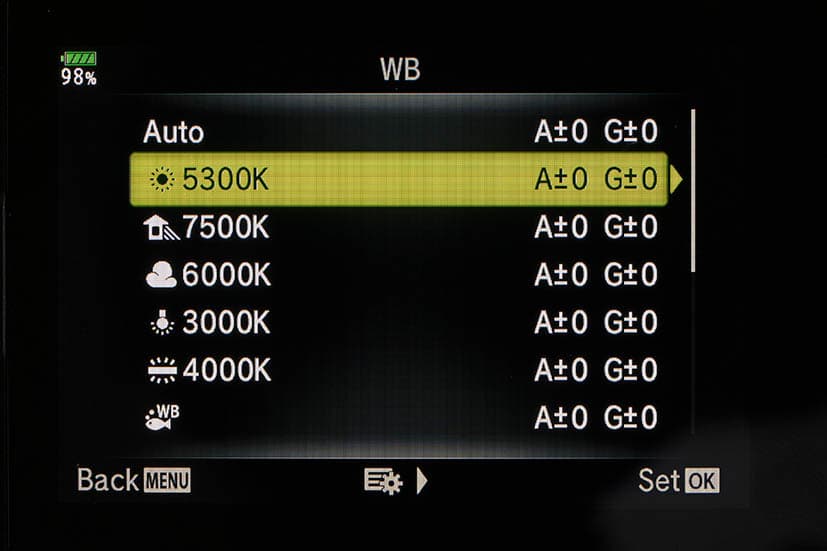
Use the white balance setting most appropriate to the light, or set a custom white balance setting manually.
Brand by brand guide
Canon
Your guide: Jessica Drossin
Jessica is a widely published, self-taught, fine-art photographer based in Los Angeles. She has a Bachelor’s Degree in Fine Art, and has worked for video game companies such as Blizzard Entertainment. She has been a professional photographer for eight years now and has received several awards for her images. See her website for more.
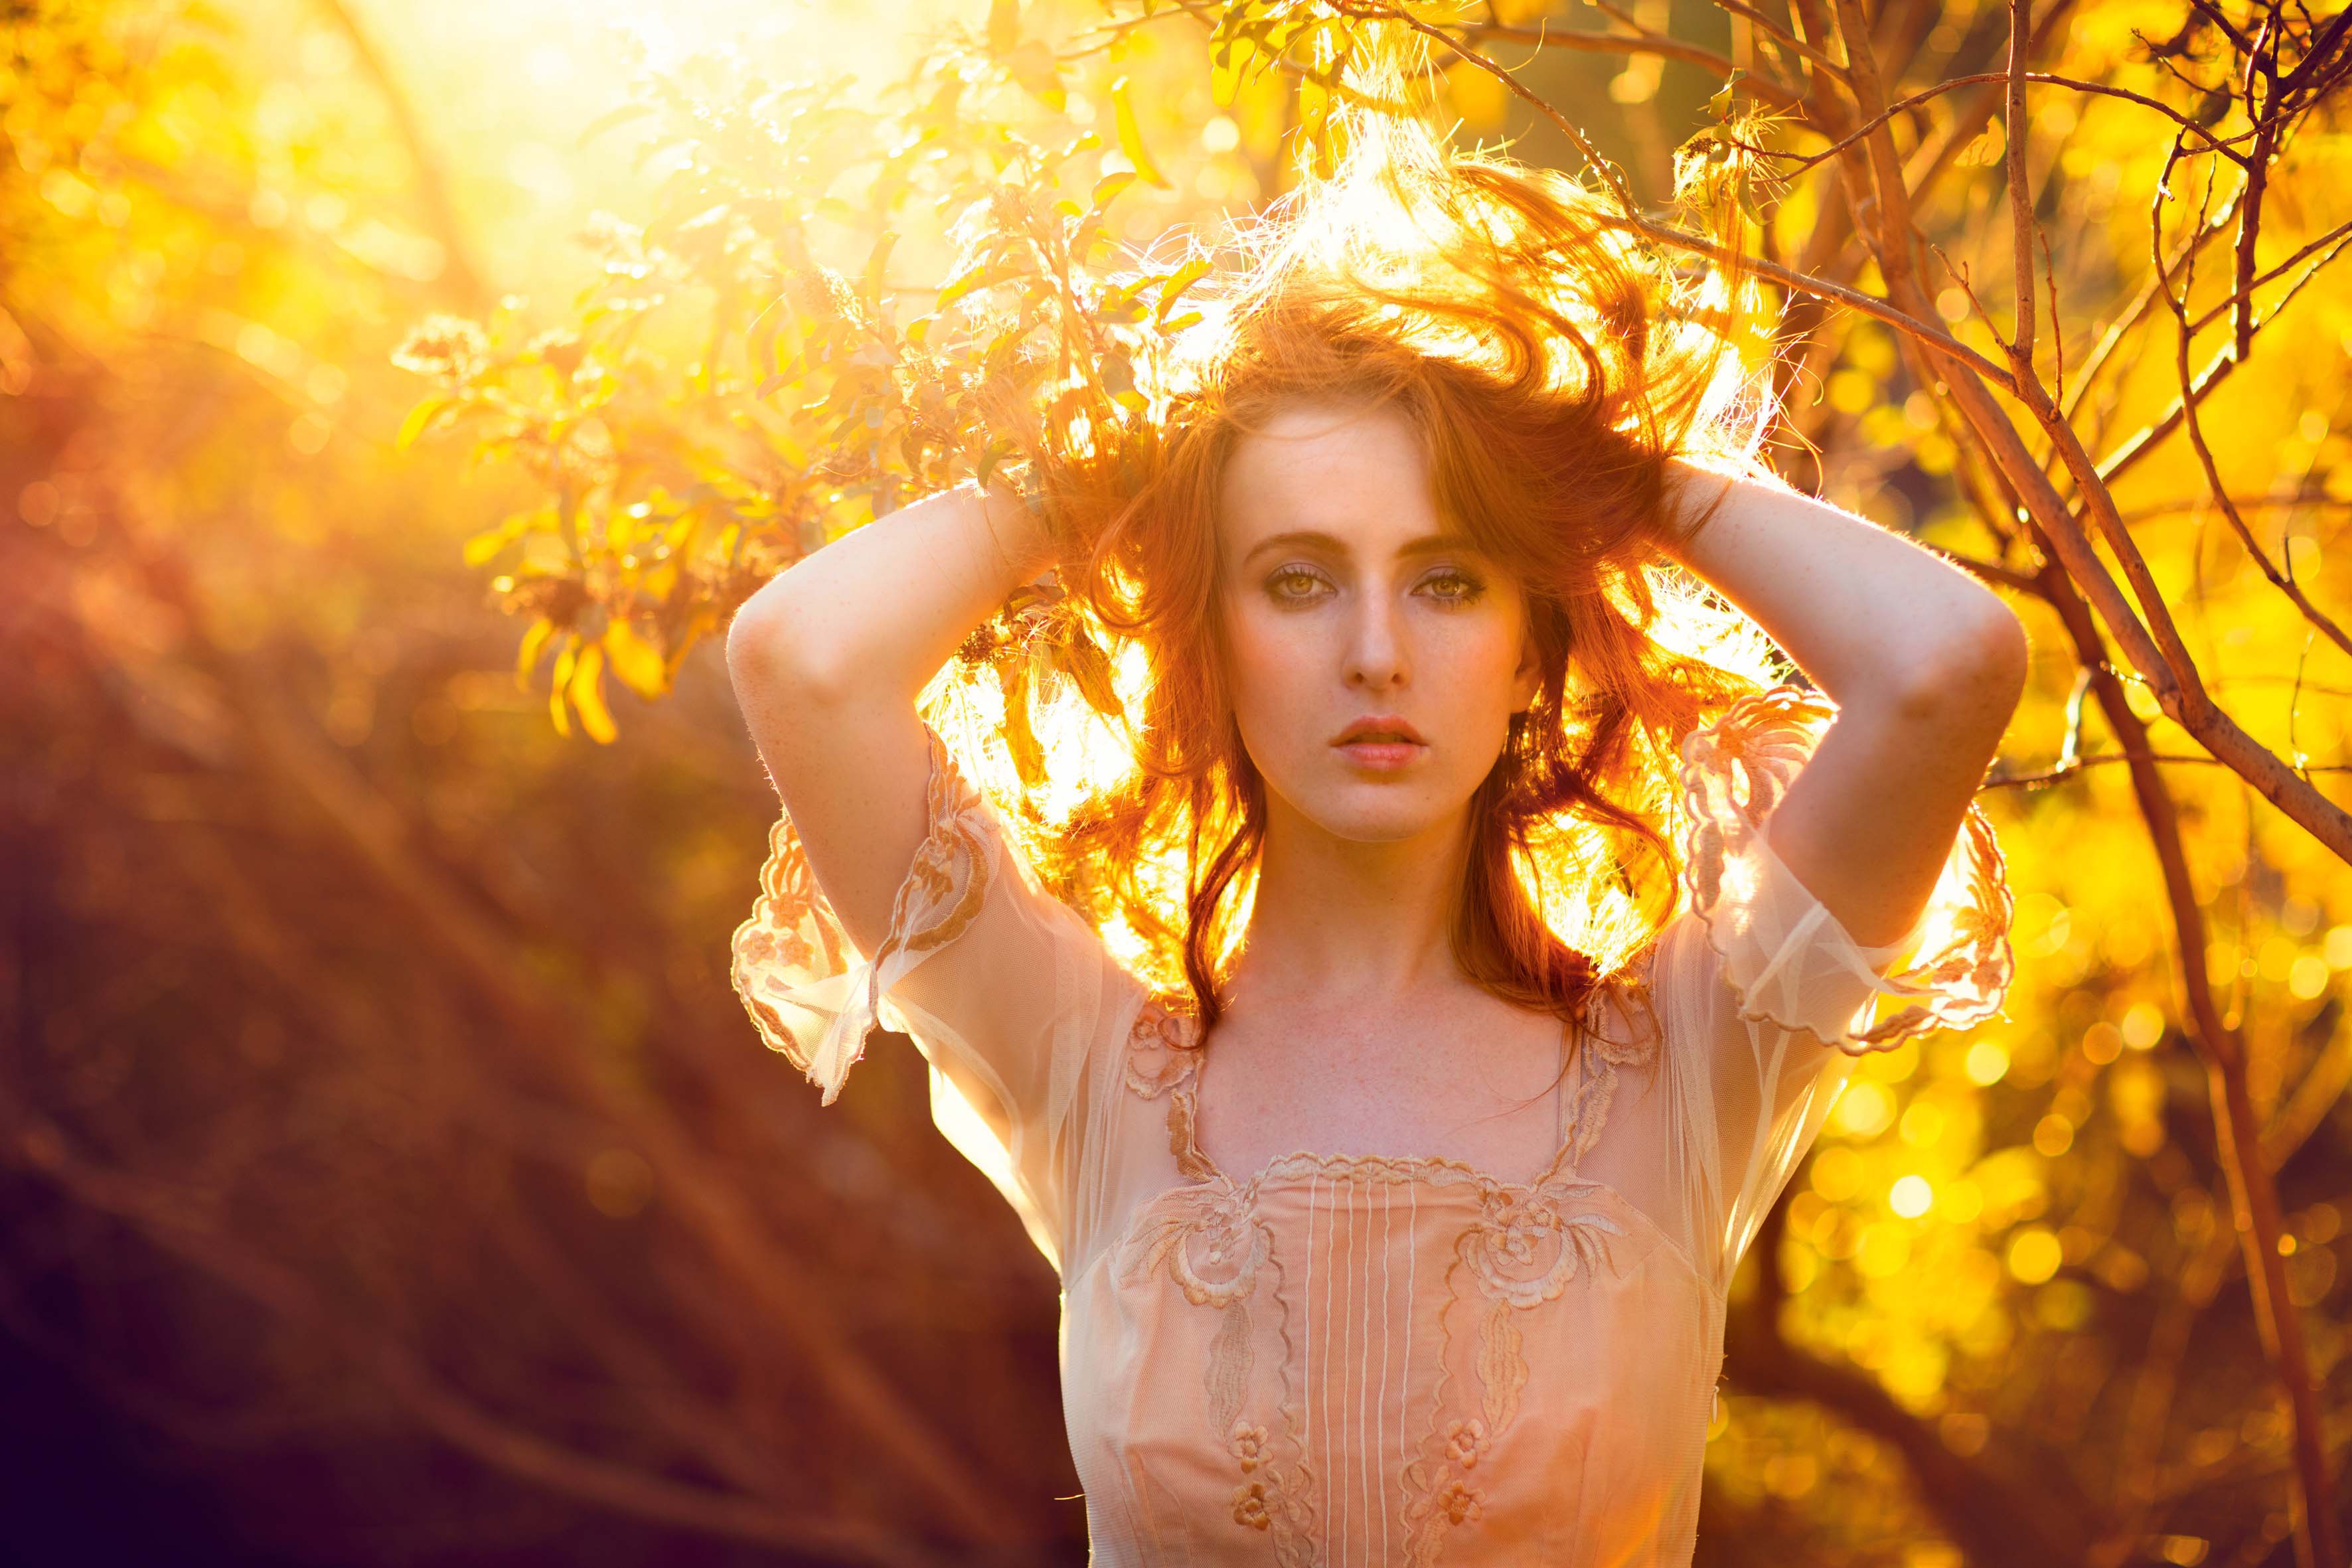
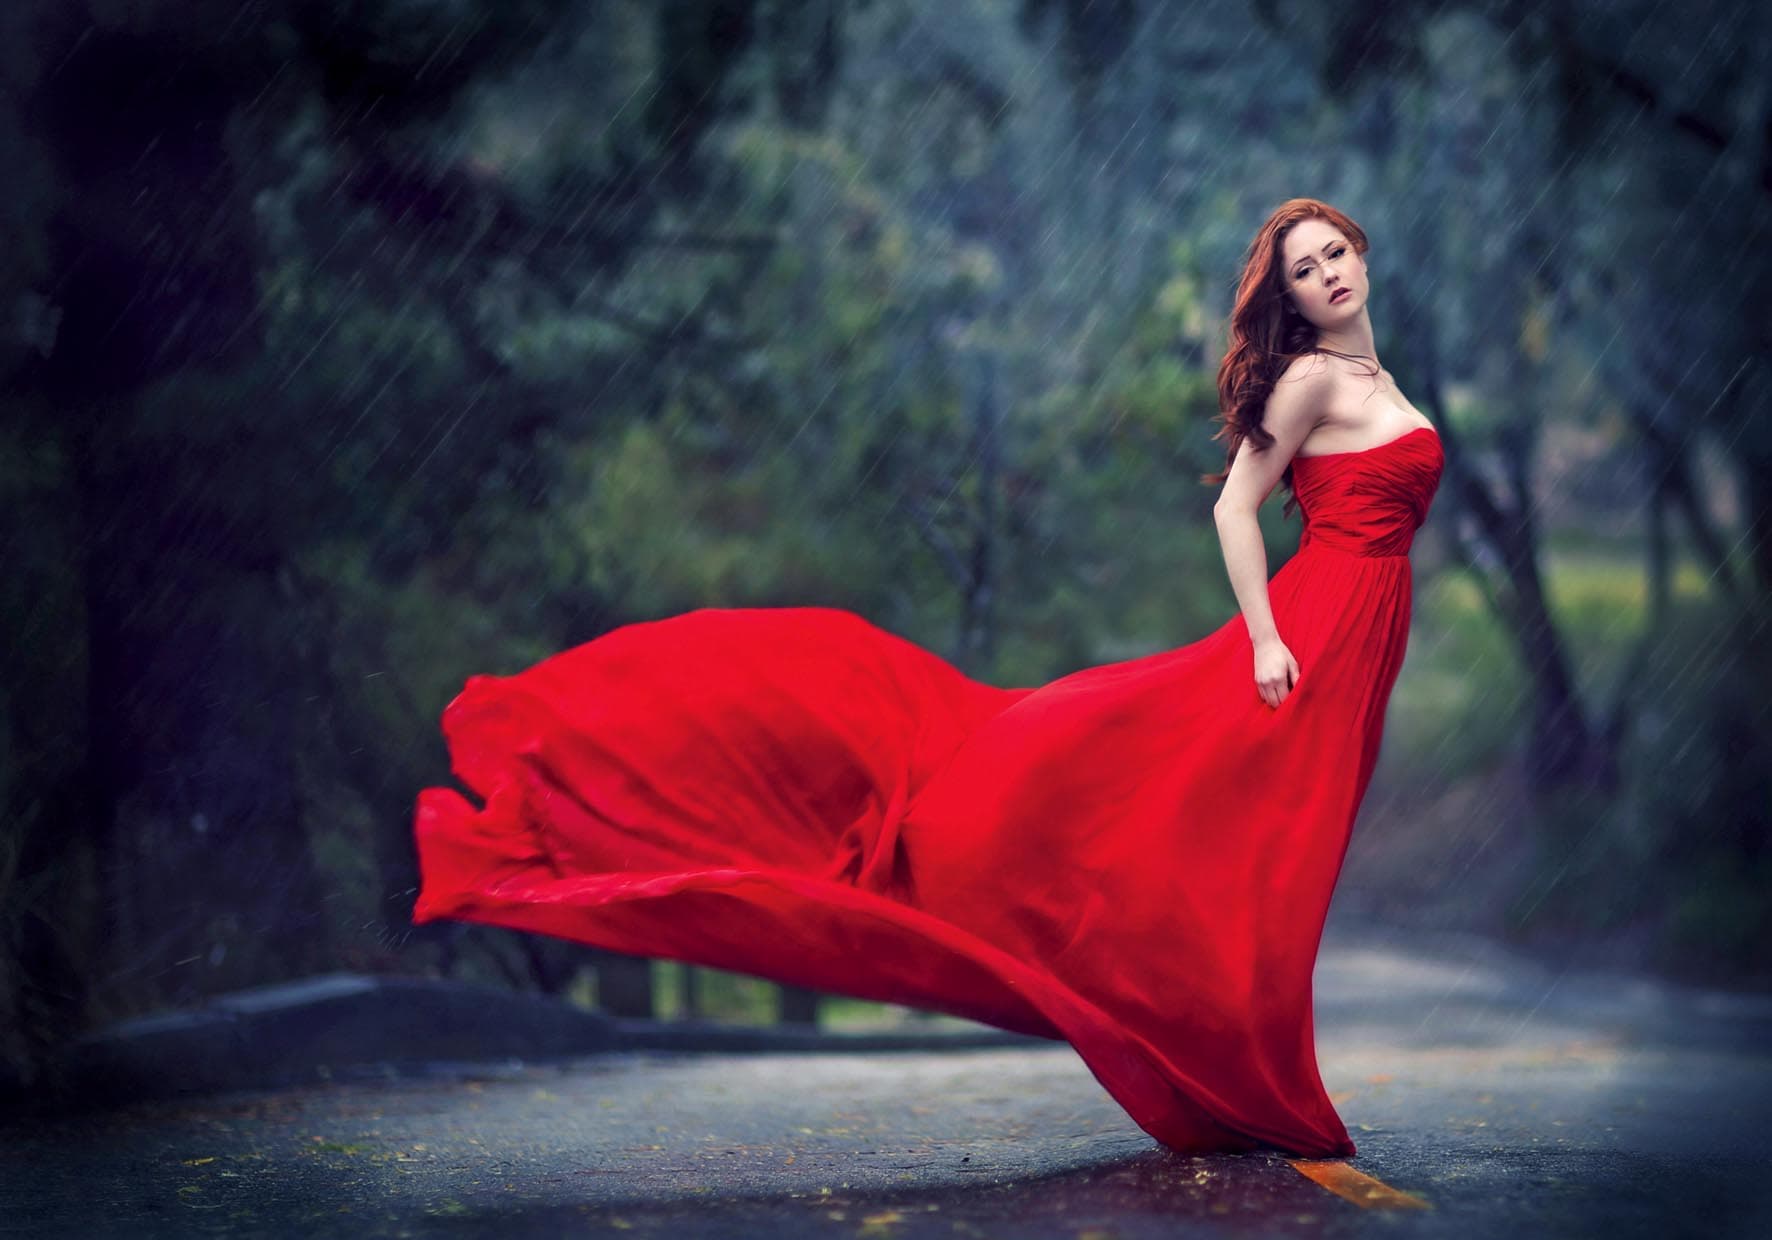
Jessica gets great images straight out of camera, but she also loves to edit and make a statement with her work. Canon EOS 5DS R, 85mm, 1/500sec at f/2, ISO 200
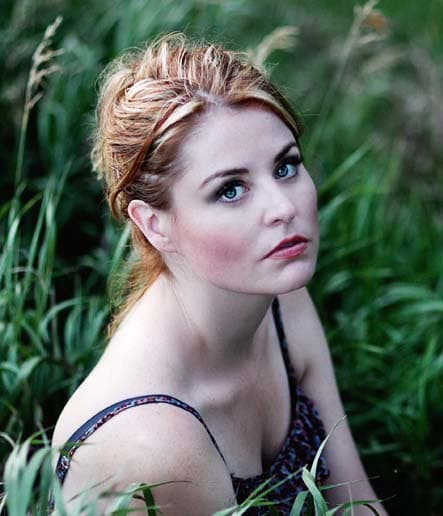
‘Generally speaking, I shoot in exactly the same way whether I’m capturing JPEG or raw files.I get good photos straight out of camera, but I love to edit. I want to create art and make statements. I make my own actions, overlays and textures, and apply them to my work to change the contrast, enhance the colours and bring out certain details while minimising others. To get the best results with portraits when shooting JPEG, make sure you have soft, even light.
Optimising JPEGs is easier when your subject is bathed in soft, even light . Canon EOS 5D Mk III, 85mm, 1/125sec at f/1.2, ISO 100
Then ensure you understand how to shoot properly in manual mode so you can get the colour, sharpness and exposure you want straight out of the camera. Always consider your lens, your distance from the subject, your subject’s distance from the background and your choice of aperture when setting up a shot. It’s important to select the highest-resolution JPEG setting. Once you’ve started your edit, save the document as a PSD until you have finished. Do not repeatedly save and resave a JPEG image as the compression will begin to noticeably degrade the file.’
Olympus

Your guide: Tesni Ward
Tesni is a professional wildlife photographer based on the outskirts of the Peak District. The majority of her work focuses on British wildlife, but she also photographs projects across the world and has aspirations to promote conservation and education through her images. See her website for more.
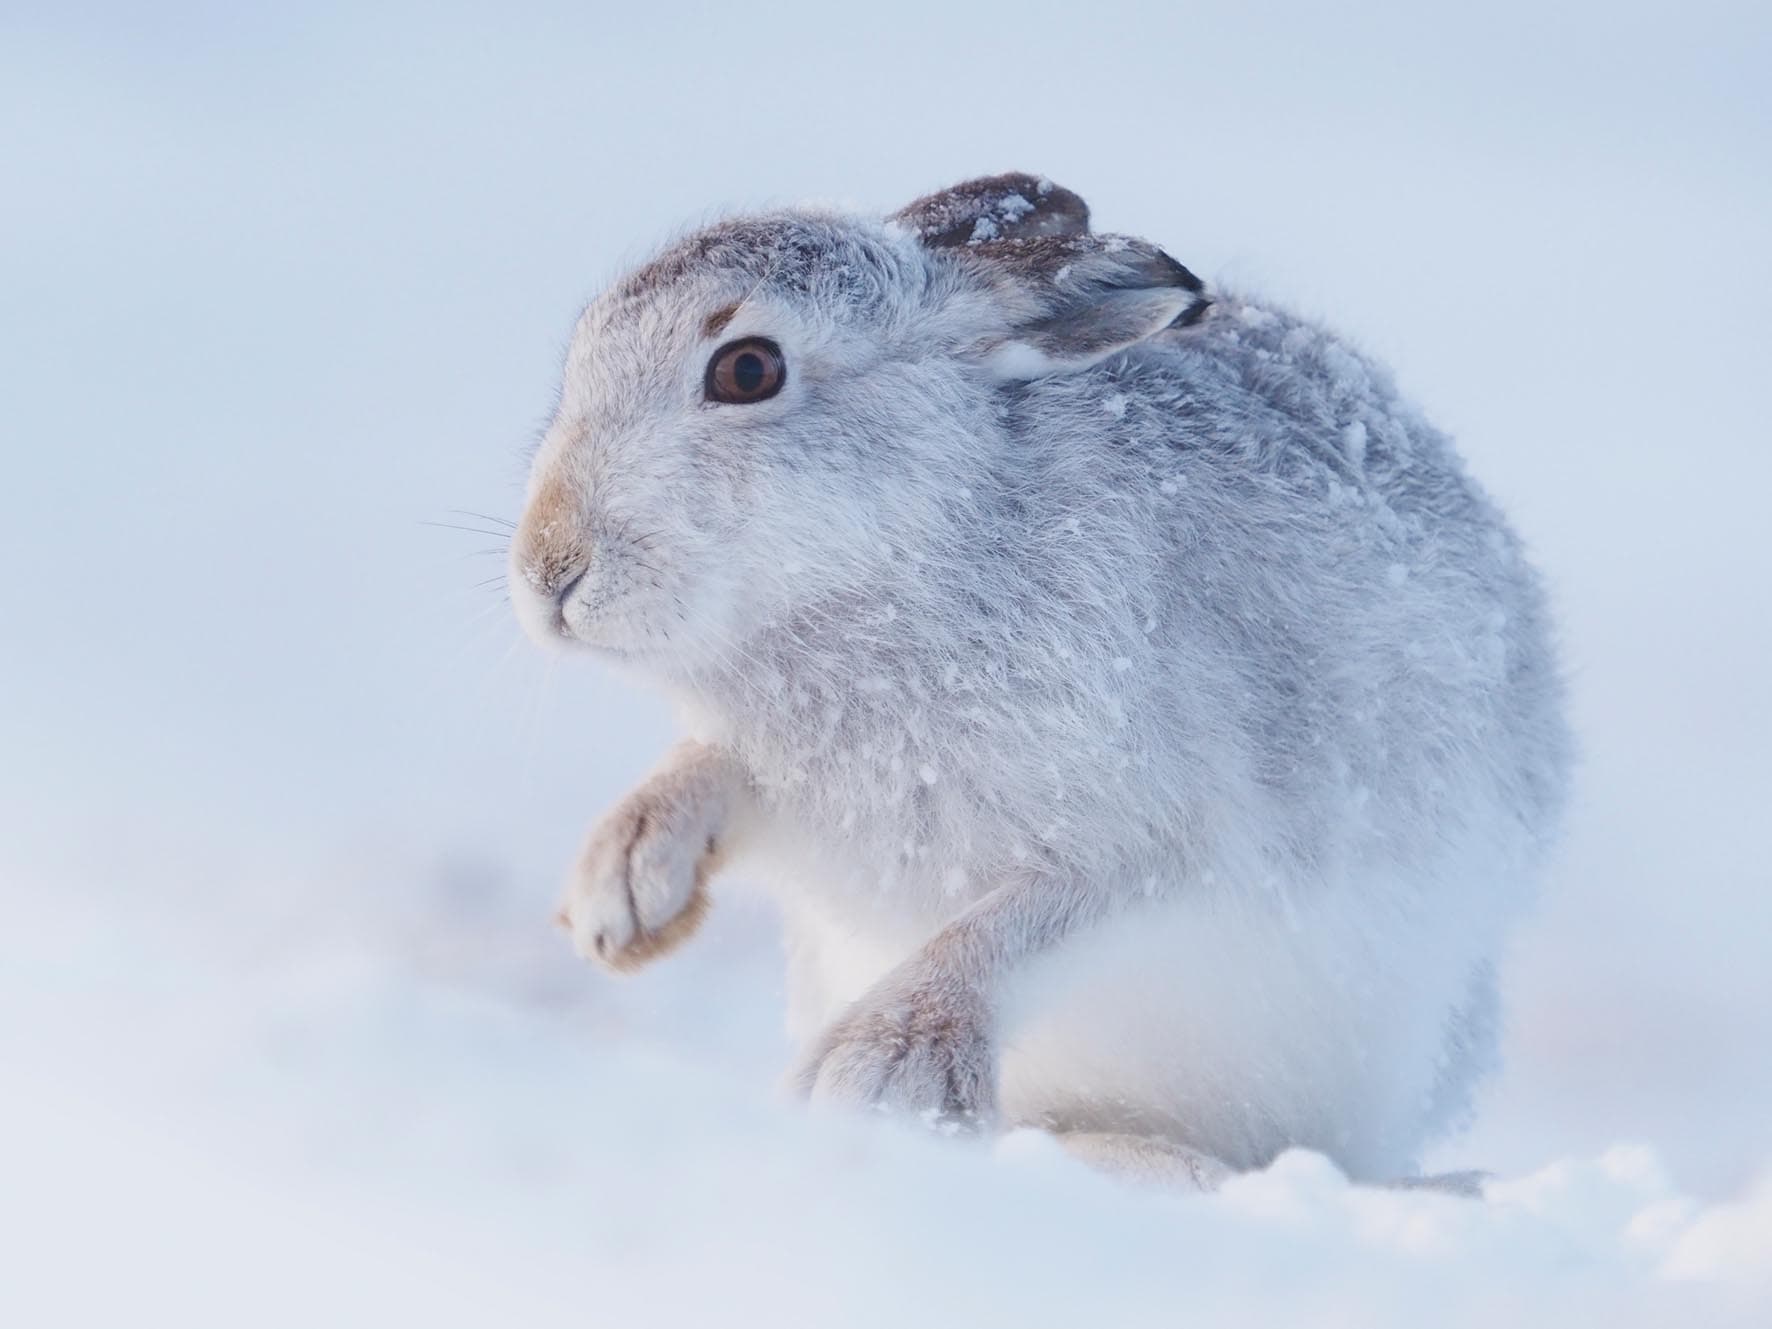
When Tesni sends images to clients while out in the field, it helps to shoot raw + JPEG. Olympus OM-D E-M1X, 40-150mm, 1/800sec at f/5.6, ISO 1000
While JPEGs may be a compressed file format with some loss in detail and quality, they are ideal when working on high-volume shoots or alternatively as a backup for raw files if images are needed hastily. If I’m working on a commission, for example, I sometimes need to send images immediately after shooting or while still out in the field, giving me no chance to edit or sort my images whatsoever.
JPEGs are ideal when working on high-volume shoots Olympus OM-D E-M1X, 40-150mm, 1/13sec at f/2.8, ISO 3200
In these circumstances, I will shoot raw + JPEG files and transfer the JPEGs immediately to the client. In order to ensure your Olympus camera produces the highest-quality JPEGs, you need to set it to Superfine JPEG (L-SF). You may need to unlock the Superfine option in the main menu initially by going to the custom menu (Cog menu) > G > Set > Select L – SF. The option to change your file formats is then below your sequential modes on the Super Control Panel or in Shooting Menu 1.
Panasonic

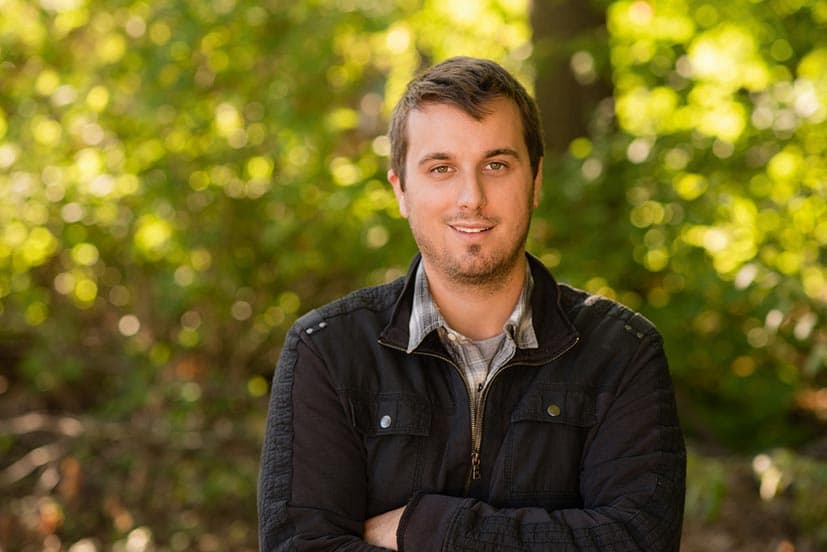
Your guide: Jon Bryant
Jon is a wildlife, landscape, and nature photographer, with 20 years of experience. He is passionate about the outdoors and combines his love of landscape with wildlife. See his website, Instagram:@jonntybryant, Twitter: @jonntybryant, Facebook: jonbryantphotography.
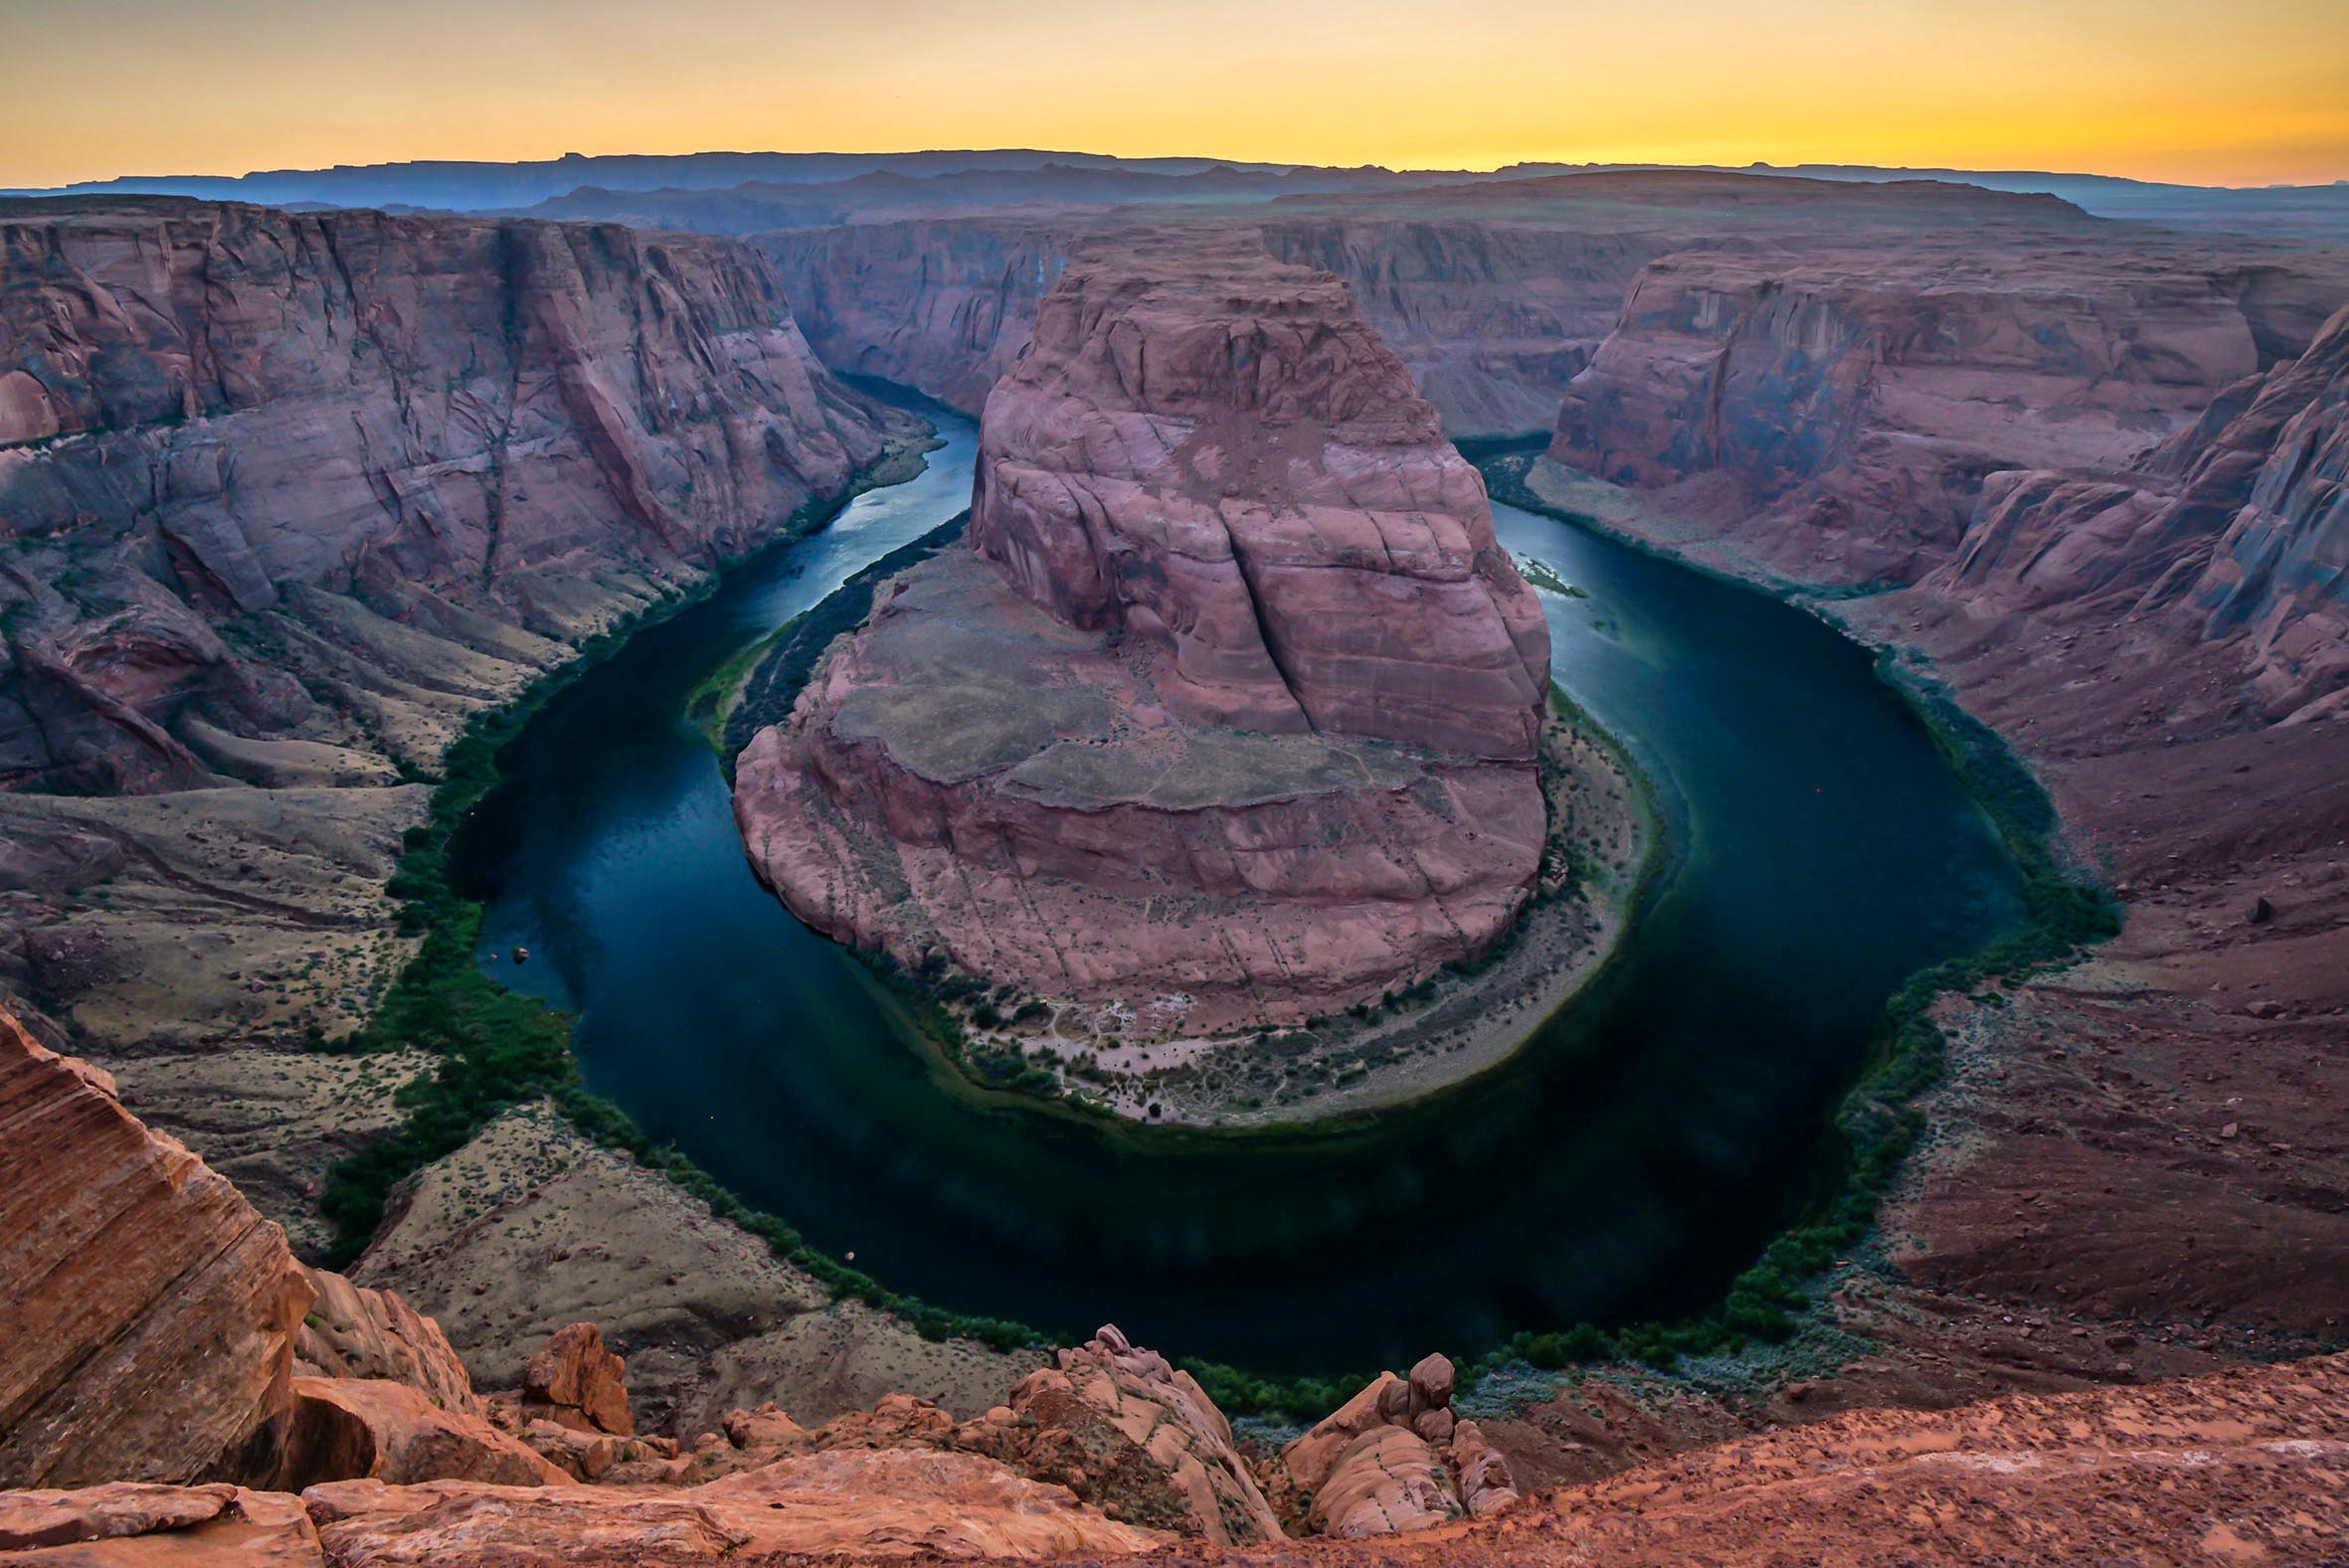
Horseshoe Bend at sunset, Page, Arizona, USA. Panasonic Lumix G9, 8-18mm, 1/8sec at f/5.6, ISO 800
There are a number of instances when shooting JPEG has advantages over raw. Shooting JPEG creates smaller file sizes. When I am travelling with lots of kit, and maybe without a laptop and hard drive, shooting JPEG means that I can shoot more images on my SD cards. It also frees up the buffer, meaning faster shooting speeds, which is ideal for wildlife. JPEG files have greater compatibility too.
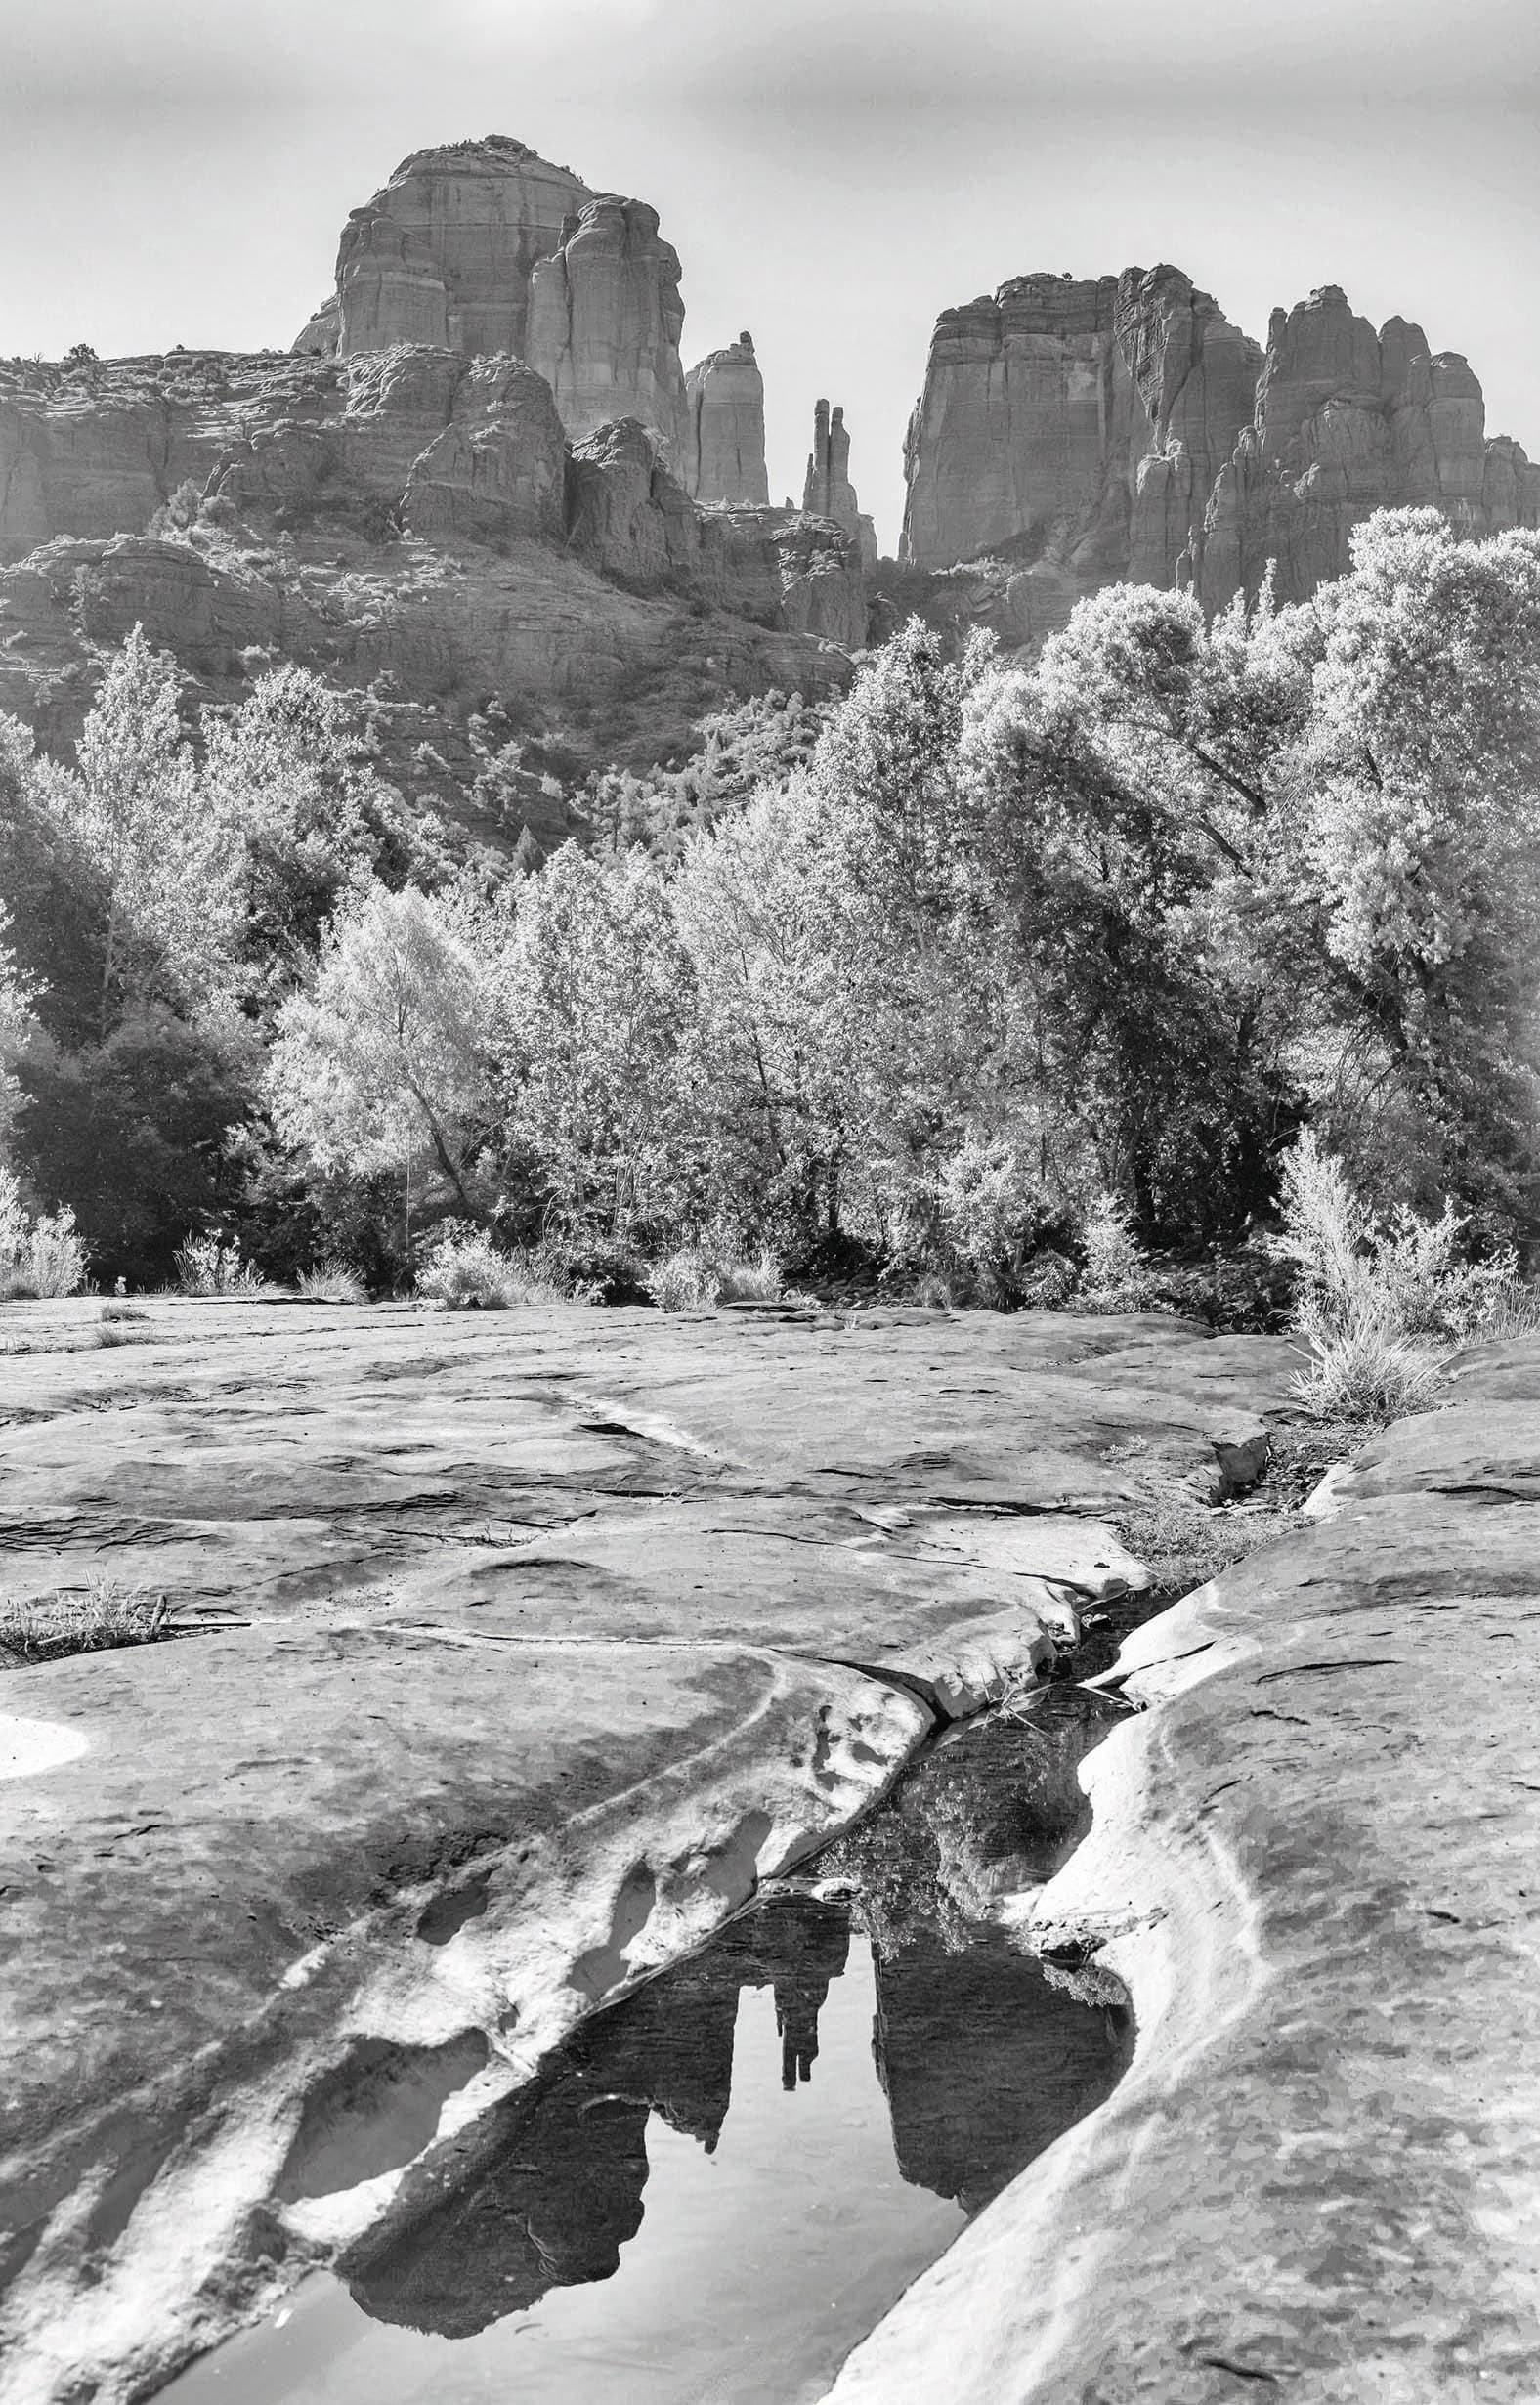
Cathedral Rock, Sedona, Arizona, USA. Panasonic Lumix S1R, 24-105mm, 1/100sec at f/9, ISO 100
Shooting with Panasonic Lumix cameras means I can use the excellent image-transfer app. I can easily transfer and upload JPEGs to social media via my smartphone. Shooting JPEGs also allows me to be creative with black & white images using a custom picture profile. The key to getting great JPEG images is to pay attention to the white balance setting, and to use the picture profile settings to modify contrast, brightness and saturation which can help bring more ‘pop’ to your images.
Nikon

Your guide: Jeremy Walker
Jeremy Walker Jeremy has been producing images for advertising, editorial and design clients for more than 25 years, and is also a highly experienced workshop leader. He has recently started collaborating with Zeiss.
See his website for more.

Nikon’s Active D-Lighting is great for challenging light. Nikon D810, 50mm, 1/6400sec at f/6.3, ISO 400, Nikon Active D-Lighting set at High
First and foremost I would have to say that in most cases I would rather be shooting raw files for their quality and the ability to post process the image. Sometimes, however, circumstances dictate a rapid turnaround of images because of tight publishing deadlines, and shooting JPEGs speeds the workflow up no end. Nikon’s Active D-Lighting can handle the most difficult of lighting situations, controlling the highlights and shadows effortlessly.
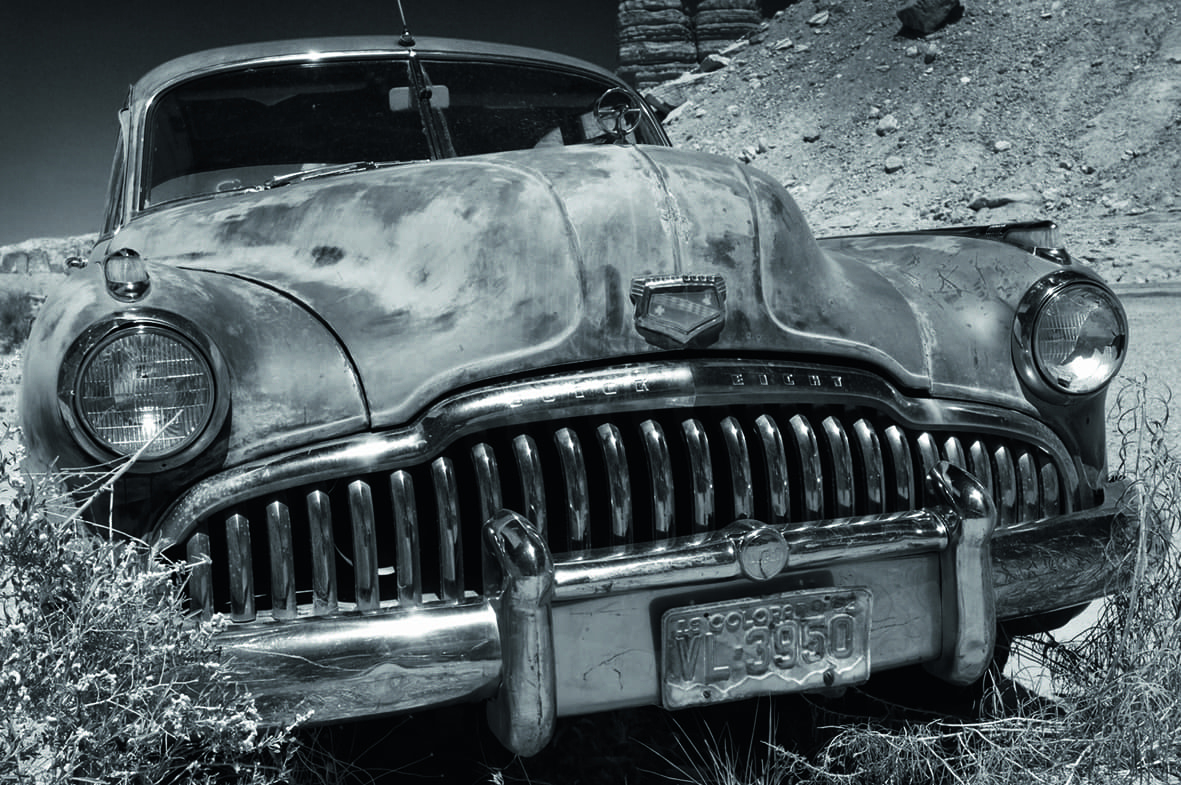
Nikon’s out-of-camera black & white JPEGs are excellent. Nikon D2X, 24-70mm, 1/160sec at f/13, ISO 100
Adjustable settings range from Low right through to Extra High and Auto. A great piece of technology and image control when your back is against the wall and time is of the essence. Over the years I have also found that Nikon’s out-of-camera black & white JPEGs are very good. Sometimes I have failed to match the look and feel of a Nikon in-camera generated black & white when I’ve processed the corresponding raw file myself. Image sharpening, Clarity, Contrast and Brightness are all adjustable in camera, as are some coloured Filter Effects. Again, if you are hard up against a deadline this can be a godsend.
Fujifilm and Sony
Your guide: Eric Brushett
Eric is a full-time wedding photographer based 90 minutes outside of New York City. He has been shooting weddings for about 10 years, often with his wife Corey as a second shooter. Together they have photographed about 400 weddings. See his website, Instagram: @ericbrushett photography, YouTube: Eric Brushett Photography.
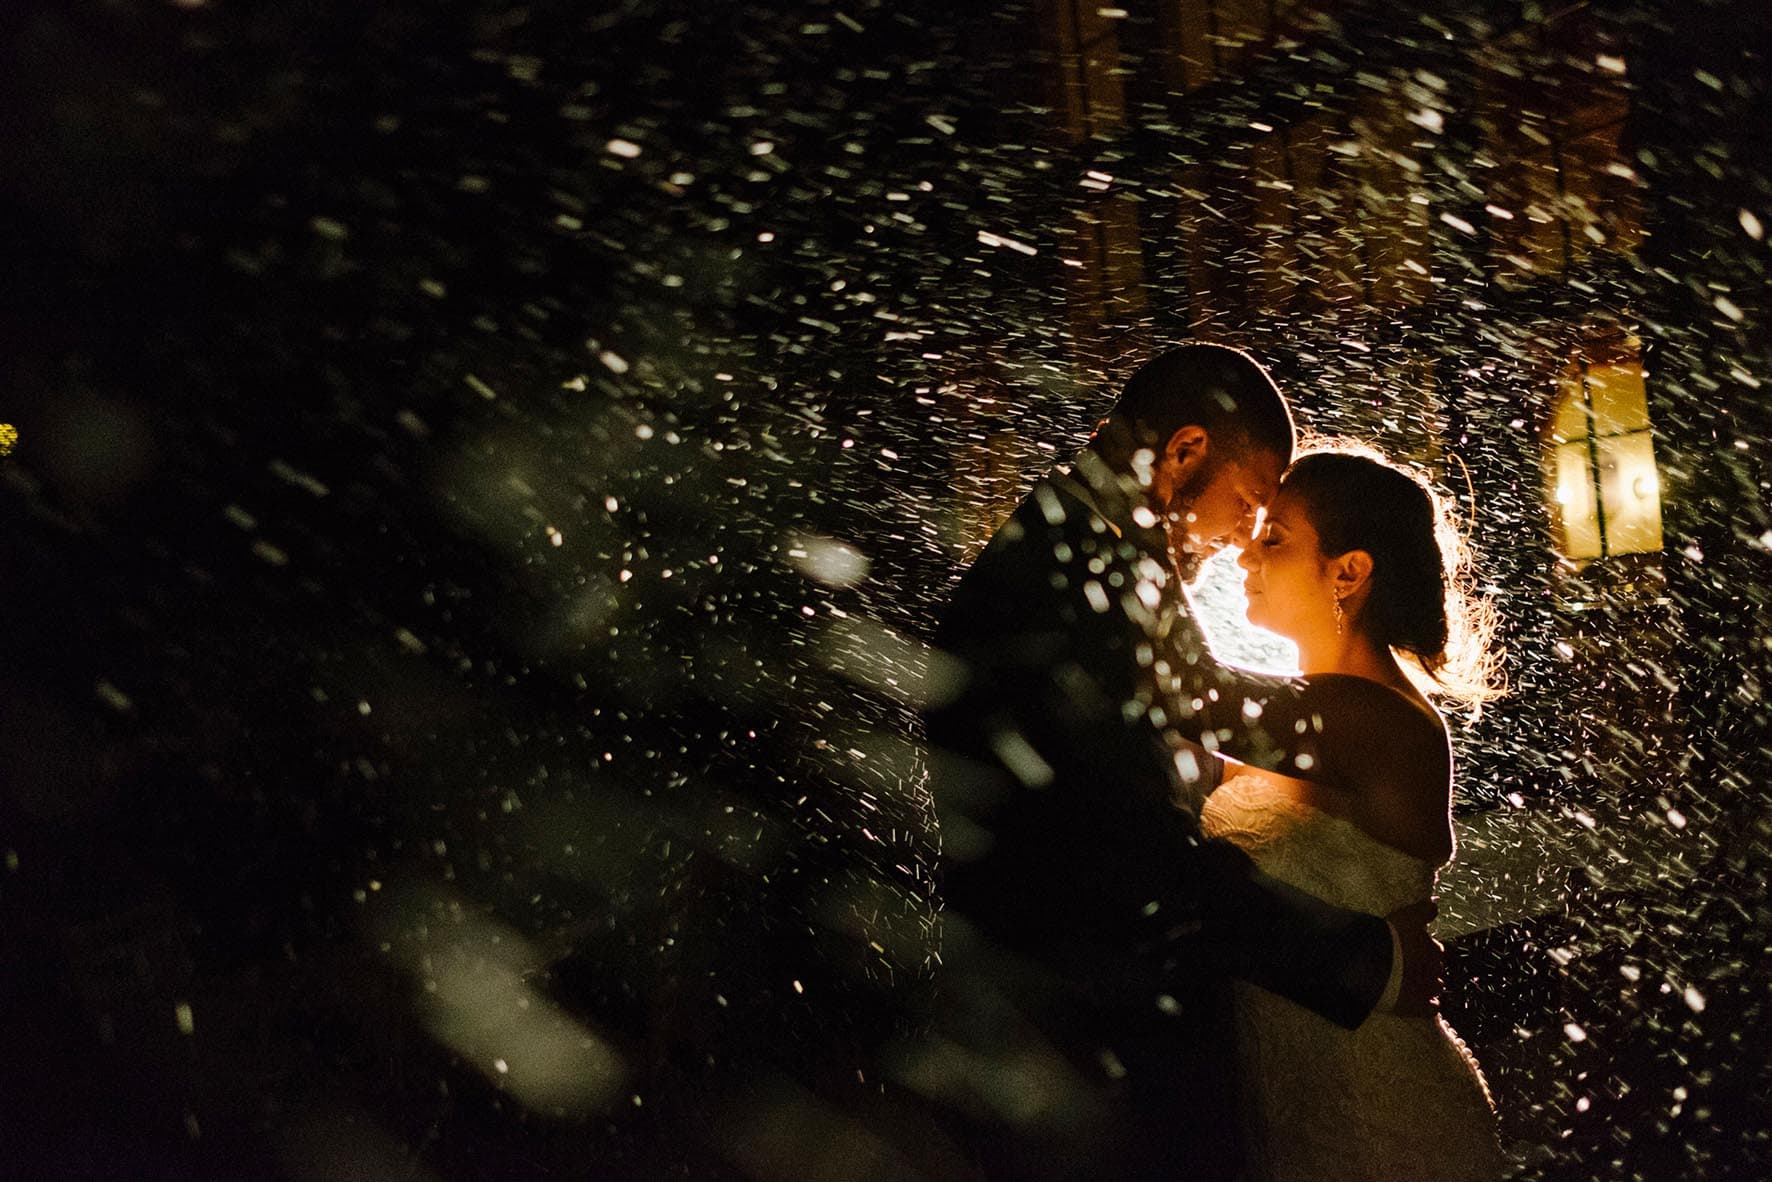
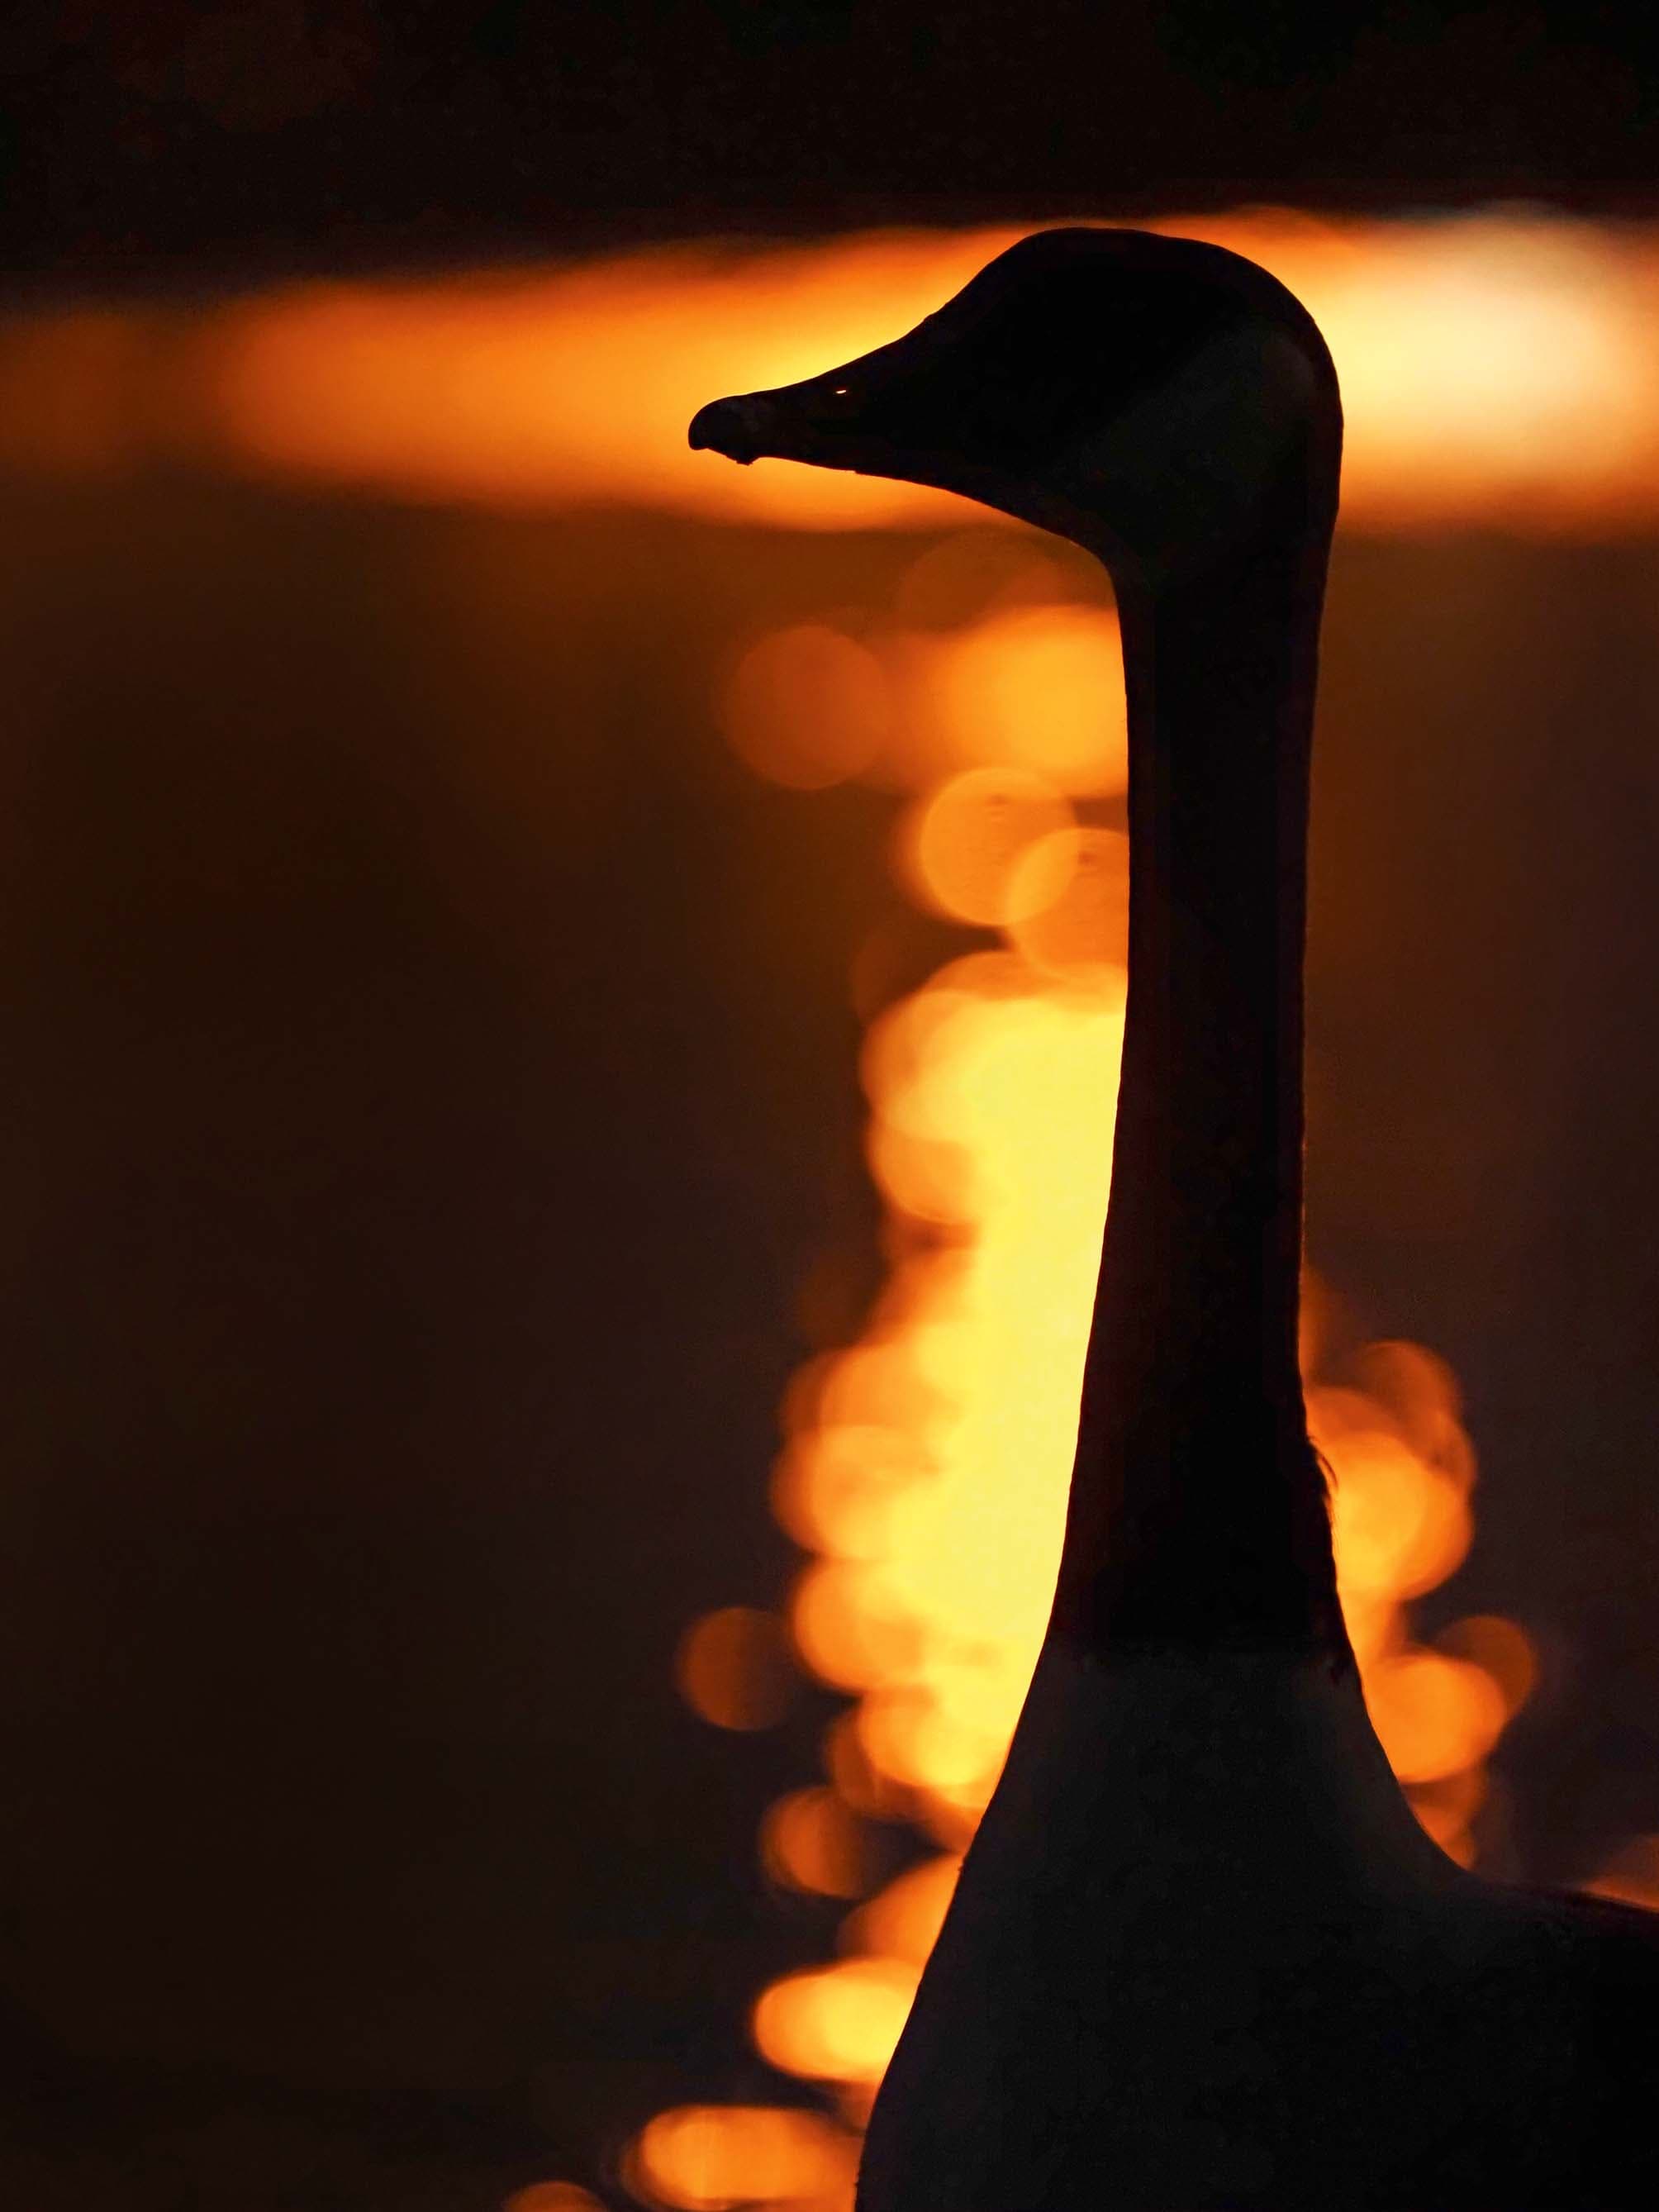
Using both card slots means Eric can save raw and JPEG files, editing as appropriate. Fujifilm X-T1, 23mm, 1/140sec at f/1.4, ISO 6400, backlit by a Lowell GL-1
A few years ago I started experimenting with shooting weddings in JPEG. I deliver JPEGs to my clients anyway, so why not? I shoot a mix of Fujifilm and Sony equipment, but my process is the same for both. I record raw files to slot 1, and JPEGs to slot 2. I edit off the JPEGs, but keep the raw files in case I need to push an image further than the JPEGs will allow. I’ve found that paying attention to my composition and using custom white balance throughout the day have allowed me to cut my editing time down from about 20 hours per wedding to roughly five. The other benefit is data usage. I can shoot an entire wedding without ever switching cards, and when I get home I can send all the high-resolution JPEGs into the cloud before I go to sleep.
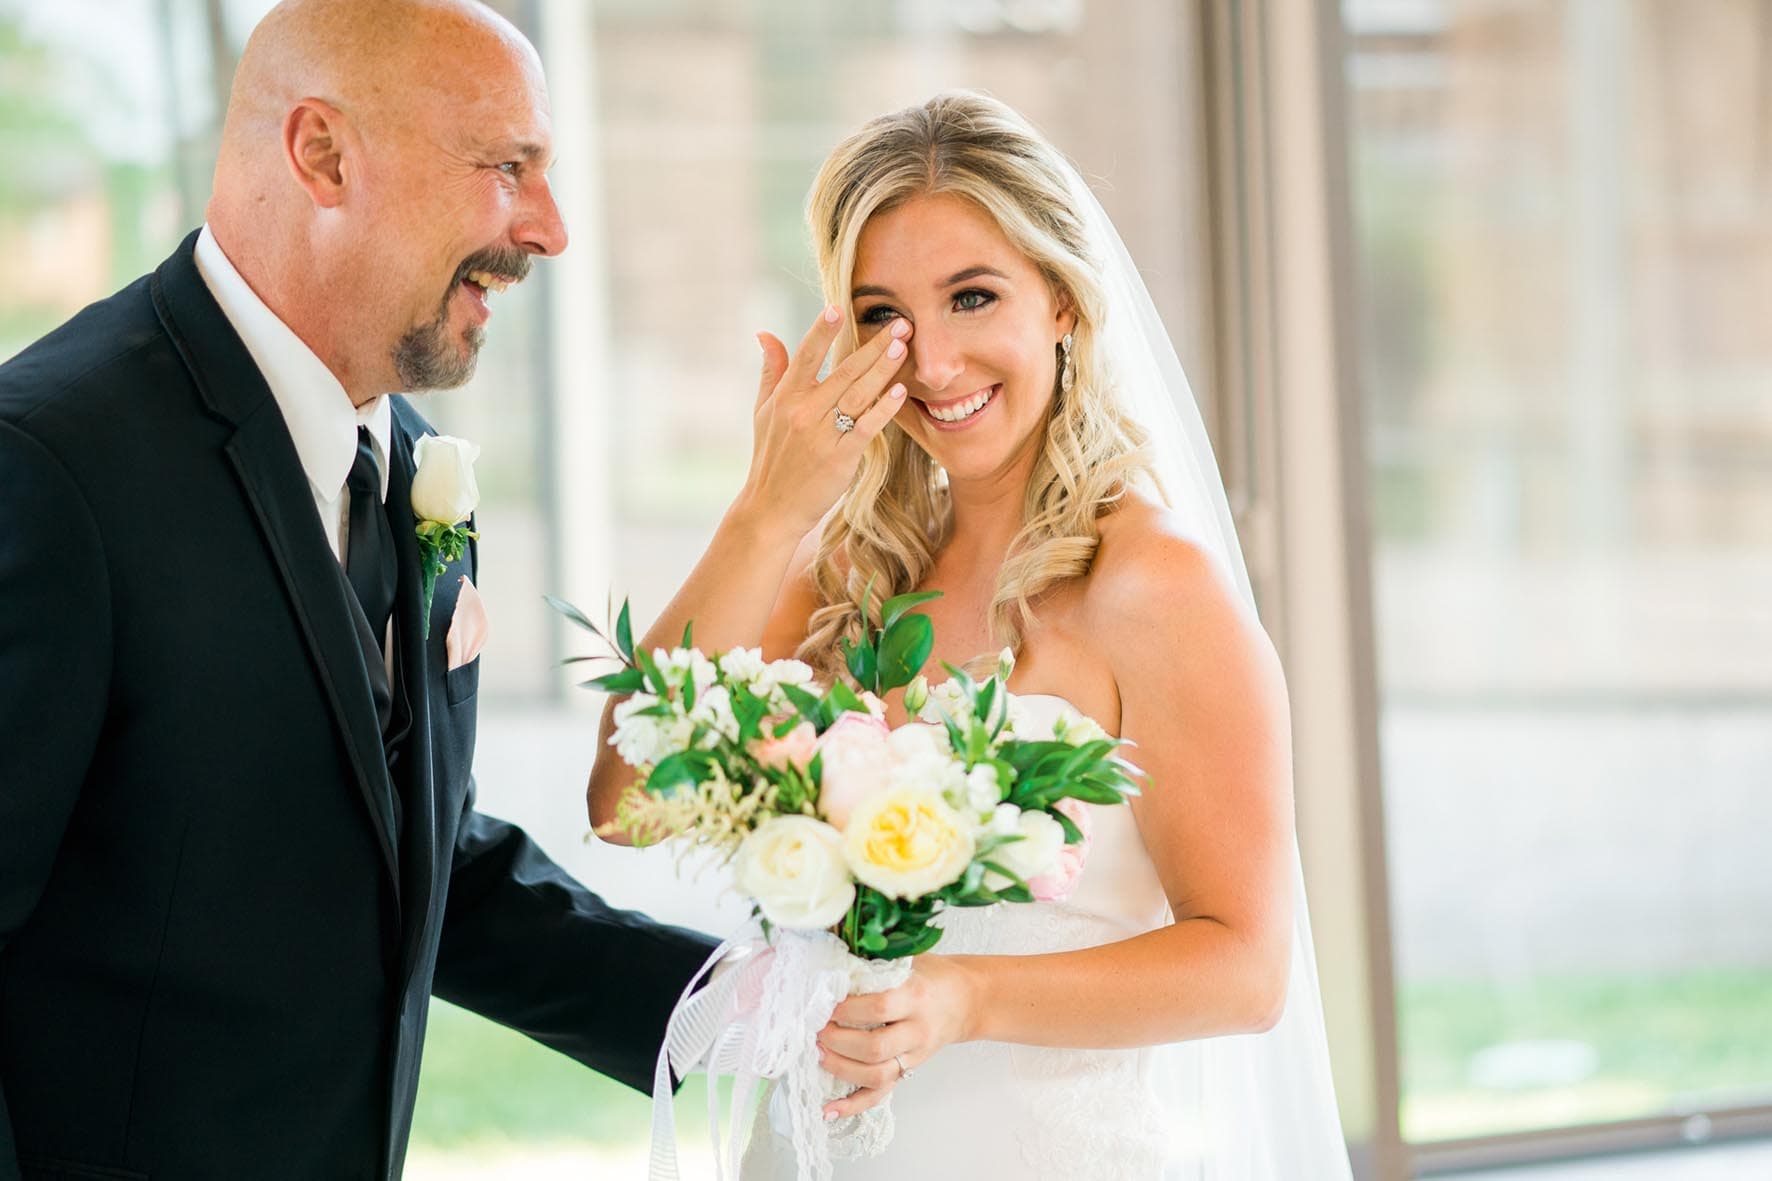
Shooting JPEGs cuts down Eric’s editing time and allows him to save to the cloud quickly. Sony Alpha 9, 85mm, 1/250sec at f/1.8, ISO 1600
Further reading
How to get the best from your JPEGs
JPEGs: sorting fact from fiction