Snapseed, one of the best editing apps for smartphones, is not only free, but has a lot of hidden power features for transforming your photos.
It’s one of the great mysteries of the universe (possibly) that the ever cash-hungry Google is still offering the Snapseed photo-editing app for free or not covering it with ads. For a lot of smartphone photographers – which is most of the population – Snapseed will be all they need.
This is particularly so when you combine Snapseed with the increasingly powerful AI tools now built into your iPhone.
Let’s deep dive into some of the more powerful tools for transforming your smartphone photos built into this wonderful but often overlooked app. You can get it for free from the Apple app store and it is also availble for Android.
Snapseed: a recap of the basics
When you first open a photo in Snapseed, you have three options. ‘Styles’ are basic filters, such as ‘Bright,’ ‘Accentuate’ and ‘Pop.’ They are ok as a starting point, with Pop in particular being a good way to lift exposure and generally add punch. There are also tools for black and white conversion, including ‘Fine Art’ or ‘Silhouette.’
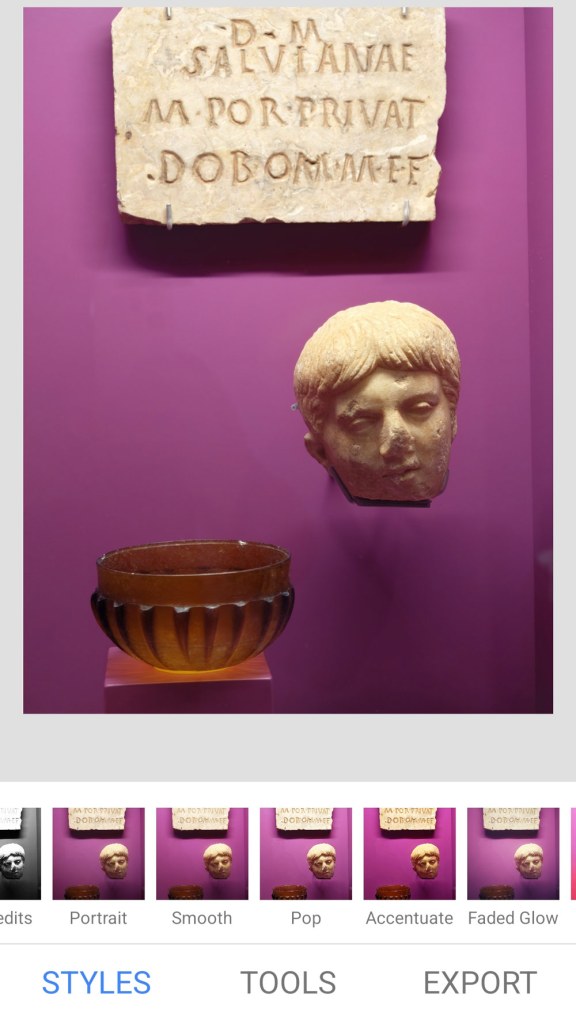
Meanwhile, ‘Tools’ gives you access to a surprisingly wide range of editing tools, while Export lets you save the changes or share on social media, etc. All very simple.
Getting started with editing tools
Most of the options in the Tools section will be fairly self explanatory and some are best avoided. Drama and HDR-scape for example are OK if used in moderation, but push them too far and you end up with something that is obviously over-processed – apocalyptic-looking skies or lurid, unrealistic colours for example. We’d also treat Retrolux and Grunge with caution!
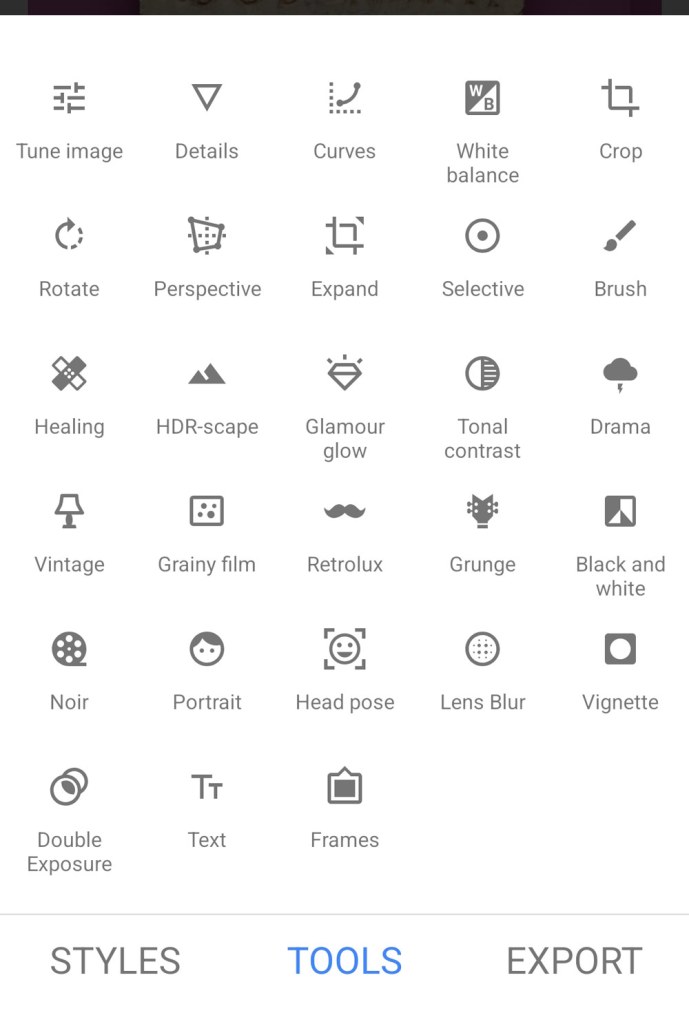
So let’s look in more detail at the more genuinely useful options in Tools, particularly the ones that people tend to overlook.
Improving composition
We mentioned above how the Crop tool (the last on the first row of Tools) is a handy option. I particularly like ‘Square’ but you have a range of options for changing the aspect ratio. If these prove too restrictive, use ‘Free’ and you can crop the image however you’d like. It’s often a good way of removing distractions from an image, but remember, the tighter you crop in, the more of the original image you will lose.
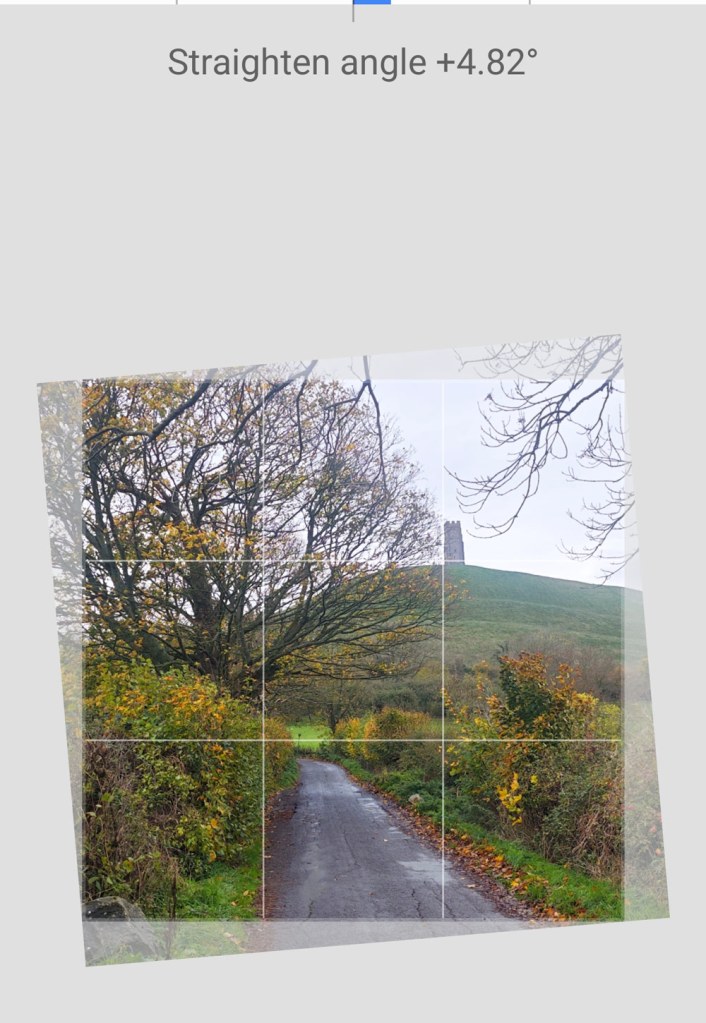
An easily overlooked tool is Rotate, which is a wonderfully easy way of straightening wonky horizons or lines – a sure sign of an inexperienced snapper.
Snapseed does a good job of fixing this automatically, can you can manipulate the image by swiping a thumb or finger within it to give you more options to straighten angles. The Perspective tool works in a similar way, but it can be bit trickier to get right.
We all need some structure
Even with the excellent image stabilisation built into iPhones, some images can benefit from a bit of sharpening. While the Snapseed ‘Sharpen’ tool is useful to an extent, please don’t get carried away as you can add artefacts, fixing one problem but creating another. It’s found under the second icon in the Tools panel, called Details (an inverted triangle).
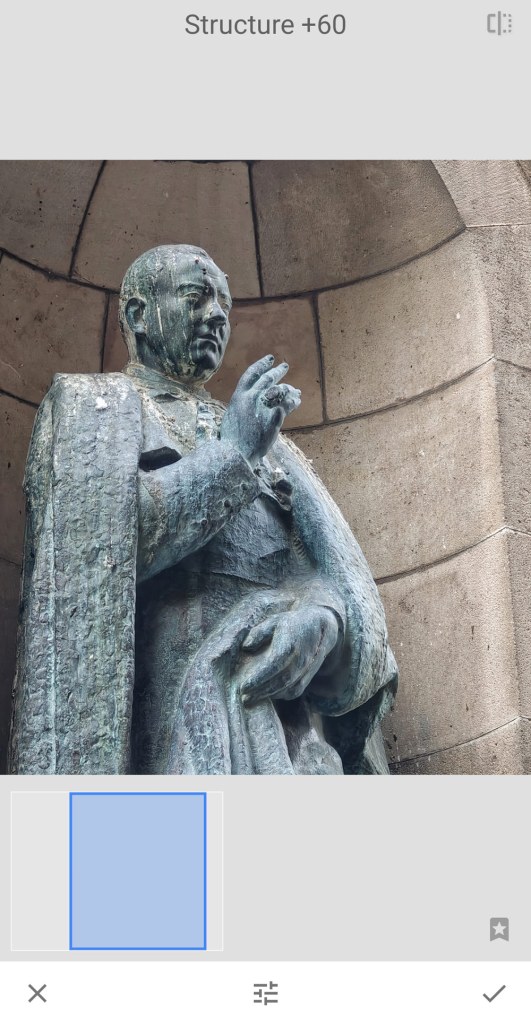
A related tool I really like is Structure, which also lives under ‘Details.’ Essentially, it adjusts the midtone contrast in an image, so objects and textures appear more prominent, without affecting their edge. Structure is particularly useful for bringing out texture, but use it sparingly with portraits unless you want a gritty, warts-and-all effect!
Time for some healing
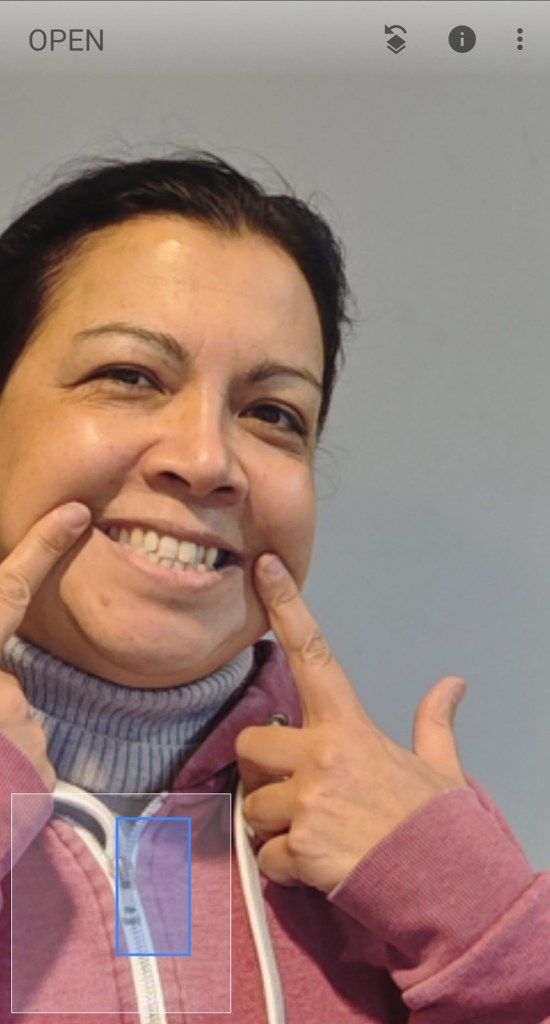
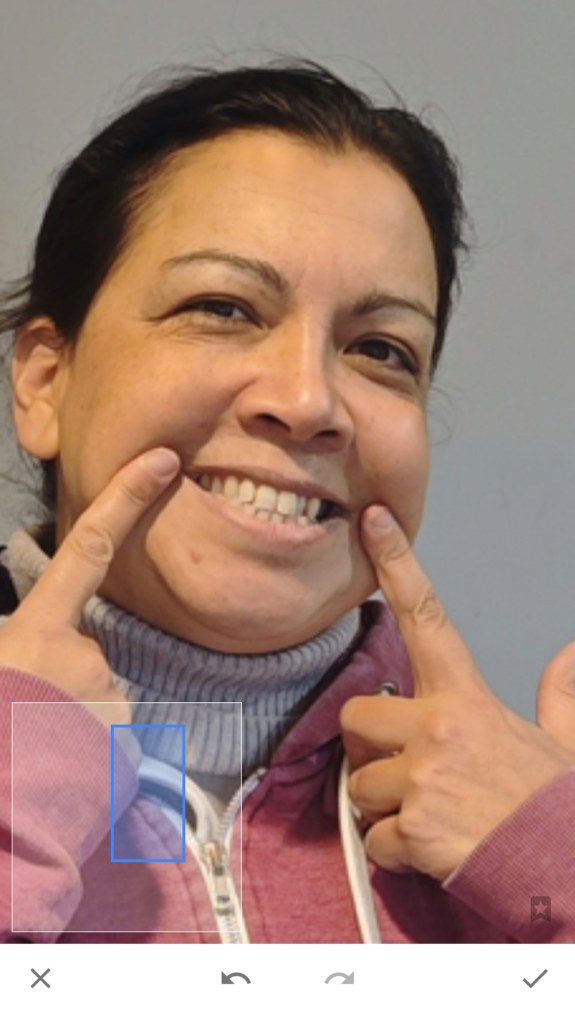
A lot of Snapseed users also don’t realise that you can use a simple but effective Healing tool to help enhance portraits or even remove distractions from images. Compared to AI removal tools for your iPhone, it’s quite basic but works. Select the Healing brush from tools and then zoom into the area of the picture you want to work on by swiping with a finger.
Then simply brush over the area you want to ‘heal’ using your finger – be warned, it’s quite sensitive, and works best against a plain and consistent surface. Here we have used it to remove stray light reflections from my friend’s skin.
Better-looking portraits
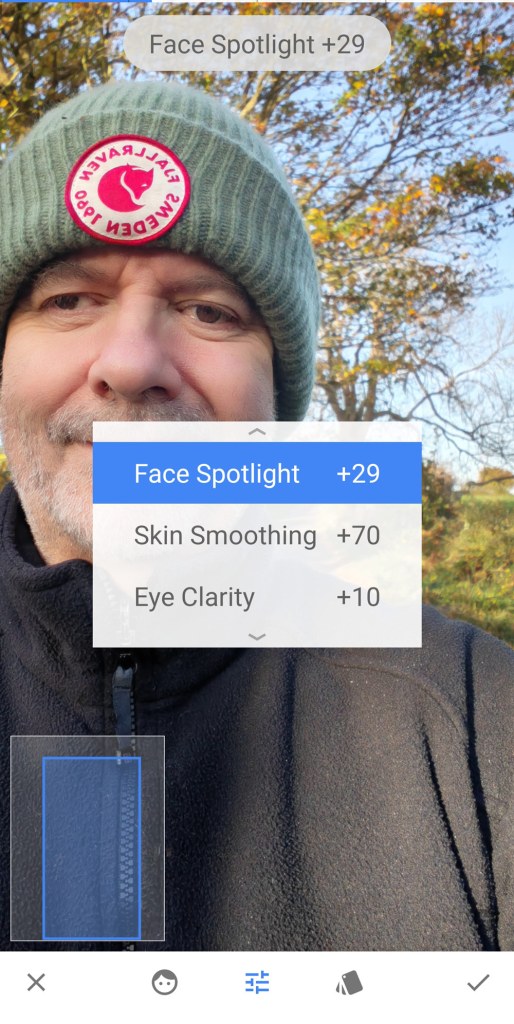
On the subject of people shots, don’t forget that Snapseed has some surprisingly effective portrait-enhancement tools. Select Portrait from Tools, then click the rather esoteric ‘slider’ icon in the middle to lighten the face, smooth the skin and make the eyes clearer.
Again, don’t go over the top with skin smoothing or your subject can look like a waxwork (though I need all the help I can get!) Another fun tool is Head Pose, which enables you to slightly adjust the angle of your subject’s head.
Even more selective edits
While the selective editing tools – where you select a specific part of an image to work on, rather than making changes that affect the whole picture – are basic compared to, say, Lightroom’s, they are useful for quick edits.
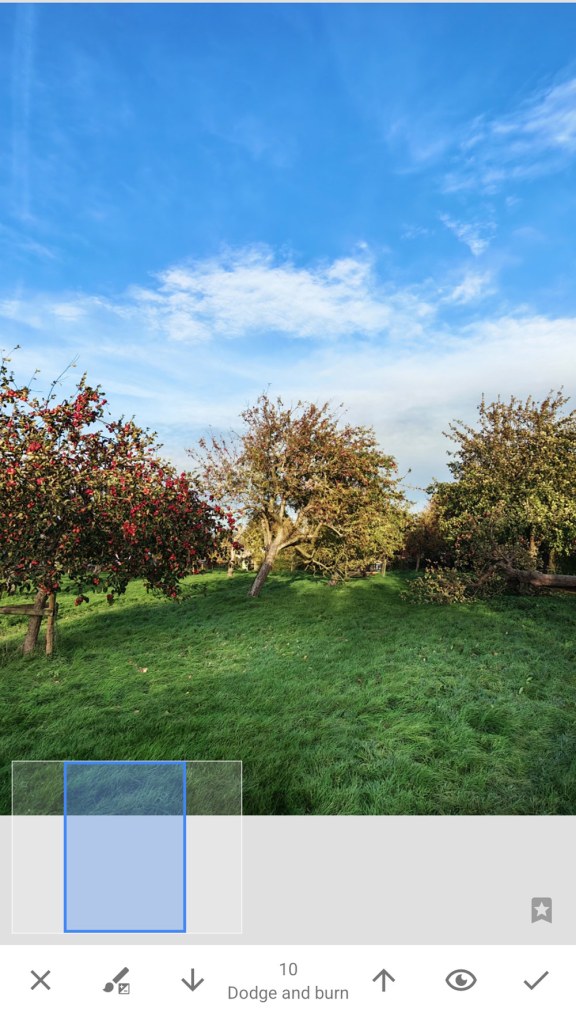
With image open, select the Brush from Tools. The Dodge & Burn brush can be used to brighten or darken areas of your photo; in this case, you select the area to work on by ‘brushing’ over it with your finger.
Up or down arrows adjust the value, and you can also tweak exposure values, colour temperature/white balance and colour saturation.
In the image below, I used the Dodge and Burn brush to lighten the foreground in an otherwise nice orchard shot. You can see which areas you’ve adjusted, by tapping the Eye icon. Red highlights show the areas that you have brushed over.
What’s behind the Mask
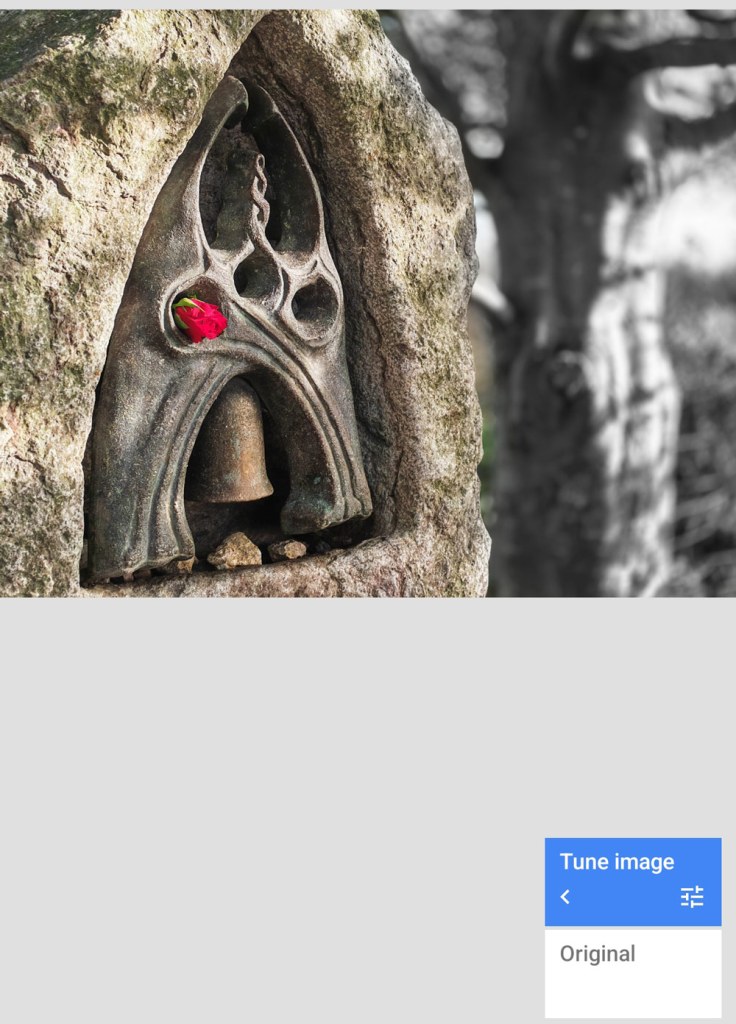
Even as a long-time Snapseed user, I wasn’t fully aware of the power of the Masking tool, so it’s well worth a try. Say I wanted to make an image black and white but keep a particular person or object in colour – here for example we kept the shrine in colour but made the background black and white.
First, go to Tools and select Tune image, then select Saturation (a sub-set of the Tune tool, in case you can’t find it). Pull the Saturation back to -100 so the image becomes black and white (this is also a good way to convert images to black and white generally, as it gives you more control).
Now, Tap the Edit History icon (the square with an arrow) at the top and pick View Edits, then Tune image, and choose the brush icon. You can then select the areas you want to keep black and white by brushing over them with your finger, making sure the Eye icon is selected so you can see where you are working.
Zooming in is highly recommended to make the process easier and I did miss a few bits here with the brush, but you can see the overall effect works quite well.
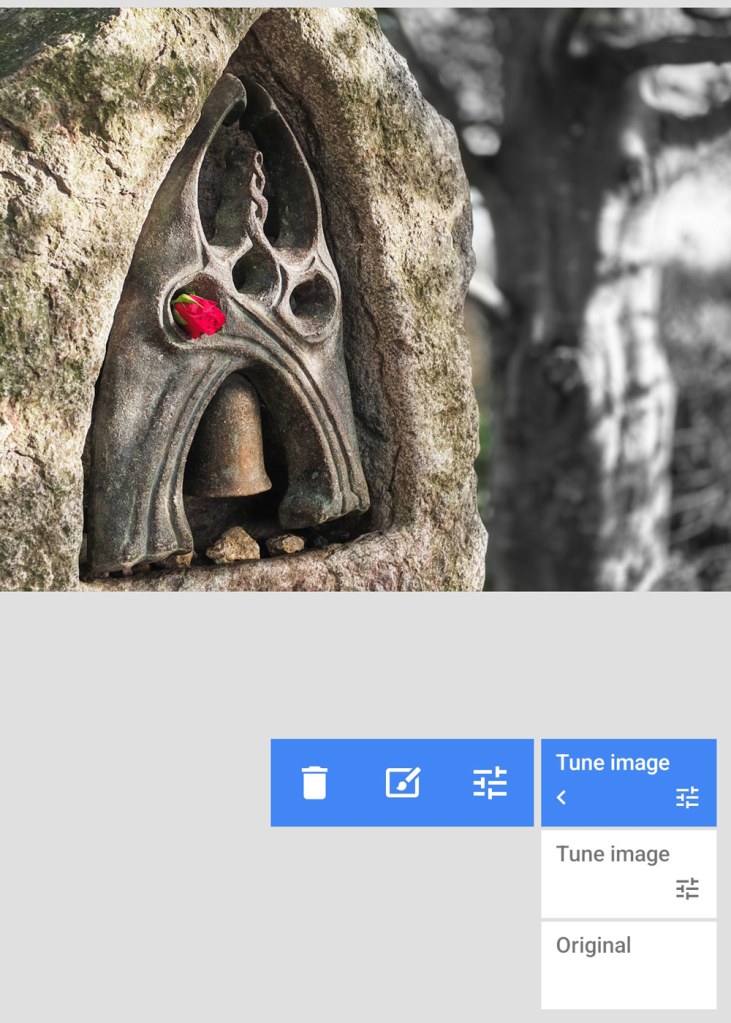
Finally, unselect the Eye icon and touch the tick/checkmark to save your edits. It’s a bit of a performance but you do get used to it!
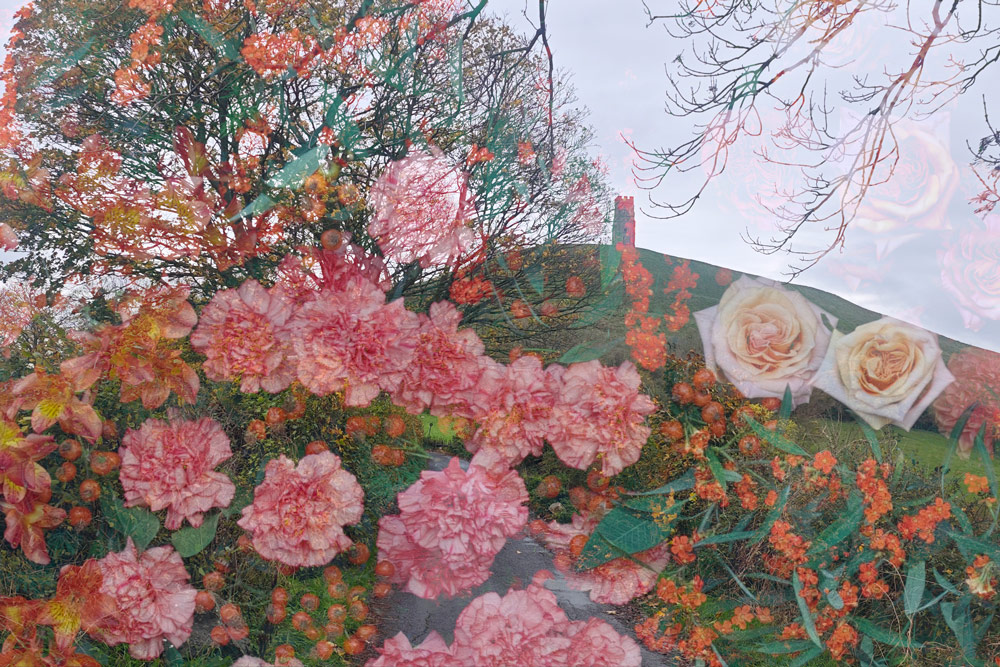
Double the fun
Snapseed is a bit like the peeling an onion, and the more you explore, the more layers and possibilities you find. As a final fun, effect, try Double Exposure, under Tools. You need to chose the images you want to merge carefully, but there is a decent range of controls to help you blend them and adjust colours and other paramaters.