It gets darker much earlier now in many places, but don’t let this put you off taking photos with your iPhone. As regular contributor Benedict Brain reveals, night time is the right time for iPhones!
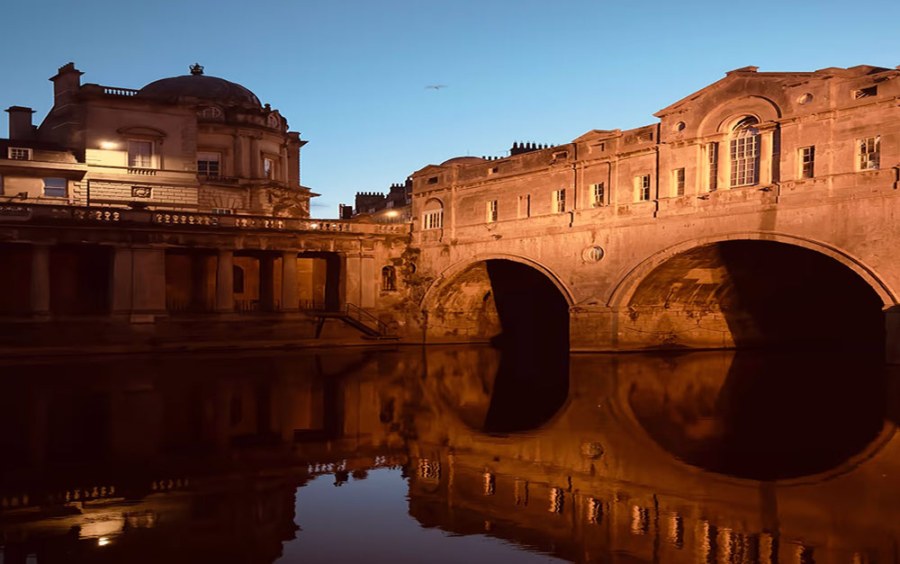
Night and low-light photography can be very rewarding, helping you to take more atmospheric images, and capturing a different perspective on familiar street scenes, buildings and landscapes, Yet for many iPhone users, photographing in low light still feels like a gamble – often resulting in blurred scenes, murky shadows and lost details.
The good news is that your iPhone’s Night mode is designed to unlock the magic of the night. With a few simple tips, you can turn those elusive after-dark moments into photographs worth keeping, sharing and printing. I’ve spent years helping people look, see and shoot more thoughtfully. Here’s how to make Night mode on your iPhone work for you.
Understanding how Night mode works on iPhones
Night mode on an iPhone doesn’t just brighten a photo. Its clever algorithms work behind the scenes, capturing a sequence of images at different exposures and stitching them together to reveal more detail – allowing you to “see” in the dark.
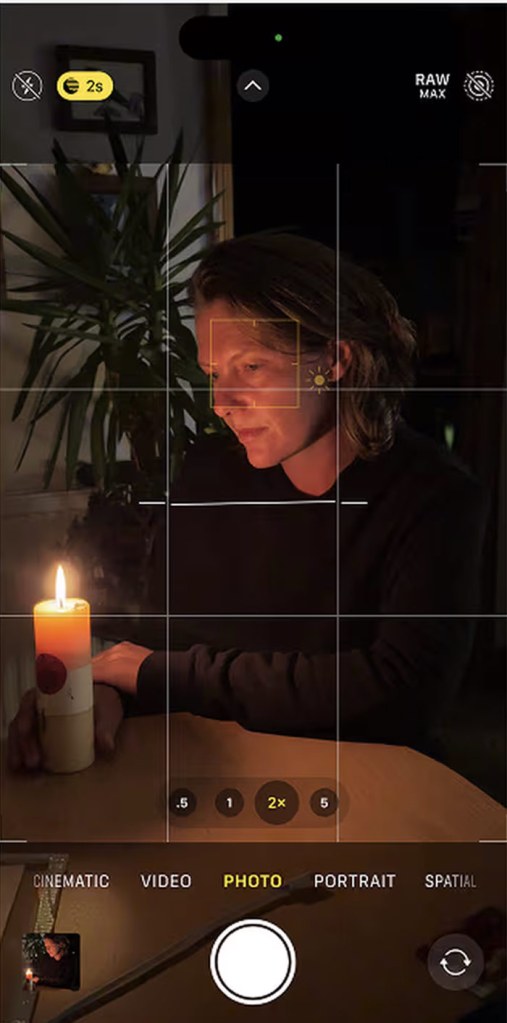
On most recent iPhones (11 and later), Night mode activates automatically in low light. You’ll notice a small yellow moon icon in the corner. If you tap it, you can adjust how long the camera gathers light.
A longer exposure means more detail – although you’ll need to keep your iPhone steady for longer. The default duration is often just a second or two, but you can manually increase it for more control.
While the clever tech is impressive, it can’t do everything. If you move too much, your photo may still come out blurry. For the best results, rest your elbows on a wall, lean against a lamppost, or balance your phone on a table or bag – anything to reduce shake. If you’re particularly keen, carry a mini tripod. But for casual Night mode snaps, a steady hand and mindful breathing are usually enough.
A good tip from street photography is to plant your feet, hold your breath and gently press the shutter. The steadier you are, the better your results.
Control exposure
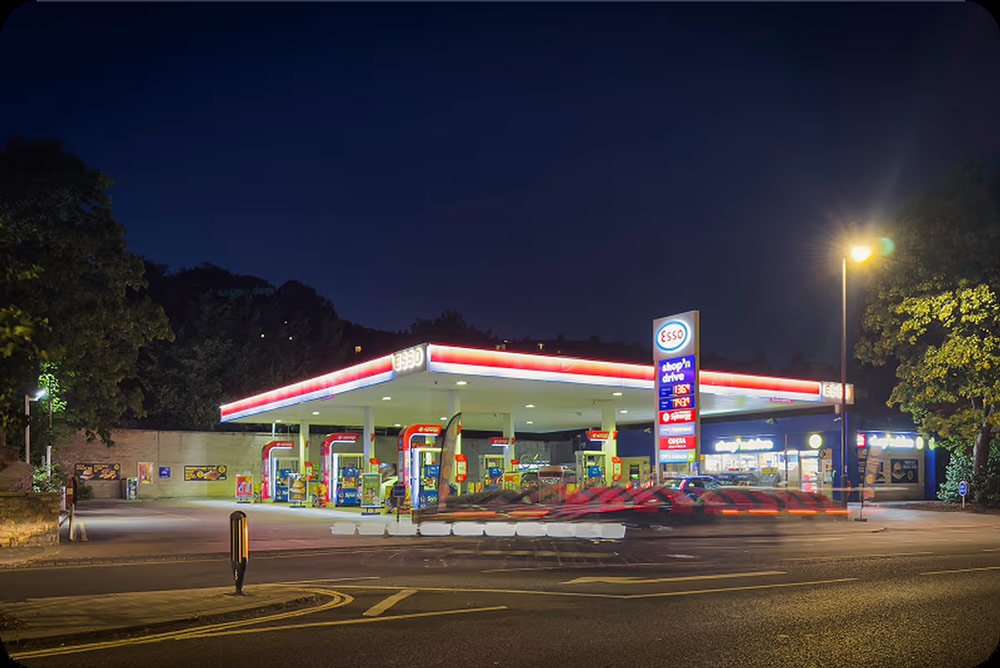
Before you press the shutter on your iPhone, tap the screen where you want the focus. You’ll see a small sun icon – slide it up or down to brighten or darken the shot. Night mode will still do its thing but this gives you a little more creative control. Try it when photographing something tricky like a bright neon sign, a petrol station at night (as I’ve done here), or a person next to a candle. It’s not just about exposure – it’s about intention, choosing which part of the scene should hold detail, and which can fall into shadow.
Don’t be afraid of the dark areas in your frame. Shadows can add mystery, drama and depth. Let parts of the image fade away. Highlight what matters. It’s a different mindset from daytime photography – one that rewards subtlety and restraint.
To unleash your creativity, look for existing light sources such as street lamps, shop windows, candles and phone screens. These become your new sun. Place your subject close to a light source but watch for harsh shadows. Use light direction to your advantage – side lighting can create texture and drama; backlighting can add atmosphere and mystery.
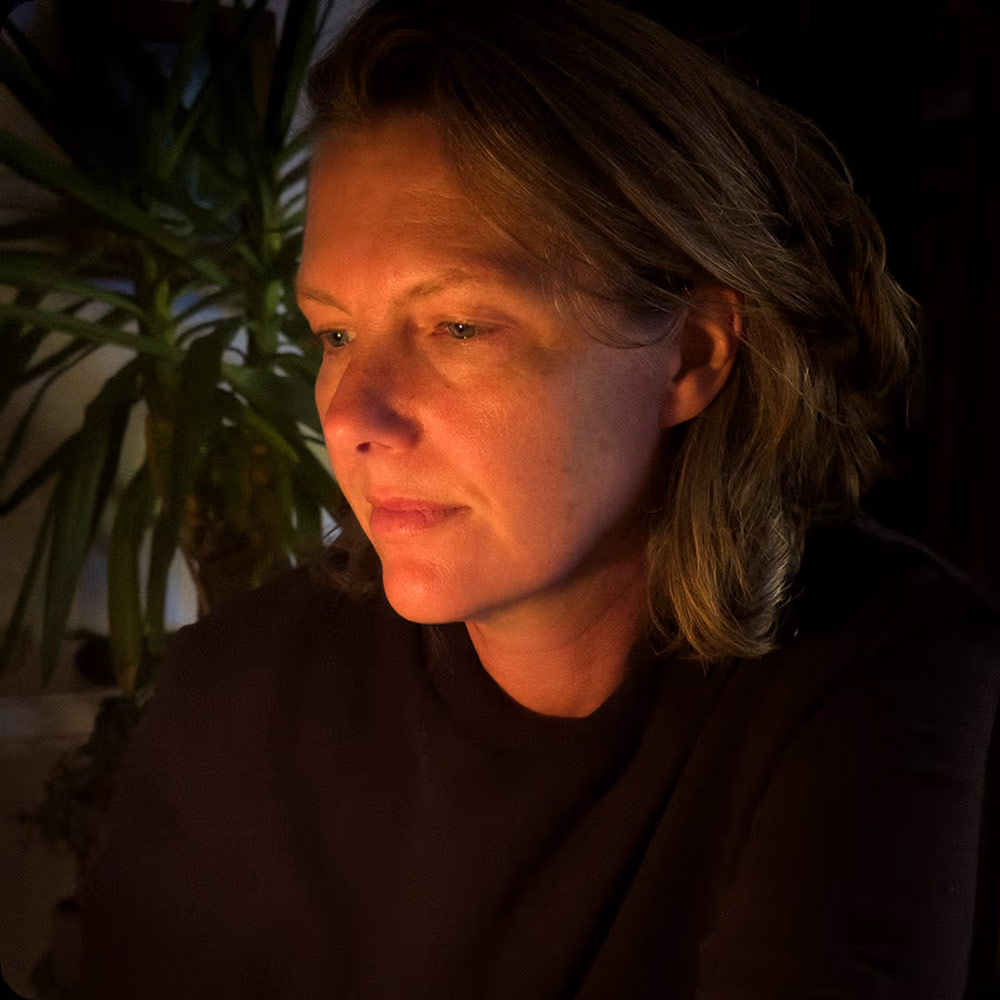
Portraits after dark
Night mode isn’t just for urban scenes – it can lift a portrait from dull to dreamy, too. Use it with Portrait mode if your iPhone supports both simultaneously (iPhone 12 onwards). Be patient. Even slight movement can cause ghosting, so your subject will need to stay very still. Unless you’ve got some Victorian head clamps, the best strategy is to take a few shots. Chances are, one will be crisp.
When you combine Portrait mode’s shallow depth of field with Night mode’s atmospheric look, you can get stunning results – intimate, moody and cinematic. A friend lit by a single lamp, a partner illuminated by candlelight, or a stranger backlit by neon can all become compelling subjects.
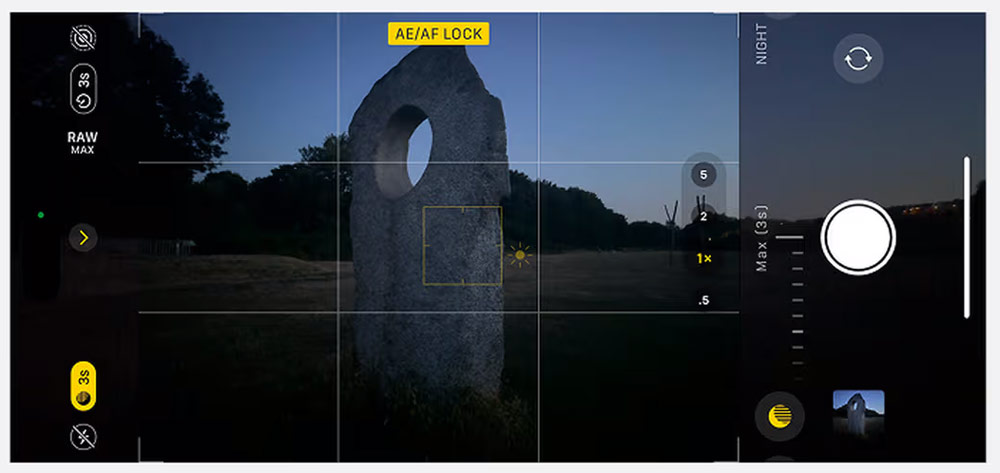
Experiment with long exposures
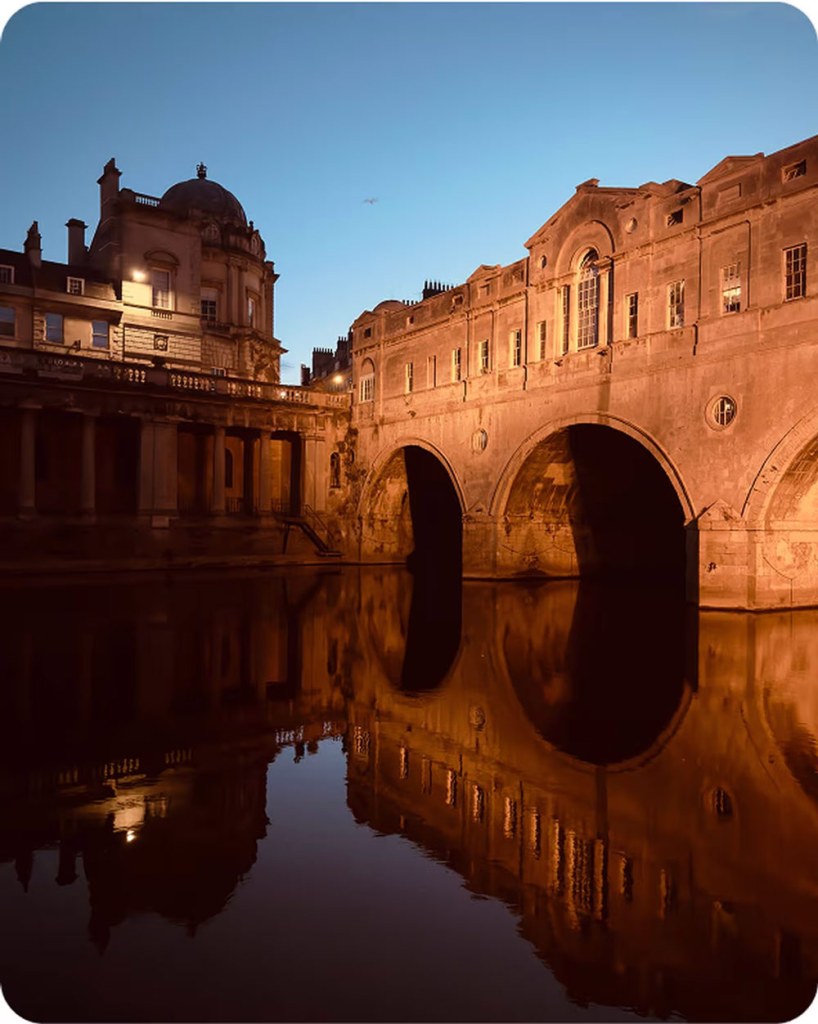
In very dark conditions, you can push your iPhone further with longer exposures. Handheld, the longest exposure time is usually around 10 seconds. Place your iPhone on a tripod or a secure surface and you can extend the exposure to 30 seconds – great for nighttime city scenes. Look for moving lights – cars, bicycles or even fireworks – and let them streak through the frame like brushstrokes.
There are also iOS apps such as Slow Shutter or Halide that let you take manual long exposures. These offer more control, allowing for painterly motion blur, dreamy water effects or starry skies. They’re a fun step up for anyone who finds Night mode creatively limiting.
If you’re serious about your Night mode photography, investing in a small tripod is a good idea. You can easily find compact, portable tripods with iPhone adapters online. Look for ones with flexible legs that can wrap around railings or lamp posts – perfect for on-the-go shooting.
To completely avoid camera shake, try using your iPhone’s self-timer. The three-, five- or 10-second delay gives you time to settle the phone and step back. Better still, if you have an Apple Watch, you can use it to trigger the iPhone camera remotely. No vibration, no tap, no blur – just a perfectly still exposure.
Think like a painter with your iPhone
Photography is often described as painting with light – in fact, the word photography itself comes from the Greek for “light” and “to draw” – and this is never more true than at night. When shooting in low light, slow down. Treat the scene like a canvas. Look for shapes, contrast and rhythm. Compose the frame carefully, allowing for quiet areas that give the viewer room to breathe.
Don’t be afraid of high contrast. Night photography often exaggerates it, turning scenes into near-silhouettes. Use that creatively. A lone figure lit by a shop window, a car headlight bouncing off wet tarmac, or the glow of a phone in someone’s hand – all can become visual poetry if you’re paying attention.
Try shooting from unusual angles. Look down from a stairwell, capture reflections in puddles, or crouch to frame your subject against a glowing sky. The dark invites experimentation.
This is an edited version of an article that originally appeared on Popsa.com. For the full version click here
Further reading
This powerful iPhone photo-editing app is free – but most people don’t make the most of it