The Long Exposure effect is a hidden gem in Apple iPhones, and uses rather brilliant AI to merge videos and photos to add motion blur to seascapes says Peter Travers
They say the best camera is the one you have with you – should a photo op suddenly present itself. While I usually have my pro Canon kit with me, sometimes I don’t want to carry a big camera and lens etc, such as when on holiday with the family. But I’ll always have my old iPhone 11 Pro Max in my pocket, and I’ve learned to get the best possible photos from the iPhone camera, especially when capturing slow shutter-speed seascapes… even in broad daylight!
When I first discovered the Long Exposure mode on my iPhone, it instantly transformed my seascape shots, and landscapes with any moving water in them.
It’s an effect readily available via the Live Photos camera mode that’s able to recreate motion blur in waves and waterfalls, while rendering the non-moving scenery nice and sharp.

When you consider you’d usually need a tripod and ND filter to capture a long exposure in daylight with your main camera, this slow-shutter speed effect is a real hidden gem – and a quick fix to bring your scenic shots to life.
Here’s how to use the Apple iPhone Live Photos Long Exposure mode
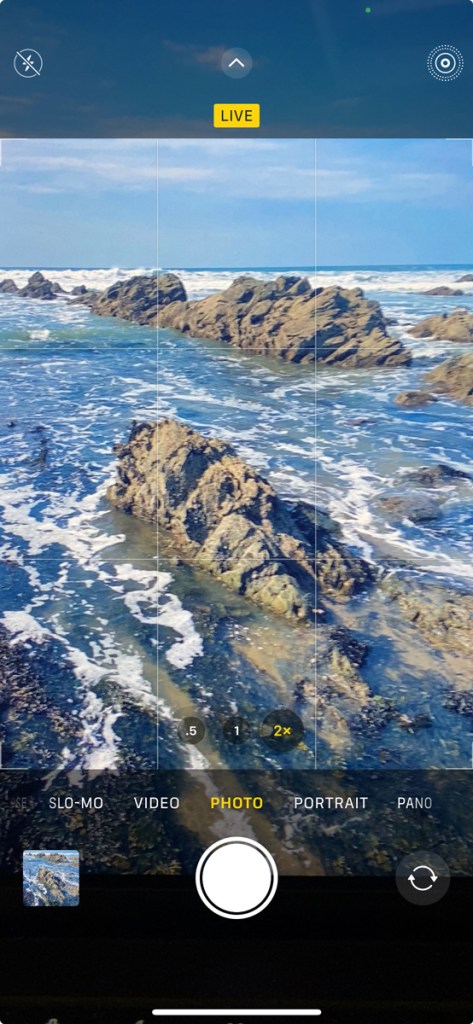
Open your Camera app on your iPhone (iPhone 6s and later) and tap the Live Photos circle top left. You’ll get a Live block in yellow that appears on screen to confirm.
Now when you’re using the Live Photos mode in the Camera app, your iPhone records 1.5 seconds before and 1.5 seconds after you’ve taken a photo. Quite clever. And this opens up more creative options.
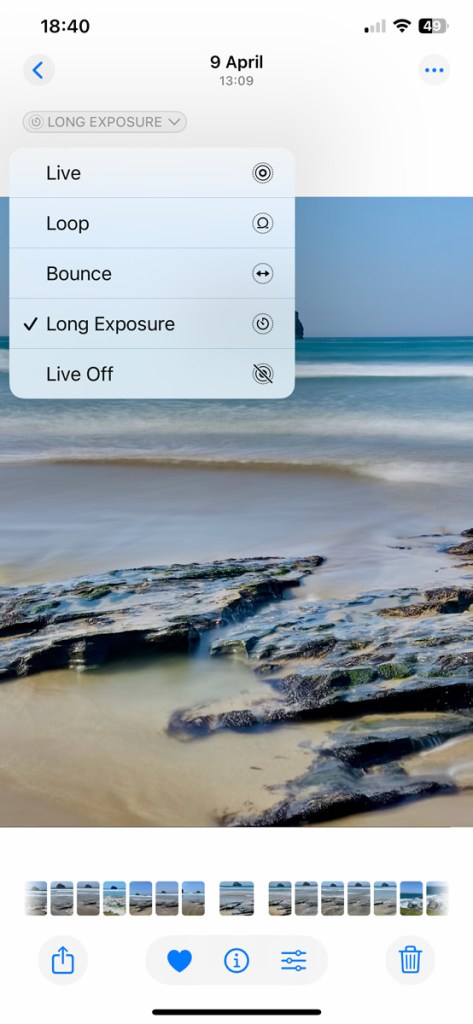
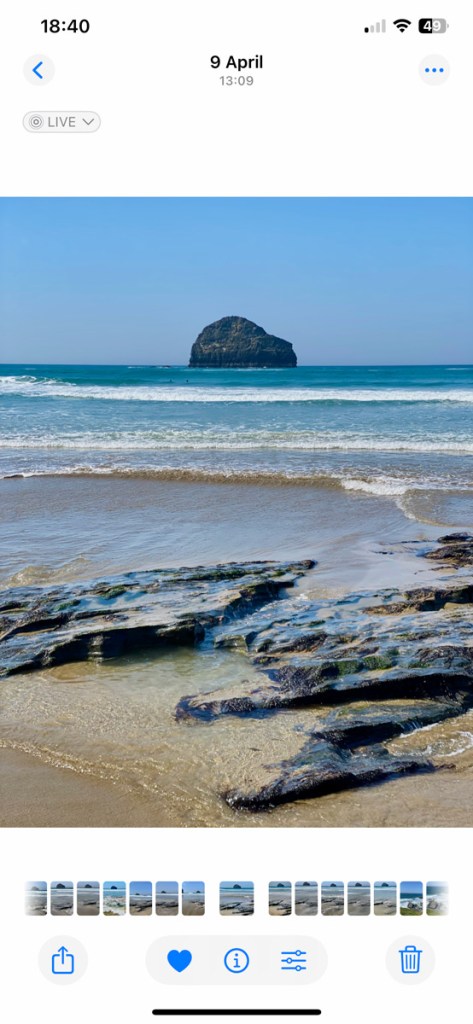
From the Photos app, you can then edit your Live Photos and choose from four effects that for some reason are hidden away! You can choose Loop, Bounce, Long Exposure or Live Off. It’s the Long Exposure option you want.

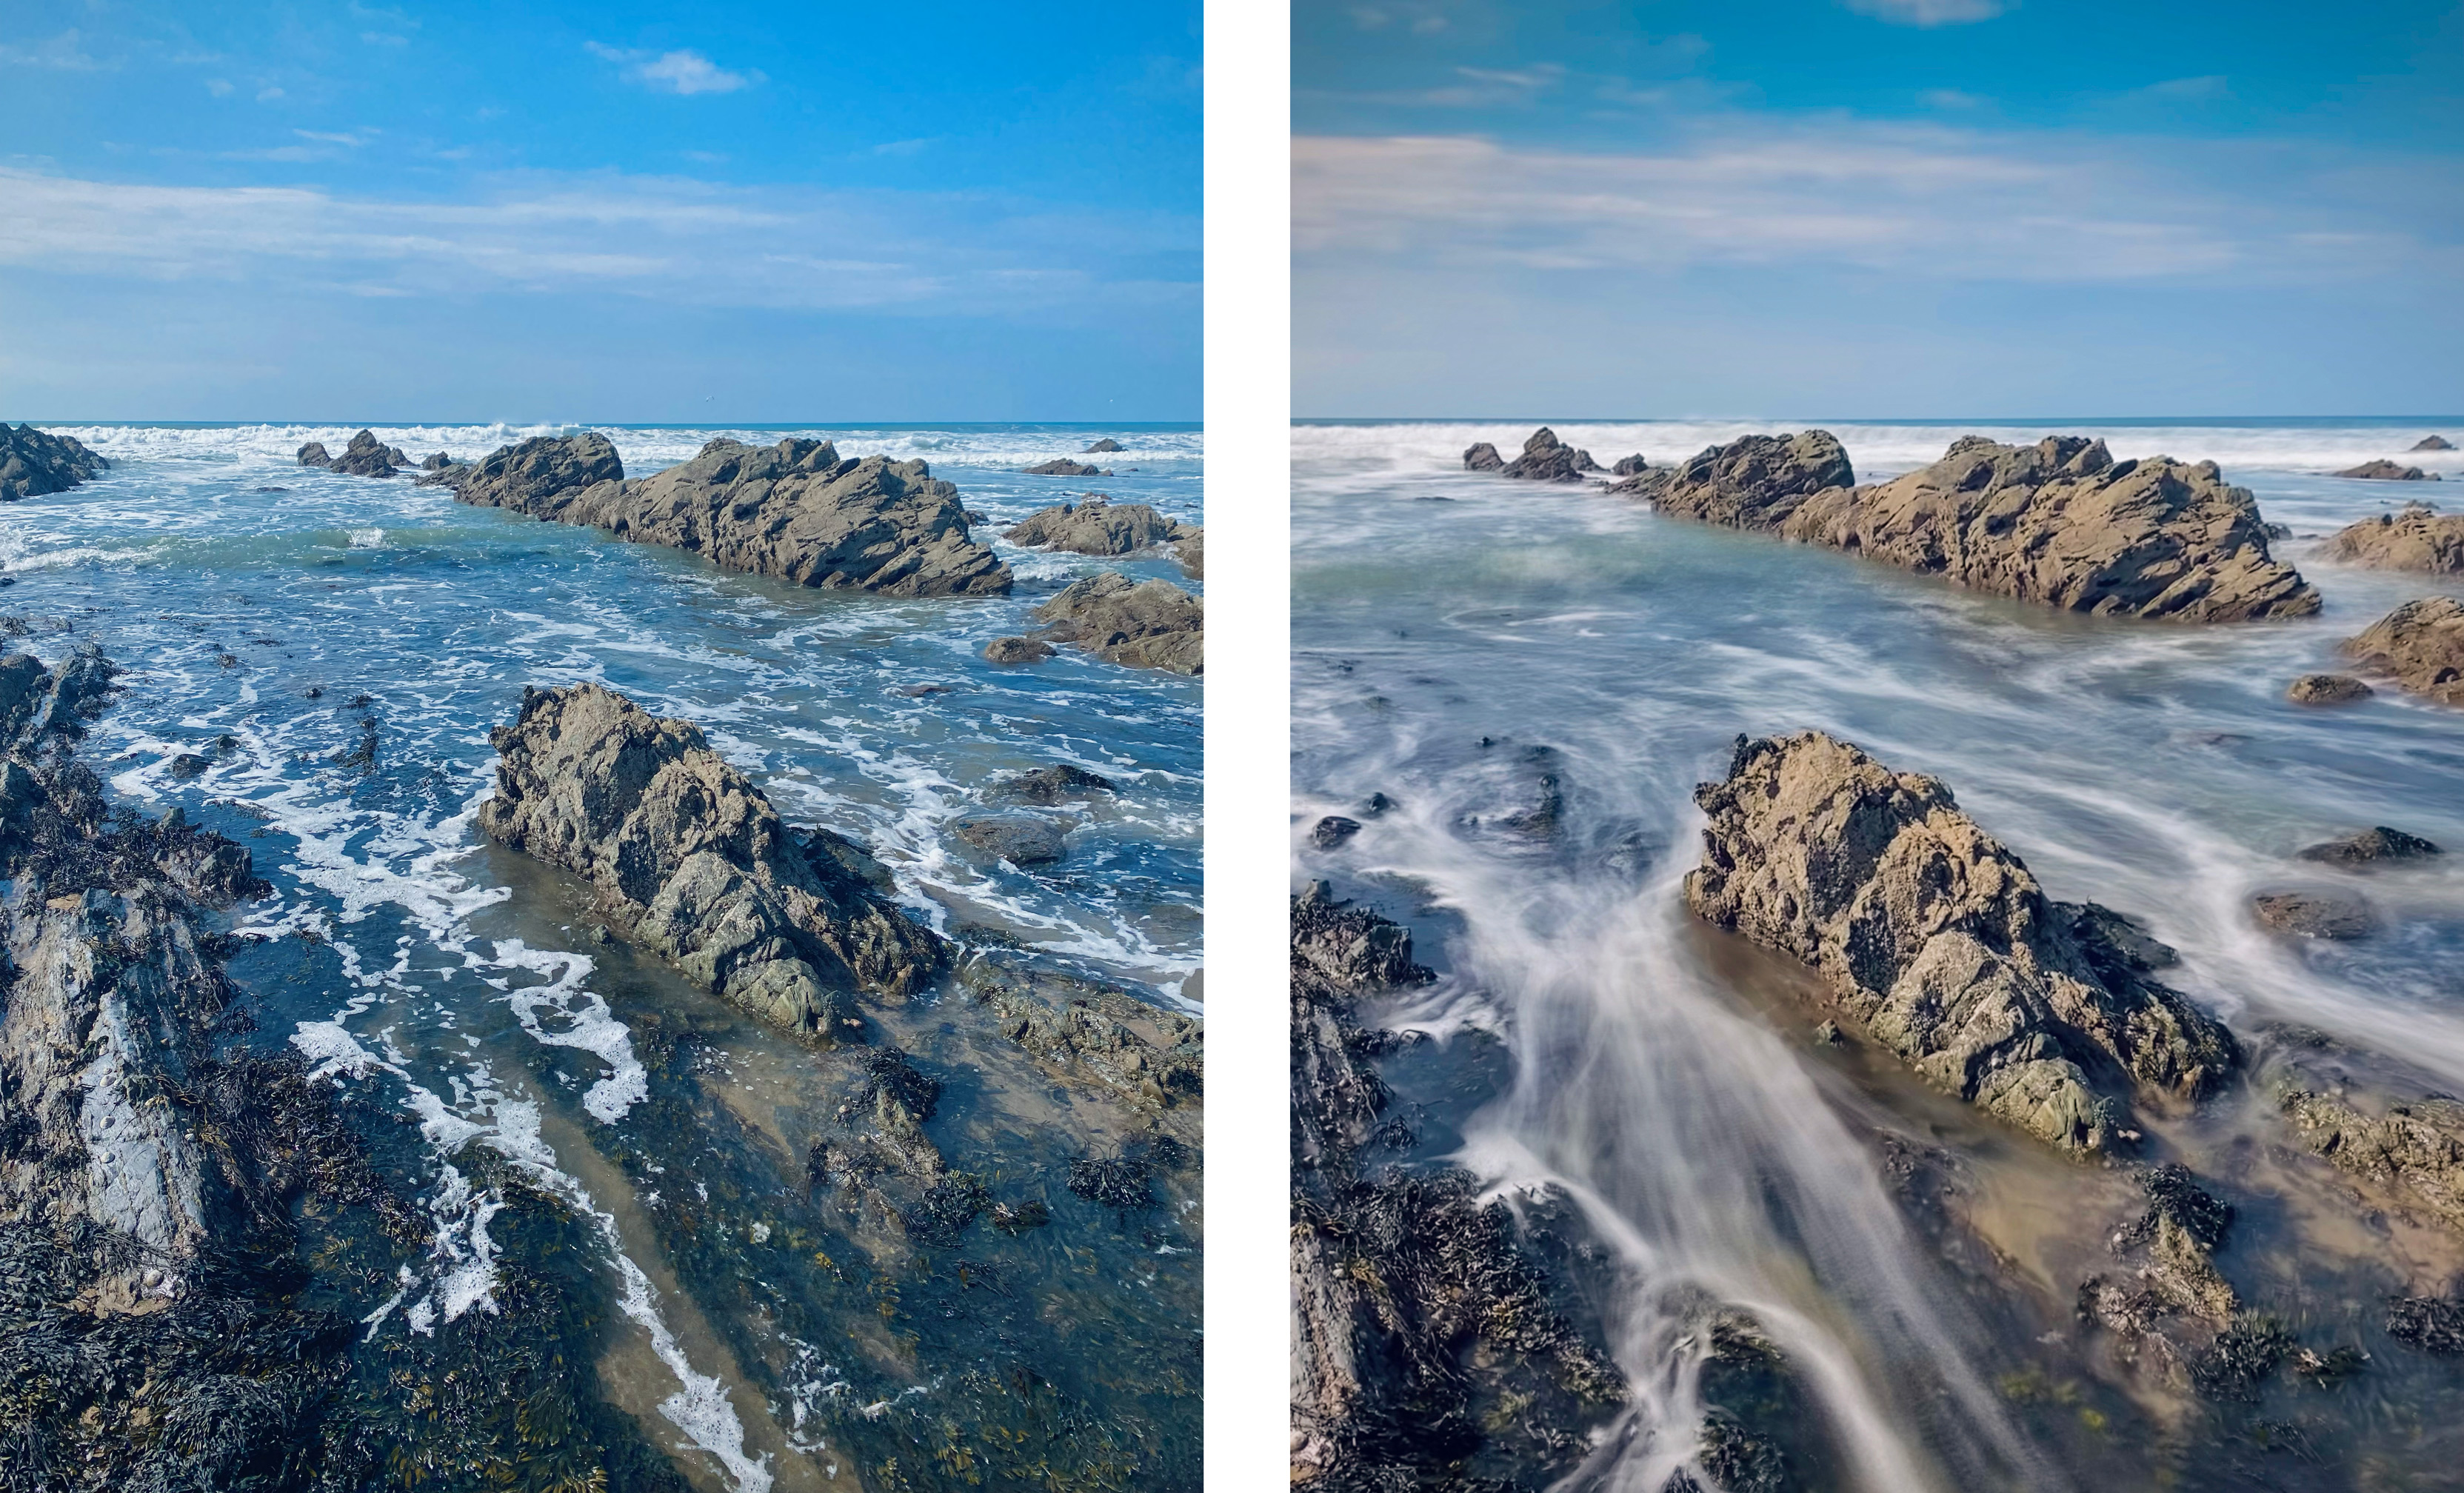
This is when the really clever Apple stuff happens. Tap Long Exposure, and in a matter of moments the Photo app uses the 3 second Live Photo video to automatically merge the sharp elements of your scene, while transforming moving water in that beautiful silky smooth effect we associate with slow shutter speeds.
Before and after:

Here are 3 key tips for getting the best Long Exposures on your iPhone
1. You need to keep your iPhone as steady as possible, so rest it on a rock, fence post, tree branch or hold it very still as you take the Live Photo. You need to keep it still for the 3 second duration of the Live Photo. Otherwise you’ll end up with camera-shake blur in the wrong places in your images.

2. When the iPhone creates the Long Exposure in the edit, it often crops the images quite heavily as it does it thing and merges video footage with still imagery, so learn to compose about 25% wider than normal when shooting your scenes with any moving water.
3. Just like when using your main camera (and ND filters), the faster the flow of water, the more it will blur at slower shutter speeds. On your iPhone you don’t need to worry about what shutter speed you need. Just be aware than a trickling stream won’t blur as much fast-flowing river.
The views expressed in this column are not necessarily those of Amateur Photographer magazine or Kelsey Media Limited. If you have an opinion you’d like to share on this topic, or any other photography related subject, email: [email protected]