Whether you’ve bought a used camera that’s unknown to you, or you’re buying the latest model, there’s plenty to do before pressing the shutter for the first time. Michael Topham reveals his tips to setting up your camera from scratch
Tips for setting up your camera
Michael Topham shares his 14 top tips for setting up your camera below:
Operational beeps
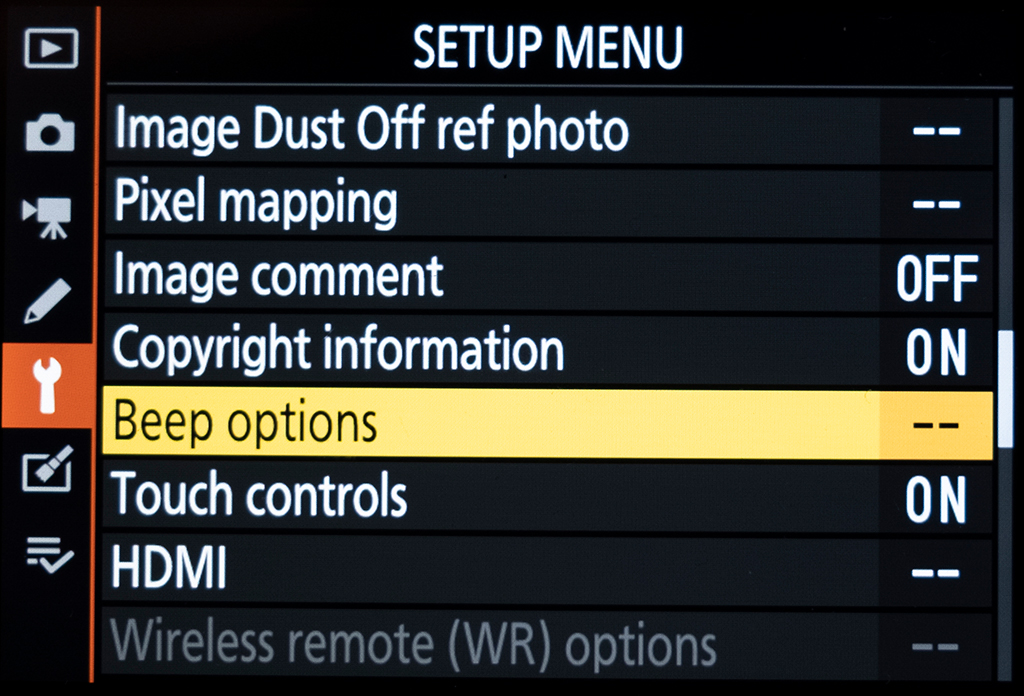
It’s usually the case that most new cameras have operational beeps enabled. Some people may find it useful to hear a beep confirming focus has been achieved, or an artificial shutter noise sounding when the shutter is fired.
For most however these high-pitched beeps and imitation sounds are highly irritating, especially if you’re trying to shoot discreetly and not draw attention to oneself. The option to disable beeps or reducing the volume is usually found from the set-up or beep options menu.
Dial customisation
The level of dial customisation differs from camera to camera. Most will allow you to reverse the rotation of the shutter speed/aperture dials if you’d prefer to work this way and some cameras will give you the option to use the command dials to work your way through the main menu or scroll through images in playback. It’s well worth having a look to see what dial customisation your camera offers as you may be able to set them up to be more intuitive.
Navigate the main menu
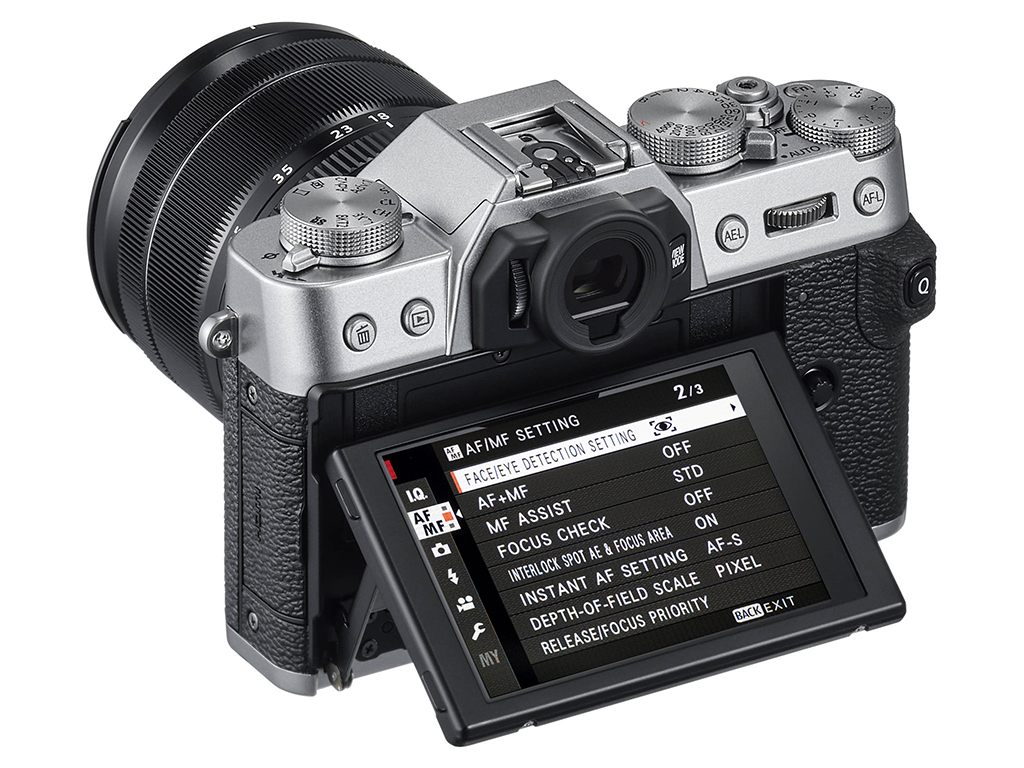
If you’re upgrading to a newer model that’s made by the same camera manufacturer, chances are you’ll be familiar with the layout and arrangement of the main menu. If you’re not and the menu system on your camera is completely new to you, make yourself a cuppa, sit down and take time to work your way through it to get a good understanding of what can be found where, including any subheadings. This can save vital minutes trying to find what you need when you start using the camera for real.
Viewfinder aids
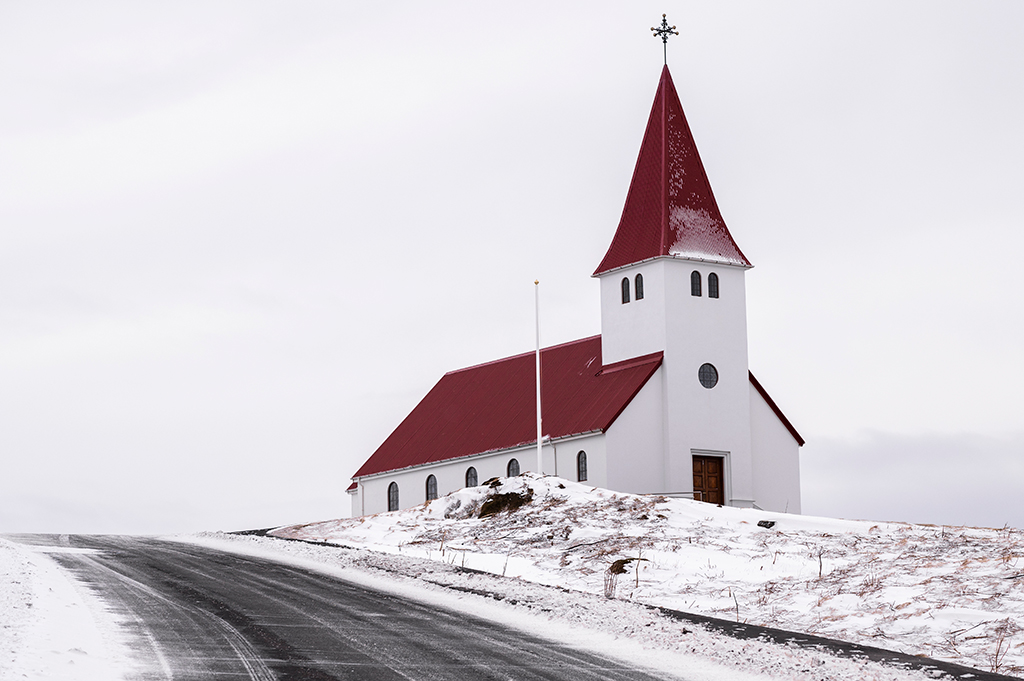
Viewfinder aids are usually kept to a minimum on new and used cameras that have been reset to their factory default settings. To aid composition using the rule of thirds, you may find it useful to turn on gridlines (also known as a framing grid display on some cameras).
Other helpful viewfinder aids such as being able to inspect a live histogram and an electronic level, which can be found on many cameras with electronic viewfinders, can be easily and quickly activated using the DISP button on many cameras.
File format
Most camera manufacturers always turn raw off by default so one of the first things you’ll want to do when you turn your new camera on is navigate your way to the image quality settings and select raw. The beauty of the non-destructive raw file format is that it contains all the image information captured by the camera’s sensor, including all the metadata.
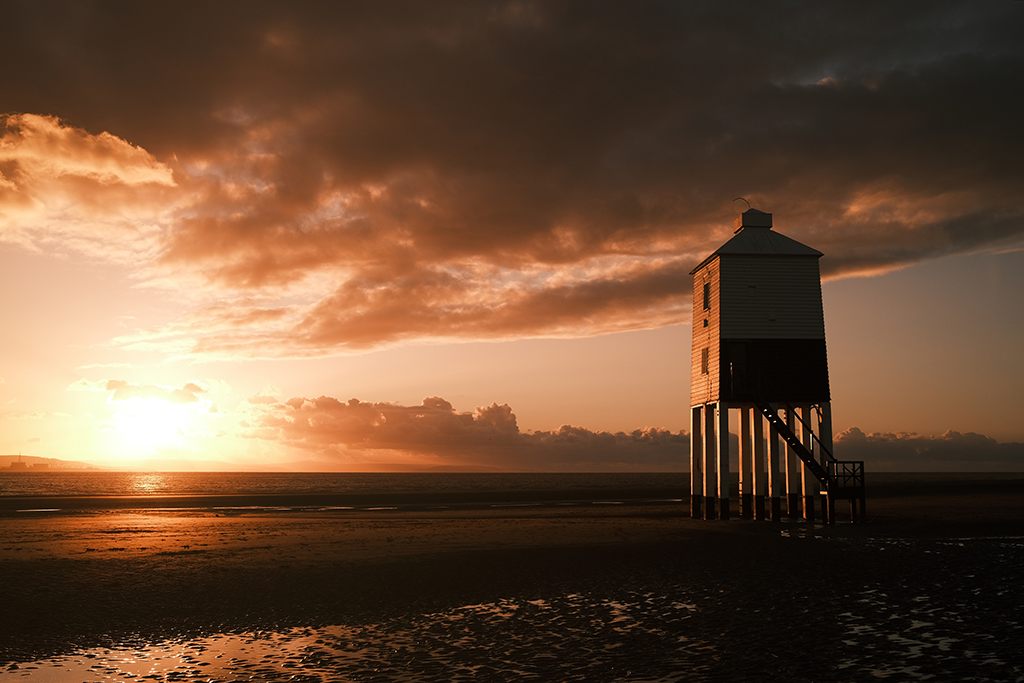
Raw files provide far superior latitude when we edit our images too, however the nature of the format is such that they can’t be read by all computers, smartphones, tablets and other devices. Many photographers will set up their camera to shoot in RAW+JPEG. Doing so means you’ll record the very best quality in the raw file to edit at a later stage as well as a smaller JPEG that’s easily shared straight out of camera.
Q.Menu customisation
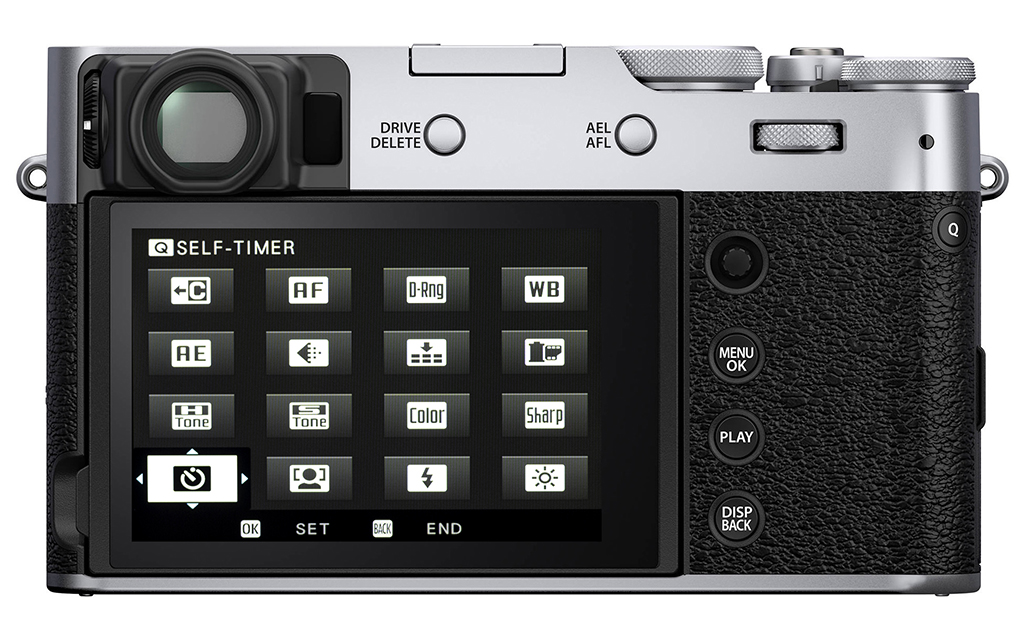
Over the years we’ve seen better customisation added to things like the Quick Menu, which offers direct access to frequently used settings with the single press of a button. Many cameras now provide the option to customise the Quick Menu (also known as the i menu) so be sure to study the out-of-the-box default settings and rearrange or swap them to the settings you know you’re likely to want to have access to on a frequent basis. One setting I often find myself adding or rearranging in the Q.Menu on a new camera is Self Timer mode.
Playback screens
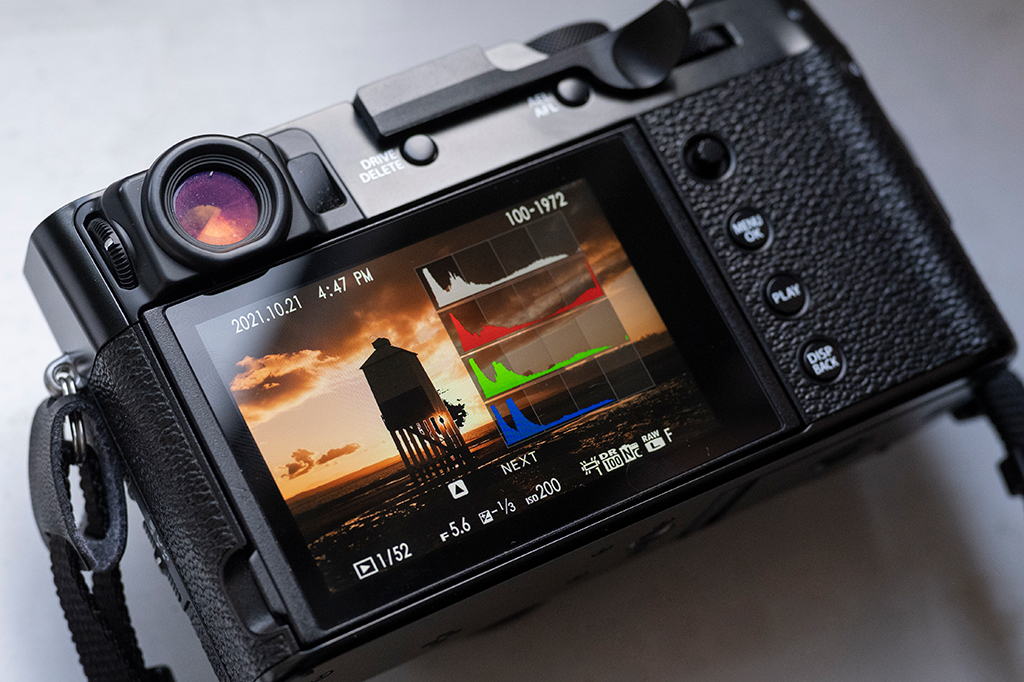
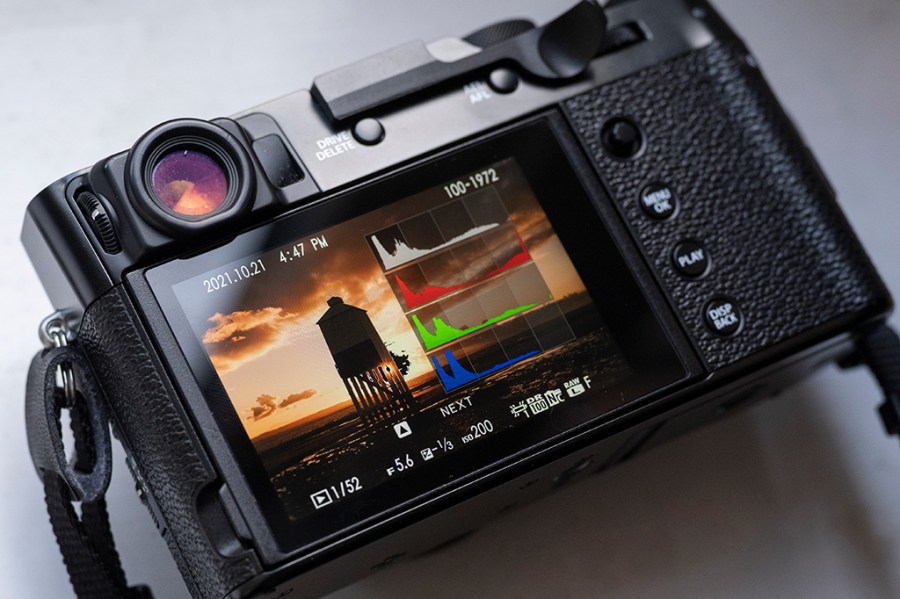
Most cameras display a basic full screen preview image in playback mode straight out of the box. You should familiarise yourself with the other playback screens that can offer more information and choose the one that’s most helpful. Some cameras allow you to cycle through the various playback screens using the DISP button, whereas some require you to use the four-way controller.
Time, date, exposure settings, focus point position, histogram and lens data are just some of the things that you can expect to be able to inspect from your camera’s different playback screens.
Button customisation
Camera manufacturers like to think they know how users are going to operate their cameras and place buttons around the body accordingly. This doesn’t necessarily mean they’re perfectly placed for everyone though. If your camera has dedicated function (Fn) buttons it’s easy enough to change the function they perform by either holding them down for a few seconds or by reassigning them from the main menu.
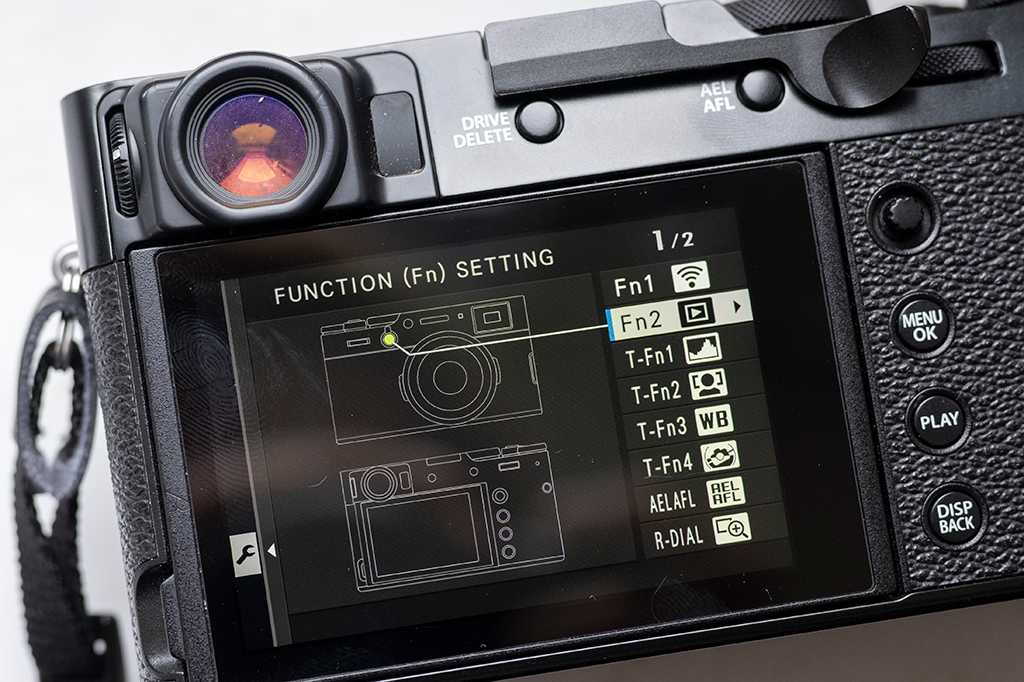
When I’m setting up a new camera out of the box I always like to be able to initiate a wireless connection quickly and have direct access to white balance from an easy-to-reach button. Make sure you work out what your priorities are and don’t be afraid to experiment with button customisation until you find what is right for you.
Custom file naming
On many cameras there’s the option to change the file name so it starts with a three-character name of your choosing. This is good to do straight out of the box as it helps identify your files from other people’s clearly; plus it can prevent duplicate files being an issue when more than one photographer is shooting and images are being downloaded onto the same computer. If you’re wondering what three-character name to use, entering your initials, including any middle initial, is as good as any.
Copyright information
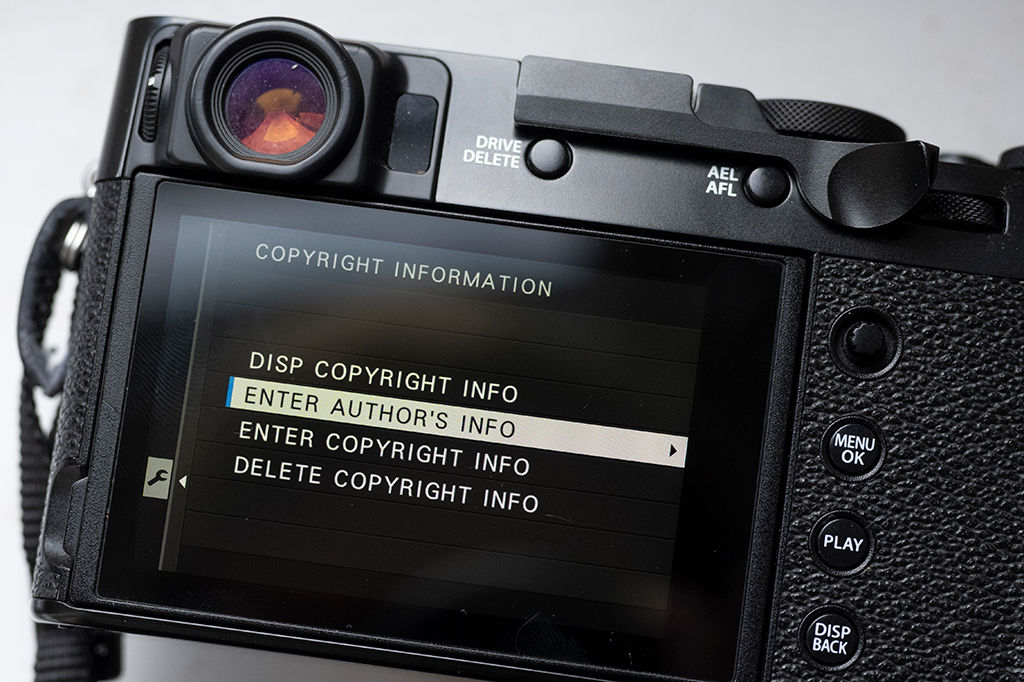
As a photographer you own the copyright of the images you take, unless a contract or other arrangement in writing says otherwise. You can add ownership and copyright details to your images using software, but many, myself included, prefer the idea of letting the camera embed copyright information to the file at the point of capture. Most cameras will let you add the Author’s information (name), followed by a Copyright message under Copyright Info so it’s well worth doing this straight away.
Power-saving settings
If you find that your new camera is turning itself off too quickly, it’s likely the auto power off or standby mode is set to its minimum setting. You’ll find the option to extend this from a few seconds to 30seconds or longer from the power settings in the main menu. Just be mindful that all the while the camera is fully powered and not being used it’s using more battery power than when it’s shut down. Most DSLR and mirrorless cameras offer precise battery percentage information so it’s also worth familiarising yourself with where to find this on your model.
Long exposure noise reduction
Some cameras come with long exposure noise reduction activated by default so you’ll want to check what yours is set to straight out of the box. As its name implies, the purpose of long exposure noise reduction is to reduce the impact of noise in long exposures, which it does by recording what’s known as a dark frame after the first image is taken.
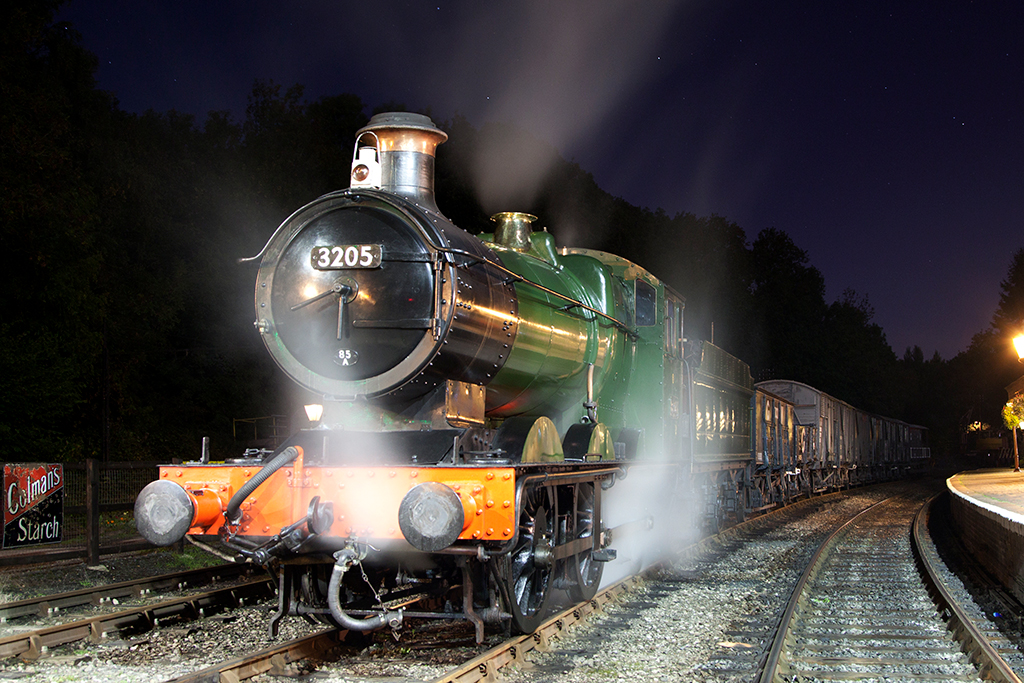
When this dark frame is complete, the camera compares it with the original frame and subtracts the noise found in the dark frame from the original frame, thereby effectively reducing long exposure noise. The disadvantage is that the camera is unusable as the dark frame is being recorded (not the case with some Canon cameras) so it’s best to only use it when you’re willing to double your exposure time.
If you are photographing a scene that involves a rapidly changing sky or are up against it to get the shot before a moment is lost, you’re unlikely to be able to afford to double your exposure time and will want to ensure it is turned off.
Back button focusing
The back button focusing technique isn’t for everyone, but if you regularly photograph action, sports, wildlife or anything that has a tendency to move you’ll want to give it a try and you’re likely to never look back. The action of focusing, which is acquired by half-depressing the shutter button on most cameras out of the box, becomes separated and moved to a button on the back of the camera (usually the AF-ON) button.

By separating the two functions it allows you to continually focus on your subject whilst simultaneously capturing shots with your index finger held on the shutter button. The advantages include being able to swap between continuous and single autofocus easily and shoot more efficiently. How back button focusing is set up varies between camera brands. Type your camera model followed by the words back button focus into YouTube and you should find an instructional video.
Video button
If you rarely shoot video and are more passionate about stills than the moving image, having the movie-record button dedicated to recording video is a bit of a waste. Enter the button customisation settings on your camera and you should find the option to customise it to operate something more useful.
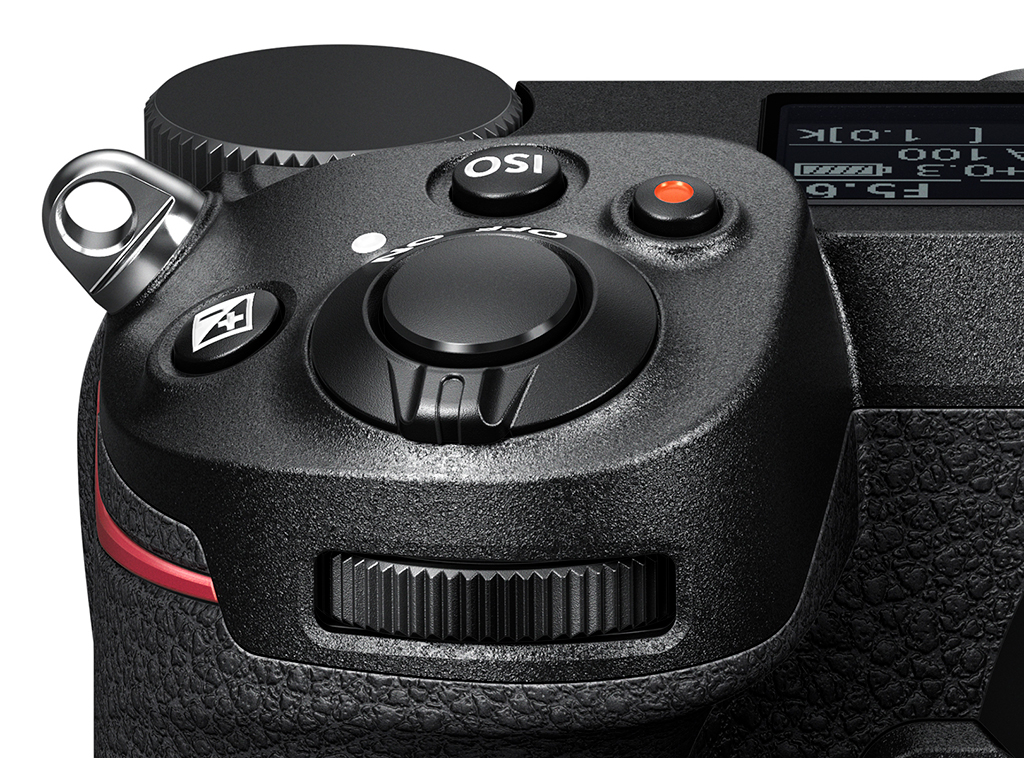
You might find it helpful to use it to enter silent shooting mode, for example. Alternatively, you might want to use it to rate your best shots during inspection in playback mode. You’ll then be able to find your best shots more quickly once they’re downloaded on the computer using a search by rating option.
Michael Topham
Michael is based in the South East of England and enjoys documentary, landscape and railway photography. He also shoots weddings and can be found on Instagram @michaeltophamphotography
Further reading

