The sixth part of our video series Amateur Photographer, in association with London Camera Exchange, continues our in-depth how-to shoot and edit video with video editing software. In this series we will arm you with all the information and knowledge you’ll ever need to become a competent and confident video shooter.
Along with explaining camera settings, recommending equipment and demystifying all the videography jargon, we’ll walk you through all the steps to get you recording your first movie… Below, we take you through video editing on the computer and how to get your workflow sorted…
In part 1 of this series we looked at How to set up your camera to shoot video. In part 2 we revealed our Essential gear guide and in part 3 we examined 9 Common Video Problems and How to Fix Them, the fourth part we showed you How to get outstanding audio in your videos. Our fifth guide we shared the best lenses for video in 2022. Part 6 explored how to add motion and energy to your footage.
Editing your videos
When it comes to editing your footage on software, you are going to have to learn a few things. But don’t worry, while video editing may seem a little scary, a lot of the theory is similar to programs you probably already use such as Photoshop and Lightroom. A mixture of timeline Layers and sliders to correct the colour and exposure elements of your footage will make you feel instantly at home. Just like editing stills imagery, with video you should follow a specific workflow to make sure you do things correctly. Ultimately this will save time and allow you to get more creative with your editing. You can then introduce more arty cuts or transitions and generally increase the production value of your films.
1. Pick some software
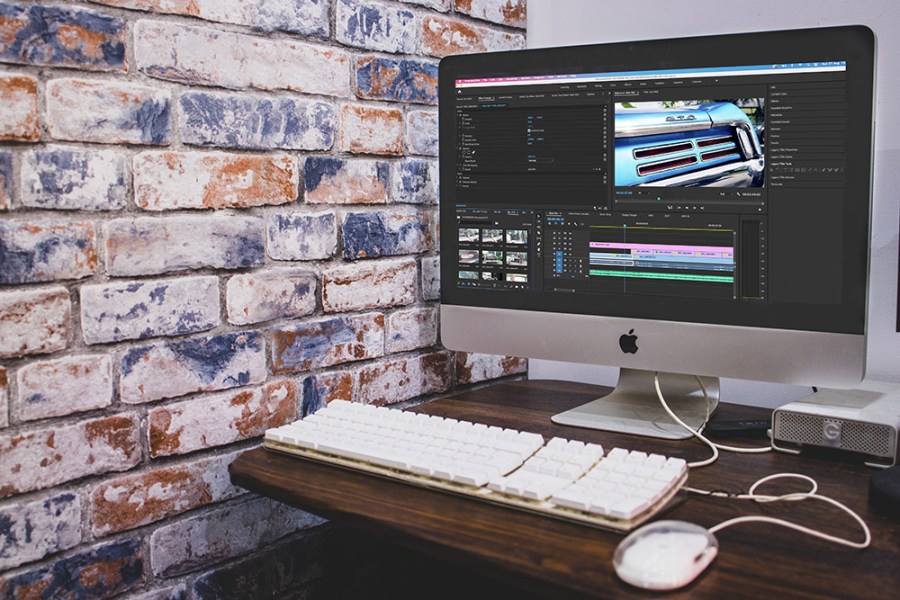
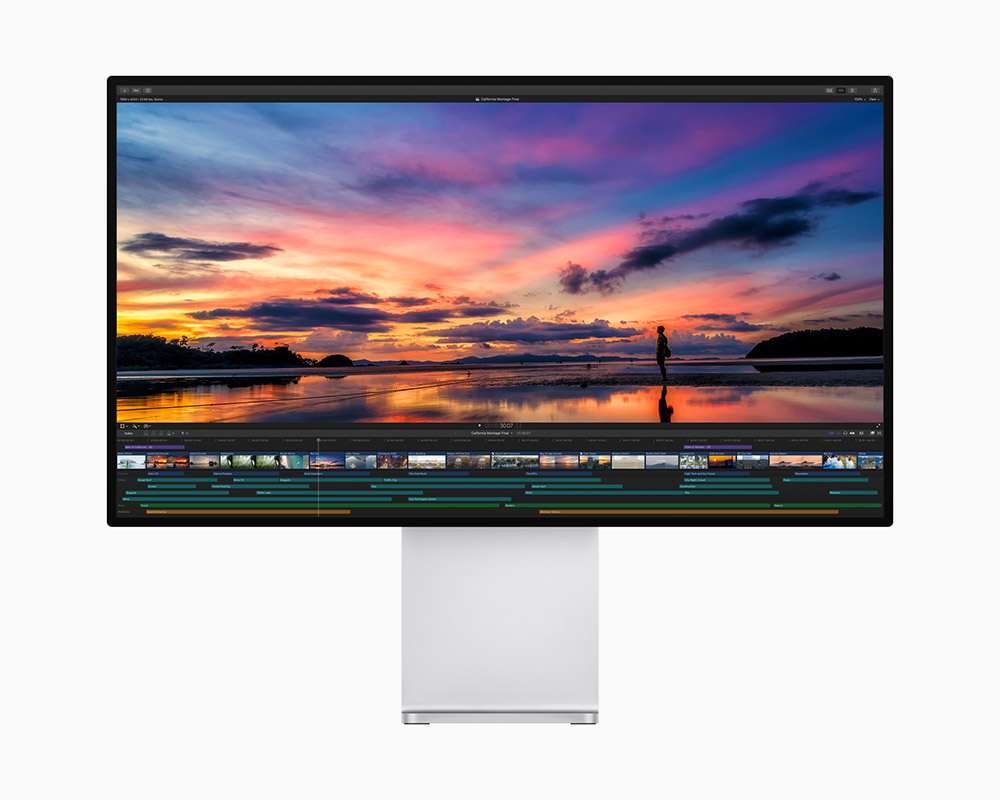
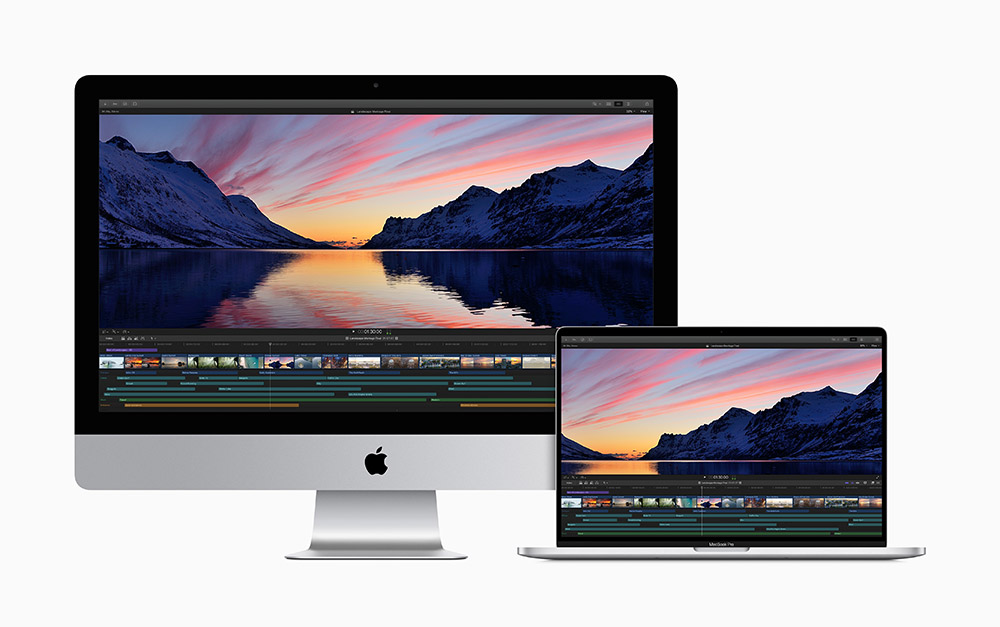
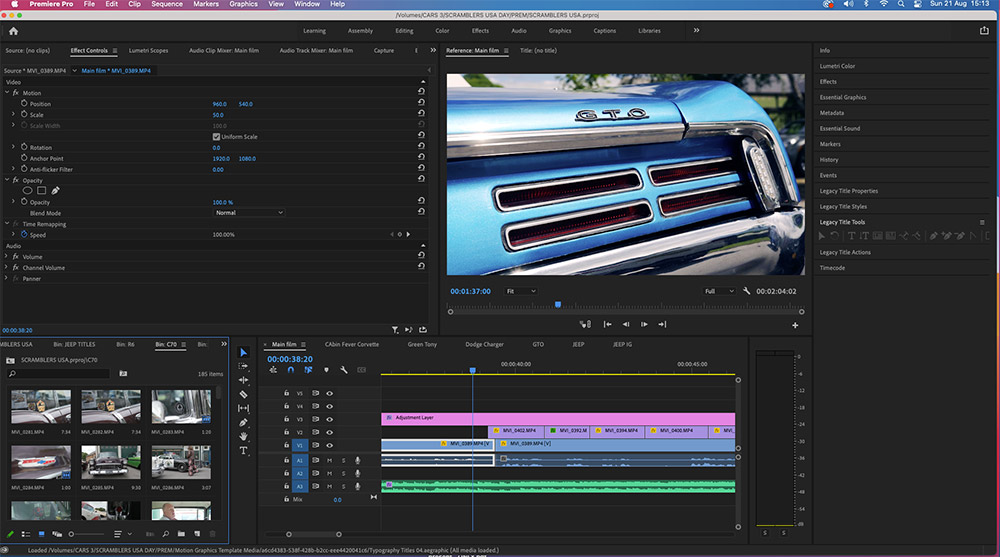
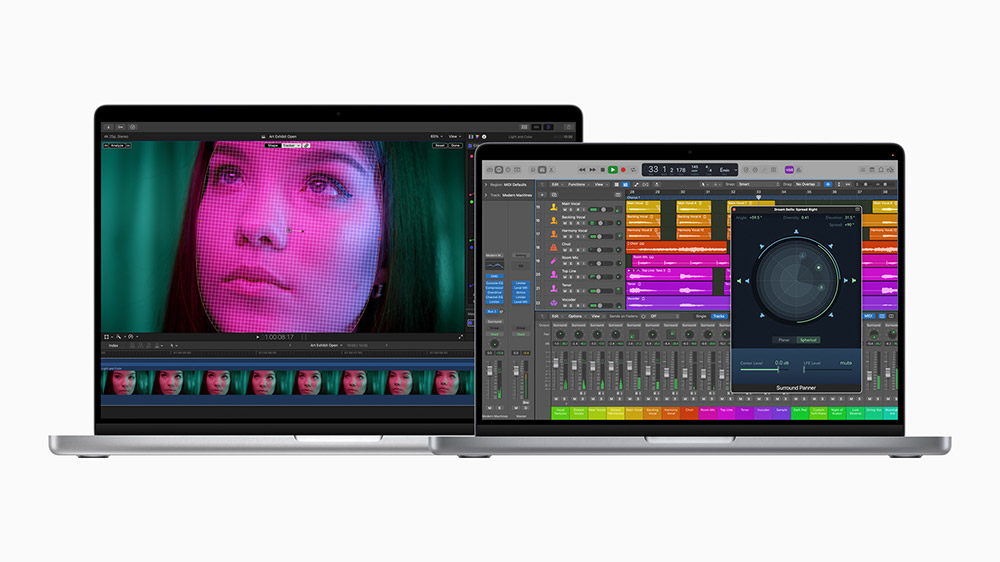
The truth is there’s plenty of video editing software out there to choose from, but it’s also true that most videographers tend to use one of two programs. Final Cut Pro, which is made by Apple, and Premiere Pro, which is made by Adobe. If you already subscribe to the full Adobe Creative Cloud suite, you will have full access to Premiere Pro. Alternative options include PowerDirector 365, DaVinci Resolve and Corel VideoStudio.
2. Import your footage
It can be tempting to just dump all your footage into software such as Premiere Pro and sift through it, finding the clips that you need. However, this is an awkward way of editing. Instead, before you import any files, create some sub folders and, if necessary, rename the files to describe what’s happening in them – for example, CEO Interview Part One. Then create replica folders in Premiere or Final Cut Pro, so that your files are properly organised and you are able to access them quickly.
3. Work with proxy files
If you’ve shot a lot of 4K footage, the editing can put a lot of strain on your computer, especially if you don’t have a huge amount of RAM. This will result in files not playing back properly and previews taking an age to load. The solution is to use proxy files. These are created when you import your footage using additional software such as Media Encoder. Essentially, the software takes the 4K file and crunches it down into a much lower resolution version, which is what you edit, taking the strain off your computer. When the final fit is exported, it jumps back into the full resolution so the finished product is unaffected by the proxy file.
4. Work with layers and timelines
The main interface in either Final Cut Pro or Premiere Pro is best described as a timeline, which is where you select and place your footage to create the movie. As in Photoshop, where you can add a new Layer and place an asset over the top of another Layer, the same applies with video. So as a basic example, you can have an interview running on the first Layer and then place B-roll footage on the second layer. Because the B-roll footage is on a higher Layer, this will become visible rather than your interview footage.
5. Work offline
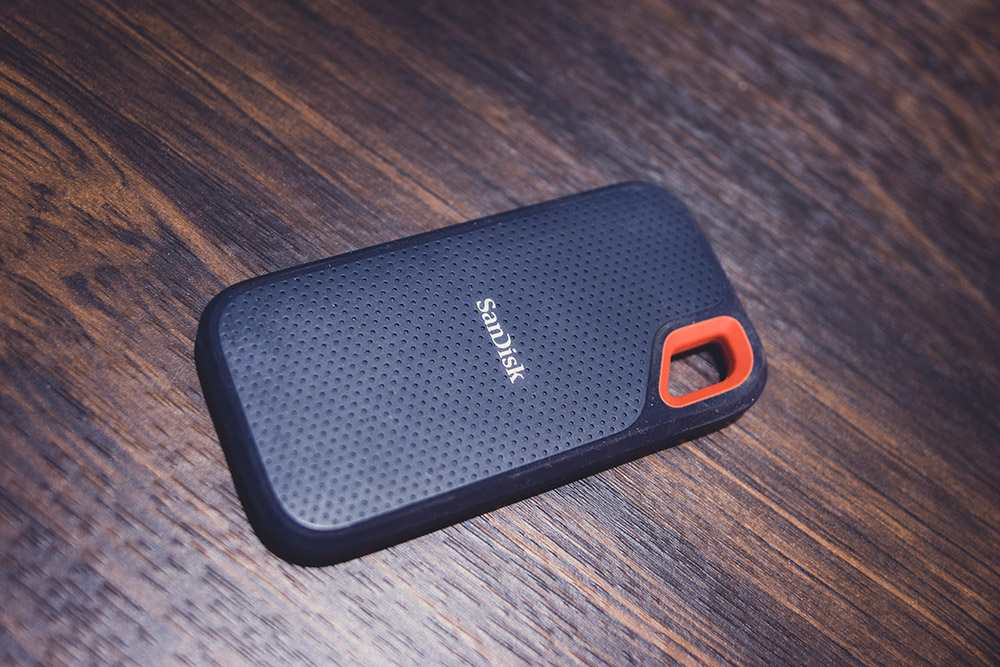
Copying 100GB of video files to your computer’s hard drive is a bad move – not only will it eat up your computer’s memory, but it will also slow down its performance. The solution is to keep all your video files on a separate external hard drive. When editing in Final Cut or Premiere Pro, the computer will automatically link to them once imported into your video project, so they don’t need to be on your actual computer at any time during the editing process. External hard drives are now more affordable than ever but, if your budget allows, opt for a solid state drive (SSD) rather than a standard hard drive. SSDs have far faster read and write speeds so will communicate information with your computer much quicker, ensuring the program runs smoothly.
6. Don’t forget the audio
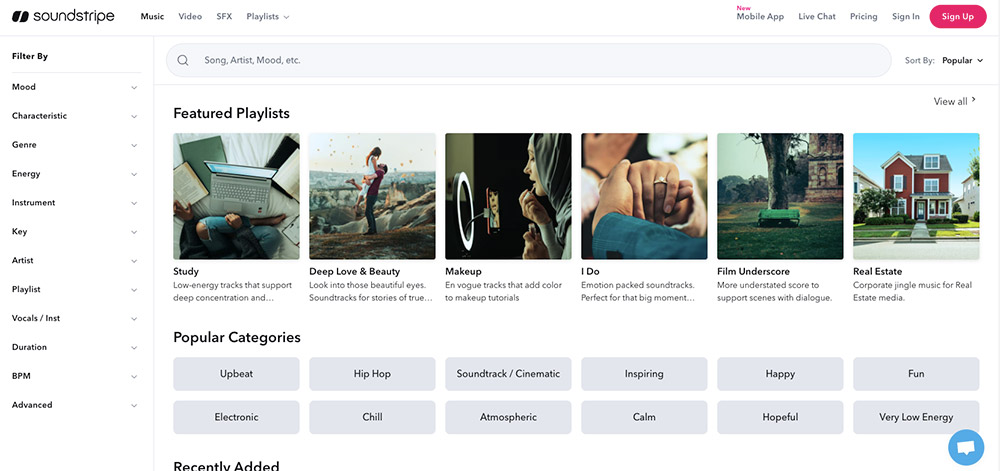
Remember, when it comes to videos, audio is just as important as the footage and software such as Final Cut Pro and Premiere Pro offer multiple audio channels. This means that along with footage attached to the video file (to use the interview example, the audio captured with that), you can also import additional audio, such as soundtrack music, for use on a separate audio channel. What’s more, once you’re up to speed, you can adjust the audio levels and even use features such as ‘ducking’ (where the music volume dips when someone starts talking). If you are on the look-out for backing tracks, sign up to a royalty-free site such as Soundstripe. Every track from its website can be used online and you get a special code that allows you to use it on websites such as YouTube without falling foul of licensing issues.
7. Get creative with your cuts
As your editing skills grow, you can start experimenting with cuts and transitions. Software such as Premiere Pro and Final Cut Pro offer a big range of default transitions such as cross fades, pushes and slides, which offer creative ways to transition from one video clip to another. These programs also make it easy to add elements such as titles, which you can overlay to introduce the film or identify a subject speaking to the camera. If you want to take things even further, you can buy and import additional elements such as transitions and titles from asset stocks sites, which will offer you more choice and help make your video look even more professional.
Control your colour
Similar to editing a still image, Final Cut Pro and Premiere Pro offer extensive options to make the most from your video footage as well as the chance to get creative. Sliders enable you to alter Exposure, adjust Shadows/Highlights and also tweak elements such as Contrast, Sharpness and Saturation. You can also work with Look Up Tables (LUTs), which are best described as filters that add a stylised effect to your footage. LUTs are essential if you are filming with a Log profile (such as C-Log for Canon cameras or F-Log for Fujifilm bodies) as the footage you will get when filming in Log will look very flat. However, once a LUT is added, you can grade the footage and make more of the Highlights/Shadows from the tonal data.
Related articles:
How to set up your camera to shoot video
The essential gear guide for video
9 Common Video Problems and How to Fix Them
How to get outstanding audio in your videos
Find the best cameras for video, vlogging and YouTube
Follow AP on Facebook, Twitter, Instagram, and YouTube.