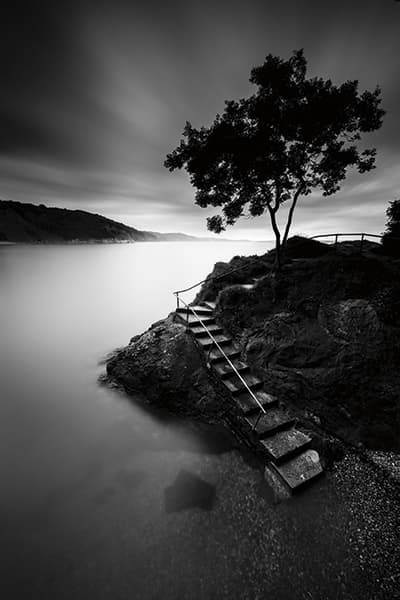
Connect with the landscape and your images will be all the better for it, as Paul Sanders explains in his article on fine art landscape photography. He shares more about his long-exposure work below…
It took me a long time to discover the style of photography that matched my emotional and spiritual responses to what I was seeing, as I stood in the wind and rain that usually accompanied my expeditions. Many people see long-exposure work as a bit of a cliché: misty water and a few sticks in the sea; drifting clouds and an overly light high-key look. Yes, it can be, but the same can be said of many aspects of photography.
Personally, long-exposure photography allows me to explore a sense of calm; a visual relaxation that matches the way I feel when I look at the landscape. In my previous job as picture editor of The Times, I used to look through somewhere in excess of 20,000 images a day trying to find the perfect one for the front page. I lived my life at break-neck speed, barely taking a breath. When I left The Times at the end of 2011, I was convinced there must be more to life than what I had. I needed to get more out of myself photographically and that’s where long-exposure work came to the rescue.

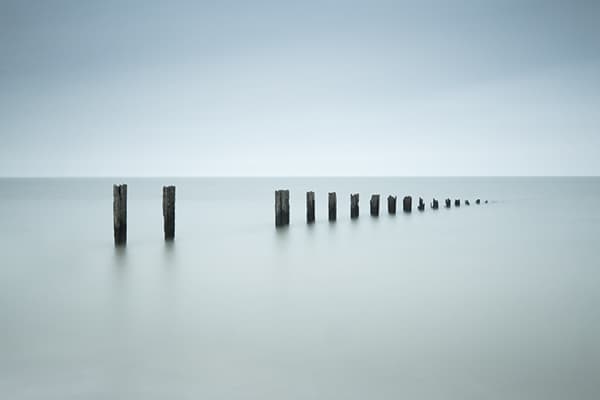
Long-exposure photography can allow you to explore a sense of calm.
Get started with fine art landscape photography
Have a connection
Before we get into the technical side of long-exposure photography and counting exposure increase, there is something far more important than the technical issues – it’s vision, interpretation and connection with your subject.
I love what Ansel Adams said:
‘A great photograph is a full expression of what one feels about what is being photographed in the deepest sense and is, thereby, a true expression of what one feels about life in its entirety.’
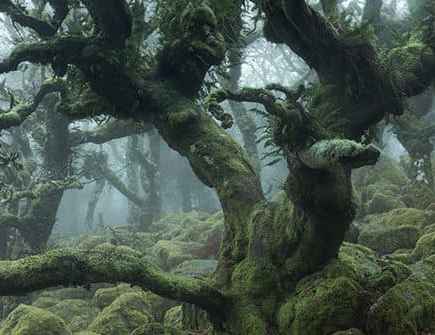
You have to be able to connect your emotions to the landscape around you. It’s no good just shooting lots of images in the hope of getting a good one. Instead, shoot a picture that really captures how you feel at the time, and perhaps shoot a second image. If nothing else, long-exposure work will stop you from shooting lots of needless images. The one thing you’ll need in abundance is patience, not memory cards.
Think about what mood you want your images to reflect.
My very first long-exposure image was a mistake. I set up my Horseman SW612 medium-format camera in my bedroom window one Christmas night to take a picture of the snow under moonlight over the Pennines. I’d had a glass or two of wine – probably slightly more – and wasn’t in the sharpest of mind frames. I vaguely remember taking a meter reading off the snow with my spotter and thinking it was darker than it looked. So I set the aperture to f/11 and thought five minutes would do it. Four hours later I returned to the bedroom and saw the camera, remembered what I had tried to do, laughed drunkenly and closed the shutter.
Thankfully, now my images are somewhat more considered and a lot less wine is consumed in making them!
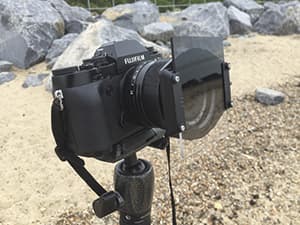
Filters
For me, long exposures are anything over 30secs, although most Facebook groups argue that it should be anything over 1sec.
The filters are the key bit of equipment that you should pay attention to. They will depend on your budget, but – and it’s a big but – more expensive brands like Lee and Formatt Hitech are without a doubt better in manufacture, consistency of colour and density.
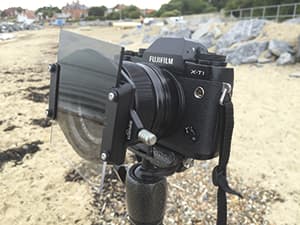
So when it comes to filters, buy a system with a holder and adapter rings. You can mix filters with systems too. I use Lee adapter rings and holders, and some of their filters, but I also use Formatt Hitech. They are all 100mm and are interchangeable. Don’t buy the variable screw-in filters as you can’t accurately predict what density you are shooting through, and don’t buy cheap brands of filters because the colour of an ND filter is meant to be neutral, not pink or green.
Development in filter technology saw the rise of Magnetic filter systems that don’t require a separate adapter ring, making it really quick and easy to change the filters.
For more information read our guide for the best filters for landscape photography.
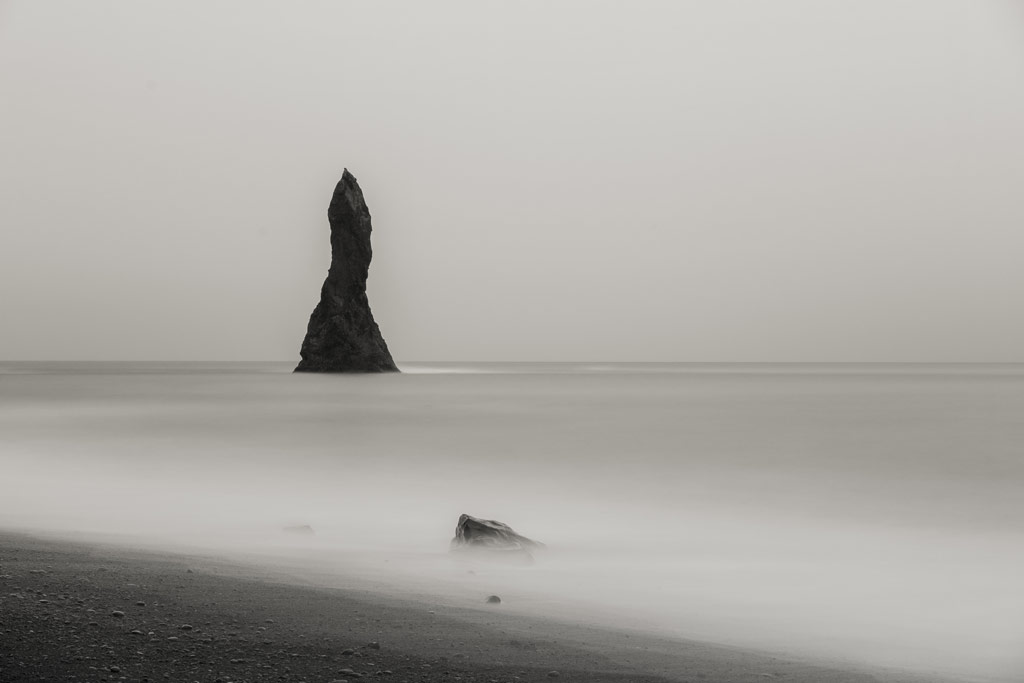
Reynisfjara Black Sand Beach 10 + 3 stops ND filter A7Rii 55mm f1.8. Photo credit: Fuyu Yeo on Unsplash
Locations and subjects for your fine art landscape photography
You can shoot any subject with a long exposure, but before you invest five to ten minutes of your time you have to ask yourself what is moving and what is stationary. Are you trying to capture a fast-moving sky over a city skyscraper, water swirling through a series of rocks or the incoming tide?
As a starting point, most people begin with groynes on beaches, with the tide breaking around them. This right-of-passage shot allows you to experiment and learn your craft, as everything apart from the groyne – like the clouds and tide – moves, giving you a quick positive result.
Composition is still very important. Many people seem to think that milky water or a blurry cloud will replace a well-executed image, but it won’t. So think about how you would normally compose your pictures and work with that, or allow yourself to start from the beginning and use very basic compositional rules to help.
I always work in the same way. I’ve made many mistakes and probably still have many to make, but as a result, I have a workflow that works for me.
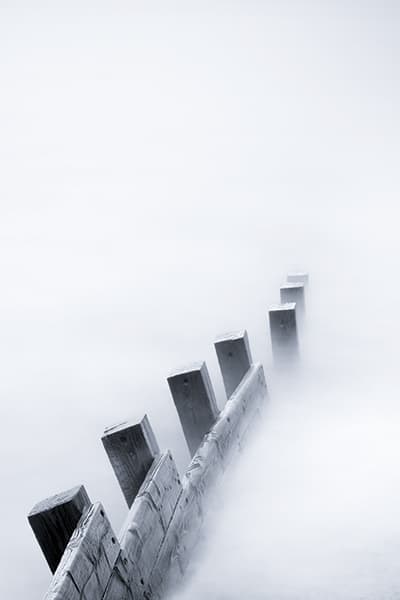
Groynes are a good starting point to hone your skills.
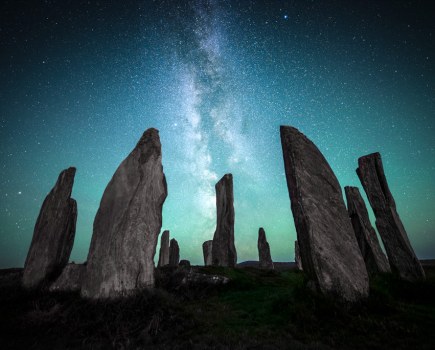
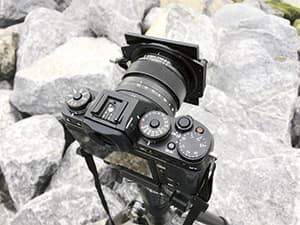
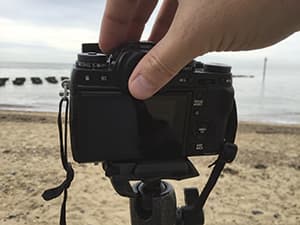
I find my location, spend a great deal of time seeing how things are, and then start to form an image in my head. Once I know what I want to achieve, I set up my tripod and I always make sure it’s level. Good tripod craft is essential. So many people don’t bother to extend the tripod legs correctly or get the tripod level and they make life hard for themselves from the outset.
I place the camera and lens on the tripod, then attach the cable release and the filter holder. At this point, I turn the camera on and make sure the ISO sensitivity is nice and low. One very important thing to check before you start shooting is the menu. Find the ‘Long Exposure noise reduction’ and turn it off. If you leave it on, the camera will shoot a second exposure that is essentially a black frame to eliminate any noise generated during the exposure.
This will take as long as the first exposure but will render your camera useless for the duration, meaning you can’t take as many images as you may want to.
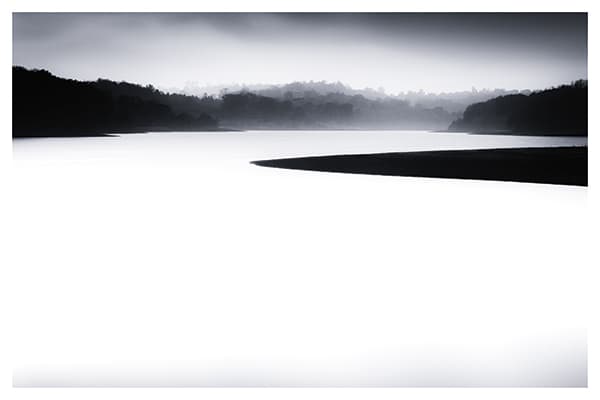
Once you’ve found your location, take the time to study it before shooting.
Framing
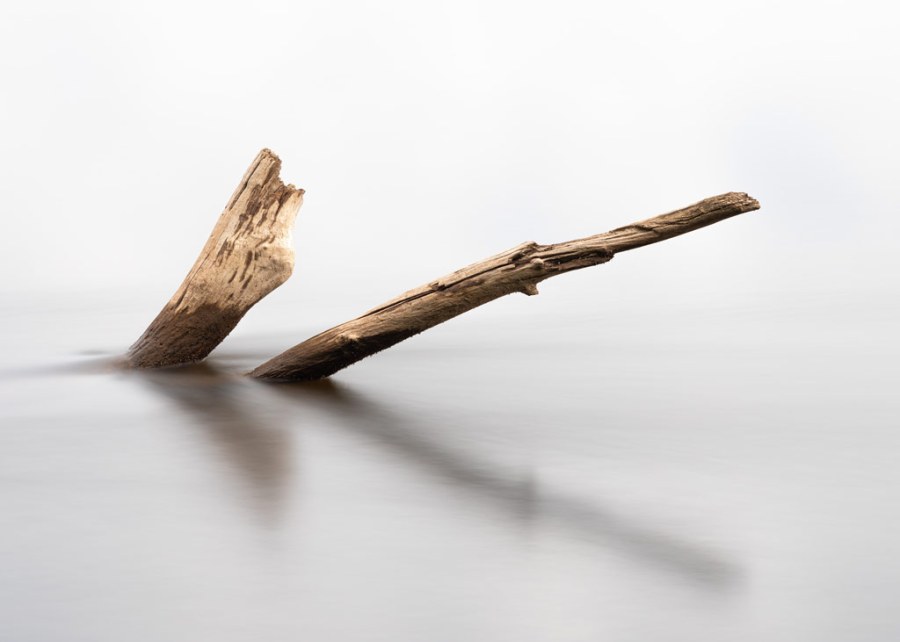
Fine-tune your composition. Make sure that only the things you want are in the frame and they are where you want them. When shooting long-exposure images, errors in composition stand out like a sore thumb. If you’re trying for the minimalist look, make sure there is no clutter around the edges of the frame. Place the elements deliberately where you want them and think and see the image in your mind’s eye before you press the shutter.
You can then think about taking your image. Using a heavy-density ND filter means that it’s a little more complex than simply firing the shutter. See my step-by-step guide below on how to calculate the exposure.
Remember, though, that the key to success is practice, practice, practice – but also to enjoy using the technique. Hopefully, you’ll persevere through the learning curve and produce some beautiful images that reflect a sense of space and calm.
Make sure there’s no clutter around the edges of the frame.
Fine art landscape photography: Common mistakes
Some ND filters have a slight blue cast, but you can easily remove this by shooting raw and adjusting in post-processing. Alternatively, you can adjust the white balance at the time of shooting. Use the custom white balance setting and set it to between 8,000K and 10,000K, and the blue cast will disappear.
You may have flare down one side of the image, as the sun can cause flare if it’s to the side of the camera and reflects through the edges of the filters. On a sunny day, I often shield the filters either with a cloth over the edge, gaffer tape or even just my hand.
If you use very strong ND filters – 10-stop and above – you may notice the subtle branding from the front of your lens is reflected onto the back of the filter. This normally occurs when using very wide-angle lenses. So I use black tape or paint to cover the white writing on the front of my lenses.
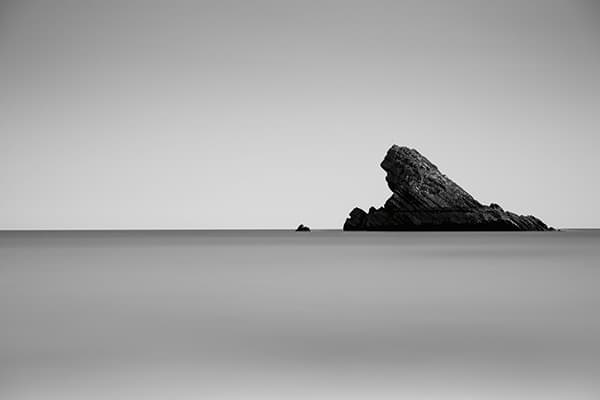
Use the rules of composition for strong results.
Need some more fine art photography advice? Check out our guide here.
Paul’s step-by-step guide for calculating exposure
Base exposure
I usually do a test exposure to establish what the image will look like without any filters. I expose for the shadow areas, aiming to get detail in them, which pushes the histogram to the right. Then I add an ND graduated filter to control the contrast from the sky or brighter areas of the scene.
Note exposure

Once I am happy with the addition of the graduated filter (if I have a straight horizon I’ll use a hard grad, otherwise I use soft grad), I re-check the exposure – this becomes your base exposure. For the sake of argument, let’s say the exposure is 1/4sec at f/16 – make a note of this or remember it.
Focusing
Before you add your ND filter, double-check your focus. Then turn off the AF and just check again to see if your image is sharp. Most AF systems can’t see through the dark glass of a 10-stop ND filter, so if you leave the AF on and try to take the picture, the AF will hunt and your image will be out of focus.
Set to bulb
Add your ND filter and turn your camera to its bulb or ‘B’ setting. Check that your aperture hasn’t changed. On some Canon models, the aperture doesn’t carry over to B and you have to reset it, so please double-check! You now have to recalculate the exposure to allow for the 10-stop ND filter in front of the lens.
Calculate

Some filters come with a piece of paper that gives you approximate conversions. Or you can – as I do – use one of the many apps available. I use ND Timer, but there are lots available. Some have a countdown timer too, which is very useful if you haven’t got a timer on your cable release or camera.
Shoot
On the app, input your base shutter speed and the strength of the filter. Here, a shutter speed of 1/4sec becomes 4mins 16secs with a 10-stop filter. If you have an eyepiece blind, use it to prevent stray light from entering and causing strange flares. Now press the button on the cable release and lock it, start your timer and wait.
What gear do I need for fine art landscape photography?
Camera
Although most cameras have built-in timers, a camera with a bulb (B) is very useful. Plus either an electronic or screw-in cable release with a lock.
See our buyers advice and reviews for the best options.
Filters
A 0.6 (2-stop) graduated ND filter, a 10-stop ND filter and a 3-stop ND filter should get you started.
Lenses
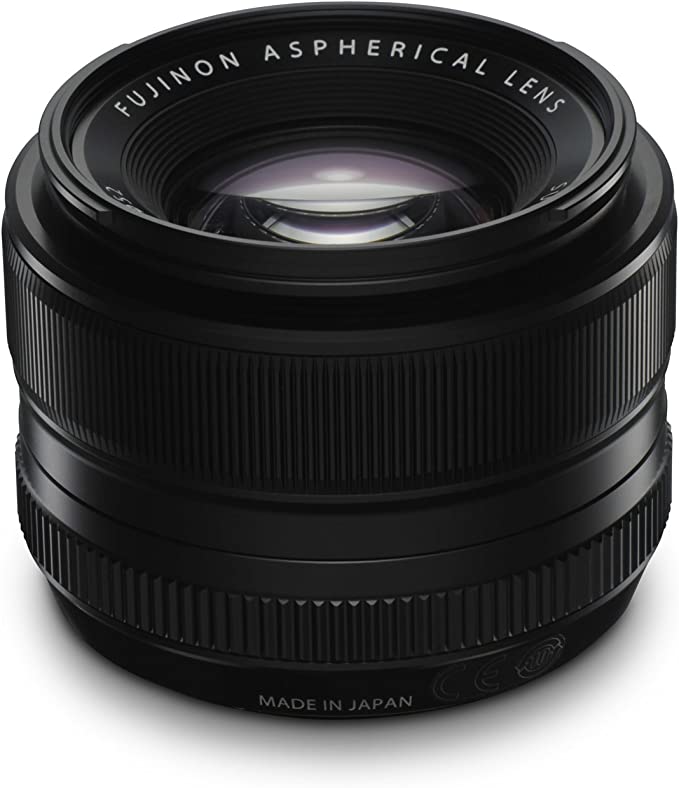
Fujinon XF 35mm f/1.4 R
Don’t always choose a wide-angle lens and think it will make the best focal length. Lens choice is personal and entirely related to the subject. The lens I use most is my Fujinon XF 35mm f/1.4 R.
See our lens reviews and buying advice here for guidance.
Tripod
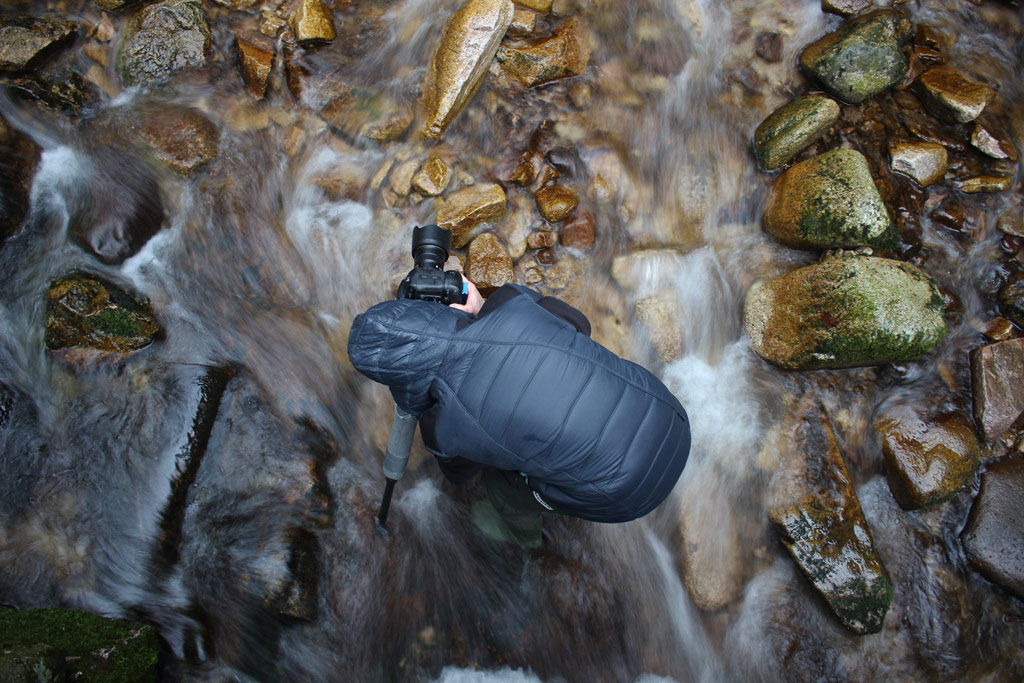
Using a tripod is fundamental for long exposure photography. Photo credit: Noah Feldman on Unsplash
Give your camera that extra support and use a tripod to keep the camera steady. Especially when experimenting with long exposures in your fine art landscape photography.
Protection
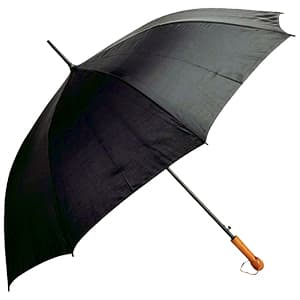
If it’s windy you may have camera shake, so try shielding the camera with your body or an umbrella.
Featured image: Out of Water. Photo credit: Dave Hoefler on Unsplash
Further reading:
- What is Fine Art photography?
- Fine art photography and how to do it
- Top fine art portrait photography tips
- World’s best fine art photography revealed
- Improve Your Photography