Events photography requires you to think fast, react to the ambient light and to predict where your subject will end up in the frame. It draws lots of parallels with wildlife photography and your aim is to record the optimum moment and to capture the atmosphere. We’ll explain how to photograph events, whether that’s at festivals, music gigs, or simply at public events.
Lead image: Copyright Claire Gillo.
Welcome to the AP Improve Your Photography Series – in partnership with MPB – This series is designed to take you from the beginnings of photography, introduce different shooting skills and styles, and teach you how to grow as a photographer, so you can enjoy producing amazing photography (and video), to take you to the next level, whether that’s making money or simply mastering your art form.

Each week you’ll find a new article so make sure to come back to continue your journey. The start may seem basic to some photographers, but it’s an important step in making sure you’re comfortable with your equipment and the basics of photography, as it’s part of the foundations that help build into great photographs, and once you know these, you’ll be able to play with them, and understand further articles in this series.
There are many types of events you can photograph from birthday parties, church services to large music festivals – really the term events just covers a gathering of people with something going on. There are many challenges that come with event photography such as low-light issues, however if you enjoy people watching and connecting elements in the scene then you’ll enjoy photographing events too.
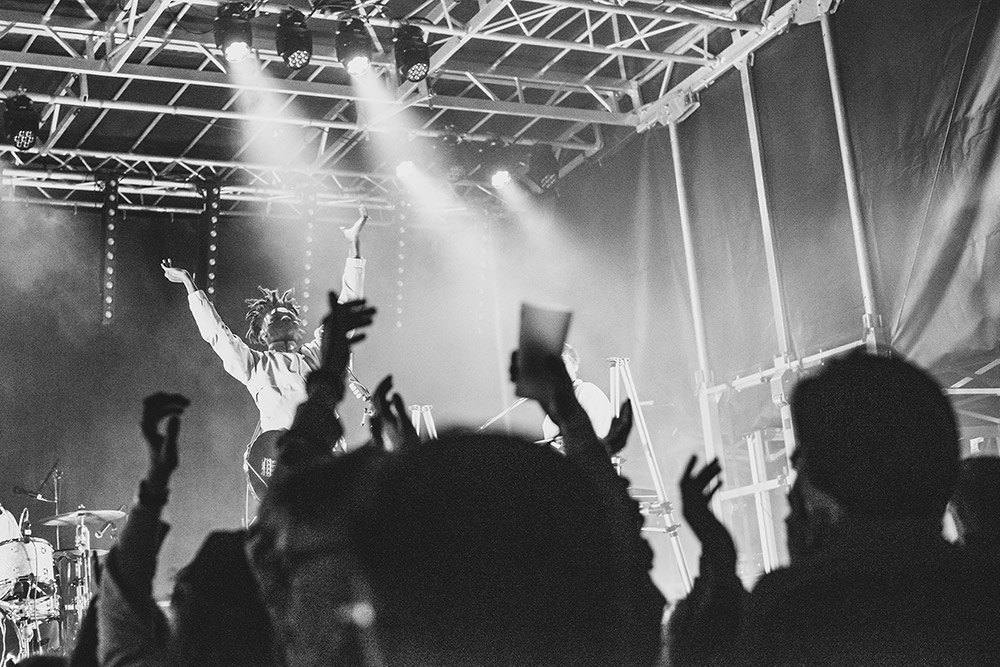
Metronomy getting the crowd going at Sea Change Festival in 2019. Taken on a 50mm lens. Copyright: Claire Gillo
What do I pack?
When it comes to shooting an event, less is more. You want to be nimble, light, and not have a back ache from an overloaded rucksack. A mirrorless camera has distinct advantages such as a lighter body frame, touch screen focus, and a silent shooting mode so you can be discrete in quiet situations, however really it doesn’t matter what you shoot with. I actually shoot with a DSLR and am very happy with the results! You simply need a camera and lens and to be ready to go.
Prime position
With event photography what conditions you are going to be shooting in will determine what lens or lenses you’ll want to pack. For example in low-light, prime lenses (these are lenses with a fixed focal length) are preferable as the aperture can be opened to a wide setting (for example f/2, f/1.8 or even f/1.4 on some). When you’re shooting in little light this makes a world of difference. The disadvantage with a prime lens is you’re at a fixed focal length so if you want to get in closer to your subject you have to use your feet!
Get in close
Zoom lenses are undoubtedly useful in some situations, like when you can’t physically move but you want to get a close shot of your subject. However the disadvantage with a zoom lens over a prime is unless you invest in one with a wide fixed aperture setting (preferably f/2.8 – which are expensive) you may struggle in low-light. Most cheaper zoom lenses, like the kit lens for example, come with a variable aperture range between f/3.5 and f/5.6 depending on where the focal length is set. In low-light if you’re shooting at f/5.6 you’re really going to struggle and will have to compensate with the ISO setting, which can greatly deteriorate the overall image quality.
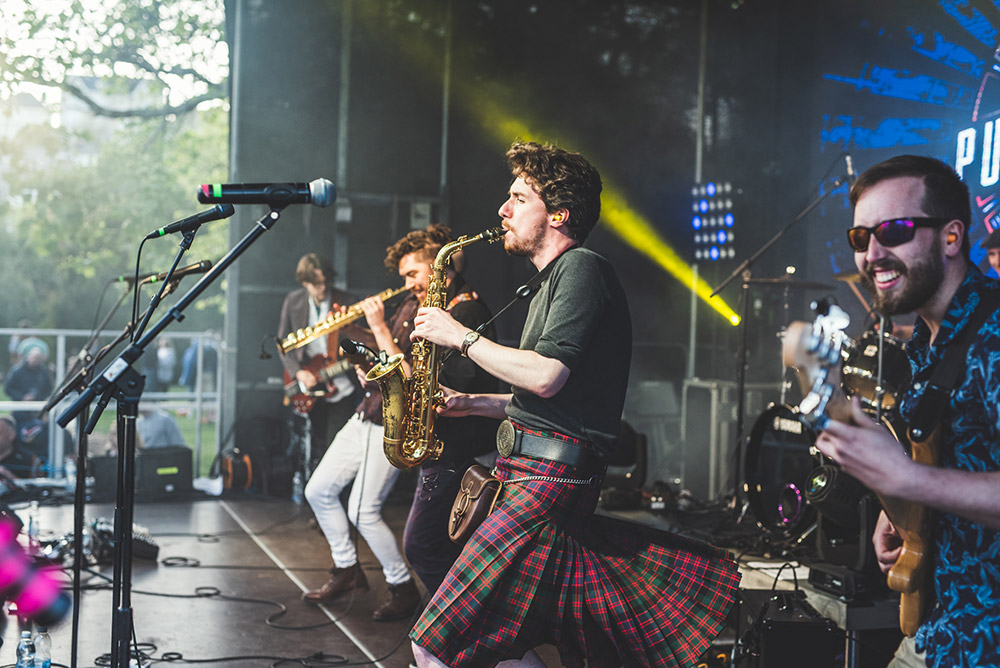
Punch the Sky. Taken for Dart Music festival, May 2022, Copyright: Claire Gillo
Top tip! Pack a spare memory card and battery. It’s amazing at how many pictures you can snap in a few minutes – be fully prepared!
Events Photography Equipment checklist:
- Camera
- Lens. Between 1-2 lenses (we always pack 50mm and 85mm primes). Keep it light.
- Camera strap. Be comfortable and keep your camera safe.
- Spare memory card.
- Spare battery.
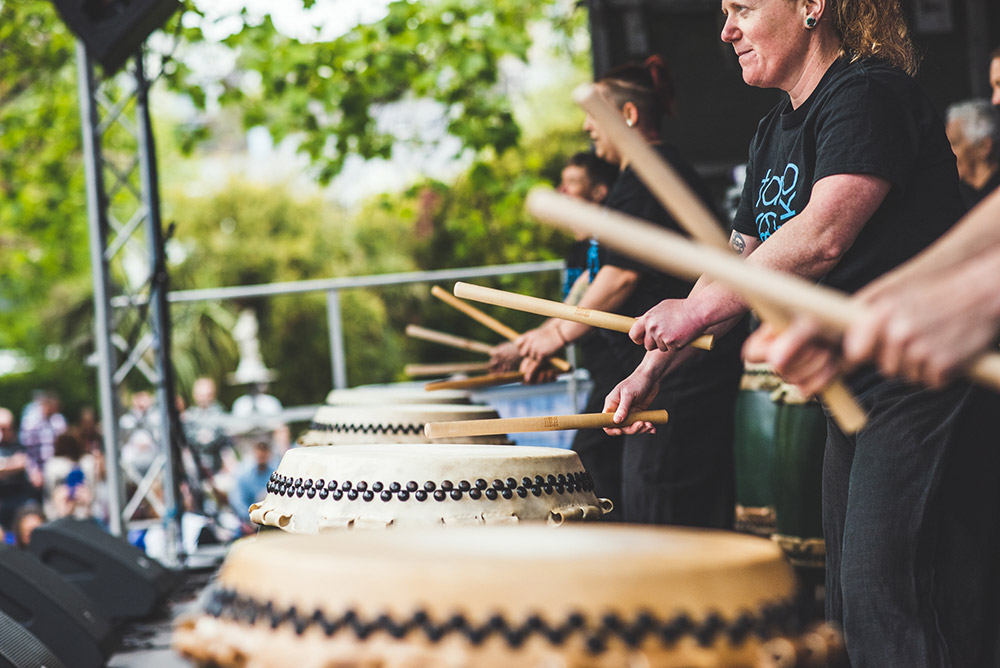
You want to be as light and as nimble as possible to get the shot so don’t overpack! Copyright: Claire Gillo
Stay in control
When it comes to setting up your camera to get professional results you need to be in control. We suggest either shooting in the aperture priority mode or use the manual mode. If you do the latter select your desired aperture and shutter speed and then put the ISO into Auto setting. This means your camera is balancing the exposure with the ISO.
To ensure you keep your shutter speed at a fast enough setting, open your aperture to a wide setting, for example f/2.8. Unless you’re shooting in bright daylight your ISO will also need to be pushed up. To capture any fast movements you’ll need a shutter speed of at least 1/500 sec or above.
Top Tip! To ensure your subject stays sharp in the frame, set your focus to the continuous tracking feature.
With event photography the less you need to think about your camera settings the more likely you’ll be able to capture the moment. Learning where to stand, tweaking your camera settings and capturing the moment all at the same time comes with experience so don’t be put off if you find it overwhelming to begin.
Ask yourself these questions:
- What is my aperture setting? In low-light open it wide.
- What is my shutter speed setting? Remember it needs to be fast enough to capture the action – i.e. 1/500 sec or above.
- I have a wide aperture setting and my shutter speed is still too slow – what should I do? Increase your ISO.
- What about focusing? Use the AF setting, with the tracking feature switched on for sharp results.
Top Tip! When photographing stage lighting it can be very easy to overexposure the scene so knock the exposure compensation setting (EV) down between -0.3 and -1 stop. The more you shoot the more you get to know your camera and how it exposes the scene.
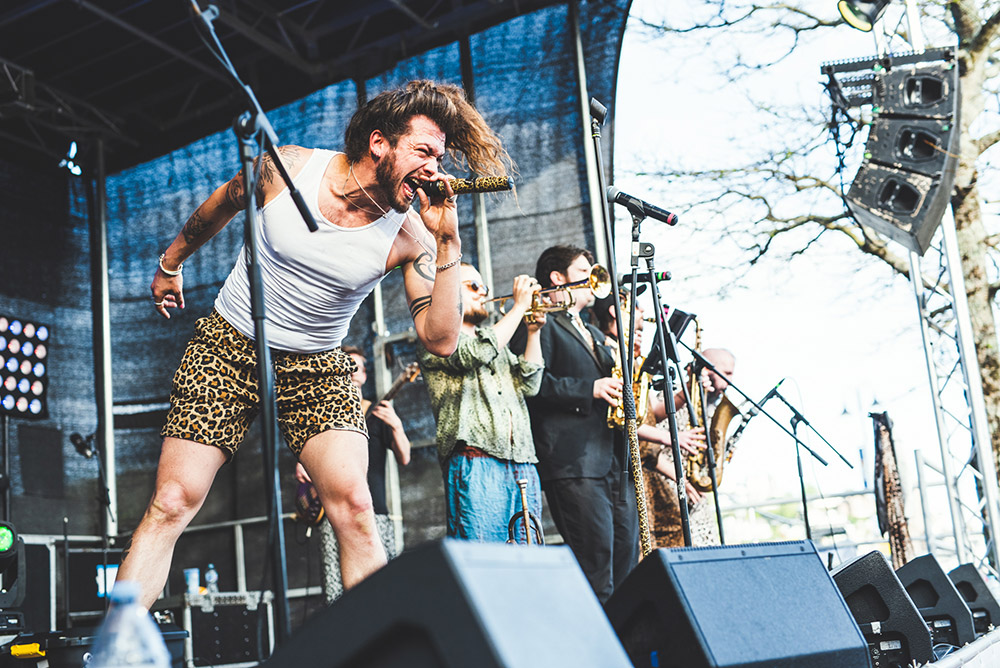
Set your focus to the tracking mode so you can keep your subject sharp. Copyright: Claire Gillo
Right place – right time
When shooting any event you need to be in the right place at the right time. This partly comes down to experience but preparation is also key. Recce the location beforehand if possible and speak to event organiser/s or those performing to find out as much information as you can.
If you miss a shot don’t despair there will always be another moment to capture. Although it’s useful to briskly review your images as you shoot (really to see if your exposure is correct), try not to spend too much time ‘chimping’ as you’ll miss another moment!
Top tip! Look for foreground and background subjects that work together in the frame. This adds another element of interest to the image.
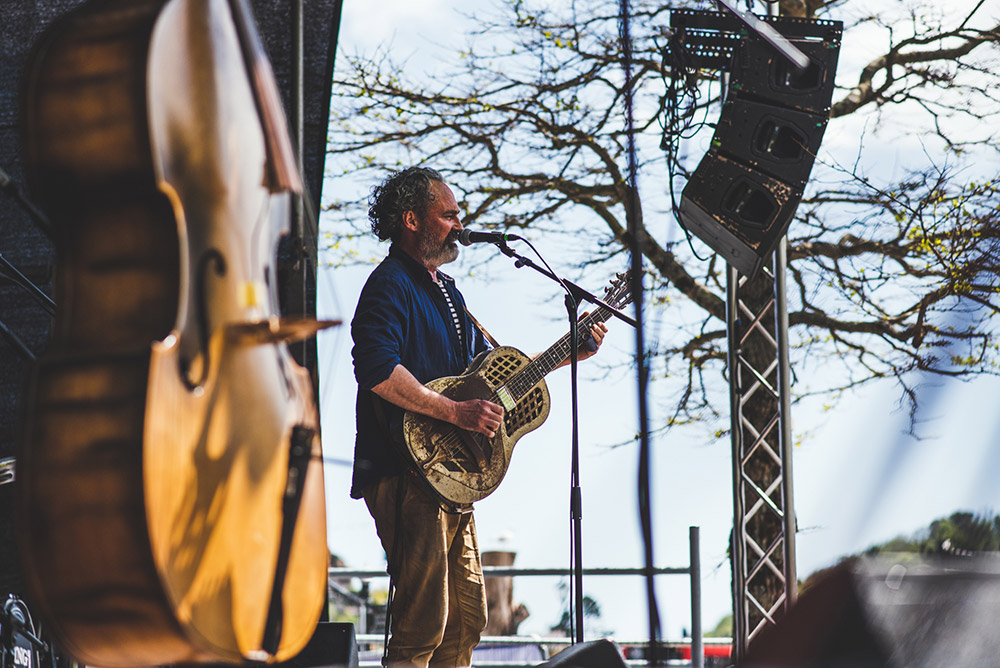
In this picture of Kingsize Slim taken for Dart Music Festival the instrument in the foreground adds another layer of interest. Copyright: Claire Gillo
Black and white vs Colour
Both a black and white edit and colour finish work well for event photography and how you choose to edit your images will depend on a variety of factors.
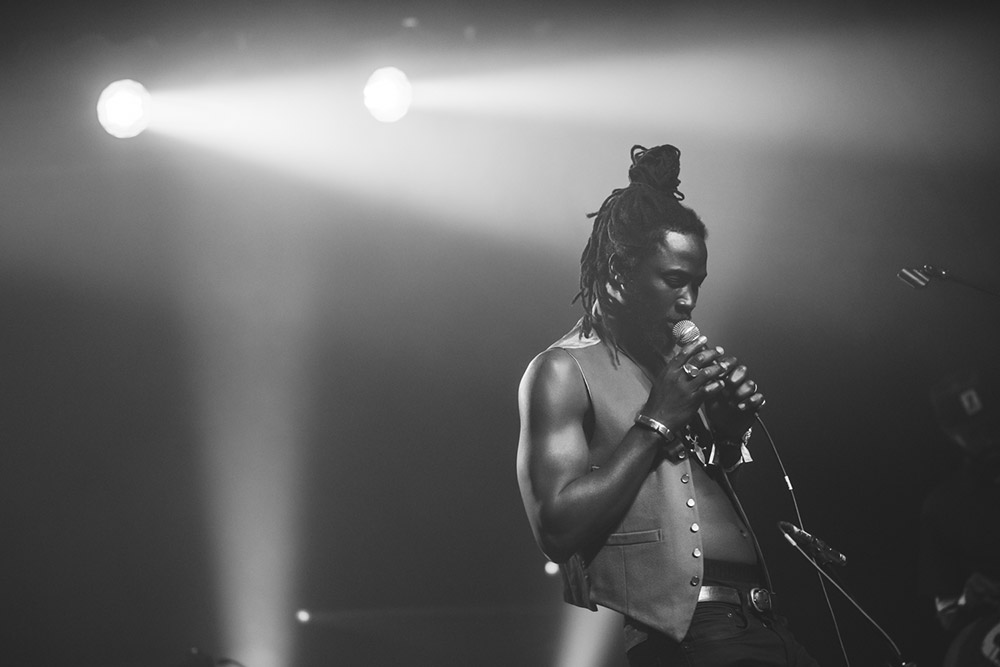
Fulu Miziki. Taken for Sea Change 2022. The image in black and white works better than the colour version (below) as the blue lights detract from the main subject. Copyright: Claire Gillo
Sometimes colourful stage lighting can add to an image whereas other times it can detract. In this example the black and white image is by far the stronger as it enables the viewer to hone in on the subject without any distraction. Have a play around with your images at the editing stage to see what works.
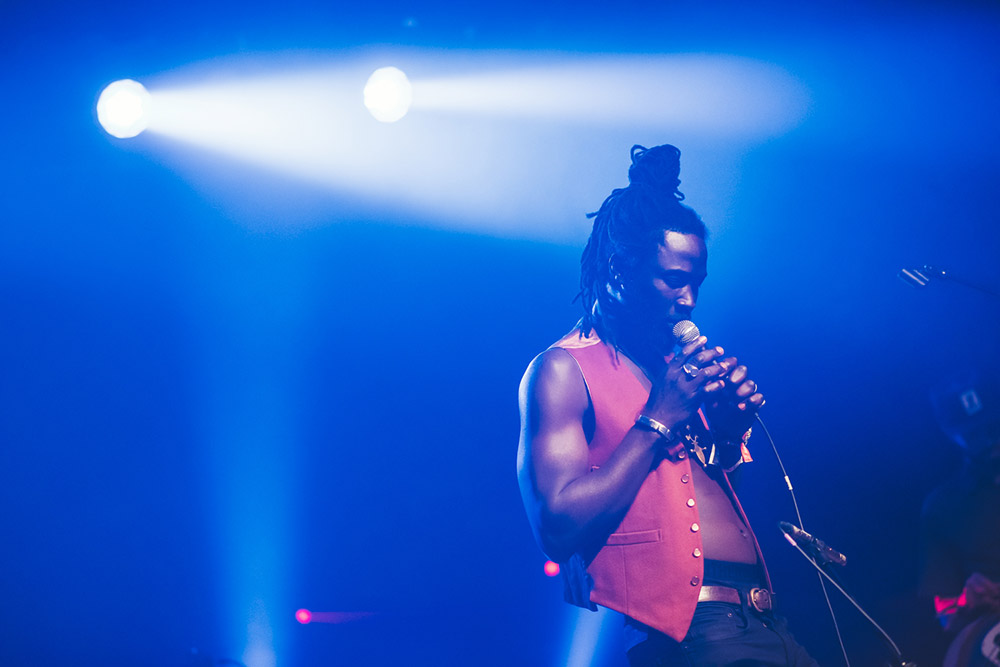
In colour – Fulu Miziki. Taken for Sea Change 2022. The image in black and white works better than the colour version as the blue lights detract from the main subject. Copyright: Claire Gillo
Fixing the noise
It’s inevitable that at some point when shooting an event you’re going to have to push up your ISO higher than you want. When this is the case you’ll need to do some post production work to fix the technical issues that occur with the higher ISO settings.
Most image editing softwares comes with a noise reduction filter so have a play around to see what you can achieve. If your image is correctly exposed you’ll find it much easier to fix any flaws compared to an image that is greatly over or under exposed.
Top Tip! Use the histogram setting on your camera to check your exposure. Make sure the highlights don’t blow and the shadows aren’t clipped.
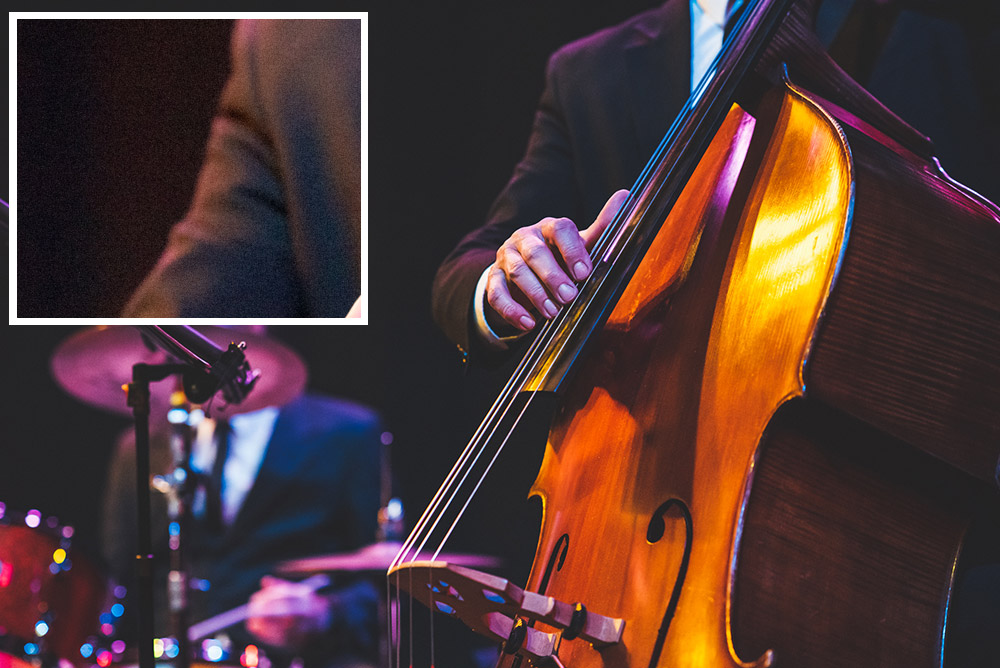
Noisy images can be fixed to a degree at the editing stage so push up your ISO when necessary. Before noise reduction shown in insert top left. Copyright: Claire Gillo
Explore all angles
Although it can be tempting to stay in one spot (especially if it’s a good spot) you need to move around and explore a space in order to get a variety of images. After you’ve taken the obvious and ‘safe’ images look for gaps in the scene you could shoot through or think about how to capture the crowd and how they’re reacting to the performance. Your images will stand out from others if you can show a different angle.
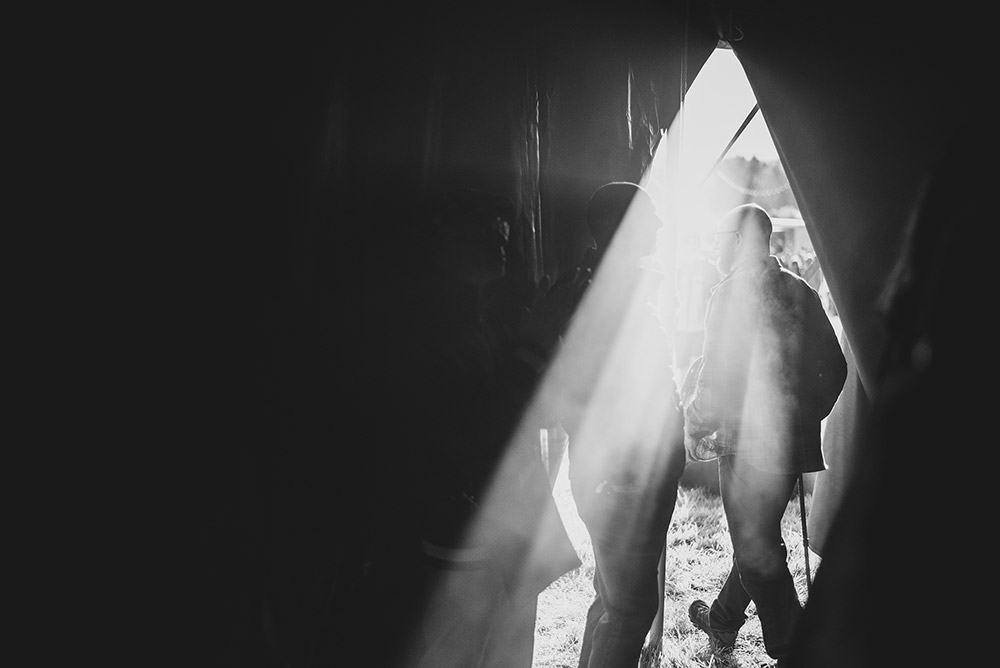
Look for the alternative angles and other images that are not so obvious to stand out. Copyright: Claire Gillo
Top tip! The crowd can be just as good to photograph as the main event. Look for people that stand out and find special moments amongst all the happenings.
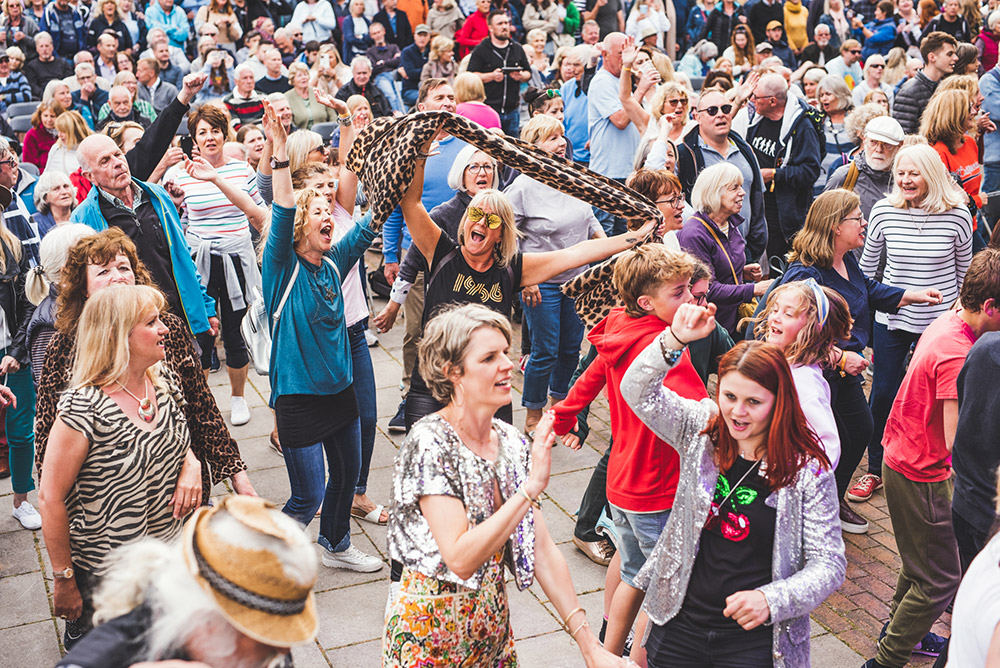
Pictures of the crowd from Dart Music festival 2022. Copyright: Claire Gillo
For more music photography tips, have a look at how to shoot live music.
Tune in next week, for the next article in the series of the AP Improve Your Photography Series – in partnership with MPB.
- Part 1: Beginners guide to different camera types.
- Part 2: Beginners guide to different lens types.
- Part 3: Beginners guide to using a camera taking photos.
- Part 4: Beginners guide to Exposure, aperture, shutter, ISO, and metering.
- Part 5: Understanding white balance settings and colour
- Part 6: 10 essential cameras accessories for beginners
- Part 7: Beginners guide to the Art of photography and composition
- Part 8: Beginners guide to Photoshop Elements and editing photos
- Part 9: Beginners guide to Portrait Photography
- Part 10: Beginners guide to Macro Photography
- Part 11: Beginners guide to Street Photography
- Part 12: Beginners guide to Landscape Photography
- Part 13: How to shoot Action and Sports Photography
- Part 14: How to shoot wildlife photography
- Part 15: Raw vs JPEG – Pros and cons
- Part 16: How to create stunning black and white images
Find the latest Improve Your Photography articles here.
Article: Claire Gillo

