You don’t need a studio space full of stands, clamps and backdrops to create striking still life photography. Two photographers talk to Tracy Calder about how they have made incredible images using what they find around them – from the dining room table to the boot of the car!
How to set up a still life studio: Angi Wallace
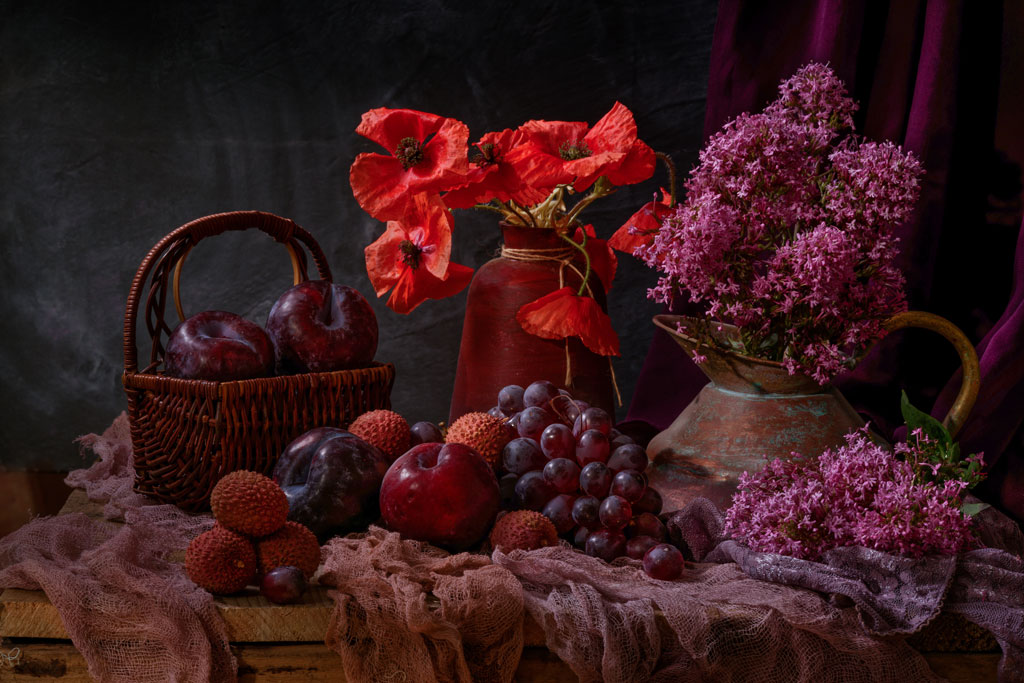
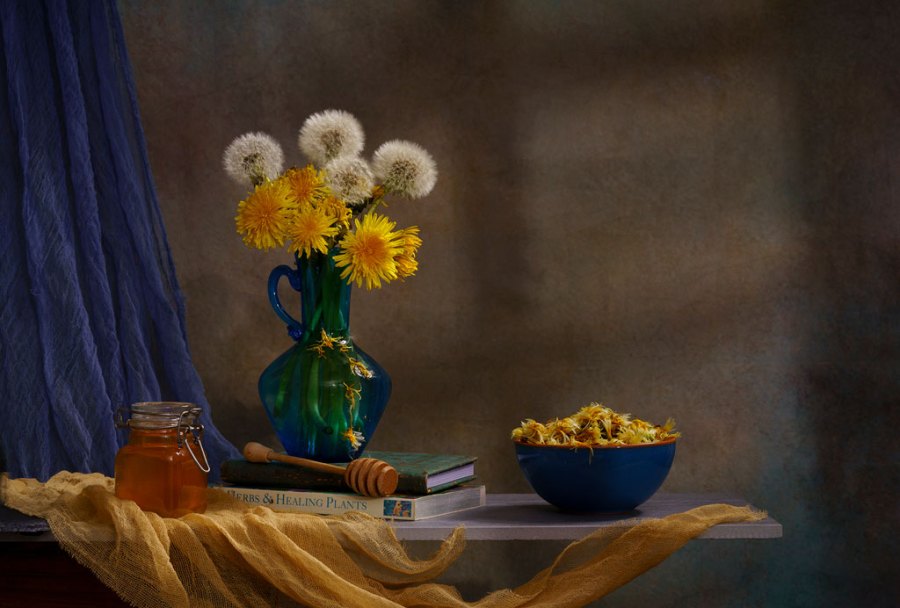
Photo credit: Angi Wallace.
Angi’s top still life tips:
- Set yourself a challenge: Every year Angi likes to try something new and really throw herself into it. ‘Shooting still life pushes me out of my comfort zone, and there’s still so much to learn,’ she says.
- Experiment with lighting: To begin with, Angi wasn’t that adventurous with lighting and tried to get everything nice and even, which made things look flat. ‘It’s a good idea to play around with lighting and include shadows,’ she suggests.
- Paint your own backdrops: One way of making sure that your backdrops are unique is to paint them yourself. Angi uses big boards, which she ‘slaps’ paint on and spreads it about with a sponge or material.
When Angi Wallace moved in with her partner, Michael, he soon discovered that he would never be eating dinner at the dining room table again. Angi commandeered the room for her photography, transforming the space into a mini studio. ‘Michael asked me when I was going to tidy everything up and I said “never”’, she laughs. It’s hard to complain about mess when your partner wins countless awards for her creative still life, floral and close-up work. ‘We eat in the living room now,’ she adds, with a smile.
The basic set up comprises a table, a series of backdrops on a pole (which Angi flips over), three lights and walls of shelves packed with vases and other photogenic props. ‘You can barely get into the room now and there’s hardly any space around the table for the lights,’ confesses Angi.
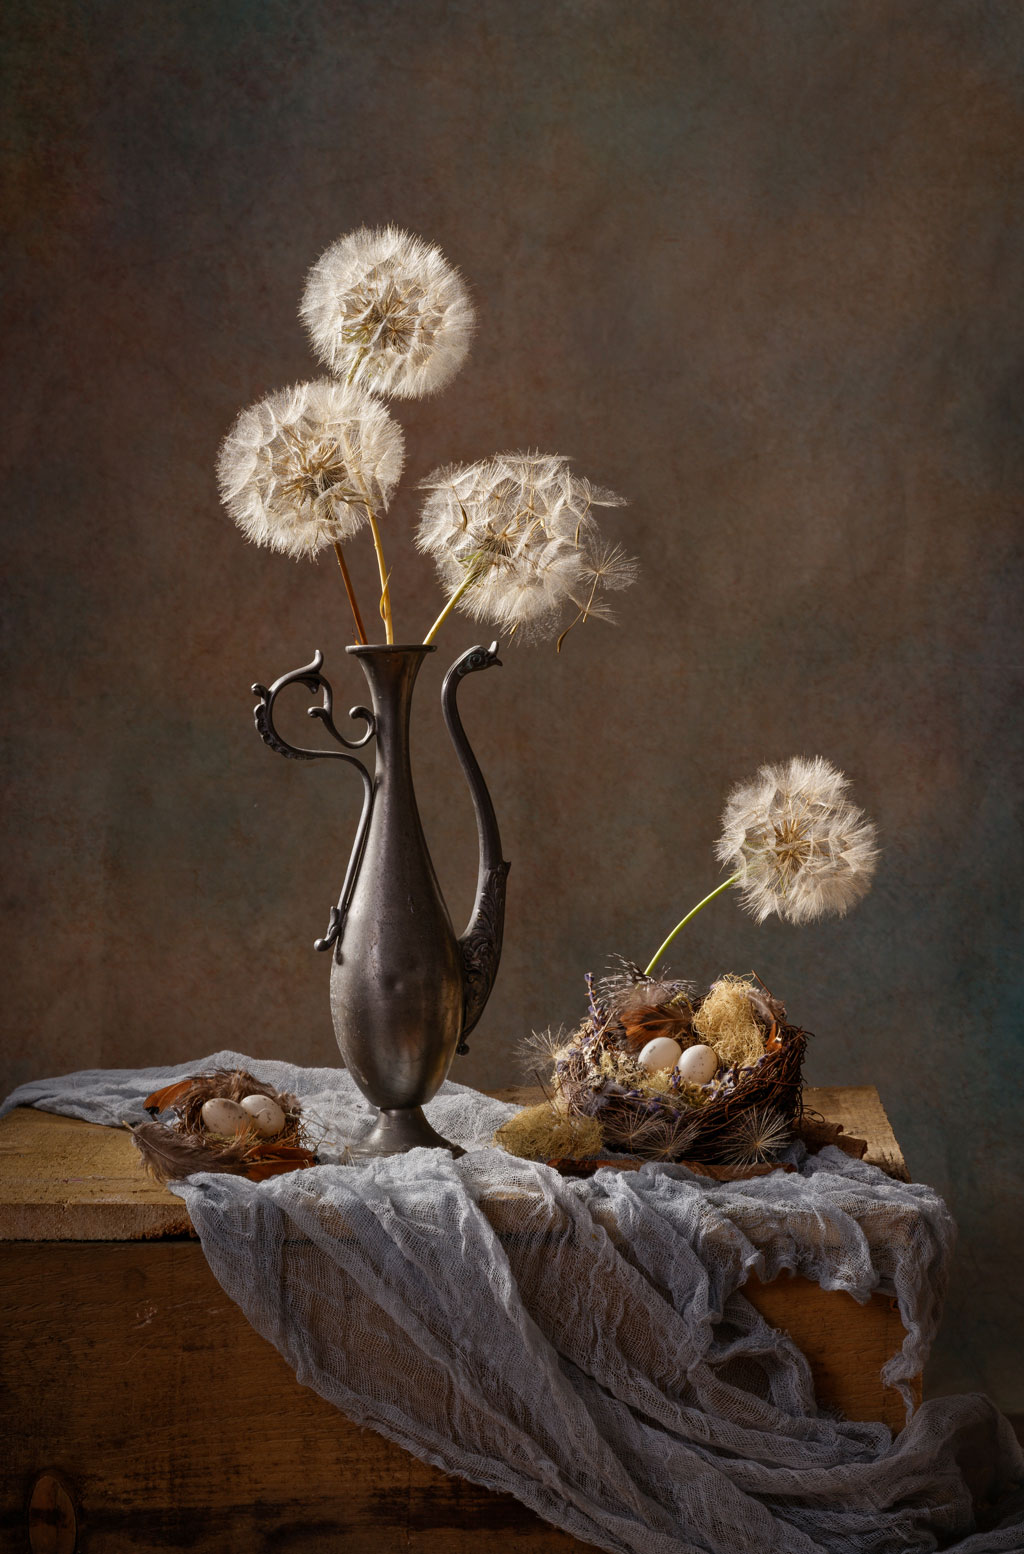
Photo credit: Angi Wallace.
Angi studied the history of art at school and believes this early training might have fuelled her passion for still life. ‘I like the Old Masters, but I’m also inspired by a lot of European and Russian still life painters,’ she says. There’s a lot to be gained from looking at accounts on Instagram, where people share their behind-the-scenes lighting setups, too. ‘These can be very handy to learn from,’ agrees Angi. ‘I find the setups people use are very much like the old-fashioned painters.’
When she started shooting still life Angi didn’t give much thought to the lighting. ‘I used to position a light on either side and just point it at the subject,’ she laughs, ‘I wasn’t very imaginative.’ Now, however, she is ‘obsessed’ with harnessing the power of light. ‘It’s not just about how it hits the subject, it’s about how it hits the backdrop and how it’s reflected back into the scene,’ she insists.
When it comes to setting up a still life arrangement, Angi sometimes starts with a theme. ‘I might decide to play with shadows, certain colours, shapes or textures,’ she explains. ‘I like playing around with colours that are opposite each other on the artist’s colour wheel – like purple and green.’
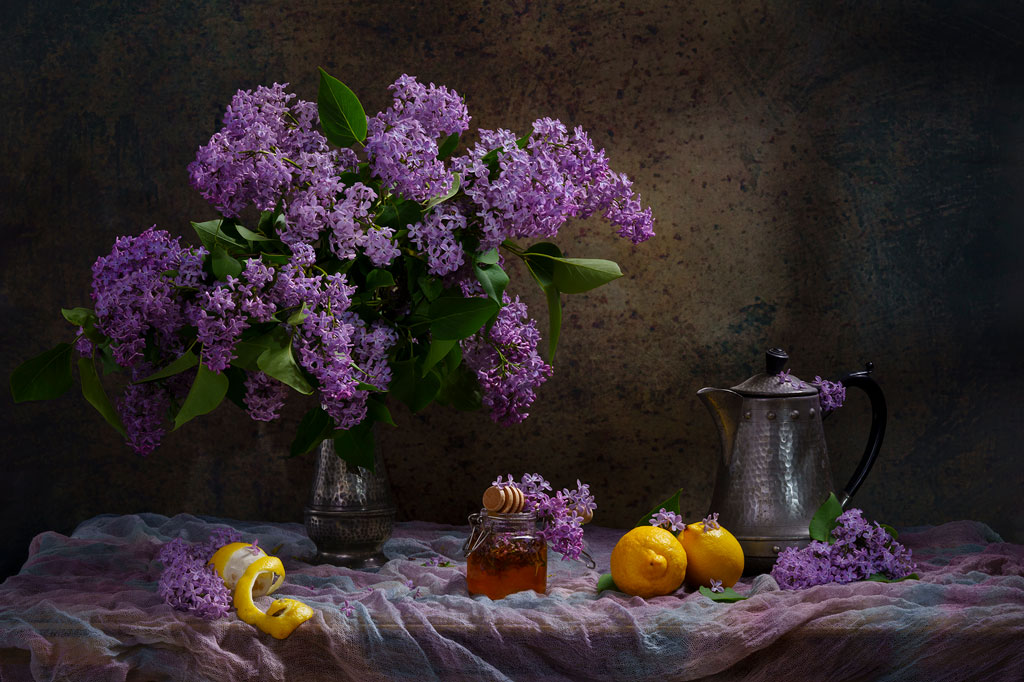
Photo credit: Angi Wallace.
Another tip is to use angles to guide the viewer’s eye through the scene. ‘You need to watch for lines when you’re positioning things,’ says Angi, ‘and you have to be careful that elements are not just touching – they need to fully overlap or have a clear space between them. If things are just touching it looks wrong.’ Angi often adds something to link the elements together – a piece of fabric, for example, which flows through the picture.
Angi finds most of her props in charity shops, but also uses eBay and Facebook. ‘I’m very cheeky, and I hardly pay anything for them,’ she admits, ‘most of the stuff I’ve got cost less than a fiver!’ The backdrops that help to give her work the feeling of the Old Masters are a mixture of homemade and shop bought. ‘I’ve got some really large boards that I paint with a sponge or material,’ she explains. ‘I just slap paint on and spread it about!’
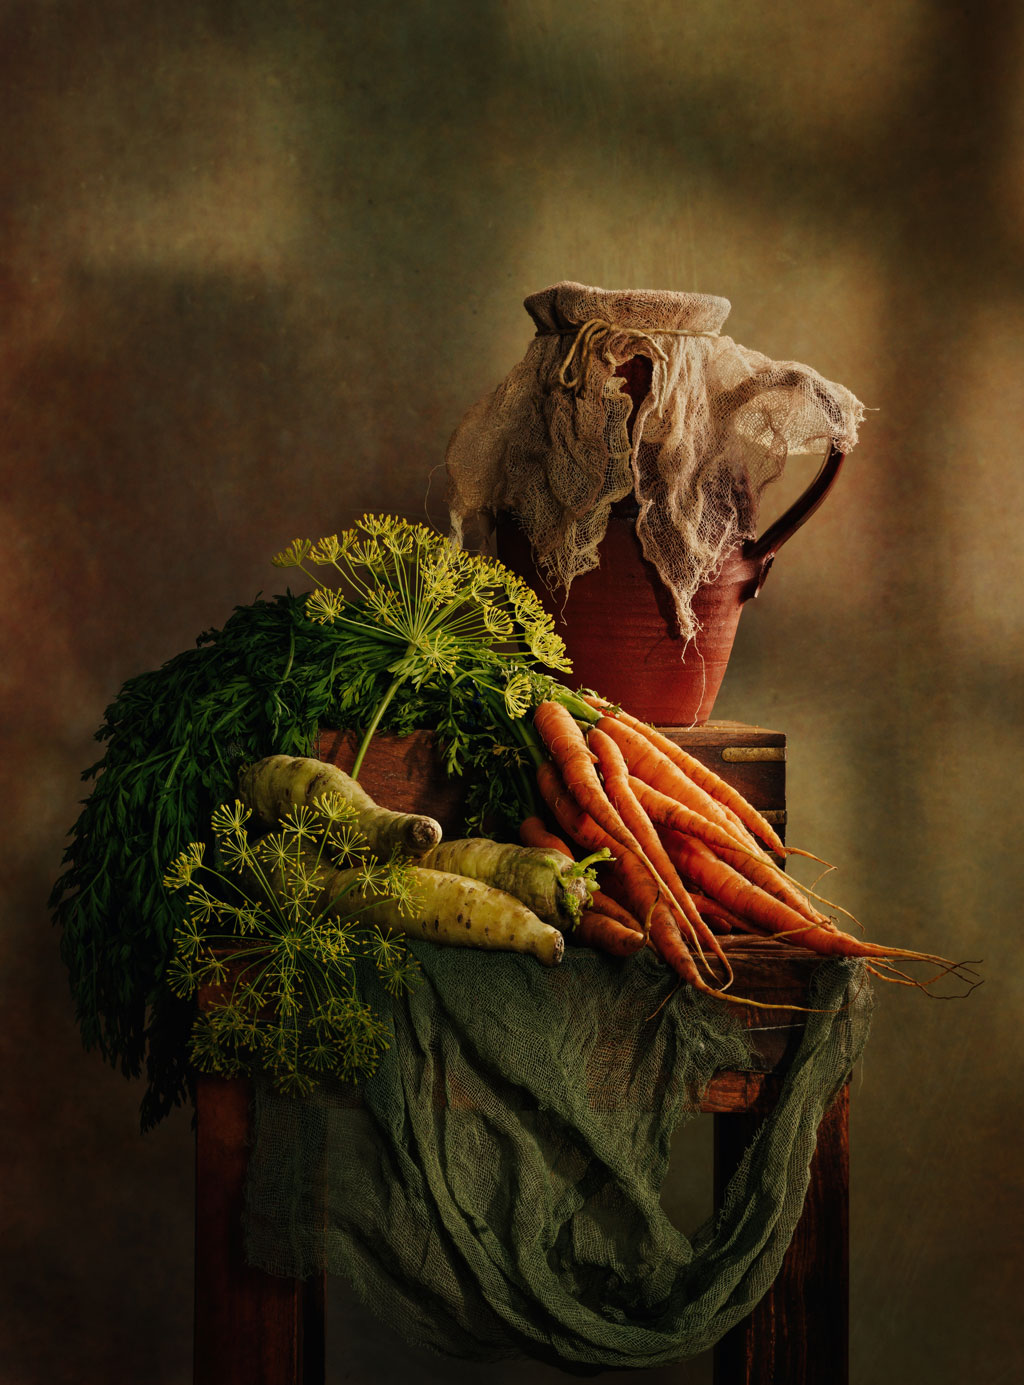
Photo credit: Angi Wallace.
Angi also uses cheap vinyl backdrops, ‘which are handy until you make the mistake of washing them!’ With the arrangement sorted and the backdrop in place, Angi turns her attention to the lighting.
‘I tend to use three lights and a couple of reflectors,’ she reveals. The set up comprises one light from the back (sometimes fitted with a gridded beauty dish), another from the side (often fitted with a homemade gobo shaped like a window) and a third bounced off the ceiling to lift the shadows.
It can take hours to get the lighting right and days for Angi to be totally satisfied with the composition. ‘I will be in and out of that room looking at stuff on the computer and going back to tweak it,’ she laughs. ‘What looks great on the back of the camera doesn’t always look good on the computer.’ This constant tweaking has served Angi well, and her image entitled Wildflowers was recently awarded 1st place in the Still Life category of International Garden Photographer of the Year.
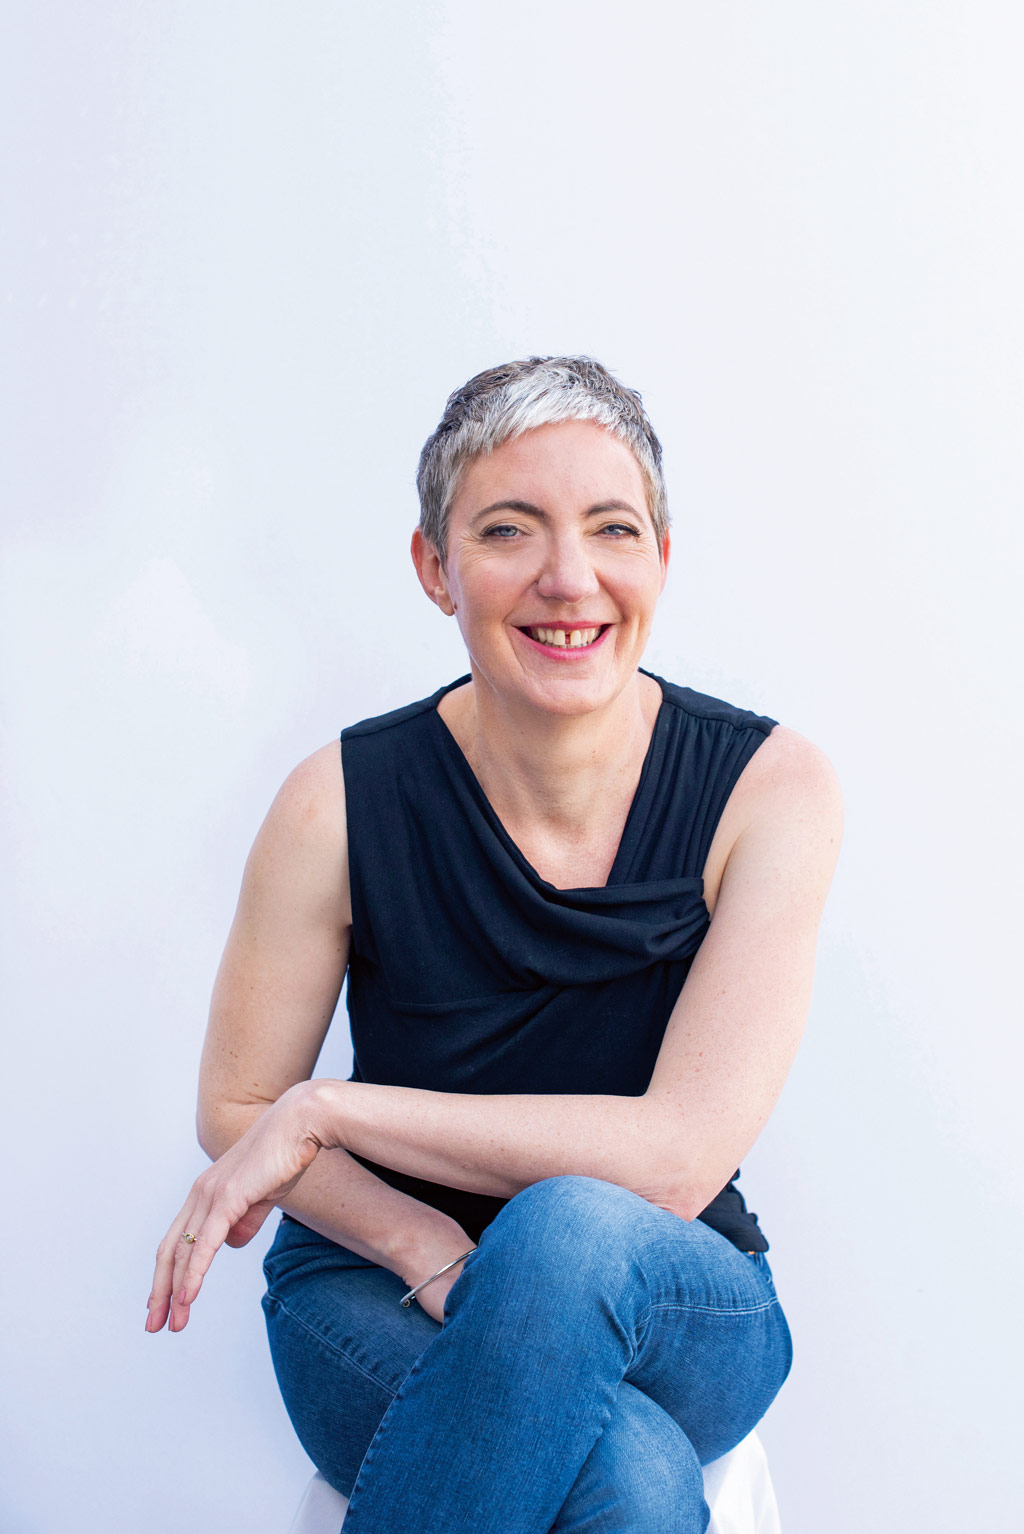
About Angi Wallace:

Angi Wallace is an award-winning photographer with a passion for macro, nature, creative portraiture, landscapes and gig photography. She recently turned her hand to creating and shooting still life arrangements in her home studio. Angi’s work has been highly placed in a variety of prestigious photography competitions. She won the close-up round of APOY in 2020.
To see more of Angi’s work visit her website.
How to set up a still life studio: Tracy Calder
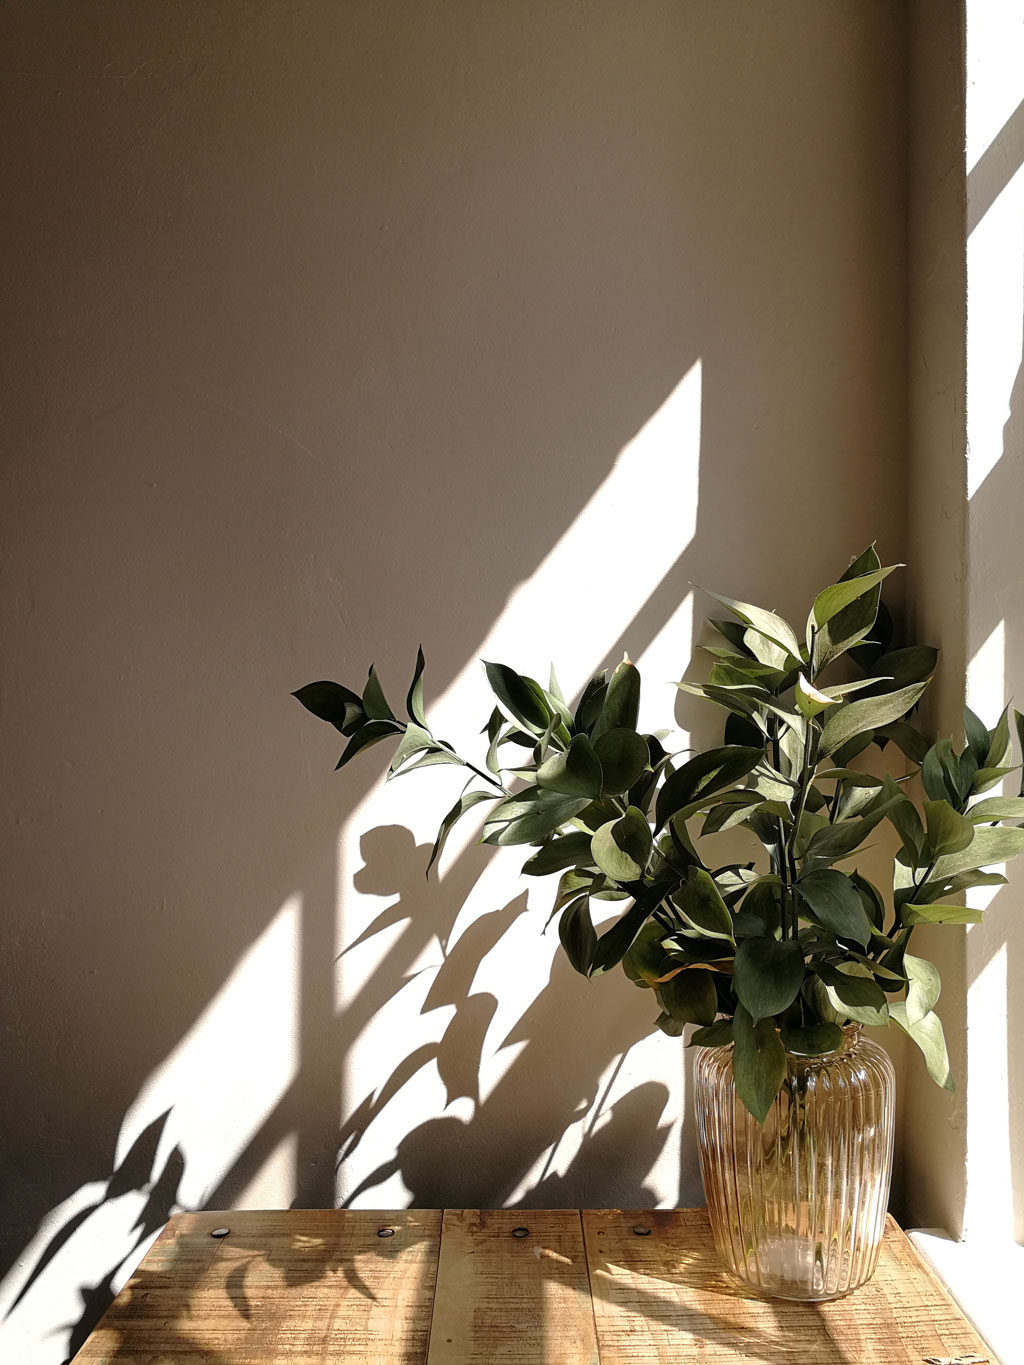
Photo credit: Tracy Calder.
Tracy’s top still life tips:
- Spend time observing the light: Walk around your house and make a note of any interesting light – where does it occur? How does it change throughout the day? Where could you set up a still life?
- Don’t be too neat: While it’s true that everything in your still life needs to add to the story, it doesn’t mean that everything needs to be sterile and neat. Try scattering crumbs about, allow petals fall, let some paint peel off.
- Keep your eyes open: Not every still life has to be staged – sometimes arrangements can be stumbled upon. Stay alert to new opportunities and you will be rewarded.
Every Sunday I get up at stupid o’clock and head to my local car boot sale. Scouring the rows of broken desk fans and Harry Potter DVDs, I stay alert and receptive. I know exactly what I’m looking for, and it’s usually on the ground covered in tat.
What I’m after are old baking tins (the rustier the better), battered wooden boxes, vintage fabric and, if I’m lucky, door frames with flaking coloured paint. It’s an odd wish list and one that attracts attention if I’m lucky enough to find a good haul. Most of the time I pick something up, feel a fizz of excitement, and try not to look excited as I approach the stallholder, wallet in hand. These treasures, full of story and history, are about to embark on a new life as still life backdrops.

Photo credit: Tracy Calder.
Painters have been drawing inspiration from still life arrangements for centuries. Morandi, Caravaggio, Cezanne and Van Gogh are just a few examples of artists who have grouped objects in such a way that they become more than a sum of their parts. Their work can teach us so much about balancing shapes, lines and colours. What’s more, each painting is a masterclass in how to use light to emphasise form, draw out texture and guide the eye into and around the frame.
When it comes to photography, still life has been a popular genre since the beginning. In 1845 William Henry Fox Talbot made a print entitled A Fruit Piece, featuring baskets of fruit on a tablecloth. One of the baskets contains a pineapple, which would have been seriously expensive back then – such a show of wealth demonstrates how ‘innocent’ still life arrangements can be used for storytelling.
For me, a still life photograph begins with the right light. As someone who loves to observe how light changes in my house throughout the day, I have identified my favourite rooms or, more accurately, my favourite corners. For an hour or so on a summer’s morning a beautiful shaft of light filters through the kitchen window and hits the table there. It’s here in this harsh, angular light that I like to place a carefully selected object or vase of flowers.
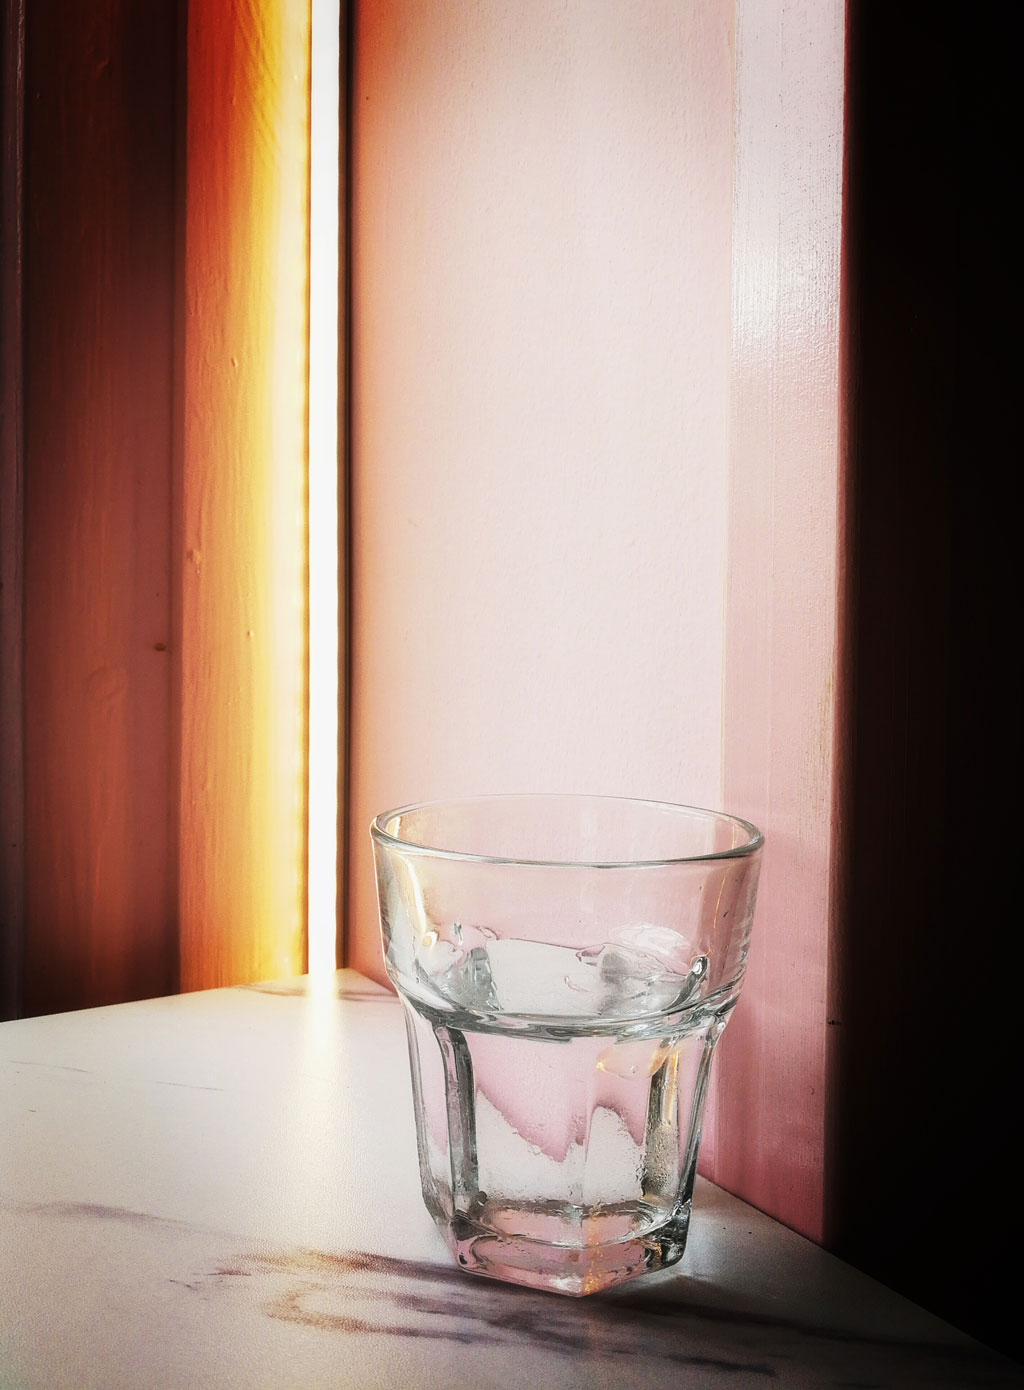
Photo credit: Tracy Calder.
Glass works particularly well, throwing reflections across the wood. I will spend a fair amount of time turning and moving an object, constantly observing and tweaking. I will consider the story I’m trying to tell, what I’m aiming to bring out and what I’m hoping to play down. Still life can be an exercise in restraint and extraction.
The objects you choose to photograph don’t have to be exciting – sometimes it’s the relationship between elements in the frame that make the composition sing. In fact, it can be rewarding to group everyday objects such as cutlery, pots and pans or stationery. When you’re overly familiar with an object, choosing it for a still life can be a great way of seeing it anew – maybe as a mix of shapes, colours or textures – rather than becoming fixated on its function.
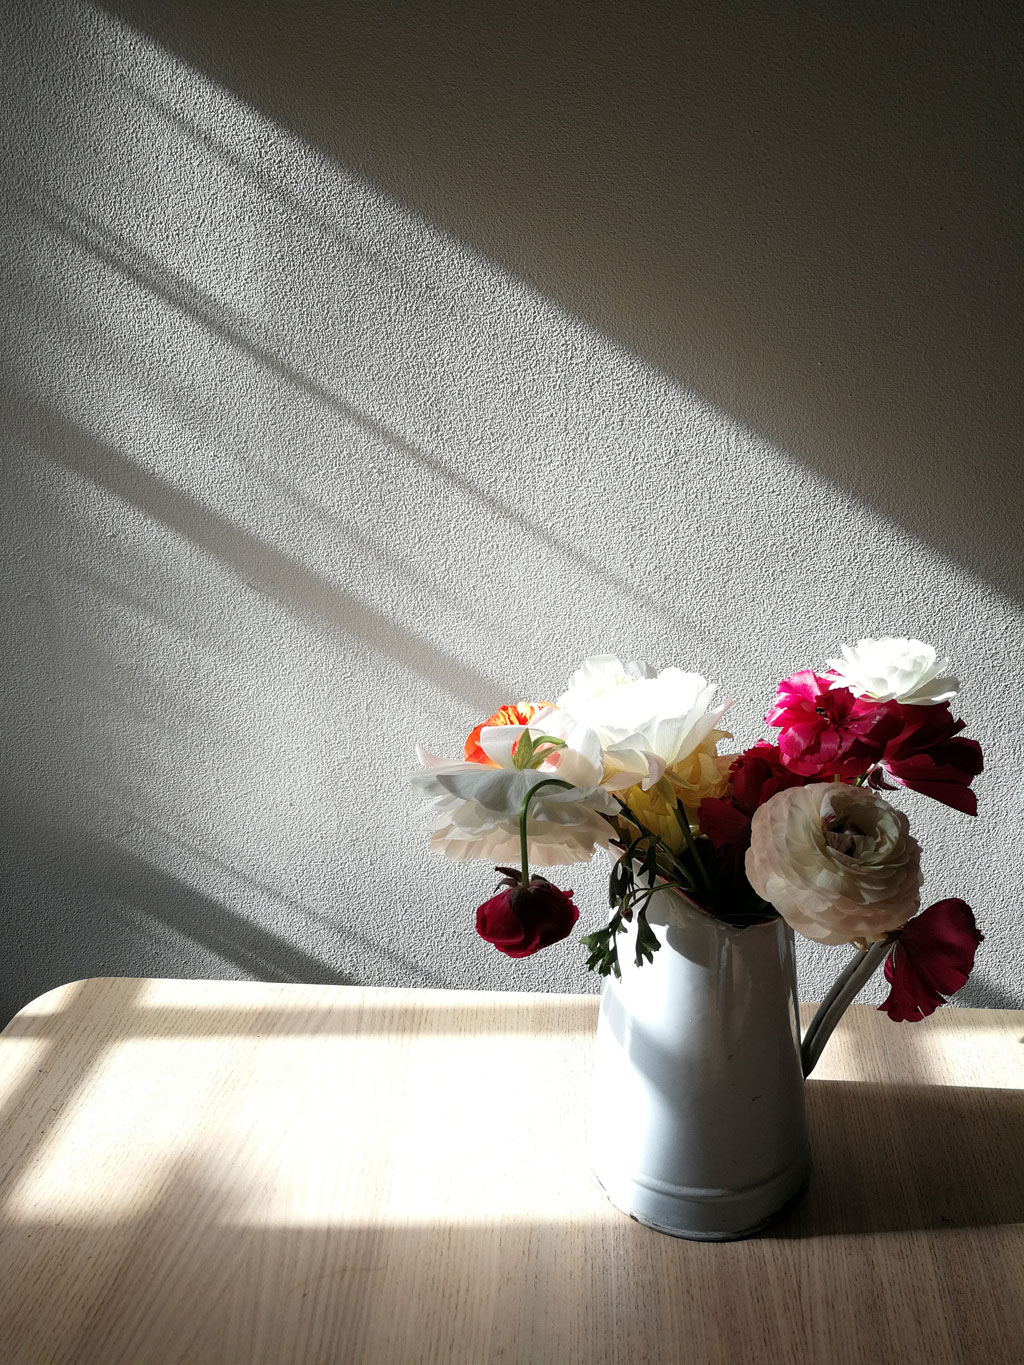
Photo credit: Tracy Calder.
If you have a variety of objects, it can help to think of one as the star or ‘hero’ and arrange other elements as supporting cast members. Think about how the objects relate to one another and how they work in the space that surrounds them. Despite the name, ‘negative space’ can be a powerful part of the composition – a place of energy and possibility.
Don’t let the backdrop be an afterthought – it plays a huge role in the success of your still life. Make sure it relates to the subject in some way, whether that be through tone, colour, mood, texture or theme. Think surfaces with peeling paint, rust, bark, fabric (without distracting patterns) or handmade paper. Crucially, the background should never be distracting, it’s there to add to the story, not muddy the message.
Clear some space in the diary for a trip to the car boot sale and clear some space on the shelves for the things you will inevitably bring back!
About Tracy Calder:
Tracy Calder is a photographer, writer and former editor of Outdoor Photography magazine. In 2018 she co-founded Close-up Photographer of the Year (CUPOTY) – a competition celebrating close-up, macro and micro photography. Last year she was awarded a gold medal from the RHS for her Plant Scars series. Her work has been exhibited at The Photographers’ Gallery, National Portrait Gallery and Saatchi Gallery.
To see more visit Instagram and www.cupoty.com.
How to set up a still life studio: Tim Clinch
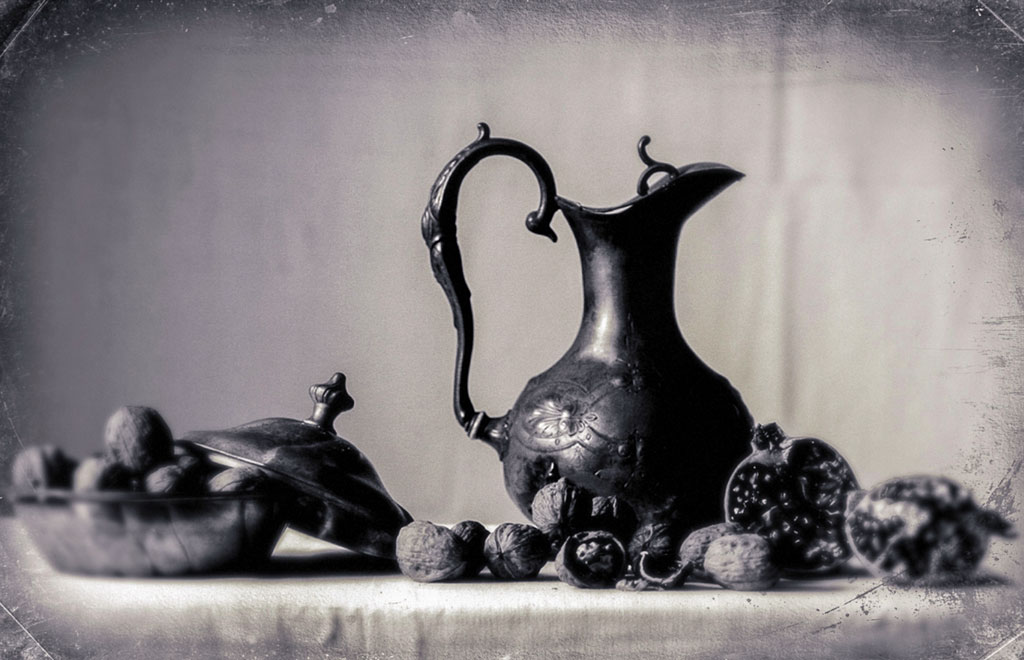
Photo credit: Tim Clinch.
Tim’s top still life tips:
- Study still life painters. ‘Stop looking at photographers on Instagram and start looking at painters like Giorgio Morandi,’ urges Tim. ‘Don’t copy, just be inspired.’
- Make the most of one object. ‘Select an object, such as a stick, pen or fork and take it out of its environment. If it’s a stick, put it on a black background, if it’s a fork or a spoon put it in a plate of stew, eat the stew and photograph it dirty.’
- Think about backgrounds. ‘I started painting my own backgrounds a few years ago. Some French linen I had been collecting became stained when the pipes burst in my barn,’ recalls Tim. ‘I looked at the linen and thought, hell, that looks so nice, and that’s how it started.’
According to Tim Clinch, a studio is a state of mind rather than a specific place. ‘People think that you need a dedicated space full of equipment, but for most of my life as a photographer my studio has been in the back of my car,’ he explains. To support his argument, he reveals that he never travels anywhere without a three-metre length of black velvet.
‘You can stand anybody in front of it and it just works,’ he laughs. ‘There’s no need to overcomplicate things: if you want to hang a background you can use proper stands and clamps or you can stick it against the side of a van!’ Tim believes there are two big mistakes people make when they’re thinking about studios: firstly, they think that a studio has to be somewhere and secondly, they set up a still life and then pick up the camera.
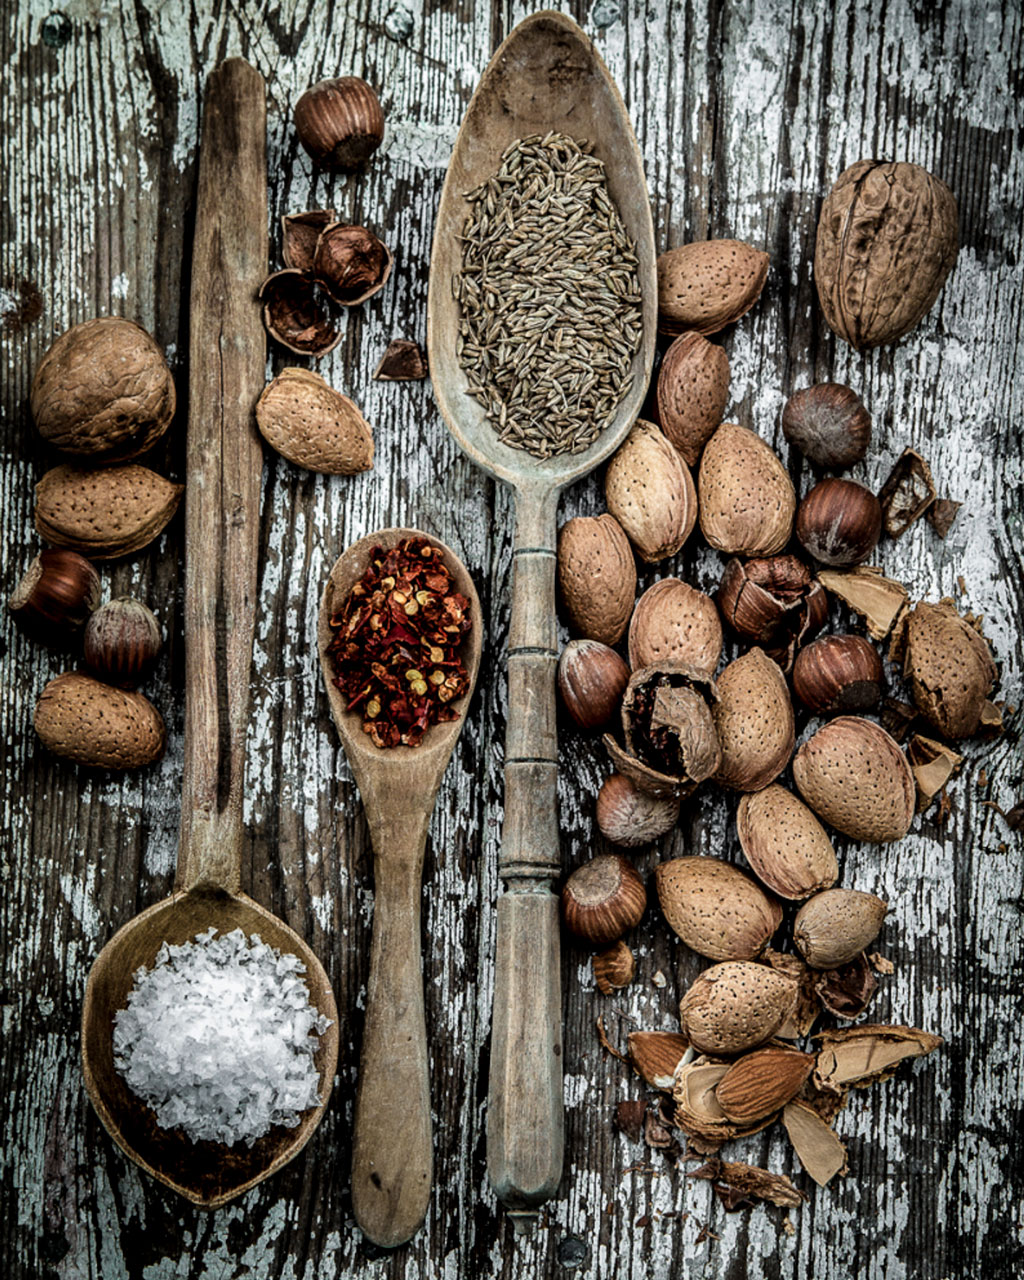
Photo credit: Tim Clinch.
‘When you approach a subject like this you might find that you’ve positioned the arrangement too low and then you will end up on your knees!’ he smiles. ‘You might also find that the light is no good. Think about the light, set up the subject and then pick up the camera.’
Tim cites The Taste of France by Robert Freson as one of his early influences. ‘It’s hard to believe, but back then food wasn’t groovy,’ he explains. ‘My favourite photographer in the world is Irving Penn and Bob ran his studio for 15 years.’ When Freson came to London Tim was lucky enough to assist him and was blown away by the fact that he was using 35mm.
‘You didn’t shoot on 35mm back then, you shot on Hasselblad or large format,’ he says. ‘Bob turned up with his Nikon and broke the mould.’ The images Freson produced show food in its natural state, burnt bits and all. ‘I’m a big fan of people who change things, like Bob and Jimi Hendrix,’ laughs Tim.
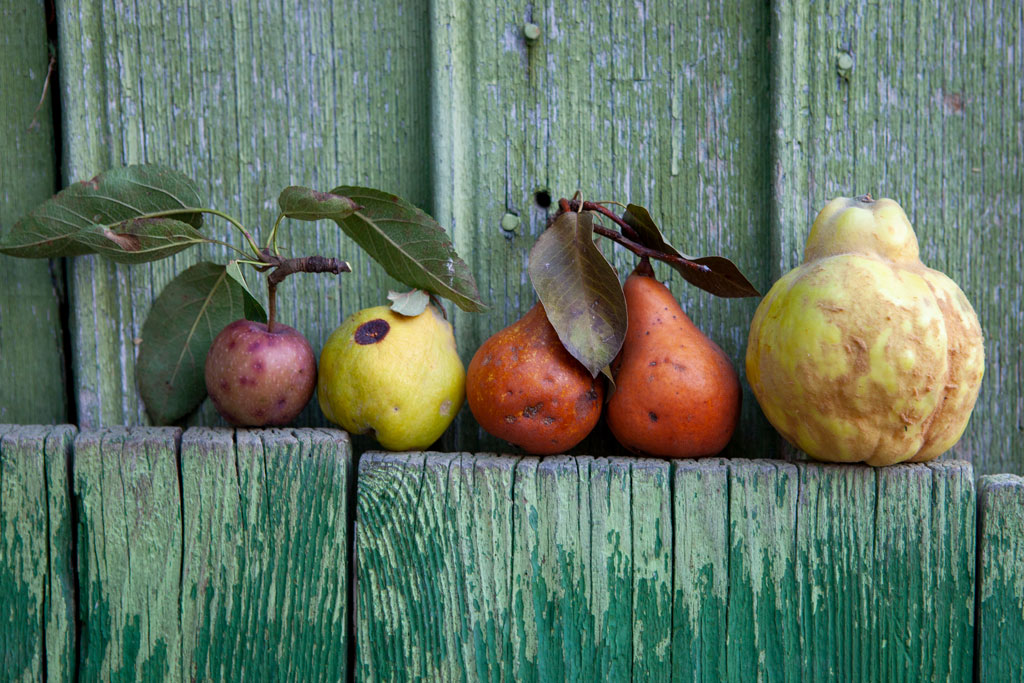
Photo credit: Tim Clinch.
Another book that gets Tim’s juices flowing is World’s in a Small Room by Penn. ‘There are videos of Penn working and he’s using a tent with a roof that acts like a diffuser,’ he explains. When he was shooting on location Penn was a big fan of natural light – particularly top three-quarters – and it’s a preference Tim shares.
While Tim rarely uses flash, he does occasionally use continuous lighting, and reflectors. ‘I don’t use flash often, but I get annoyed with people who say, “Oh, I don’t use flash” when what they really mean is, “I have no idea how to use it!”’ he remarks. While he might favour natural daylight, he is quick to point out that you still need to know how to use it. ‘People don’t study lighting enough,’ he says. “Look at Rembrandt, look at Vermeer, then you will see what lighting is.’
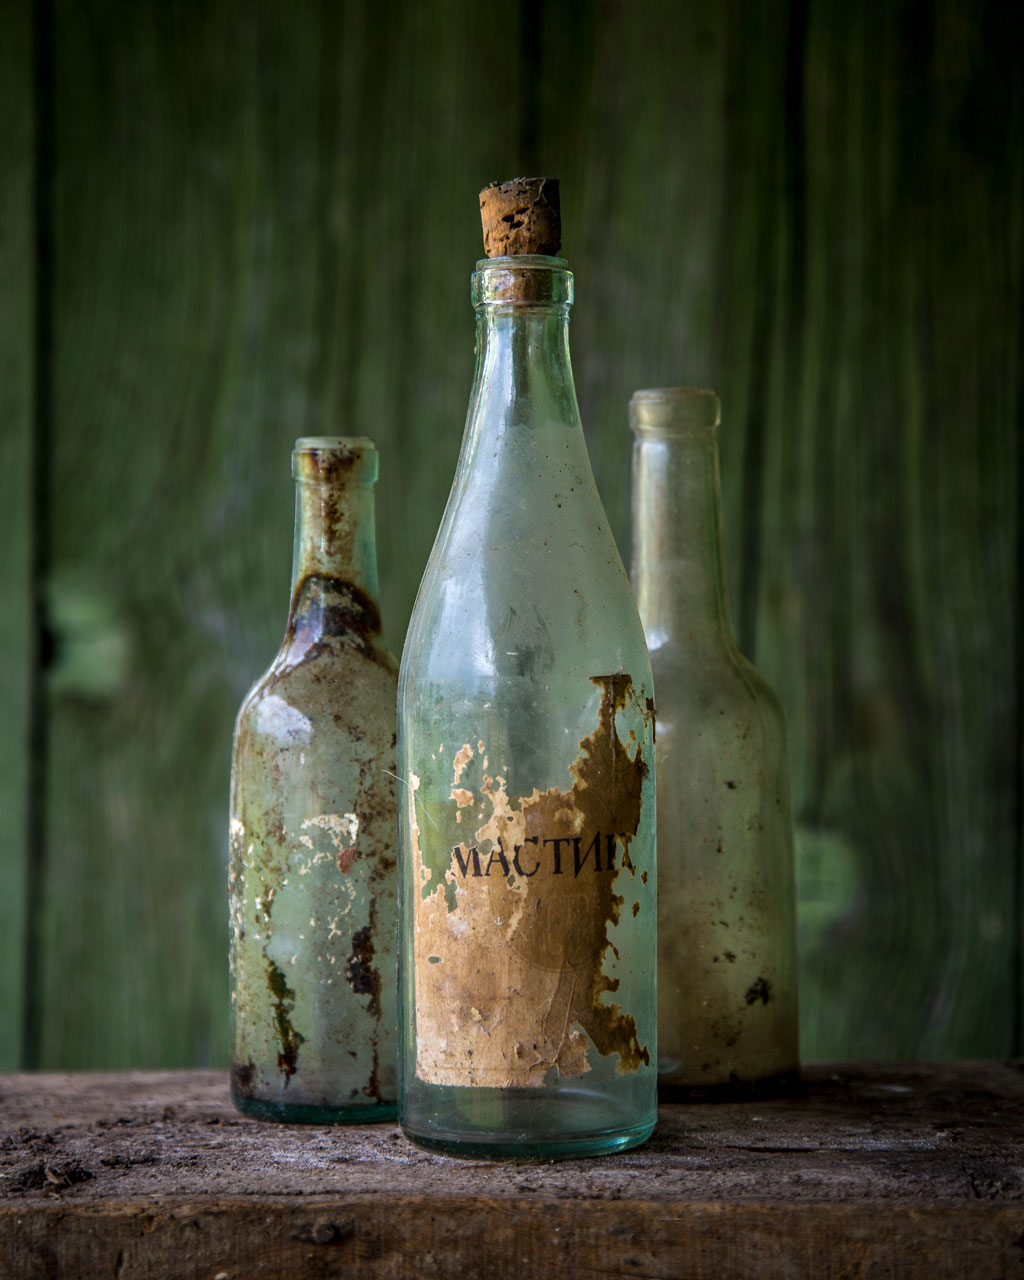
Photo credit: Tim Clinch.
These days, Tim fears that people have become too reliant on digital technology to solve their problems when this should be the role of the photographer. One of the ways to overcome this is to shoot subjects that you find challenging, or maybe even dislike. ‘Being a photographer means solving problems and the only way to solve problems is to take pictures you don’t want to take – that’s when you learn,’ says Tim. ‘Taking pictures of things you like is fun, but you’re not going to learn anything from it and you’re not going to improve as a photographer.’
One of the things Tim has learnt over the years is that you often spend more time taking things out of pictures than putting them in – especially when it comes to still life. But this visual restraint hasn’t stopped him from accumulating props. ‘You just have to have an eye and never, ever discount something as being too knackered,’ he urges. ‘If you want a nice background to lay some cutlery on go and find your largest frying pan, turn it over and use the bottom!’
Backgrounds play an important part in still life photography, but Tim stresses that you should never let them overshadow the main subject. ‘Don’t let your photograph become a picture of a background,’ he says. ‘It’s like a painter showing someone a picture and then hearing them say, “oh, what a lovely frame.”’
About Tim Clinch:
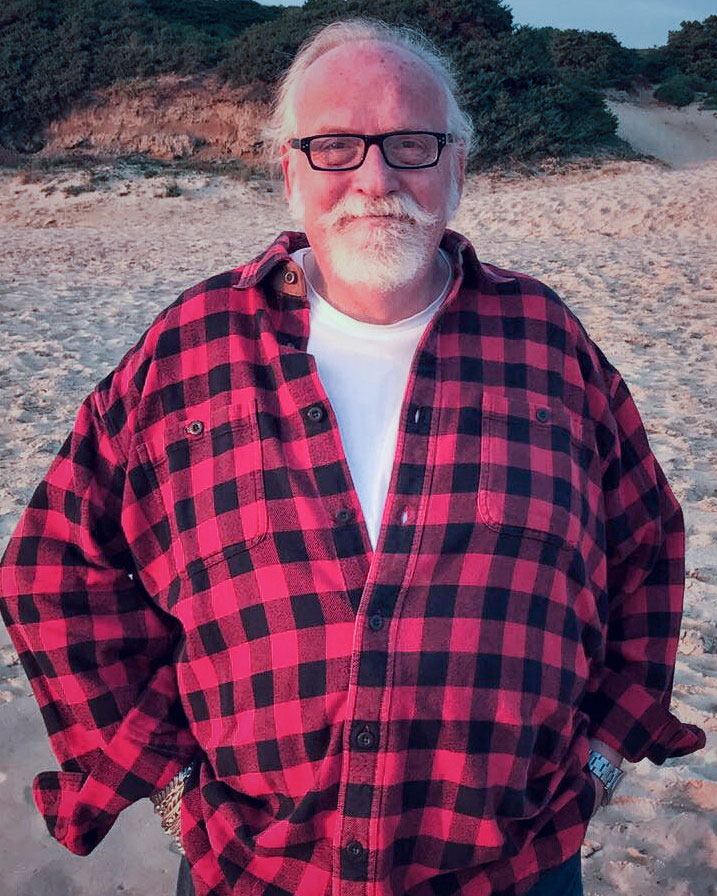
Tim Clinch is an award-winning professional photographer with more than 40 years’ experience. Over the years Tim has worked in most areas of the profession, has had his work published in magazines worldwide, and has had more than 30 books published featuring subjects as varied as interiors, travel, food and portraits.
To see more of his work, visit his website.
Related content:
- Still life photography: How to perfect still life photos
- Improve your still life photos with continuous lighting
- How to create stunning still life flower photos
- Still life phots: How to capture a moment of stillness
Follow AP on Facebook, Twitter, Instagram, and YouTube.