With Big Garden Birdwatch starting today, we give you some hints and tips on how you can raise your chances of taking great wild bird shots by attracting more of them to your garden. Andrew Fusek Peters is your guide.
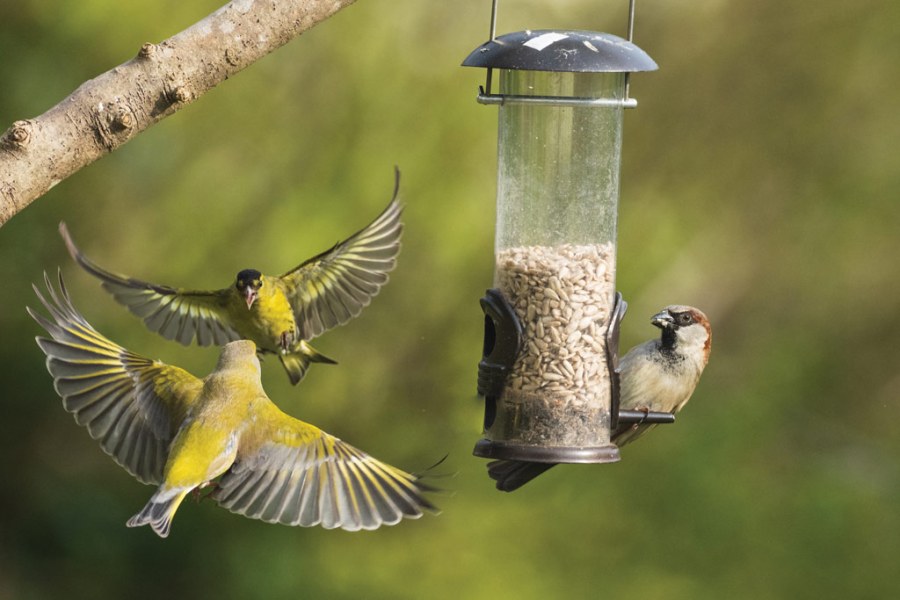
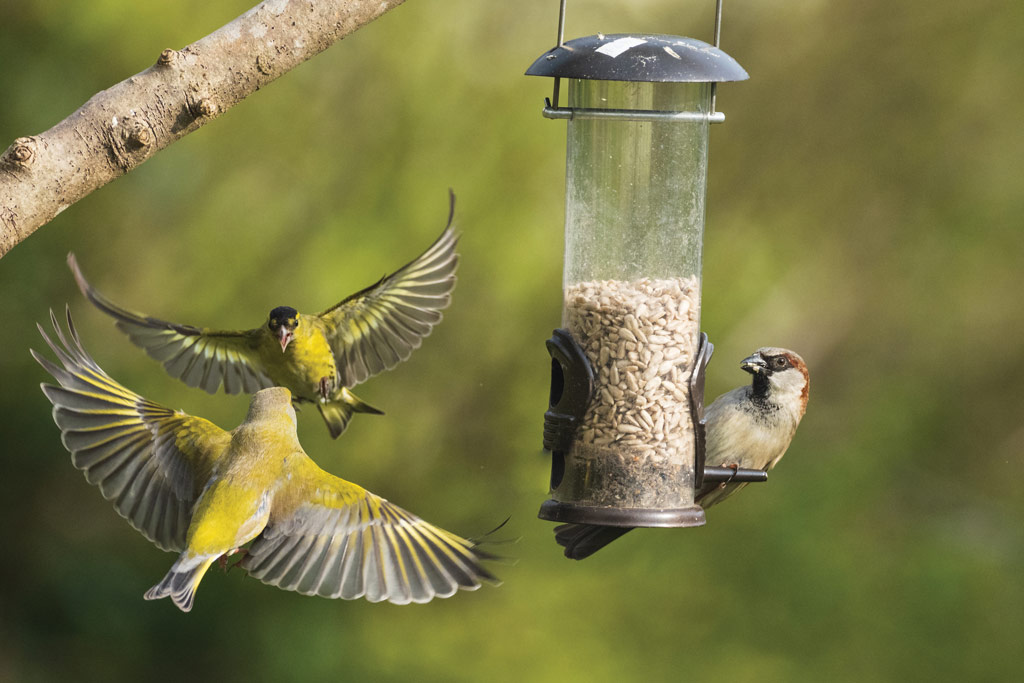
You don’t need to trek out to a bird reserve to get great bird shots or spend a lot of money attracting birds to your garden. I’ve learned that attracting birds into your garden, as well as feeding them and doing your bit for conservation, is also an opportunity to practise photographic sleight of hand. I see a lot of pics on social media of birds on feeders but to me, they are an ugly distraction. I am interested in the birds themselves and not just for portraits, but for fight and flight.
Of logs and cameras
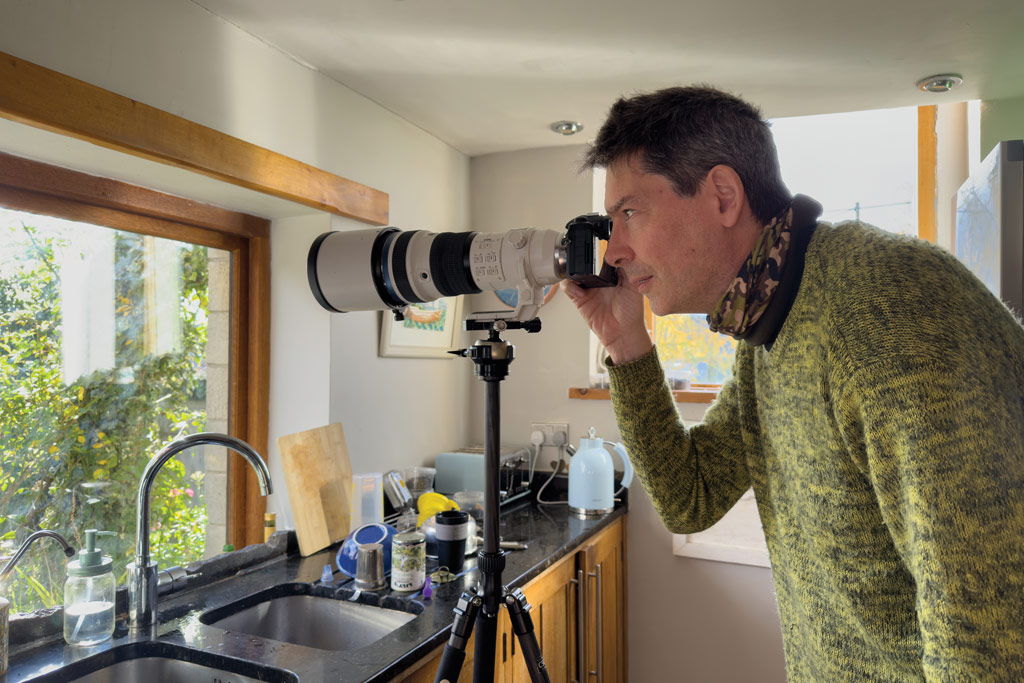
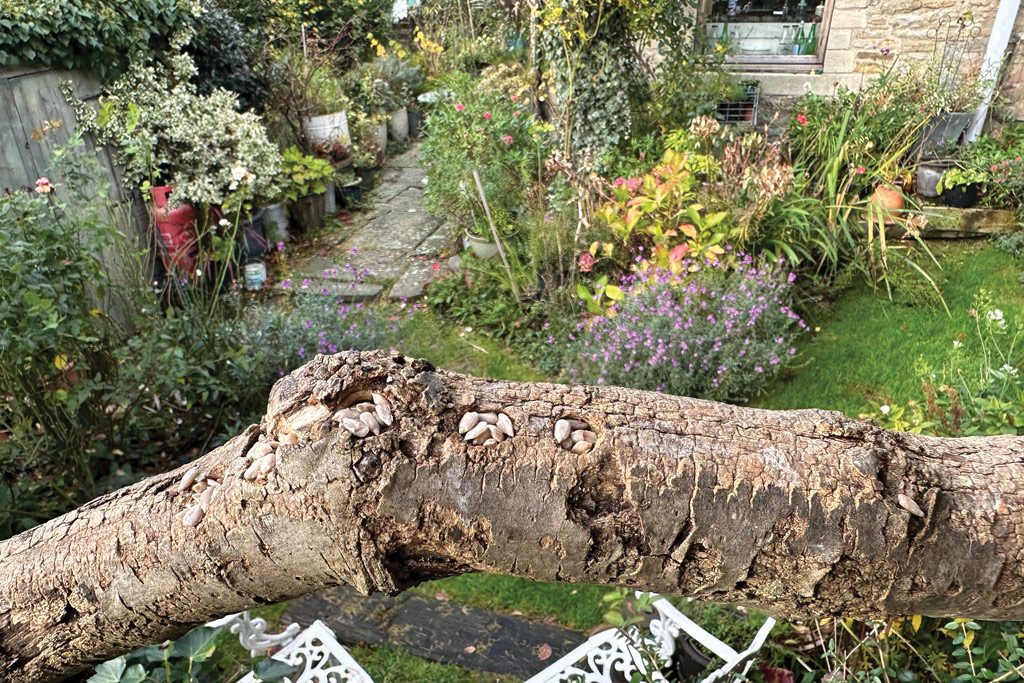
We want to create the illusion of wildness in a suburban or garden space or even a balcony, so a well-placed log sitting on a table or hedge is a great start. The next step is a cordless drill or even some plasticine with the goal of drilling holes or creating a small well into which seeds can be put. Here is where the magic begins. Your garden birds might be used to you being in your garden, in which case you can set up your log under your feeders and grab a chair and watch the action unfold. Or use your house and a window as a hide. The trick is to make sure your camera and lens cannot see the hidden seeds – with a telephoto, your foreground should be the log with space above or below for the birds to get nice and busy.
Most modern cameras have bird AF and many also now have a pre-burst function where on the half-press of the shutter, the camera is constantly buffering frames.
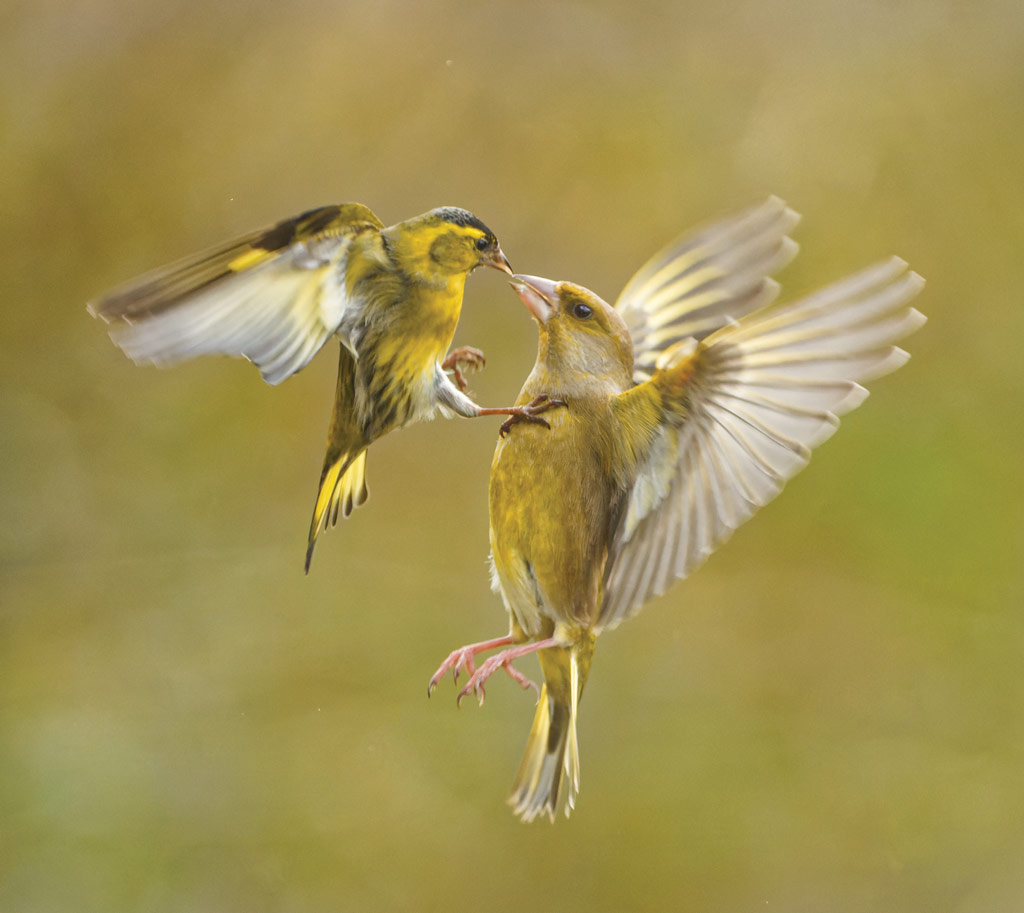
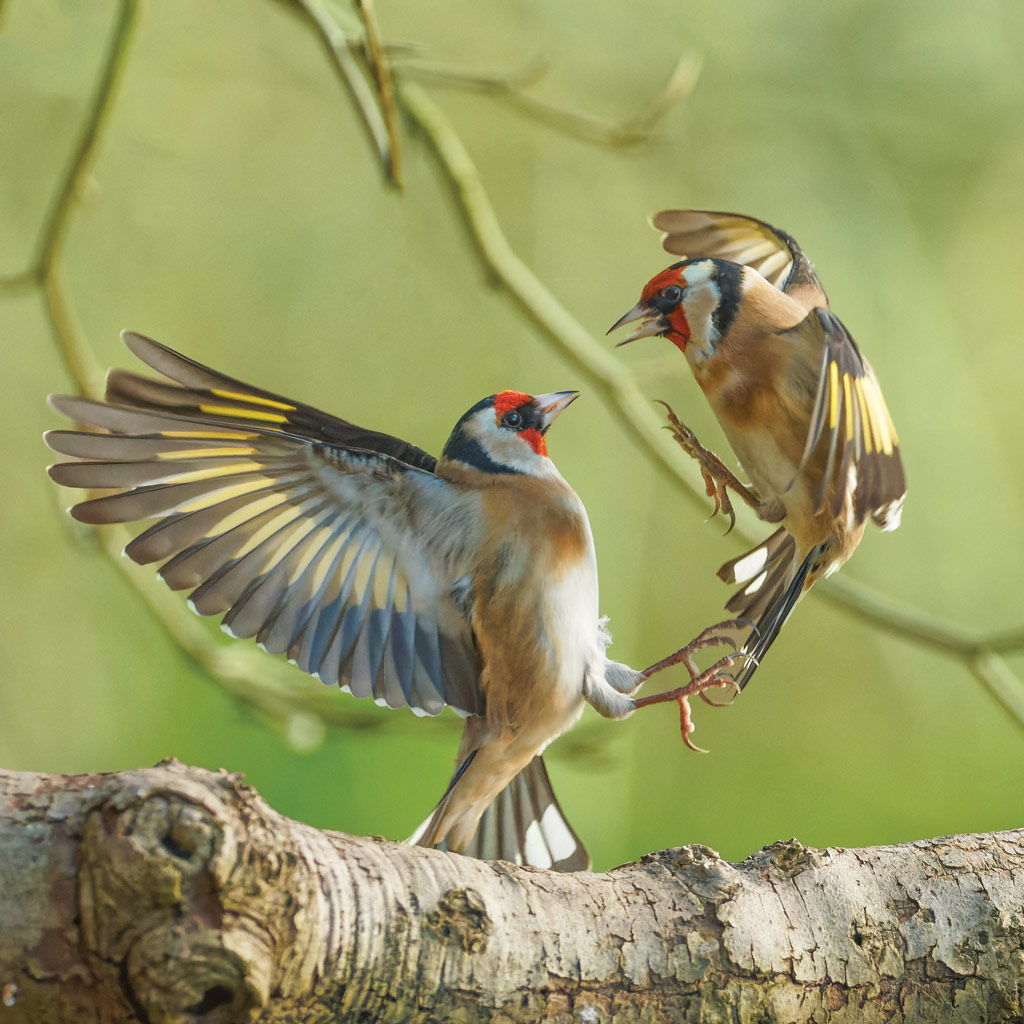
If a bird lifts off or a fight kicks off, you can fully press the shutter knowing it will now save the previous second or so of frames to your memory card. You need never miss the moment again and I can only liken it to time travel. In Olympus and now OM System cameras, this feature is called Pro-Capture (Canon, Fujifilm and Panasonic also have a similar high-speed feature) and it has enabled me to get shots like these fighting goldfinches opposite, also shown on the BBC’s Springwatch.
If you don’t have bird detection AF, don’t despair. Use continuous/C-AF, keep focus on the birds and hope they take off in the plane of focus. I have got many of my best shots this way.
Six ways to attract birds for better shots
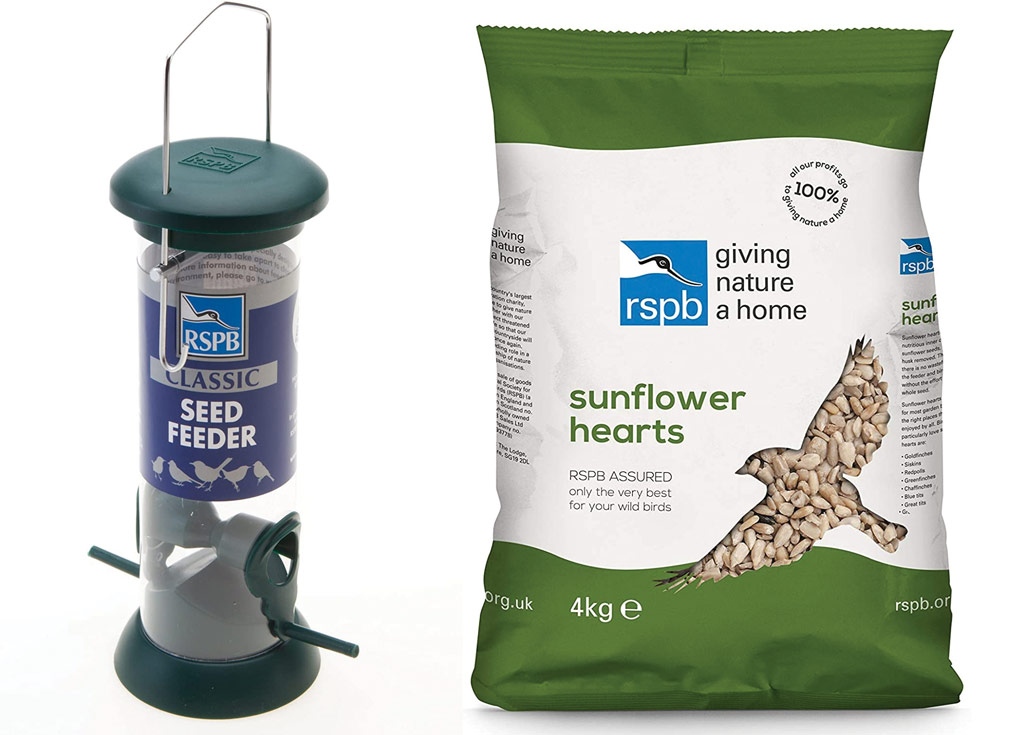
1. First you need feeders and the RSPB store is a great choice (www.rspb.org.uk). The Classic Seed Feeder is only £3.74, so it’s a great option if cash is tight. If you have a problem with squirrels and can afford more, go for the Squirrel Buster Mini seed feeder for £35.
2. For a basic set-up to attract birds to your garden, you can’t go wrong with sunflower hearts. This excellent food source has been my main garden bird attractor for years. From the RSPB online store, you can get 1.8kg for only £7.
3. Work out where you will photograph the birds from. If you have a shed, or a window facing the garden, you can photograph the birds from there. Ideally, the window should not face the sun as you don’t want flare. Ensure the windows are clean and intact, too.
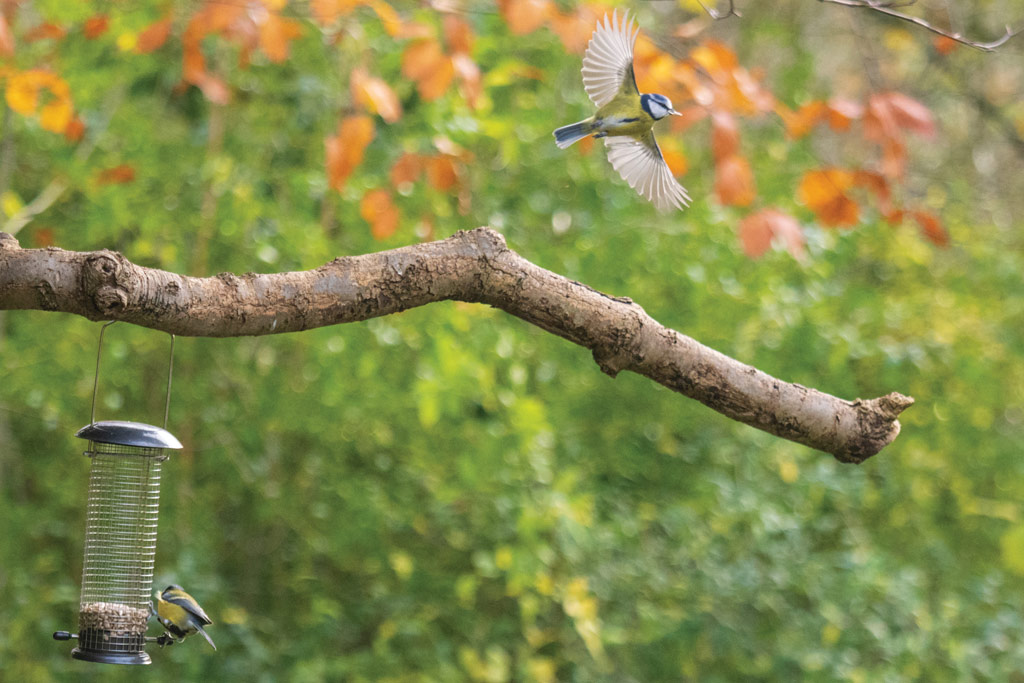
4. Here is my first ‘secret’ tip. Go to your local park or wood and find a fallen branch that can take the weight of two feeders. The most important thing, however, is that the branch is pleasing to look at as you want shots of birds perching on the branch or even taking off.
5. Find a good spot where you can attach the branch so that it sticks out. Ideally, this should be directly in front of your shed or window with 10 or 15 feet between window and feeders. Hang two feeders a good distance apart. Check the background too.
6. You now have negative space between the feeders and if your camera has bird tracking you have a chance of birds in flight between the feeders. Also, drill small holes at the back of your branch and hide sunflower seeds there – you can get great fight/flight shots.
6. You now have negative space between the feeders and if your camera has bird tracking you have a chance of birds in flight between the feeders. Also, drill small holes at the back of your branch and hide sunflower seeds there – you can get great fight/flight shots.
What camera settings and kit do I need?
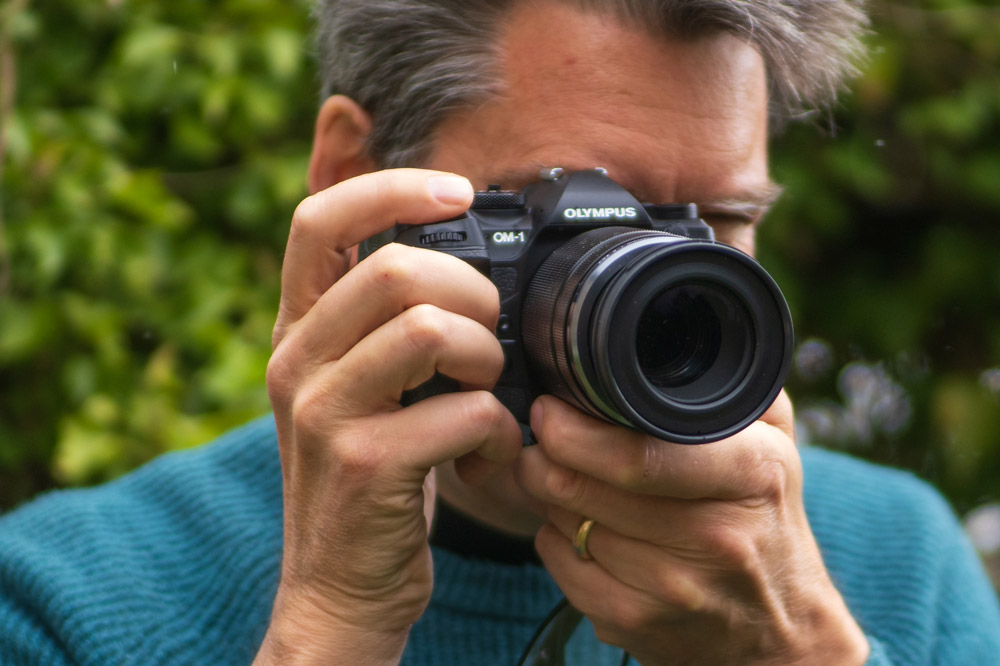
I currently use an Olympus OM-1 and a mix of lenses from the 40-150mm F2.8 and 300mm F4 to the incredible 150-400mm. A budget alternative is the very good Olympus 100-400mm lens, while the older Olympus OM-D E-M1 Mark II and III can do Pro Capture at 60 frames per second with fixed AF.
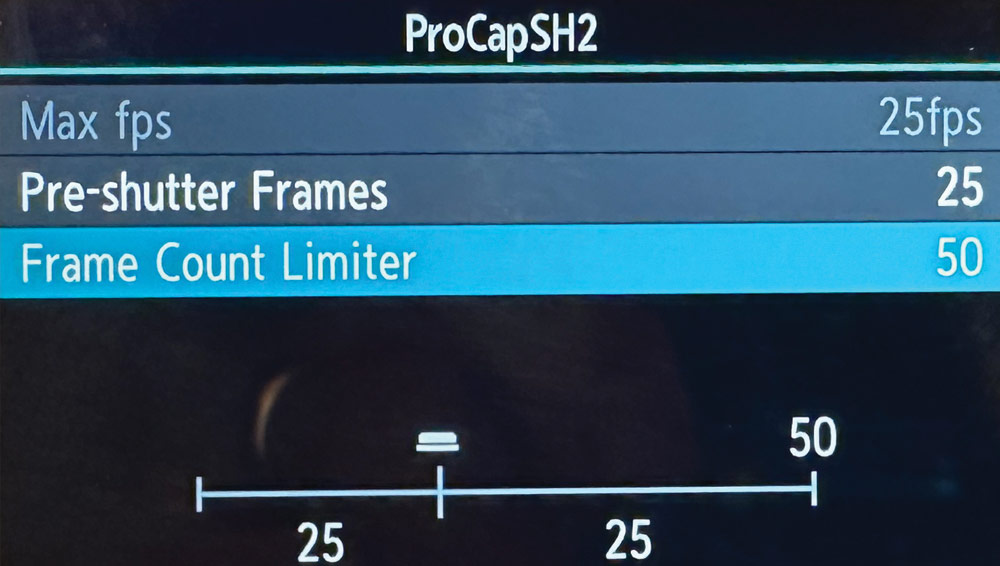
I use the Custom modes to dial in regularly used settings. Firstly, I set up my Pro Capture settings – the OM-1 now lets you shoot Pro Capture at 50fps with full bird tracking. I generally set this to Pro Capture SH2 with 25 frames before fully depressing the shutter and a frame limit of 50.
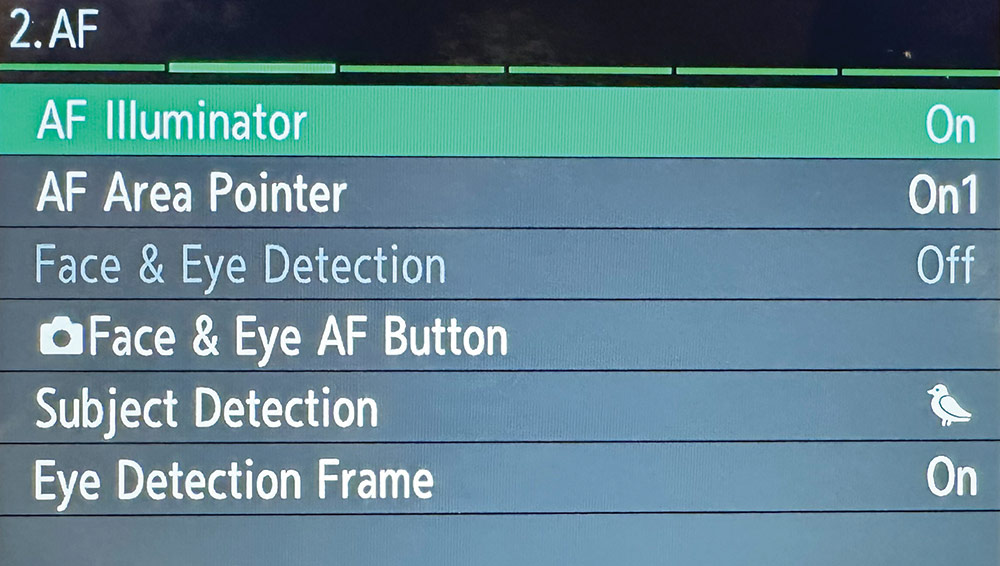
The bird tracking on the OM-1 is vastly improved from the first iteration on the E-M1 X. In good light, it easily picks up and tracks small birds as they fly. In the AF settings, I set subject detection to birds.
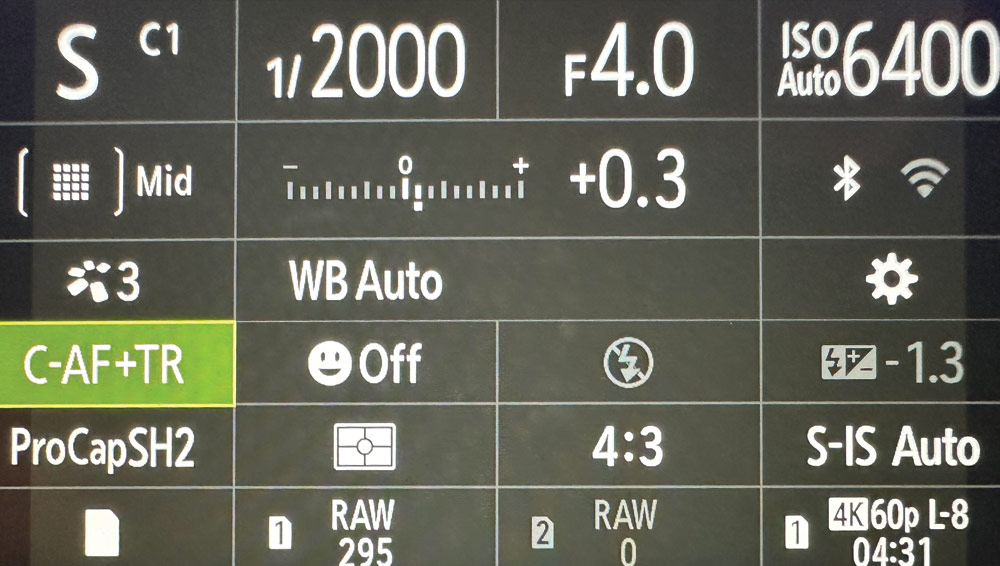
My main camera settings are S for shutter priority, which enables me to quickly access exposure compensation as the light changes, 1/2000sec and wide open – which for the 300mm is f/4. In real-world terms, it gives me the equivalent of f/9 in full frame. I then save all these settings to C1 with auto ISO and medium to large AF frame. With small birds, faster is always better and in good light, I have found 1/4000sec freezes flight but for mid-air fights, you can get away with 1/2000 or 1/2500sec.
If you’re a bird enthusiast, have a look at the 2022 Bird Photographers of the Year for inspiration, or have a look at how to master animal photography, or check out Why the Olympus OM-1 is great for bird photography.

