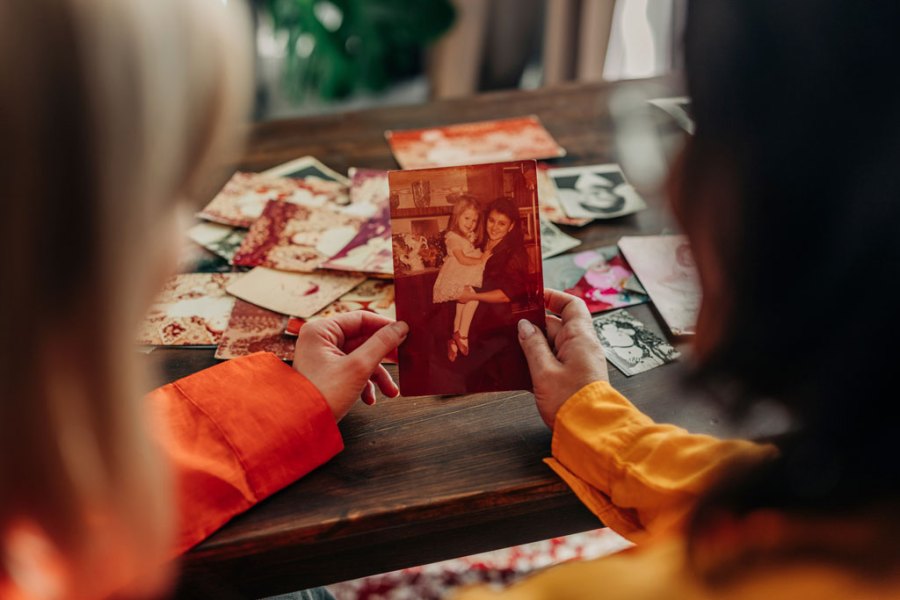
The end of the year and the festive break is a good time to think about sorting out your photographic archive once and for all. Earlier this year, my father died and one of the tasks that has since fallen to me is to adopt and sort out our family photo archive. There is an entire bookshelf of photo albums to go through and decide what to do with – nobody in our family has room to keep such a big physical archive, so it’ll be up to me to prune, digitise and responsibly dispose of whatever’s left over the next few months.
This really got me thinking about my own legacy, and our family archive going forward. What do I want my own children to inherit from me? In some ways, now we’re out of the print era, the problem is even more tricky. Will my kids have a mess of digital folders that they can’t navigate, or worse, even have access to as they’re stuck behind folders or biometric locks? It’s one thing to have masses of physical albums to deal with – but at least I have no barriers to simply looking at those precious old photos of my family, the places they went and the things that they saw. Digital files risk simply disappearing from existence if not properly stored and managed.
A sad story earlier in the year of a widowed man unable to access the only copies of his wedding photos, stored away on his late wife’s iPhone, also makes us think about how we can make sure our smartphone data isn’t lost. Let’s face it, most of our family photography is likely to be taken with these devices, so making sure it is accessible to our nearest and dearest – if we want to be – is more important than ever, too.
So, I’ll be taking a look at how you can digitise your family print archive, how to look after your current digital files, and methods for ensuring that things like smartphone data is easily transferrable after you’ve gone.
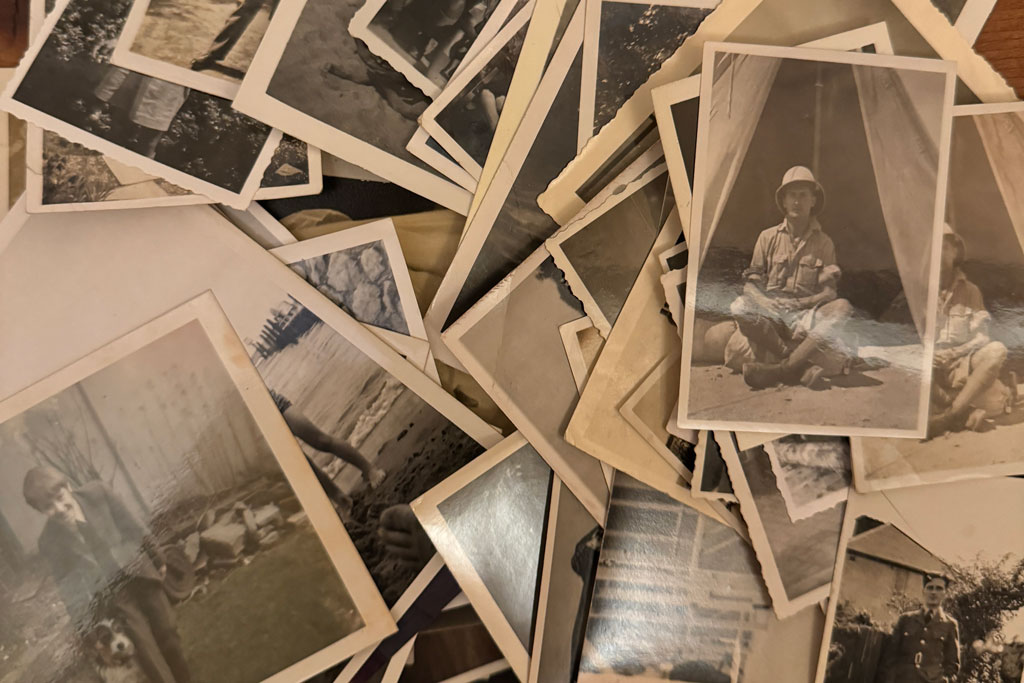
It might seem gloomy to think about these things, but our photographic legacy is important – and I think it’s worth protecting. What’s more, there’s lots of fun, nostalgia and happiness to be had from putting it together in the first place – you can start sharing it all straightaway of course.
This is in no way a comprehensive guide to all the ways it’s possible to create and share an archive, of course. If I’ve missed anything vital, please do feel free to let us know how you manage your archive via the usual methods – we’d love to share your tips.
Physical Prints and Albums
If you’re anything like my family, you will have stacks and stacks of physical albums, old prints and related bits of ephemera.
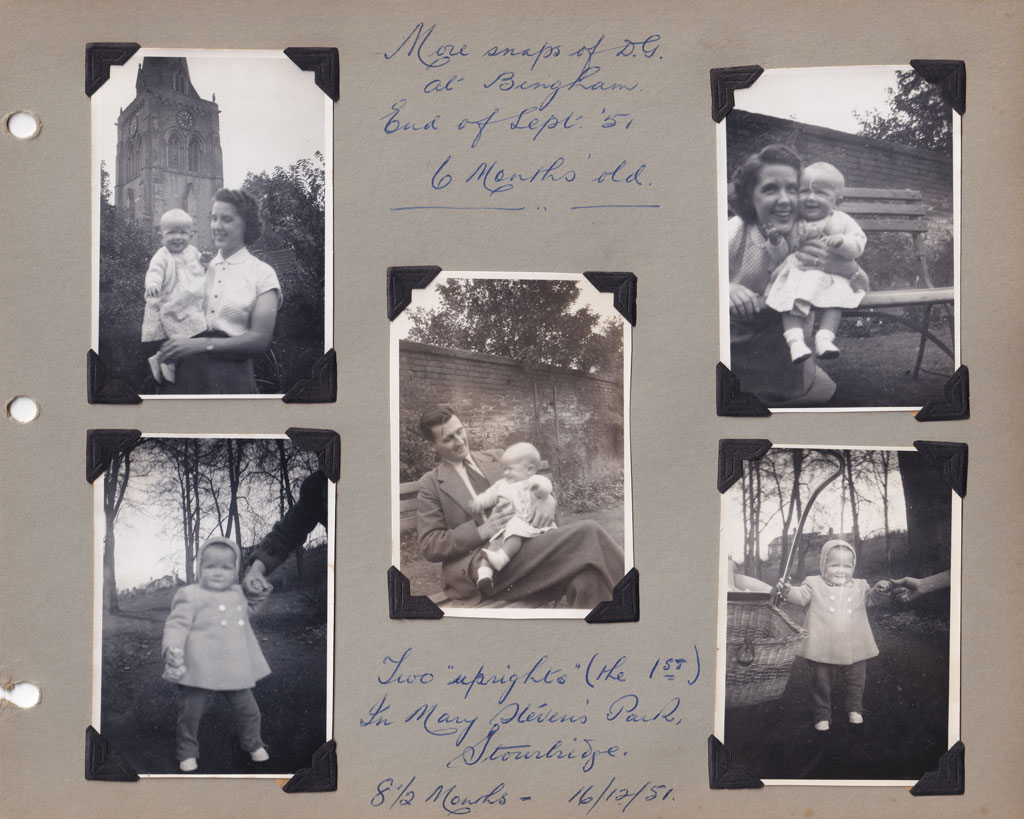
Don’t get me wrong, they’re all great to have, but they take up a lot of space. I’ve therefore been slowly working my way through it all to convert it to digital. Creating a digital version – of at least some of such an archive – is a great idea for lots of reasons. It means you can share your precious memories and family history with extended family and friends all around the world, but it also means that if sadly, the physical copies need to be disposed of at some point, you’ll still have a record of everything.
There are plenty of things that I won’t be saving – and I don’t feel guilty about it. Badly composed snaps of a location that I’ve never been to, don’t feature anything of social/historical importance, or have any people in them will likely be recycled – even digitally one should be mindful of keeping absolutely everything!
There are lots of ways you can digitise a physical archive, depending on what kind of media you have. Here are a few options to get you started:
Scanning photos with a flatbed scanner
Pros:
- Easy to use
- Reasonably priced
- Tackles lots of different types of media
Cons:
- Slow if you have lots to scan
- Super-high quality isn’t always accessible
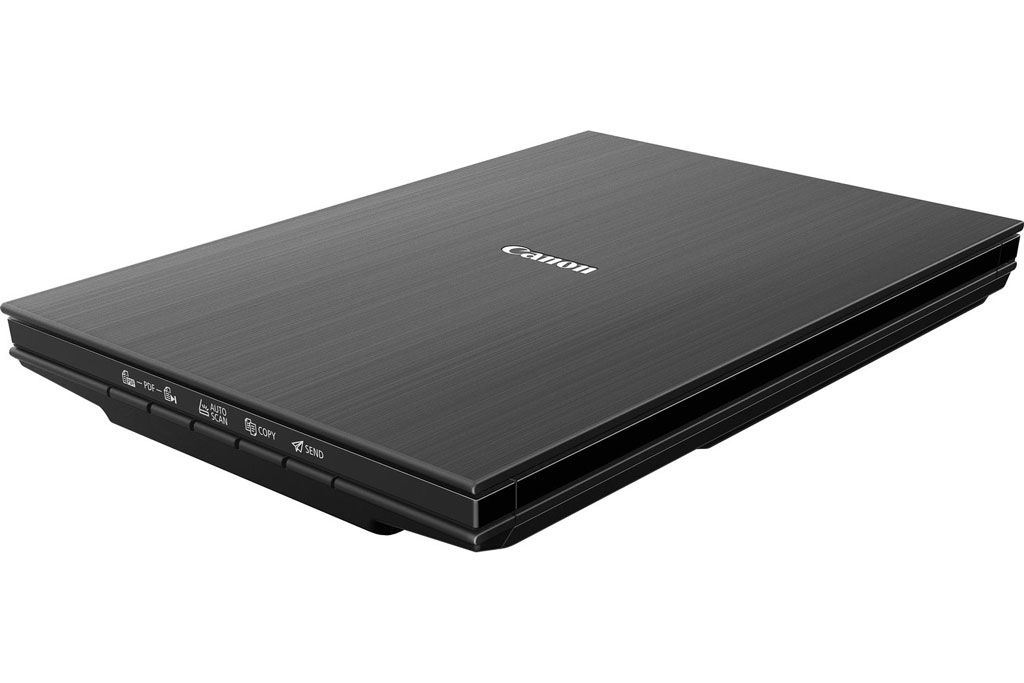
This is probably the commonest and easiest way to digitise a physical print, or an album page. Flatbed scanners come in at a variety of price points and qualities. Lots of people have them inbuilt with fairly cheap printers, but I think for an important family archive, it’s worth spending just a little bit more on a standalone unit, if you can.
I like the Canon LiDE 400 flatbed scanner – it’s around £70 so not outrageously expensive – but does a good job, enabling scans of up to 1200dpi. What I like most about it is the software that comes with it – place several different pictures on the bed and it’ll automatically create different cropped files for each photo – even if you’ve not placed it perfectly straight on the bed.
Epson FastFoto FF-680W
Pros:
- Very fast
Cons:
- Expensive
- Can’t handle every type of media
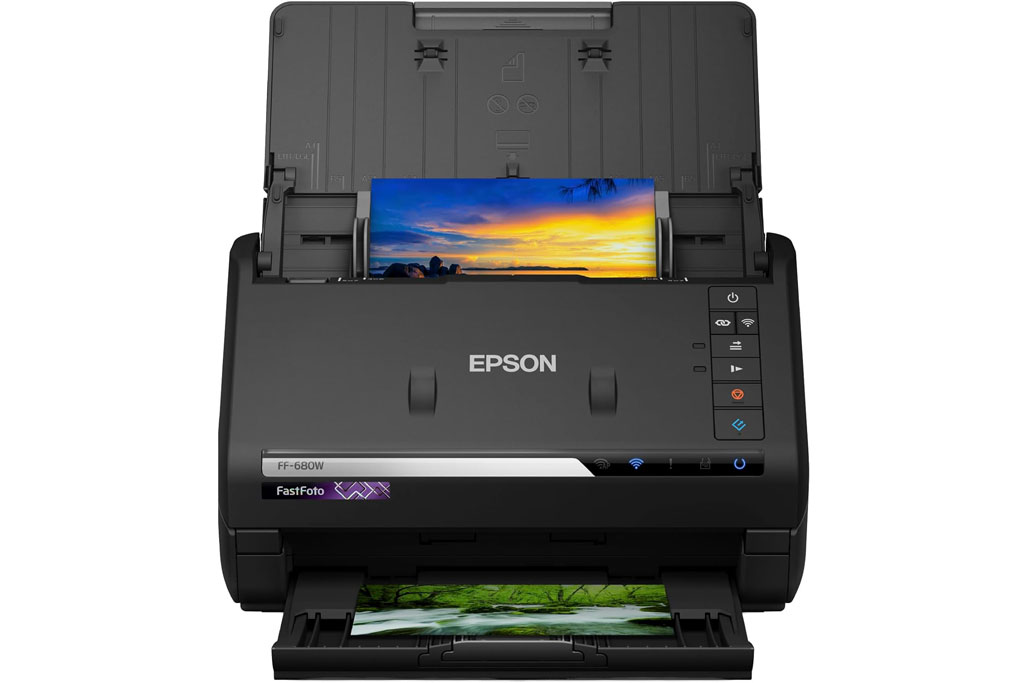
I’ve been lucky enough to try out one of these scanners, which as the name implies, enables super fast scanning of prints.
This is perfect for anyone who has got a stack of 6×4 or 7×5 prints from old slip-in type albums (my family archive has dozens of such albums). It can scan up to 30 photos in just 30 seconds (it will take longer if you adjust the photo settings), and it will even scan the back of the photo too, if something is written on it for example.
The huge downside here is the cost. However, it could be a worthy investment for the time it’ll save you – and you could always sell it on after you’ve digitised your archive to recoup some of the cost.
Digital Camera
Pros:
- Highest possible quality
- Full control over every shooting aspect
Cons:
- Takes up a lot of space
- Can be expensive to set up
- Slow if you have a lot to digitise
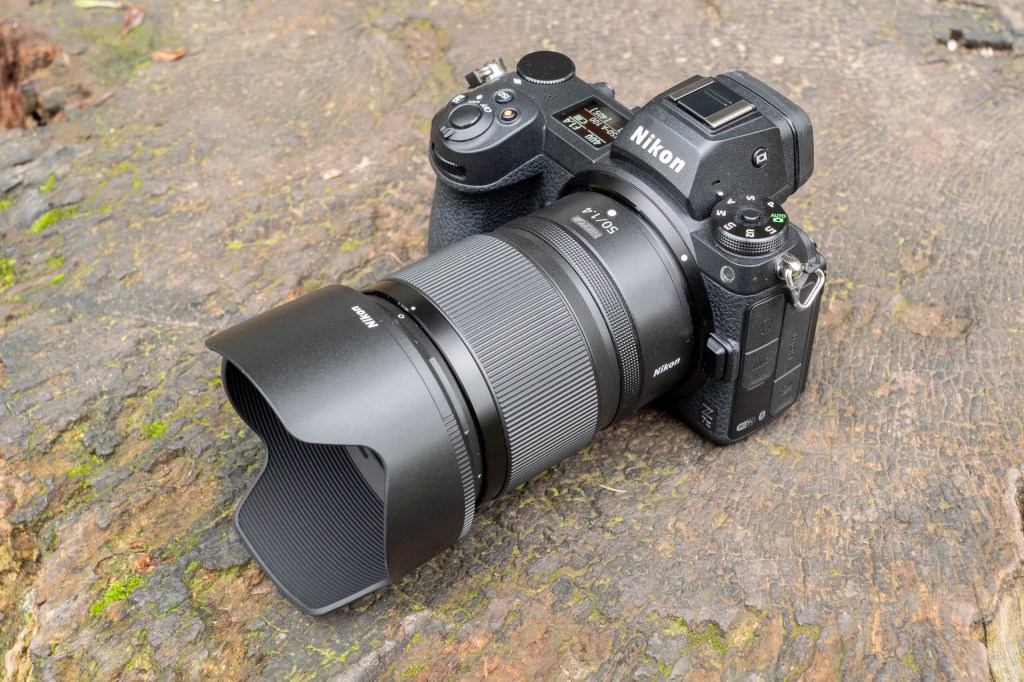
If you want the best possible quality and you already have access to a high-quality, high-resolution mirrorless camera or DSLR, plus ideally a macro lens, then it’s a route to go down.
For good results, you’ll set your digital camera up on either a copy stand or a tripod which enables overhead shooting. For the best results, you’ll also ideally want to use dedicated lighting, while blocking out external light sources. This can make it a cumbersome setup, that you’ll likely need to leave in place for the duration of your archival process – great if you’ve got a spare room available, for example, but not so great if your space is limited.
Smartphone apps
Pros:
- Simple to use
- Easy to share the results
Cons:
- Quality can be low
- Hard to control lighting
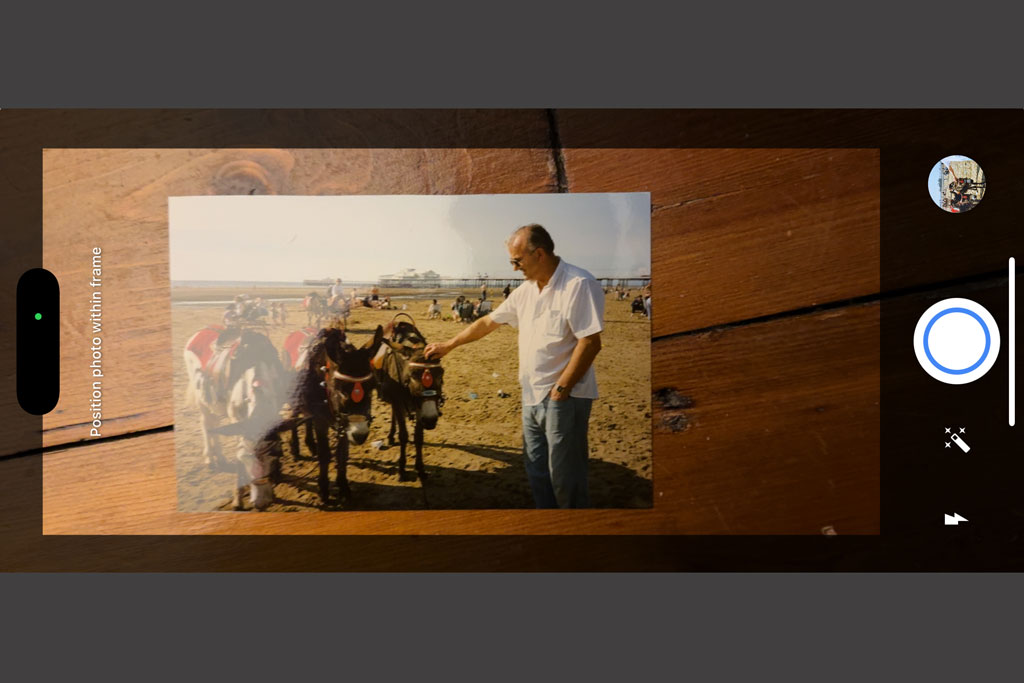
Simply using your smartphone can be a fairly quick and easy way to create digital copies of your prints and albums. You can of course just use the inbuilt camera as normal, but there are also lots of dedicated apps which aim to make the process more streamlined.
For example, Google PhotoScan is one free app available for both iOS and Android which gives you options such as automatic cropping, perspective correction, glare removal and more. It can be tricky to get the best quality when you’re using a phone, but with some patience and experimentation with different apps available, it’s definitely an option to explore.
Managing Your Digital Archive
With most of us regularly shooting digitally now and storing our pictures on hard drives or via the cloud, it can be very easy for our archive to be lost or unnavigable to those who come after us. And that’s before you add in any digitised version of a physical archive you may have.
But it needn’t be that way. With a bit of careful digital organisation, future generations should be able to enjoy our digital pictures just as much as we now enjoy flipping through physical albums.
If you’ve got a large collection of digital files, as many of us do, remember this is about your legacy – not creating a backup of every single frame you’ve ever shot. It might be beneficial to keep a distinct and separate “legacy friendly” version of your archive that holds only your best work and things that will be important to your friends and family in the future, and think about your general backing up practice differently.

After all, a mess of less-than-perfect, photographic experiments, random uncaptioned landscapes from a walking holiday many years in the past, or other generic snapshots might have been fun for you to create, but it’s likely to be somewhat painstaking for the family to go through when the time comes. Meanwhile, a well-organised and captioned digital archive is likely to only bring joy and happy memories.
Best Practices
There’s no set right or wrong way to organise your photographic archive, but, think about how someone who isn’t you – and doesn’t have you around – will navigate through it.
Many favour a chronological approach, and that’s a pretty sensible place to start. You could create folders for every year, divided by month for example. Or divided by events/holidays and so on.
It’s even better if you can make your archive searchable, by adding tags to your photos – a person’s name for example, or a favoured holiday location, or slightly more generic such as “birthday” or “Christmas” and so on. That way, whoever gets hold of it could simply search for “Christmas” and find all the shots you’ve tagged with that word in one hit, rather than having to wade through different years or months.

You can add tags to photos using Windows or Apple computers pretty simply, plus there are lots of dedicated image tagging software packages available – for example, Adobe Lightroom and Adobe Bridge both have options to do just that.
With physical albums or prints, it’s easy to handwrite in a caption explaining who or what is going on in a photo. You should aim to do the same with your digital files – future generations may simply have no idea what they’re looking at. You can embed captions in an image file’s metadata, again using software such as Adobe Lightroom or Windows File Manager.
If you’re not sure how to do either of these things, there are lots of online tutorials and YouTube videos which will show you the process – there’s too many different options to list here.
Remember also to think about how you name your files. Again, there’s no “right” way as such, but you should aim for a consistent approach here. A good option is to name by year, month and day, so that everything is stored neatly in order. You could also add a word or phrase towards the end of the file name to further help categorise it too, for example, “20241225_ChristmasAtHome_0001.jpg”
Storage solutions
For the best peace of mind, it’s a good idea to keep two copies of your archive, ideally in separate locations. I know of lots of people who “swap” a backup with a friend or family member so that the secondary backup shouldn’t be destroyed if something happens to the first one (i.e. fire or flood). Make sure it’s a trusted friend or relative – and in case of a family archive, make sure someone else knows where the backup of the backup is kept should they need to retrieve it.
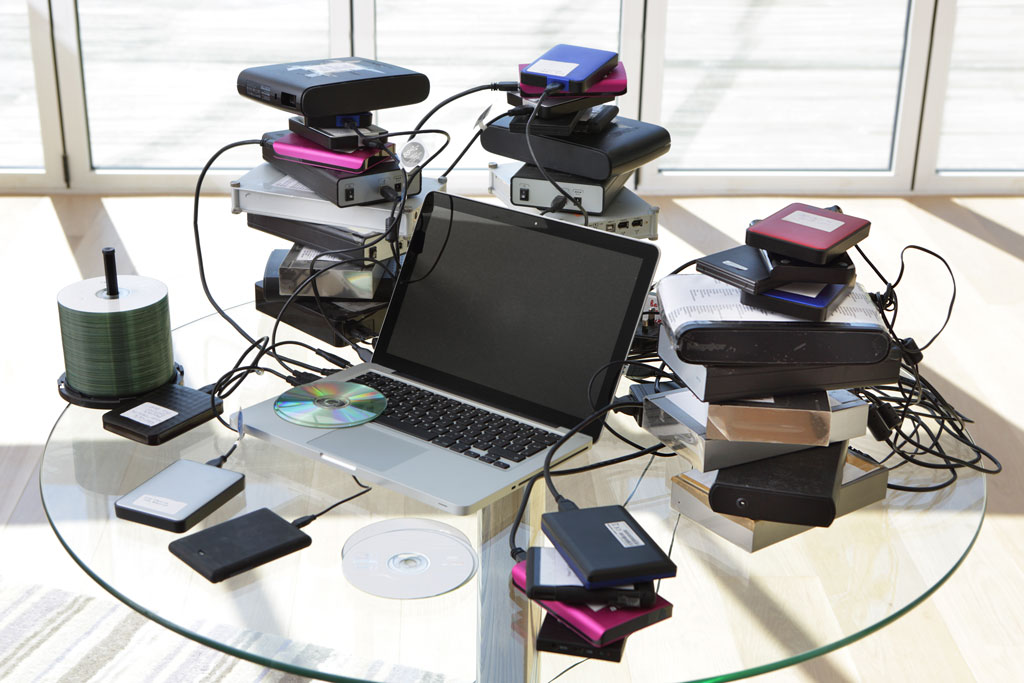
It can be hard to keep on top of the latest technology when it comes to data storage, but it’s particularly important to think about the future when storing an archive. It wasn’t too long ago that we were recommending folk keep their photographs on CDs – but these days so many people don’t have CD drives that it could present a challenge to someone trying to access your files.
Luckily it’s now pretty cost-effective to get hold of external hard drives that are widely compatible with different types of computer. It’s worth setting a regular reminder (say annually, or every couple of years) on your calendar to check that the files are still working fine, and that the storage type you’re using is still current and accessible.
What about the cloud?
As well as two physical back-ups, it can be a good idea to think about a cloud version of your family archive too. This is great for sharing your archive in the here and now, as well as hopefully being easily accessible after you’ve gone.
However, it’s important to think about the cost of cloud storage – both in terms of to your bank balance, and to the environment. Most cloud services work on a monthly or annual subscription model, and it can get pretty costly if you need a lot of room. For a family archive, you shouldn’t need to store thousands of huge unedited raw format files. It also uses up a huge amount of energy to store data in the cloud, so we should all be mindful about how much impact we want to have on the world. Think about only storing your best and most important files and you should be able to keep the cost down – you may even be able to get by on a free package. Dropbox and Google both offer a small amount of storage for free, for example.
If you do use the cloud, and you have a paid subscription – be mindful of what will happen after your death. Many cloud services will stop working, restrict access or even remove files altogether if/when the payments stop coming in. It’s therefore essential that whoever has access knows to download the files as quickly as possible when the time comes if they want to keep anything in it.

Don’t forget about physical versions of your digital files, too. Personally, I like to create a “yearbook” using one of the many printing services available now. A slim volume showing off the highlights of any given year doesn’t take up too much room on my bookshelf and hopefully will want to be kept by family in the future. A paper copy is also certainly not prone to problems with changing technology or file corruption (so long as it’s kept with care, of course).
What about smartphone data?
More of our photographs than ever are being taken with our smartphones. But, as our smartphones are also full of sensitive and confidential data, we understandably keep them locked and secure.
Sadly, that can mean that everything on it can easily become lost or inaccessible once we’ve gone. Even if you’re backing things up using Google Photos or iCloud, if you don’t give someone else access to those things, then it can be next to impossible for them to get hold of your stuff.

There are a couple of things you can do to make sure that doesn’t happen. You could share your phone password and any relevant login details with someone you trust, such as your partner, child or a close friend. If you don’t want them to have such details that while you’re still around, you could leave instructions to be delivered with your will – but that will require you to make sure that is updated with any changing of passwords.
Another way is to keep a written record of your passwords in a location that is to be shared in the event of your death. For example, a notebook that is kept somewhere safe and secure in your home – again, make it a regular job to make sure your passwords are all your most recent ones.

An even better thing you can do is to set up what’s known as a “Legacy Contact” within your phone, if you have an Apple device. This means that a trusted person will be able to access the contents of your device after your death. The Legacy Contact setting will generate a code that can be shared with Apple, along with a copy of your death certificate, in order to release your data.
This is something which is available on both iOS (iPhone and iPad) and Macs. You can add a Legacy Contact – or more than one if you choose – via the Settings > Apple Account > Sign In & Security > Legacy Contact menu on an iPhone. The contact doesn’t need to have an Apple account or an Apple device themselves.
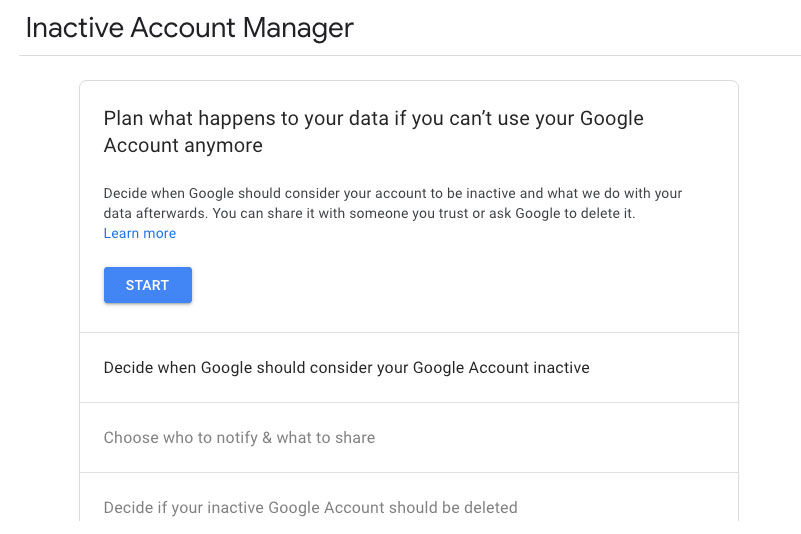
Although there isn’t anything currently directly comparable built into Android phones at the moment, there is another way to ensure your photos are accessible. You can set up a Legacy Contact using your Google account – so if your photos from your Android phone are being backed up to Google Photos (something we would recommend), a Legacy Contact will be able to download them should your account become inactive after a given time. Set this up via your Google profile. Click “Manage Your Google Account”, followed by Data and Privacy and “Make a plan for your digital legacy” to be walked through the options.
Related reading:
- How to digitise photos and slides
- Beginner’s guide to file and photo management (for new photos)
- How to make sure you never lose your photos again (backup, backup, backup)
- Jon Bentley: Where have all the good film scanners gone?

