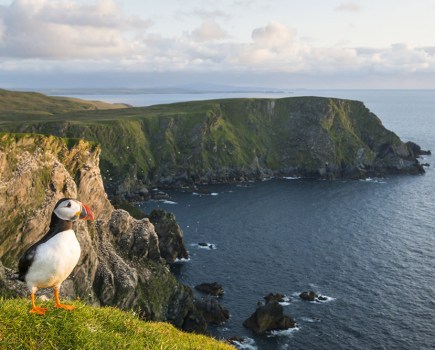
Love it or loathe it, HDR photography is a useful technique and one that allows photographers to ditch their square filter systems in favour of lightweight and less expensive options. James Abbott puts the two approaches head to head.
Landscape photographers often look for workable ways to reduce the weight of their kit; when walking mile upon mile, a few hundred grams here and there can make a huge difference your back and shoulders will undoubtedly appreciate. There are a few simple ways to cut weight, but one that’s growing in popularity is to ditch 100mm glass square filter systems in favour of magnetic systems or screw-in filters.
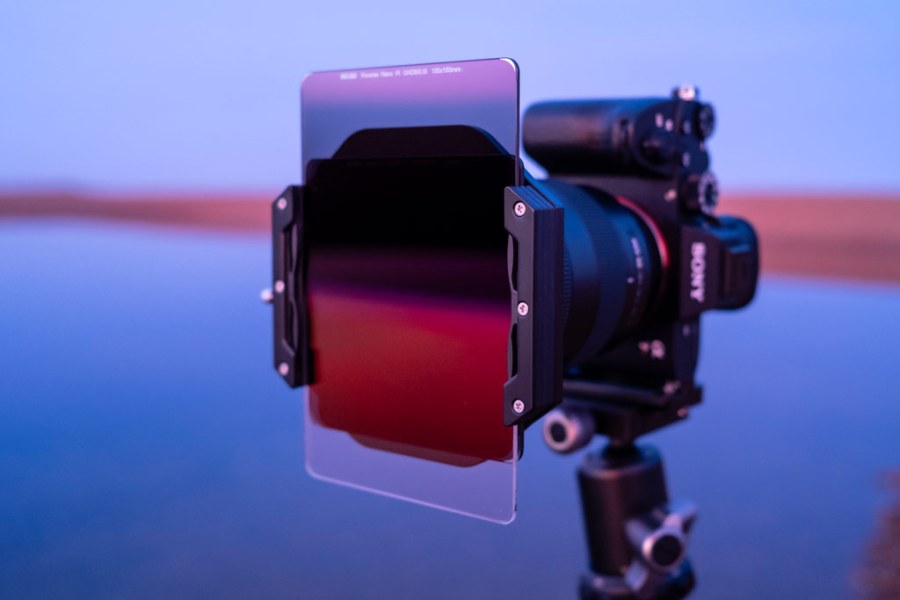
100mm glass filters provide the best image quality and the greatest flexibility when it comes to controlling exposure and stacking filters to achieve the desired result, but they’re also the largest and heaviest filter system. By swapping over to magnetic systems where a polarising filter can be stacked with ND filters, weight can be drastically reduced. The downside, however, is that ND grads are unavailable so the answer here is to use HDR to capture detail throughout high-contrast scenes.


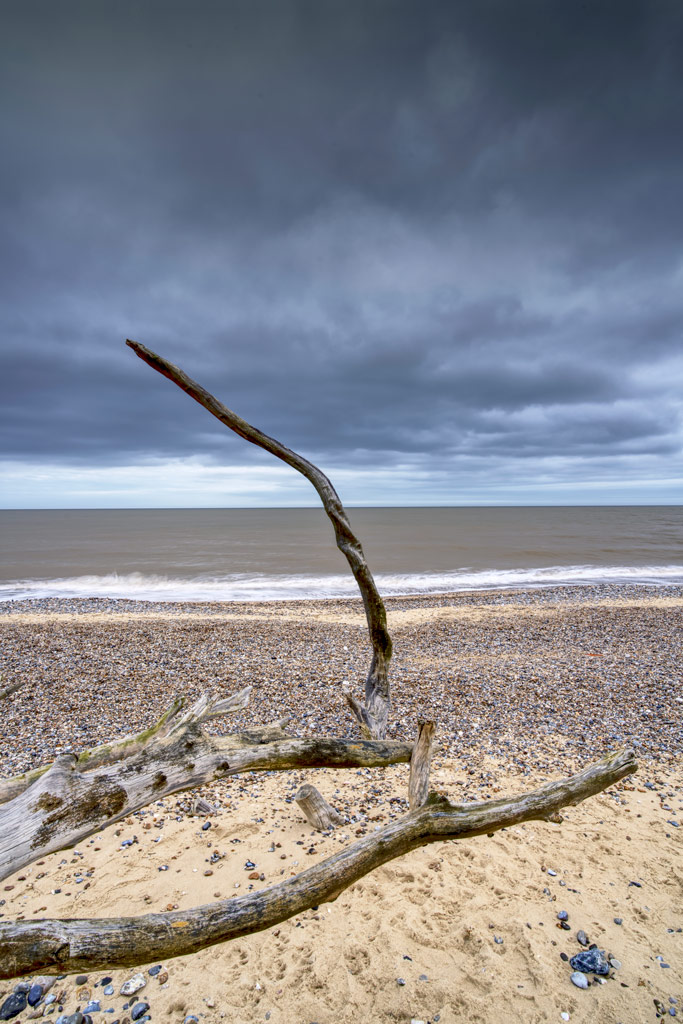
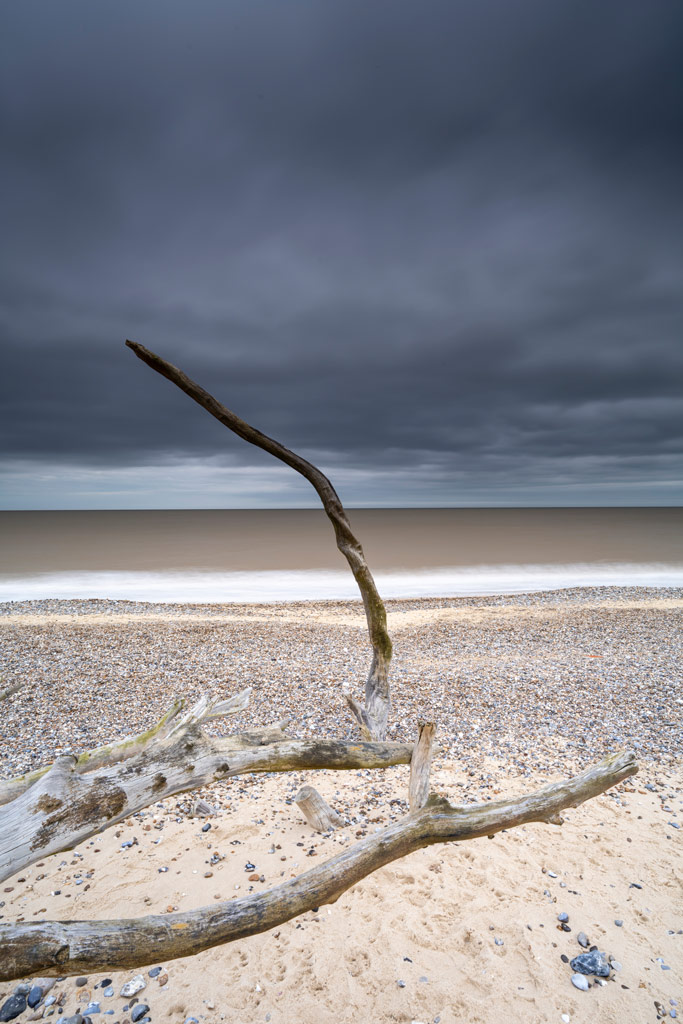
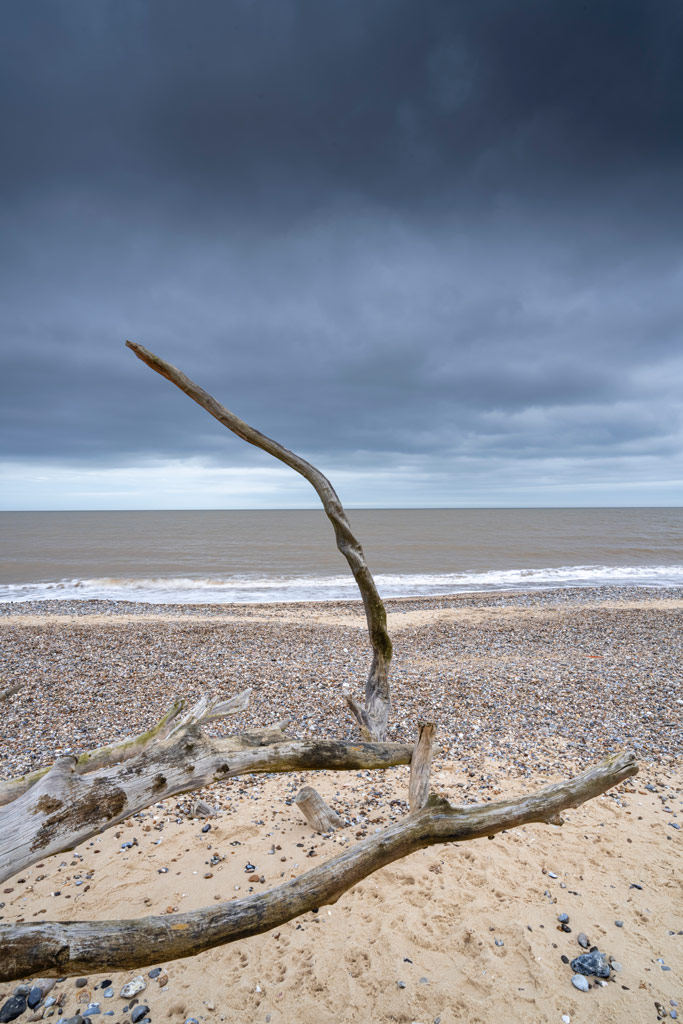
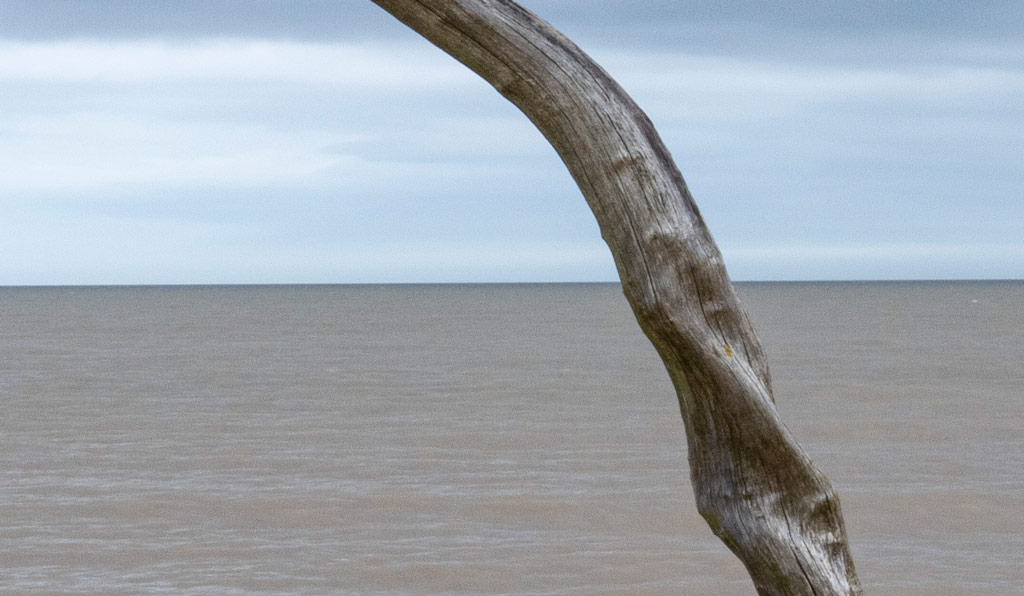
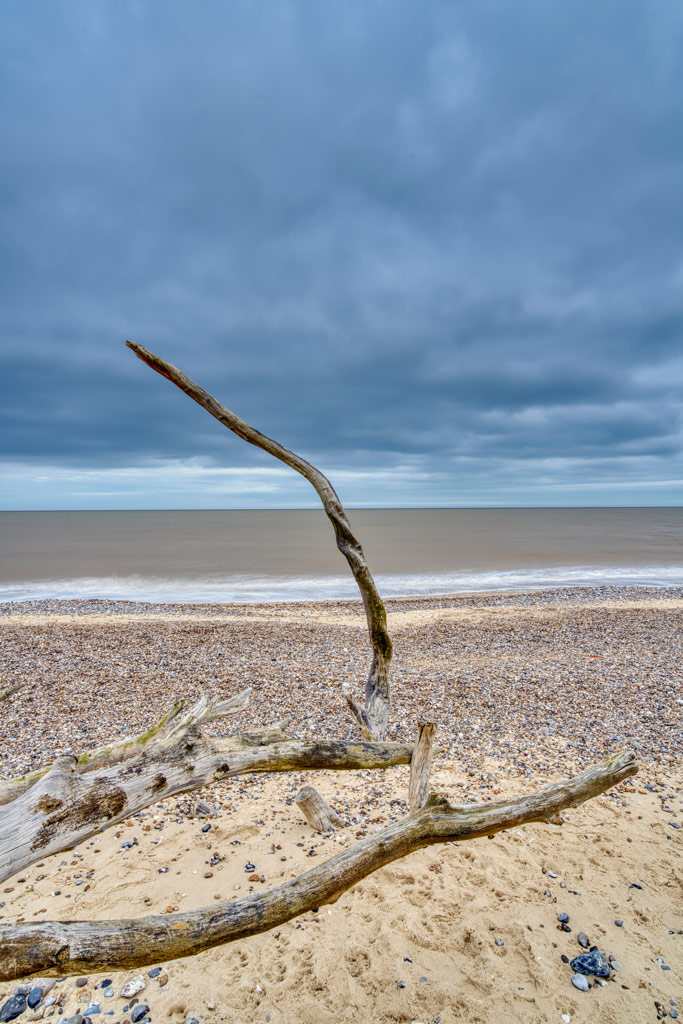
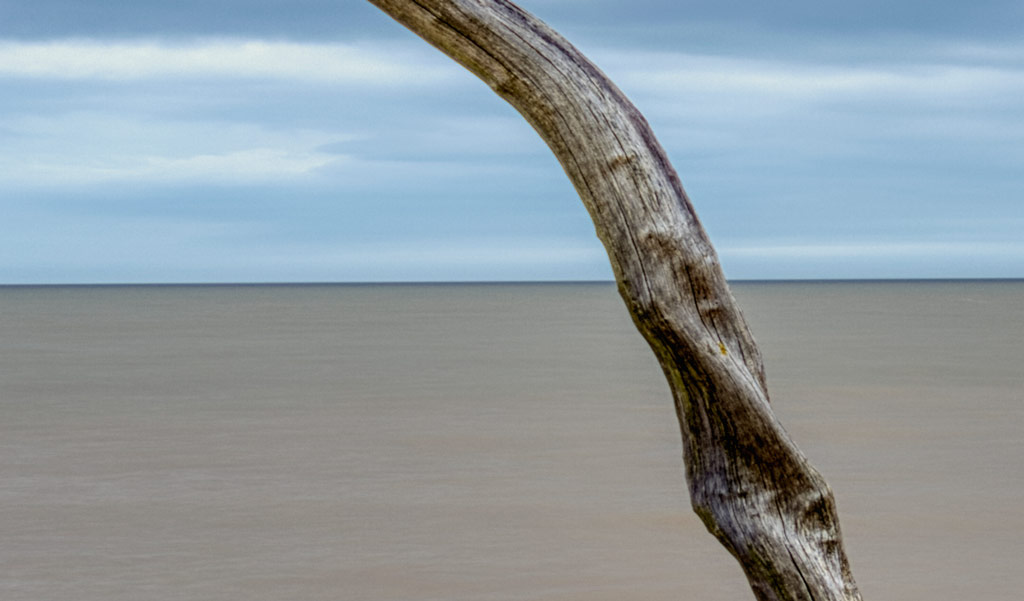
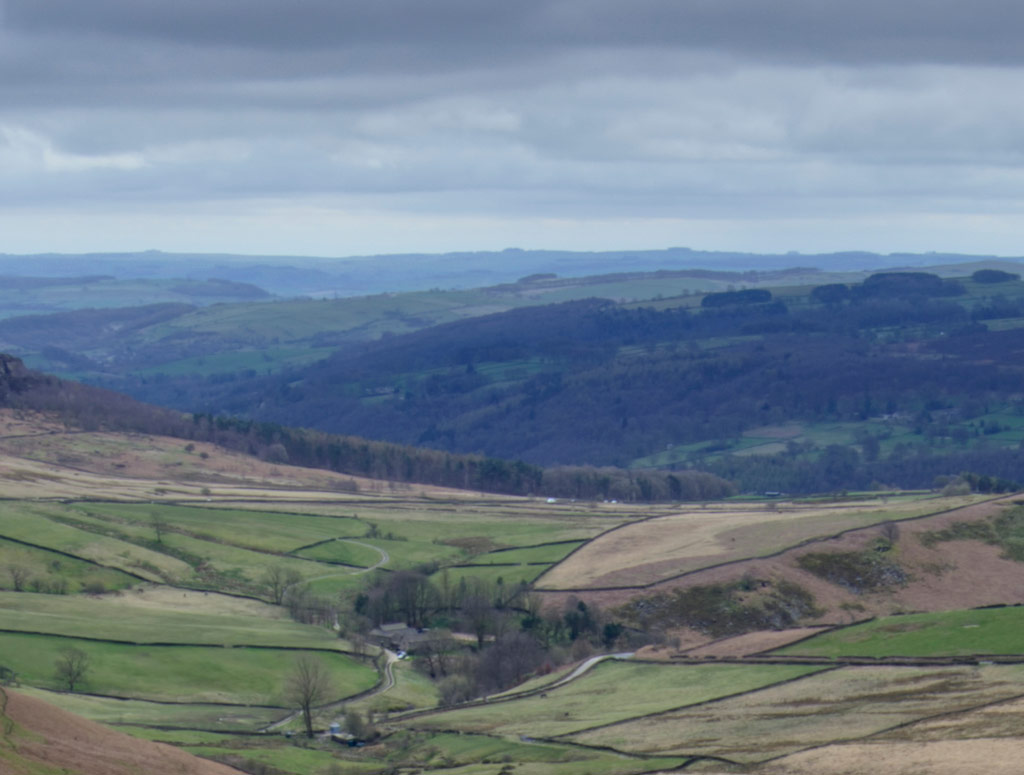
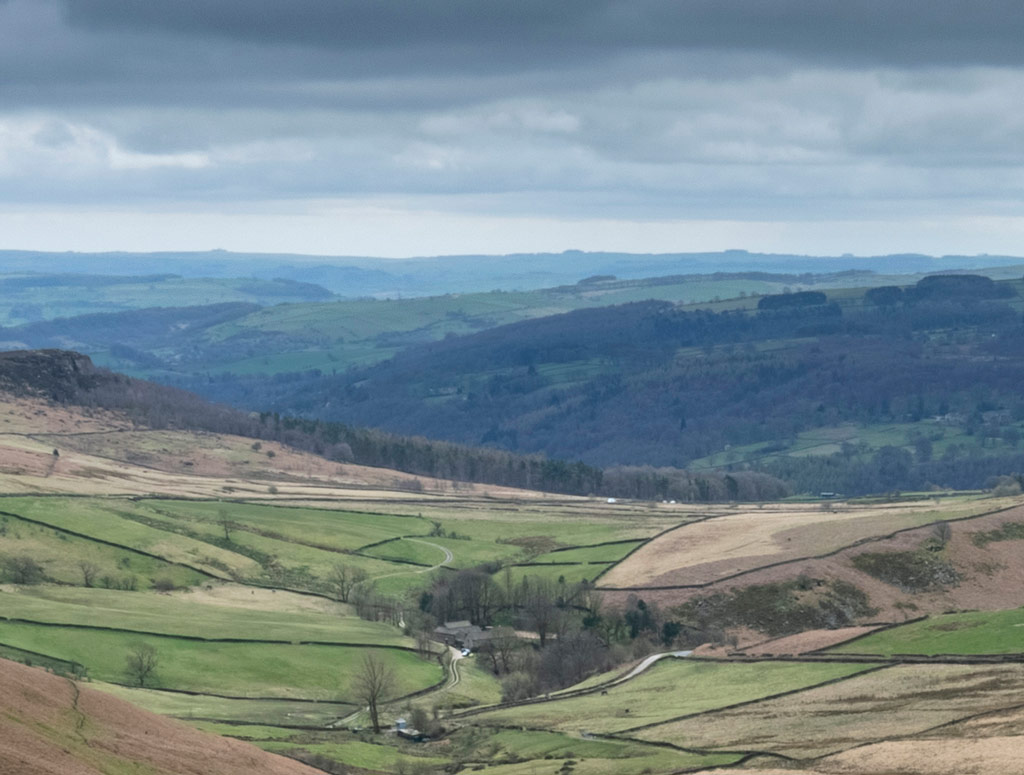
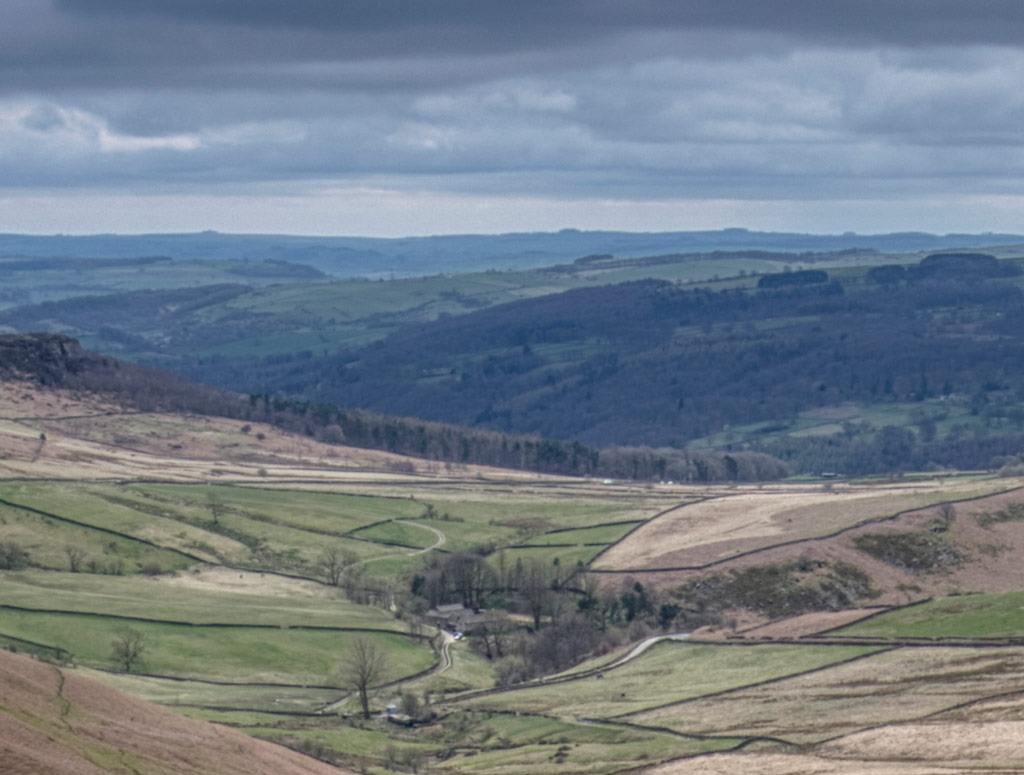
The results of an image taken with a polarising filter (left) and a 2-stop medium ND grad, and an HDR image (right) shot with just a polarising filter are practically identical in this situation. However, with scenes where a hard or reverse ND grad is required, any elements that protrude into the sky above the horizon line are typically darkened by ND grads while HDR looks more natural
HDR stands for high dynamic range and is a technique where photographers typically capture three or five bracketed exposures at 2-stop increments. This provides a ‘base’ exposure for the midtones in the middle, with one or two under- and overexposed shots to capture detail from the deepest shadows to the brightest highlights. These are then merged in software to create a single photo with detail throughout the entire tonal range.
Graduated neutral density filters are square filters that are placed into a filter holder allowing their position to be adjusted, both vertically and horizontally, according to the horizon. At the top of ND grads, there’s a light-reducing coating that graduates to no effect in the middle of the filter, allowing the photographer to reduce the exposure of a brighter sky against a darker foreground for a correct exposure across the frame. Graduations can be soft, medium, hard or reversed, which are all designed for shooting different types of horizons or at sunrise or sunset in the case of reverse grads.
Shooting with ND grads
Using square filters, whether the 70mm, 100mm or 150mm type, couldn’t be simpler. The polarising filter, if it sits behind the filter holder in the adapter ring, is attached first with an ND filter added to the rear filter slot. The ND grad is the last filter to be added, and when slotting into place you look through the viewfinder to line up the graduation with the horizon. Use the histogram to assess exposure and apply exposure compensation if required. It’s quite common to need negative exposure compensation, especially when using Evaluative metering.
How to capture bracketed shots for HDR
1. Shooting mode
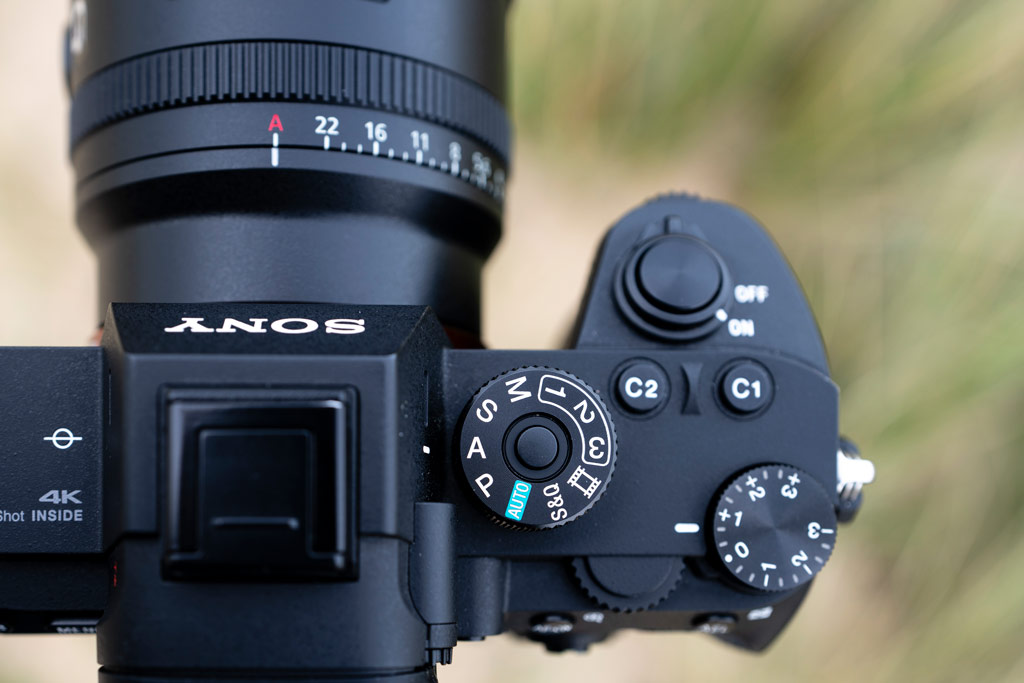
Attach your camera to a tripod to lock the camera in position. Set the camera to aperture priority because this ensures that only the shutter speed will be changed during the capture of bracketed exposures to maintain a consistent depth of field and ISO level to maintain identical noise levels.
2. Compose, focus & expose
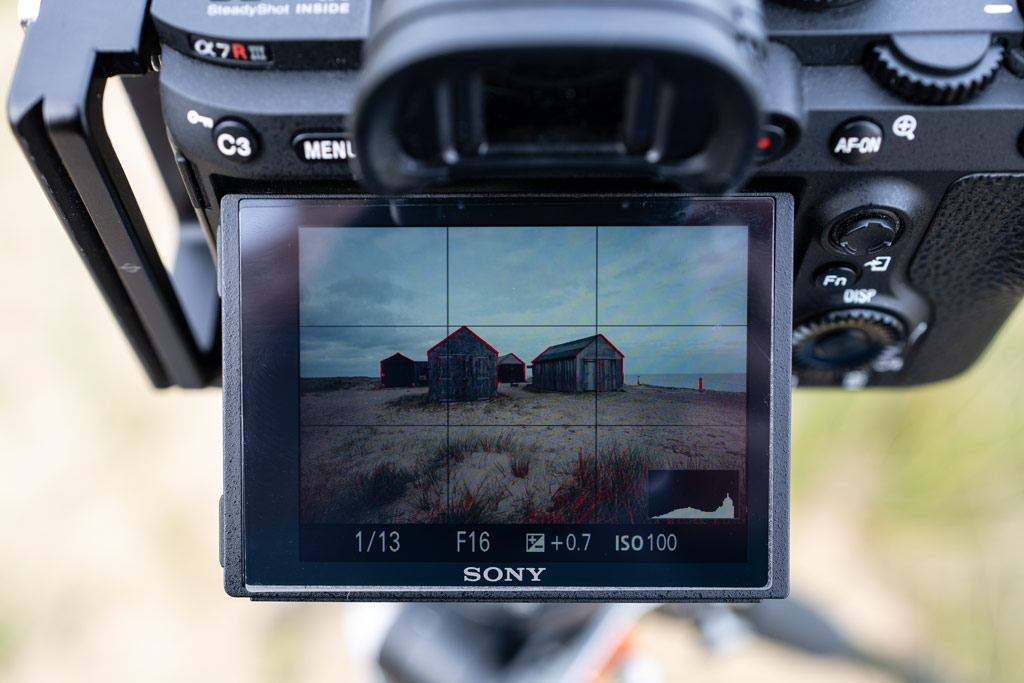
Compose the shot and manually focus 1/3 of the depth into the scene beyond the foreground interest. This is to lock focus for each exposure. Next, set the aperture to f/11-f/16 for a large depth of field, and apply exposure compensation to ensure that the midtones are exposed correctly.
3. Use a polariser
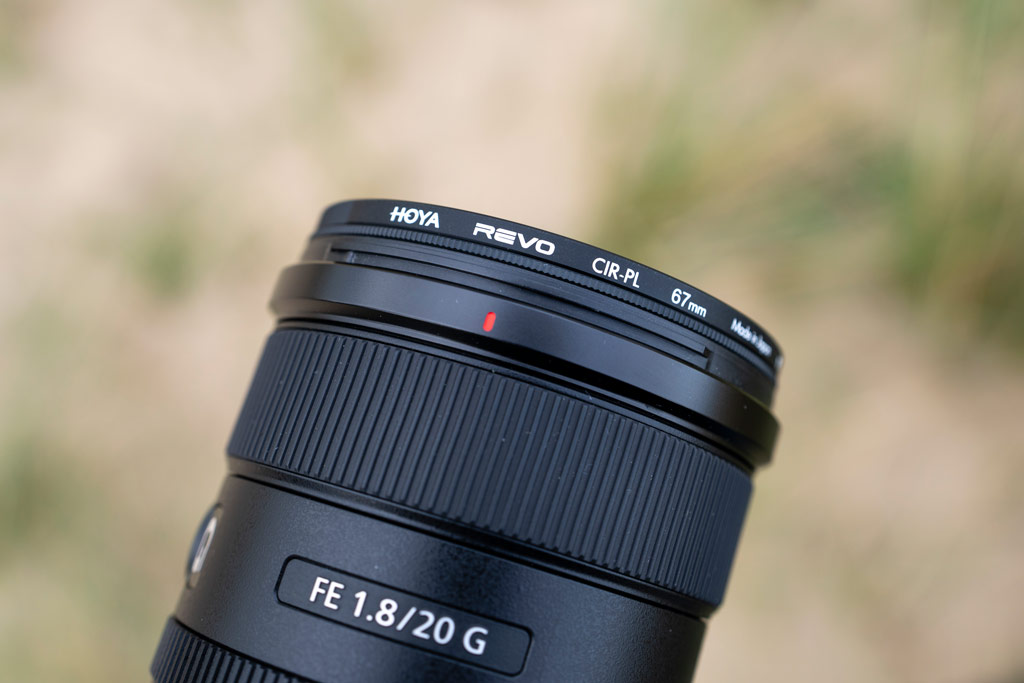
You don’t have to use a polarising filter, but this is one filter whose effects cannot be replicated in software, so it’s still extremely useful. Alternatively, you may want to use a variable ND filter if you’re working with screw-in filters or a magnetic filter system which are common for HDR.
4. Exposure bracketing
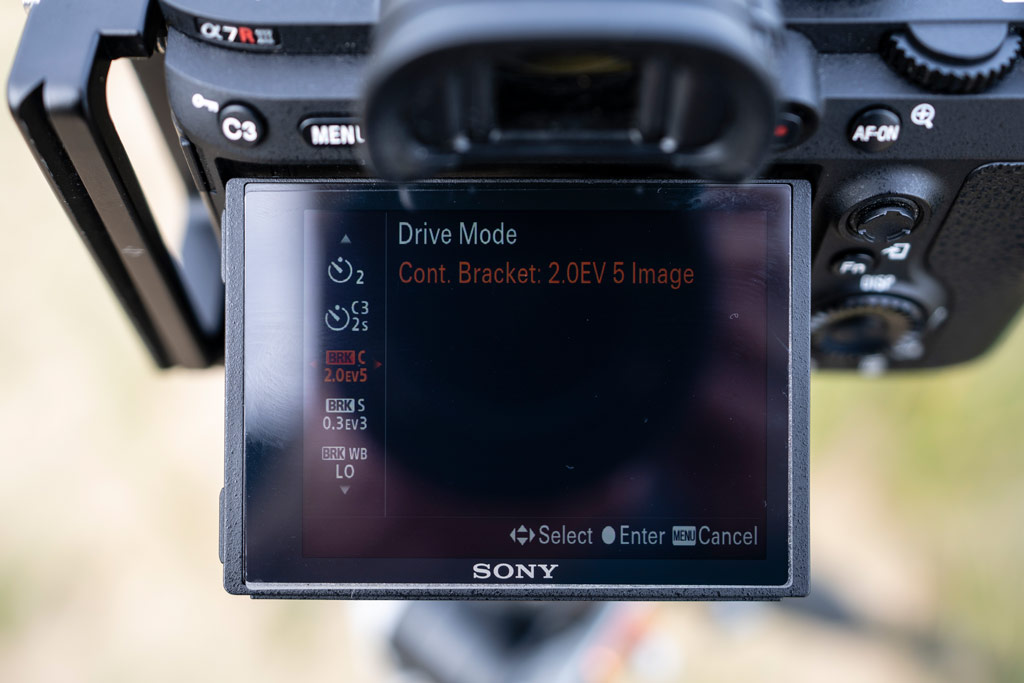
The majority of modern mirrorless cameras and DSLRs have auto exposure bracketing (AEB). This allows you to set exposure increments, which should be 2-stops/2.0 EV and the number of images to be taken. Shoot your three or five exposures using a shutter remote or the camera’s self-timer.
5. Bracketed stops
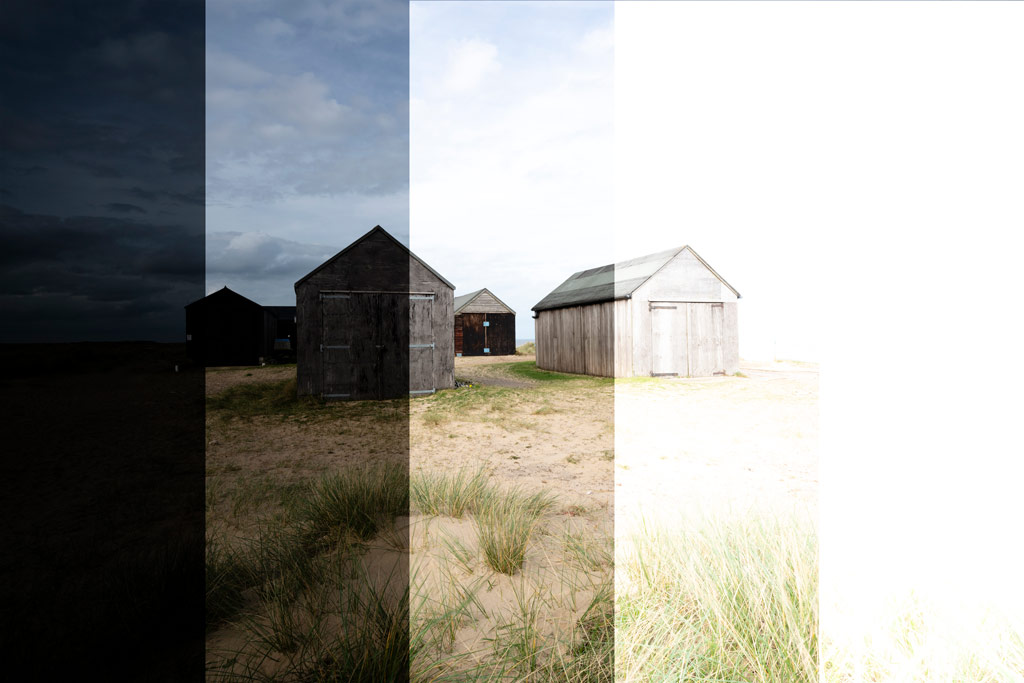
Once you’ve taken your three or five bracketed exposures at 2-stop increments, you’ll be able to view these as individual shots on the camera LCD screen. These exposures, when combined, offer image data from the shadows through to the highlights to provide detail throughout the scene.
6. Merge your exposures
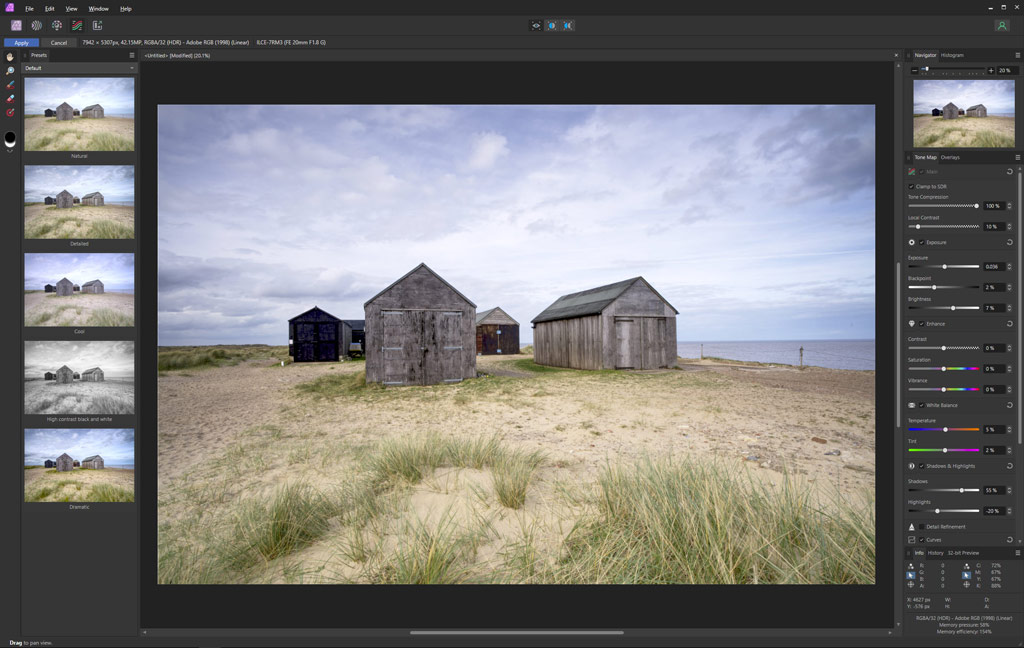
Download your raw files or JPEGs to your computer and load them into the software you use; these can then be selected for HDR merge. We’ll look at the results from Lightroom, Affinity Photo 2 and Luminar Neo, which are all slightly different, but are the three most commonly used options.
Capturing static and moving subjects
There are several pros and cons to using ND grads as opposed to HDR and vice versa, so the best option for you isn’t necessarily clear cut

Dynamic range is the ability of cameras to capture detail throughout the tonal range between pure black and pure white. Dynamic range is largest at the base ISO – the lowest setting which is typically ISO 64, 100, 160 or 200 depending on the camera model and manufacturer. Modern cameras can capture a dynamic range of around 14 stops or more, which is incredible. But even with this impressive range, ND grads or HDR remain essential for capturing detail in both the sky and the foreground in high-contrast landscape situations.
Comparing ND grads and HDR for extending dynamic range, the main advantage of using screw-in or magnetic polarising and ND filters with HDR bracketing is that these two filter options are much smaller than square filters so they take up less space in your kit bag, they’re much lighter and considerably less expensive. So, if you’re on a budget and/or you want to keep weight down, this approach wins hands down. The downside is that you have to shoot more exposures which means more shutter actuations, you have to store more image files on your hard drive and you have to spend more time processing your images.
Using square filters provides a huge amount of flexibility because you can stack more filters together effectively to achieve the desired effects with exposure and/or colour. And since this is all achieved in-camera, editing time is greatly reduced. Plus, capturing ultra-long exposures with 6- and 10-stop ND filters is much easier because when you’re shooting bracketed exposures the overexposed shots can become incredibly long, which means that you have to manually time exposures in Bulb mode. For example, if your base/midtones exposure was one minute with a 10-stop ND and you wanted to capture five bracketed shots, the longest exposure would be a whopping 16 minutes with the previous exposure being four minutes – a practically unworkable situation.
Comparing the results
To put these two approaches to extending dynamic range to the test, two scenes were captured; one was a relatively static landscape, while the other was a seascape with a small amount of movement present in the tide to see how this type of movement is handled. For each software option, only the tools available were used with all processing applied in that software to stay in line with the controls a typical user would have available to them.
The results from the seascape exhibit the most differences between the three software options and the filter-based versions, but the more static landscape is much more consistent. The colour balance of the images is slightly different in all of the examples produced, which is due to the way the different software options handle colour; and even the filter image processed in Lightroom had a slightly different colour balance to the HDR version which was processed in Lightroom.
The filter-based images have the most faithful colour rendition with the cleanest look overall, alongside a realistic representation of the shutter speed used. Longer exposures are captured properly because there’s no deghosting at play,
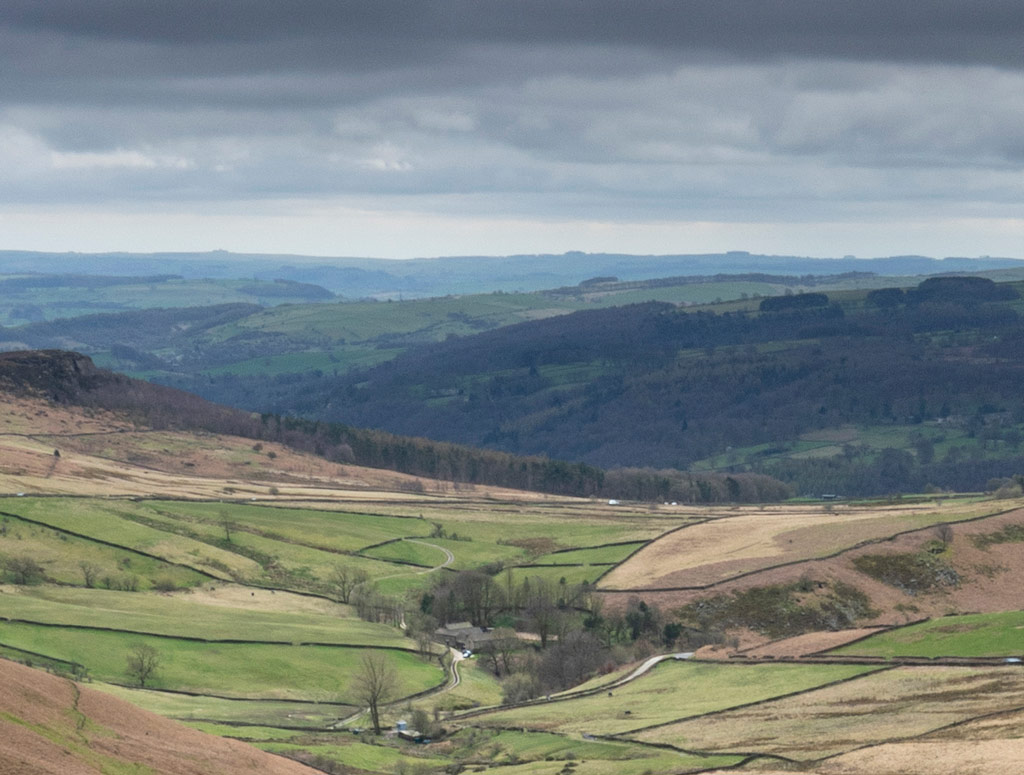
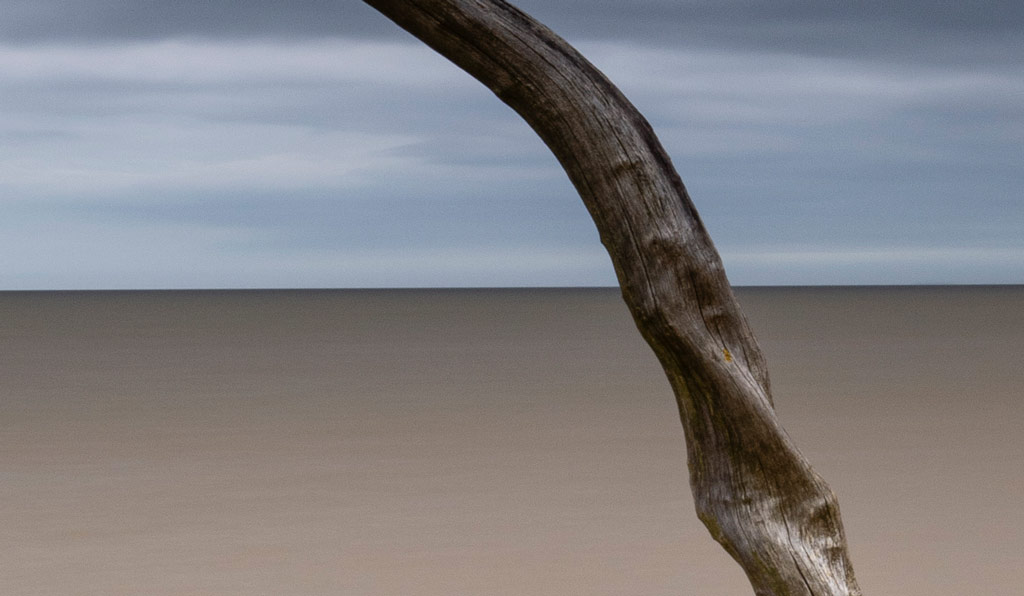
which often uses a shorter exposure for moving elements such as water. What you will notice with the filter-based seascape though, is that the hard ND grad used has darkened the dead tree where it reaches above the horizon line, while the HDR options all represent the exposure of the tree how the eye saw it.
For HDR, Lightroom comes in as the most versatile and natural-looking option of the three, thanks to the wide range of adjustments and tools available alongside the colour handling of the software. Plus, Lightroom creates a new DNG file containing all the image data of the constituent bracketed exposures so as to
provide the best possible starting point for making even heavy-handed adjustments using a raw file.
Luminar Neo is by far the easiest to use and churns out an automated result that’s unmistakably HDR. Unfortunately, despite the excellent Skylum Aurora HDR 2019 that’s no longer available to purchase, Skylum didn’t port the refined level of control available here into Luminar Neo. But, with Neo, once the HDR image has been merged, you can dive into the Edit section of the software and dial settings down for an improved result, albeit one that remains conspicuously HDR.
Affinity Photo 2 offers a similar result to Lightroom and looks great overall, although attempting to push Linear Gradients as far as in Lightroom to darken the sky in the seascape like the filter image has created a strange muddy effect in the top left corner of the scene. This could have been avoided by dialling back the adjustment, but it was left as it is for the sake of a comparison with the Lightroom HDR version where this darkening was more effective and ultimately produced a much more natural-looking result.
Which one is the best approach overall?
Whether your approach to HDR processing is the desire to achieve the most natural-looking results possible or something with a distinctive HDR look, saying that one software result is better than another is difficult because it’s ultimately a matter of personal taste. Not to mention, it might also depend on which software you already have. For me personally, I prefer the result from using filters, with Lightroom’s HDR Merge coming in as my favourite option for HDR processing. Affinity 2 isn’t far behind in terms of how it looks and the level of control available, while Luminar Neo was both the quickest and easiest HDR conversion. However, colours and texture are much less natural-looking, despite a reduction of both Saturation and Structure.
Related reading:
- How to use filters for better landscapes
- Photo editing masterclass: creating a HDR merge
- Get better HDR shots – Natural looking High Dynamic Range photos
- Raw HDR capture arrives on Lightroom Mobile
Follow AP on Facebook, Twitter, Instagram, YouTube and TikTok.