
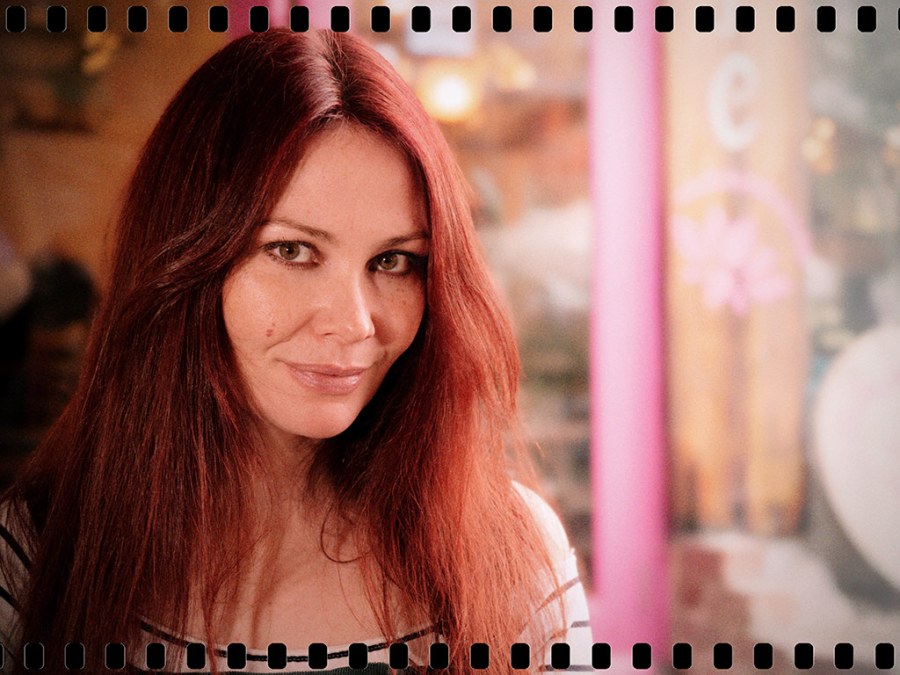
In this article we look at what makes film photography so unique, and how you can recreate this look with digital photographs through the magic of photo editing.
What feelings do old film photos, or from your own past evoke? In a word: nostalgia. Why? Not least is the tinge of sentiment inherent in the old look, especially in pictures of loved ones. The 35mm film camera they were likely taken with also has something to do with it, as several factors of these made film photography look very different to digital photography.
We’ve included guides on how to use Photoshop, Lightroom, DxO FilmPack 6 or a smartphone to create film-style photos.
What makes a film photograph so unique?
Film colour is often muted in comparison to today’s cameras, with certain brands or types of film producing yellow tones. Then there is added grain from the film itself, as well as often lower dynamic range.
Using a 35mm film, film cameras generally have natural background blur, so depending on your current camera, you may need to add background blur to an image to achieve that effect.
Unless taken on an SLR with an expensive lens and a perfect focus technique, photos were generally softer than we’re used to seeing today. Even with perfect technique, photos were rarely as sharp as they are now, owing to the way that film records photos.
Why our obsession with sharpness?
In comparison, modern cameras, smartphones, and lenses, seem engineered for sharpness. Those of us who used cheap film cameras and early digital cameras perhaps share in this modern obsession. Photographers using modern digital cameras now seem to focus on several factors. Firstly, sharpness – how sharp is your lens? Have you spent hours studying MTF charts? And if not, why not?
Second, maximum colour and high colour saturation (especially on smartphones). Third, minimum noise or no noise at all – thanks to camera reviewers, myself included, for obsessing over this for the past 20+ years. Finally, there’s maximum dynamic range, to the point where photographs no longer even look realistic, thanks to automatic dynamic range optimisation.
So how do we make our digital photos look like the film photographs of yesterday? Well, we undo all these things (and more), and then there’s one final step, which we’ll reveal at the end of the article. Some of you may just guess what that final step is…
How to get the film look with digital cameras
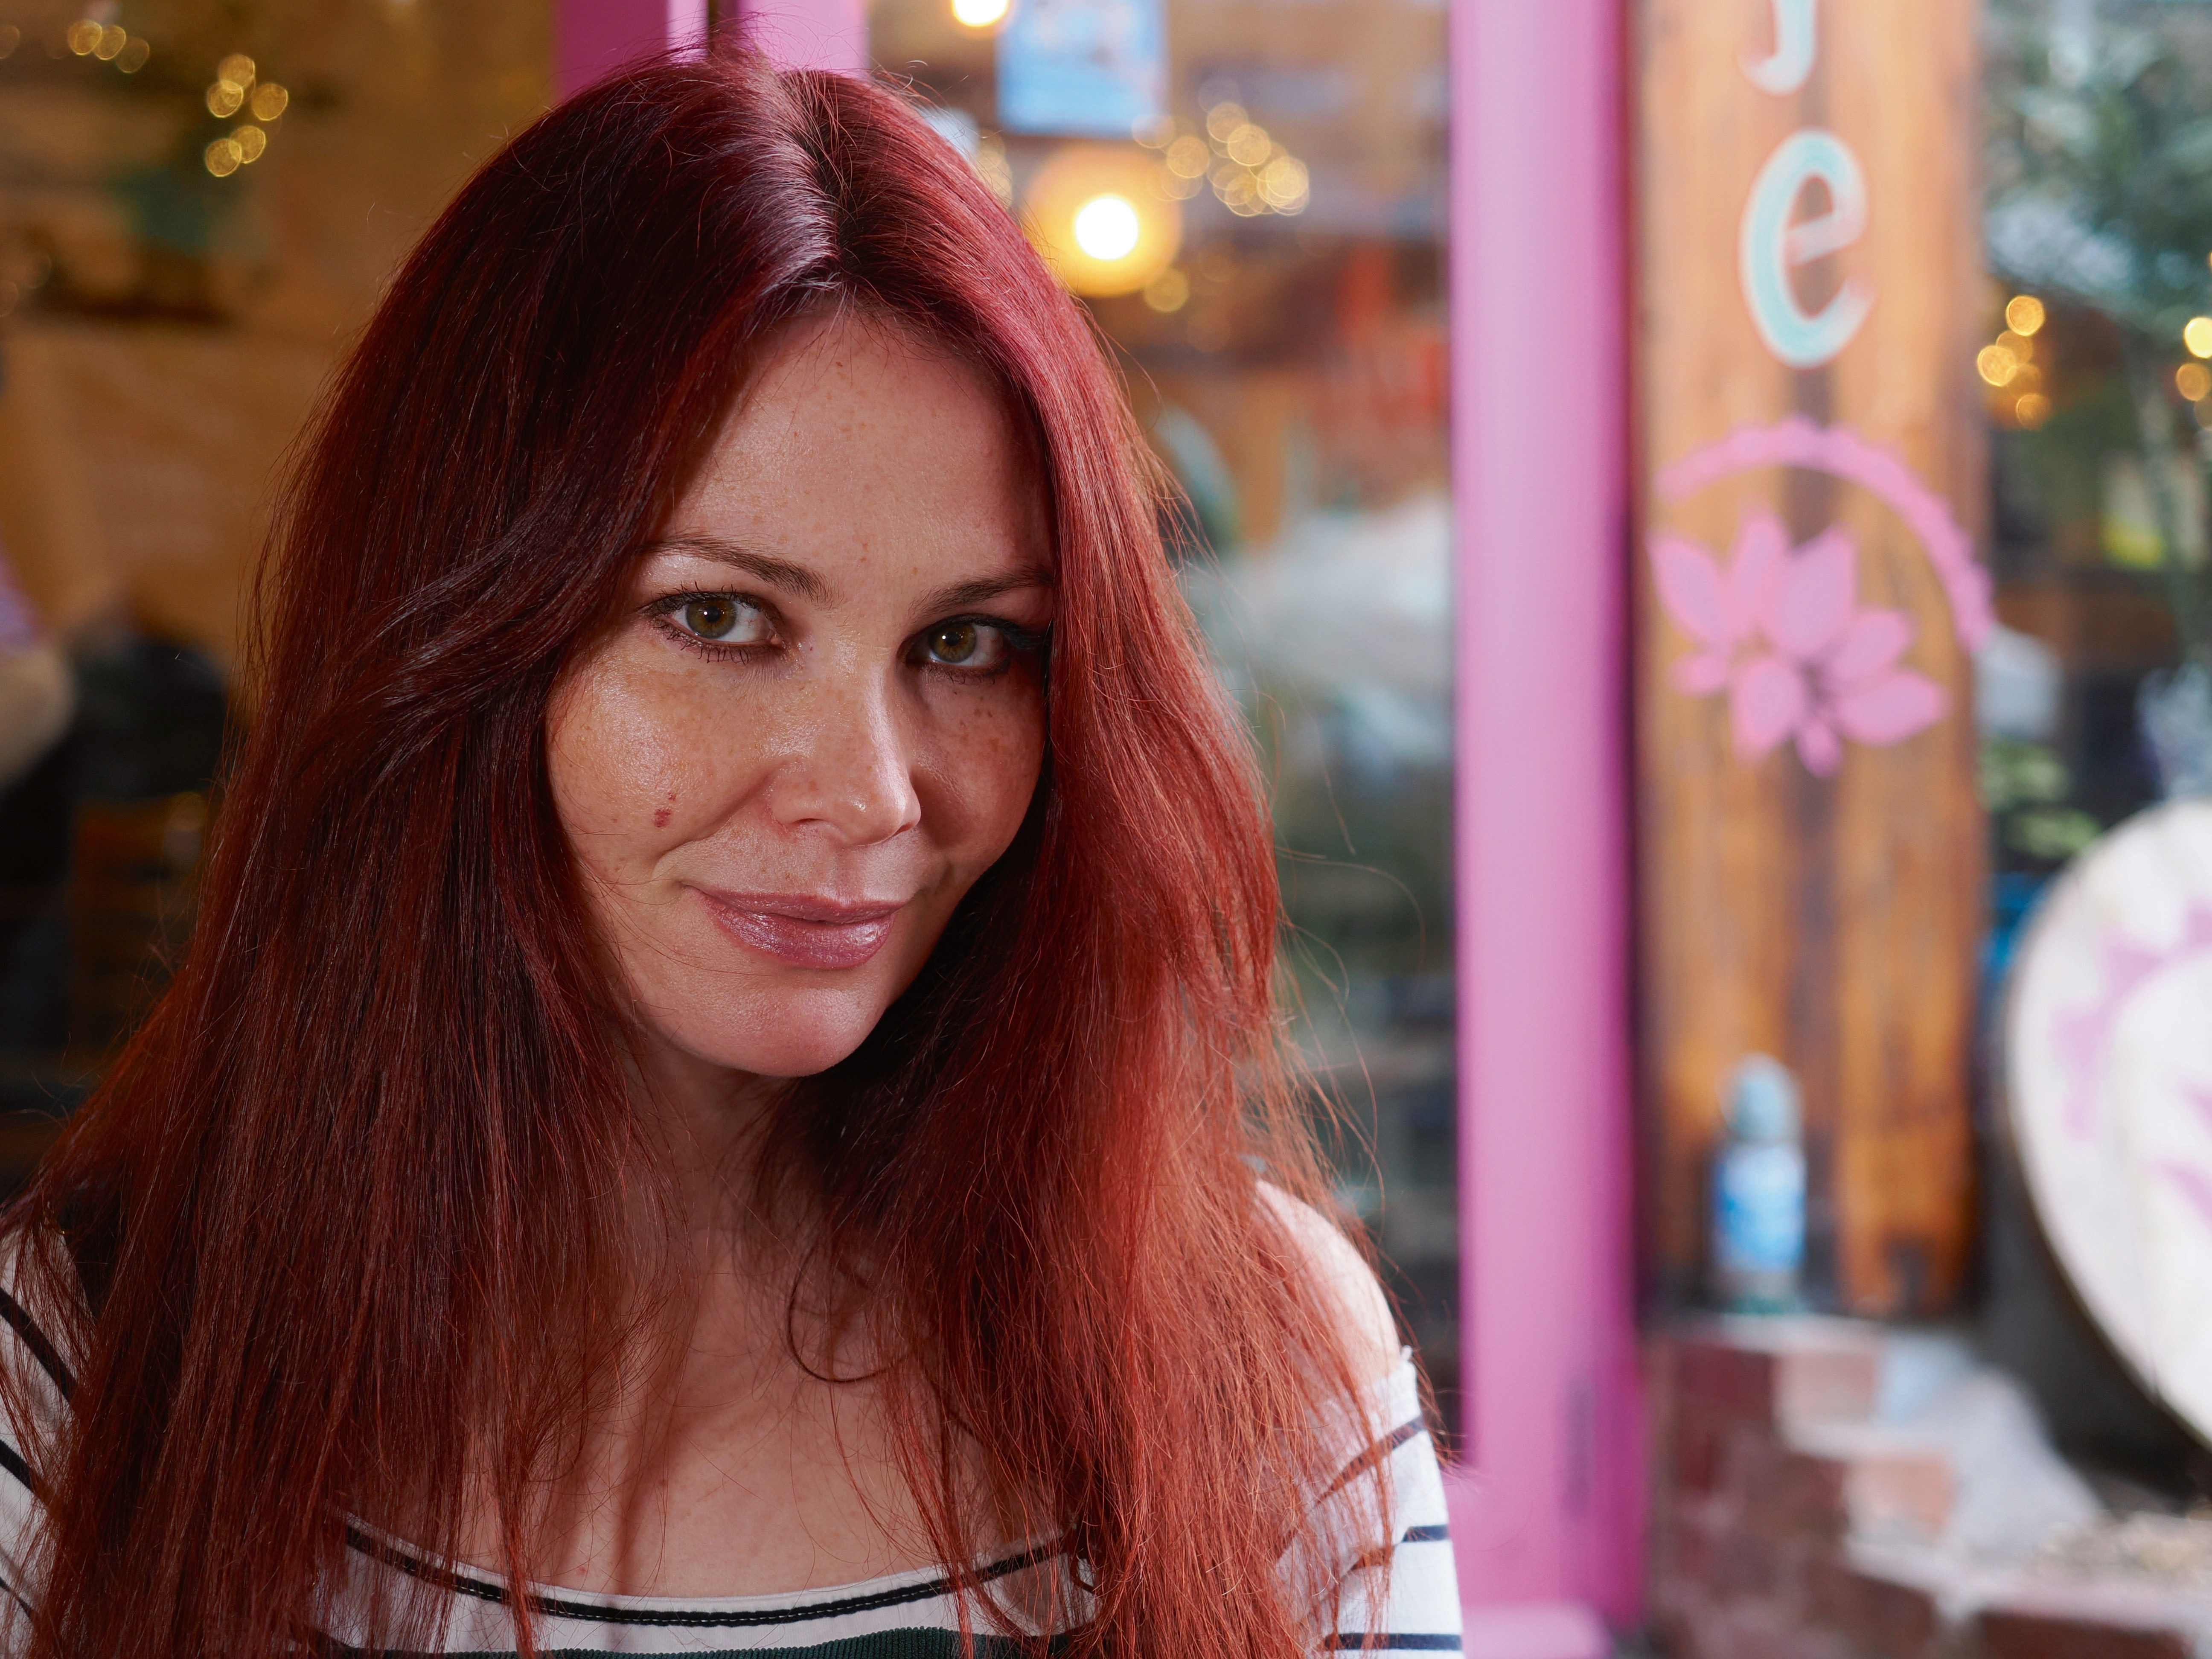
For the best results, take your photo in a similar style to how you would have taken film photographs. Shoot raw, because this produces an image file that has not yet been processed, so we can tailor the look of the image to our taste.
We’re looking to remove some of the sharpness (if your camera generally produces very sharp images), reduce or adjust the colour saturation, leave some noise in there (and add some more), adjust the background (if needed), and reduce the dynamic range captured – sacrilege, I know!
There are a number of different ways we can do this, using Adobe Lightroom, Adobe Photoshop, and for those who want the quickest and easiest route, there’s also DxO FilmPack 6, designed specifically to recreate the film look. If you’re using a smartphone, we’ll go over an app designed specially to give you the film style of photo.
This guide is about recreating the film look with colour photographs. See this one to recreate the black and white film look.
How to get the film look using Adobe Camera Raw and Photoshop
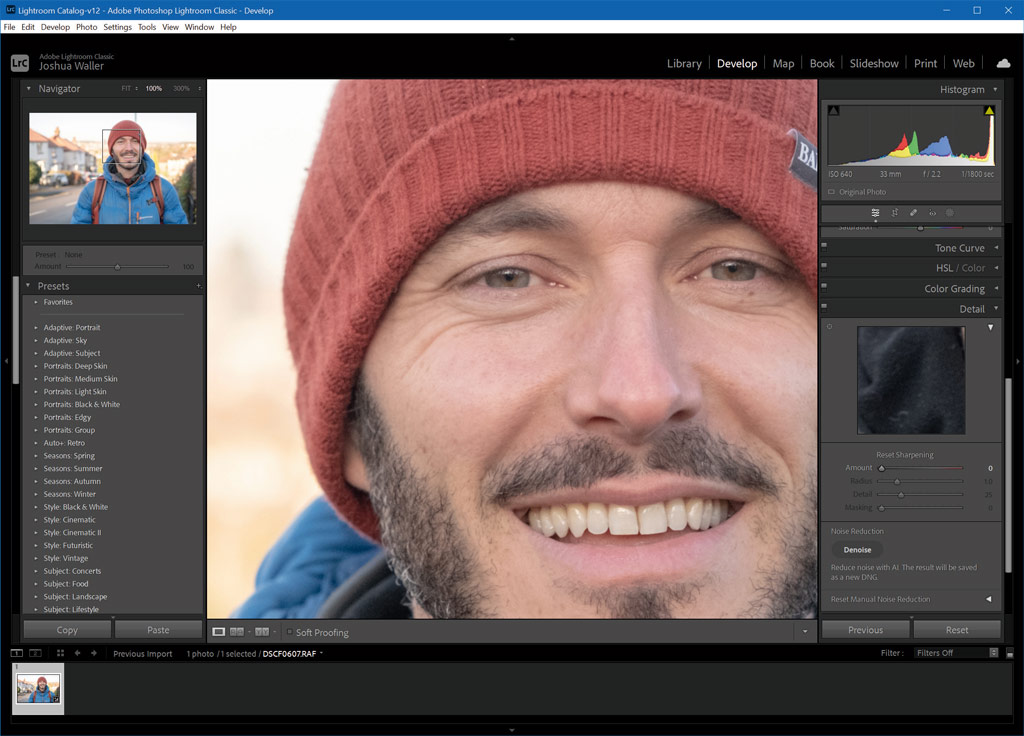
1. Reduce sharpening
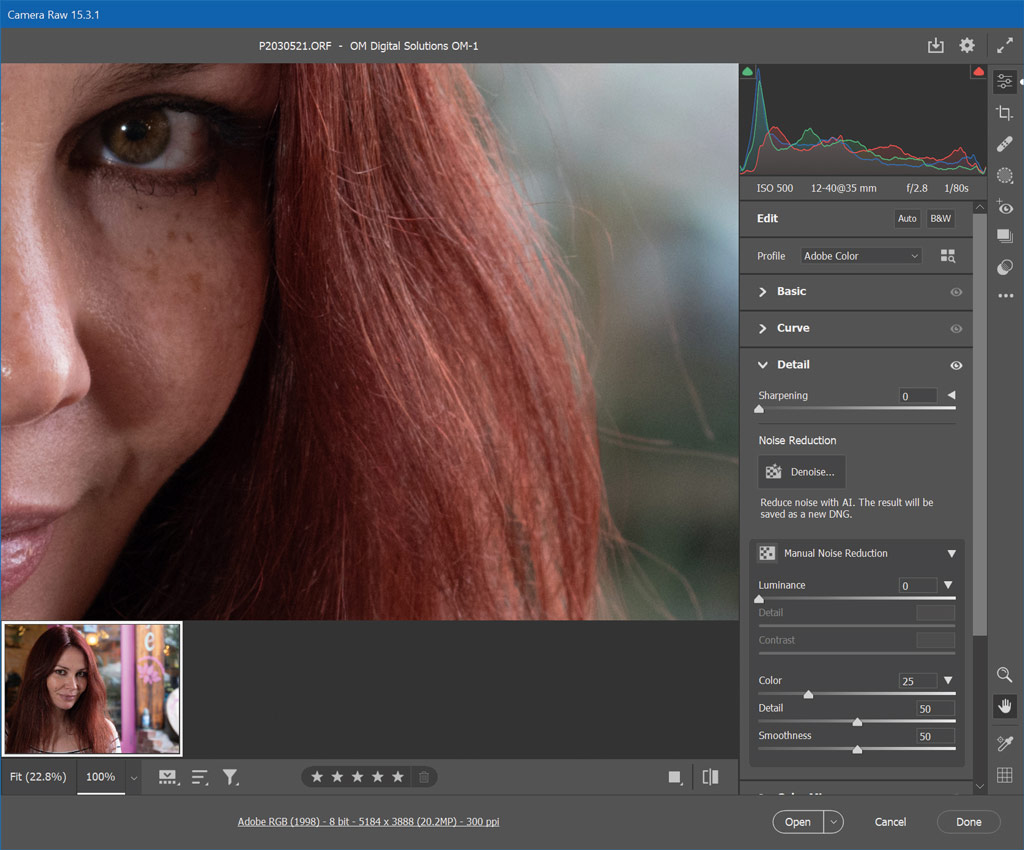
Open the raw file into ACR and click on the Detail tab. Leave the Manual Noise Reduction settings at default and reduce Sharpening. Reduce Texture, Clarity, Dehaze to taste and turn up the warmth/temperature if needed or select a warmer white balance such as cloudy or shade.
2. Add more blur
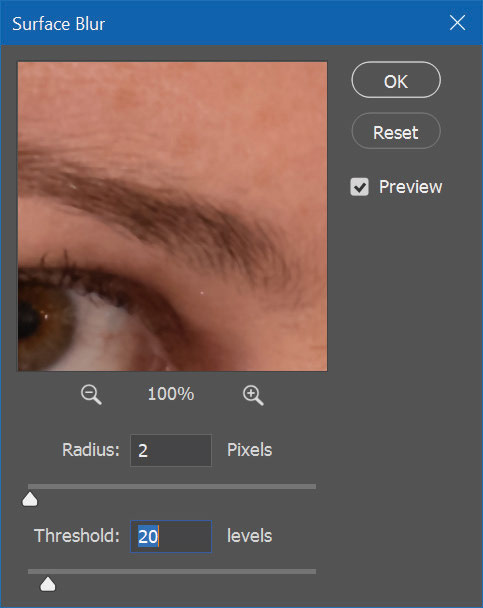
For more control over reducing sharpness, duplicate the layer and go to Surface Blur (Filters > Blur > Surface Blur). To give a subtle blur, we went with 2 pixels, threshold 20. To add a little bit of sharpness back into the image you can adjust the opacity (we went with 75pc).
3. Adjust colour saturation
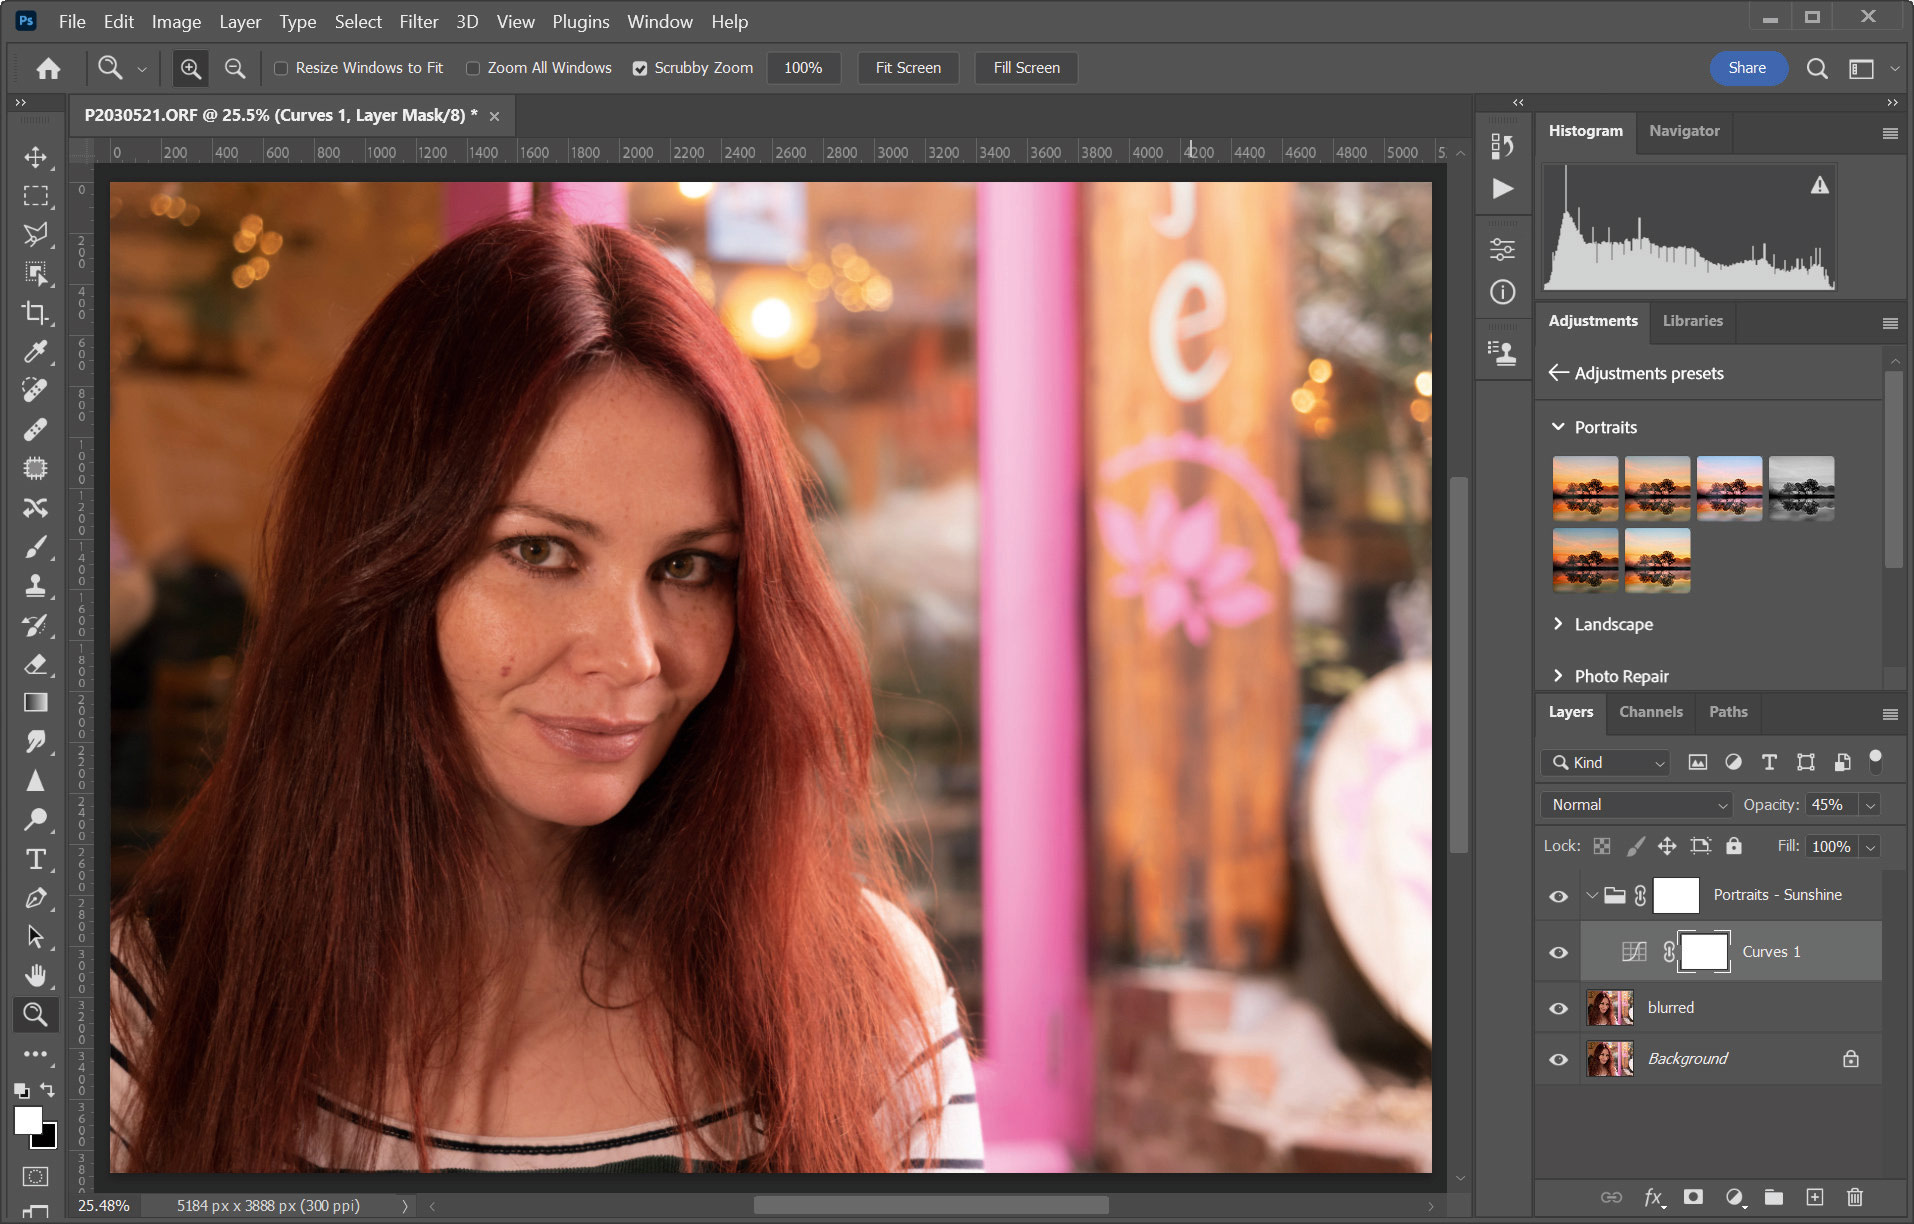
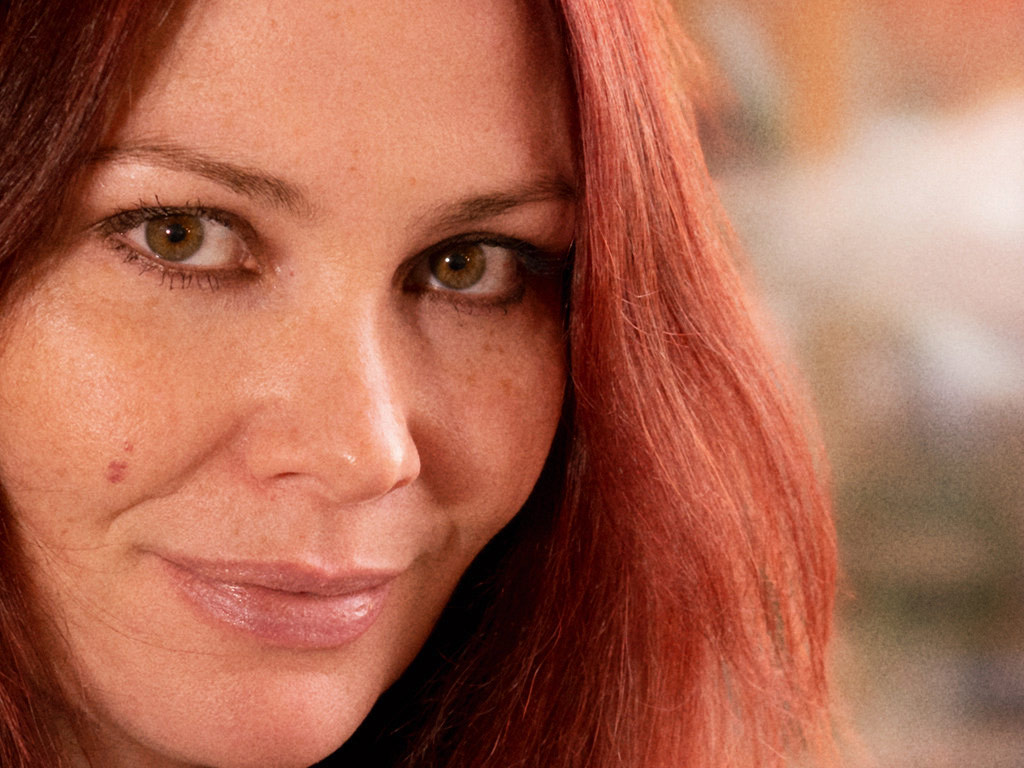
Click on the Adjustments Presets – if you have a portrait image, as we have, then try out the Portrait – Sunshine preset. This will add more warmth to the image. With our example we reduced the opacity of the Adjustment Preset layer to tone down the effect.
4. Reduce dynamic range
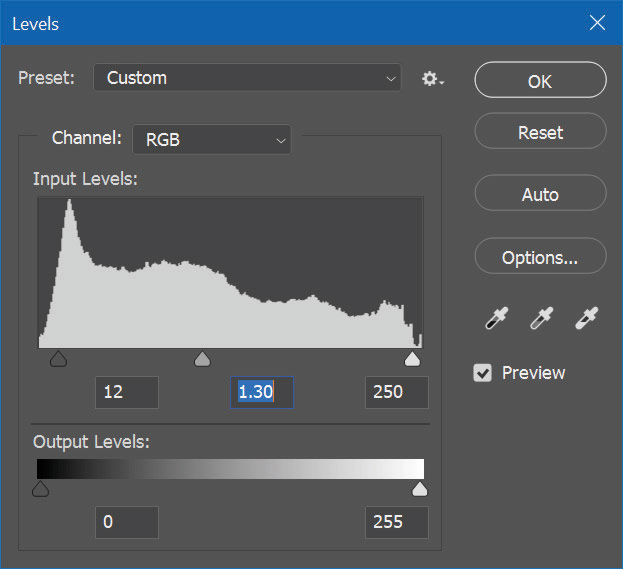
Increase the black levels, as well as the white levels, to compress the dynamic range. If you’re working on a portrait you may want to adjust the mid-level to keep the image brighter. Don’t worry if it looks too bright, as adding a vignette will help with increasing the film look. You can also adjust the curves to add a little bit more contrast.
5. Add vignette
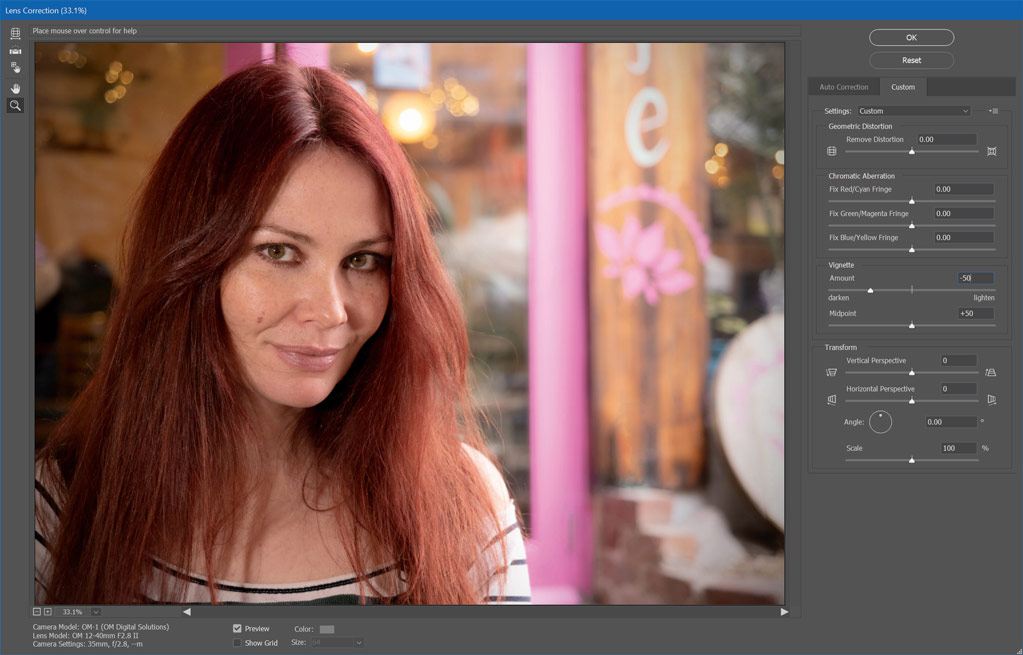
Simply go to Filter > Lens Correction and then on the custom tab, adjust the vignette to -50 or higher (or to your own preferences) and then your image will have a vignette. If you want to adjust this further, you can apply this to a duplicated layer.
6. Blur the background
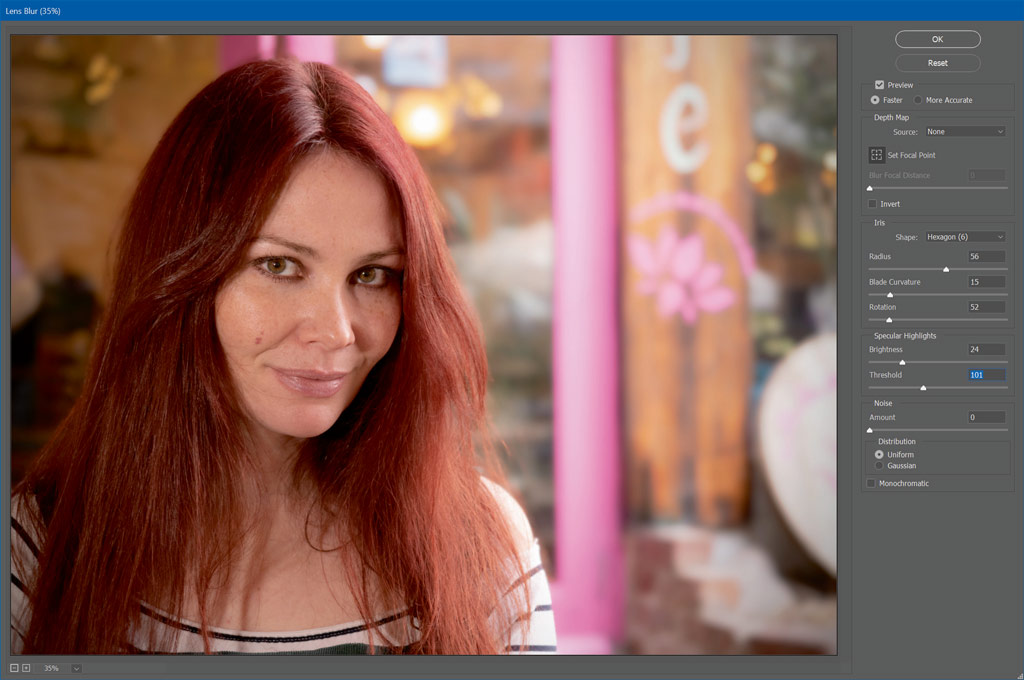
Use the subject selection tool to select your subject and then invert it (Select > Inverse), and now you should have the background highlighted. Then go to Blur > Lens Blur. You can adjust the level of blur as needed, but on the default settings you should get a good level of blur.
7. Add noise
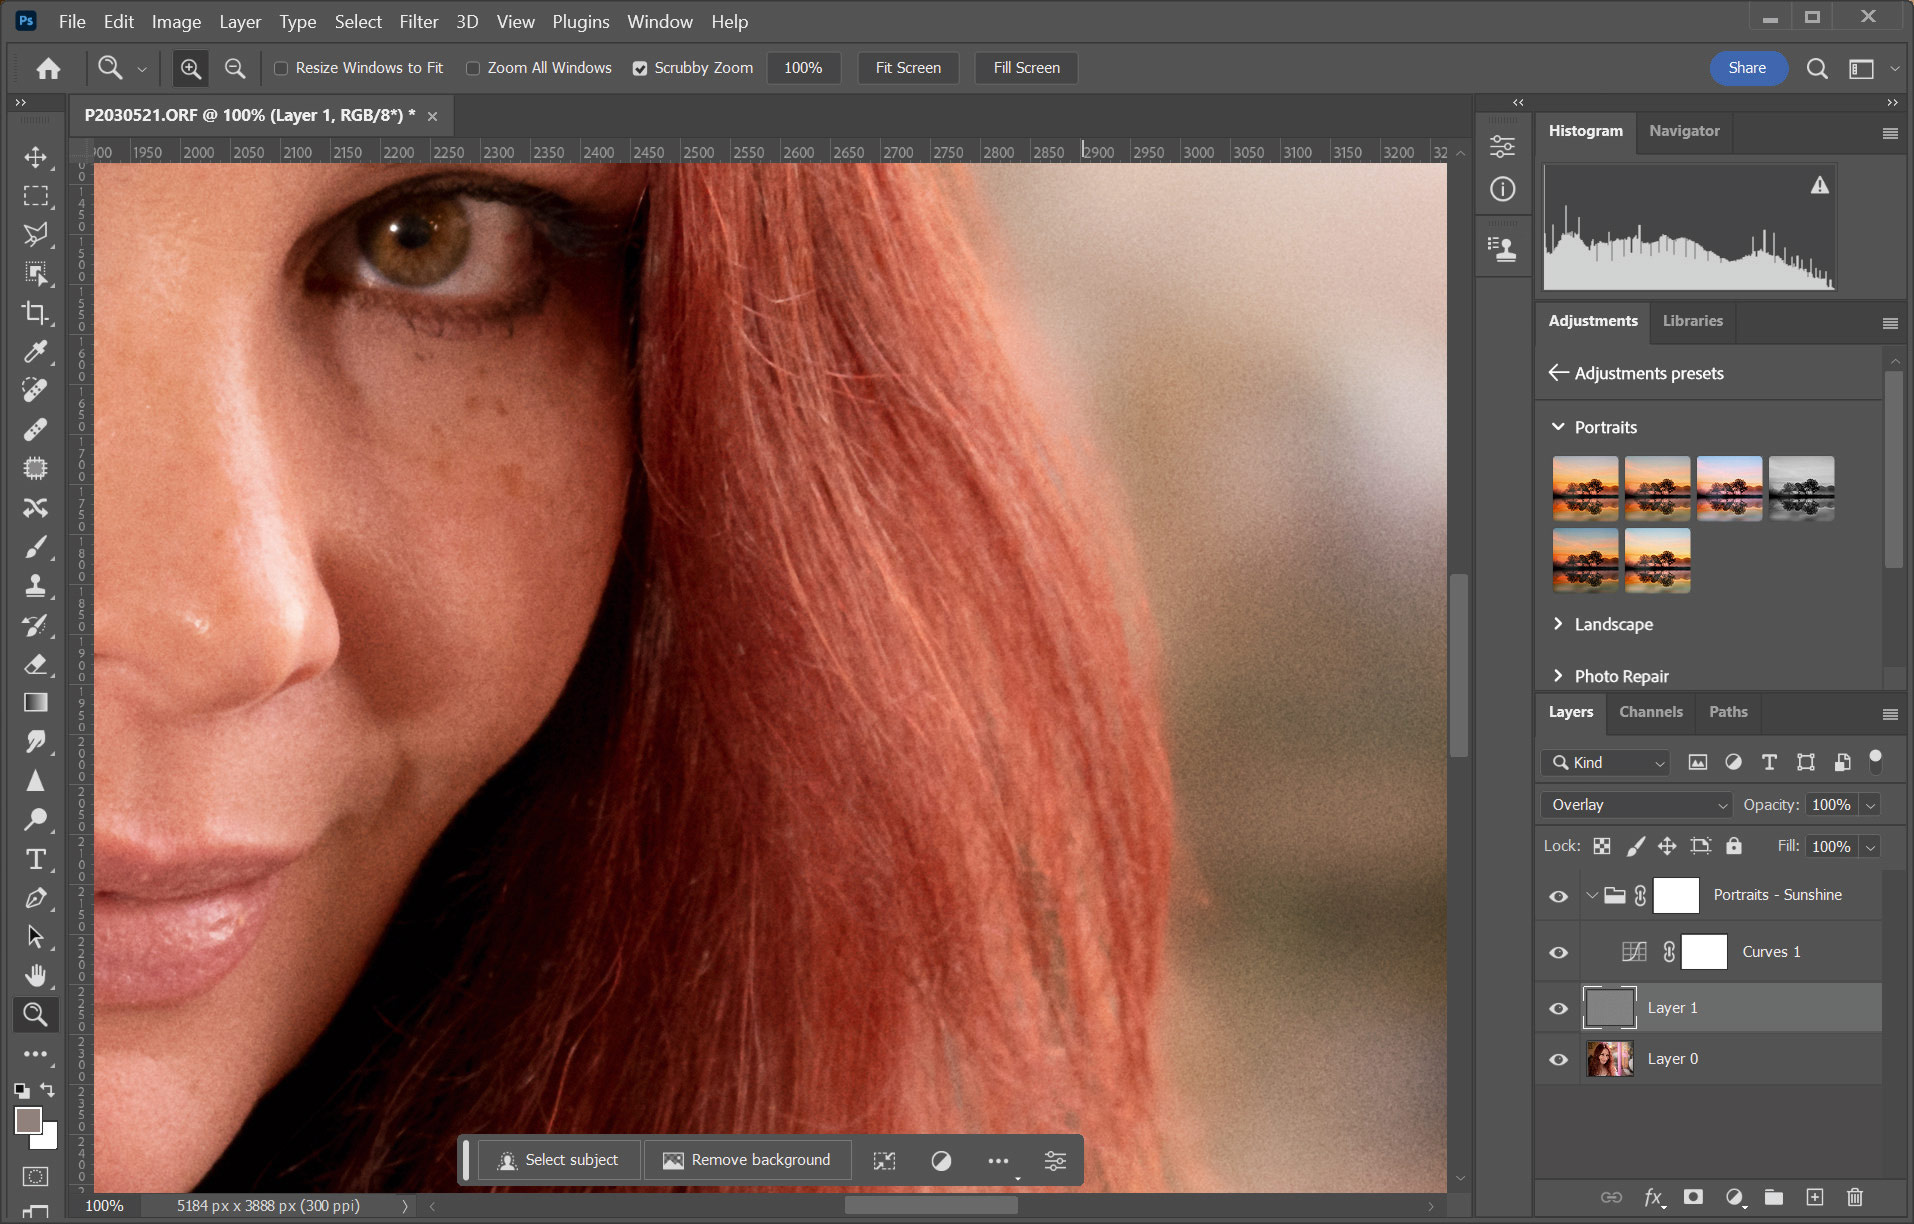
Create a new fill layer at 50% grey and set to Overlay. Go to Filters > Noise > Add Noise, select Gaussian, and Monochromatic, adjust amount settings till you get the effect you want; about 5% is a good amount. Select Filter > Blur > Gaussian to make the grain rougher; we set ours to 0.5-1 pixels.
8. More grain
The higher the resolution of your image, the larger you’ll need to make the noise. Therefore, it’s best to add the noise at the final step. If you’re trying to show the image online, then resizing the image to a smaller size, and then adding noise will give your image a more noticeable grain.
How to get the film look using Adobe Lightroom (Classic)

1. Adjust white balance
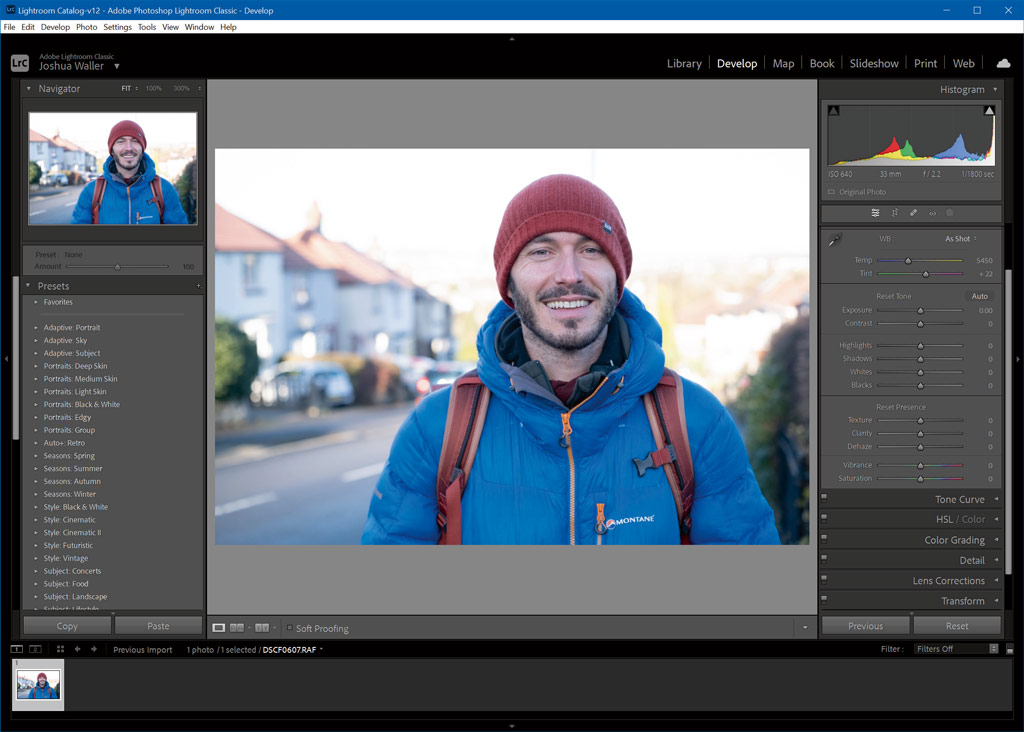
Once you’ve imported your image and made some adjustments to the exposure and dynamic range as needed, you can add a little warmth to the image by adjusting the white balance.
2. Adjustments
We’ve also reduced the contrast, texture, clarity and dehaze, and made sure to turn the sharpening off. Check to make sure luminance noise reduction remains off. You can add a vignette here.
3. Pick a preset
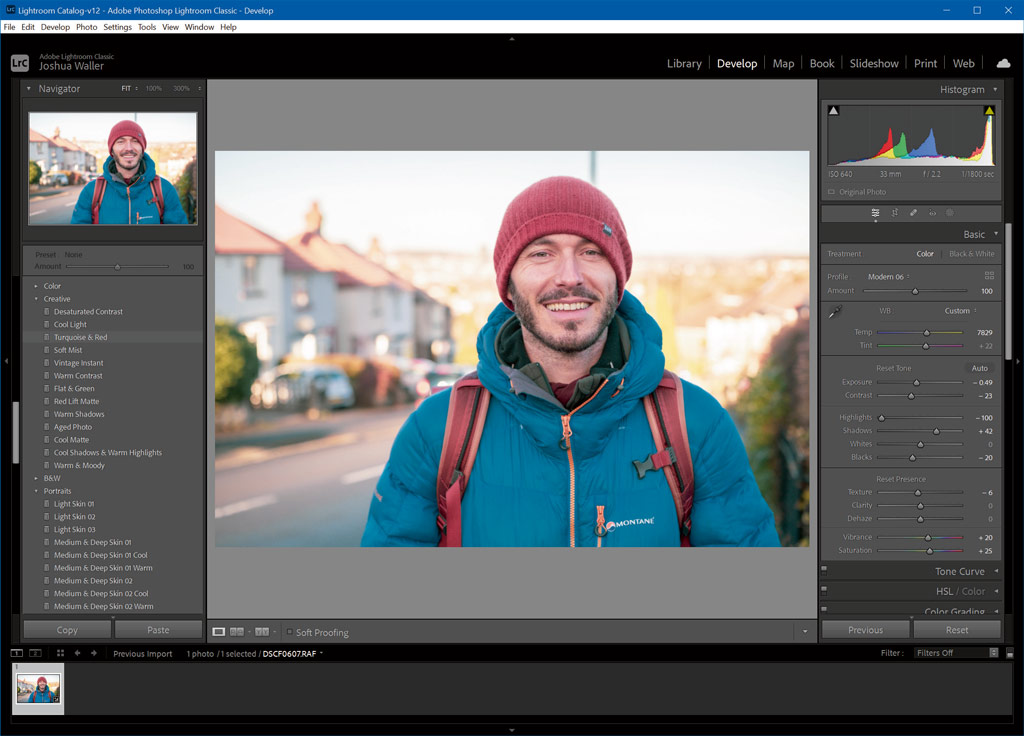
Scroll through the presets on the left, and you’ll find a range of Retro / Vintage and Creative effects available. We went with Creative Turquoise and Red as this gave us a pleasing, but vintage-looking image.
4. Add some grain
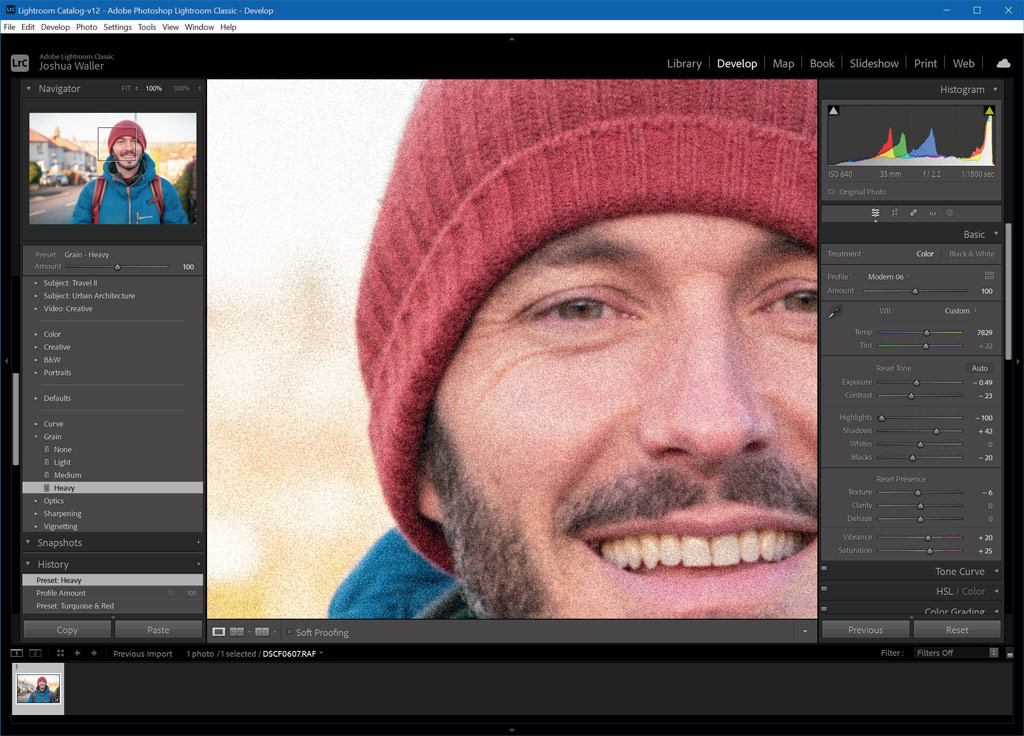
Scroll down further and you’ll find grain options. We went for heavy, but medium might be good, depending on how strong you want the grain to appear.
5. Add a vignette
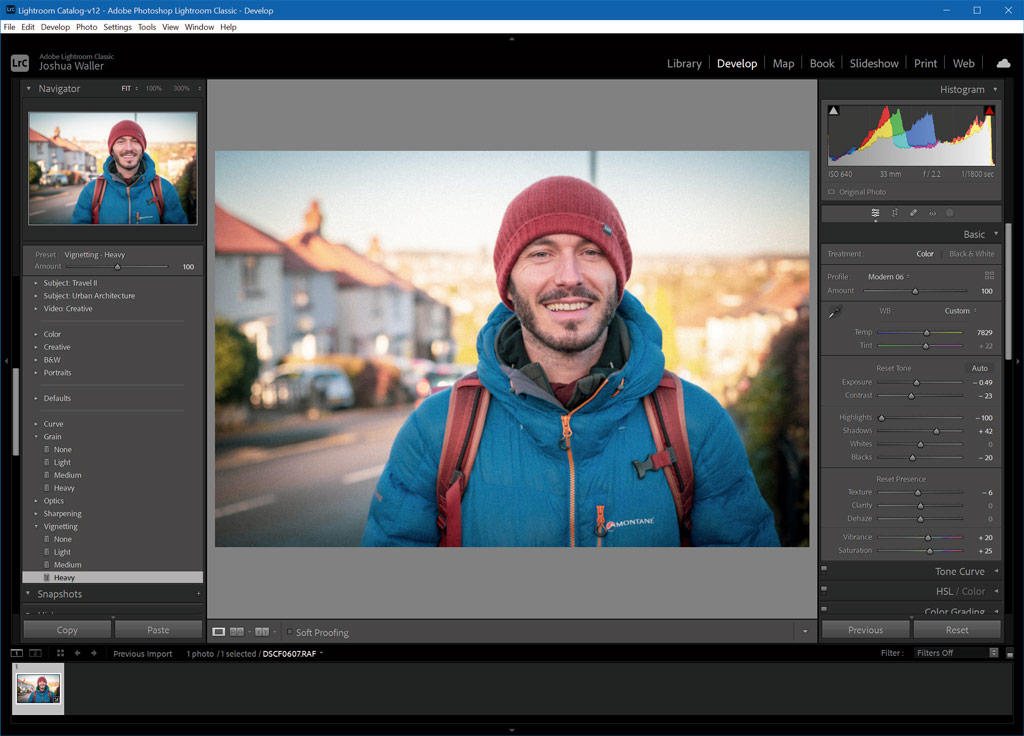
Heavy vignette was added to increase the film look further, and this can be increased if needed. For this image we didn’t need to adjust the background blur, because it was already blurred.
6. Reduce the overall contrast
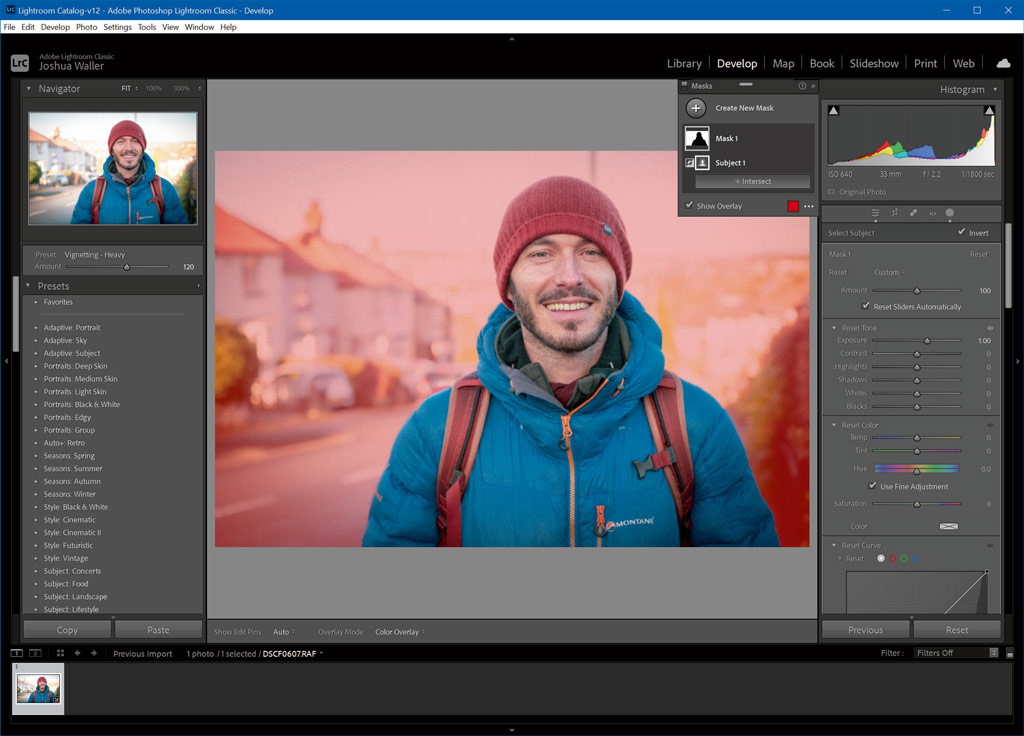
We used the masking tool to select the subject/background, to tone down the brightness, saturation, and detail in the background, by adjusting the sharpness and texture sliders, and this has resulted in an image with lower contrast.

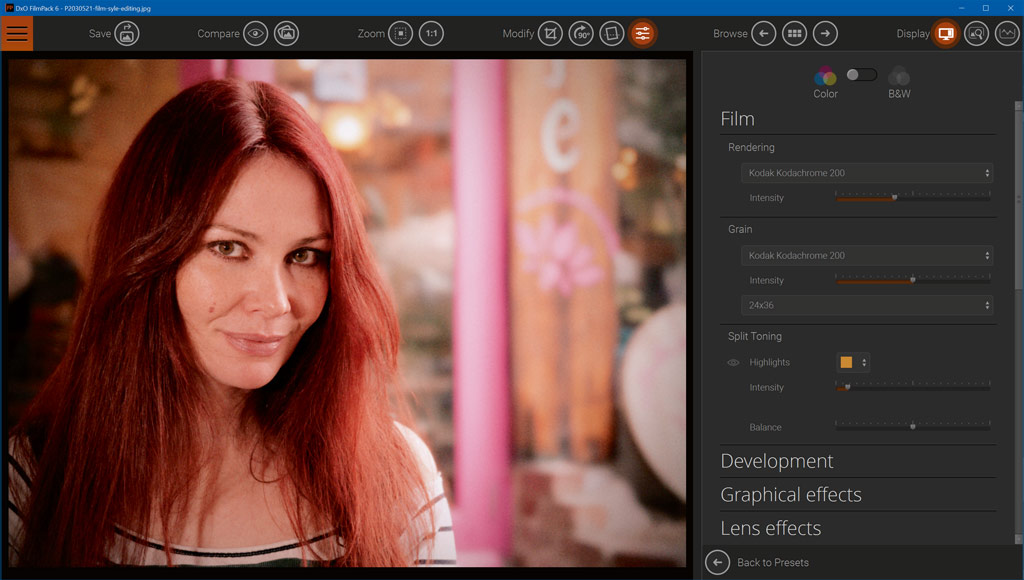
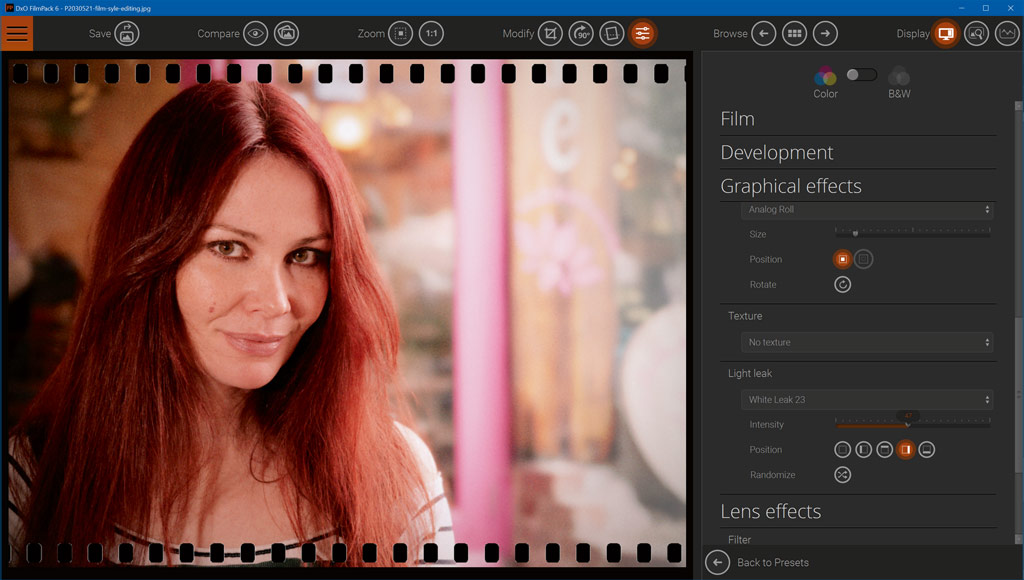
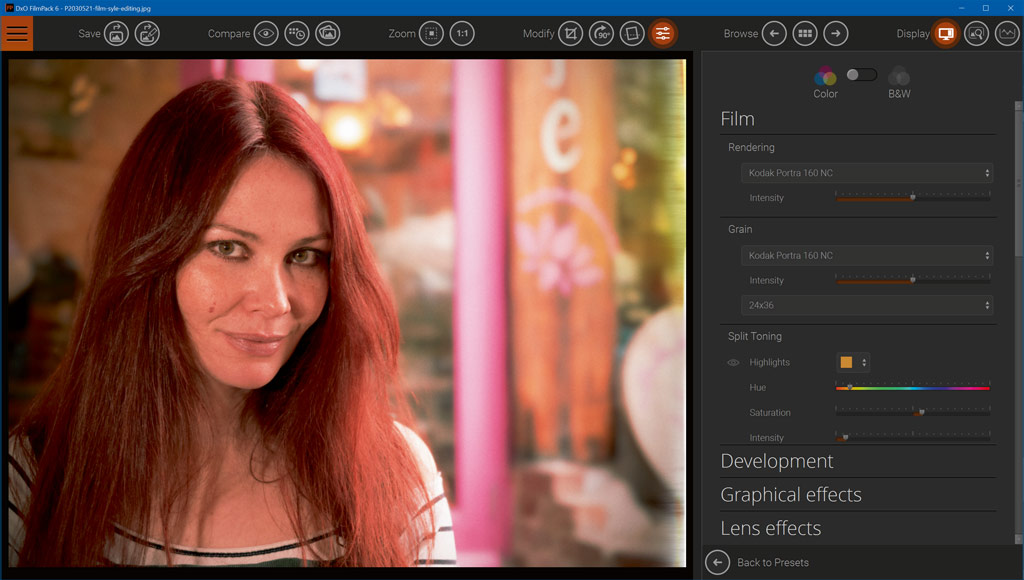
Get the film look using DxO FilmPack 6
If you’ve got access to DxO FilmPack 7 (a trial is available for download), you can try different film styles and looks.
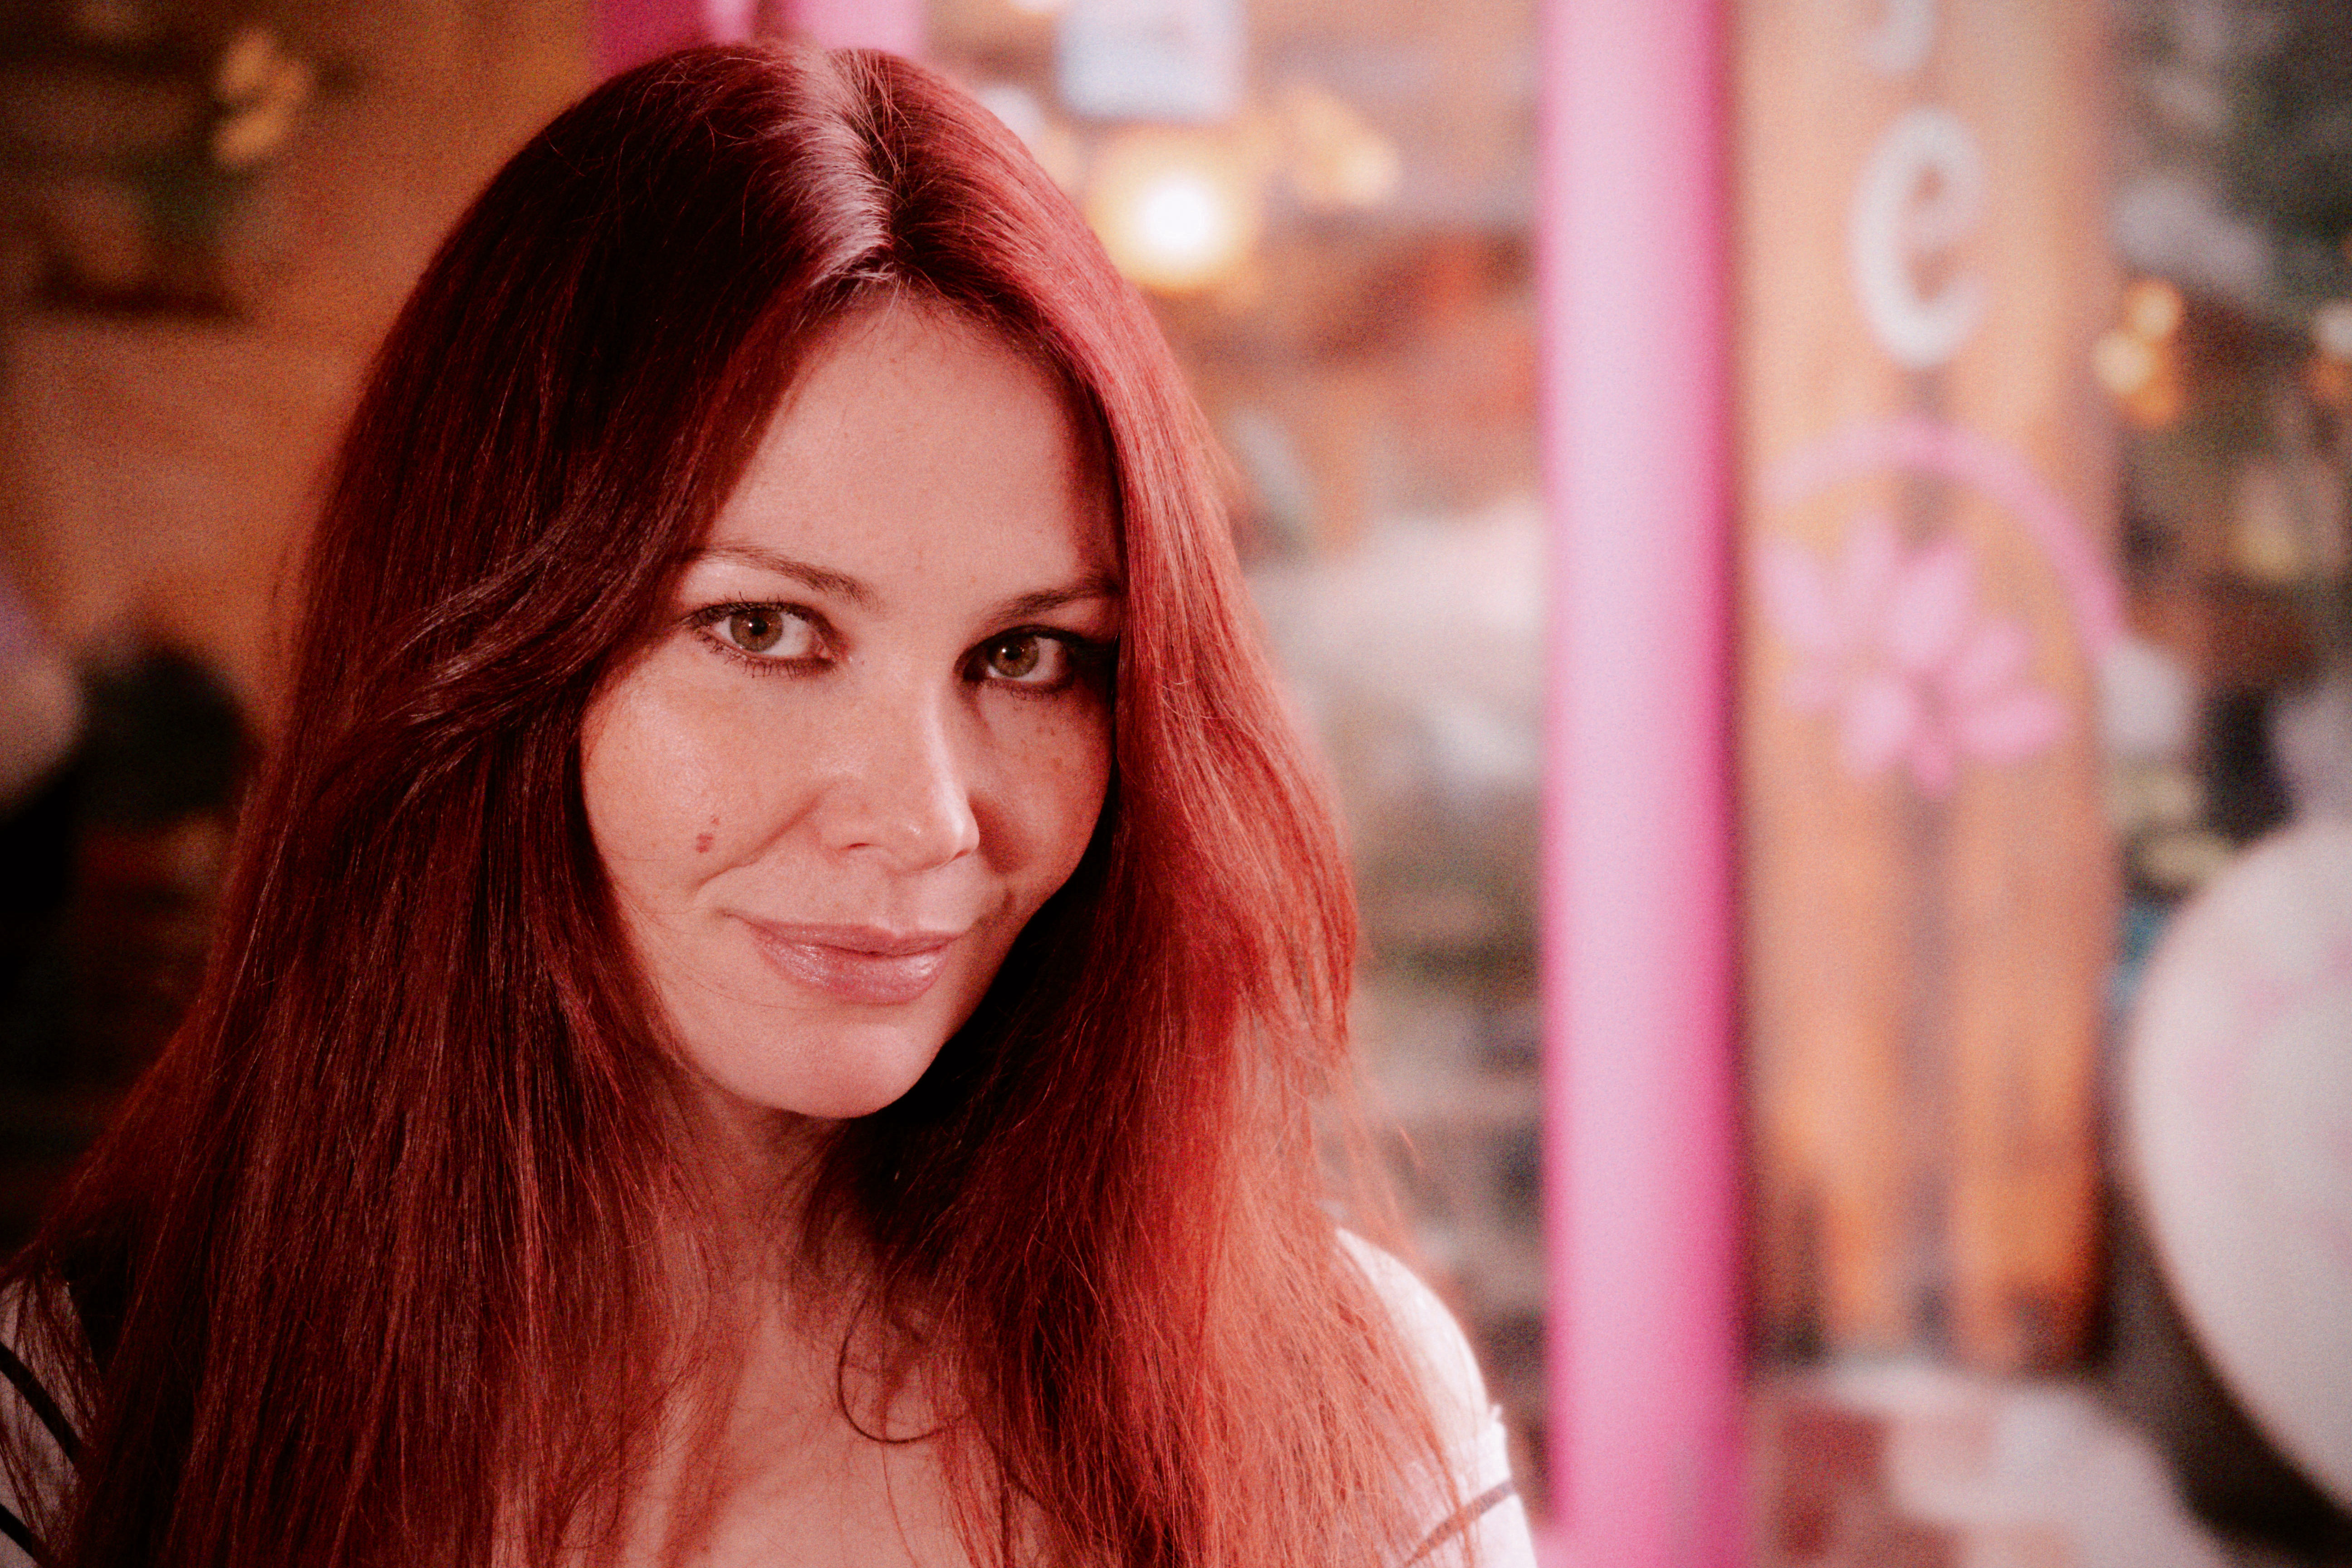
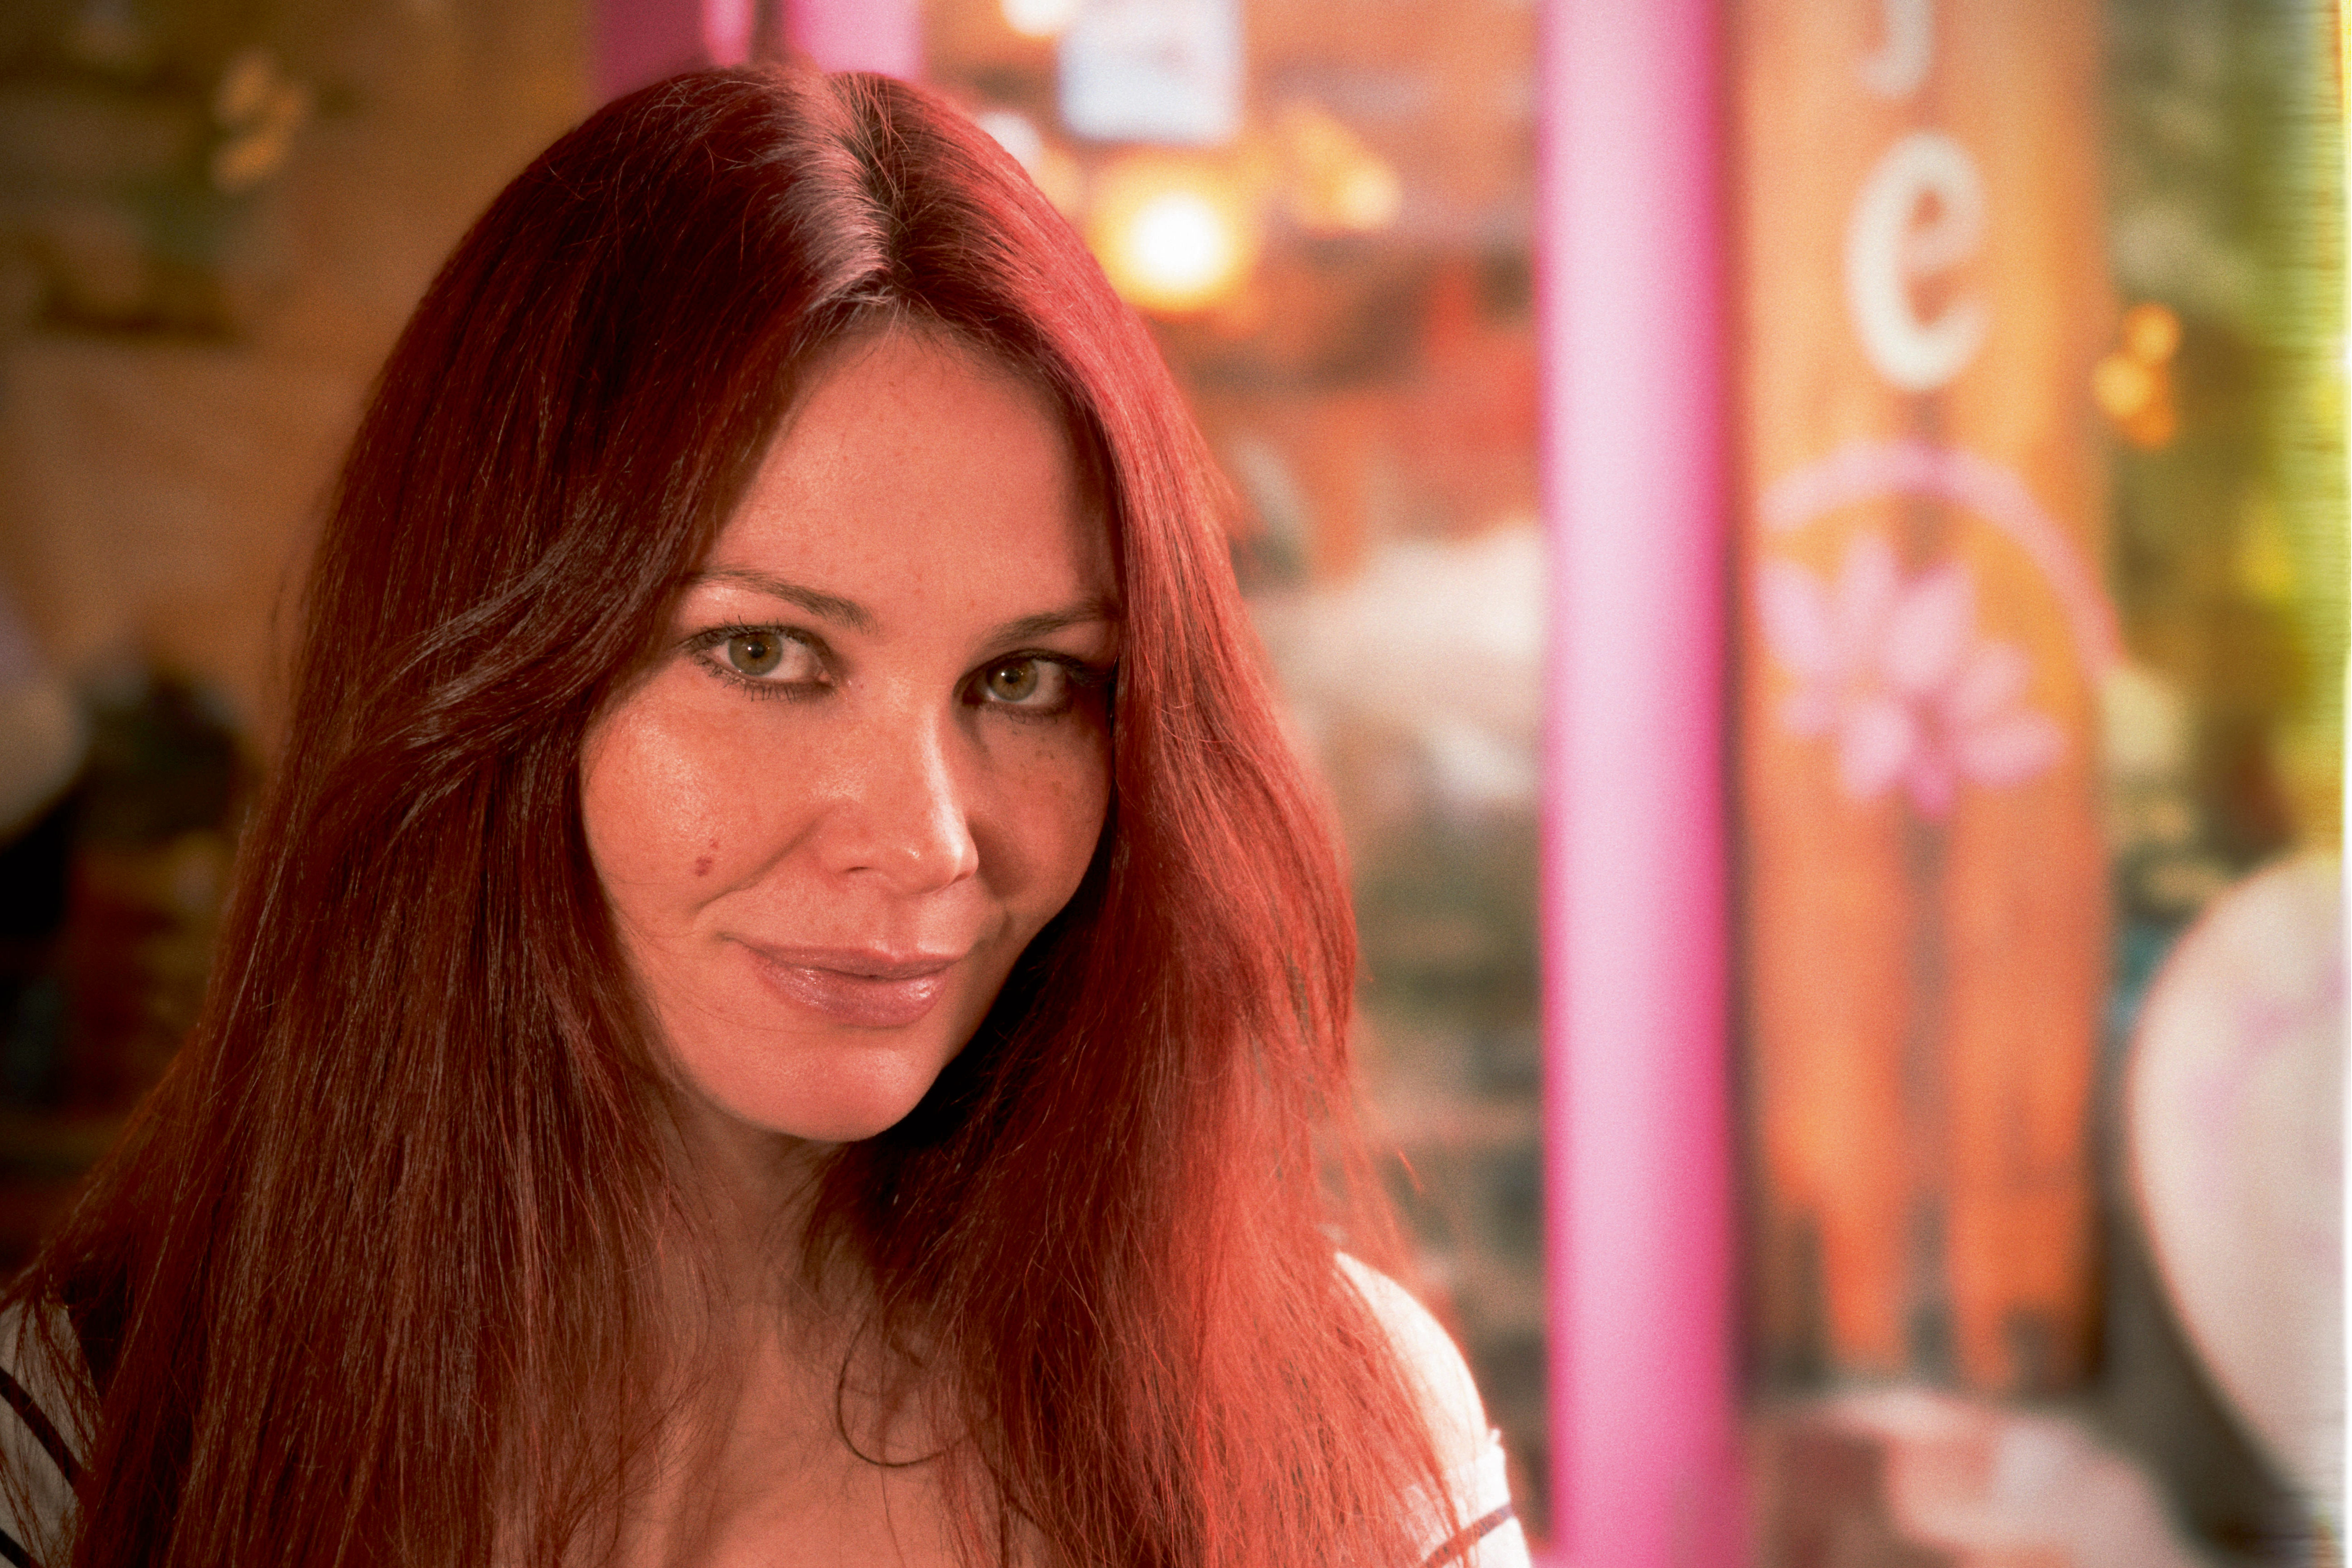
We’ve taken the image that we edited in Adobe Photoshop and loaded it into DxO FilmPack 6. Selecting Kodak Kodachrome 200 gives us an image with a toned-down colour palette, and DxO FilmPack does an excellent job of adding larger film grain to the image.
There are options to add split toning, adjust the vignette, and add light leak effects (unfortunately the orange light leak typically found on the first photo in the film is missing, but similar effects are available), as well as add the film roll effect, or other borders to the image.
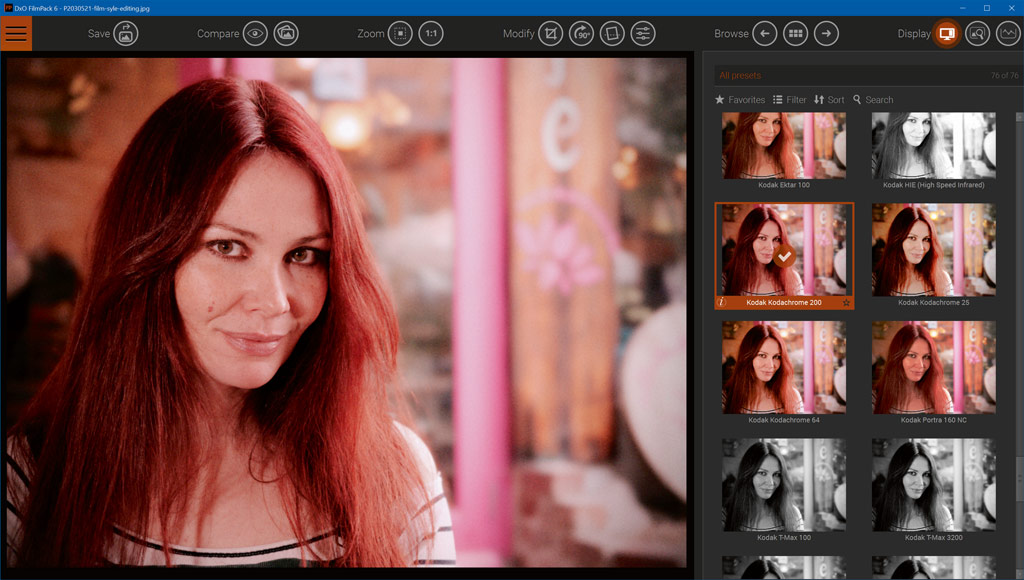
This makes it quick and easy to get the film look without having to go through the steps in Photoshop, and DxO FilmPack 6 is also able to make film noise appear at the right size for your images, whatever resolution those images may be.
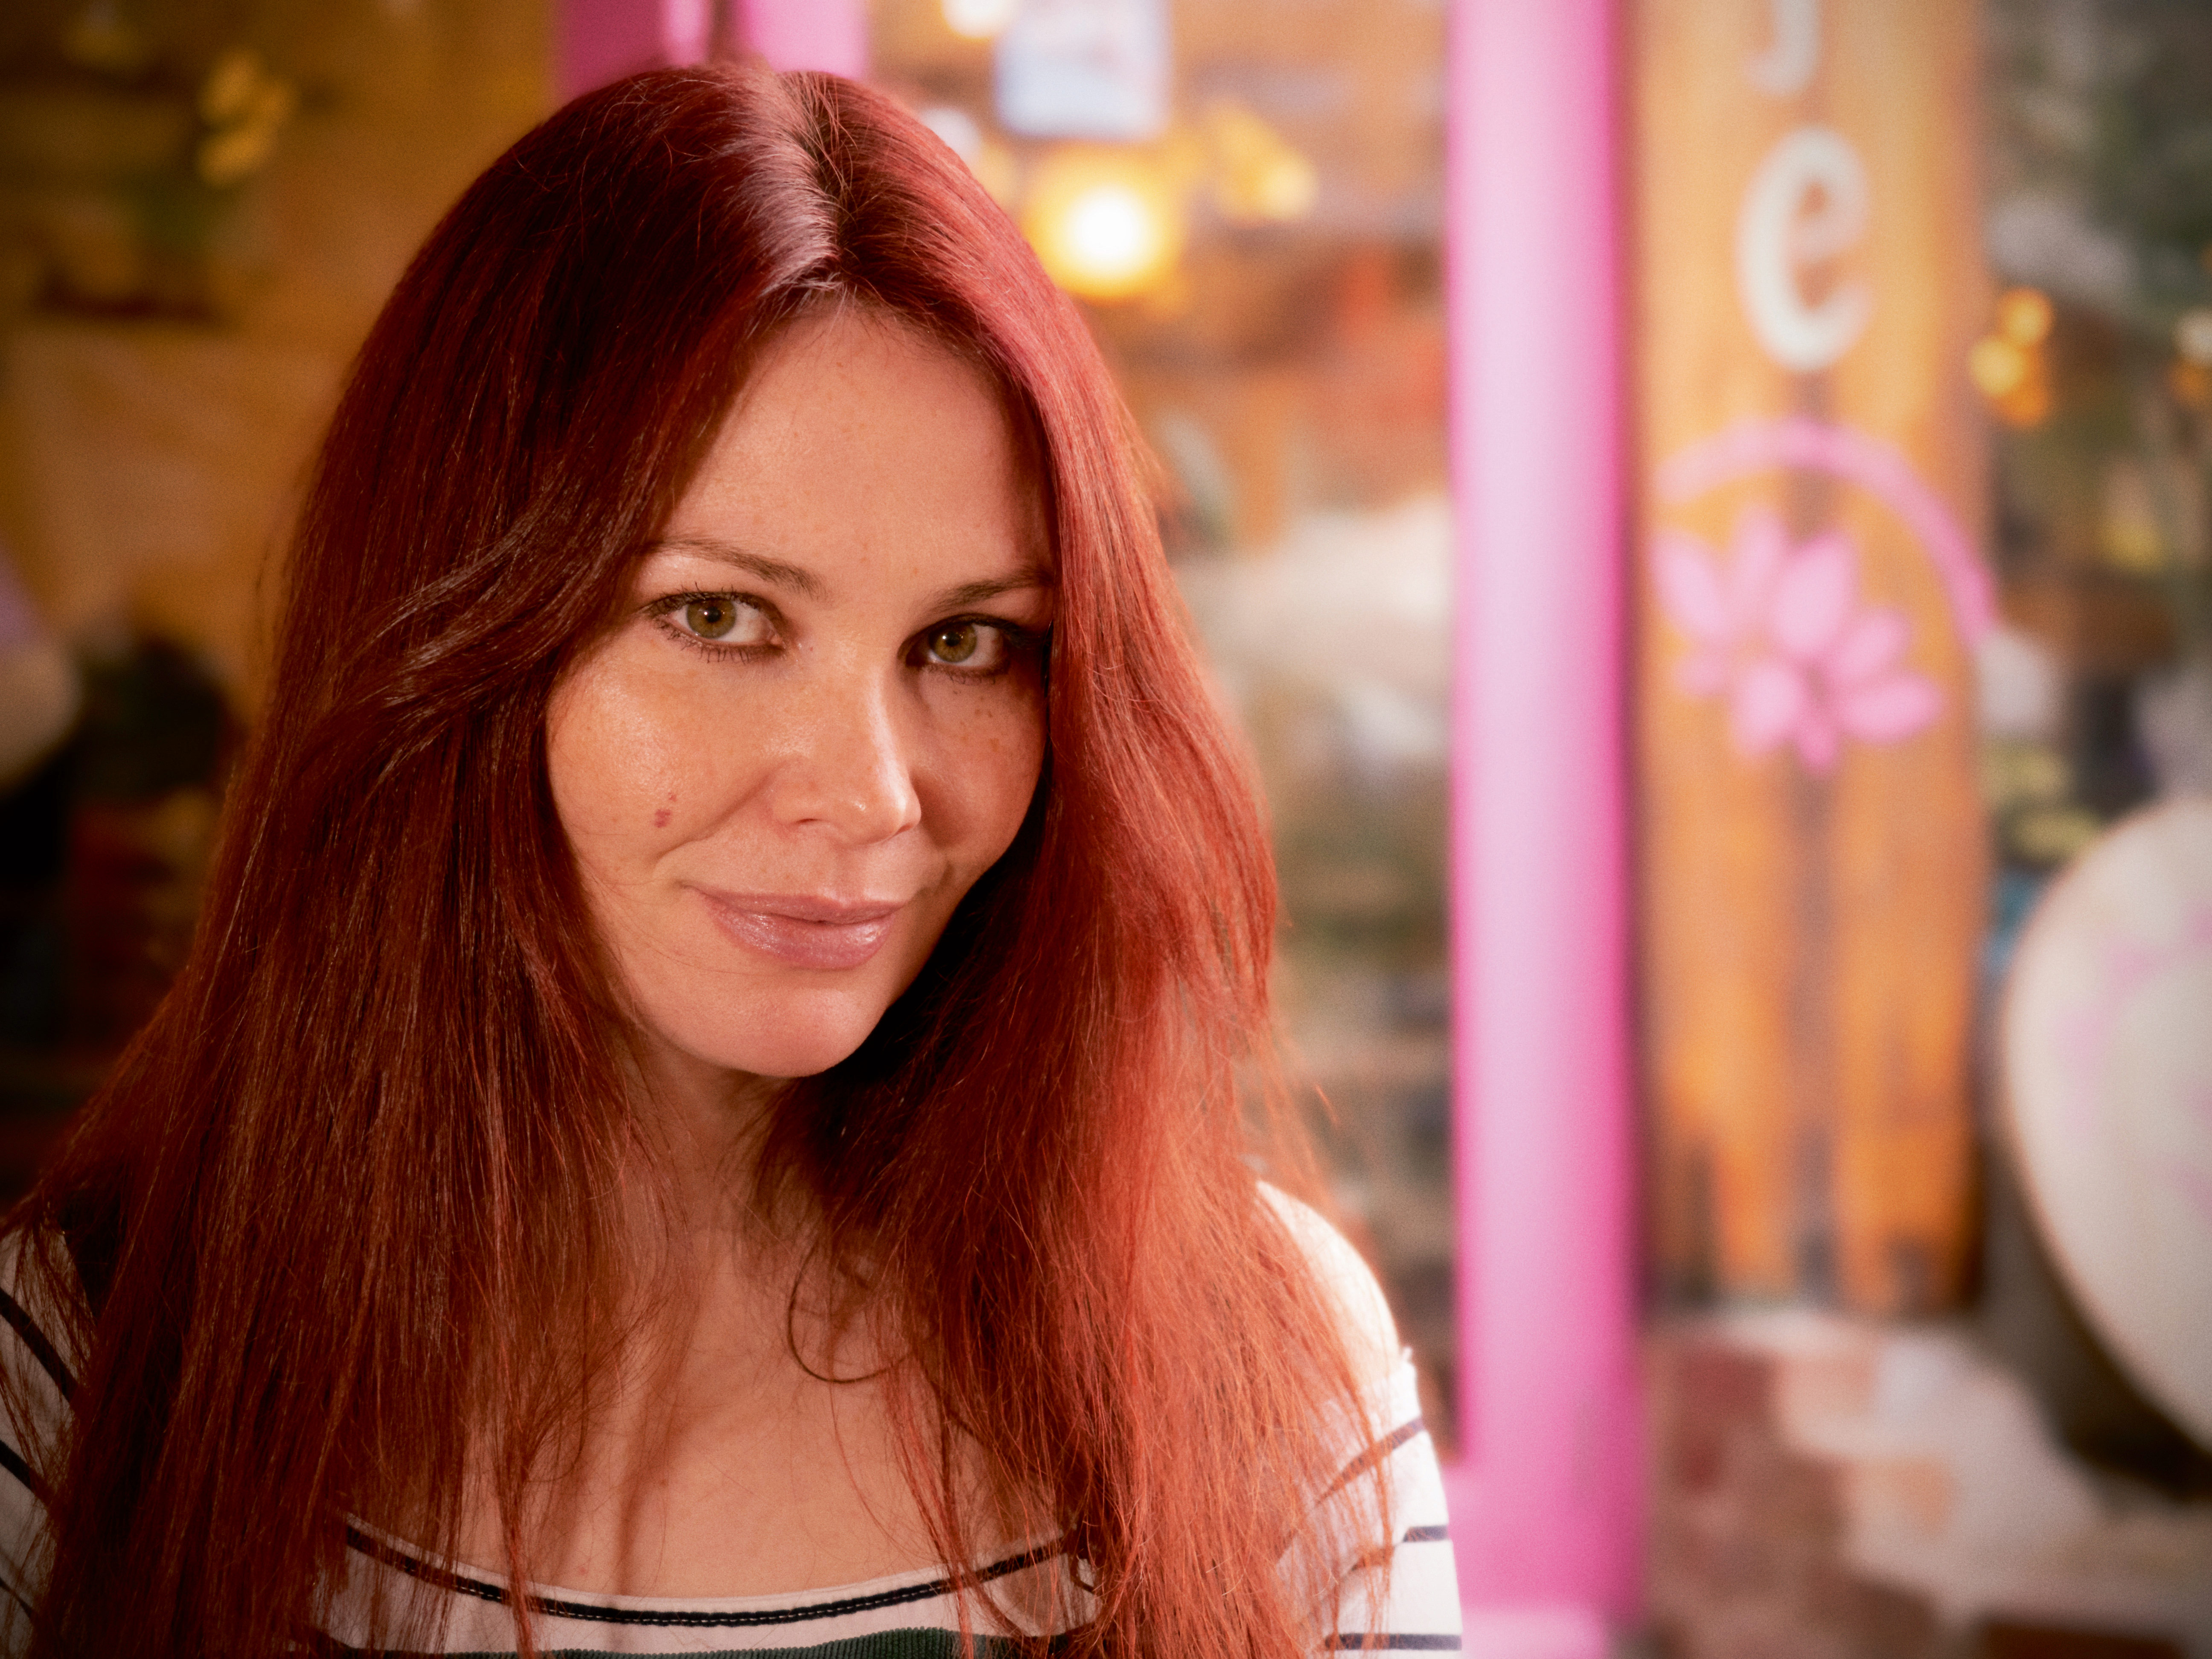
After:
How to get the film look with a smartphone
With smartphone camera apps, you’ll normally be able to find a portrait mode that will automatically blur the background of any portraits you take. This is a great start to getting a more film-like look from your photographs.
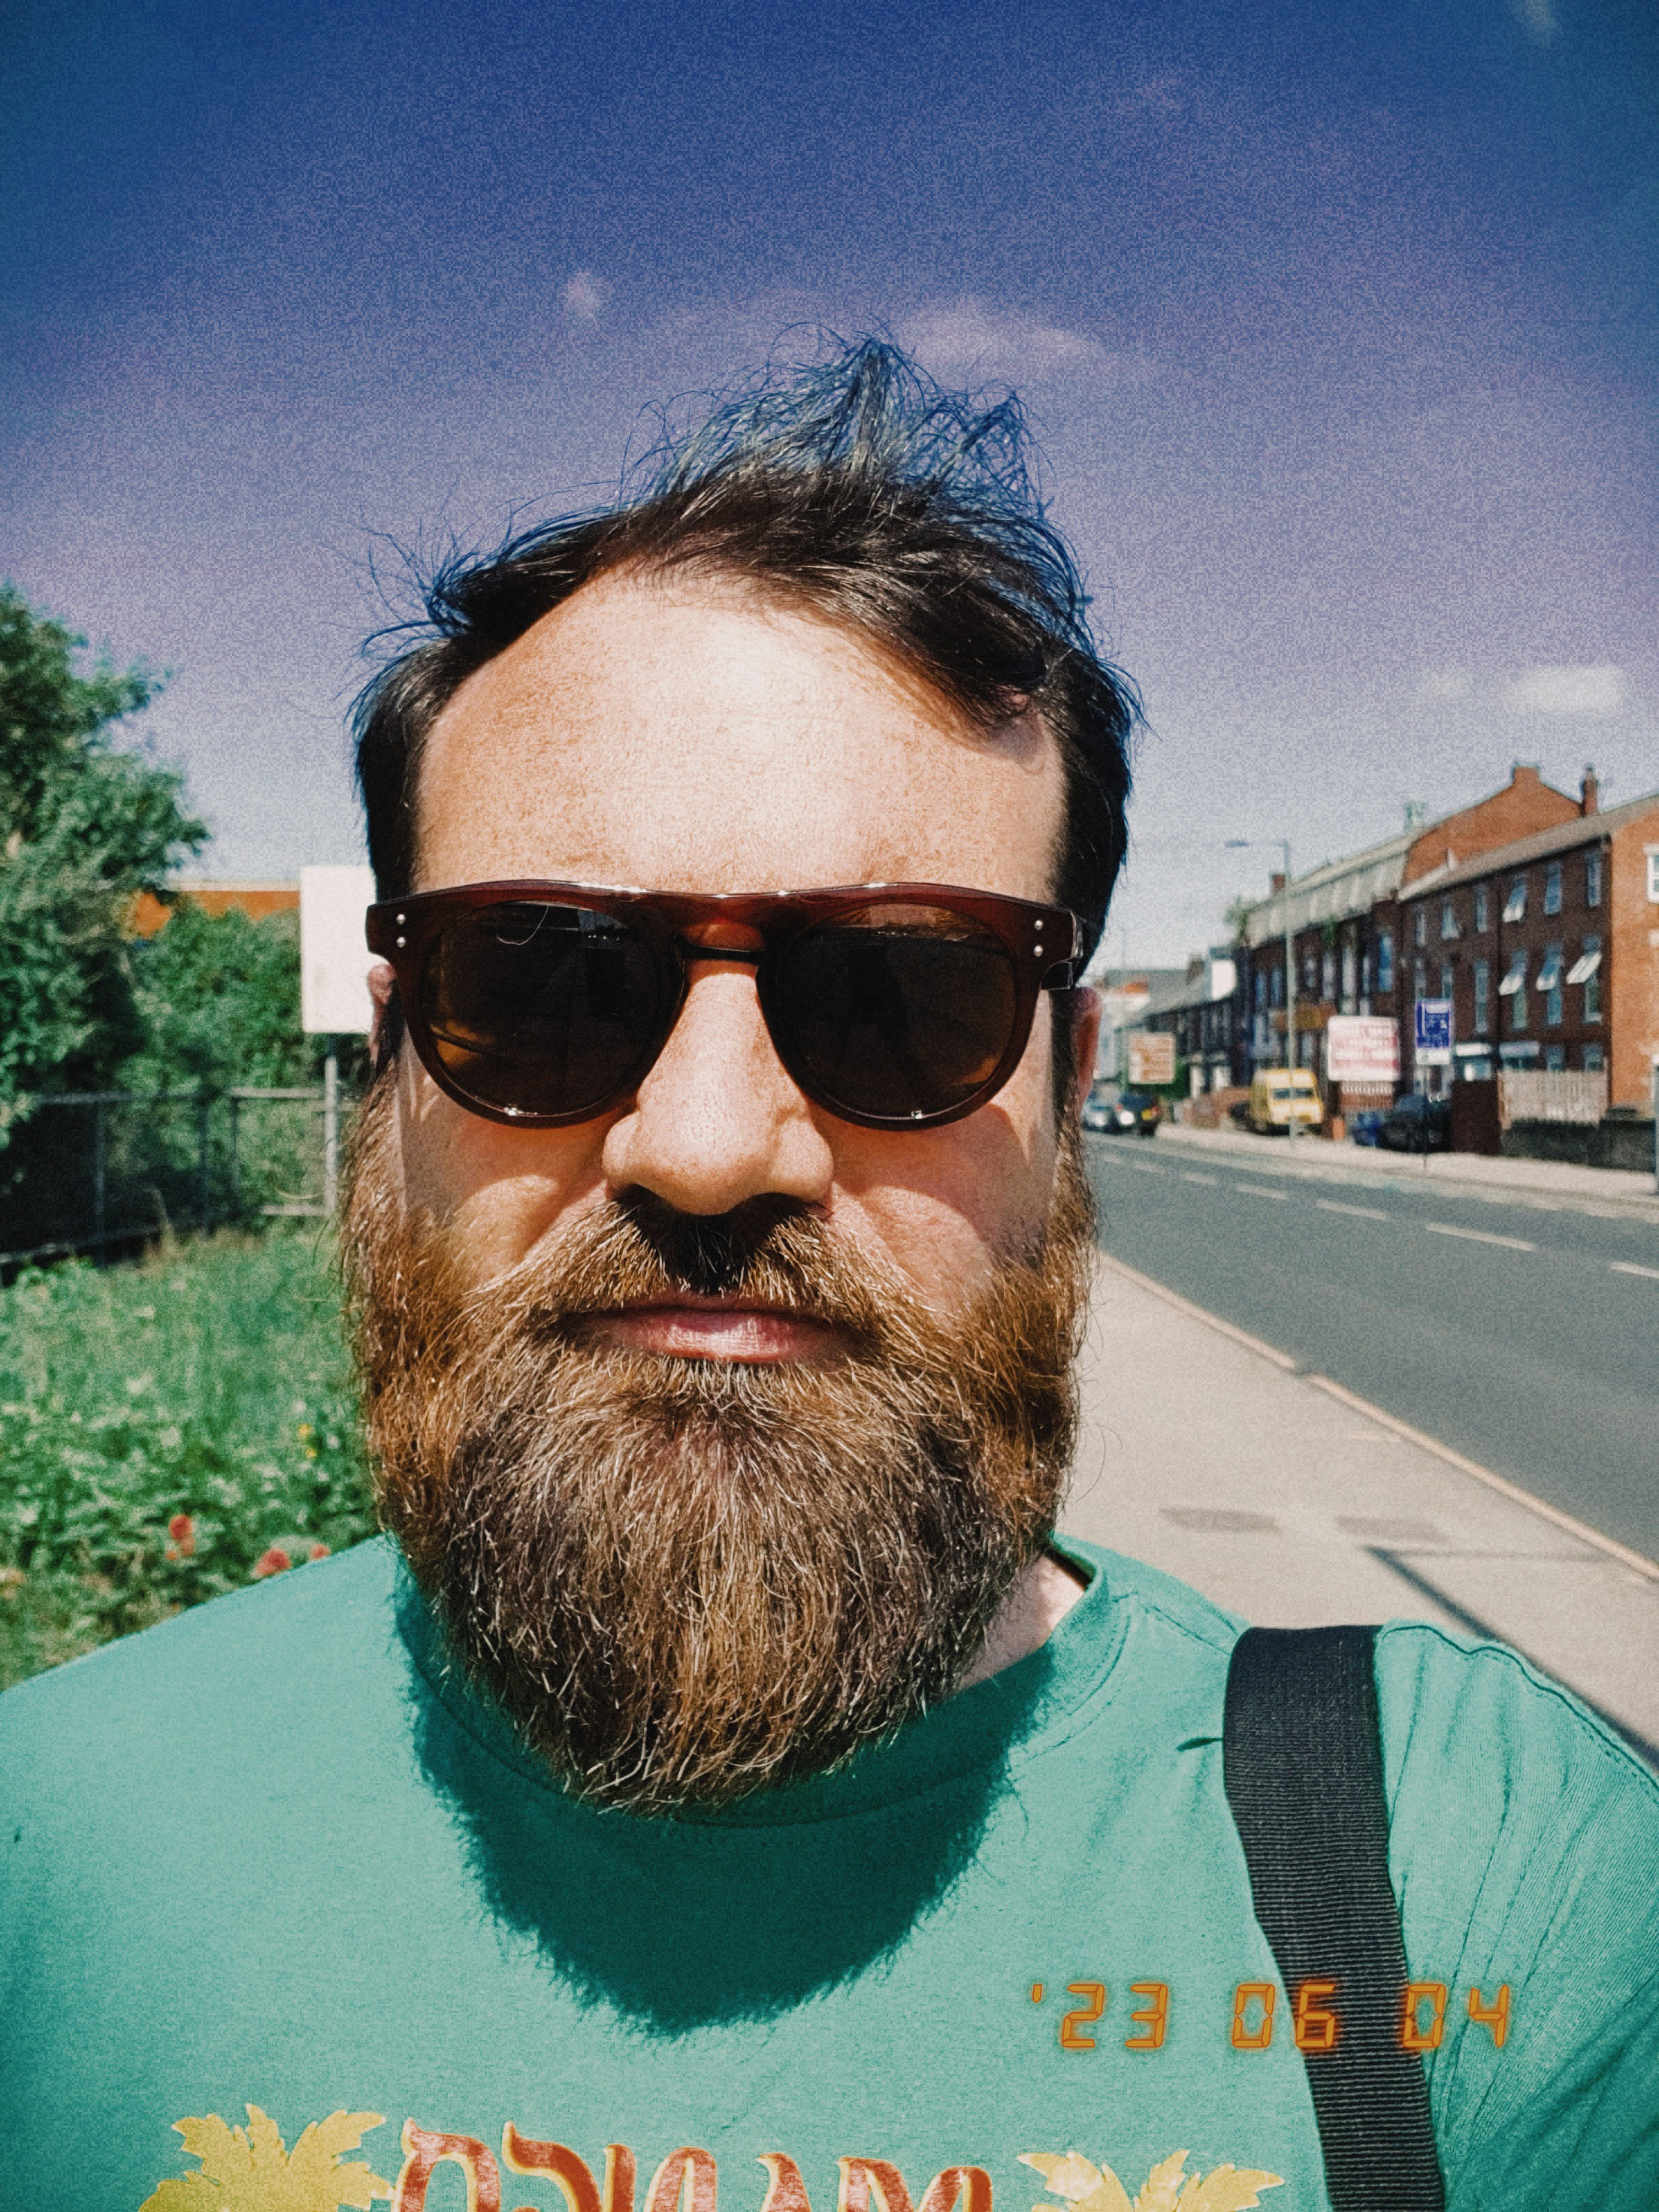
You’ll also find different filters and effects in most social media platforms, such as Instagram. However, if you want to go straight to playing with different film looks, then the app 1998 Cam is designed specifically for you. Like DxO FilmPack 6, it’s got a whole range of film simulations which give an immediate look of film.
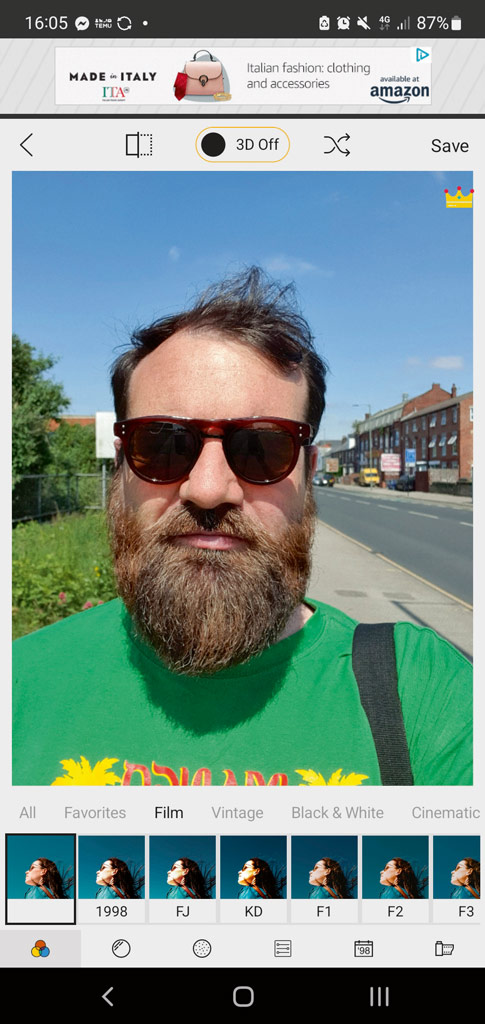
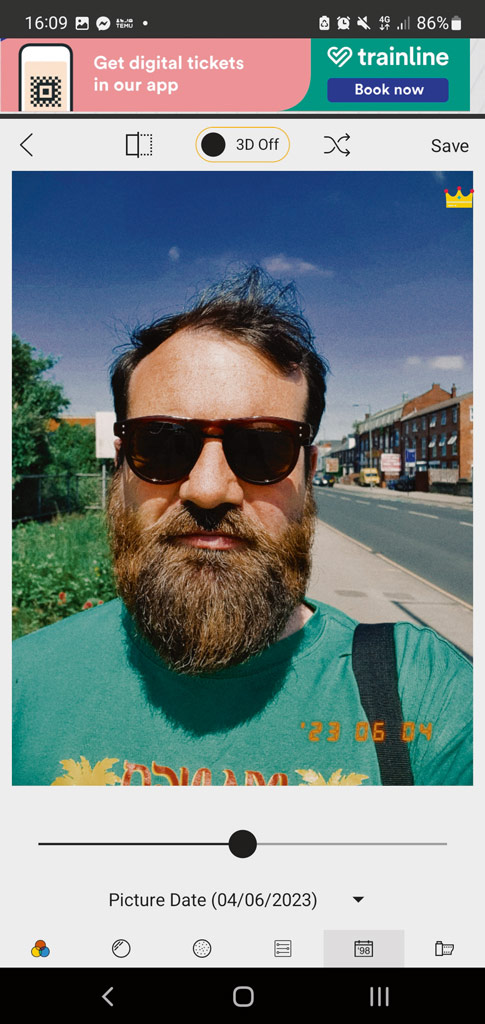
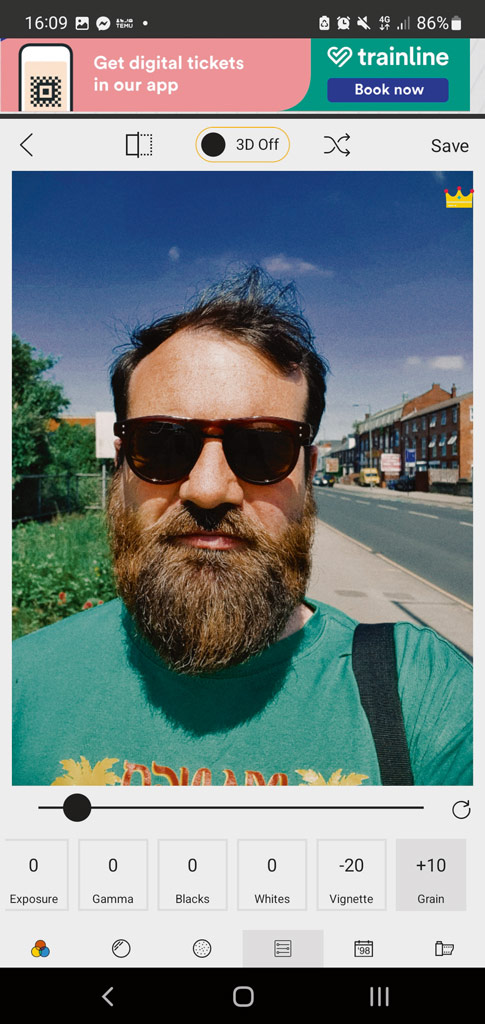
You can shoot with the app or edit existing photos. Once you’ve selected your preferred film, you can edit additional settings, such as vignette and grain. You can even imprint the date much like you would have found on some film cameras with date stamps.
The app is free but does contain adverts. For some of the additional film simulations you’ll need to purchase the full version, which is priced at just 89p. It’s available for both iOS and Android devices.
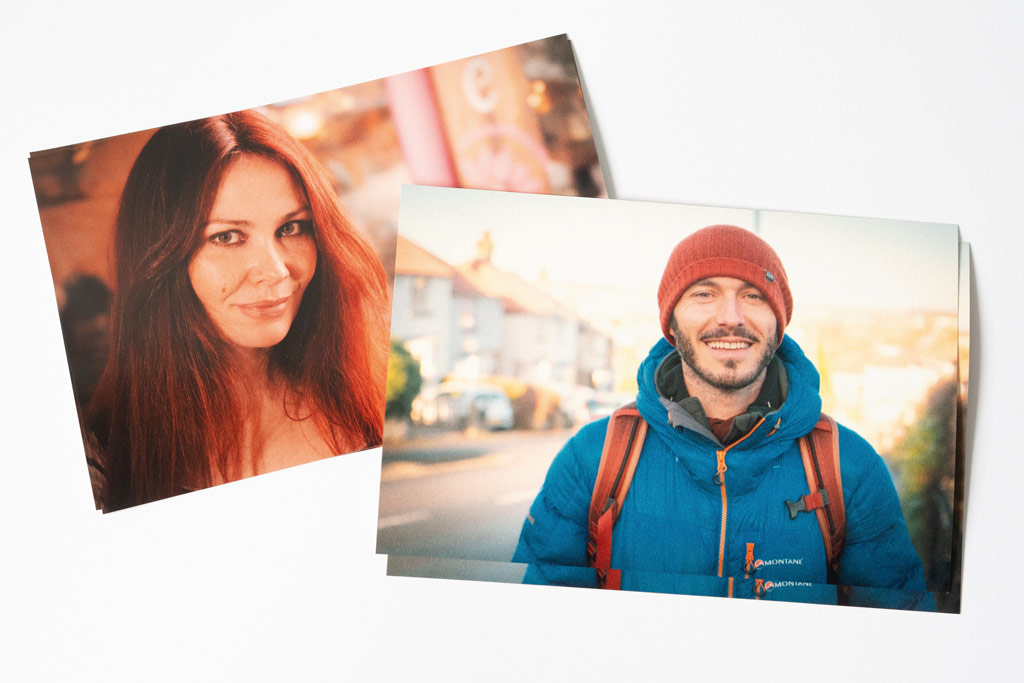
Print your pictures
The final step to make your digitally edited photo feel like a film photo… is to print it out on 6x4in or 7x5in photo paper!
If you have your own photo printer, then there is nothing stopping you. If you don’t, then you get to experience the joy of going somewhere to get your prints. Just as when you were shooting film! Luckily, these days photo printing services are available at most supermarkets, Boots chemists, and similar stores.
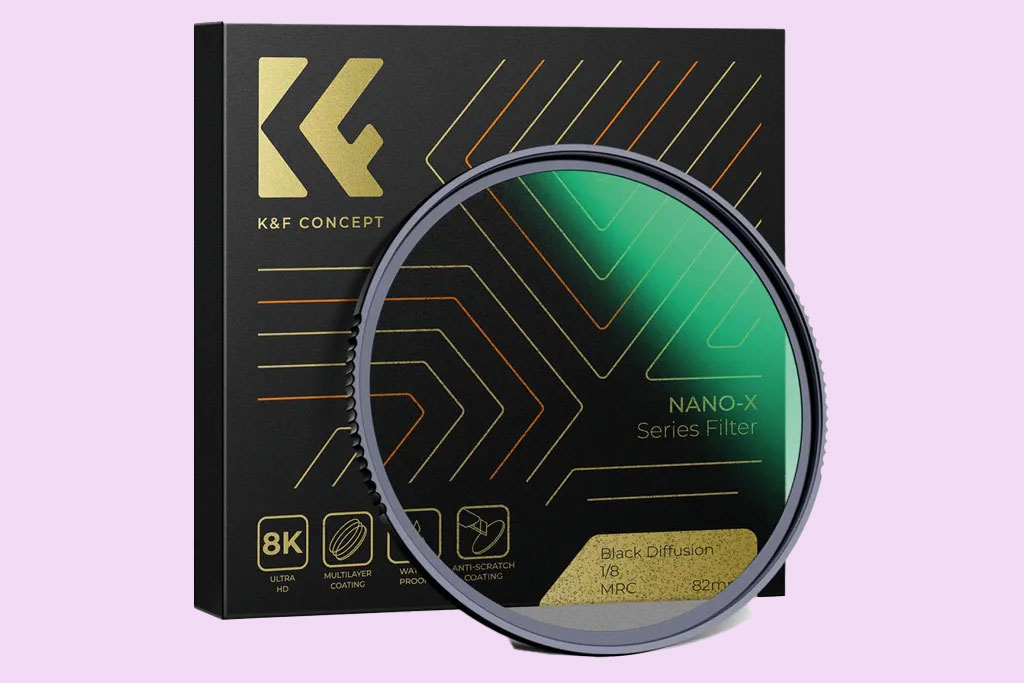
Cheat sheet: Buy a filter
Don’t want to spend ages editing photos? Want to get a more film-like look with your digital camera? Simply buy a Black Diffusion ¼, or Black Myst filter for your lens, and this will take off some of the sharpness, as well as add some extra glow to bright objects in your image. Although be warned, any effects added to your image using a filter are difficult, or impossible, to fix later.
Read more about lens filters and how to use them properly.
Read more about editing
- Editing photos in Adobe Photoshop
- Best Adobe Lightroom presets
- The best photo editing software
- Best vintage digital cameras to buy
Follow AP on Facebook, Twitter, Instagram, and YouTube.


