There is something incredibly soothing about still life photography. When the world outside feels out of control, simply arranging objects in an aesthetically pleasing way can be a real tonic for the soul. This genre of photography is great for refining your technical skills and also for testing new approaches and concepts. From finding inspiration in everyday objects to sourcing backgrounds, manipulating light and exploring a narrative, still life offers plenty of scope for producing creative and unique images. Tracy Calder shows you how to take great still life photos below…
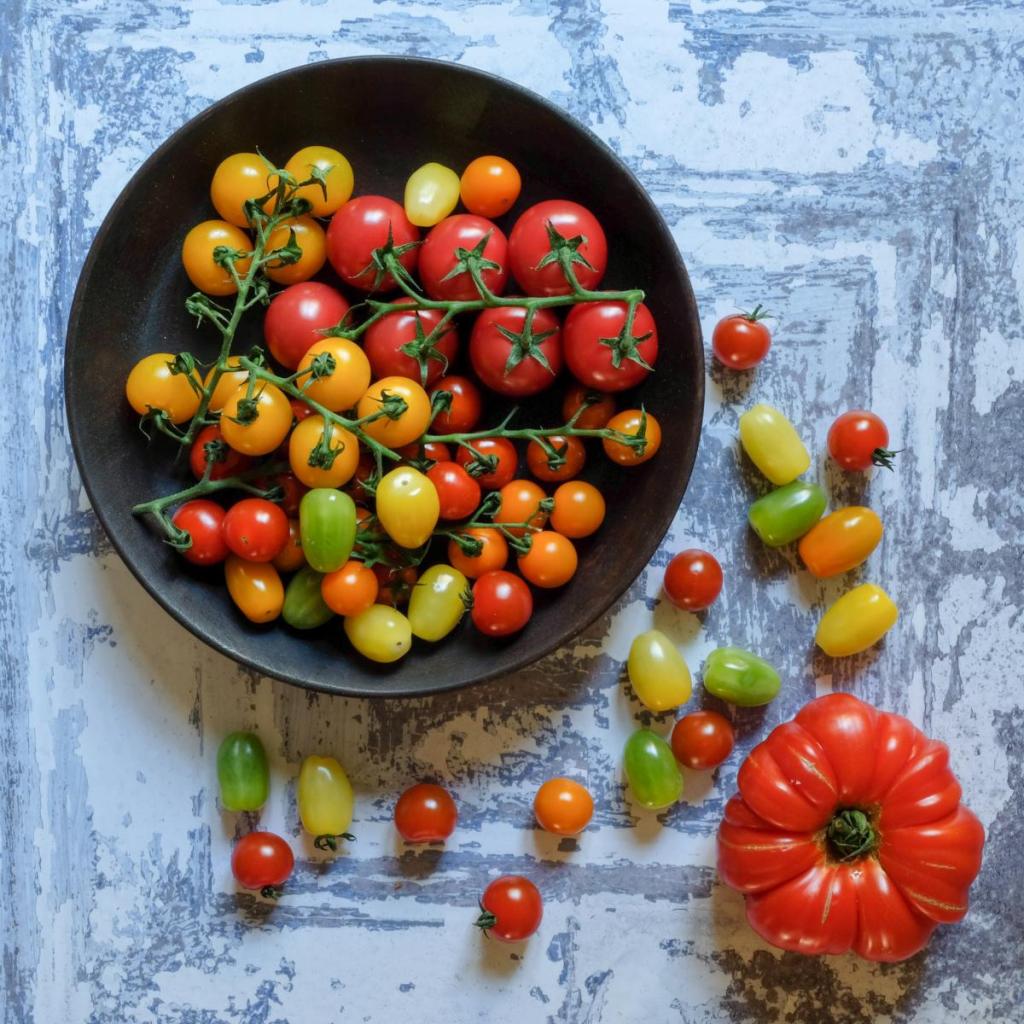
Flat lay photography can work particularly well with food. The light here comes from a side window in the kitchen. Fujifilm X-T2, 18-55mm, 1.9sec at f/18, ISO 250, tripod. Image credit: Tracy Calder
Potential still life subjects
Still life arrangements have inspired artists for centuries. More than 400 years ago Italian painter Caravaggio produced Basket of Fruit, an unpretentious piece of work that at first glance seems casually composed. However, if you look closer, it’s clear that every item of fruit, every leaf and berry has a role to play in the composition. What’s more, the lighting beautifully accentuates the form of the basket and its contents. Other painters who have found inspiration in still life include Tom Wesselmann, Giorgio Morandi, Paul Cézanne and, of course, Vincent van Gogh. These artists may have worked in a different medium to us, but there is much to be gained from studying the way that they arranged objects, used natural light to emphasise form, and expertly guided the viewer’s eye around the frame.
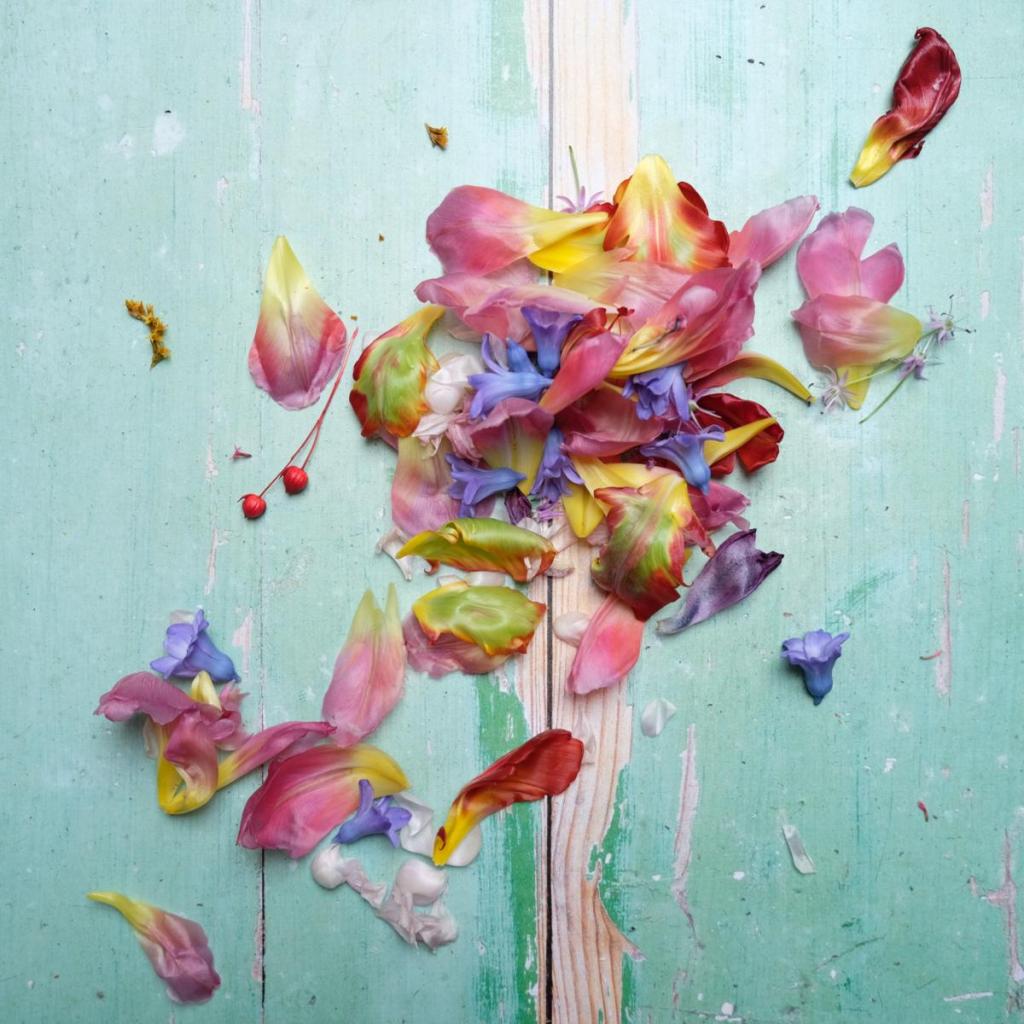
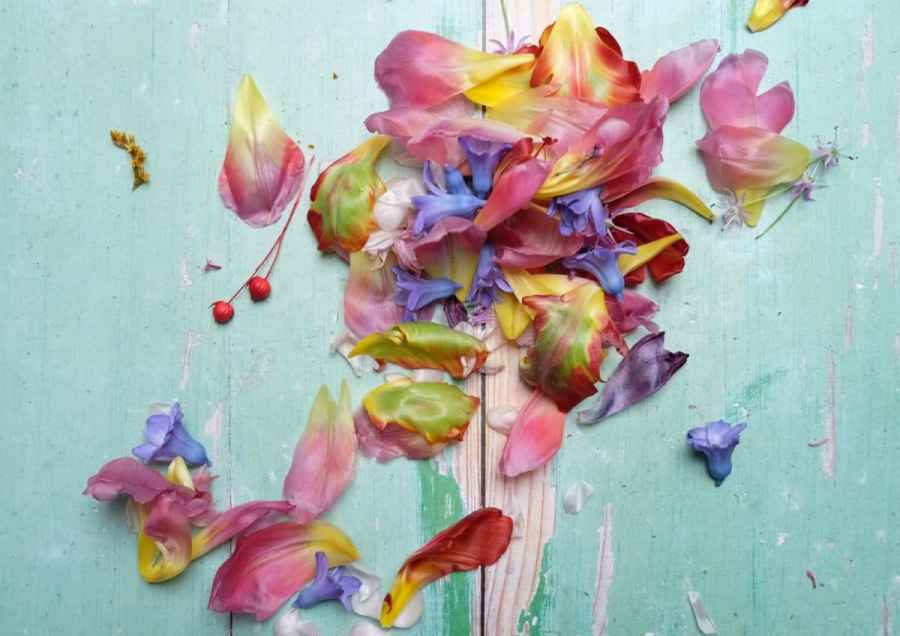
Having selected a background that would complement my subject I simply tipped a pot of petals over it, creating something akin to an abstract painting. Fujifilm X-T2, 18-55mm, 1/30sec at f/3.2, ISO 200, tripod. Image credit: Tracy Calder
Objects used in still life compositions can be either man-made or natural. Popular man-made items include bowls and vases, bottles, tins and pots; while natural items often come in the form of plants, food, feathers, stones or even animal skulls. It’s worth mentioning that the objects themselves don’t need to be all that interesting, it’s often the relationship between them that makes the composition work. I like to group things according to shape, colour or purpose, for example.
Still life photo styling advice
When it comes to styling a still life, I’m a big fan of flat lay photography – objects arranged on a flat surface and shot from above. Despite appearances, these images still require a fair amount of planning. It helps to carry a notebook around and jot down any thoughts as they arise.
Most of my ideas come from things I have either read or seen in books and magazines. A few weeks ago I was reading Hugh Fearnley-Whittingstall’s book Three Good Things and it occurred to me that a series of images featuring three key components might be interesting, for example. This led to some of my most successful still life pictures to date. Another idea came after reading an article on typography. Just hours after putting the magazine down I noticed the way letters were arranged on my daughter’s wooden toy food collection, which led to a fun picture that also triggered feelings of nostalgia.
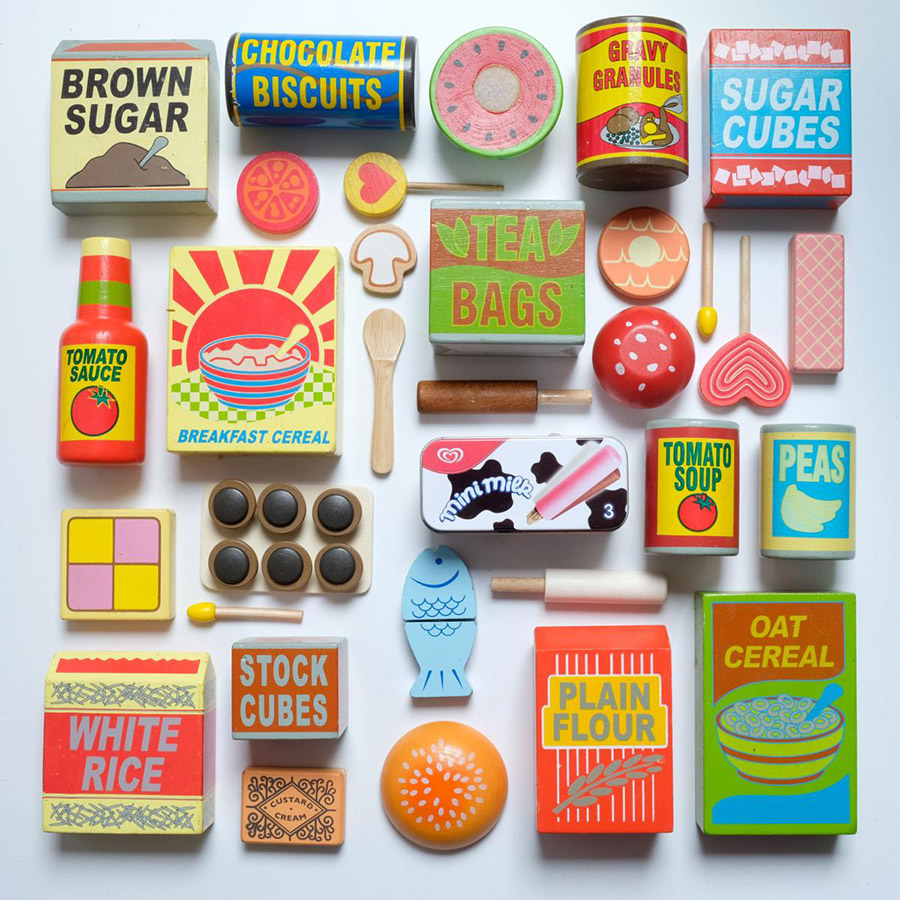
For this flat lay shot, I used the back of a photo board and spent an hour positioning and repositioning the wooden food to showcase its typography Fujifilm X-T2, 18-55mm, 1/7sec at f/11, ISO 200, tripod. Image credit: Tracy Calder
Once you have settled on an idea, you need to gather objects that will help tell your story. Whether you are planning a flat lay piece or a more traditional still life photograph it’s important to think about how the objects relate to one another. A selection of tins, for example, might be connected by their purpose, but they might all be different shapes and sizes, so creating a balanced composition will require some thought. It often helps to select a ‘hero’ item – an object that you want the viewer to look at first – and then arrange the other items around this. All the while, attention needs to be paid to the space between objects – understanding the way that negative space impacts your composition is key to a successful still life picture.
Equipment for still life photos
Everything from a smartphone to a medium-format camera can be used for still life photos, so work with what you’ve got. Most of my flat lay pictures are taken with a Fujifilm X-T2 and 18-55mm lens, but I’ve also used a Huawei P10 smartphone and an old Canon EOS 40D with a Sigma 105mm macro lens in the past. One of the great joys of this style of photography is that your subject is generally static – although light objects such as flower petals and seeds can blow about in a draught – so you don’t need to worry too much about shutter speed. I like to keep the ISO nice and low, select aperture priority, and use the self-timer to minimise any camera movement.
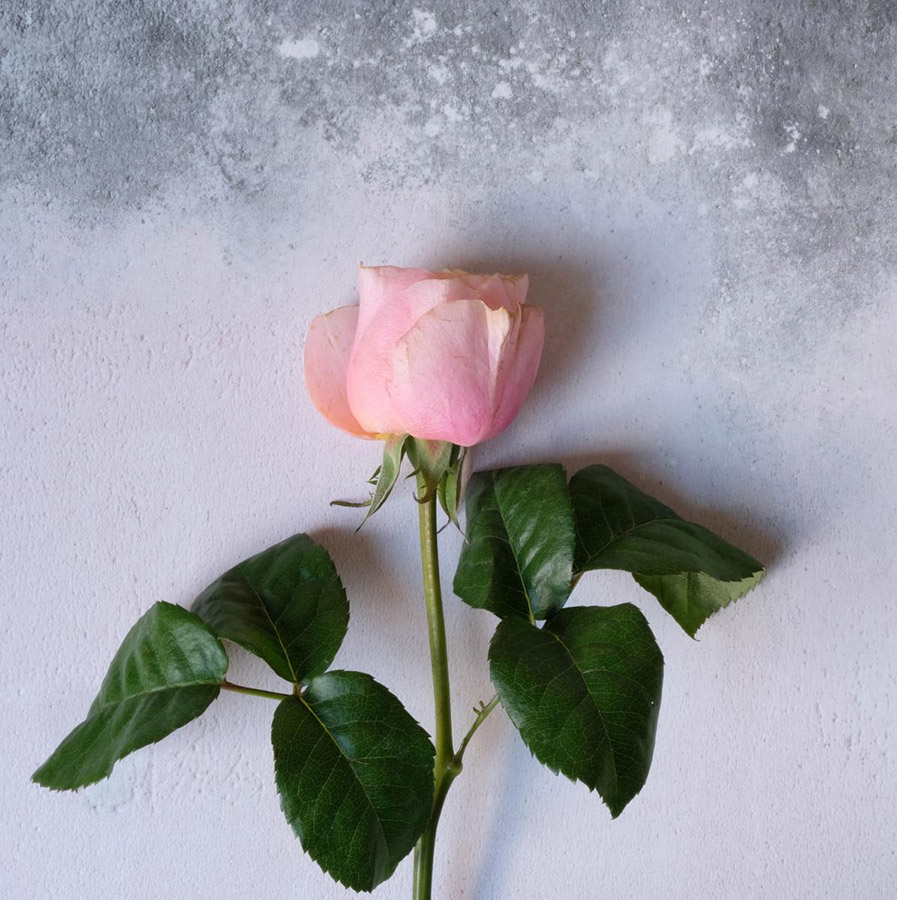
This was the first of many pictures I took featuring a rose as it deteriorated. Fujifilm X-T2, 18-55mm, ISO 200, 1.3sec at f/20, tripod. Image credit: Tracy Calder
While the camera equipment you use is pretty inconsequential, there are two accessories I would never be without: a tripod with a centre column that can be positioned at 90° and a selection of portable backgrounds. There are a number of reasons for using a tripod for still life photos, the main ones being to reduce camera movement and to keep your hands free for the inevitable tweaking you will do to your arrangements. If you happen to stumble across a still life (ie one that you haven’t purposefully set up) the chances are it will be in low light and the long shutter speed required will make handholding tricky. What’s more, if you feel like trying your hand at flat lay photography you will need to position your camera directly above your arrangement, hence the need for a tripod with a 90° centre column.
Backgrounds can make or break a still life. I’m a big fan of the portability and quality of the table-top range from Photo Boards, but where possible I like to source, or create, my own. Anything with texture or colour can be effective – think surfaces with peeling paint or rust, strips of bark or fabric (without distracting patterns) and handmade paper. Whatever you decide to use, it’s important to consider how the background will affect the mood of your picture. Does it add warmth or coolness? Does it complement your chosen objects? Will it help to tell the story you had in mind? Crucially, the background should never be distracting.
Still life lighting
Still life images can be taken in any light, but, for me, the natural light produced by a bright but overcast day is hard to beat. However, even natural light can need directing or modifying, so it’s a good idea to keep a diffuser or reflector within easy reach. (You can always use a white sheet to diffuse sunlight or a piece of white card to lift shadows.) I also enjoy wandering around the house and watching where the late afternoon light hits walls and surfaces. If I find a nicely lit spot I will position a well-chosen object there and observe how this stronger light emphasises the texture or form of the piece.
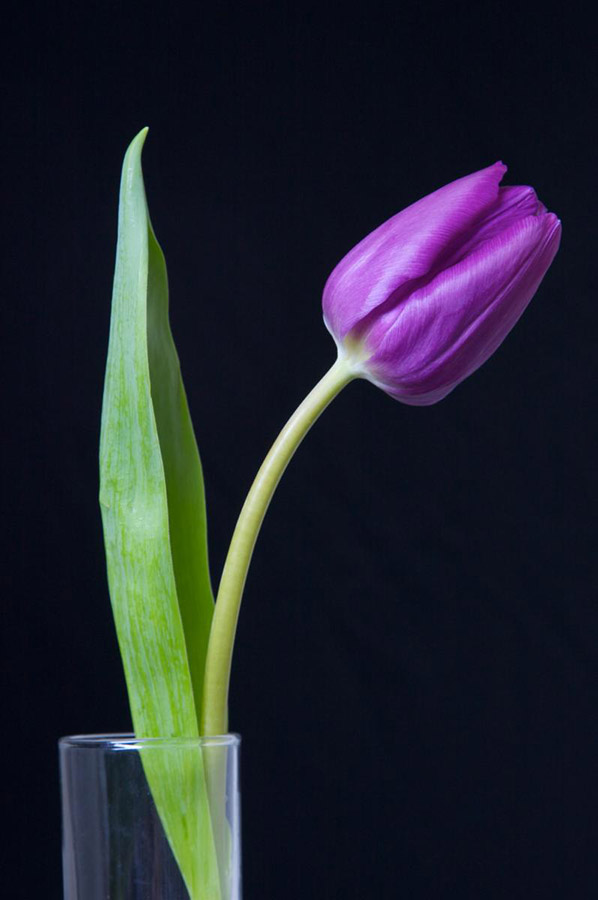
This was one of the rare occasions when I set up some continuous lighting to emphasise the form, and waxy quality, of this tulip. Canon EOS 40D, 105mm, 1sec at f/10, ISO 200, tripod. Image credit: Tracy Calder
Of course, some photographers prefer to use artificial light (or mix multiple sources). I am constantly in awe of product photographers who seem to know how to celebrate an object, highlighting its important assets, using just artificial light. While I don’t use flash for still life, I do occasionally use a small daylight-balanced LED to reveal details in shadowy areas, and I have experimented with continuous lighting in the past. There is no doubt that artificial light gives you the freedom to create any mood, light an object from any angle, and experiment with high-key and low-key effects, but for me there is something delicious about responding to what you find yourself with in the present moment. Shooting still life can be a meditative experience, so slow down and savour every shot.
Read more about how to improve your still life photos with continuous lighting.
Tracy’s top tips for still life photos
Mix up materials
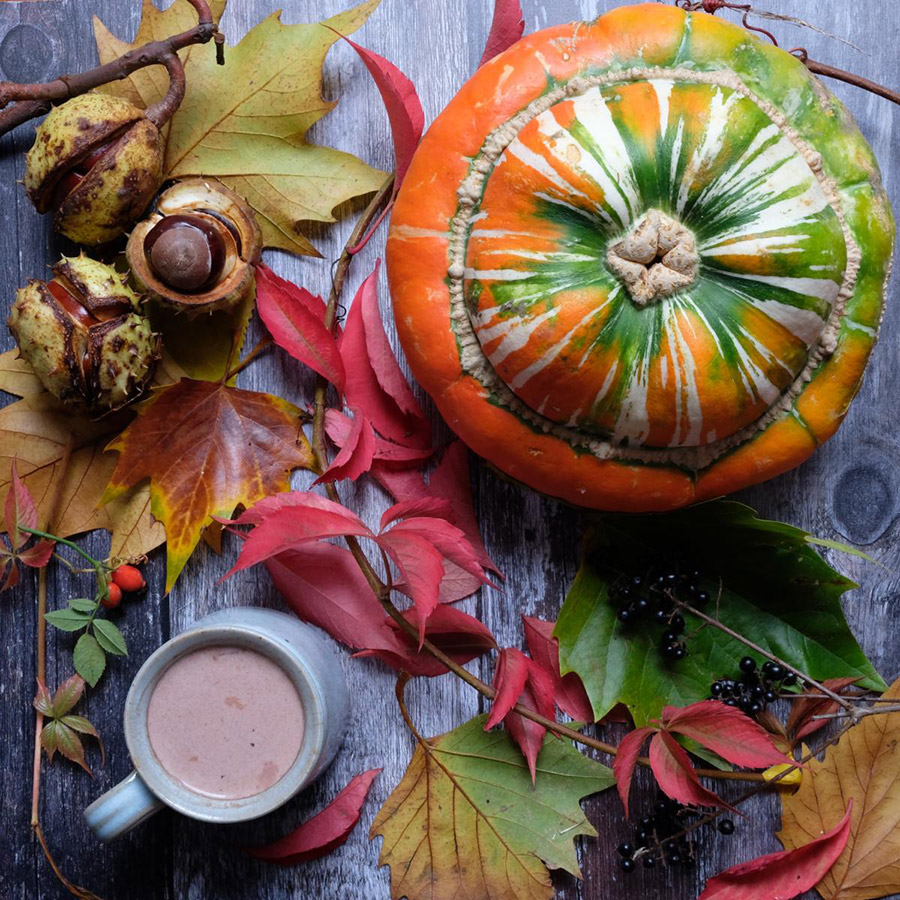
Combining natural and man-made objects can work well, but make sure that every element adds to the story. Here I wanted to convey a sense of the abundance of autumn while using the hot chocolate to remind the viewer how chilly it feels!
Don’t be too neat
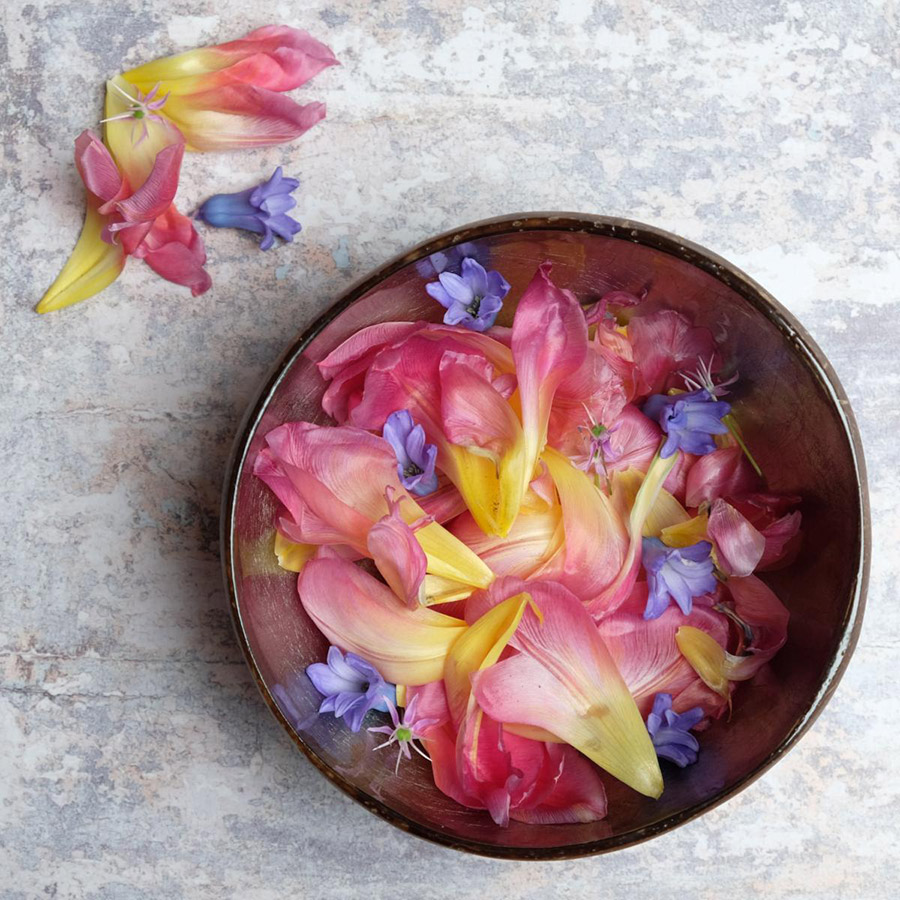
Sometimes a scattering of crumbs or a few stray petals can bring something extra to the composition. Obviously, you will want to remove any unsightly blemishes or ugly vegetation but try not to ‘manage’ the scene too much.
Keep experimenting
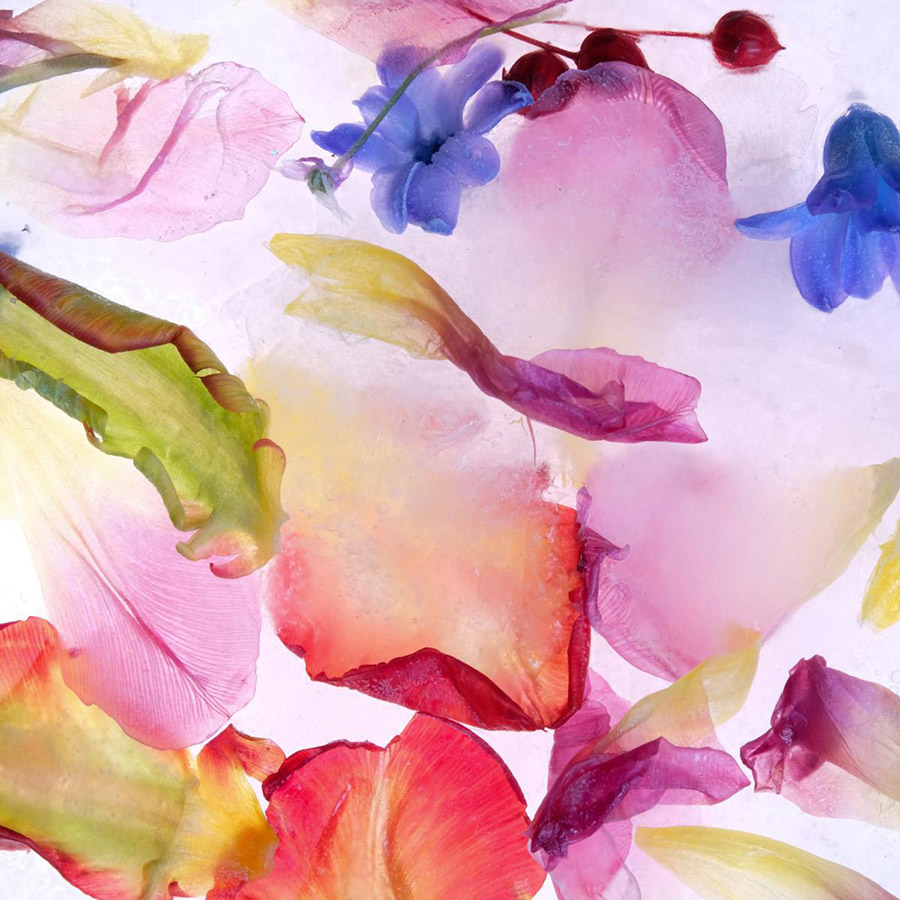
To keep a bunch of flowers going for a little longer I froze some petals and buds in a block of ice. Having removed the ice from the freezer I laid a sheet of plastic over an old battery-powered lightbox and placed the block on top.
Play with black & white
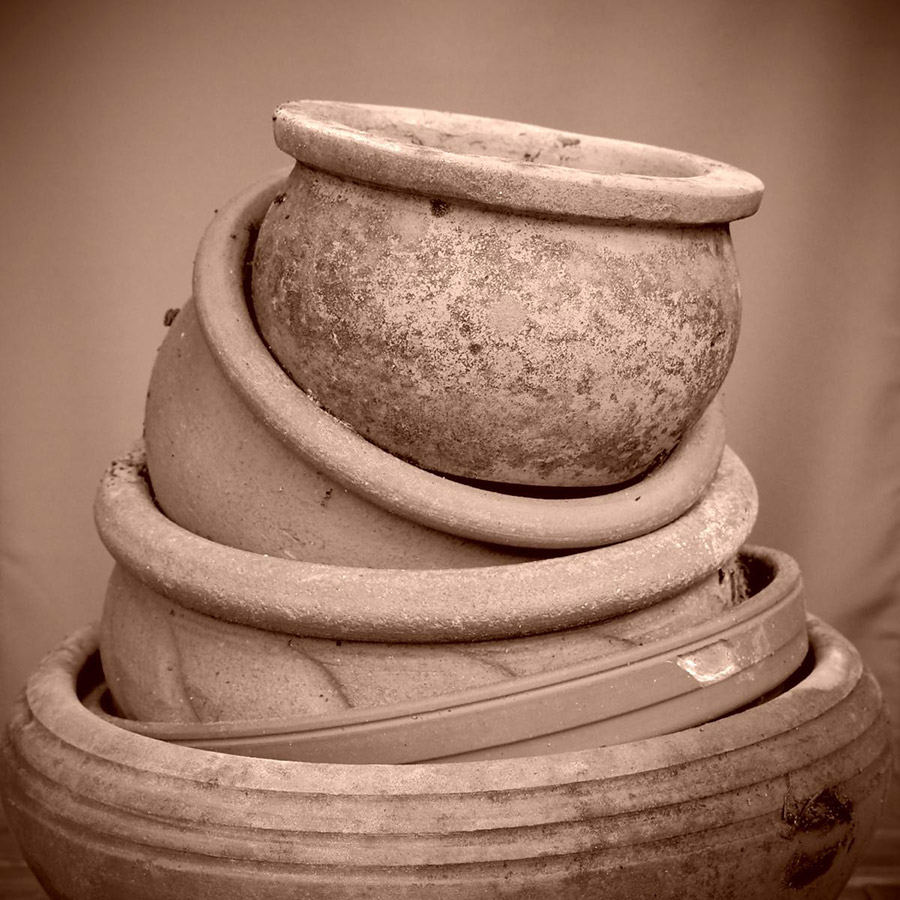
Filters like sepia or black and white can emphasise the characteristics of your subjects. Image credit: Tracy Calder
Heavily weathered objects, or those with age, can look particularly attractive when converted to black & white – or in the case of these plant pots, sepia. Try to bring out the texture, cracks and surface details.
Stay observant
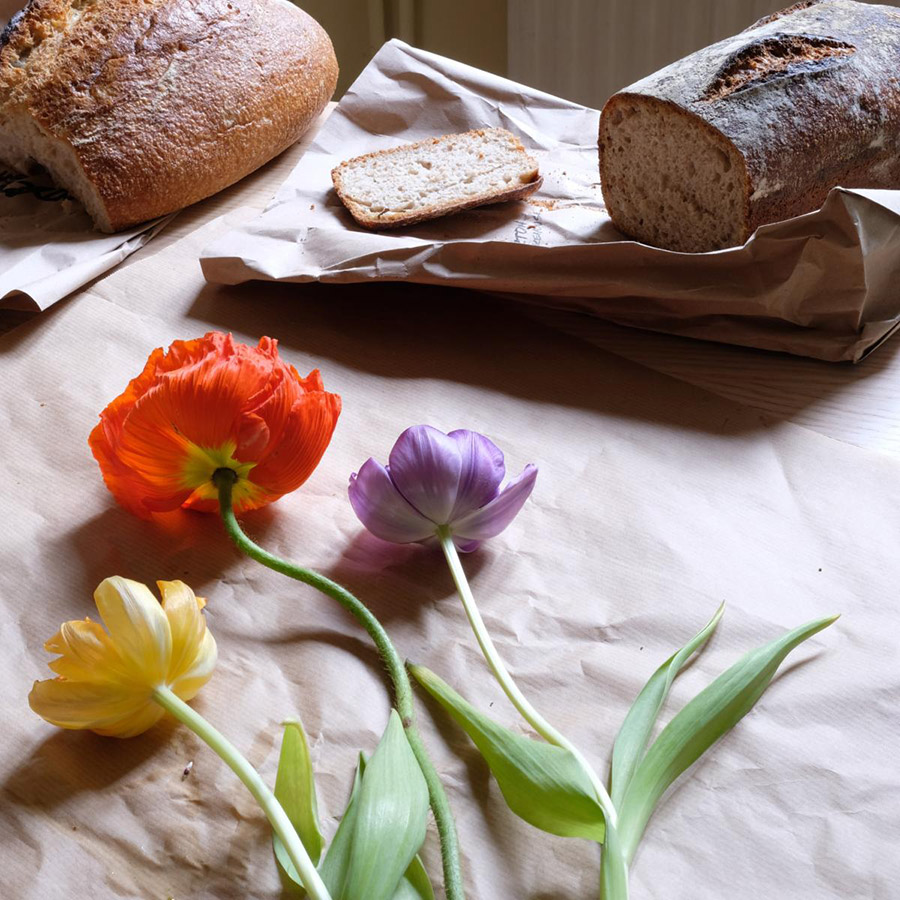
Pay attention to your surroundings, everyday scenes can serve as still life. Image credit: Tracy Calder
Not every still life has to be staged – sometimes arrangements can be stumbled upon quite by chance. Stay alert to fresh opportunities and you will be rewarded. Here I set down some fresh flowers to trim the stems just as my husband cut a slice of bread.
Kit list for capturing still life photos
Tripod
A tripod will reduce camera movement and keep your hands free while you tweak your arrangement. A model with a centre column that can be positioned at 90° is ideal for flat lay photography.
See our pick of the best tripods to buy here.
Diffusers & reflectors
A diffuser softens light and reduces contrast, while a reflector helps to reveal detail in the shadows. You can purchase reflectors with silver and gold surfaces.
Read our guide to the best cheap lighting accessories
Or explore DIY lighting hacks from Ian Pack
Backgrounds
The portability and quality of backgrounds produced by Photo Boards make them ideal accessories. The boards can be wiped clean with a damp, soft cloth and are really easy to store.
Portable LED
A small continuous light source, such as the Manfrotto Lumimuse, can be used to lift shadows. It is seriously lightweight and surprisingly bright – it can also be dimmed.
Tracy Calder has more than 20 years of experience in the photo industry. In 2018 she co-founded Close-up Photographer of the Year – a competition celebrating close-up, macro and micro photography www.cupoty.com. She has written numerous photography books, and her work has appeared on the walls of The Photographers’ Gallery and The National Portrait Gallery in London. Instagram: @tracy_calder_photo and @cupoty.
Need further guidance for your still life photos? Check out these guides:
- Get better still-life shots with continuous lighting
- Our best-ever landscape, portrait and still life photography tips
- How to set up a still life studio
- Still-life photography tips
- Top tips for how to shoot floral still-lifes

