Your guide: Rhiannon Buckle
From furry to scaly and everything in between, Rhiannon loves capturing the unique personalities of pets. Based in the studio, she uses a variety of lighting styles to capture fun moments. See rhiannonbuckle.co.uk, @rhiannonbuckle_petphotography.
Find the eye contact
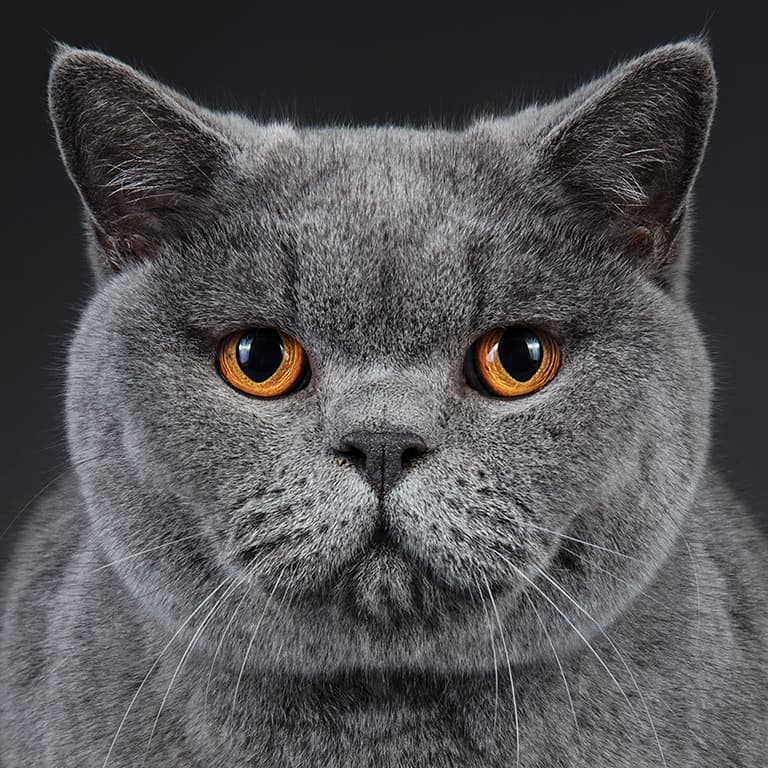
A portrait of a pet looking straight down the lens is powerful and engaging, but you need to get their attention. I have a treat pouch on my belt and I’ll continually reward them for good behaviour. For eye contact it helps to hold a treat directly on the top of the lens so they are focused there, but you don’t have to do this yourself, you can get the owner or someone else to guide them in the direction you want.
As well as treats and toys, noises are great for getting a pet to look your way. I’m comfortable making a fool of myself during shoots, and I do a selection of whistles, squeals and animal sounds! In particular, high-pitched noises get that iconic head tilt with dogs.
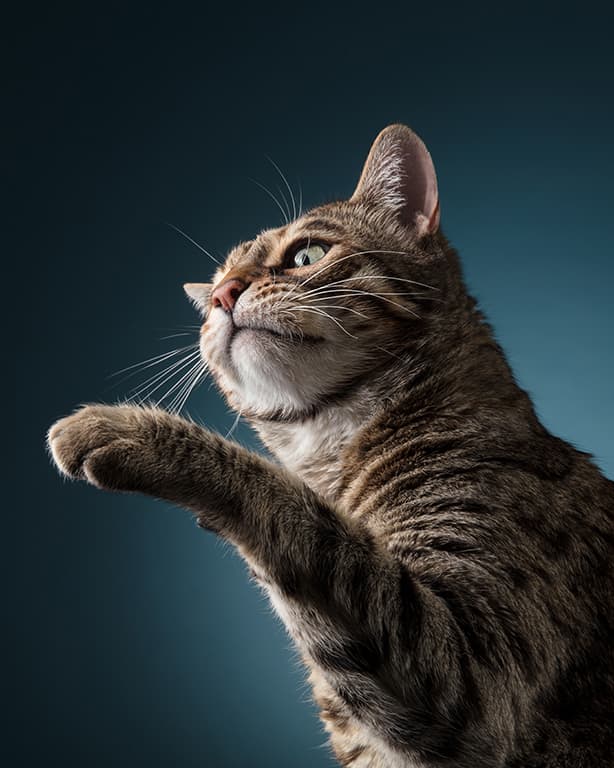
Make it fun
As much as I love creating classic portraits, I always like to add an element of fun and movement to my sessions, too. This makes for great images and it also keeps the pet engaged during the shoot.
Try throwing a treat or toy their way to allow you to capture some goofy expressions. If you have the space, you can also have them running or jumping under the lights.
In the studio, flashes are great for this. My lights fire as fast as 1/10,000sec, so I can use them to control the full exposure of my image and freeze movement. For best results, keep any natural light to a minimum.
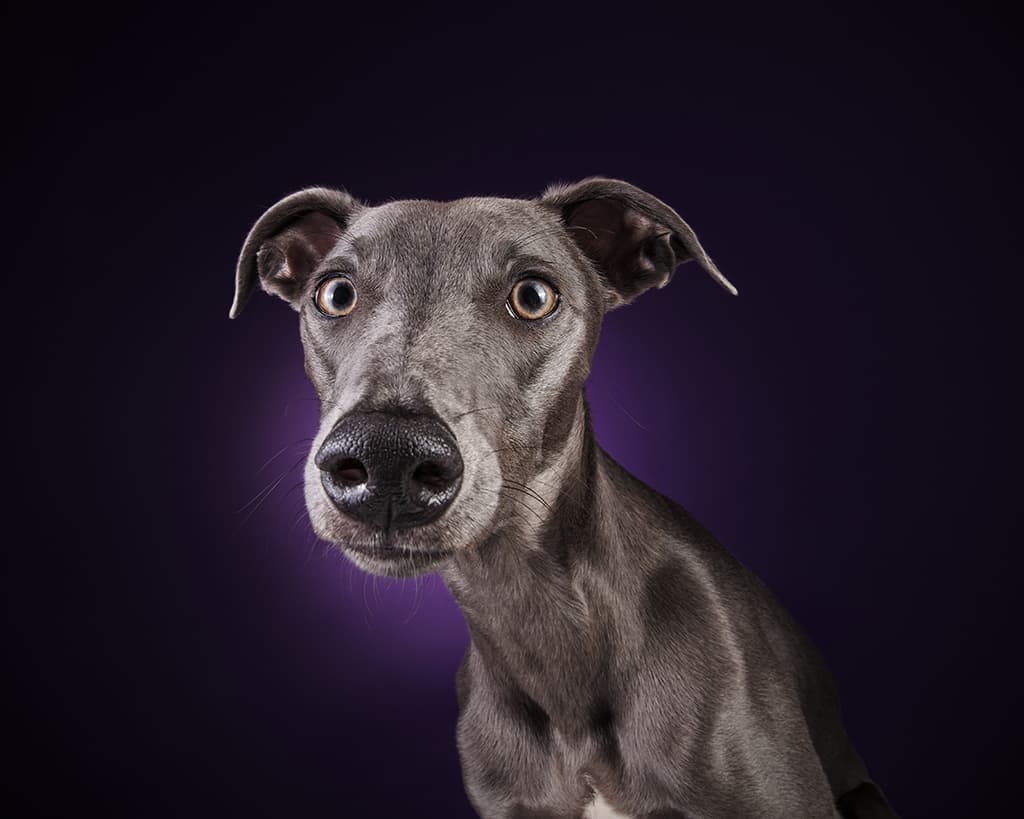
Get the right light
I use a hard light, which helps create definition in fur. I use an arrangement of three of four softboxes with the outer diffuser removed for a controlled, directional light that’s not too soft.
My main light is at the front and either side is a stripbox for side light. For the backdrop, I love to shoot with vibrant or natural tones that complement the pet’s colouring.
If it’s a bold colour, I’ll have my lights set close to the backdrop so the lighting bleeds onto the background. Other times, I’ll keep my other lights well away from the background and use a spotlight on it to make the pet stand out better.
Rhiannon’s best kit
Godox AD600BM
These lights have high-speed sync (up to 1/8000sec), perfect for capturing pets. They’re also wireless, which is ideal for studio and location.
Godox softboxes
I use a variety of shapes and sizes. You can remove the outer diffuser sheet too, to create a harder and more directional light.
Canon 24-70mm f/2.8L II USM
This focal length range gives me the flexibility to shoot classic portraits at the long end and framing wide for full-length shots or comical distorted close-ups.
Your guide: Laura Galbraith
Born in Malawi, raised in Edinburgh and living in Cambridgeshire, Laura has a pet photography studio in Burwell and teaches workshops throughout Cambridgeshire, Suffolk and Norfolk. @lauragalbraithpets, https://lauragalbraithphotography.co.uk
Work out their best poses
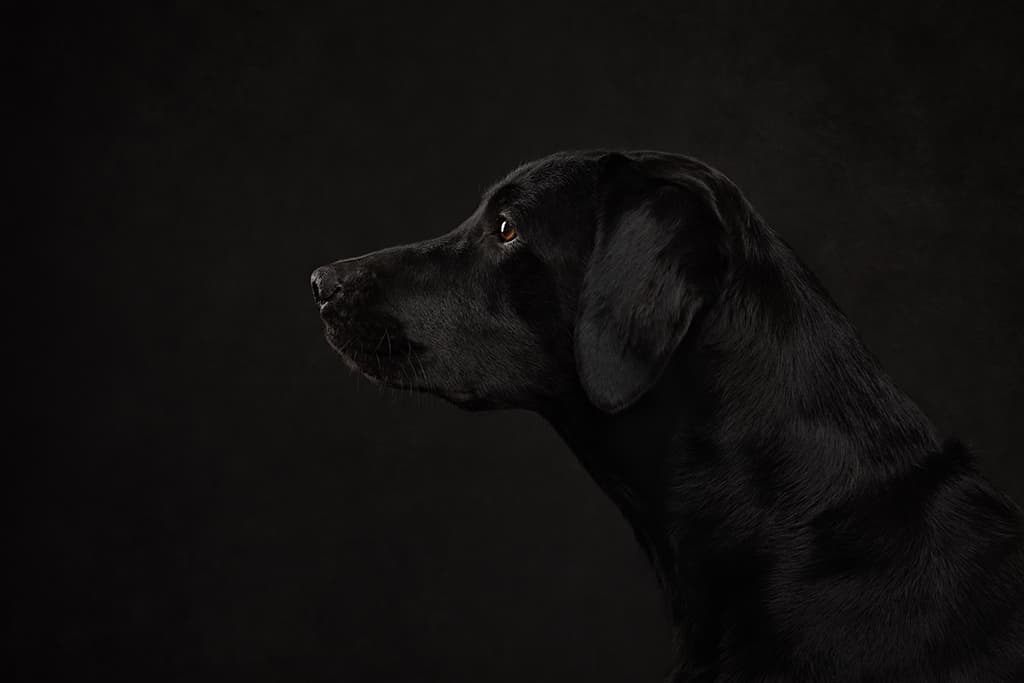
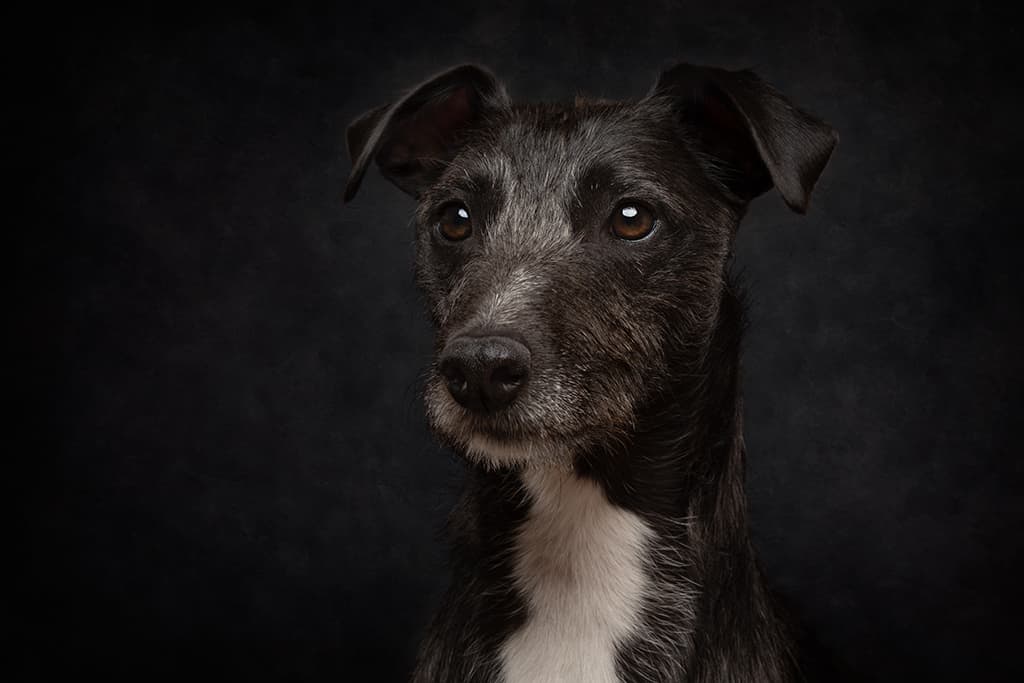
Most photographers have poses they want to shoot, but not all dogs will want to do them, or look natural if they do. For example, one of my dogs looks decidedly uncomfortable sitting, but fabulous when lying down. Every dog is an individual, so take some time to see what they do naturally.
Ask the owner if they do anything particularly characterful at home that you can capture, like crossing their paws over. Try to work through different poses in a session if you can, so you have some variety. Shots where they’re sat straight on are fine, but profile shots and 3/4 angles work well, too. Finally, if they’re in a standing position, make sure your angle shows all four legs, because if one is hidden it can look a bit odd!
Shoot from the right height
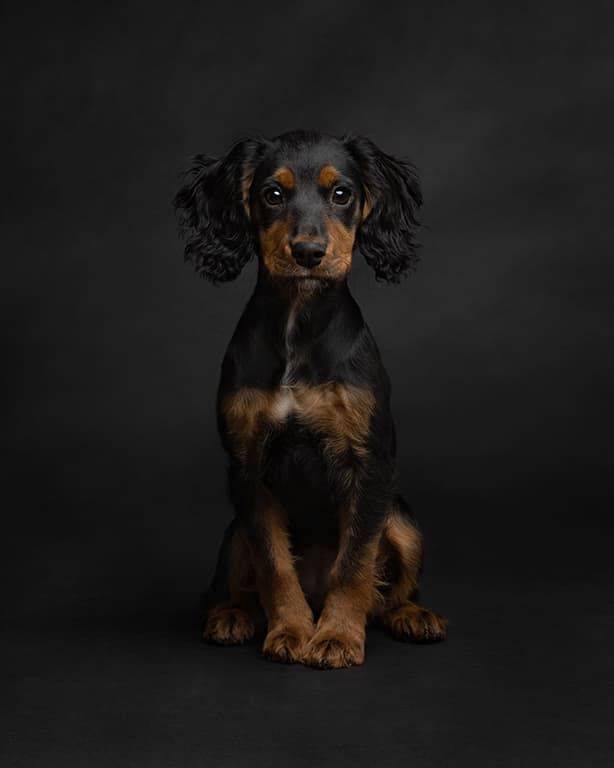
When shooting in the studio, bigger dogs are fine on the floor, but for smaller breeds I use a platform. This is really helpful in a number of ways, but mainly it helps me adjust the lights to the correct height and position and put the catchlights in their eyes how I like it, towards the top of the eye.
If I was to shoot a very small dog on the floor, I’d struggle to get my lights low enough. Plus, while lying on the floor can help get you to their eye line, as most dog owners know, it will also make them want to come over and play! To make things easier, I have two stools of differing heights that I can sit on when shooting – and this gives me the flexibility to work comfortably and move around to get the best angle depending on what the dog is doing.
Get them comfortable in the studio
When a dog arrives in my studio the first thing I do is let them have time to explore, and check out me and my gear. While they’re having a sniff around, I’ll fire the studio lights a few times to check how they react.
So far, I’ve never had any problems, but if a dog was unhappy, we would simply replan for an outdoor session. You certainly don’t want to be taking portraits of an unhappy or uncomfortable dog.
It’s not fair on them and it will also come right through in the pictures. Some dogs are little posers and pick up what they need to do instantly, but others take time.
I’ve had anxious dogs take to posing like a pro and well-trained gundogs run around madly not listening to any instructions! The best plan is to relax and go with the flow. Wait them out and see what they give you.
Laura’s best kit
Grids
When I want a darker background and more directional light, I use grids on my softboxes. These work great and can easily be removed if you need more spread for lighter backdrops.
Attention grabbers
To get a dog to look at me or prick their ears up, I have a necklace of various noisemakers. Wearing this all the time, they’re always to hand if I need them and I can still use both my hands on
the camera.
Your guide: Andy Biggar
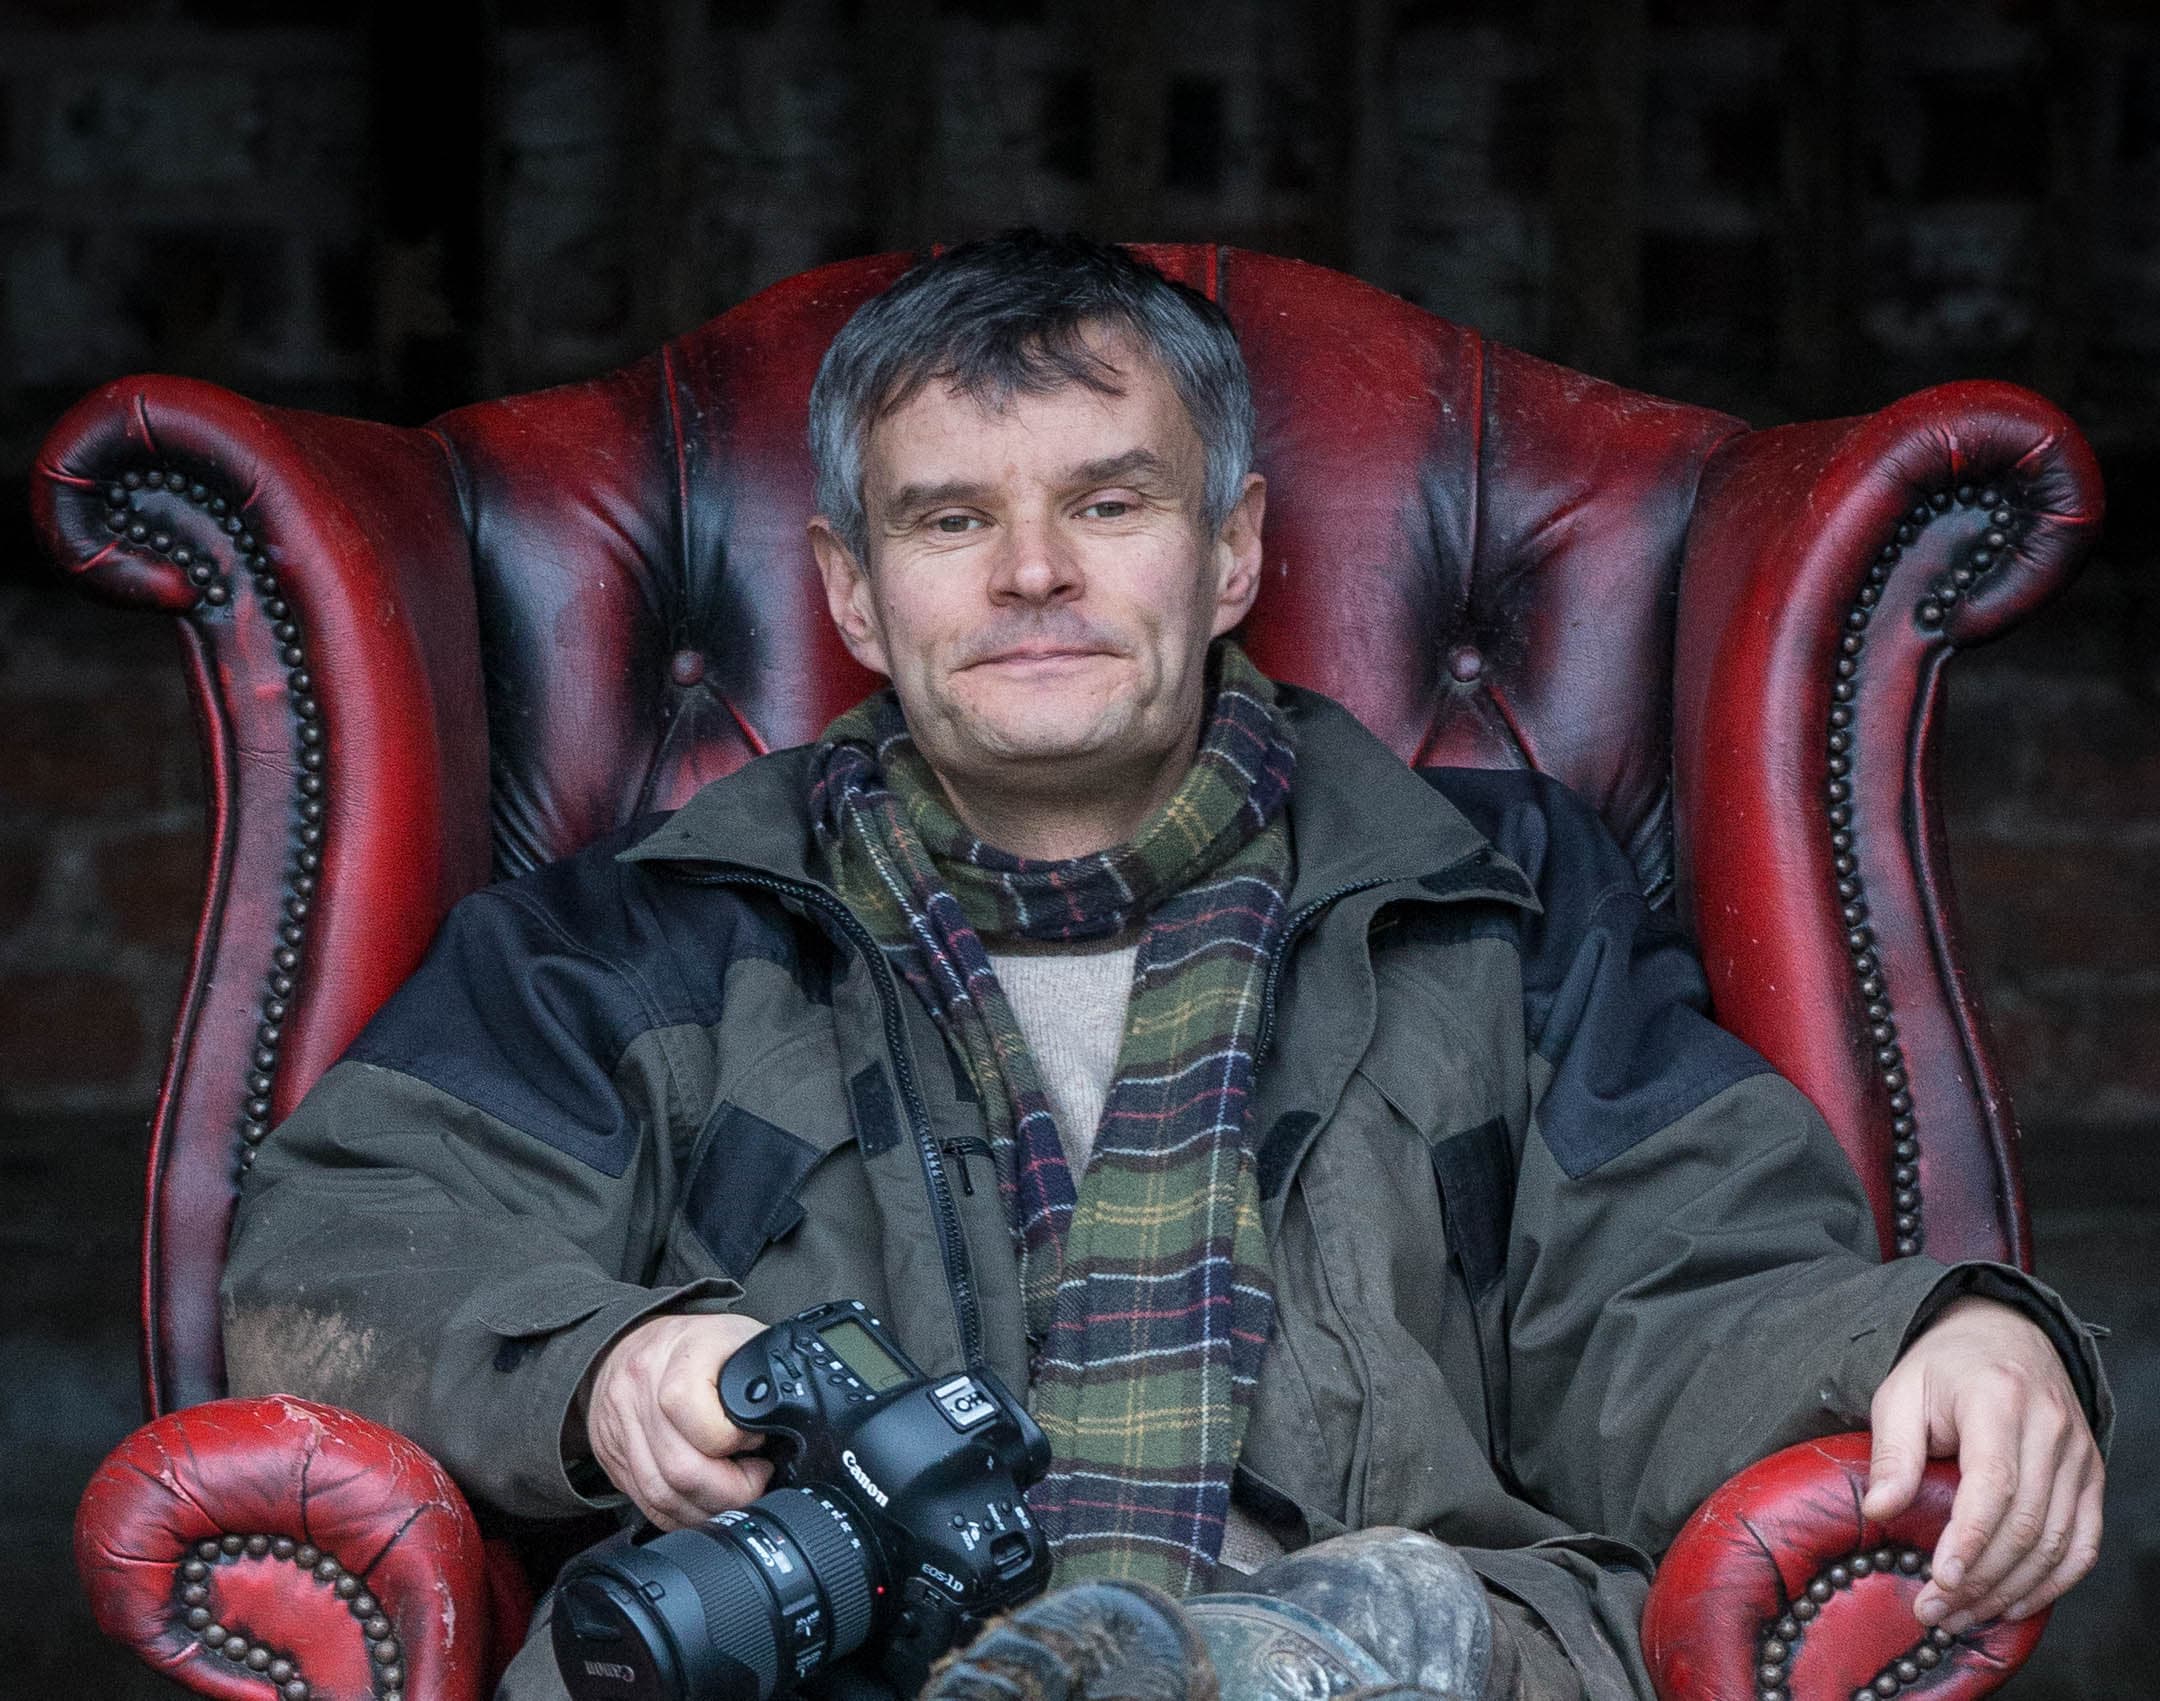
Andy has been photographing dogs all over the world for over 12 years and is considered one of the UK’s leading dog photographers. See https://andybiggar.com, @andybiggar.
Be creative with framing
It’s really important to try to create your own style. Take inspiration from other photographers, of course, but work on creating your own look so that your pictures are distinctive.
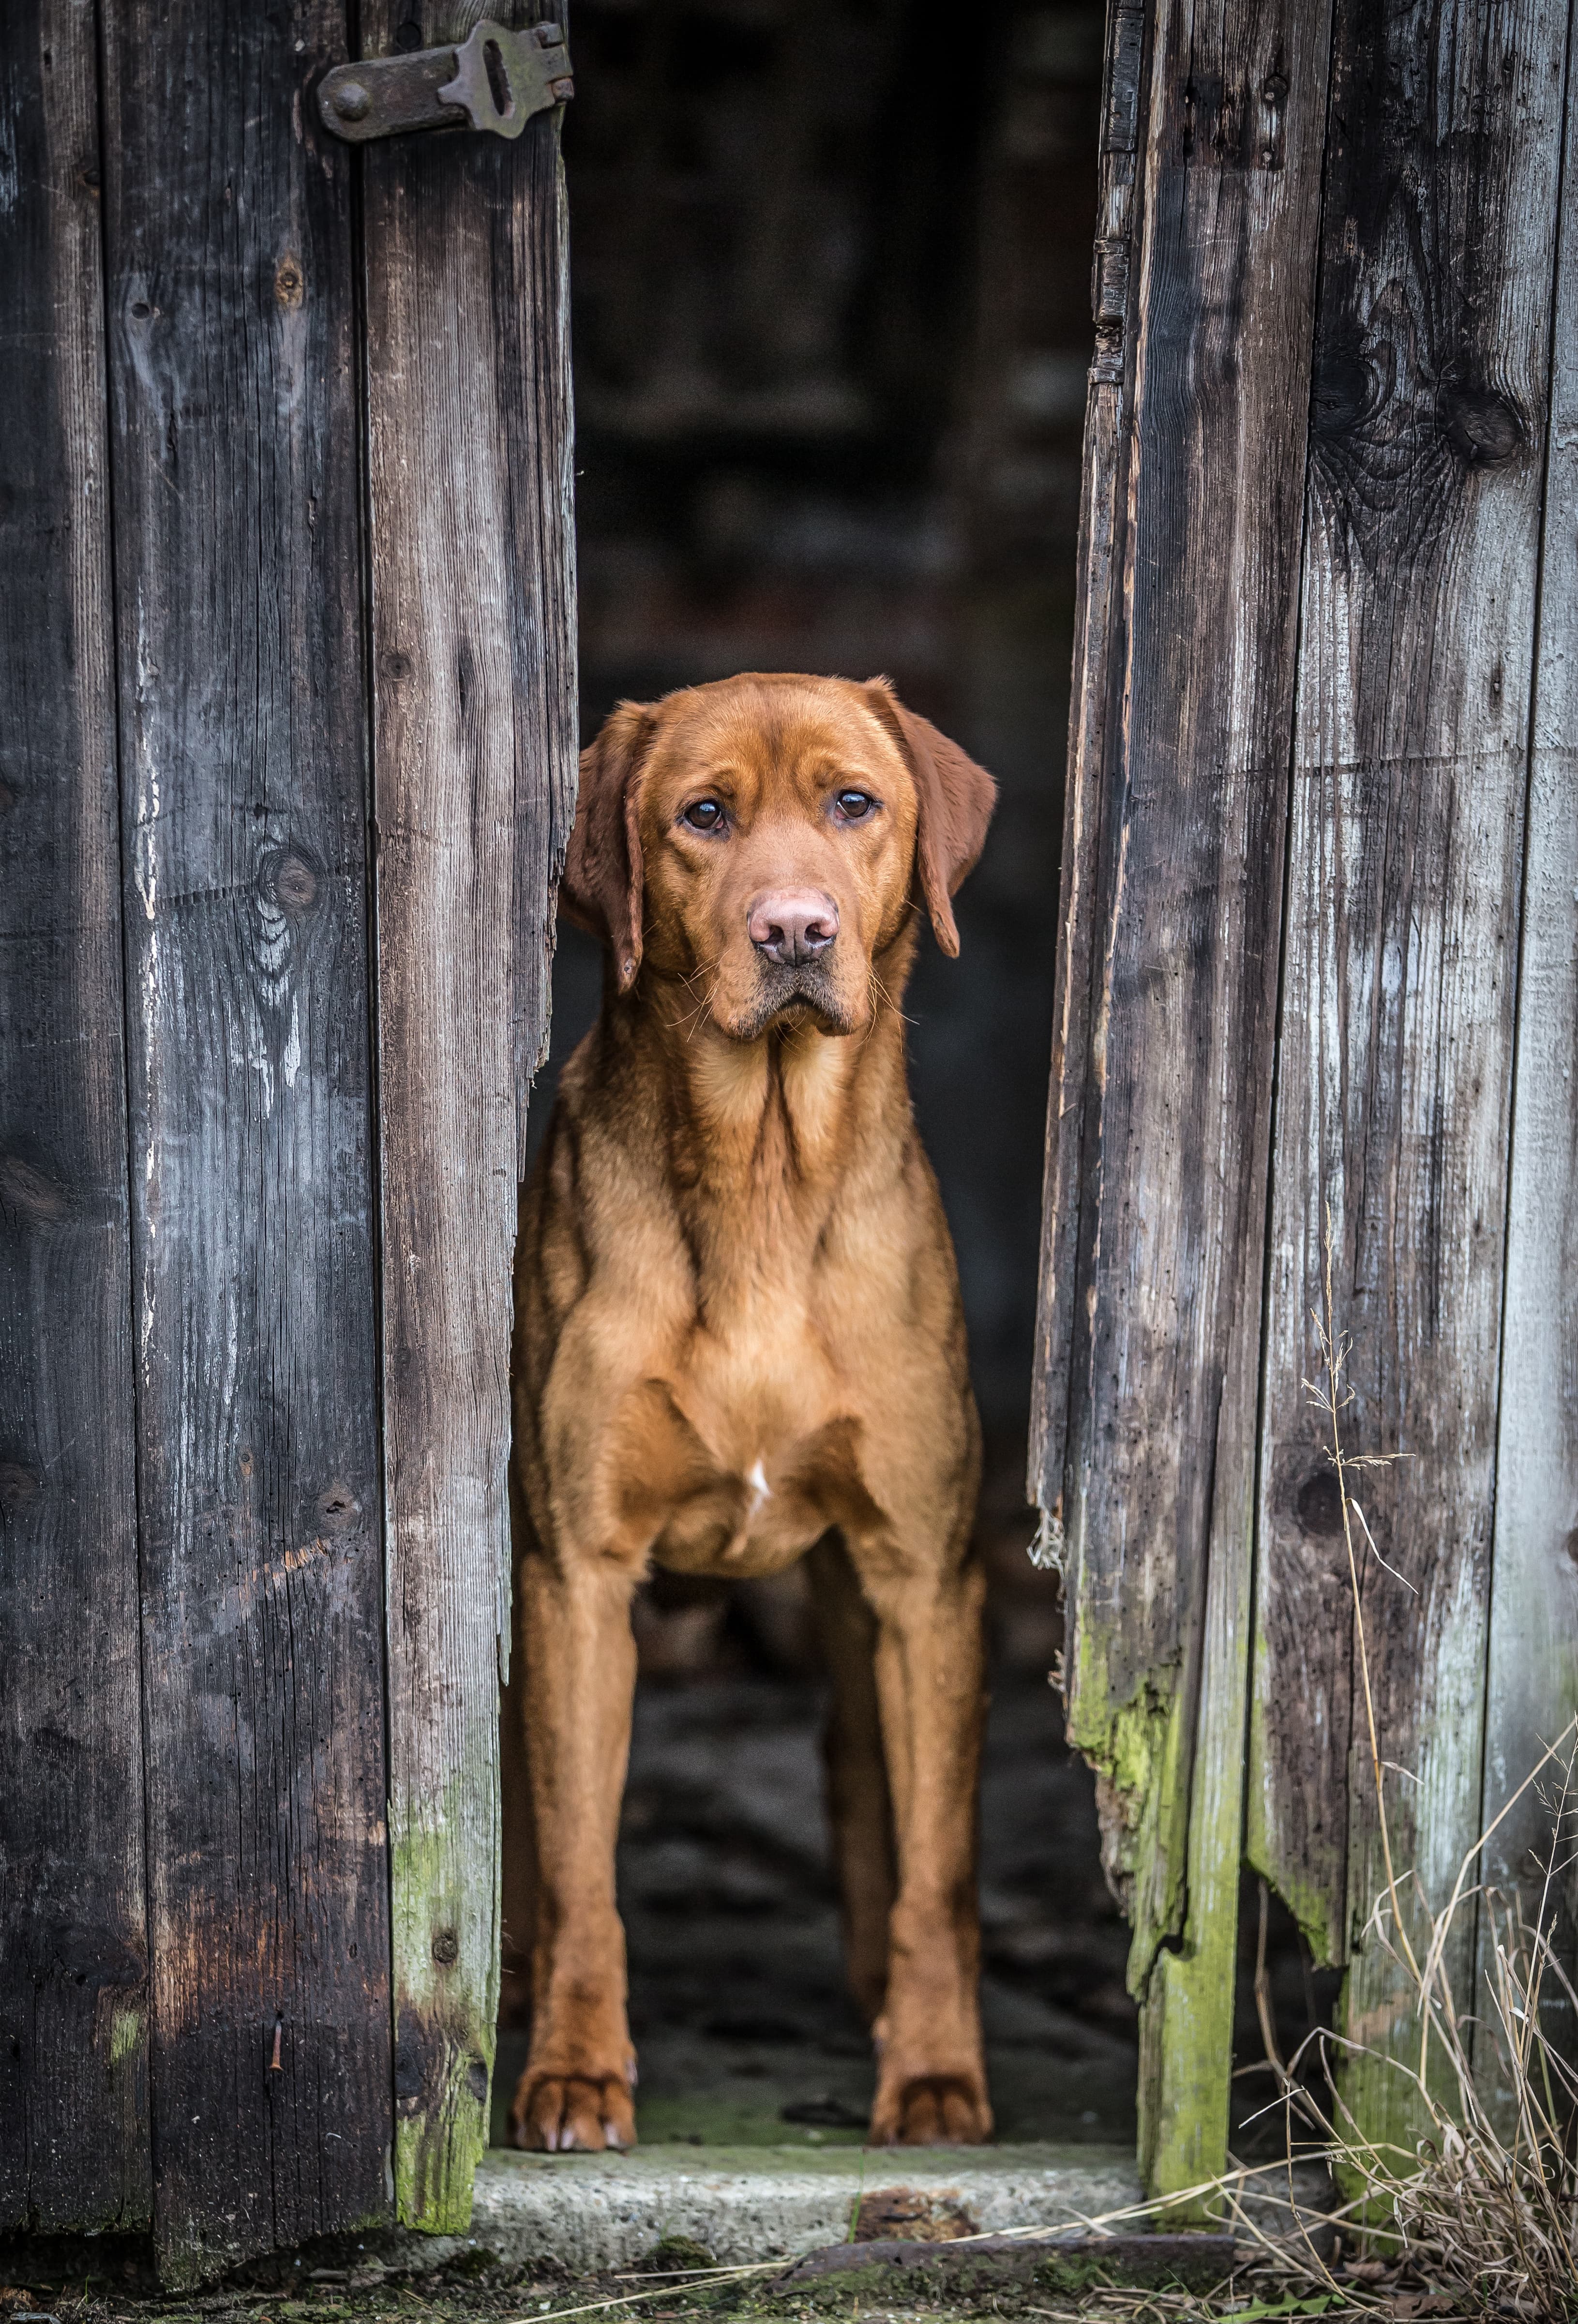
Over the years, I’ve photographed a lot of working dogs and our studio is situated on a farm, so we have lots of rustic locations and backgrounds to work with, which I think gives my images a recognisably natural look.
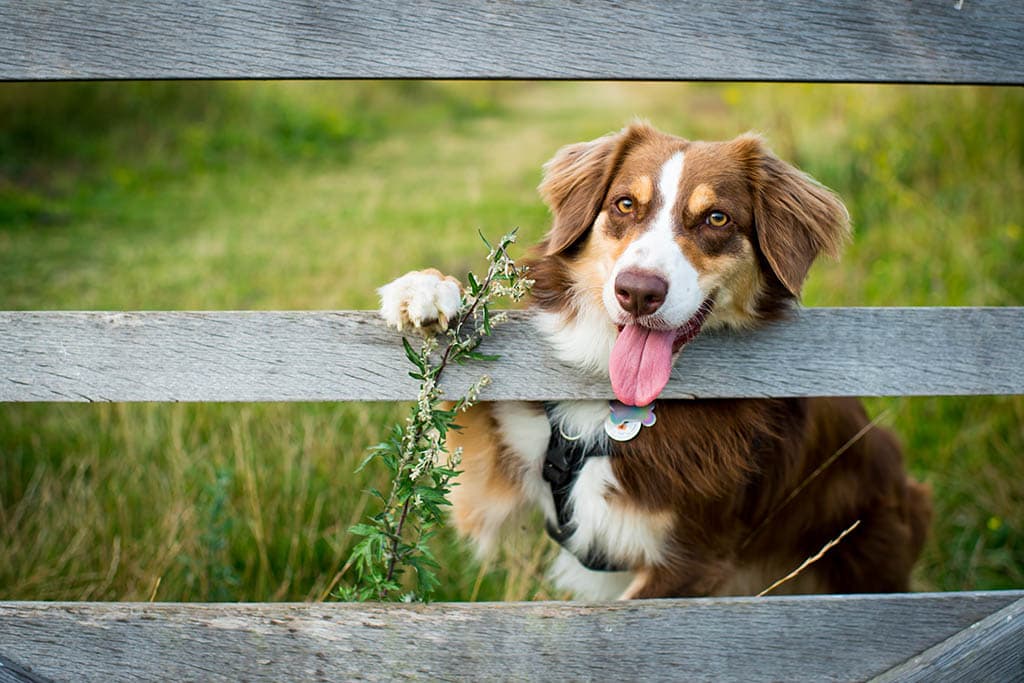
I like to work with certain framing devices, too. One shot which has been very popular is using the barn doors at our studio. They’ve got that rustic, country appeal from the old wood, but importantly with the dog in the middle it creates a strong composition, too.
Get down to their level
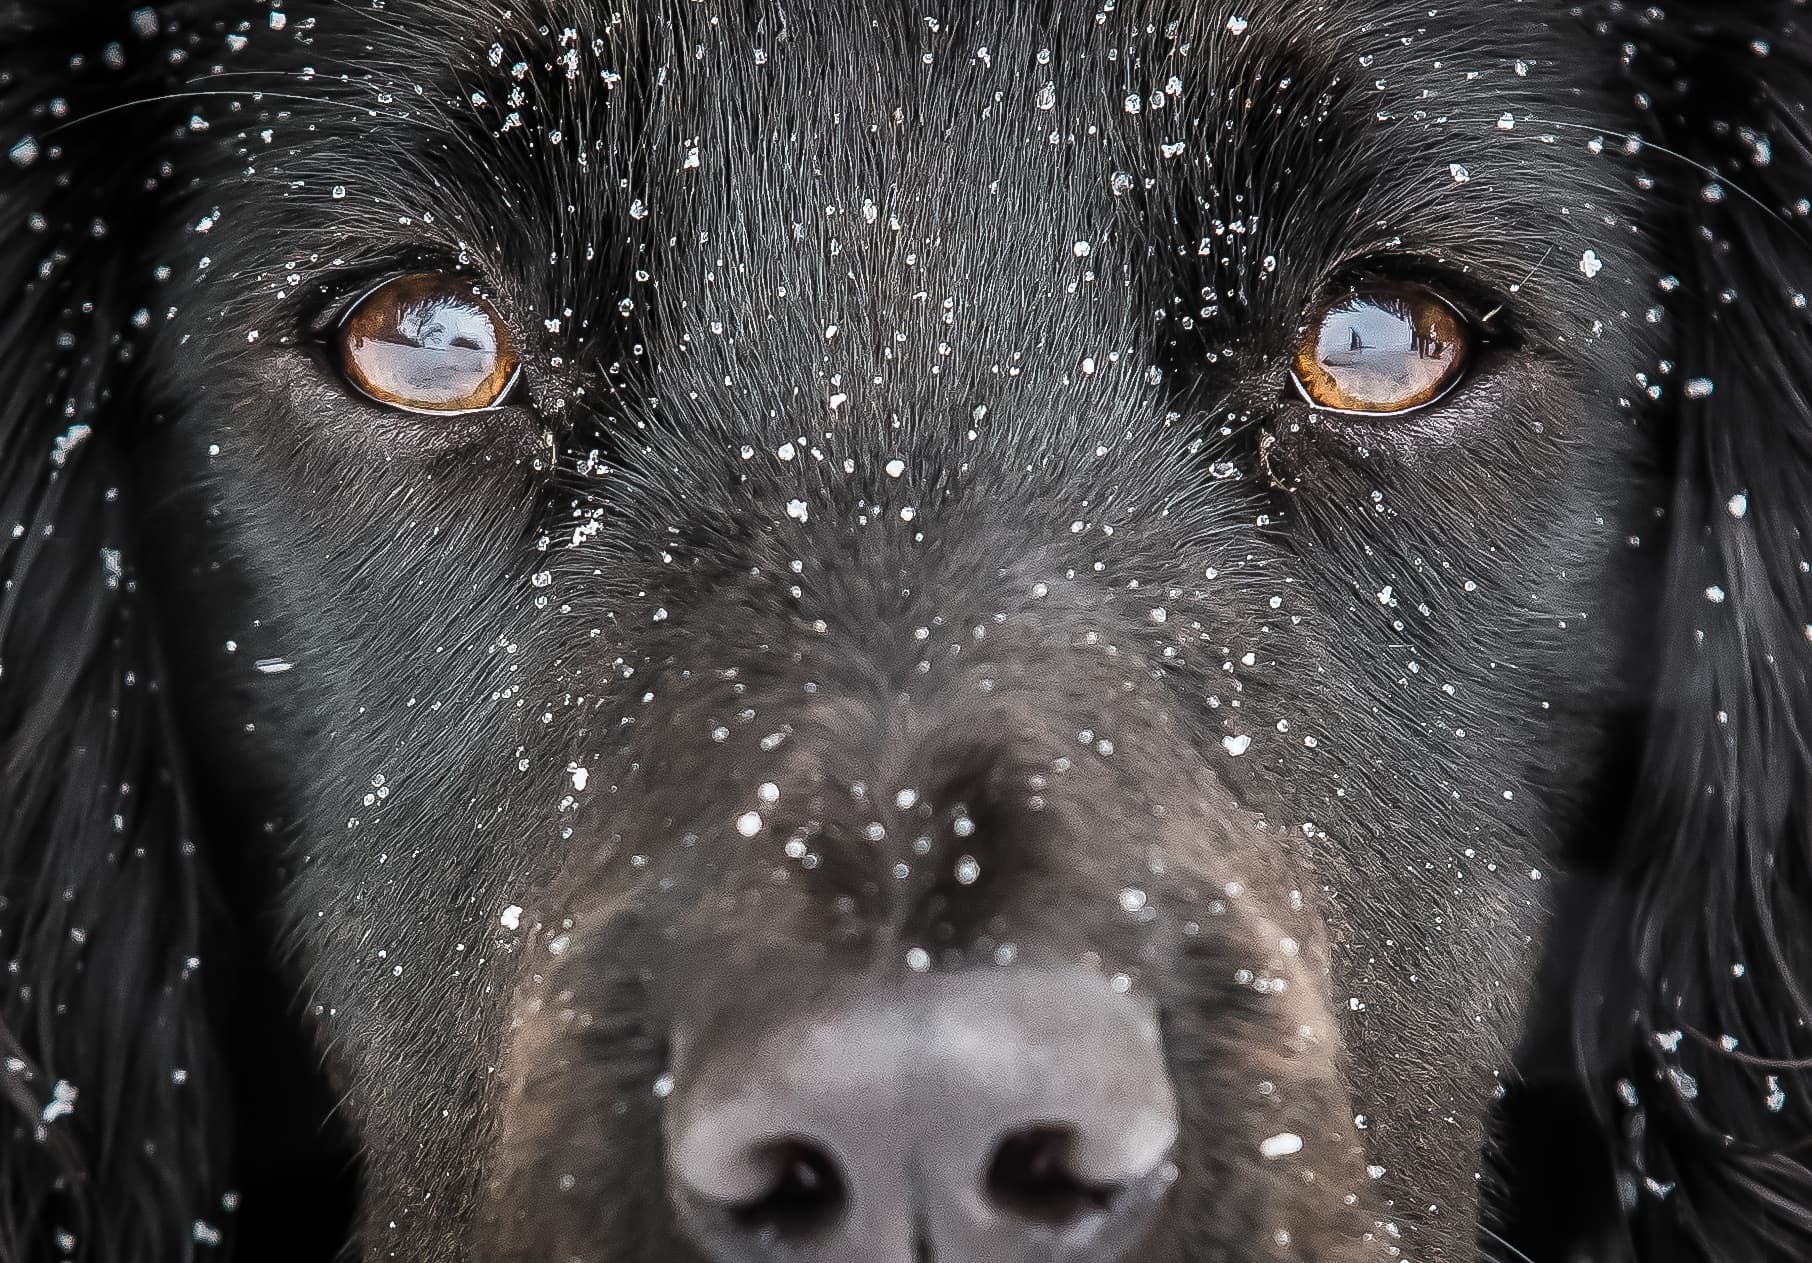
Get down to your subject’s level with your camera. Don’t restrict your compositions to a human perspective, but instead try to enter their world. Using a shooting position where you’re looking them straight in the eyes can really help to capture the character of the dog and show off their personality.
You’ll get images with so much more impact this way as their eyes will be looking straight out of the picture at the viewer. It makes a connection and gives your shots the wow factor.
If you’re working outdoors as I often do, getting down to a dog’s eye-line can mean lying or kneeling on the ground, so make sure you always have waterproof clothing handy.
Go for a natural look
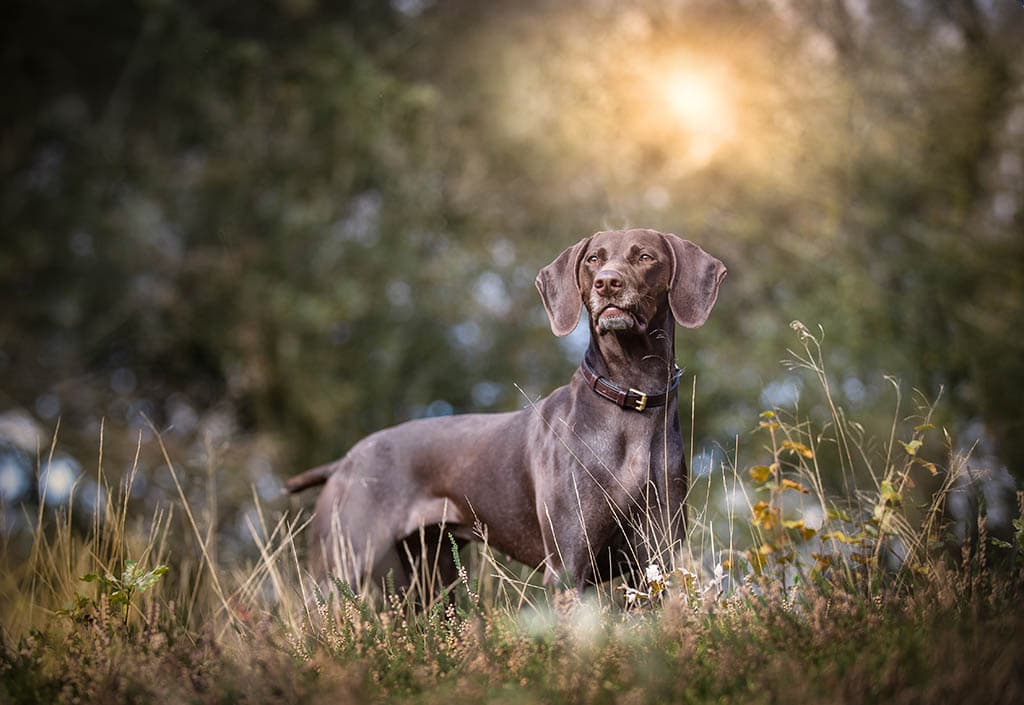
Another great thing about photographing dogs outdoors is that you can use the environment to help tell their story. In that way, I like to think about a dog’s breed and what kind of background surroundings would really show them off at their best.
In that same way, while it’s great to get the dog looking at the camera, looking away from the lens can also give a very natural look, as if the photographer is not there. The benefit of this is that the shot will not look staged at all and very natural. To control this, you can get the owners involved, and have them use a variety of toys or treats to help attract the dog’s attention.
Variety is important for focus, too. If you’ve only got a couple of things a dog can soon get bored of them.
Andy’s best kit
Canon 70-200mm f/2.8L
A telephoto zoom lens gives me flexibility in framing and that means I can work quickly before the dog moves. The 70-200mm focal lengths gives everything from frame-filling portraits to full-length compositions and it’s useful for a variety of breed sizes, too.
Canon 24-70mm f/2.8L
A standard zoom like the 24-70mm lets me quickly change style altogether and include more of the natural surroundings if I wish. And as a fast lens, it still gives plenty of subject separation.
Your guide: Rhian White
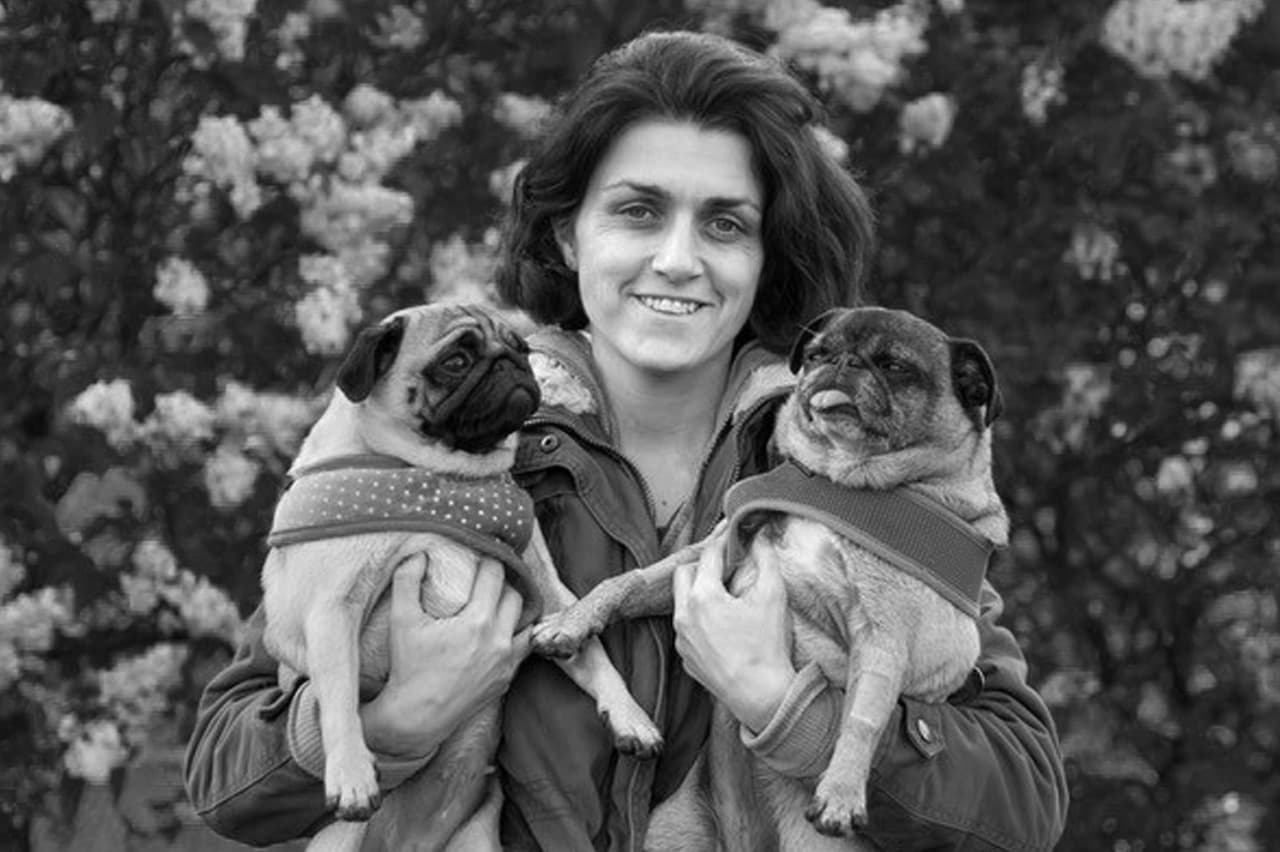
Rhian is a specialist outdoor dog photographer. Shooting in a modern, colourful style, she recently celebrated her ten-year anniversary and has completed over 1,000 shoots. See https://rhianwhitephotography.co.uk, @rhianwhitephotography.
Take your time
As with anything to do with dog photography, the most important thing is to encourage the dog to do what they want to do to start with. When out on a walk this means exploring and getting rid of energy before they’re willing to sit and pose for you.
On a session
I always do action shots first, so the dogs are a little more still when it comes to portraits. I often shoot with a 70-200mm, but portraits taken with my 35mm and 14-24mm lenses require me to be close to the dog, too, so I spend time letting them get to know me and my gear, especially as some of them can be nervous.
Improve your planning and speed
I often see people taking a few minutes to get a portrait of a dog, then browsing through the images on their camera. The dog has got nothing out of this situation and people wonder why their dog doesn’t want to stay for a photo!
You have to be quick and reward them. My portrait shots are generally over within a few seconds. To help with that, I plan. While the dog is running around exploring, I decide which lens to use and work out (with the help of the dog’s owner) if it’s possible to get the dog into a particular position.
Only when I’m ready do we encourage the dog into position, and after a couple of shots I’m done, and the dog is rewarded. If we need to reshoot, they’re much more likely to do it again that way.
Shoot from the hip
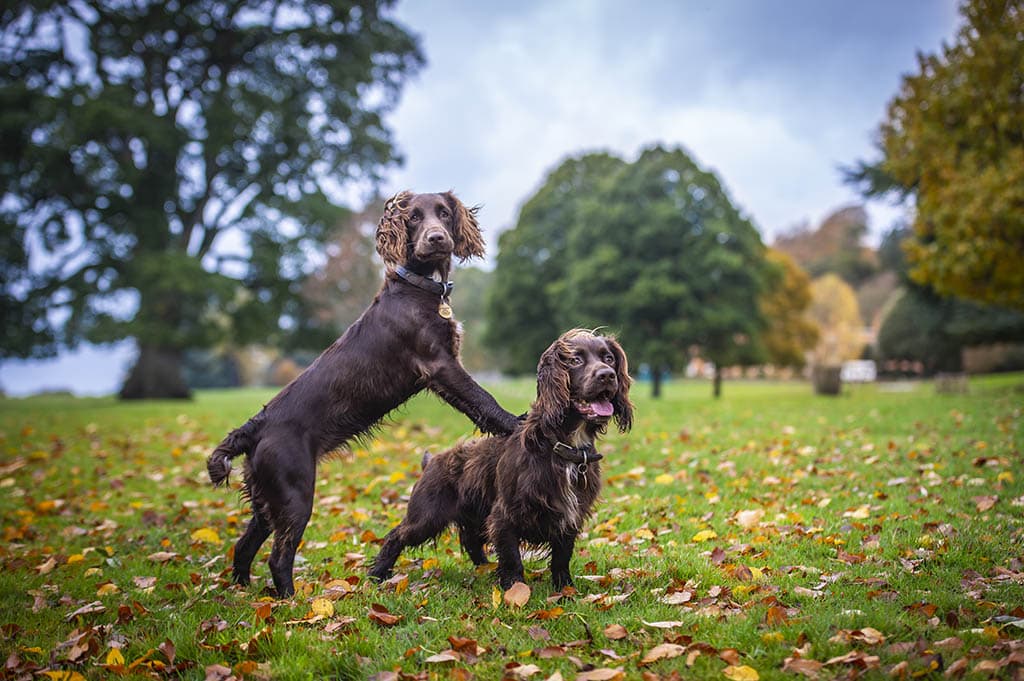
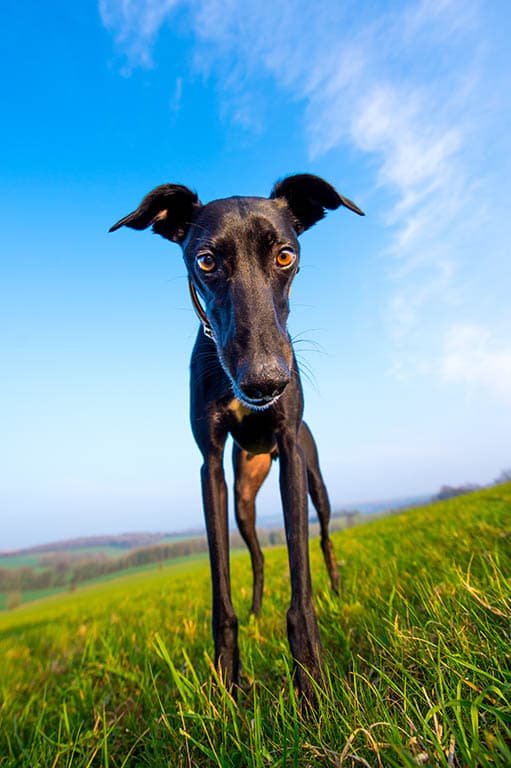
No matter what you do some dogs will not stay still for a portrait. They can be too nervous, too wired or just too fit and active – I’m looking at you, spaniels! In those cases, I find that a good tactic is to follow them around with my wideangle zoom.
Framing wide, and with the camera carried close to the ground, angled upwards, I let them come close for treats or toys, and frame by imagining a line running from the centre of the lens to their head. Then I ‘press and hope’!
This technique works best with a nice plain background, such as a blue sky, as opposed to a busy wood, and I like to use a little fill flash with it, but it depends on the particular dog. Though 99% don’t care, some don’t like flash, so I just have to be flexible and patient in my approach.
Rhian’s best kit
Nikon 70-200mm f/2.8
This is a lens that lets me keep my distance if a dog is nervous, and also one that gives me lovely out-of-focus backgrounds when used wide open at the long end.
Nikon 35mm f/1.4
This is a beautiful portrait lens that I use when I’m able to get close to a dog. Nikon 14-24mm f/2.8 Great for unusual portraits from below, it’s a flexible lens that lets me walk close to a dog, but it can be tricky to compose and focus this way.
Your guide: Zoran Milutinovic
Zoran is a professional photographer from Serbia, specialising in photographing cats in their natural environment and capturing their unique and fun personalities. facebook.com/ZoranPhoto81, 500px.com/p/zoranphoto/
Wait for the moment
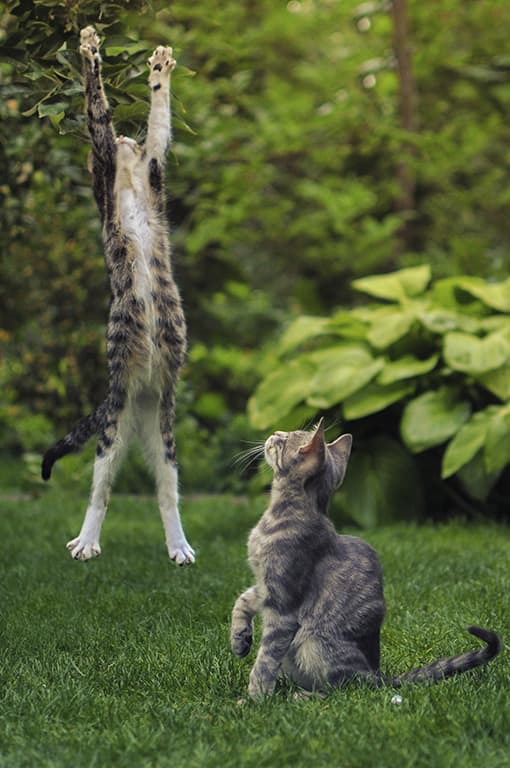
As any cat owner knows, the chances of their pet doing what’s intended are 50/50 at best, so don’t worry if things don’t go to plan. Actually, that’s the charm of shooting cats in the field.
Yes, you have to work hard, but eventually good photos will follow, and it will be worth the effort. However, there are some things you can do to make them more active, inquisitive or run into spaces you want to shoot in.
For starters, if you’re about to take pictures of running and jumping cats, do not feed them, because nobody wants to exercise on a full stomach, cats especially!
You can get their attention by snapping your fingers, rustling paper or dry leaves, or tossing pebbles, but remember, if they do not want to do what you’re asking, don’t force them. Just wait until they’re ready to play it on their own.
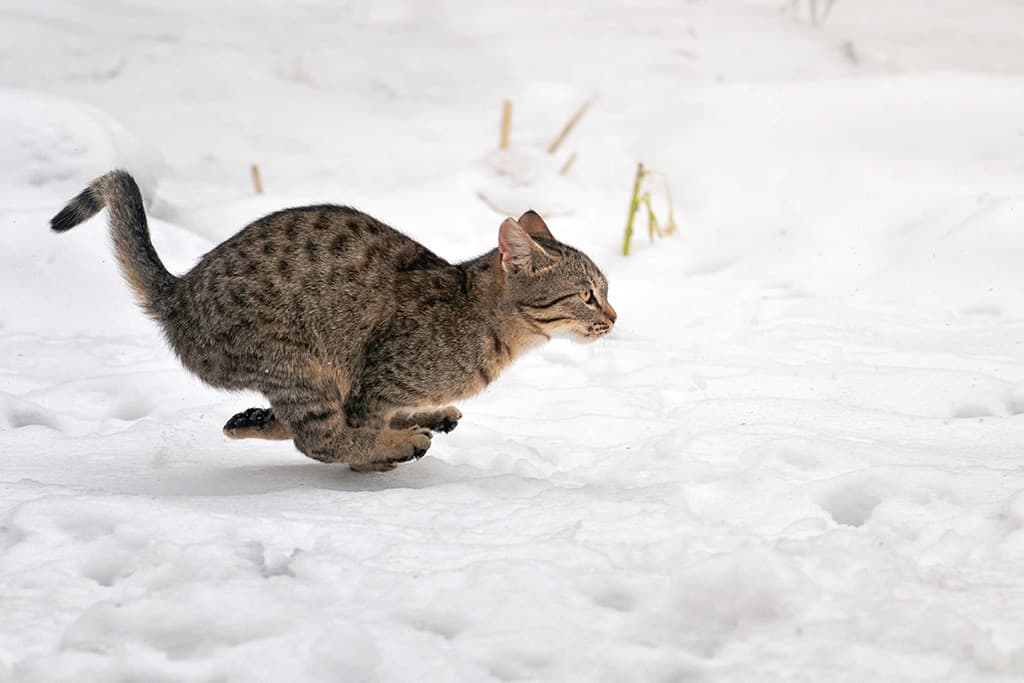
Freeze the action
When you’re shooting cats on the move, always go with a plan for capture, but make peace with the fact that you will not always succeed with your first attempt, because most of the time cats will not cooperate. It’s in their nature!
Freezing the action with a fast shutter speed is the most important thing, but as chances are fleeting, and you want a good exposure, I tend to use a semi-automatic mode like aperture or shutter priority, rather than full manual, which I’d use for more static shots.
I’d also recommend using a shutter speed of 1/1000sec or higher if you can. Focus is very important, too. I use my camera’s Continuous AF mode and use the 3D tracking modes to make sure the focus follows the cat. Remember, they’re always one step ahead of you!
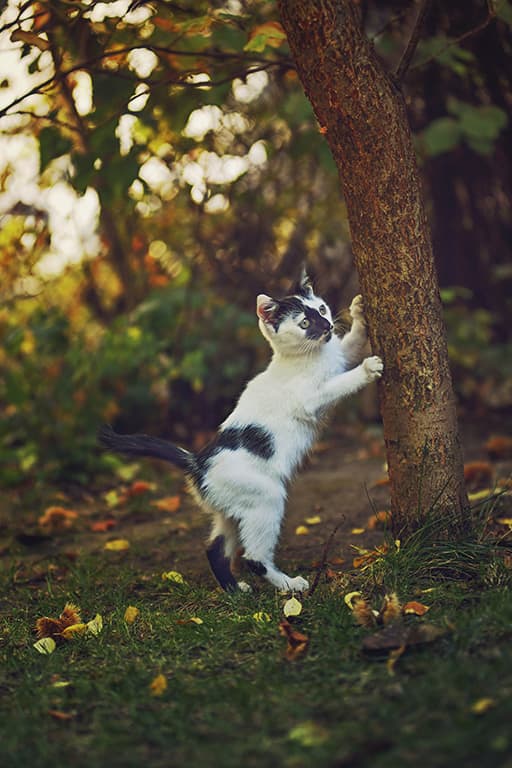
The best conditions
I like to use natural light because I find that it gives pictures a more attractive, lifelike feel and truer colours. The perfect light for my cat photography comes when the sun is low or the weather is a little bit cloudy.
In these conditions you’ll benefit from diffused light, which is warmer and softer. This means fewer harsh highlights and shadows on the cat’s face and fur, which looks more attractive.
If you’re shooting in shade, remember to push your ISO a little, so the shutter speed doesn’t fall. I also like to use the surroundings to make a nice frame around the pet and give more depth to your photo. This could mean shooting through foreground leaves to frame them, or waiting until they’re further from the background so there’s more separation.
Zoran’s best kit
Nikon 105mm f/2.8G Micro IF-ED
An excellent lens for small subjects, the AF-S VR Micro-Nikkor 105mm f/2.8G focuses quickly and the 105mm focal length means you can frame tightly even if the cat is a little bit shy. You can keep your distance and wait for them to do
something surprising.
Nikon 50mm f/1.8G
If a cat feels comfortable getting near you, this can be a very useful lens too. It’ll give you a full-length framing of a cat, or a nice close-up, and it creates a background with beautiful bokeh.

Your guide: Kingsley Singleton
A photographer, tutor, and writer based in Lincolnshire, with decades of experience in photo technique and image editing, Kingsley photographs dogs professionally for private clients and charities. kingsleysingleton.com, @Kingsley.photo.dogs.
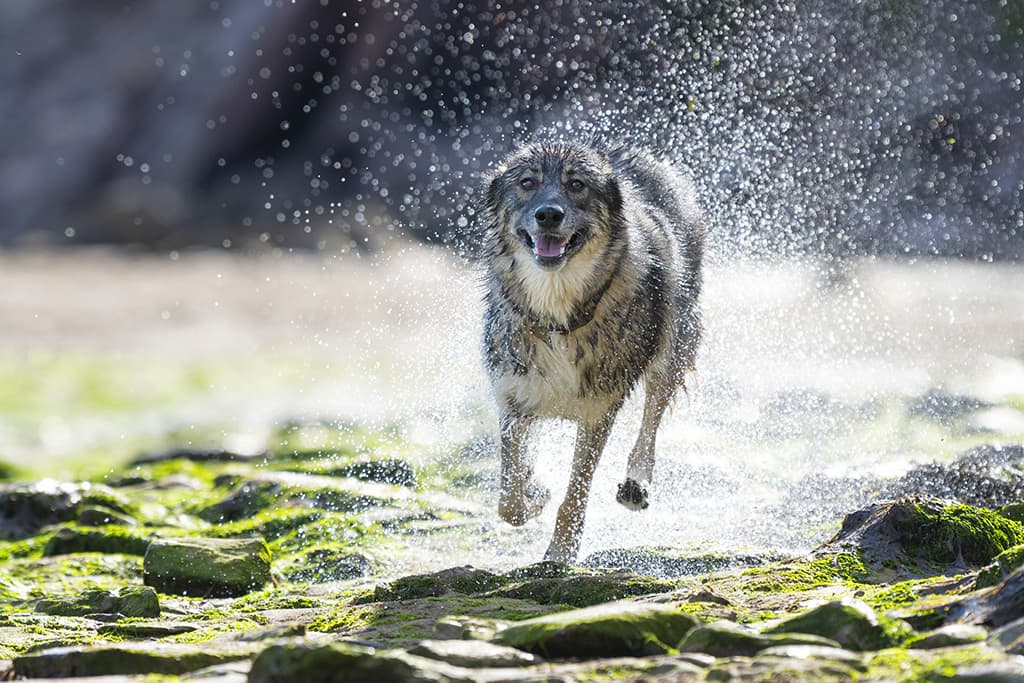
Increase your chances
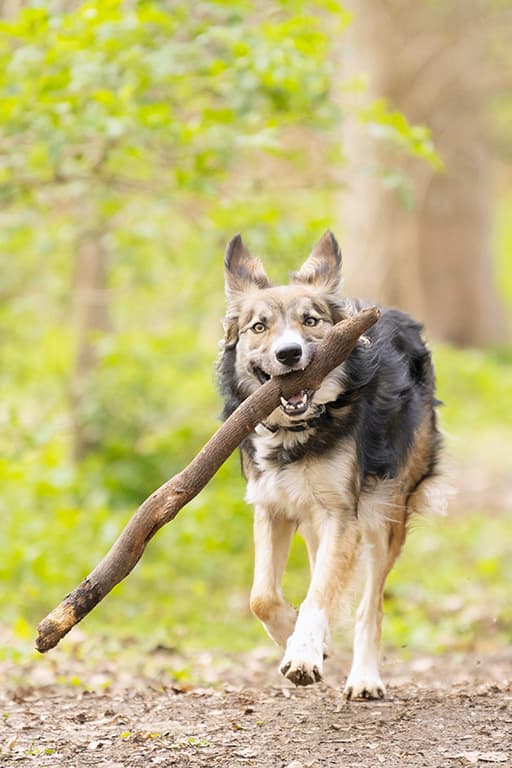
As anyone who’s tried shooting a dog running knows, they move fast. So how do you set up focus and exposure to deal with that? Starting in Continuous AF mode, I use a medium- sized group of AF points, positioned roughly where I know the dog’s head will be, and via the AF-On button I’ll keep it focusing throughout.
I’ll also accept I might need to crop the final image, so I don’t worry if my framing is a little loose, so long as the focus is where it’s needed. At very wide apertures the depth of field is so shallow, the focus can struggle to keep up, so I like to set f/4.5 or f/5.6 to give myself more room, especially if the dog is coming towards me. Shooting side on makes it a lot easier!
Shoot at a fast frame rate and be prepared to pick the best body shapes out of the set: ones where the front legs are planted, not the rear.
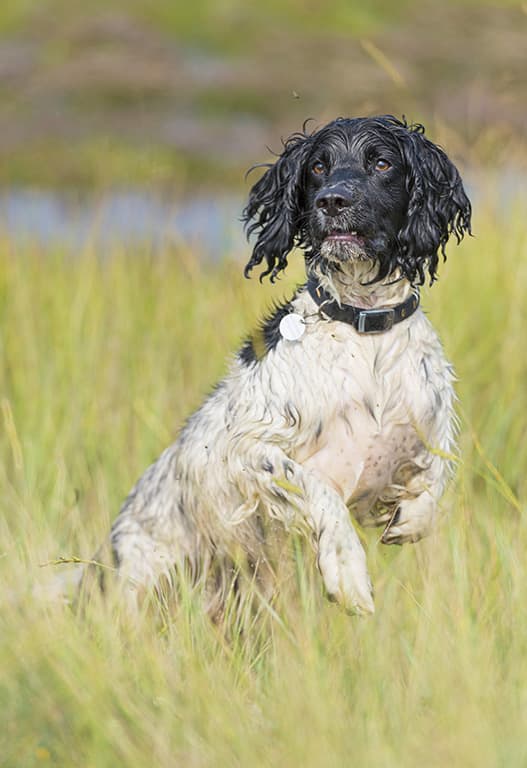
Don’t spare the speed
Watch your shutter speed and, depending on the speed of the dog, make sure it’s not dipping below 1/1000sec to 1/2000sec. You can go lower, but every stop you do increases the chance of blur. That’s not to say that panning-style shots at slower speeds don’t look great, they’re just a lot harder to nail.
To keep the shutter speed up, shoot in bright light or if that’s not an option, increase the ISO. On modern cameras, you can leave it at 800 or higher and still get beautiful results with no great loss of detail or colour. I’d rather have a slightly grainy sharp image than a noise-free blurred one.
Use the environment
The physical environment can really add or detract from your action photos. I like to shoot in places that give a strong sense of place, but also which help to show movement and energy. Beaches and rivers are great for this, as your subjects will kick up sand and spray water around, filling the frame with excitement.
Something else I like to do, especially around water, is to position myself so the dog is backlit. Along with a shallow depth of field, this helps to define them against the backdrop, and picks up highlights in water spray. Just make sure you’re not underexposing against the light by dialling in some positive exposure compensation.
Kingsley’s best kit
Nikon 300mm f/4E PF
A super-telephoto lens has lots of advantages for action. Not only does it help isolate the subject but also focusing further from the subject gives greater depth of field, so keeping them sharp is easier. A zoom lens such as a 150-500mm is also a great pick for this.
Waterproof gear
Dogs are messy at the best of times, but even more so at play. Investing in some waterproof trousers, wellies and even a camera cover will help you keep up with them.

