Amanda Thomas is a fashion and portrait photographer, who loves creating high-quality, exceptional photography. Here you’ll find out what it’s like to be a fashion photographer, be inspired, and learn some helpful hints and tips along the way.
Whether you’re shooting high-fashion, street fashion, editorial fashion or shooting for catalogues, planning plays an important part in having a successful fashion shoot. By reading this guide to shooting fashion photography, you’ll learn from a professional fashion photographer, and get some insights and find out some of the keys to great fashion photography.
Welcome to the AP Improve Your Photography Series – in partnership with MPB – This series is designed to take you from the beginnings of photography, introduce different shooting skills and styles, and teach you how to grow as a photographer, so you can enjoy producing amazing photography (and video), to take you to the next level, whether that’s making money or simply mastering your art form.

Each week you’ll find a new article so make sure to come back to continue your journey, and have fun along the way, creating great images. If you’ve found these articles helpful, don’t forget to share them with people you know who may be interested in learning new photography skills. You’ll find a whole range of further articles in this series.

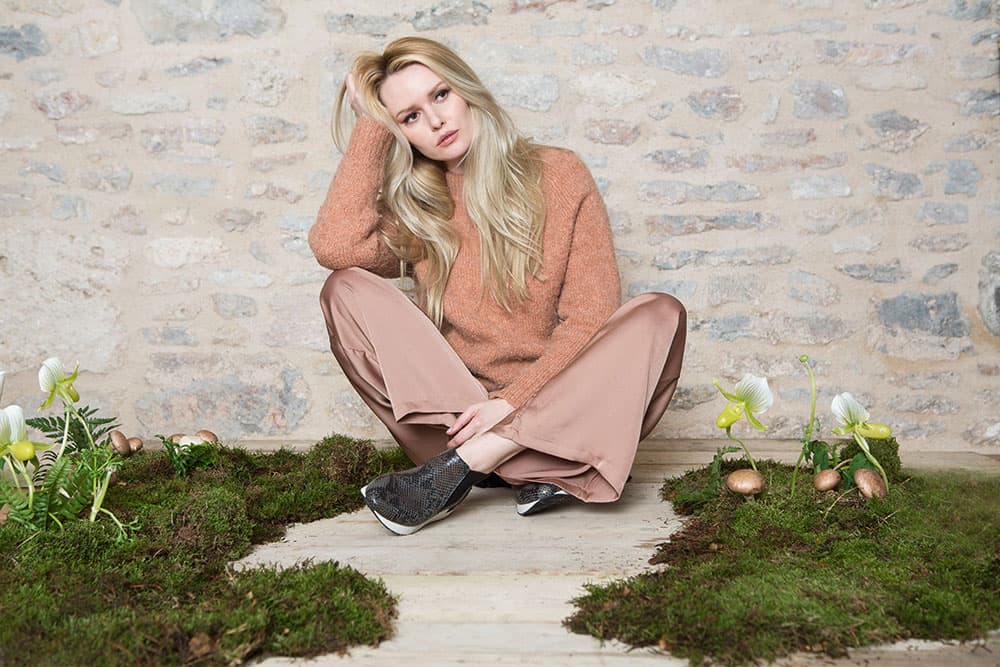
Seven Boot Lane Autumn/Winter 2017 campaign lookbook © Amanda Thomas
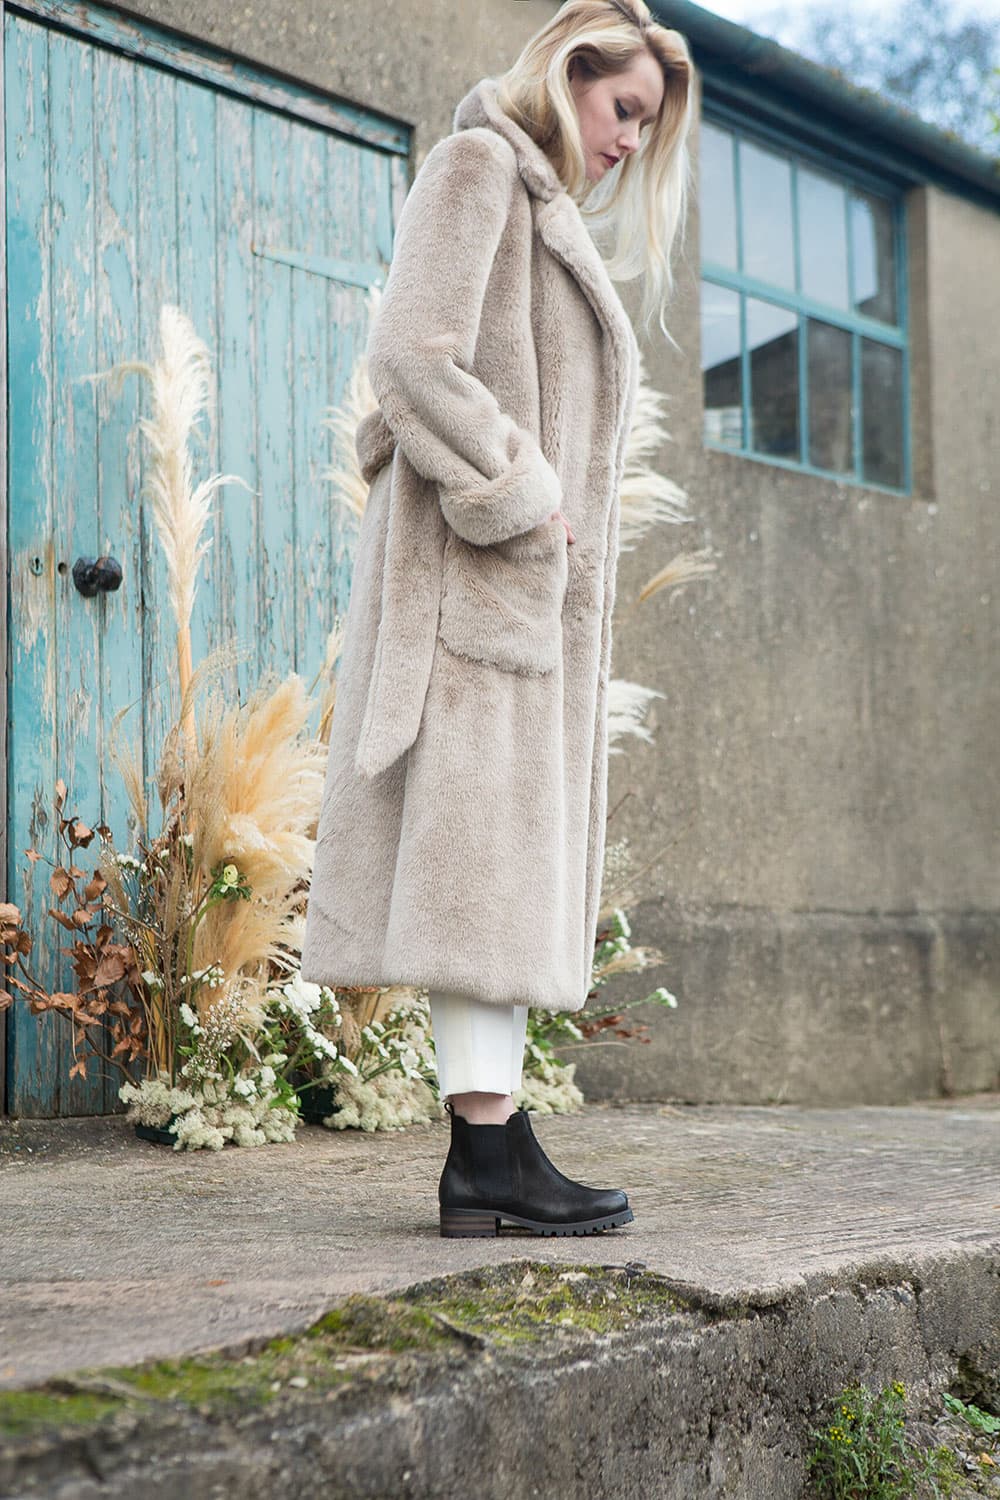
I’m a fashion and portrait photographer. I love working with sustainable fashion brands, using exceptional photography to create and elevate an emotional connection with style and purpose. A typical client for me is a fashion or lifestyle brand like Natural Spa Factory, which produces gender- neutral skincare, and Seven Boot Lane, an independent footwear brand.
I also shoot portraits, in which it’s important to capture the essence of the person in the brief window of time I have. I recently worked with an amazing creative director who commissioned me for a series of portraits of her, for her various projects. It was a fun and liberating shoot.
Planning ahead
Before a shoot the client and I discuss ideas and what they would like to achieve. Once the look, feel and theme of the shoot is agreed, a mood board is made up by either me, the client or the art director. From this we can direct and commission the fashion stylist and make-up artist, and other crewmembers needed such as a nail technician, a hairstylist, and possibly a location/production manager who would source a location and fix the shooting permits. As soon as I get the go-ahead from the client, I start booking the make-up artist, hair stylist, fashion stylist and any assistants.
The planning can be any time between two months to two weeks before the shoot. It can vary due to the time scales of seasonal changes and the client’s schedule. From my experience, the longer I have to plan a shoot, the smoother the day runs, as there is more time to consider the running order of shots and counteract any foreseeable errors.
On one of my recent shoots I had a videographer filming the shoot, the models, and capturing behind the scenes while also shooting the products, so it was an involved day.
Typical time frame before and during the shoot
Two weeks before: I send out the mood board if I haven’t done so already and double-check that the team have all the information needed.
The week before: I check with the client to see if there are any changes. I send out a ‘call sheet’, which has all the shoot and team details. It has everyone’s name and phone number, the location address, start time, finish time and emergency phone numbers in case of breakdowns or delays – because life doesn’t always run to plan!
The day before: I have another quick check-in with everyone to make sure everything is on schedule.
On the day: One shoot was a particularly early start! I had to pick up the fashion stylist and then drive to London for an 8am arrival. We had an hour to prep and get ready for arrival of the models and client. Once everyone is on set, the running order of shots is discussed, the mood board is pinned up and I hold a quick meeting with the team so everyone knows what to expect.

Seven Boot Lane is a boutique footwear brand © Amanda Thomas
Amanda Thomas
Amanda Thomas is an established fashion and portrait photographer working out of London and Bristol. Her specialisms are fashion, portraits and lifestyle, and for over 19 years she has worked directly with agency and publishing creative directors to produce elegant and striking images. Her clients include Neal’s Yard and Natural Spa Factory. Visit www.amandathomasphotographer.co.uk.
Top tips for shooting fashion
- Always shoot tethered to a laptop. This makes working easier, as you can view the images on a bigger screen as you go, and you will know instantly if you need to make changes. Stopping to crowd around the screen on the back of the camera slows you down and breaks contact with your model.
- Shoot various crops of the model. This gives you more flexibility and allows you to pin a variety of images together to create a story. If everything is shot really tight to the face, or wide, then it limits your choices in the final edit and can make it difficult to pull together.
- Direct your model. Professional models know how to work a camera, but they still need guidance and directing. Maintain eye contact, conversation and give encouragement to coax the best from them. Give them direction so they don’t look posed or static.
- Don’t over-shoot. Shooting too many of the same images can make for an exhausting shoot and edit. If you have 500 frames of the same model in the same pose and the same out t it gets boring, the model will fade and it will show.
- Experiment with new kit. It can be easy to use your regular kit and do the same lighting set up over and over again, but by trying new kit or lighting rig will open up new ideas and possibilities to shooting. It will help keep your work looking fresh.
More portrait and fashion photography tips:
Do’s and don’ts when working with a model
How to take really beautiful fashion portraits
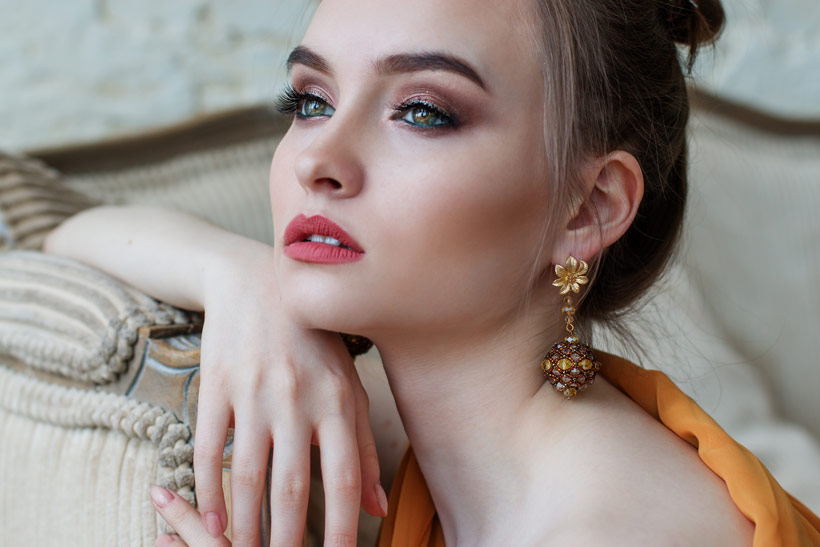
Featured image: Photo by Pixabay / Pexels
Tune in next week, for the next article in the series of the AP Improve Your Photography Series – in partnership with MPB.
- Part 1: Beginners guide to different camera types.
- Part 2: Beginners guide to different lens types.
- Part 3: Beginners guide to using a camera taking photos.
- Part 4: Beginners guide to Exposure, aperture, shutter, ISO, and metering.
- Part 5: Understanding white balance settings and colour
- Part 6: 10 essential cameras accessories for beginners
- Part 7: Beginners guide to the Art of photography and composition
- Part 8: Beginners guide to Photoshop Elements and editing photos
- Part 9: Beginners guide to Portrait Photography
- Part 10: Beginners guide to Macro Photography
- Part 11: Beginners guide to Street Photography
- Part 12: Beginners guide to Landscape Photography
- Part 13: How to shoot Action and Sports Photography
- Part 14: How to shoot wildlife photography
- Part 15: Raw vs JPEG – Pros and cons
- Part 16: How to create stunning black and white images
- Part 17: How to photograph events and music
- Part 18: Pet photography – how to photograph pets
- Part 19: The ultimate guide to flash photography
- Part 20: The ultimate guide to tripods
- Part 21: Create awesome photos with light painting
- Part 22: Beginners guide to file and photo management
- Part 23: How to shoot food photography
- Part 24: Complete guide to outdoor light
- Part 25: Top tips for stunning car photography
- Part 26: How to master waterfall photography
- Part 27: How to use social media as a photographer
- Part 28: How to get started in film photography
- Part 29: How to connect your camera to your phone
- Part 30: How to make a great video recording with your camera
- Part 31: Why you should join an online community
- Part 32: Find the best online website to share and sell your photos
- Part 33: How to photograph weddings – our guide to wedding photography
- Part 34: How to find joy and inspiration in photography
Find the latest Improve Your Photography articles here.


