From low light to skittish subjects, the field of close-up photography can present a number of obstacles for the uninitiated. Here, six photographers share thirty tricks and tips for creating captivating close-ups. They brings examples from distinct categories: insects, plants, funghi, studio, abstract and close-ups created with mindfulness.
Observe behaviour
Spiders can be skittish, especially non-web-building spiders, so it’s key to know how and when to approach them. As with most insects and arachnids, early mornings and late evenings are the perfect times. Spiders are best approached from ground level and very slowly. Any shadows cast over them or fast movements will scare them away, so take your time, watch and study them to understand their behaviour.
Check the forecast
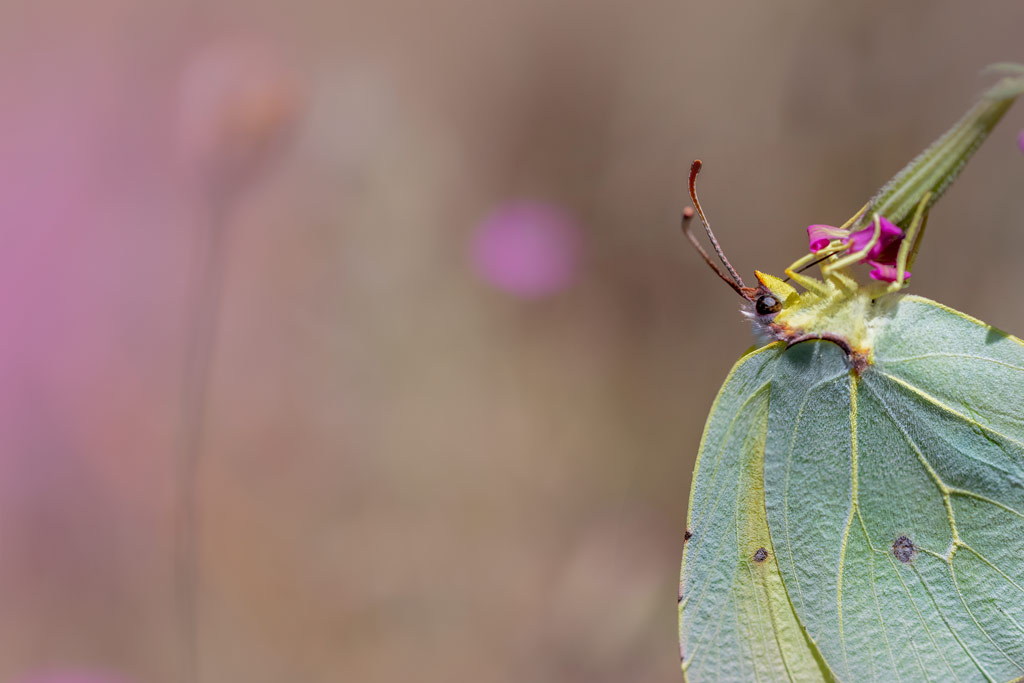
Butterflies are cold-blooded insects and generally won’t fly on cold, overcast days. But in full sun you should see them making the most of the warmth. While they tend to be more approachable in the early mornings when it’s cold, as they need to spend time warming up, images like this one are still possible in the heat of the day if you are patient and wait for them to pause.

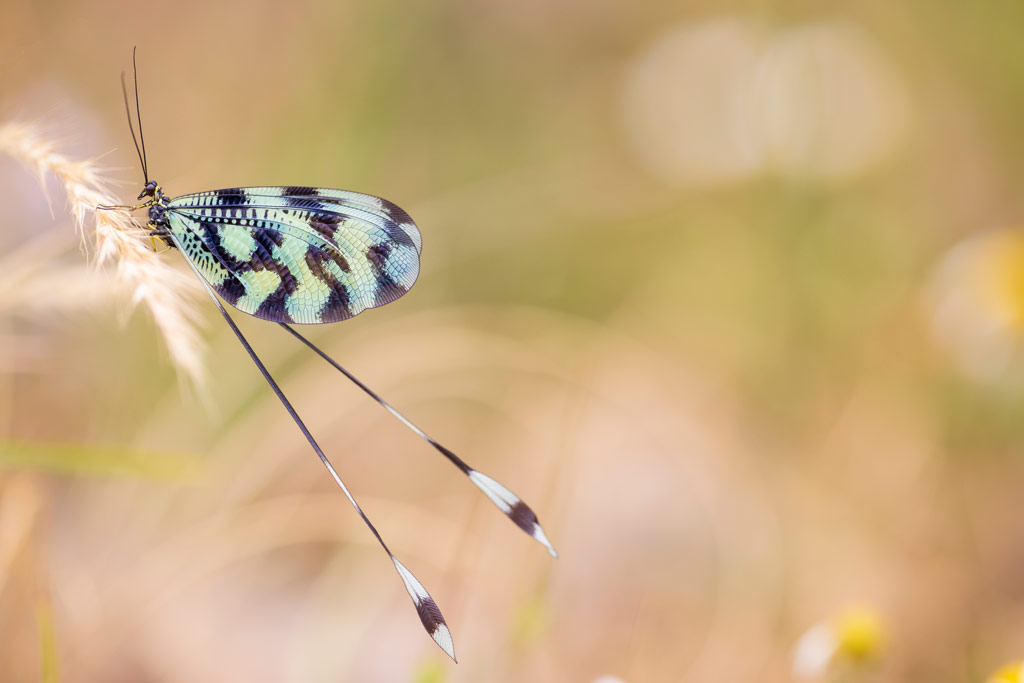
Switch to manual focus
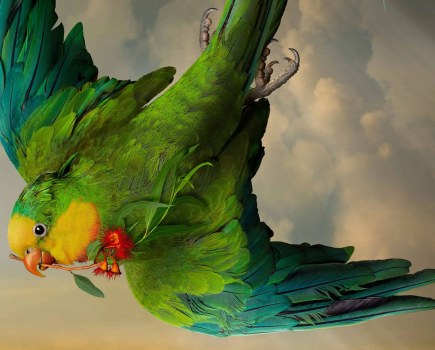
Many insects blend in so well with their environment that the autofocus system on your camera can’t tell the difference between the subject and its surroundings. This is why most macro photographers use manual focus. Switching to MF puts the control back in your hands. By moving your camera’s focus ring, you can select exactly where the focus lands. It takes practice, but time and effort spent mastering this technique will be rewarded.

Invite nature in
Gardens, no matter what size, are incredibly valuable resources because they offer easy access to wildlife – you won’t have to venture far to find some kind of insect, arachnid or plant subject. You don’t need much to start attracting wildlife to your garden: the smallest areas can provide a home, shelter and food. Allow a section of your garden to grow wild – you might be surprised by what grows, and what is attracted. Consider installing a balcony box or bug hotel – by providing this space you will be actively helping conservation efforts.
Make welfare a priority
The welfare of your subjects and the environment they live in should always be a high priority. Never remove an animal from its natural environment to photograph it at home in a controlled environment. Take care not to destroy the homes of insects and arachnids. A simple spider web represents hours of work for its creator. The same goes for any creature that has captured prey – try not to spook them into dropping it, as it could be the only meal they’ve had in days. If an animal becomes stressed, it’s time to go.
Matt Doogue
Matt Doogue is a macro photographer, conservationist, outreach teacher and speaker on mental health. He has collaborated with BBC Earth, National Geographic and Canon and his images have been featured in many of the UK’s top photography magazines. To see more visit www.mattsmacro.co.uk or follow him on Instagram @matt85
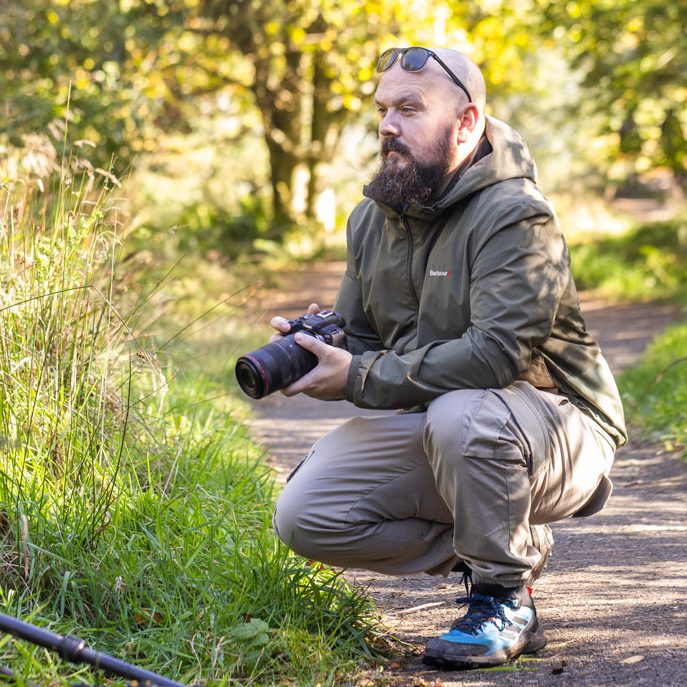
Matt’s new book, Close-up: The Complete Guide to Macro Photography, (published by Ilex) is packed with tips, personal experiences and beautiful imagery. To find out more, visit www.ilexinstant.com
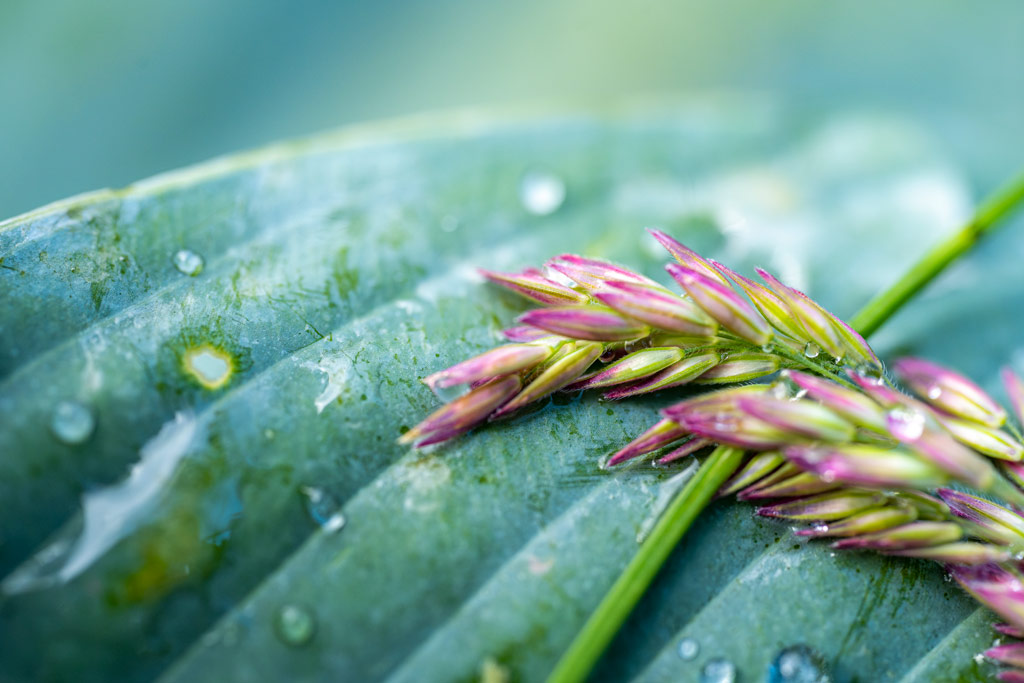
How to photograph close-ups of Plants
Play by the rules
You might be working on a smaller scale – so no rivers leading the eye towards distant barns and no horizon marking the boundary between land and sea – but most of the ‘rules’ of composition still apply when shooting close-ups. The edges of leaves act as lead-in lines, the golden hours just after dawn and just before dusk still provide flattering light and the old adage KISS (Keep It Simple Silly) has never been truer.

Add some colour
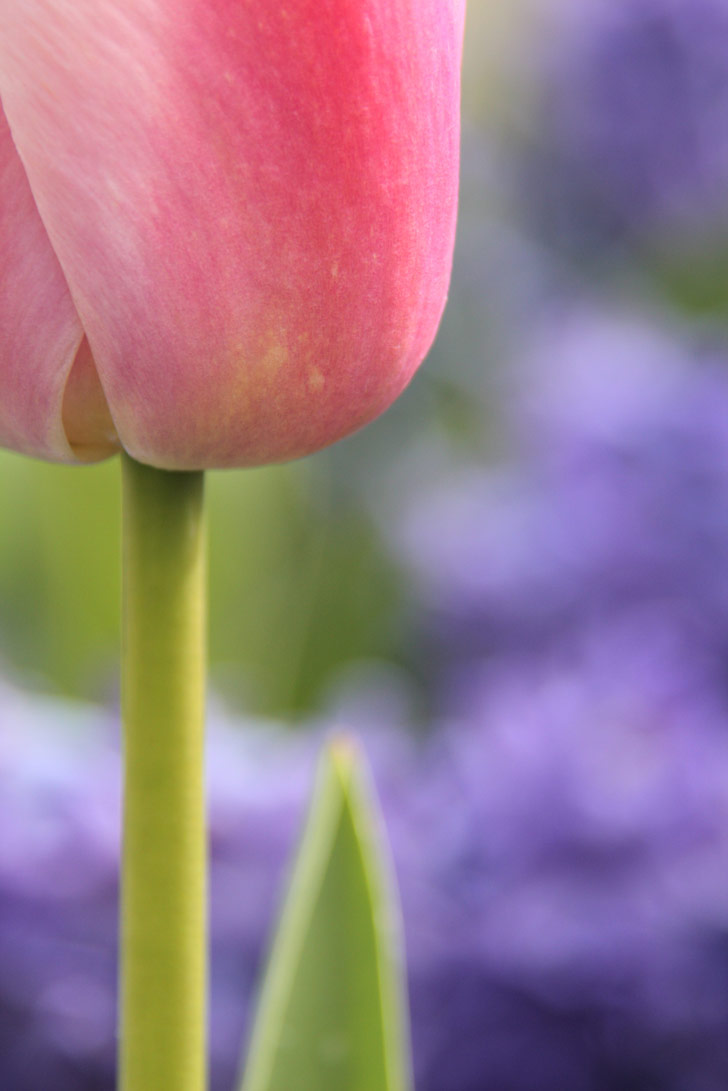
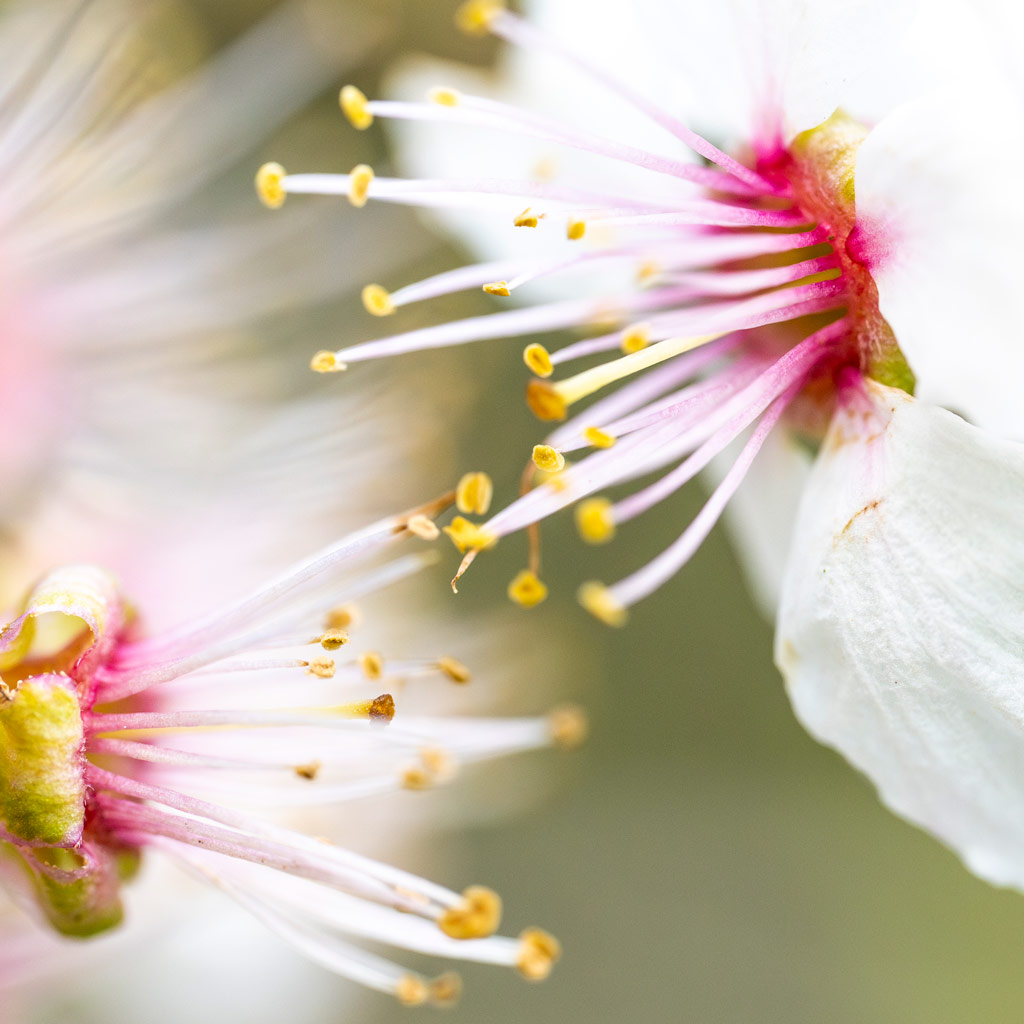
Having a basic knowledge of colour theory can make it easier to notice attractive colour combinations, while playing down pairings that jar. If you don’t feel confident, an artists’ colour wheel can be useful. Complementary colours sit opposite each other on the colour wheel (red and green, for example) and when used together produce images with maximum contrast. Analogous colours sit close to each other on the colour wheel (yellow and green, for example) and when used in a composition tend to harmonise well.
Get some sun
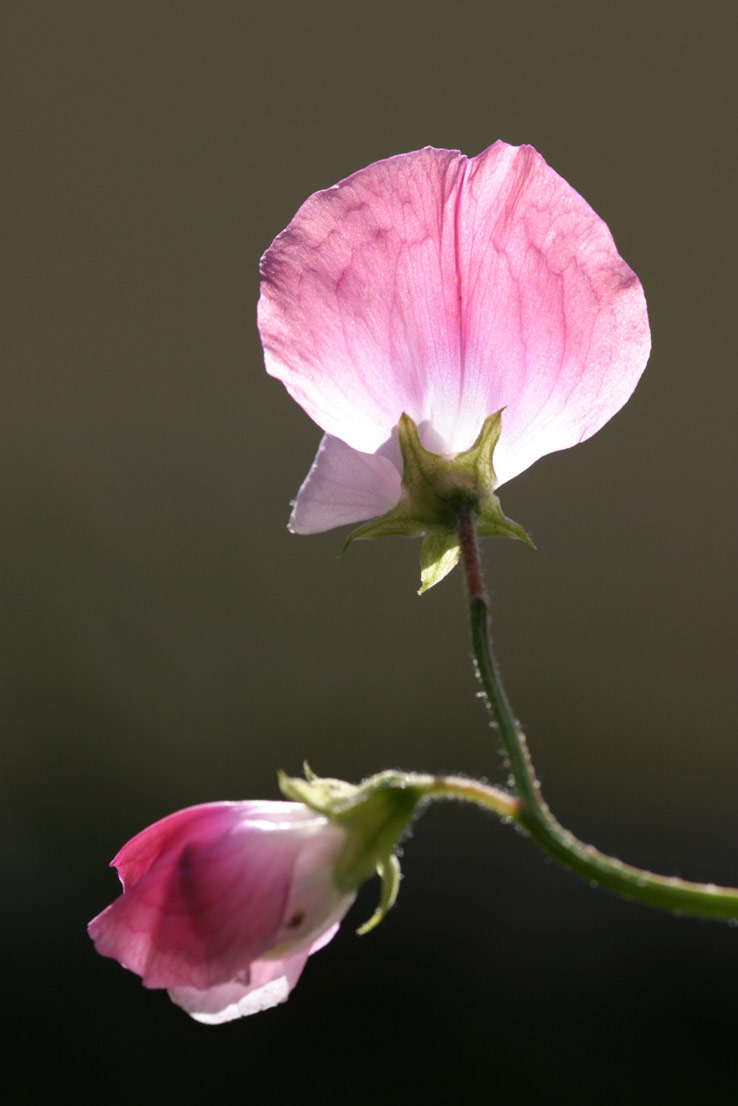
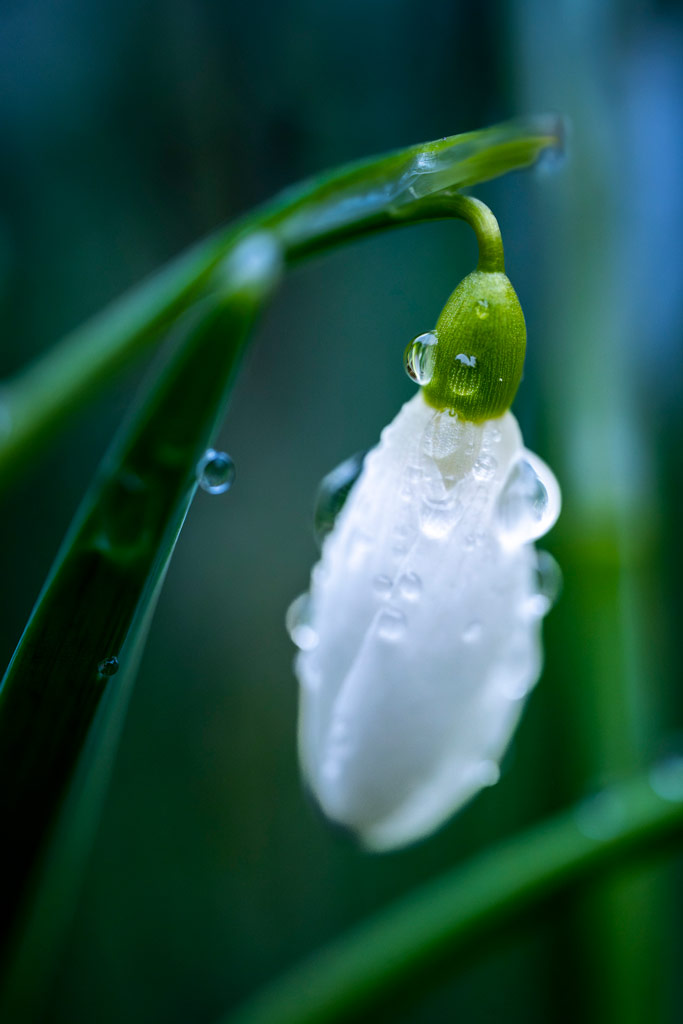
Bright, midday sun is often best avoided, but there are exceptions. Backlighting translucent petals or leaves can highlight their venation, leading to striking pictures. On the other hand, if the sun is causing problems, wait for a cloud to pass over, becoming a natural diffuser. Alternatively, use a cheap collapsible diffuser.
Consider the background
A cluttered background can destroy a close-up picture, so make sure you give it ample consideration. The backdrop should complement the subject in some way, so think about how it adds to or detracts from the story you’re trying to tell. Check the background for any distracting colours, objects or highlights.
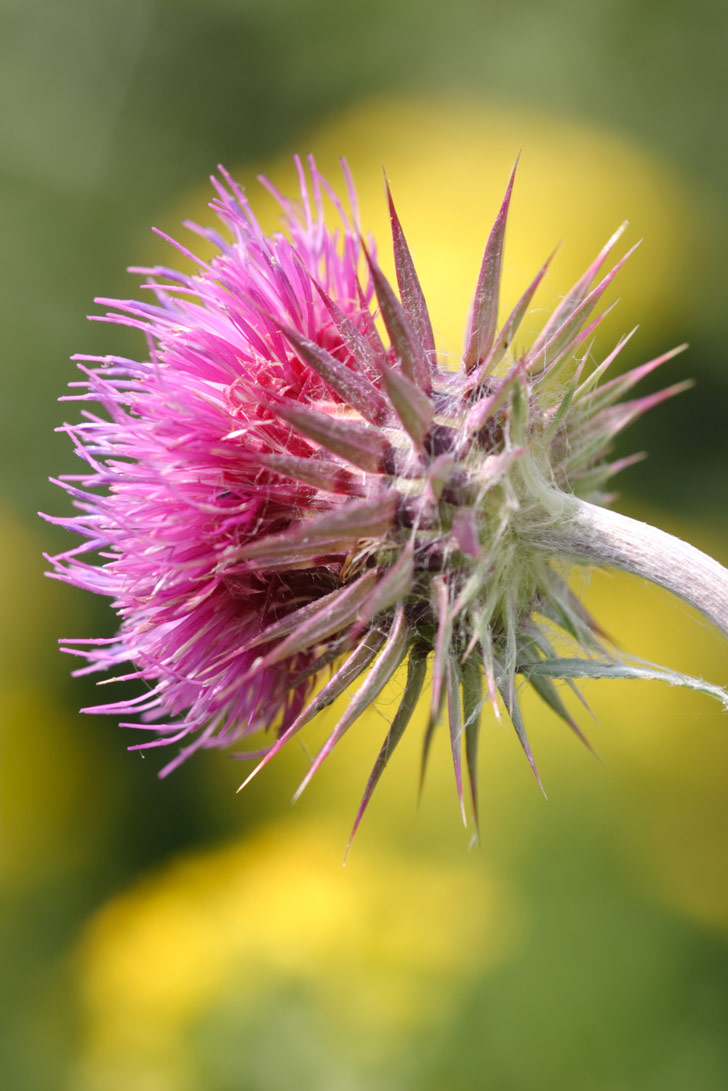
Search for perfection
When you’re shooting close-ups every gash, blemish or tear in a plant becomes obvious. If you don’t want to celebrate the imperfections of your subject (as I did here) then be very choosy when you select a specimen. Some flower photographers grow their own plants, while others strike up a good friendship with their local florist. If you’re shooting in the wild, make notes of when plants are at various stages and then use this knowledge to plan your excursions each year.
Tracy Calder
Tracy Calder co-founded Close-up Photographer of the Year – a competition celebrating close-up, macro and micro photography – in 2018. She has written numerous photography books and her work has appeared at The Photographers’ Gallery, The National Portrait Gallery and Saatchi Gallery. To see more visit www.tracycalder.com and www.cupoty.com

How to photograph Fungi and slime moulds
Get down to ground level
Most fungi and slime moulds are on the ground or on pieces of dead wood lying on the ground. Getting the camera down to their level allows you to show the gills and makes for a softer background. Subjects on loose dead wood can be repositioned to make it easier (replace them afterwards). Alternatively, place your camera on the ground on a beanbag in a waterproof bag. Remember to wear waterproof clothing as the woodland floor tends to be wet and muddy.
Simplify your image
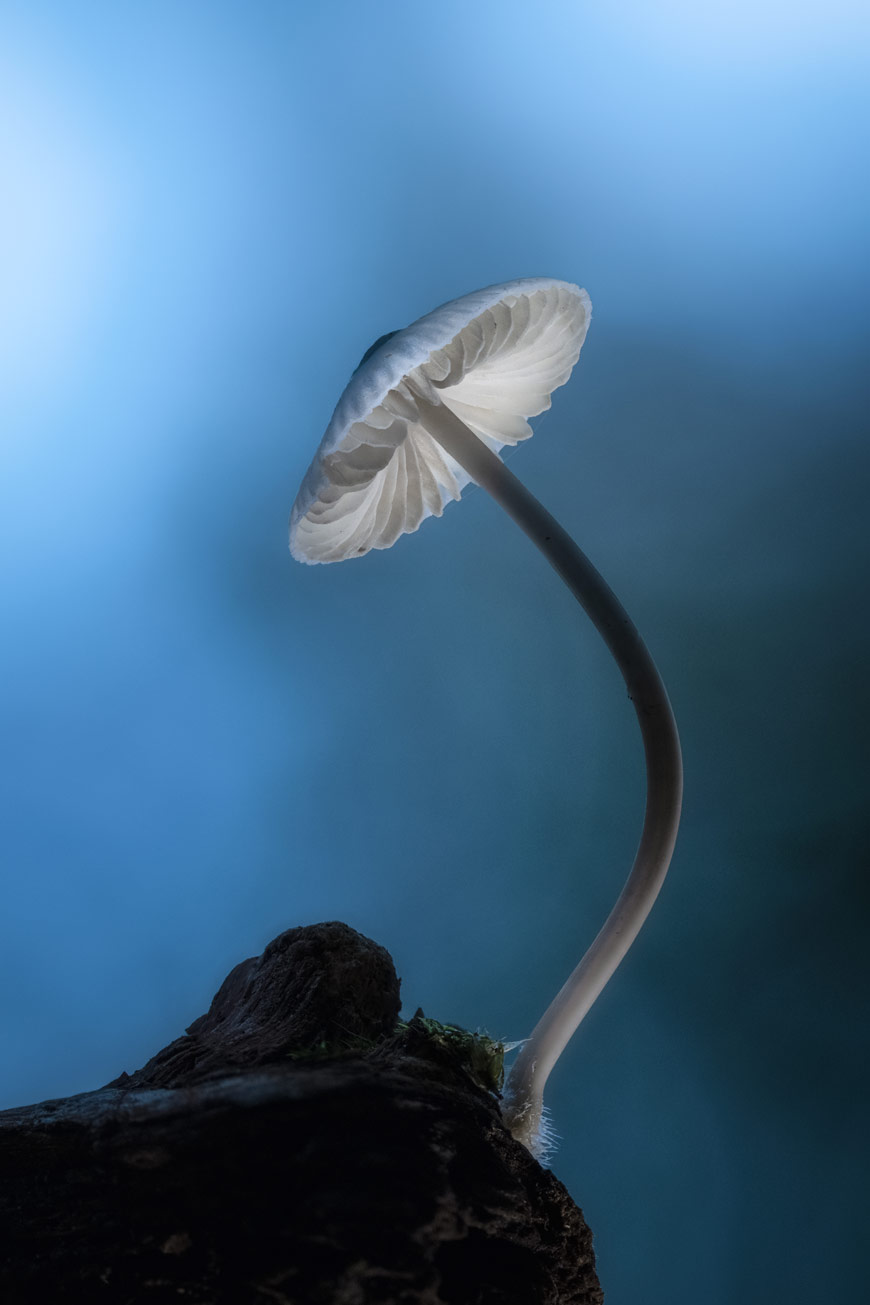
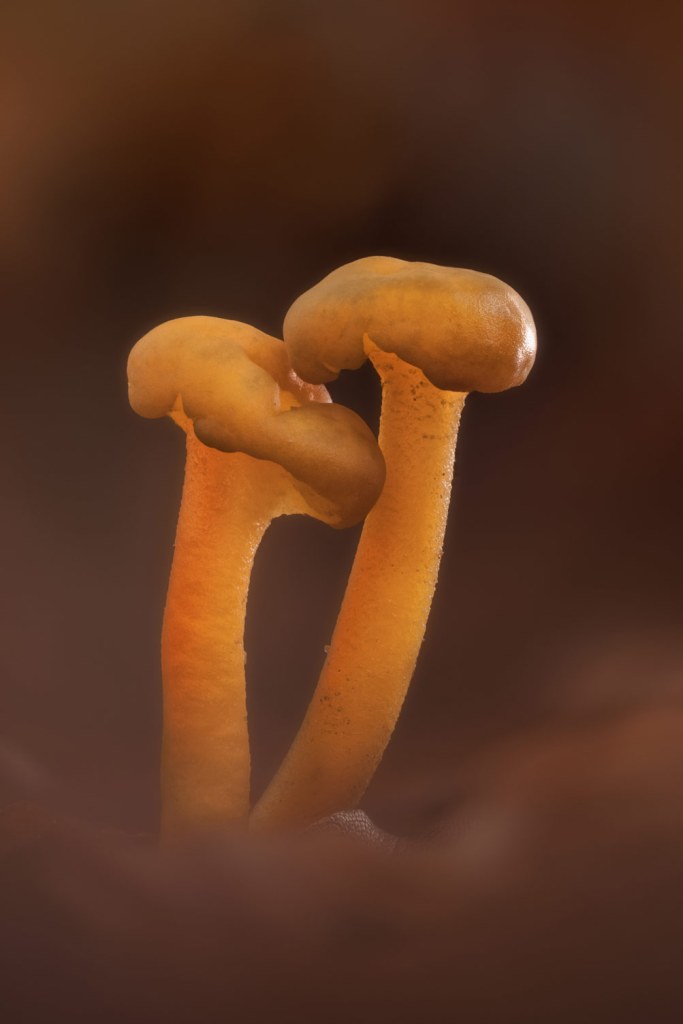
You need to make your subject stand out in what tends to be a messy and chaotic environment. Having a very soft background can be achieved by angling your camera upwards so the background is far away, and focus stacking with a wide aperture can allow you to achieve a sharp subject with soft foreground and background. Positioning the camera at ground level can give a soft foreground and shooting through a pile of leaves, as in this image of Jellybaby fungi, can frame the subject with a soft surround.
Clean up
Remove distracting elements such as leaves, pieces of grass or dirt from on and around your subject. Whilst these are a natural part of the environment, they may detract from the image by grabbing the viewer’s attention. A very soft artist’s brush, air blower, and needle-nosed tweezers can be useful to tidy up without damaging your subject. Always check the background and surroundings of the image because these are just as important as the subject.
Look for interesting groupings
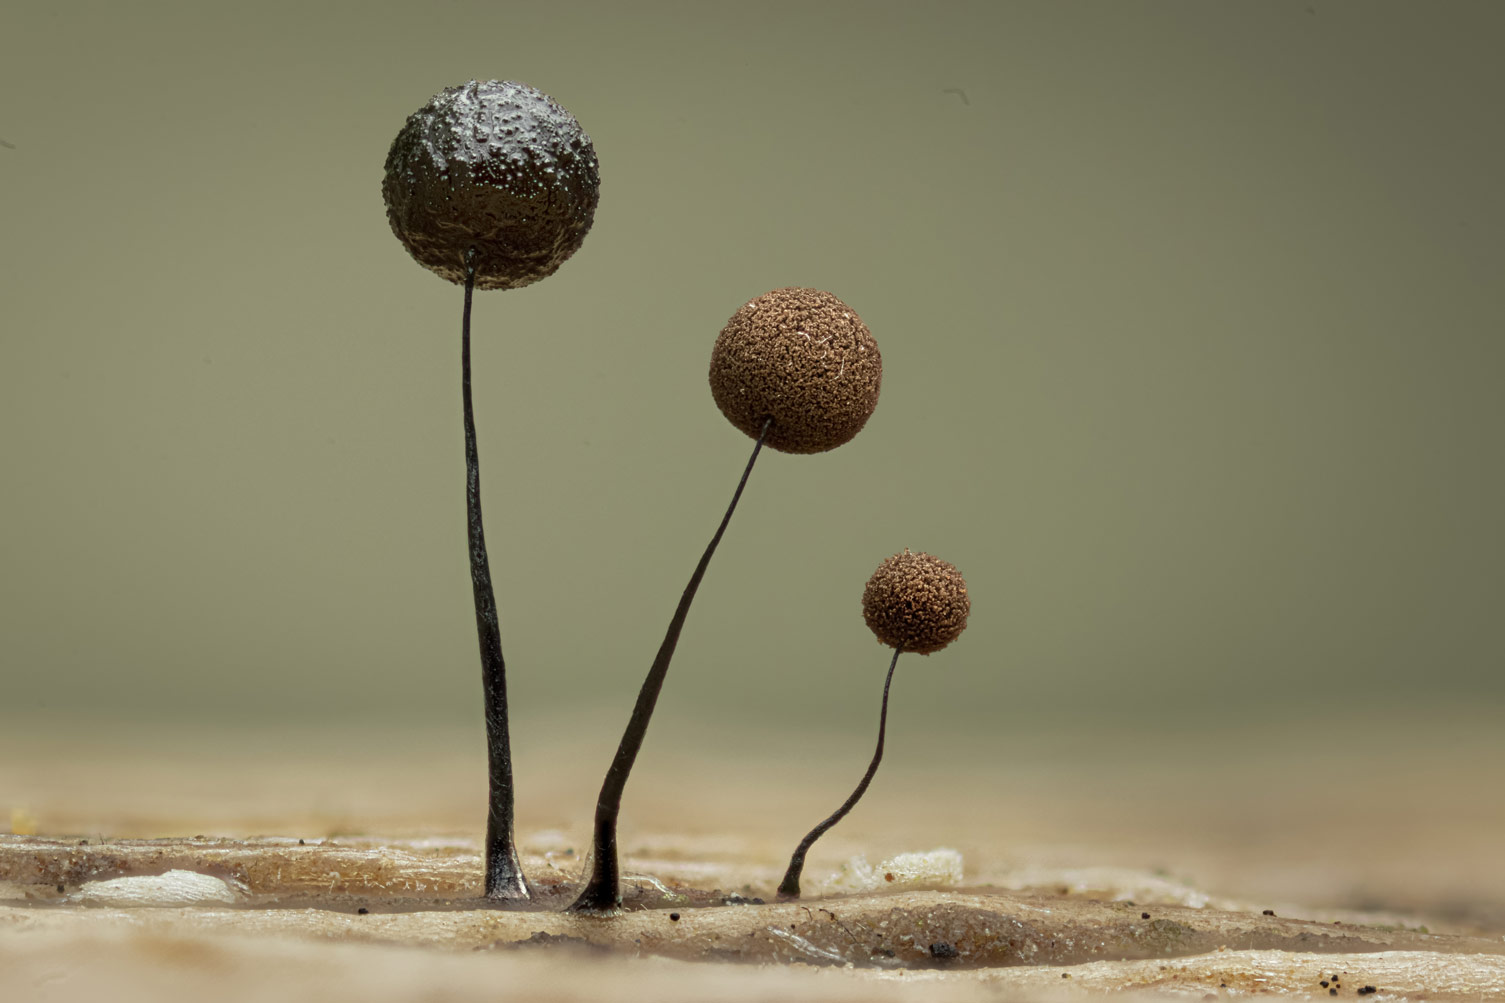
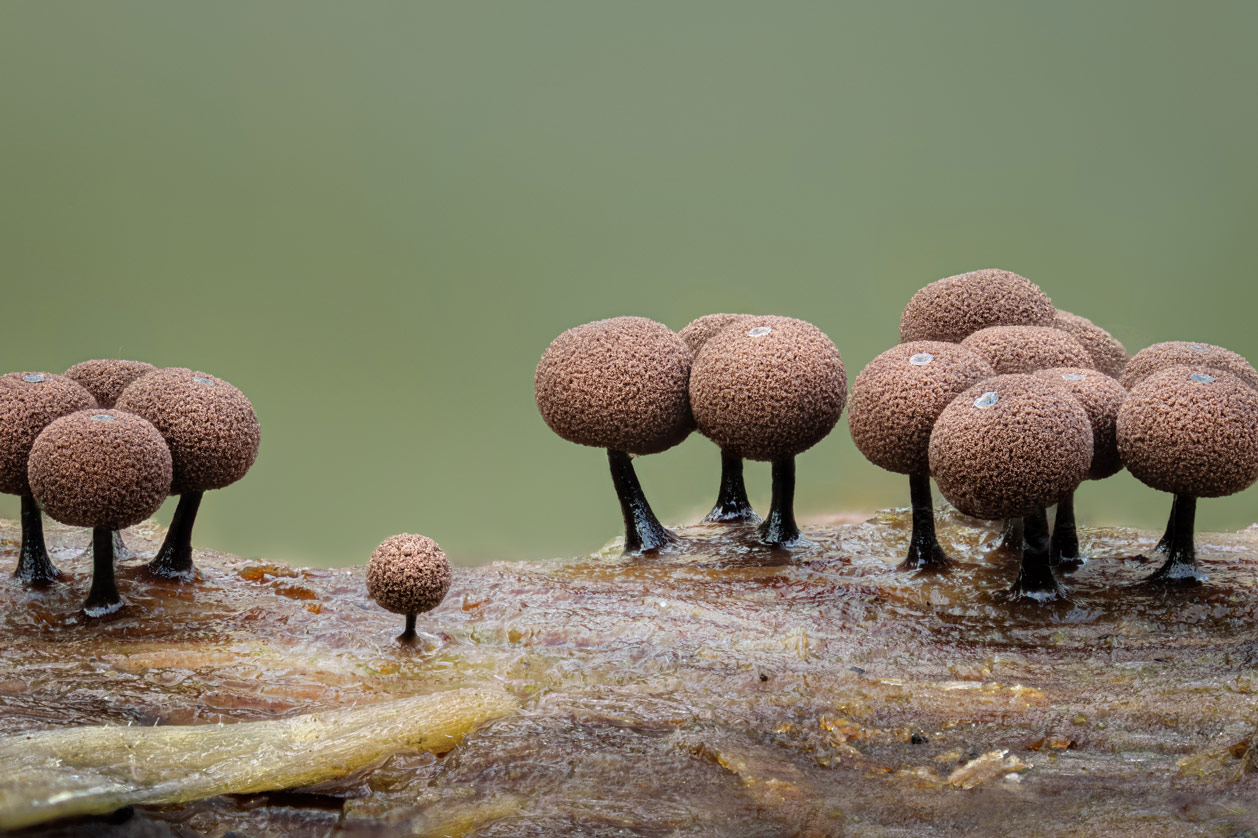
A ‘portrait’ type image of a single specimen may work well but finding a group can bring a ‘story’ element into play as the viewer can imagine a relationship between the subjects. In this image the two groups of the Enerthenema slime mould look as though they are listening intently to the small one between them.
Use additional lighting
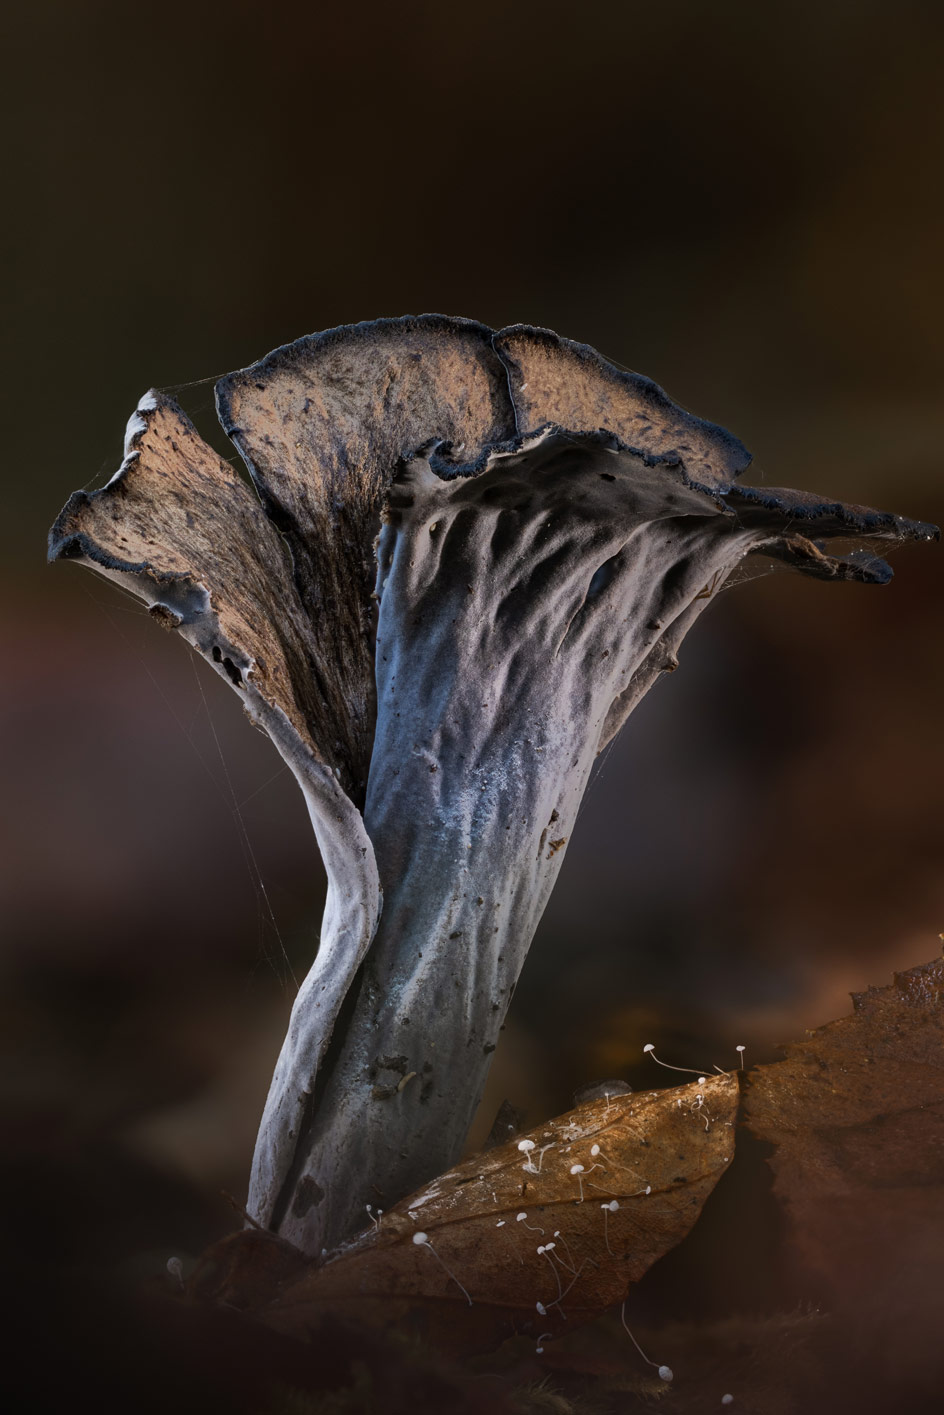
Woodlands tend to diffuse and soften light, which can be lovely. However, adding a bit of directional light can help to show the three-dimensional nature and texture of your subjects. I often use two lights, placed slightly behind and to either side of the subject, creating a rim lighting effect on each side. LED lights, a small torch or headtorch, or even your phone can work. Be careful as it’s easy to overdo this and make the scene look unnatural.
Jeremy Lintott
Nature photographer Jeremy Lintott has long had a fascination with the natural history of fungi, and more recently slime moulds. He has contributed images to the illustrated edition of Merlin Sheldrake’s book, Entangled Life, as well as earning second place in this category of CUPOTY 04. To see more visit www.bluefernimages.com or follow him on Instagram @jeremylintottphotos.

How to take creative Studio close-ups
Stay still
Oil drops in quite static situations, just floating on water, can give rise to good pictures, creating perfect circles and a sense of serenity. The key here is to elevate the composition into more than just a random group of drops. In this image the drops are deliberately organised, giving the impression of a footprint perhaps.

Keep calm
Keep colour simple and harmonious. Many images of oil and water have psychedelic arrays of quite random colours. Successful images can be produced, however, by judicious use of just two or three colours. To create calm and restful schemes, use harmonious colours (i.e. close to each other on the colour wheel).

Try black & white
Although colour images of oil and water can be lovely, I have found that converting them to black & white often gives them more power. This can also help to bind together a set of images into a coherent whole. I did this successfully in my submission for Fellowship of The Royal Photographic Society (FRPS).

Get moving
More exciting and dynamic compositions can be created by moving the oil about on the surface of water (by blowing or pulling). This opens up a whole new avenue of exploration, leading to new opportunities.

Liven up
For more zing, use complementary colours (i.e. opposite each other on the colour wheel). Keep colour simple but lively. Also, think outside of the frame! These edge colours (red and orange) are refracted into the frame, from outside of the field of view of the lens, by the curved sides of the oil drops.

Reduce contrast
The examples so far have all been high contrast with a chiaroscuro effect, but an alternative set of light and airy images are accessible by reducing
the contrast and creating soft pastel colours. Overall, it’s all about controlling the controllable factors and exploring the options available for creative effect.

Dr Martin Parratt
Dr Martin Parratt is a fine art photographer, driven to create something out of very little. He is partial to creative photographic techniques with appropriate post-processing methods and enjoys the refinement of an image. His preferred subjects are ‘things’ or places, and he likes to create sets of images. To see more visit www.parrattphotography.co.uk, 1x.com/martinparratt or follow him on Instagram @martinparratt

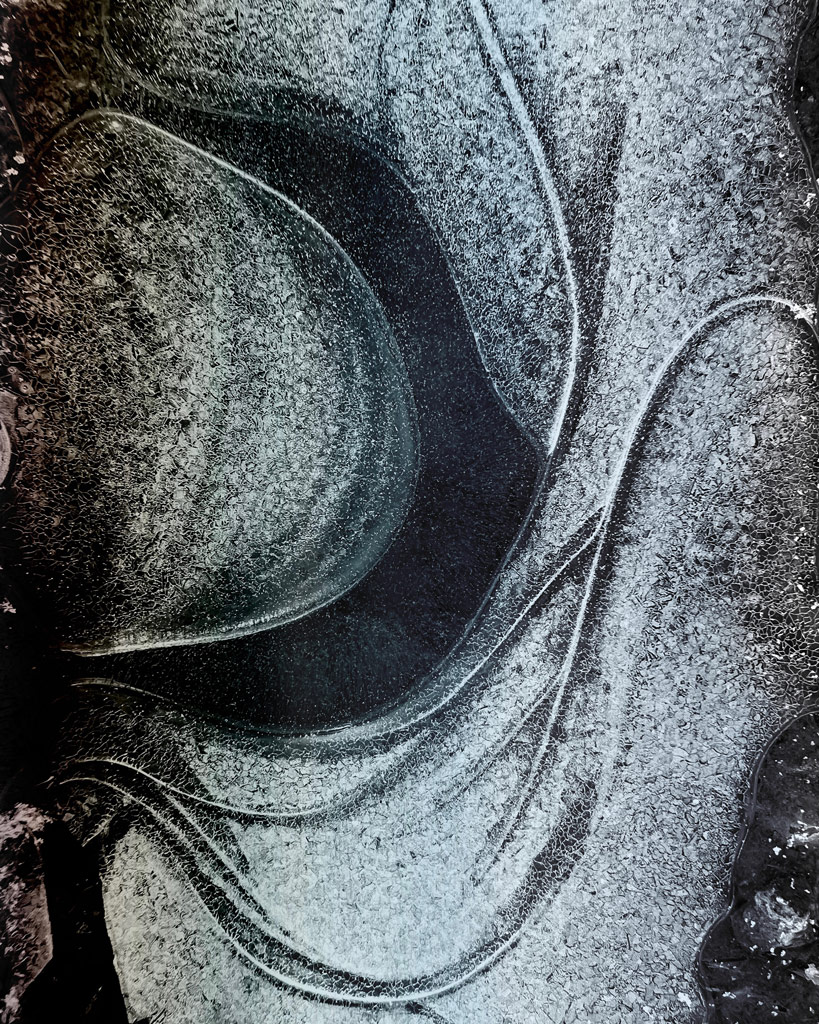
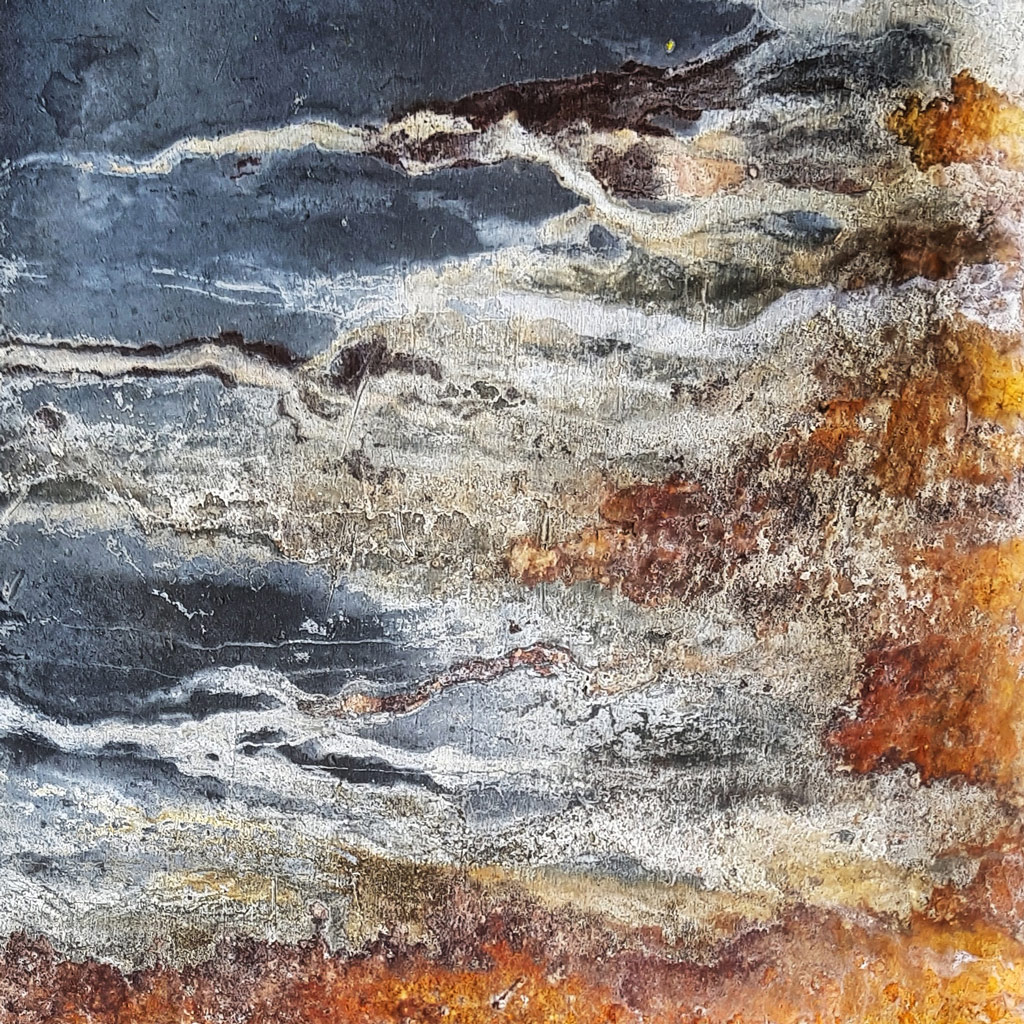
How to take Abstract close-ups
Keep an open mind
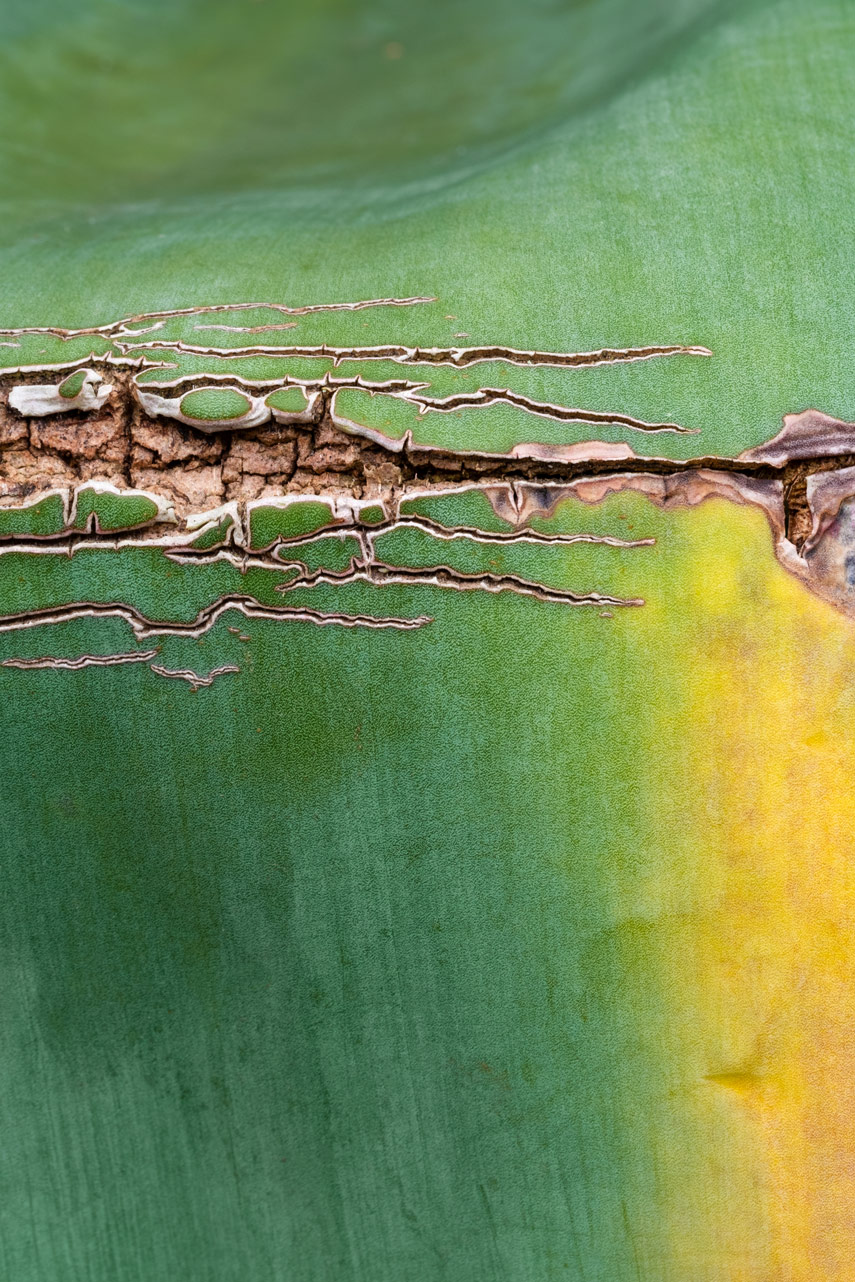
Look for patterns, textures, lines or colour rather than specific subjects. Abstract photography requires you to look at the landscape from a different perspective, creating an image that isn’t instantly recognisable. By focusing close-up on textures or patterns the wider context of the scene is removed which helps create a more abstract and evocative photograph. This way of seeing can take practice so give yourself plenty of time, keep an open mind, slow down and tune in to the endless possibilities this type of photography opens up.

Use creative post-processing techniques
Cropping is a great technique for abstracts – there are often hidden gems to be found within a larger frame. I use the Snapseed app on my smartphone which is full of creative tools including: double exposure, texture/grunge effects and lens blur. Playing with the double exposure effect on there is a fun way to get started with multiple exposures; try adding a layer of colour to your abstract image and see what happens.
Use your smartphone camera
Many of my abstract images are taken using my smartphone because I always have it with me, and abstract possibilities can be found everywhere. These cameras are incredibly powerful and with the wide depth of field and sharp detail produced they are ideal for getting images of patterns and textures that might be awkward or require a tripod or focus stacking with your ‘big’ camera. Sand and ice patterns that are often at your feet work particularly well on the phone.
Pick out details
This will add mystery to the image and leave the viewer wondering what is outside the frame. Try zooming in with a telephoto lens or get really close with a macro lens. This is also a great technique if you’re struggling to ‘see’ abstracts. Start by zooming in on an area, look through the viewfinder or use live view on your LCD screen and slowly move around the scene until you find something interesting. Really think about simplifying here – how much can you leave out and still tell a story?

Experiment with different techniques
One of the joys of abstract photography is there are no rules; you are trying to create a visually intriguing image rather than a representational one so creative techniques come into their own. Try long exposures, intentional camera movement, multiple exposures, narrow depth of field, defocusing or over- or under-exposing a scene. These techniques will further abstract your images and make them completely unique.

Lesley Lintott
Lesley Lintott is a photographer, artist and educator, specialising in creating Impressionistic and abstract work using her phone or mixed-media painting. She finds inspiration in nature, solitude and being in remote landscapes. Having been a vet and then a talking therapist she now enjoys sharing her love for nature and being creative in a way that supports and inspires others. Visit www.bluefernimages.com or follow on Instagram @lesley_linto.
Close-up photography and mindfulness
Mind your language
The vast majority of photographers use the same words to describe their photographic process, with the words shoot, capture, take, and snap said by most. As we hear these words repeatedly, we take them on as our own. But there is a more heartfelt and conscious way to engage with photography that could revolutionise the images we photograph, and it all starts with the words we use. The photographs here demonstrate what’s possible when we switch our mindset from shooting to creating and making.
Explore the word shoot
Find a subject you would like to photograph. Pause to allow yourself to connect with it before preparing the camera to photograph it. As you do so, consider whether you feel you are shooting your subject or whether another word feels more appropriate. Now, while looking at your subject, say, ‘I am going to shoot this.’ As you do so, notice what happens in your body. Repeat the phrase as you continue to photograph your subject. Does your energy and approach change as you do so? When you are ready to stop, pause and reflect on how you found the exercise.
Explore the word capture
Capture is another word commonly used to describe the photographic process. While it may seem appropriate, it can evoke strong emotions and result in unease in the body. Reflect on a time when you witnessed something incredible unfold before you. You were fortunate to have your camera with you and able to capture a photograph of it. Take a moment to consider how you felt as you captured the image. Can you recall what thoughts were running through your mind?
Explore the word take
Take is another word used to describe the photographic process. On the surface, it may seem neutral, but as you delve deeper you might start to feel that this common word is not as neutral as it appears. What does gaining possession of something mean to you? When you photograph a subject, do you feel you are gaining possession of it? If you do, do you think the photo belongs to you? Gaining possession of something implies you have ownership of it. How do you feel about this? Do you own your images? Taking ownership of your photos could also suggest you have ownership of what is in the picture. How do you feel about this?
Shift your mindset
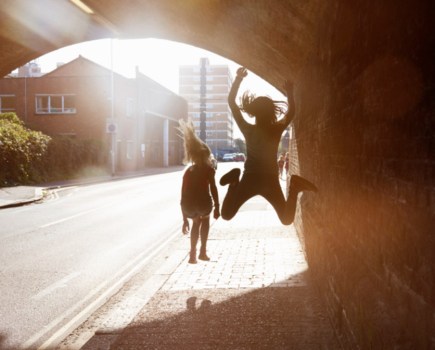
Look at any photographer who shares their work on YouTube (myself included). When they head out with a negative mindset, possibly speaking badly about the weather or seeing the equipment they chose to take with them that day as a disadvantage, more often than not, they either come away with no photographs or are displeased with the ones they do photograph. Then, compare this with a photographer who heads out and sees only opportunities regardless of external factors. More often than not, they photograph images and have a great time in the process.

Explore the word snap
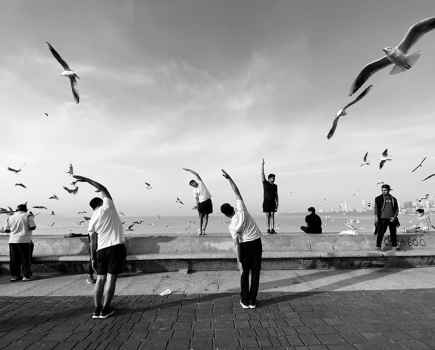
Snap can refer to the act of photography or replace the word ‘photograph’ itself. What subjects do you enjoy photographing? Write a list. Are your favourite subjects inanimate, or do they move? Are they likely to appear quickly and require a snappy reaction? Do you need to be alert and ready to photograph them, or do they require more patience and flow? Consider whether it’s possible to photograph even these fast-moving subjects from a more grounded place. If so, how would it feel to do this next time you engage with photography?
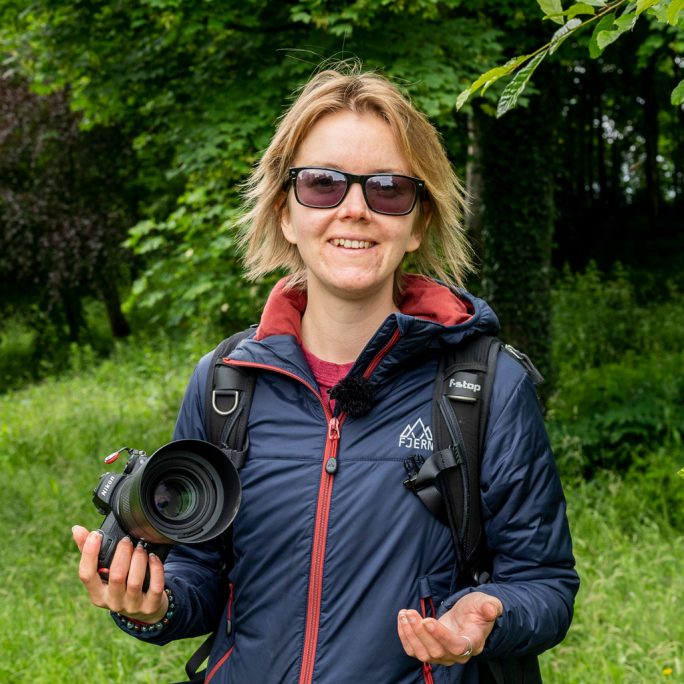
Kim Grant
Kim Grant is a nature photographer and content creator based in Scotland. Originally a nurse, she combines her knowledge in health and wellness with her artistic pursuits. She holds an accreditation as a health and wellness coach and has completed training with Look Again Photography in Working with Mindful Photography. See www.photographicconnections.com, Instagram @kimgrantphotography or YouTube @kimgrantphotography
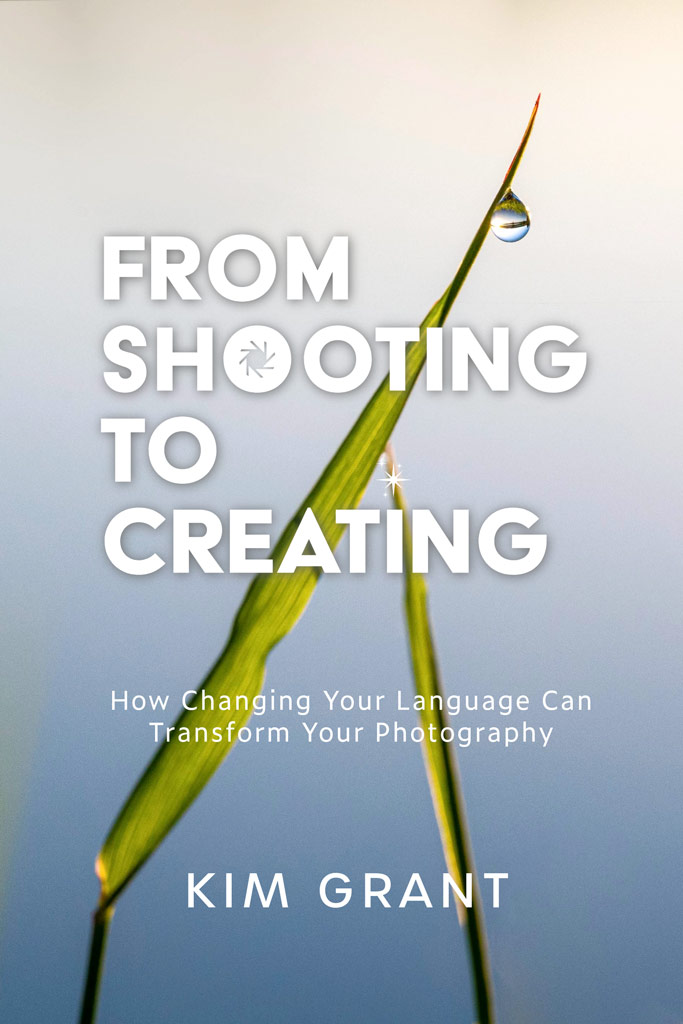
Kim’s new book, From Shooting to Creating: How Changing Your Language Can Transform Your Photography, explores the words shoot, capture, take and snap and how they could be preventing us from creating the images we most desire. To find out more, visit www.photographicconnections.com
Related reading:
- Can a phone take macro shots? Of course! Just don’t say ‘macro’…
- How to take great macro photos on a smartphone
- Depth-of-field VS focus stacking for macro photography