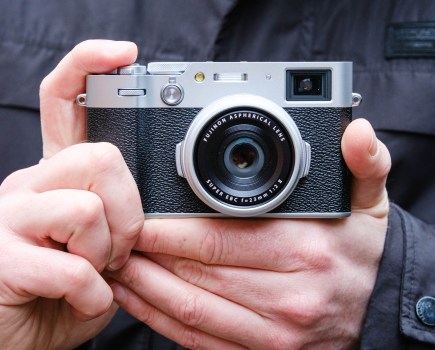
Buying second-hand lenses can save you some serious cash, but when faced with what seems to be a great offer it pays to check the optic to make sure you really are getting a bargain, and this guide will show you how to check a second-hand lens for faults. Like anything that you buy second-hand, a used lens is likely to show some signs of wear, but unlike a used car it doesn’t have an odometer to reveal the extent of that use.
However, a thorough inspection can provide all the clues you need and give an idea of the true value of the lens. Angela Nicholson shows you how to identify a few issues that could also win some bargaining power to bring the price down even further.
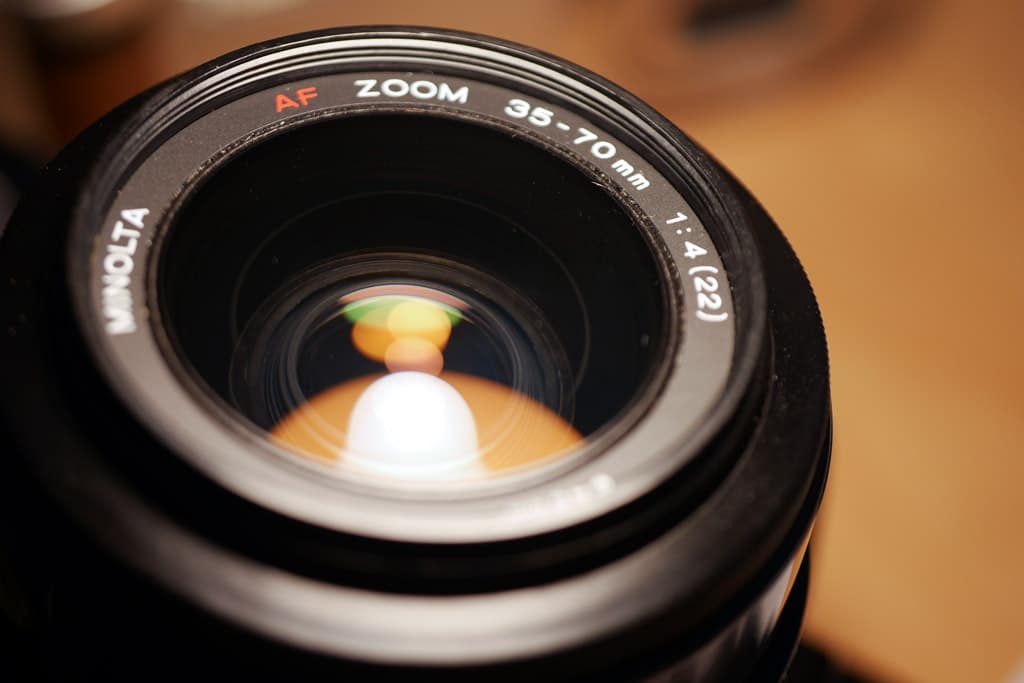
The lens elements on this lens look very clean, and a few specs of dust is nothing to worry about.
Visual inspection
The first step is to check the lens visually and look for any signs of damage, scratches on the elements and/or barrel, or dust, fungus or even bugs or mites inside the barrel.
Marks on the outer elements can often be removed with a blower and a good-quality glass cleaner such as ROR Optics Cleaner (around £4 for 1oz), and apart from those older lenses that unscrew for cleaning, most dirt inside the lens can only be dealt with by a service. With an expensive lens it’s worth considering the price of a service (they usually start at around £35) as part of the acquisition cost, but it may not be worth it for cheaper optics.
Also, look for signs that the lens coatings have eroded. Small missing patches shouldn’t cause too much of a problem, but extensive areas will mean flare may be more of an issue.
Lenses with large scratches or chips, especially on the rear element and near the centre, should be avoided, but a few fine scratches are less of an issue. If you can see what appears to be bubbles or discolouration in the elements of a lens as you peer through it, the cement between two elements may have degraded and may have started to separate. This type of damage can affect image quality and repairing it can be expensive and/or impractical.
An old lens with mold / fungus on the front element, even after cleaning these small marks remain on the lens on this old camera lens.
How to check a lens for fungus and mold
As shown above, you can see there are small marks on the front element that cleaning has been unable to remove. You can carefully inspect a lens, by using a light or torch, to illuminate the lens elements. Avoid lenses with heavy fungal growths as the glass coating(s) may be destroyed and even a thorough cleaning will not be able to restore the lens to its former glory.
Aperture blades
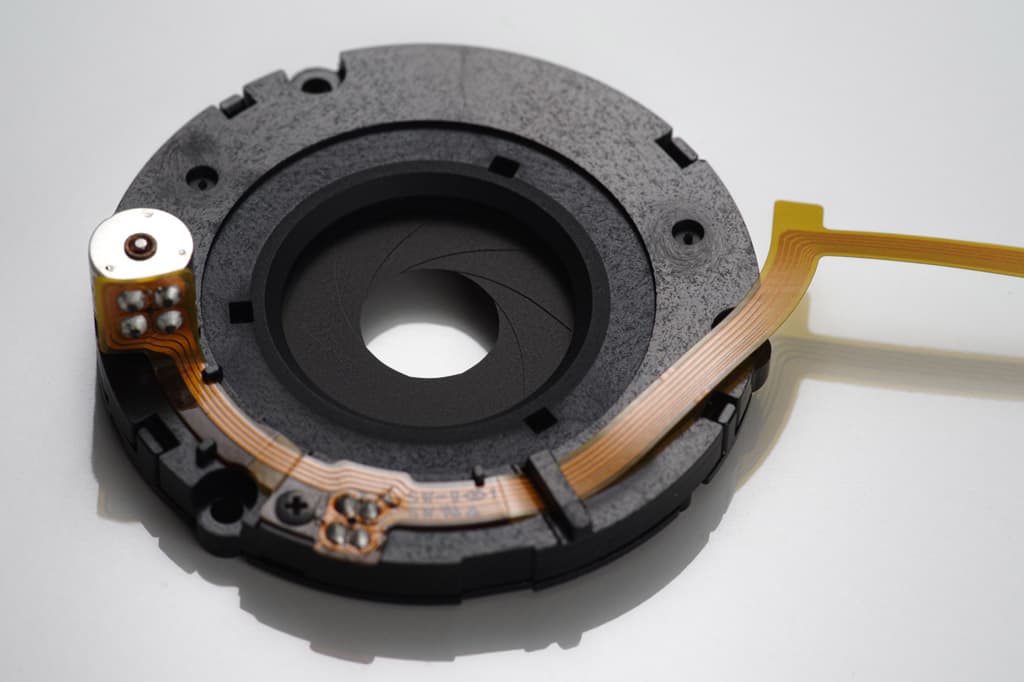
HD Pentax-D FA 21mm F2.4 ED Limited – Aperture Blades
Check that the aperture closes and opens across its full range. If possible, close the aperture down with the lens detached from the camera to allow it to be checked from both sides. Look for signs of oil on the blades as this can signal trouble for the future because it usually leads to the blades sticking. Use the camera’s depth-of-field-preview control to close the aperture down as far as possible while looking and listening to find out if it snaps down and re-opens quickly. Also, look through the viewfinder to see if the view becomes evenly dark across the image frame. A sticky aperture may open or close slowly, or unevenly, or not at all, with obvious problems for exposure. This can be resolved with a service.
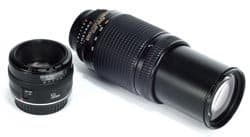
Zoom action
Rotate or push and pull the zoom ring and feel for any sloppiness, grittiness or stiff points in the movement and see whether it works across the full focal-length range. A loose zoom action won’t usually affect the optical performance of the lens, but it can be problematic when shooting with the lens tipped up or down as the focal length may change uncontrollably. A layer or two of insulating tape over the smaller part of the barrel can be all that’s required to rectify this problem. It doesn’t look especially attractive, but it’s cheaper than a service that may not be able to rectify the problem in the longer term anyway.
Focus
The best way to check if a lens can focus is to mount it on a DSLR and take a few shots with it focused at the closest point, at infinity and at several points in between, and then inspect the images. If it is a zoom lens, check the focus across the focal-length range. Also, rotate the focus ring to see if it moves smoothly without any loose or sticking points. You can use a brick wall, or a flat newspaper to check for any softness, sometimes you find this on one side of the image.
If the lens rattles when shaken gently, it may mean that one or more of the elements or groups is loose. If the glass is still held in place in the barrel, focusing may be unaffected, but it could be a sign of problems to come.
Parts
Small items like lens caps and hoods are easily lost, but they are also easily replaced. If the lens is presented without front and rear caps it suggests that it hasn’t been carefully looked after, so check for signs of damage to the elements. At the very least the cost of replacing the caps and/or hood should be reflected in the price.
Although it makes little practical difference, a box with all the manufacturer’s documentation can be a sign that the lens has had a careful owner and it makes the lens more attractive to prospective buyers if you later decide to sell it on. The original box is also the best packaging in which to post a lens.
Filter rings
Being at the end of the lens, the filter rings are prone to damage so check that they are functional. Metal rings can become dented, but with a bit of care and attention from a technician they can be made good. Polycarbonate filter rings are more likely to crack or chip if they are knocked, so check whether the full depth of the thread is present and whether it can hold a filter in place.
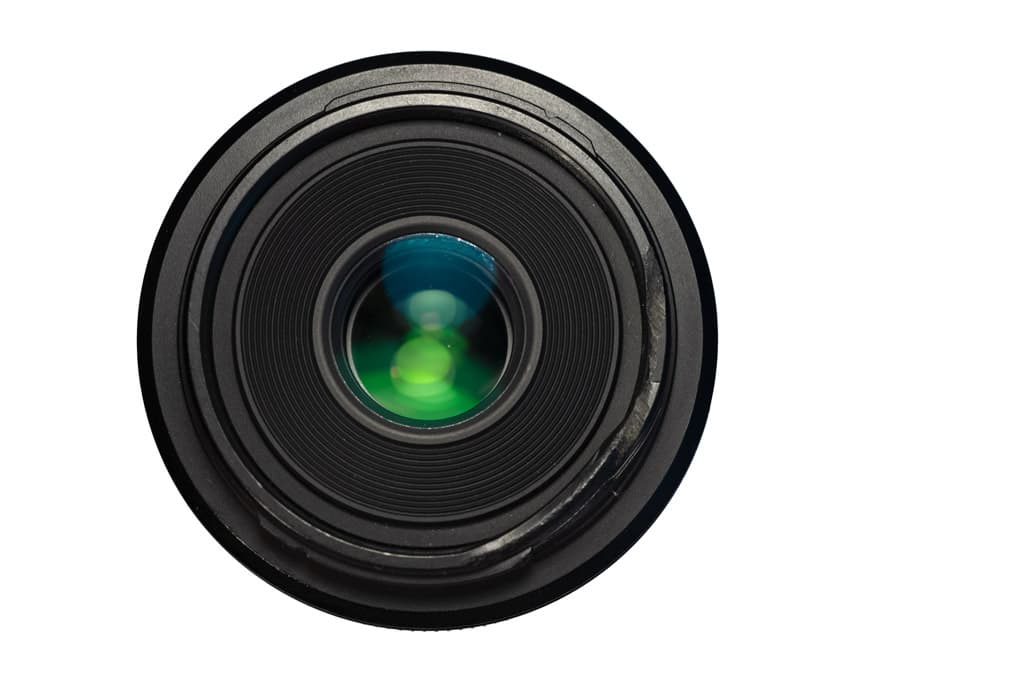
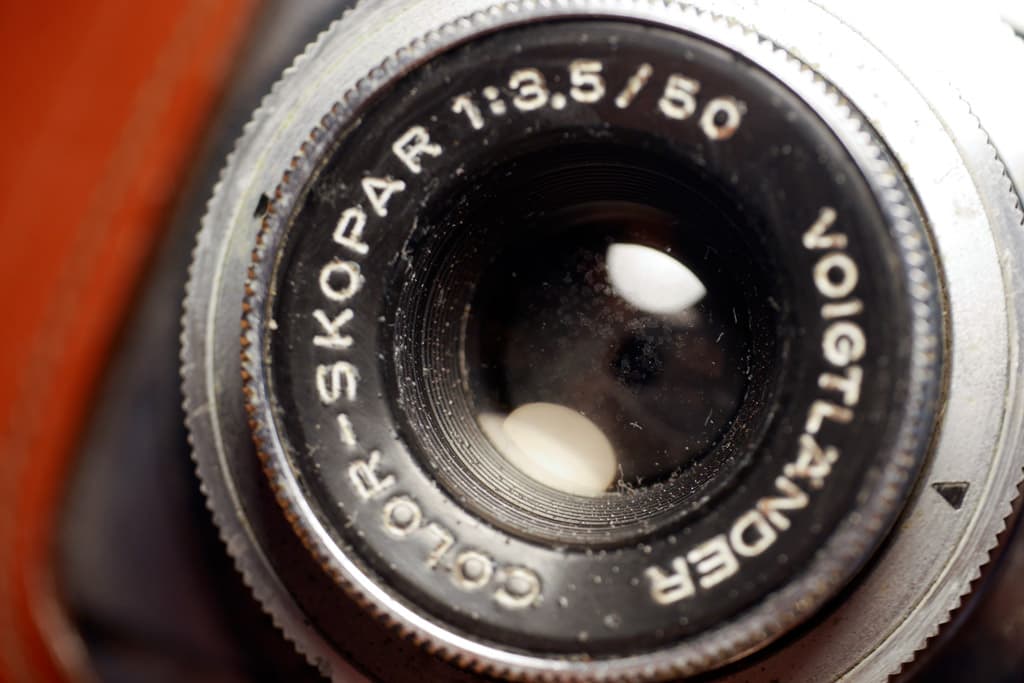
The green reflections you can see are the lens coatings, and nothing to worry about. However, this lens has a damaged filter ring, and could do with a more thorough clean.
Filter rings tend to gather dust and grime that can make it difficult to attach (or remove a filter), so it is advisable to give them a good blow with a can of compressed air and a wipe with a cloth before attempting to mount a filter. Any damage is likely to make it difficult or even impossible to attach a filter to the lens.
If the lens has a filter attached, check that it can be removed.
Checklist
Run through this check list before buying any second-hand lens to be sure you know what you are getting and are pay a fair price
- Lens caps
- Lens hood
- Box
- Filter rings
- Damage to barrel
- Focus
- Zoom action
- Dust, fungus, bugs inside the lens
- Aperture blades oily or sticking
- Lens coatings
- Chipped or scratched lens elements
- Separated lens elements
- Switches
Once you’ve familiarised yourself with how to check a second-hand lens, then you might want some guidance on how and where to buy a second-hand lens from, luckily we have a guide for that: How to buy a second-hand lens.