This is where to learn all about vlogging and the best camera types for vlogging and video. In our complete guide to getting started, we’ve collated all you need to know about cameras for video, and accessories to get started shooting vlogs and videos for YouTube. Using the experience of our review team, we’ve assembled an unbeatable list of the best camera types for all vloggers, and just how to get started.
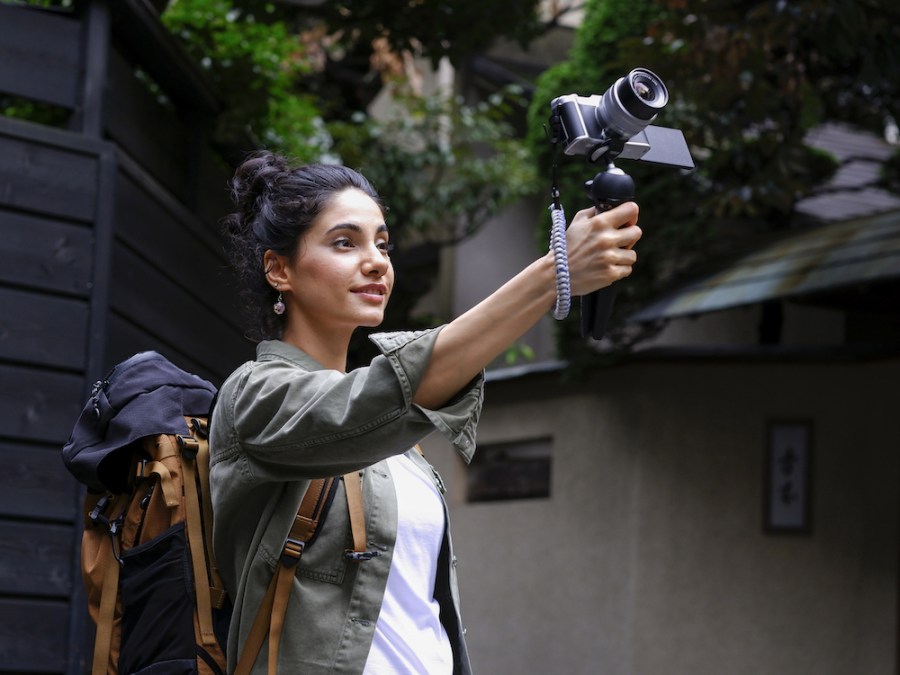
Vlogging is a broad term, but essentially means the practice of posting short, self-shot videos online. These might, for example, document an activity; show off a location; describe how something works; or explain a point of view. A vlogger often talks directly to the camera throughout the video. Some go out and about, filming different places and subjects. While some vlogs are shot with a crew of multiple people, many are produced, shot and edited by people working independently and alone.
We’ll guide you through everything you need to get started, plus pick up a few of our great accessory choices as well, to make sure you have everything you need.
How to choose the best cameras for vlogging
- Easy-to-reach controls: a large easily accessible record button is helpful, and some cameras are compatible with a grip that has a few controls.
- Mic port: for the best audio quality use an external mic. If your camera has a mic port, usually a 3.5mm connection, you can record the audio directly onto the camera.
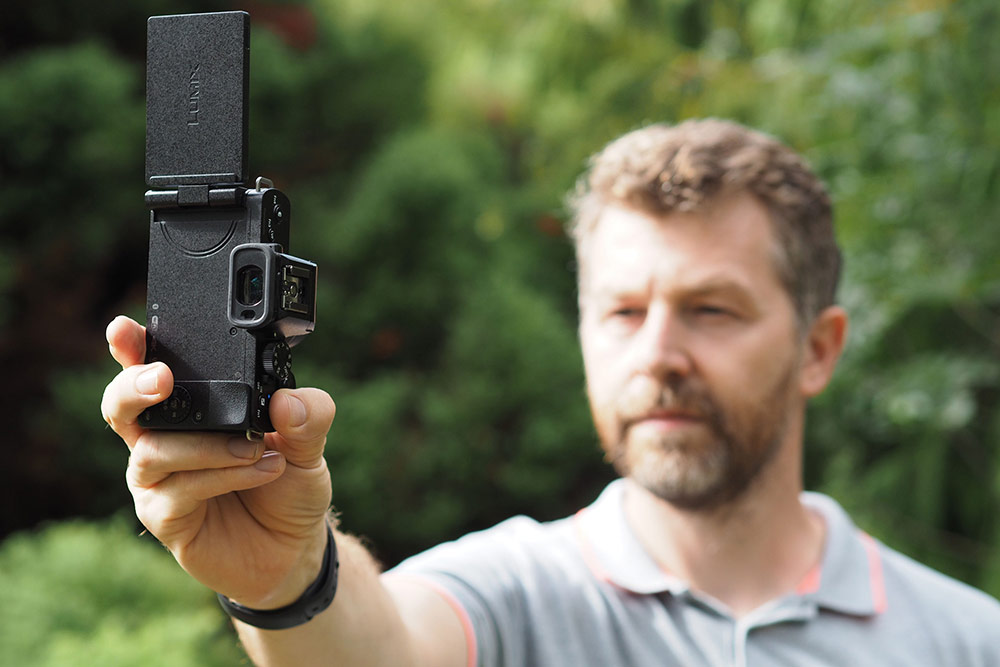
- Vari-angle or 180° screen: to see yourself when talking to the camera, a vari-angle screen, or one that can be flipped 180° so it’s visible from in front of the camera, is ideal.
- Reliable Autofocusing: eye detection is fairly new to video. Face detection is the next best alternative. The key is that the camera keeps the focus on you when you’re talking to the camera.
- Stabilisation: If you’re going to handhold the camera it’s helpful if it or the lens has stabilisation built-in to take out some of the shake and wobble.
Types of cameras for vlogging
The compact camera is where most people start, but there are a range of options from compact action cameras, to compact cameras for vlogging, as well as mirrorless cameras that let you change lenses when needed. Here we’ll go over the main options available:
Action cameras
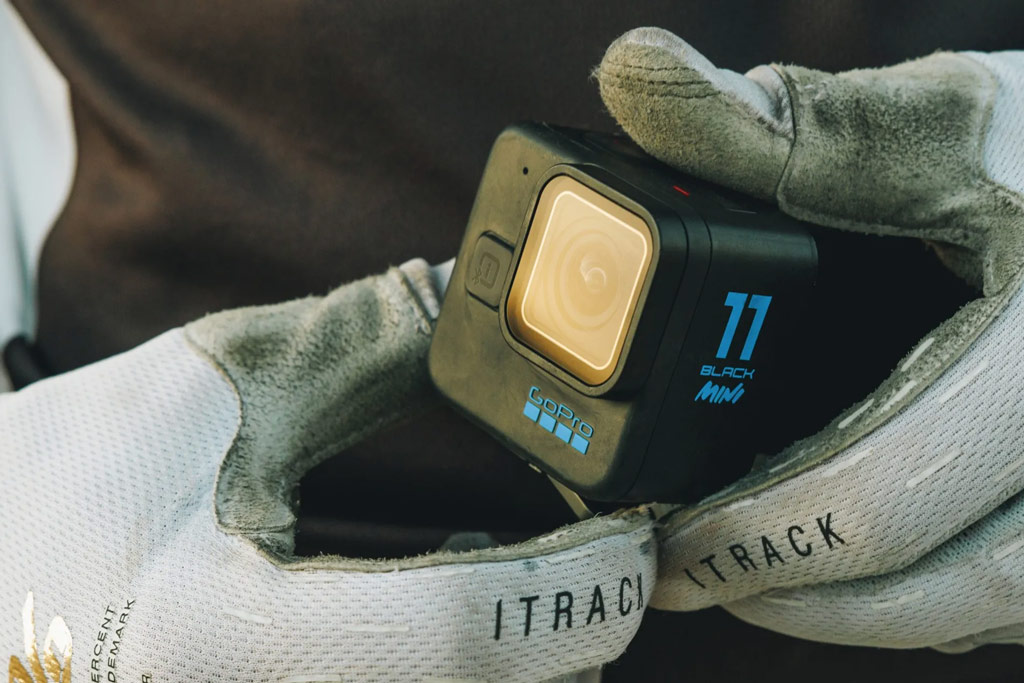
Action cameras, such as the GoPro Hero11 Black Mini from the GoPro HERO range, is available for just $249 / £224. These are designed to withstand rough treatment, as well as being waterproof (check each model’s specific capacities first). Action cameras are not just more affordable, they are also easy to use and extremely compact, you will be able to fit it in your pocket and carry with you wherever you go without worrying about size or weight. They feature built-in image stabilisation, which is especially handy for recording sports or point-of-view shots.
On the other hand, the small size can carry some limitations, for example, some action cameras have limited manual settings, meaning you have less control over exposure or focus. Another possible downside is audio quality, as these super compact cameras have more basic built-in microphones, however, this is becoming less of a problem as newer versions support wireless sound recording, allowing you to connect external microphones. Even though action cameras are capable of recording 4K or even 8K videos (like the Insta 360 Ace Pro) their footage may lack the cinematic look achievable with professional cameras.
Are you considering an action camera for vlogging? Check out our guide to the best action cameras to buy this year.
Compact cameras

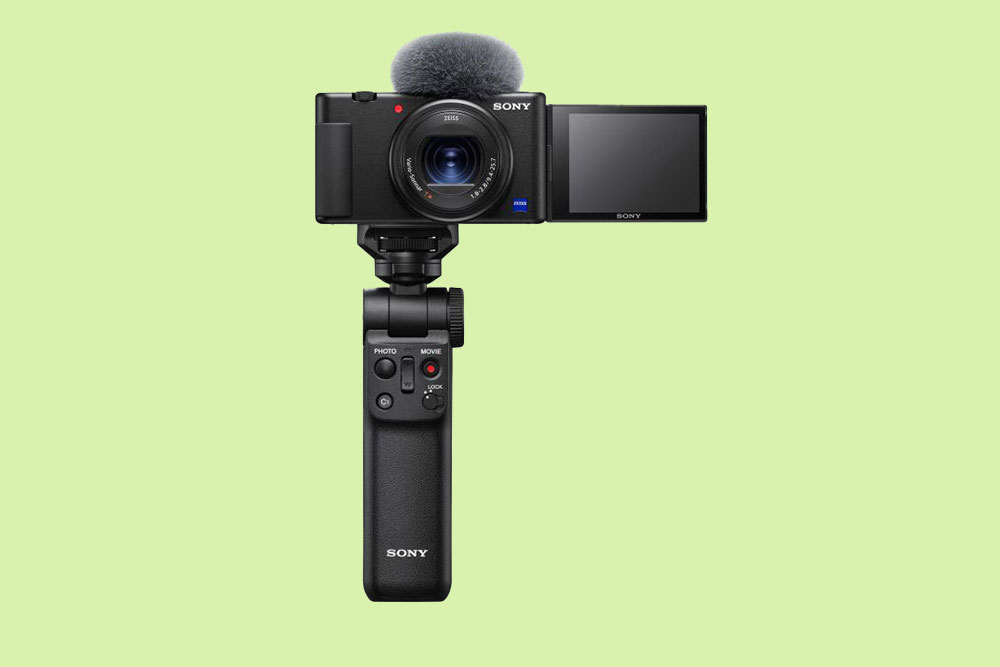
Compact cameras, such as the Sony ZV-1, and ZV-1 Mark II, are easy to use with features designed to make it straightforward for vloggers of all types to get up and running. There are also more budget options like the Sony ZV-1F or the Canon V10. Unlike action cameras, compact cameras offer wider manual control over settings and combine the comfort of a small body with some modern mirrorless camera technology.
Compact cameras beat phones and action cameras with better quality lens optics, brighter apertures and larger sensors. They provide the ever-desired shallow depth of field effect to blur backgrounds and create a more cinematic look. They don’t have interchangeable lenses but feature wide angle zoom or super-zoom lenses that cover a useful range for vlogging. Another downside to compacts for vlogging may be video quality and low light performance as their smaller sensors won’t match the dynamic range of cameras with bigger sensors.
Are you considering a compact camera for vlogging? Check out our guide to the best compact cameras to buy this year.
Mirrorless cameras
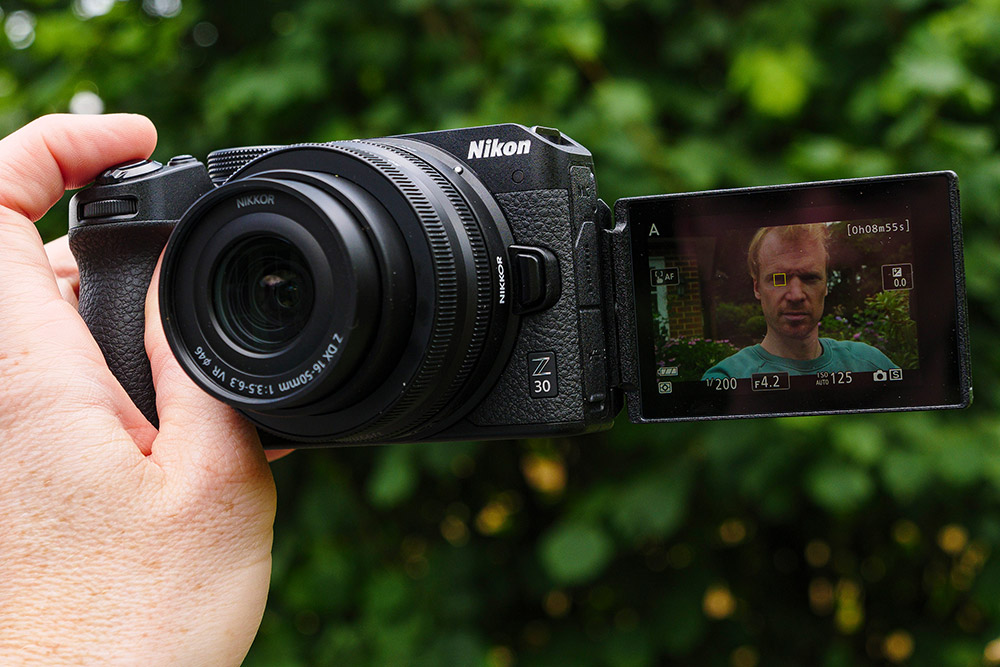
Mirrorless cameras feature the latest imaging technology and provide the versatility of a wide range of lens options. Cameras such as the Nikon Z30, Sony ZV-E10, and Sony ZV-E1 have been specifically made for vloggers, with a screen that tilts forwards, and video-specific ports and connections. In mirrorless cameras continuous autofocus and focus tracking help to create smooth transitions and keep your moving subject in sharp focus. These cameras also have larger sensor than their compact counterparts resulting in better image quality and low light performance.
Keep an eye on built-in stabilisation as not all mirrorless cameras have it by default, this is especially important if you are planning to record hand held footage.
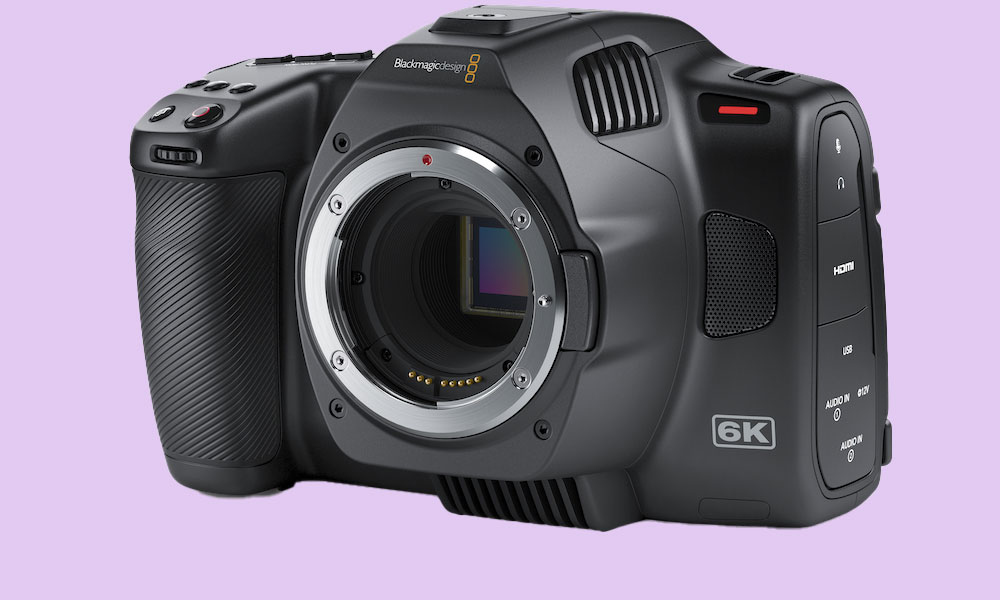
CINE cameras, such as the Blackmagic Pocket Cinema 6K, are for more advanced users who prioritise control and manual operation, making these most suited to experts, or more advanced videography.
For more options, including the pros and cons of why we have chosen these cameras, have a look at our complete guide to the best cameras for vlogging and video and to the best cameras for video on a budget.
Getting started with vlogging and video
Before creating a vlog, you need knowledge of, and passion for your subject, and clarity about your key messages or aims. For example, to create a vlog about a local beauty spot, you might explain how to find it, where to park, the best times to visit and good shooting locations. By making these decisions you can think through (and write down) the shots that you need to capture so that you’ll be more organised when it comes to filming.
Scripting your video
You also need to think about your script. Some people like to write a complete script while others prefer bullet points. However, when starting out, I’d encourage you to write down everything that you want to say because this will help you ensure that you record enough footage. Time how long it takes you to read your script at a nice steady pace and practice doing so.
Getting the key shots
When thinking about creating a video there are usually a few key shots that pop into one’s head. These become the main clips that tell the story and will need to be supported by B-roll footage that helps set the scene.
With our beauty spot video, a wide shot of the location would be part of the main footage, for instance, while close-ups of details such as leaves waving in the breeze, tumbling water in a stream and a squirrel gathering nuts make a nice B-roll, helping the viewer to experience the location without actually visiting.
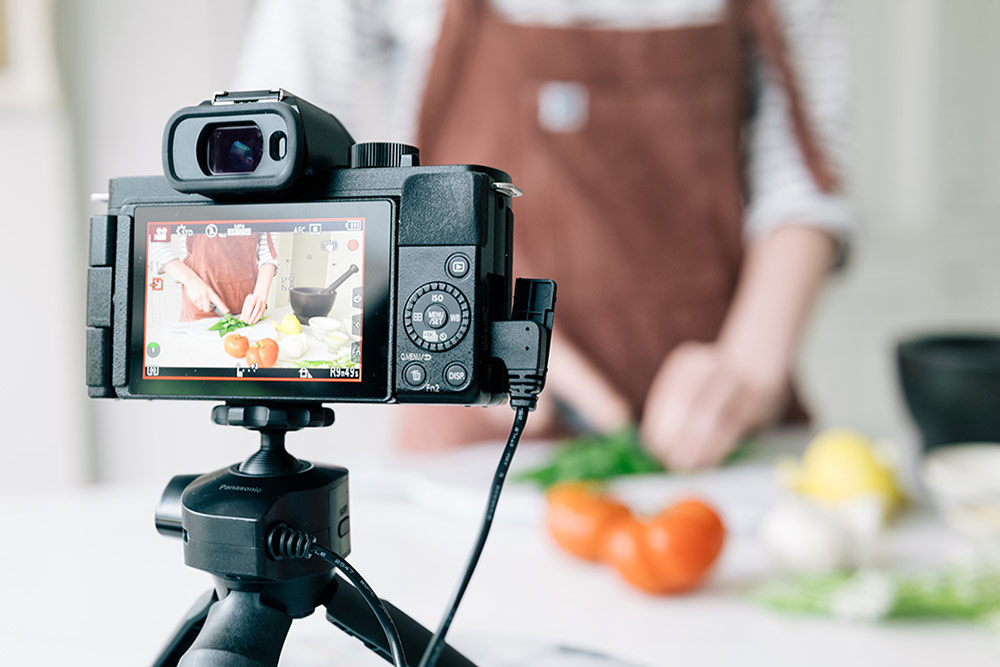
You will be in a lot of the main footage, talking to the camera. Many vloggers do this with the camera handheld, often mounted on a mini-tripod. With a full-size tripod, you can be a bit further away with more of the background visible.
A standard photographic tripod is fine to start with, but a fluid video head like the Manfrotto 500 ($200 / £149) is useful for making smooth tilt and pan movements. When you’re in front of the camera, look into the lens. The screen is useful for checking that you’ve nailed the composition, are standing in the right place and the camera has focused on you. However, once you start speaking, don’t look at it.
Recording the audio
A shotgun mic fitted with a windshield that can be mounted in the camera’s hotshoe or other convenient point is ideal for capturing ambient sounds when you’re outside. Provided you’re close, it can also be used to record your speech, but it’s often best to use a lavalier or wireless clip mic connected to your camera.
The easiest way to get good footage of you speaking is to memorise short sections of your script and repeat them to your camera a bit at a time. You can use B-roll between the clips. Even if you plan to make the majority of the audio a voiceover, it’s worth recording it on location as you’ll capture the ambience of the place.
Editing and publishing your vlog
After you’ve downloaded all your files, watch through everything and make a note of the best footage and audio before importing the relevant clips into your video-editing software. There are lots of options for editing video but Adobe Premier Pro Elements makes a great starting point. Adobe Premiere and Apple’s Final Cut Pro X (Mac only) are both excellent step-ups used by many professionals.
You can also check out our guide to the best video editing software for more options.
As a general rule, tighter (i.e. shorter) vlogs are better received than long videos with little action. There are alternatives, but YouTube is the go-to platform for vlogs. After you’ve created an account you can create a channel to host your videos. Then it’s just a case of uploading your first video and following the steps to publish it. Once your channel is 30 days old and has at least 100 subscribers, you can set a custom URL. You need at least 1,000 subscribers to start making money from your channel.
Vlogging accessories
Manfrotto Pixi ($33 / £28)
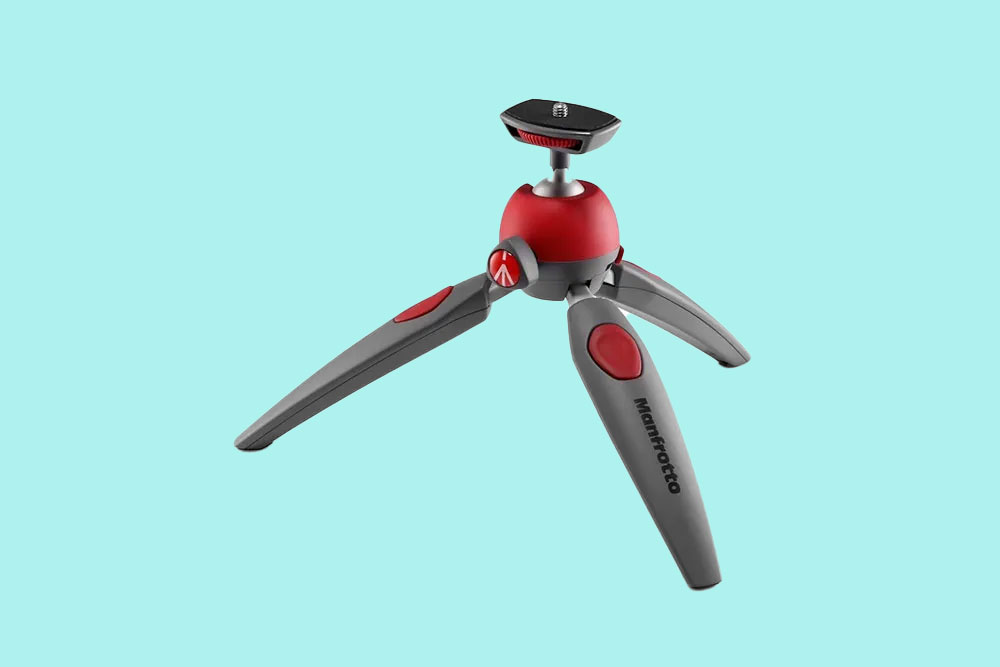
This inexpensive mini tripod doubles as a comfortable grip to hold your camera at arm’s length and it locks tight enough to hold quite large SLRs and mirrorless cameras. When you’re not holding it, you can use the Pixi as a tripod and support your camera on a table or desk as you record your audio, looking into the lens.
Calibrite ColorChecker Passport Video ($138 / £139)
*formerly known as X-Brite
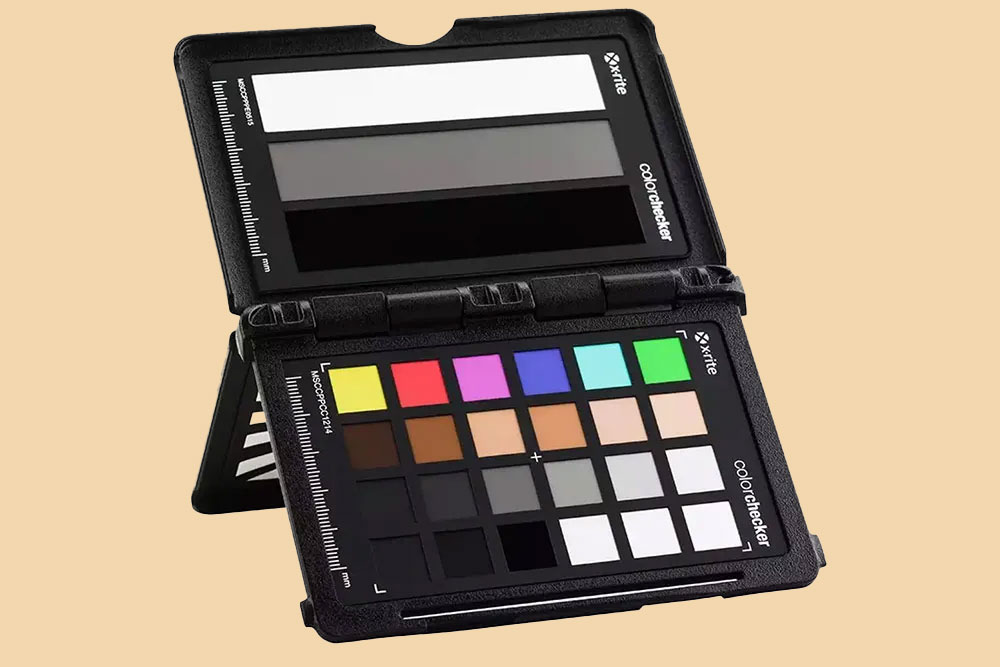
It might seem expensive but the ColorChecker Passport Video can save you a heap of pain, especially if you’re shooting Log footage, as it enables you to set a consistent white balance whatever the lighting. Some video grading software such as DaVinci Resolve, Color Color Finale, 3D LUT Creator and CinemaGrade can even use a clip with the Passport in it to get colour spot-on.
PolarPro Peter McKinnon Variable ND Filter – 2-5 Stop ($250 / £250 for 67mm)
If you want to blur the background, you need to use a wide aperture. However, you can’t push the shutter speed up in video like you can with stills so you need a good-quality neutral density filter – this one is first rate and doesn’t introduce a colour cast or vignetting. A variable ND saves you from having to swap filters throughout the day and allows subtle adjustments in exposure.

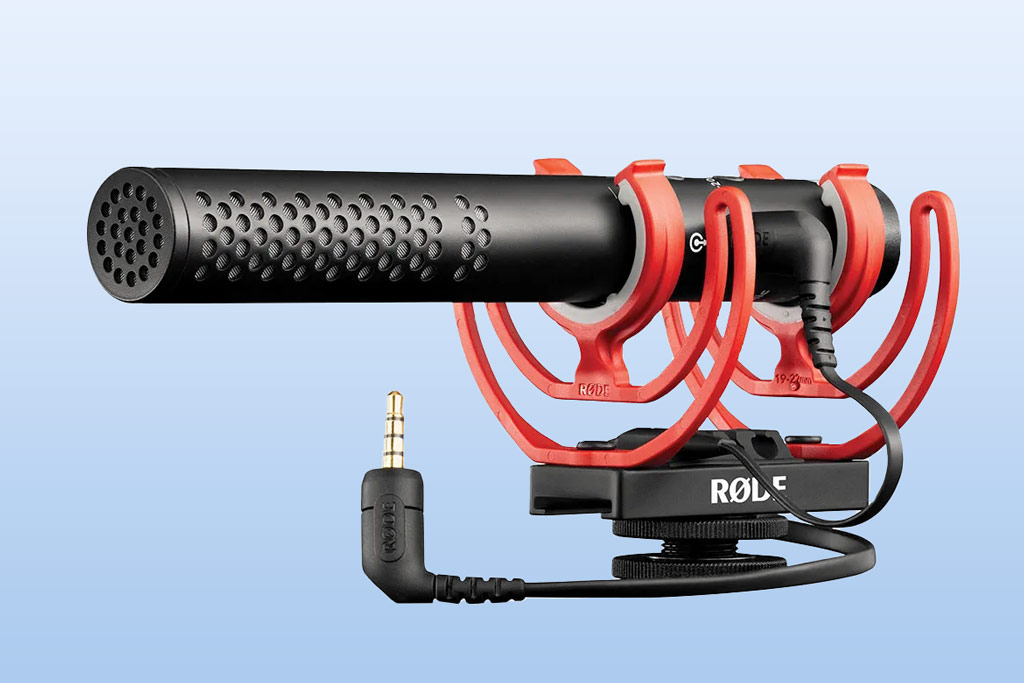
RØDE Videomic NTG ($249 / £219)
This shotgun mic has a built-in rechargeable battery that gives over 30 hours of life but only takes 2 hours to charge. It comes with a Rycote shock mount to mount it in your camera’s hotshoe or another convenient point. It connects to the camera via a 3.5mm cable but it can also connect to a computer via USB-C, making it nice and versatile.
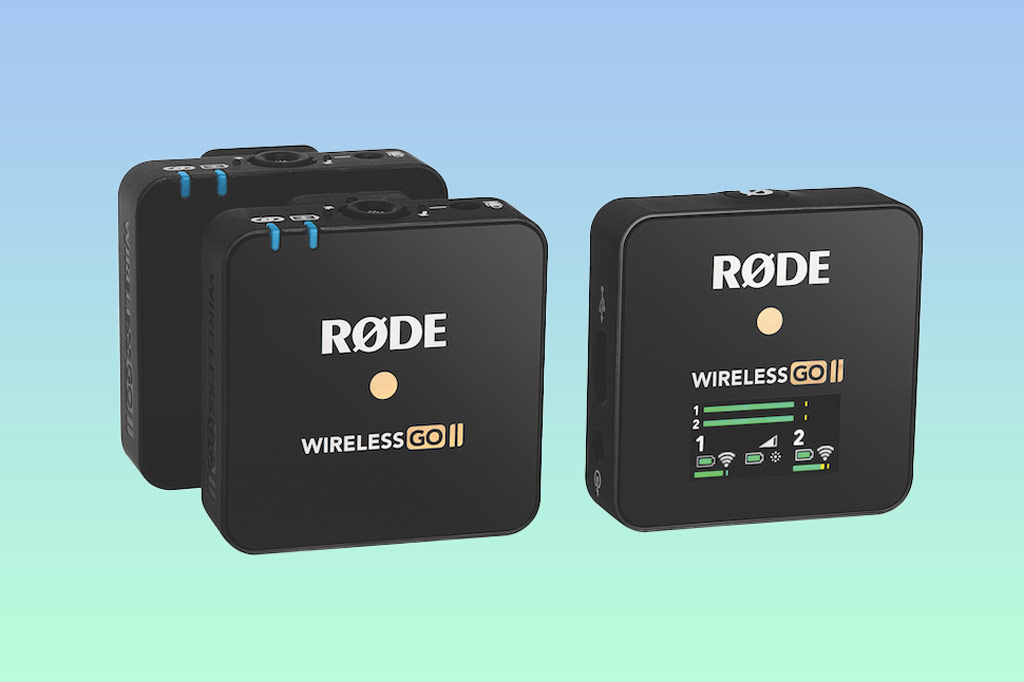
RØDE Wireless Go II ($228 / £209)
This inexpensive, easy to use and great-sounding wireless mic kit links to your camera via a 3.5mm connection in the receiver. You can use it with a lavalier mic if you like, but the transmitter has a mic built in and there’s a clip to attach it to your clothes. You can even connect the Videomic NTG to the transmitter to use it as a wireless boom mic.
We compiled 10 reasons to use the RODE wireless Go II for your videos, you can also read our full review of this small but very capable microphone
Rotolight NEO 3 ($494 / £514 Starter kit, £494 NOW for Ultimate kit. )
Sometimes you need extra light and the Rotolight NEO 3 is a great LED solution that runs on mains power but can also run on AA batteries. It has simple control over the brightness and colour temperature and comes supplied with a small selection of gel filters and diffusers as well as a hotshoe adapter. It can be handheld or mounted on a stand or tripod.

Jump to the best cameras, see our guide to the best cameras for video and vlogging.
Article by Angela Nicholson with contributions from AP Staff
Related articles:
- Do you really need cine lenses for video?
- Best smartphones for video
- 17 Essential accessories for video
- Eight best filmmaking apps for your smartphone
- How to get outstanding audio in your videos
Follow AP on Facebook, Instagram, YouTube and TikTok.