To be a photographer is to be a student and lover of light. But lighting comes in many forms. And while some may enjoy the challenge and simplicity of working with natural light alone, sometimes we need additional lighting to capture a scene as intended. Instead of being at the mercy of ambient illumination, lighting and lighting accessories allow us to take control of the situation and create images that reflect our vision. After all, mastering the light is core to our purpose as photographers. In this article we focus on three of the most common forms of external lighting – battery powered, LED and studio lighting – drawing on the experience of professionals who have mastered each type. Our pros share plenty of valuable insights and offer practical advice that will make you see lighting differently and help you to take better pictures.
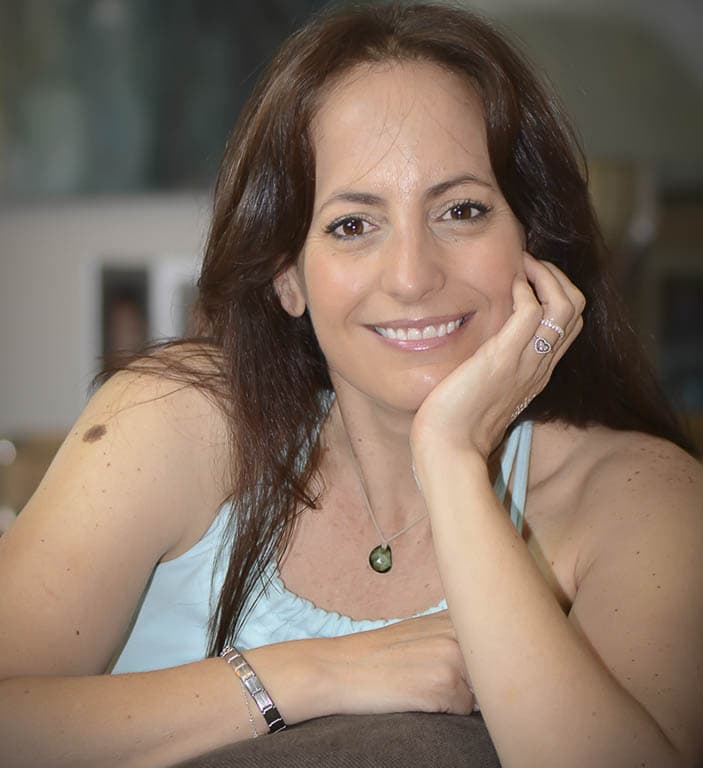
Donna Crous
Donna is an award-winning and published food photographer based in Surrey, UK. She is a Rotolight Master of Light and was recently appointed as a Nikon Ambassador.
Lighting Kit List: Rotolight NEO 2, barn doors
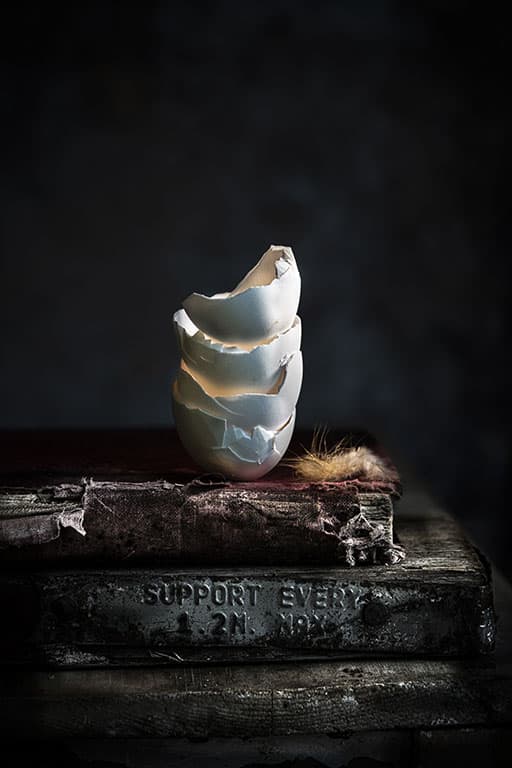
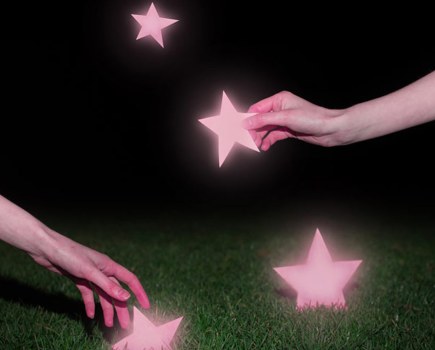
Donna opts for LED lighting because she enjoys being able to see and shape the light as she works. Nikon Z 7, 85mm, 1/500sec at f/6.3, ISO 640
I started my career using only natural light but found that, living in the UK, there were certain times of the year when I really struggled with both the lighting and the length of the daylight hours. I started using continuous light as fill lighting, and it totally transformed my working day. I’m not a technical photographer, so having a complicated system wasn’t on the cards for me.
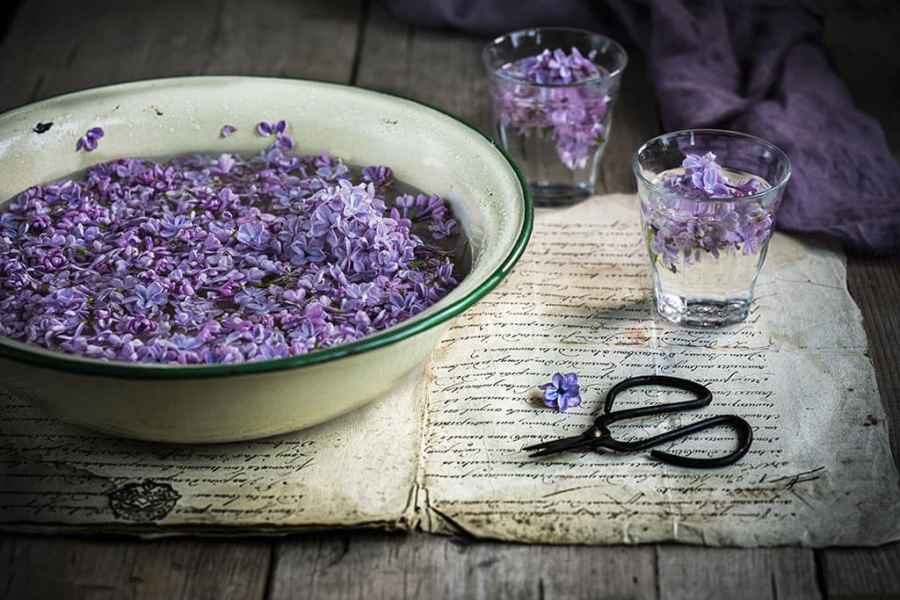
I prefer to run my Rotolight on continuous because this allows me to see exactly what is happening with my shadows at all times. I use one Rotolight NEO 2 with barn doors. During the summer time I tend to add a diffuser disc to the panel to soften the light slightly. One of the main reasons I was drawn to using this light is that it’s small and lightweight. This means it doesn’t take up too much space and it’s easy enough to move around my studio and also pack up when I have location shoots. The Rotolight NEO 2 can be connected to mains power, which I use in the studio. But when I’m out and about it has the added benefit of being able to run on battery power.

The NEO 2 offers dial-controlled dimming and colour temperature, giving Donna greater control over the final feel. Nikon Z 7, 85mm, 1/125sec at f/5.6, ISO 200
One of the main benefits of using LED lighting over other types of lighting is that I enjoy being able to see and shape the light as I work. I would also say that it definitely buys me a few extra hours of shooting in the heart of winter. Besides that, the main reason that I opt for LED lighting is because I can use it to channel the light into certain areas of the set, to highlight particular elements. I also use it to add specular highlights for pouring shots or a boost of backlight for drinks.
I’m very particular about shadows and reflections in my work, so having as much control as possible over where and how the light falls and interacts with my subjects is key for me. I love to use them to create extra depth and tones. By adding a boost of light with a system that offers dial-controlled dimming and colour temperature, I have greater influence over the direction, warmth and intensity of the shadows.
Lighting type limitations
Being a small and compact light, it doesn’t add a massive boost of light to my full set, so shooting a larger set in the dark or at night isn’t possible with this particular light. But as this is not a requirement of my work it’s not a problem for me. Rotolight has a range of larger lights that I could use if I needed more power.
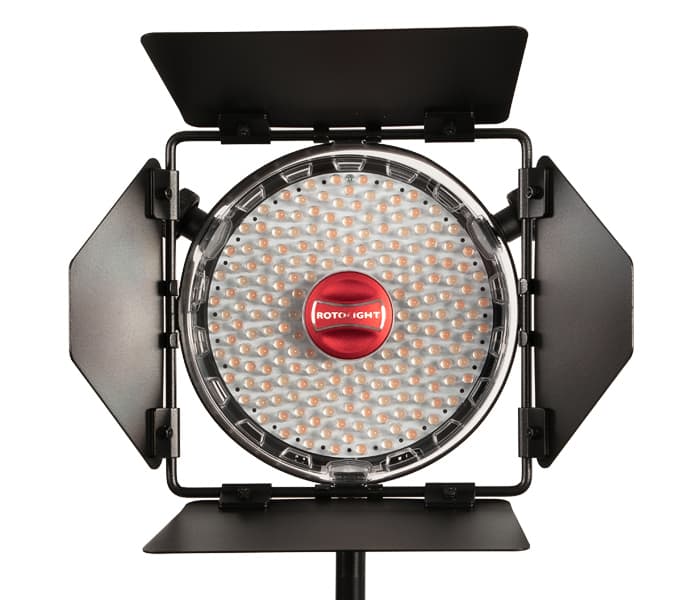
Rotolight’s NEO 2 with barn doors
Ian Pack
Ian is a seasoned commercial photographer and filmmaker. He has worked across a broad range of industries and runs a creative studio based in West Sussex.
Lighting Kit List: Godox Witstro AD200 Pro, Pixapro Citi400 Pro, Godox XPro controller
Portable battery flash is key to shooting the kind of images I capture in my professional work. I’ve used two or three brands over the years, but I settled on Godox and Pixapro. The main reason I switched to that system is because of its warranty. They have great UK-based distribution so there’s no worries about buying grey imports or stuff not turning up from China. The gear is affordable and does just as good as kit that costs twice the price.
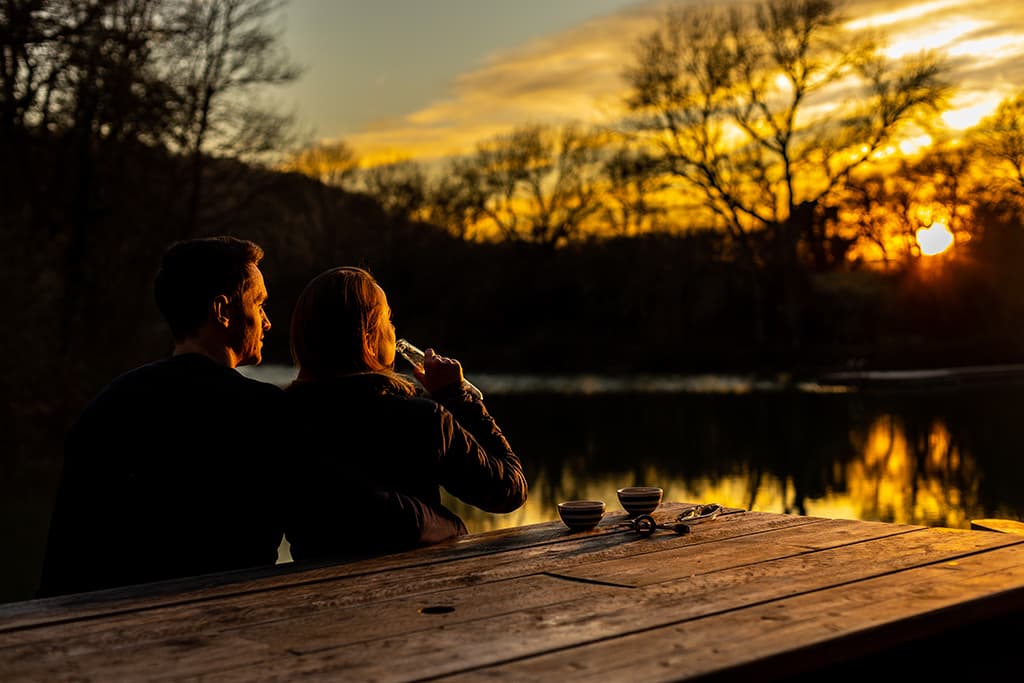
When working with sunlight, Ian will underexpose the shot and control the power of the light on his subjects with flash exposure. Canon EOS R, 50mm, 1/2500sec at f/3.5, ISO 320
Then there’s the portability aspect. I can throw a couple of lights in the back of the car, I have the Pika200 and it’s not much bigger than a speedlight. Then you’re looking at a significant difference in power: speedlight offers up to 60W versus 200W of the Pika. There are no mains cables to worry about either. When you go to a lot of premises, before you start putting down mains cables, you have to carry out a Portable Appliance Test. I moved over to battery flash in 2010 and it transformed the way I work because I was no longer tied to the constraints of working in a studio.
Being able to work with lighting practically anywhere definitely impacted my photographic style. I like the challenge of not being in a studio, and working with as little equipment as possible; no two shoots are ever the same.
I tend to work with a single light now. I’ve gone from using 6-light setups where all of the lighting is artificial, to trying to create scenes that look completely natural. I often find I have to use lighting to capture what my eyes can see. A lot of lighting conditions expose the limitations of camera sensors – therefore we need to give them a little help with some fill and colour balancing. The reason I work with the Godox system is they have one trigger that will work with everything from a speedlight to a 1200W strobe. Compatibility and reliability are critical for me.
But there’s also an element of pre-visualisation that is important when working with portable lighting on location. I have to plan which light(s) I need, which modifiers, which gels to use, as well as sun position and weather. When working with sunlight, I will often underexpose the camera by about 1-1/3 stops and control the power of the light on my subjects with the flash exposure. To some people it may seem counterintuitive, but to get brighter colours I find it best to underexpose the camera, and to get more washed-out colours I overexpose. A lot of my work has strong, saturated colours – this is how I achieve that.

Lighting type limitations
The main limitations of using portable lighting are down to the imagination and experience of the photographer. There’s so much you can do with portable lighting today. Take the Citi400 Pro TTL, for example: for my money it’s one of the best battery flashes on the market. It’ll let you shoot 1/8000th of a second with an aperture of f/2 to create emphasis using a shallow depth of field in bright sunlight.
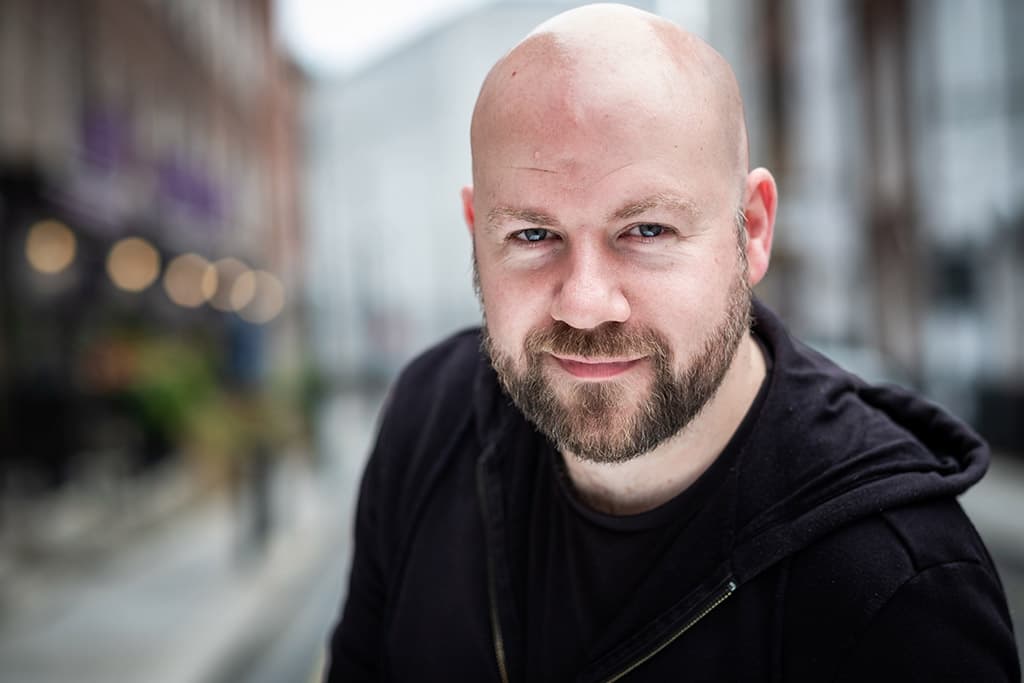
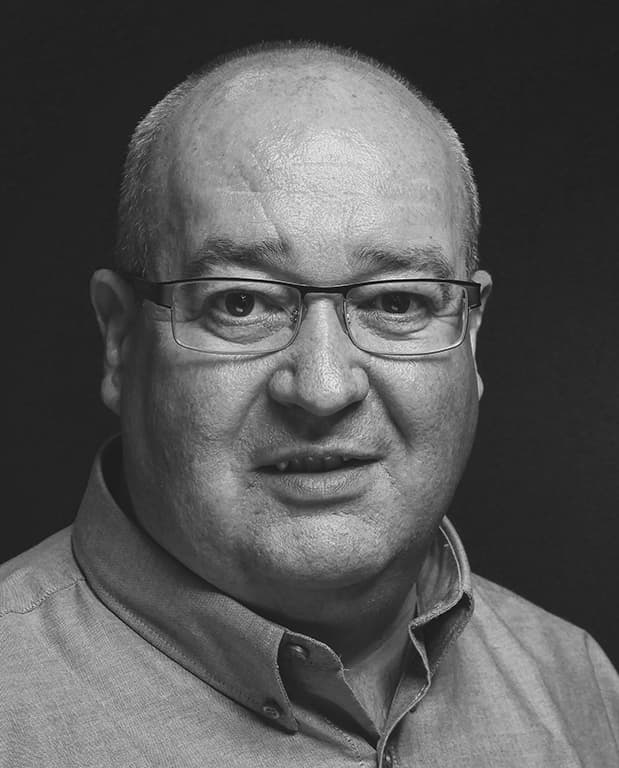
Mark Duffy
Mark is a commercial photographer based in Dundalk, Ireland. He’s a Vanguard ambassador and his landscape work has been published in a book: Louth Rediscovered. See Instagram @MarkDuffyPhotography.
Lighting Kit List: Godox MS300, SL60W, Godox speedlights, Godox XPro controller, Yongnuo YN360S, Nanlite PavoTube II 6C, Spiffy Gear KYU-6, Spiffy Gear Spekular
I mainly use the Godox MS300 strobes for my product photography, I own four of them. If I’m shooting something difficult like whiskey bottles, I will use all four lights and then composite in extra shots with one of the lights moved to another section of the photo. For whiskey photos I love to combine stripboxes with large diffusers to get that beautiful graduated side lighting you associate with those high-end product photography.
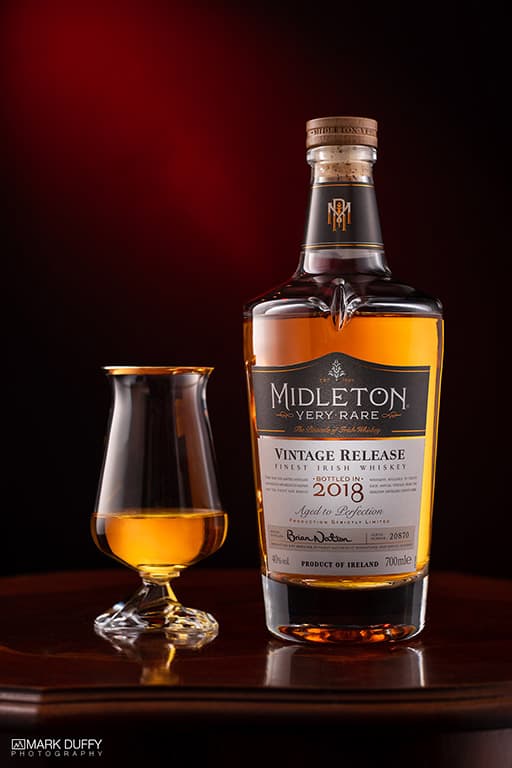
Mark likes to create beautiful graduated side lighting in his product photography. Fujifilm X-T3, 56mm, 1/160sec at f/4.5, ISO 200
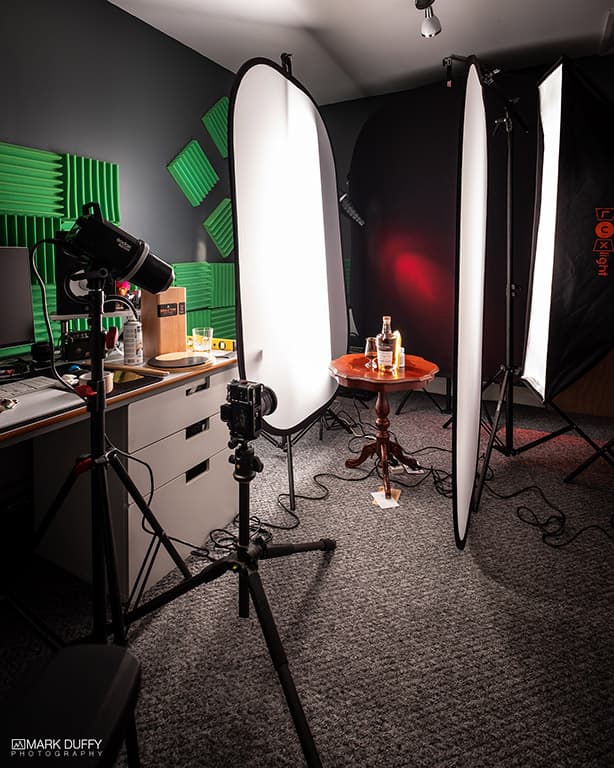
The only issue is that my home studio wasn’t initially built for the type of photography I do, so now I’m cramming 2m diffusers into it to photograph products. The XPro controller is one of the best things about using the Godox system. It’s so easy to use, I never needed to read the manual, but you have so much control with it. It allows me to create up to five groups, with multiple lights per group. For headshots, I tend to use the Godox SL60W in a 38in octabox as my key with reflector, Yongnuo YN360s as a kicker and then Godox speedlight for white background.
The reason I go for this rather than the strobes is that the 150W modelling lamps with the strobes aren’t bright enough to pin a subject’s pupils, so you get this ‘Bambi eye’ effect in your photos and I hate that. So I use a video light, increase my ISO and use the speedlight to freeze the action. If I know I’m going to be in a brightly lit room, I’ll use the Godox MS300. I can get just as good results from either setup. The MS300s are great because they’re lightweight and compact, with a decent amount of power – and as I said above, using them with the XPro controller is so easy, same with using speedlights.
I just prefer to use strobe as the modelling lamps show me how the light will look when I’m setting up, thereby speeding up my setup time. They also have a fast refresh time so I can shoot quicker.
Lighting type limitations
One of the main drawbacks I’ve found with the MS300 models is that they don’t have a low-enough power output. For more open apertures I’d like the ability to go lower than 1/32 power. Also they need to be mains-powered, so doing location shots isn’t possible. I am looking at perhaps investing in the Godox AD400 or something like that for future projects.
The other issue with these, and with strobes in general, is that they use 150W halogen modelling bulbs that can get extremely hot, so you need to be careful that you don’t leave them on for too long or you’ll melt your gels – or in my case, I melted the protective hood because I was using it as a DIY snoot.
Further reading
DIY home lighting solutions