Using your iPhone to take great pictures is pretty much a given these days – they’re some of the best smartphones for photography after all.
However, with results improving all the time, it can sometimes be said that we’re missing a little bit of creativity and fun in our iPhone photography.
Here’s where this simple hack that you can try anywhere, with any type of photography is worth giving a go. And you might be surprised at what I’m about to tell you.
This isn’t a new trick in photography at all – far from it – but it might not be something you’re familiar with, it might be a long time since you gave it a go yourself, or if you’re anything like me, it’s just not something you ever considered trying with an iPhone.
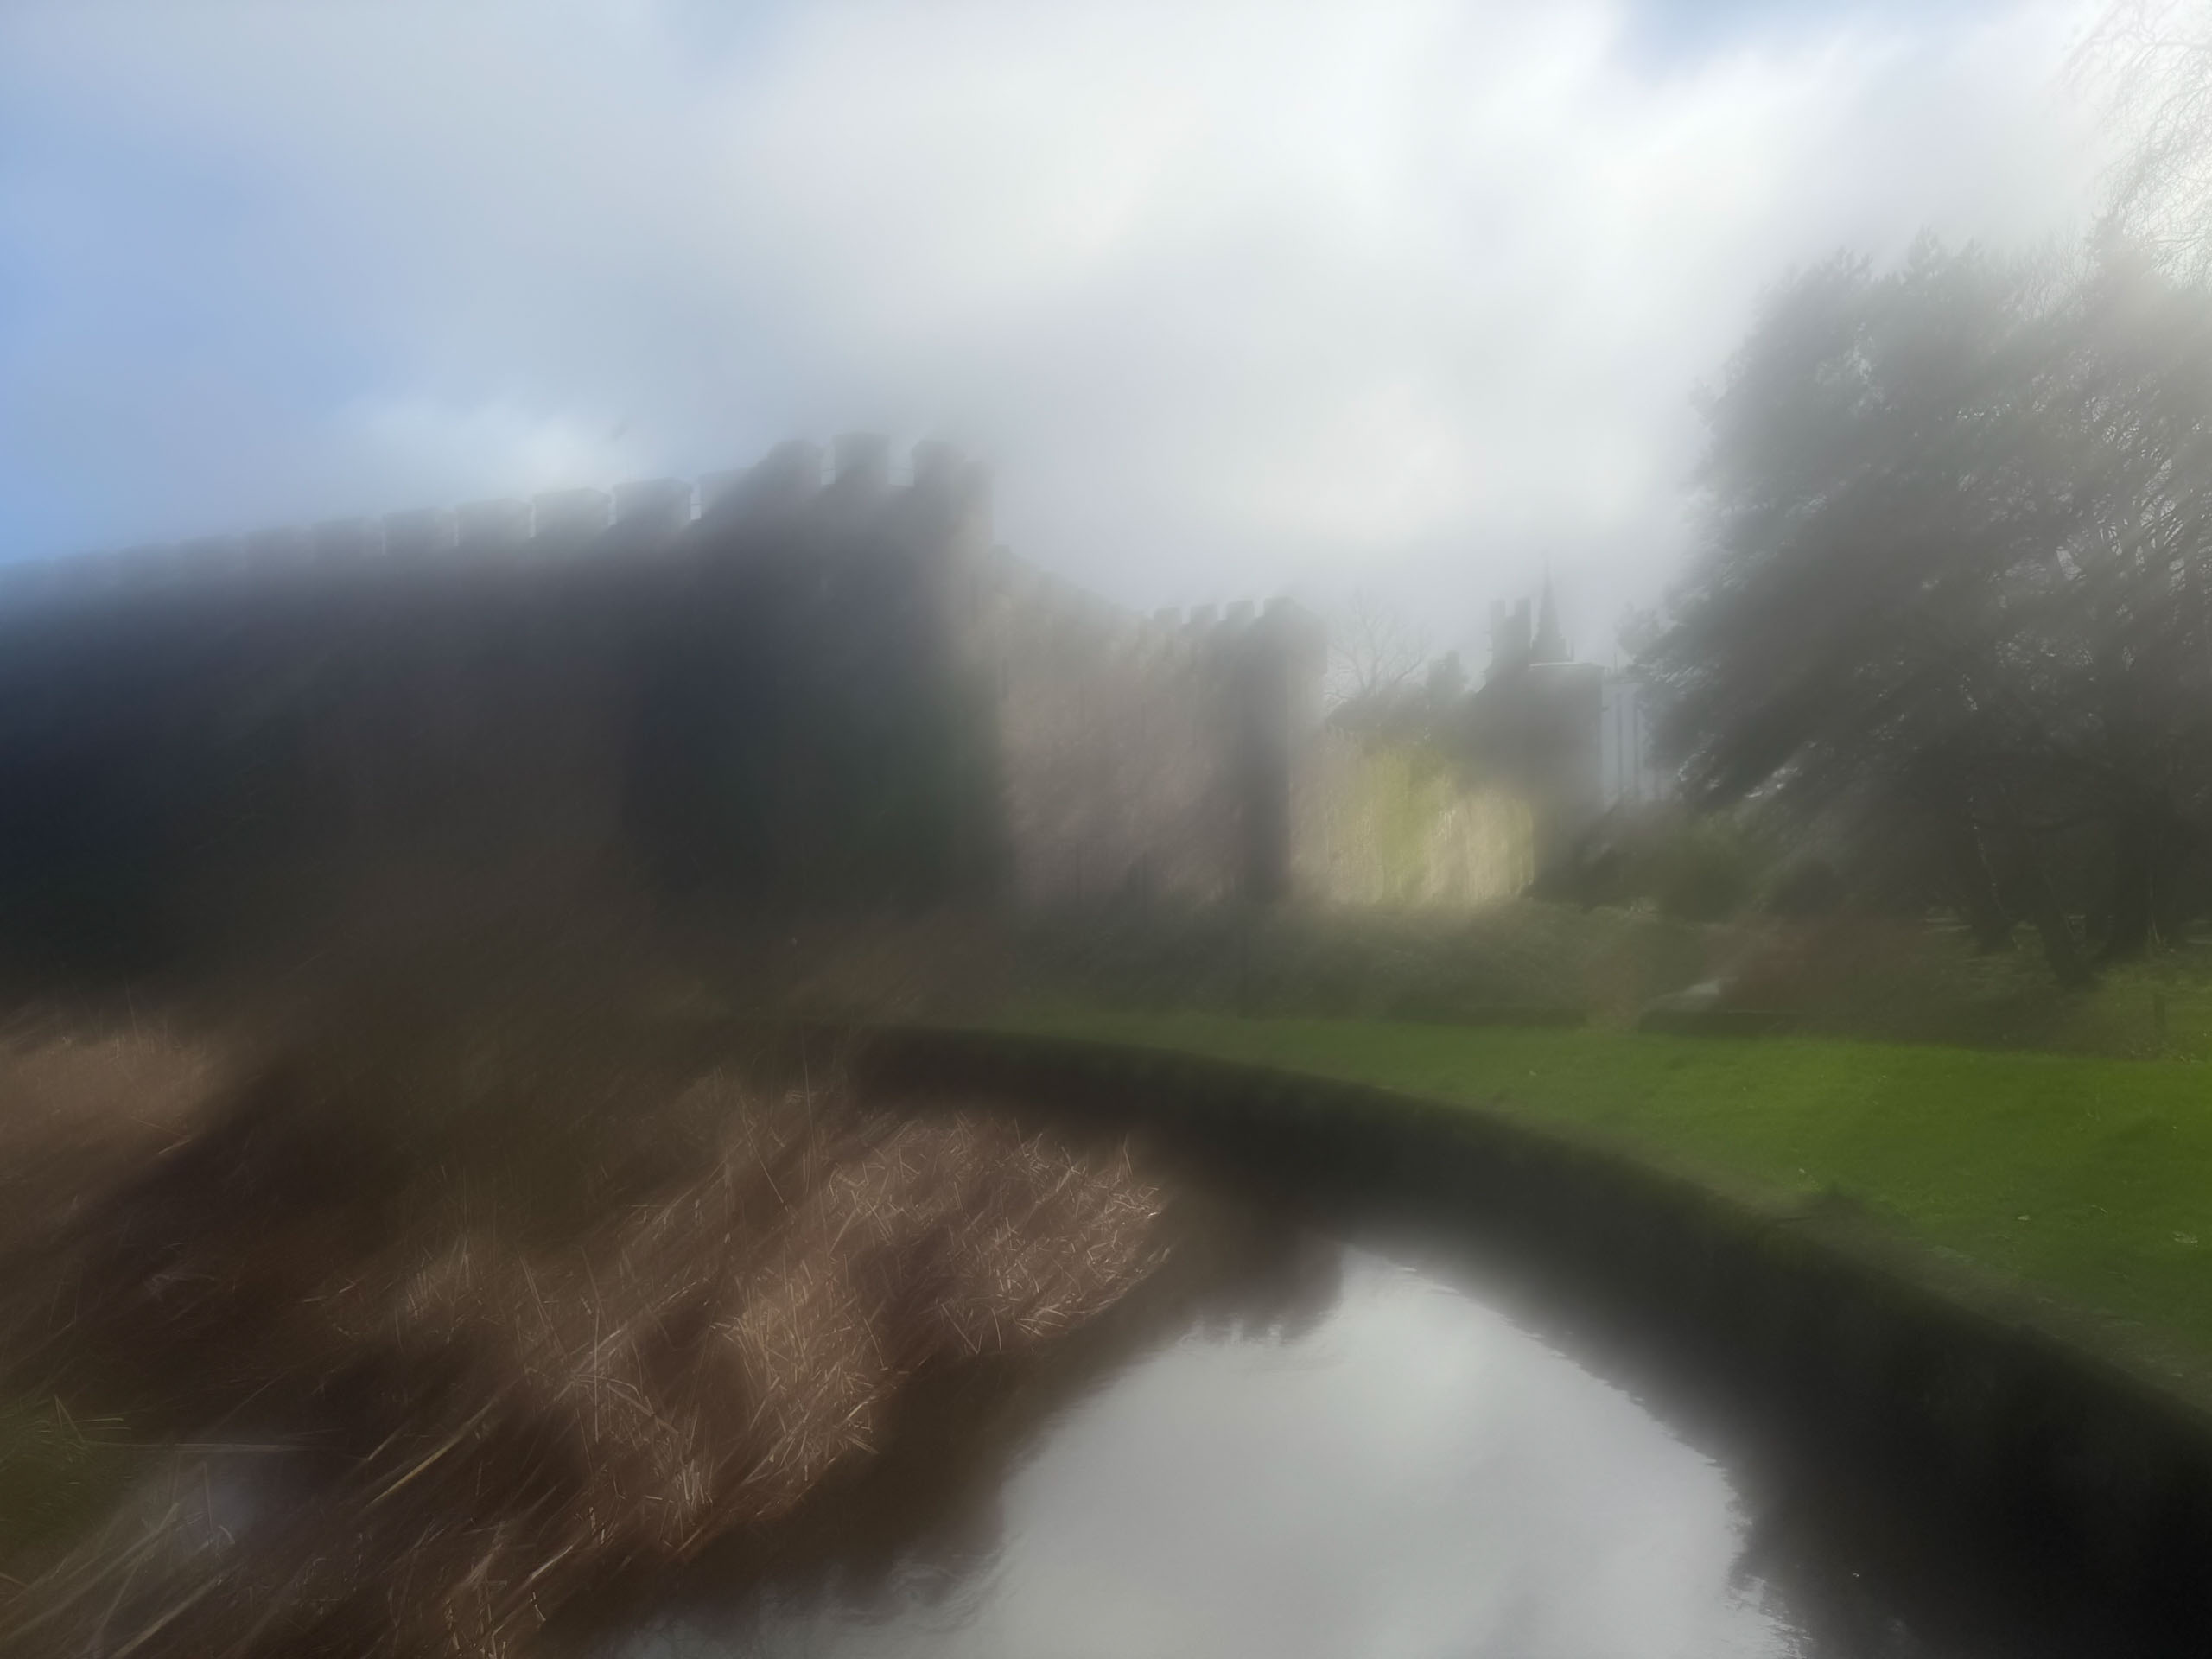
With it, you’ll get soft and dreamy results, reminiscent of a 1970s camera that makes everything look a little bit less harsh, a little bit less sharp and might just remind you why you fell in love with this creative pastime in the first place.
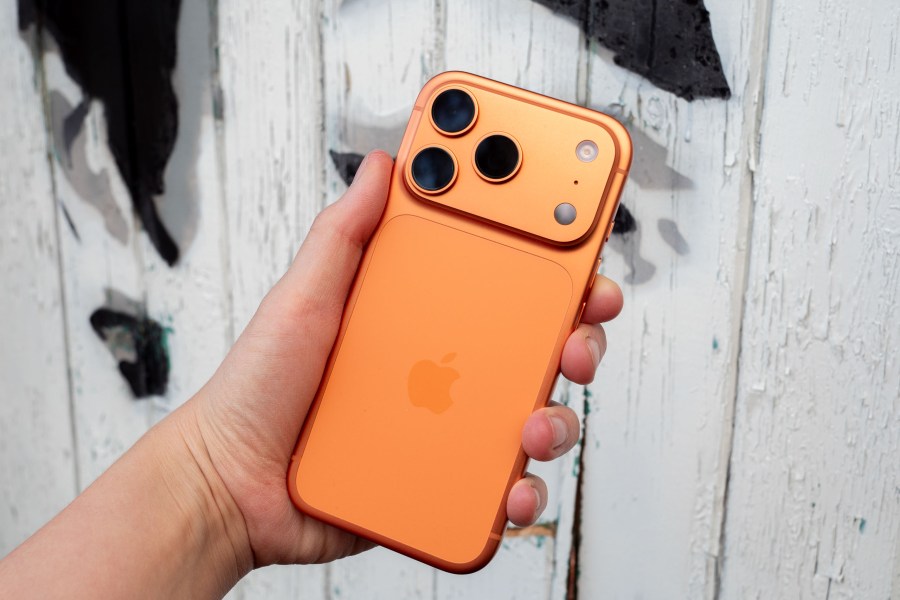
All you need to do is grab a tub of Vaseline (or a $1 lip balm from your nearest dollar store will also do the job) and smear a little bit of it on your iPhone’s lens.
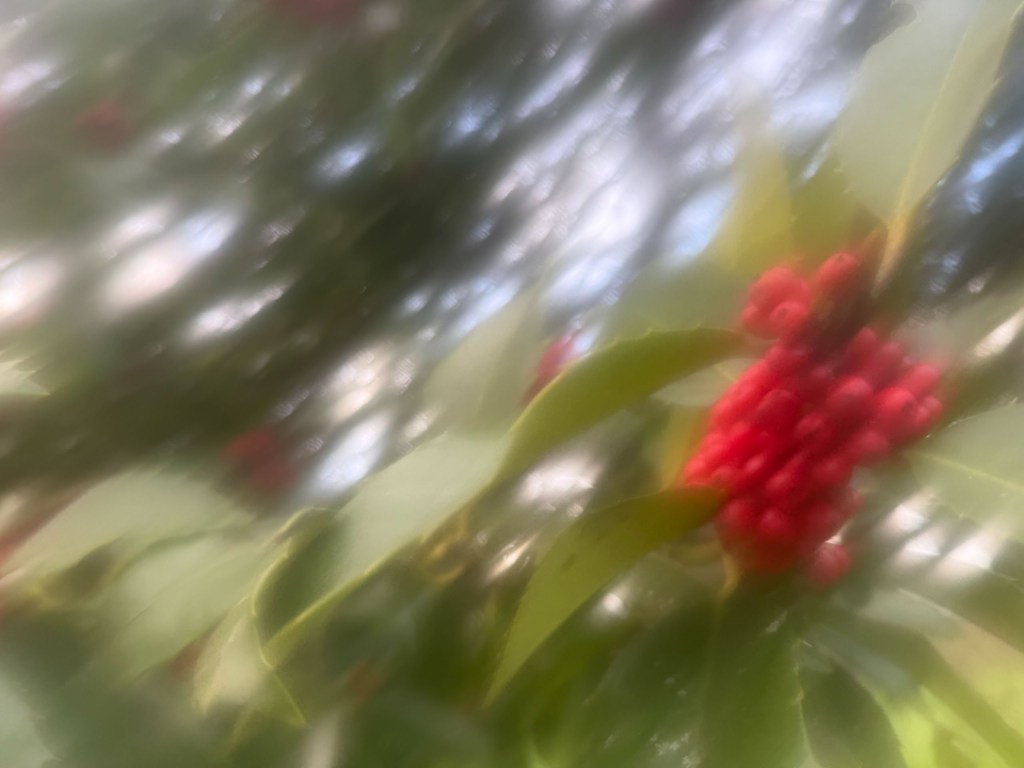
You’ll find that a little bit really goes a long way, and you can experiment with different amounts to increase, or decrease the blur. You might find for example that just a tiny amount to slightly soften the shot is ideal for people shots, while more works well for landscapes where you can really work on creating an abstract shot.
Most iPhones have at least two lenses, so you’ll need to figure out which lens you’re going to smear the Vaseline on. If you’re not sure, what I tend to do is open the camera app and place my finger over each lens – when your view is obscured you’ll know it’s the right one. Of course, you can put the Vaseline on any or all of the lenses if you want the effect to apply across different focal lengths.

You might notice that if the lens gets really smudged, a warning pop up on your iPhone encouraging you to clean your lens. Don’t worry – you can simply ignore this or dismiss it on screen and carry on shooting. It serves as a useful reminder to remember to clean it off afterwards!
It is interesting to compare side by side the results you get when shooting with and without the Vaseline. Neither is necessarily right or wrong, good or bad, but it’s always fun to experiment with different styles – you could of course apply some kind of digital filter and achieve the same effect, but there’s something I guess a little more “authentic” about creating it in camera.

The fun doesn’t have to stop there either – once you’ve tried this once, you can also try combining it with adjusting the Picture Styles – you might find it works well in black and white for example. It’s always worth a go. Don’t forget you can also change the Picture Styles later as well, so you can really go to town trying different things.
Once you’re done, it’s important to remember to clean your lenses. Don’t worry about getting them mucky in the first place, lens coatings on iPhone lenses are excellent and can surely withstand it. However, you don’t really want a grubby lens going into your pocket – and of course you’ll probably want a clean lens for your next shot.
The quickest way to remove the Vaseline is simply by using a tissue to remove the excess, then you can polish it with a lens cloth if you like (let’s be honest, you’ll probably use your t-shirt if you’re like me).
If you want a more extensive clean when you get home, remember that modern iPhones are water resistant – I run mine under the tap all the time to freshen it up!
So there we go – a simple and effective trick that can produce some beautifully creative effects. Will you be giving it a go – get in touch with your shots if you have.
Related reading:
- iPhone photography tips: use your iPhone to get great results
- iPhone 17 Pro review – Apple’s best camera, but is it worth upgrading?
- The hidden iPhone camera setting I use every single day is a total game changer
Follow AP on Facebook, Instagram, YouTube and TikTok.