1. Use the volume button as a shutter release
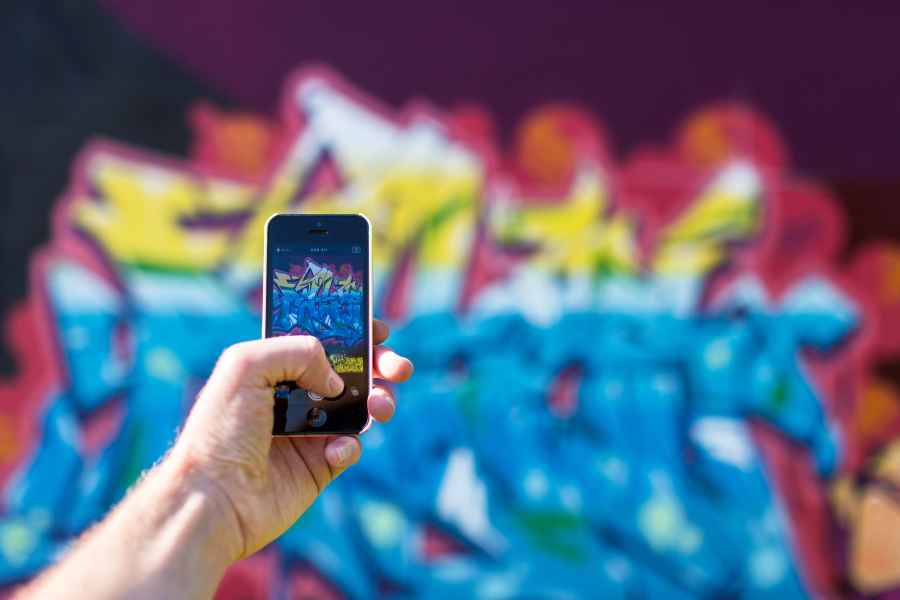
You can hold your iPhone more like an actual camera if you use the volume up button to trigger the shutter. Simply frame your shot and press the button down. It’s also more likely that you’ll keep the phone still, and therefore prevent blur, than if you’re jabbing at the on screen button.
2. Utilise HDR
One of the features of the iPhone camera is HDR mode. You have three options, you can either switch it on, switch it off, or have the phone decide for you.
Leaving it on all the time can result in some fake-looking images, while switching it off altogether can mean that some tricky lighting situations can fool your camera.
However, switch it to Auto and the camera, which is pretty clever, can decide that for you. If you find that the camera is misjudging when it’s best to use it, you can always switch it back to off.
3. Crop and Rotate
You can edit your photos directly in the Camera app on your iPhone. This is particularly useful for cropping and rotating.
Remember that every crop you make degrades the quality of your image, but it’s useful for making small crops to improve the composition of your image. Simply tap Edit to make the edits.
You can also use the Editor to add filters, change brightness, saturation and colour.
4. Time Lapse
You can create a fun Time Lapse video directly in your iPhone’s camera app. You need to swipe from Photo across to Time-Lapse. Simply hit the record button and the phone will take a photo every few seconds. When the action unfolding has stopped (perhaps a sunset, for example), press the record button again and the time-lapse video will be created automatically.
5. Alter exposure
There’s not too many manual options available with an iPhone, unfortunately, but one thing you can control is exposure compensation. It’s not altogether obvious how you do it, so if you’ve missed it – try this simple trick.
Tap the point on the screen where you want the camera to focus, and you should see a small sun icon next to the focus square. Drag your finger up and down the screen and you should see brightness increasing or decreasing – ideal for sorting out overly bright or overly dark conditions.
6. Engage burst mode
Using burst mode to fire off a number of shots in quick succession is particularly useful when photographing fast moving action, such as sports, wildlife (or your dog), children and so on.
To use burst mode, simply hold down the shutter release (either on screen, or the physical volume button). The phone will continue to take photos for as long as you have your finger held down (or the phone runs out of memory!). The iPhone also will automatically pick the photo it believes to be the best from your burst when looking through images in the Photo Album, but you can choose a different one yourself if you prefer.
After you’ve chosen a shot, you can either keep all of the other shots from the burst, or discard them to free up space on your phone.
7. Use the timer
Particularly useful for group and self-portrait shots, you can either choose from a three second or 10 second timer. At the end of the countdown, a burst of 10 photos will be taken. Again, you can choose from the selection to make sure everybody is smiling, or has their eyes open.
8. Take the flash
The flash on the iPhone isn’t as powerful as you’d find on a regular camera, but it can still save the day during very dark conditions.
Switch it to Auto and it should only go off when the phone detects there is a need for it, but, like with HDR mode, if you’re find it’s going off more than often than it should, you could always switch to permanently off.
Have you got any top tips for getting great snaps with your phone? Let us know in the comments box below.


