Zoner Photo Studio X is a complete image-editing suite with a wide array of tools for photographers and content creators of all levels. Its spring update embraces a powerful HDR feature for images rich with highlight details, plus three new tools for fine-tuning your photo
In partnership with Zoner Photo Studio X
For a smooth, efficient workflow, whether you shoot stills or video, you need a fully-featured, powerful software and Zoner Photo Studio X, a program for Windows 10 and 11 fits the bill nicely (you can try it for yourself for free).
The software is based on five modules that take you through the image workflow process in a logical manner. It starts with Manager where image files are imported and organised before editing and output.
For most people, it’s the editing stage which is the most important and Zoner Photo Studio X is rich with potential here with local adjustments, layers, masks and camera/lens profiles, so ideal for editing newcomers as well as advanced workers.
Zoner Photo Studio X is available on subscription at $5.99 a month or a money-saving $59 a year with the benefits of access from wherever you are, 20GB of Zoner Cloud storage and free, automatic updates. Two major updates are scheduled each year, Spring and Autumn, and the first 2024 update has recently been unveiled.
The outstanding feature in the spring update is Zoner’s unique HDR technology which is capable of showing the full dynamic range of raw images, even those captured over 15 years ago.
Three new effects have also been added. There’s Add Grain which is a powerful feature to add noise or digital grain for analogue looking images, while to give images more personality there’s the Glow and Halation features.
We’ve sampled the three new tools as well as Zoner Photo Studio X’s unique HDR skills to give you an idea of their power. These additions build on a software that is already blessed with extensive array of creative and editing tools, giving ZPS X more appeal than ever.
HDR – it doesn’t need to be garish
HDR (High Dynamic Range) has a slightly tarnished reputation thanks to the popularity of gaudily-coloured images produced from exposure bracketed sequences processed through HDR dedicated software.
The thing is those vibrant tone-mapped, fake colour images that passed as HDR were not really HDR. Not only that but back then most of had SDR (standard dynamic range) monitors so you couldn’t appreciate the benefit of HDR imaging anyway.
True HDR imaging is preserving the full dynamic range in images from strong highlight to deep shadows, but to enjoy the tonal range possible with HDR, you need a correctly set-up operating system, an HDR-capable monitor and a true HDR capable software. The latest Zoner Photo Studio X update is the first editing software that lets you view and edit true HDR photography.
What is true HDR?
HDR capability is something we are seeing on phones, tablets, laptops and desktop monitors, as well as the televisions of the past few years.
As a keen photographer, you will have heard of HDR and probably indulged in it yourself but the world of true HDR is a rather confusing world of jargon and different standards.
Zoner has plenty of support so if you want to learn more, here are some links to check out.
For Zoner’s take on true HDR photography click here.
For details of the hardware needed for HDR photography editing click here.
To learn about HDR editing click here.
For details of certified DisplayHDR products click here.
HDR editing in Zoner Photo Studio X
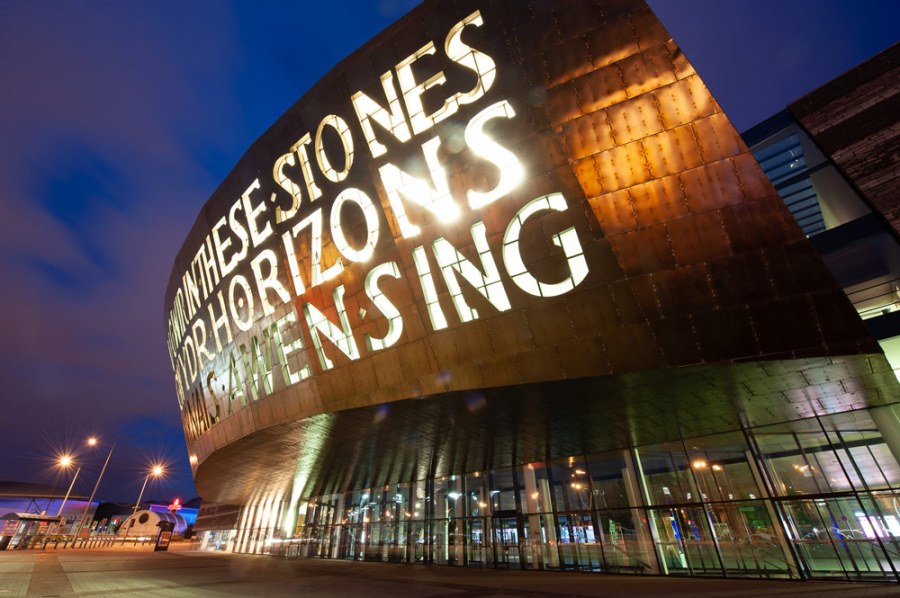
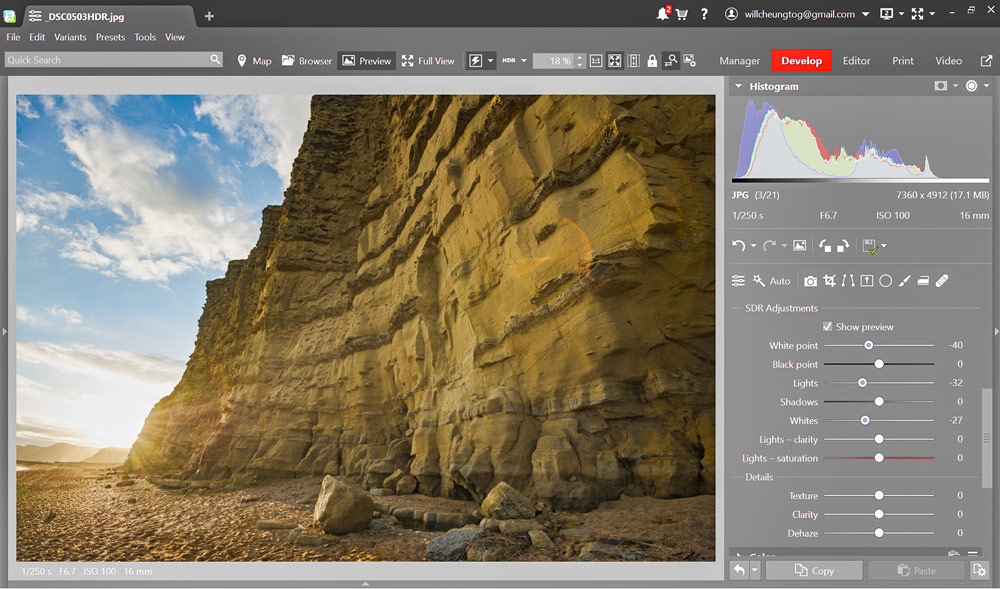
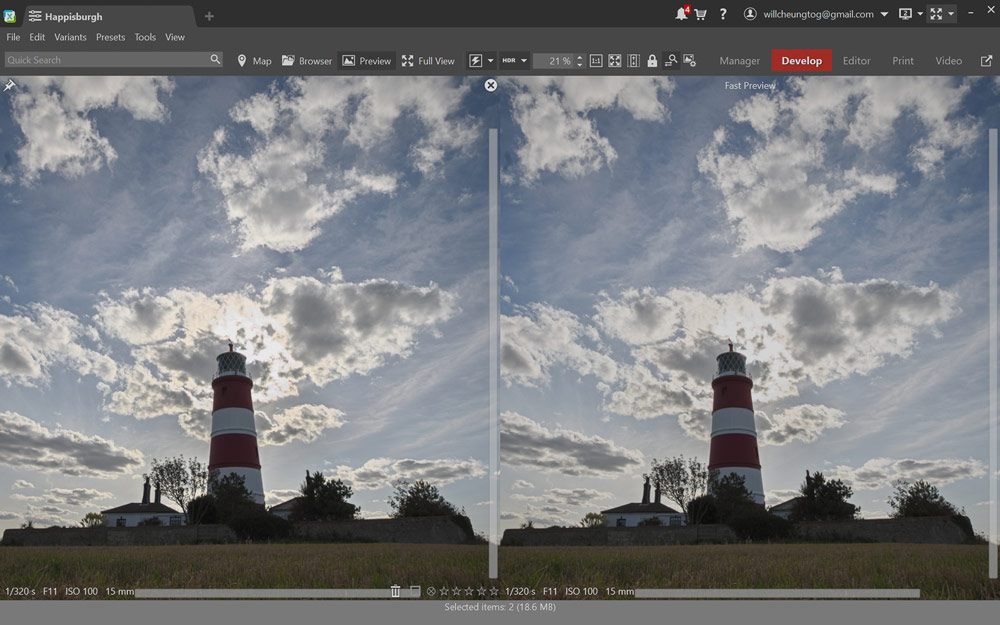
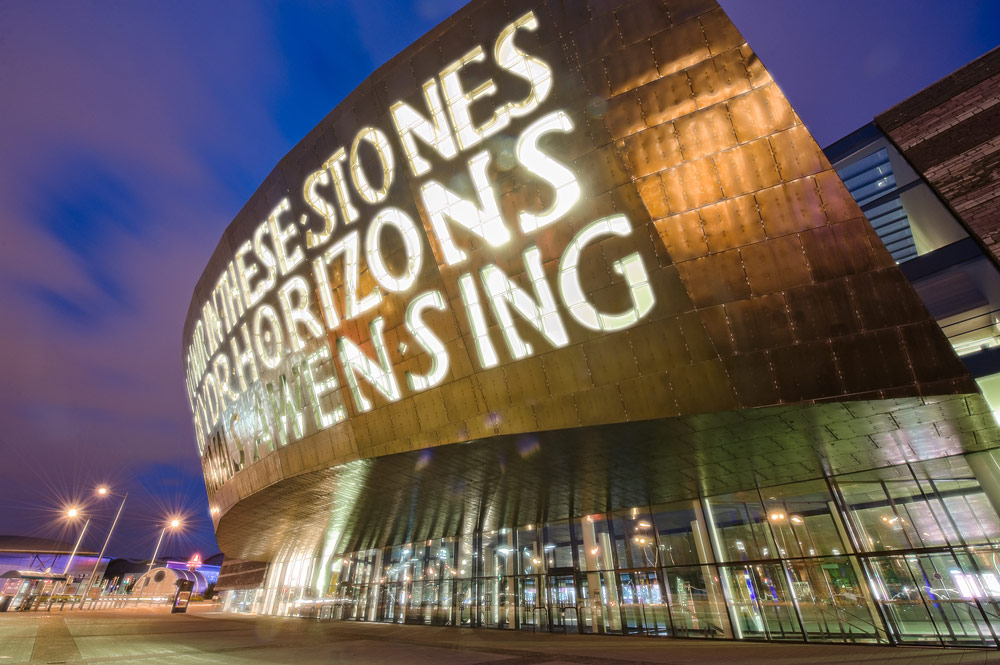
The benefit of HDR is most clear with images featuring a strong light source, because bright highlight details are not visible in SDR (standard dynamic range). Our brightest natural light source is the sun so we used a couple of scenics to test out Zoner Photo Studio X’s HDR processing skills. We used a Lenovo Yoga laptop running Windows 10.
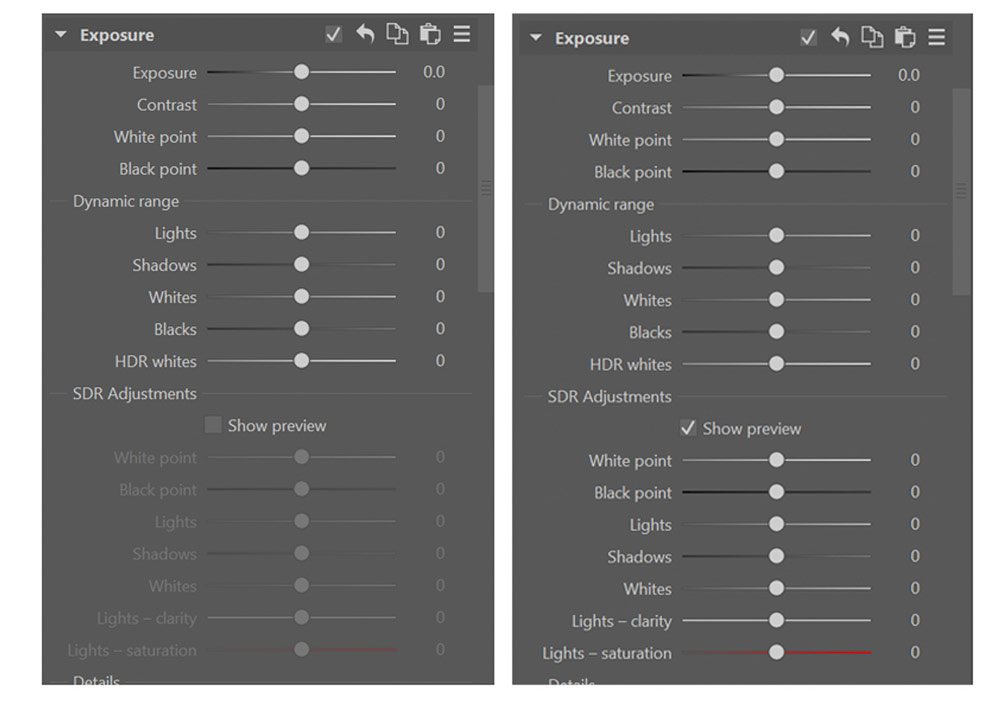
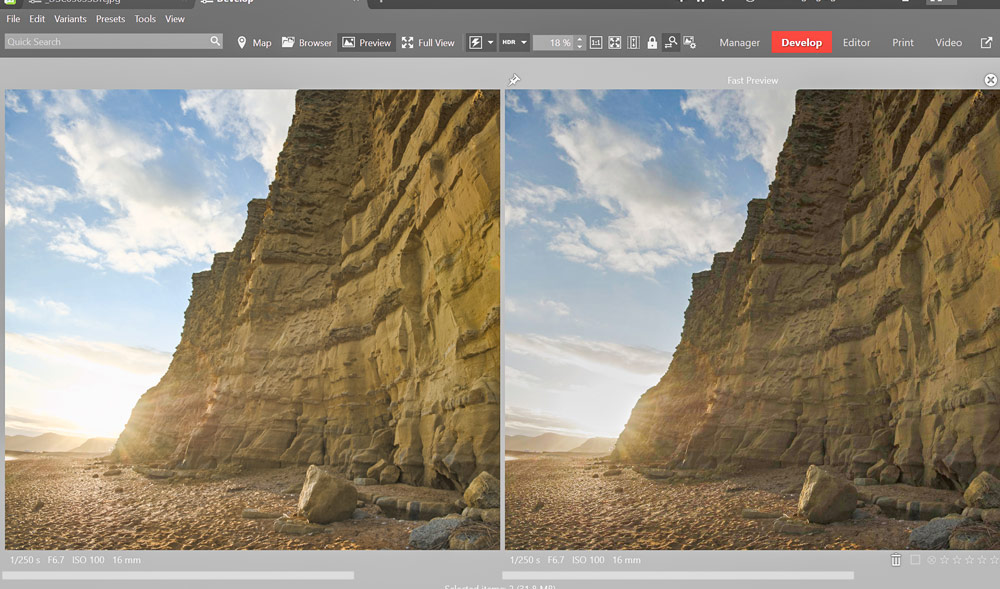
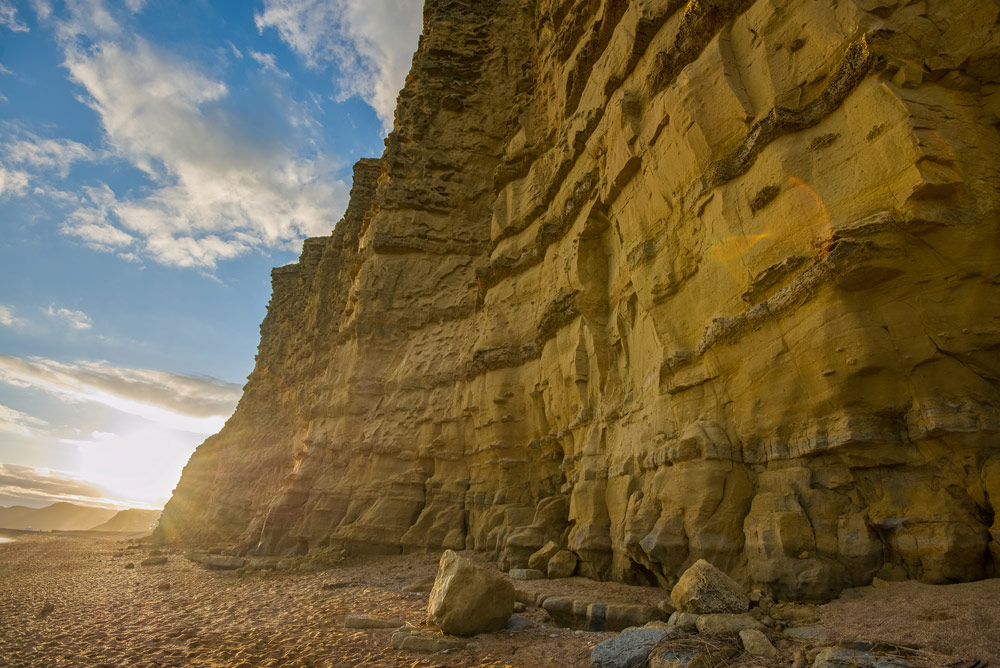
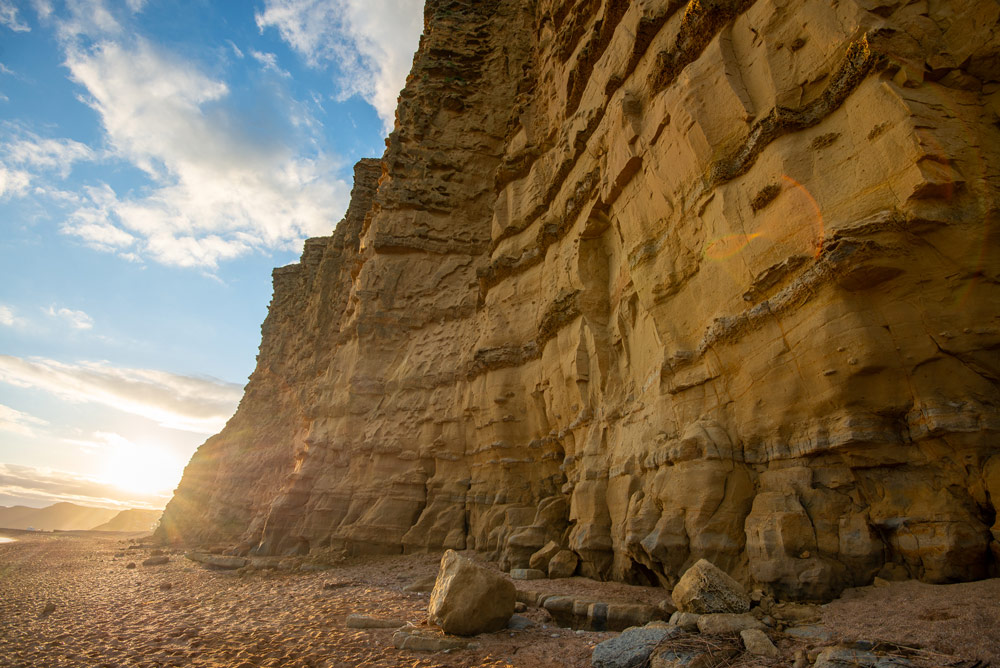
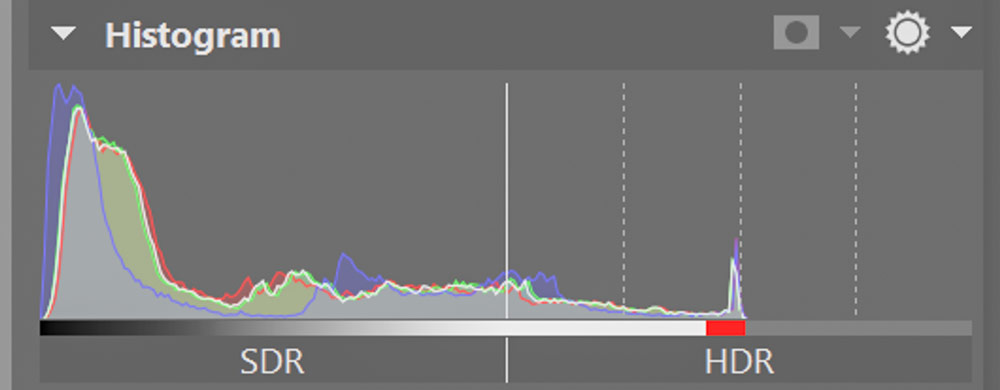
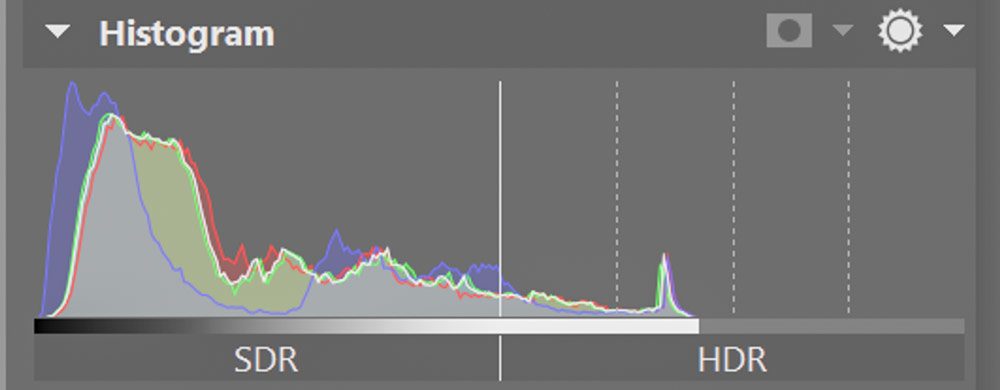
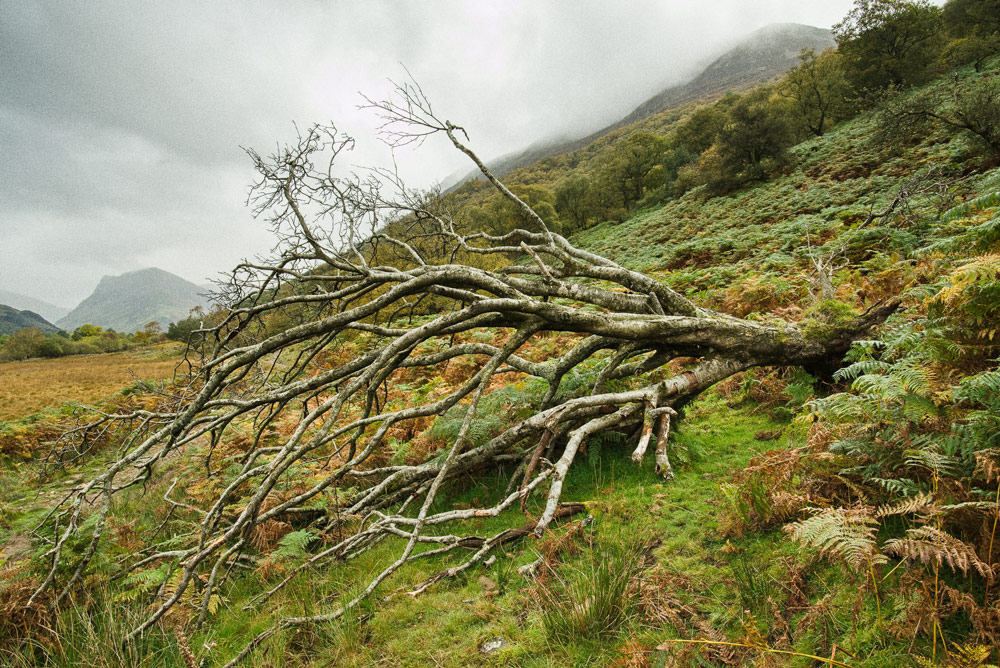
Above you can see the same raw image processed SDR and in HDR both in Zoner Photo Studio X. If you are viewing the HDR processed image on an SDR monitor you won’t see any difference.
Aiming for the filmic look
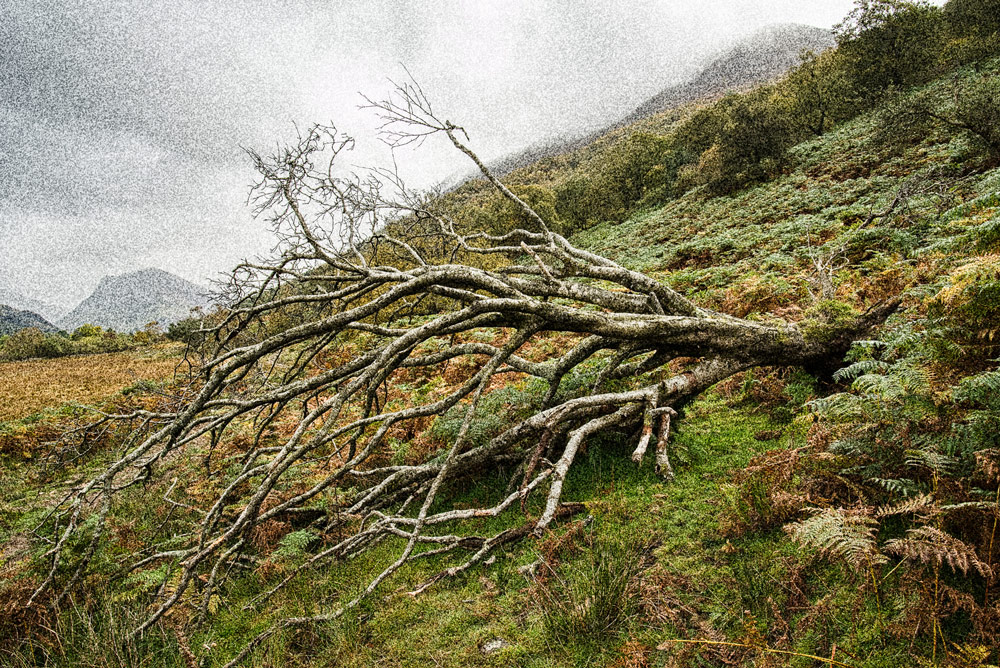
Interest in film photography is on the up, particularly among younger creators, and there will always be something special about the look you get shooting with emulsion. Of course, apps including Zoner Photo Studio X, have tools available to emulate a filmic look. The spring update of Zoner Photo Studio X has an extra tool to an achieve realistic film look with its Add Grain effect.
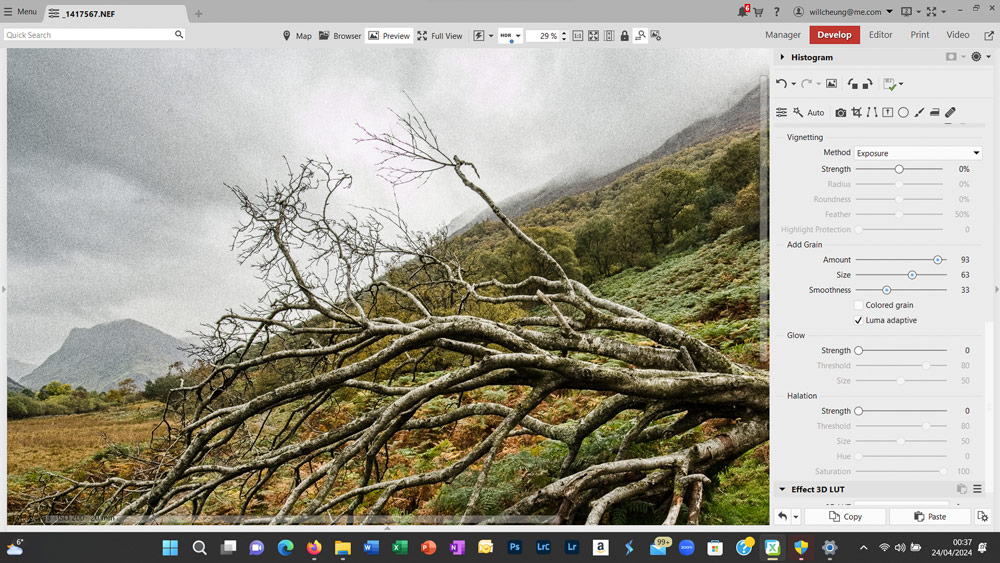
The three sliders allows you to tweak the effect with great control to suit the scene and the default setting gives a neutral grain that van be refined to suit your taste. Less filmic is the Colored grain option that gives a predominately blotchy green and red effect reminiscent of big enlargements from early digital camera sensors used at high ISO speeds.
There’s also the Luma adaptive tick box which makes the grain less obtrusive across the whole frame for a better-looking result with cleaner highlights and mid-tones. In our opinion, the best look comes with this box ticked.

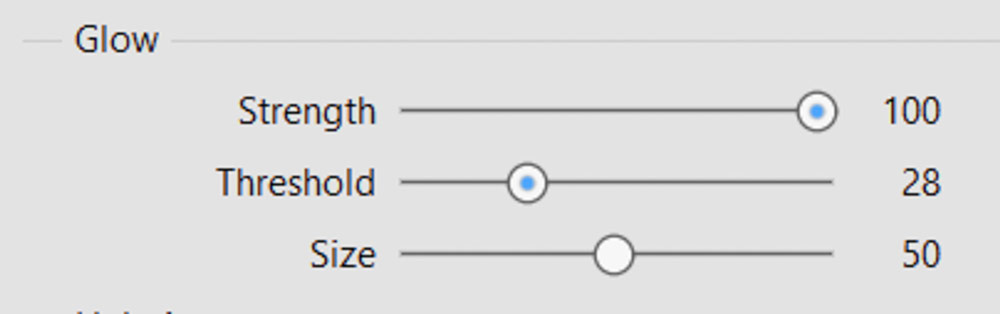
Introducing a cosy glow
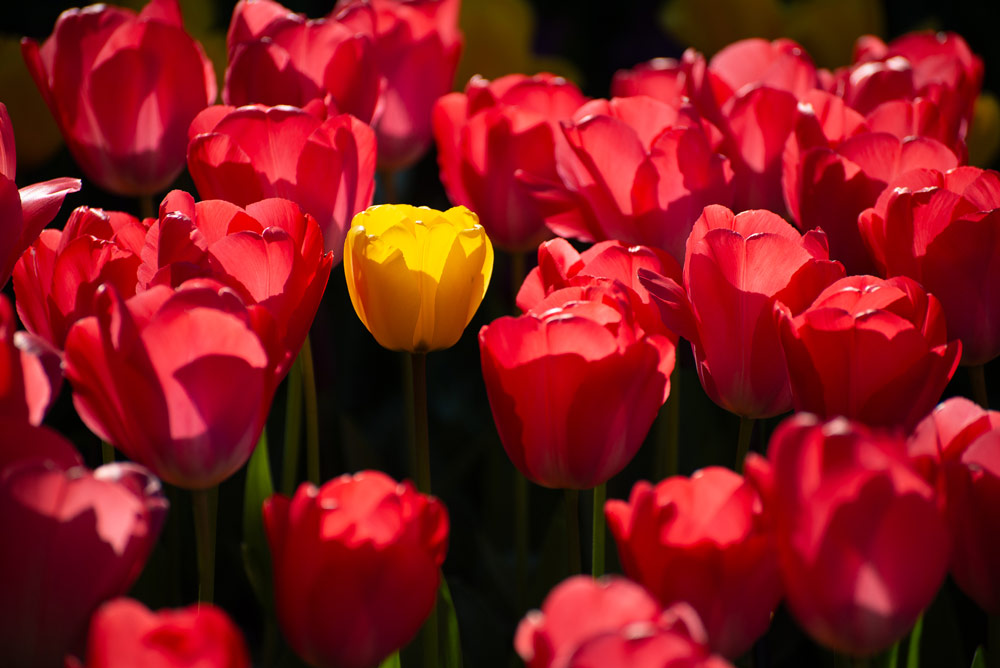
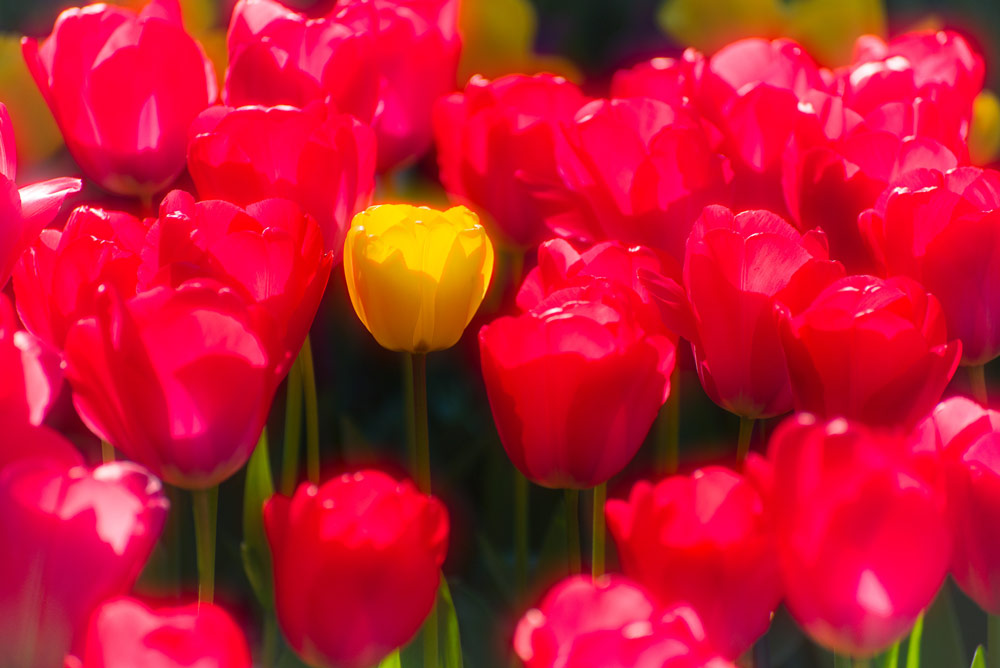
The Glow tool can add a fluffy, luminous feel to your shots and the feature in Zoner Photo Studio X is very controllable too. Adjust the sliders, give the software a few seconds to update the preview and check out the result. The tool affects highlight areas most obviously and this is where the effect can be seen at its best, adding a lovely delicate halo to highlights.
The Glow tool suits a wide range of subject matter too, from portraits and scenics to still-life and abstracts. Of course, there’s the opportunity to use this tool in combination with the Halation and Add Grain features discussed here to give images with an individual look.
The Halation effect
Halation is an effect seen in film photography where light scatter taking place within a film’s structure gives a dreamy, diffused look around bright highlights.

It’s not always a look that’s welcomed in film pictures but with Zoner Photo Studio X’s Halation tool, the effect can be tightly controlled for a glowing look that suits the image.

Summary: Zoner Photo Studio X, spring 2024 update
Zoner Photo Studio X goes from strength to strength and there’s no doubt it offers Windows users a cheaper and very powerful option.The true HDR tools in the spring 2024 update certainly work well, although you do need a HDR monitor to enjoy it.
The Glow, Halation and Add Grain tools are also very welcome, and add ever greater versatility to Zoner Photo Studio X. To check out the software for yourself, try the demo version here.
Further reading
Quickly edit raw files with Zoner Photo Studio X