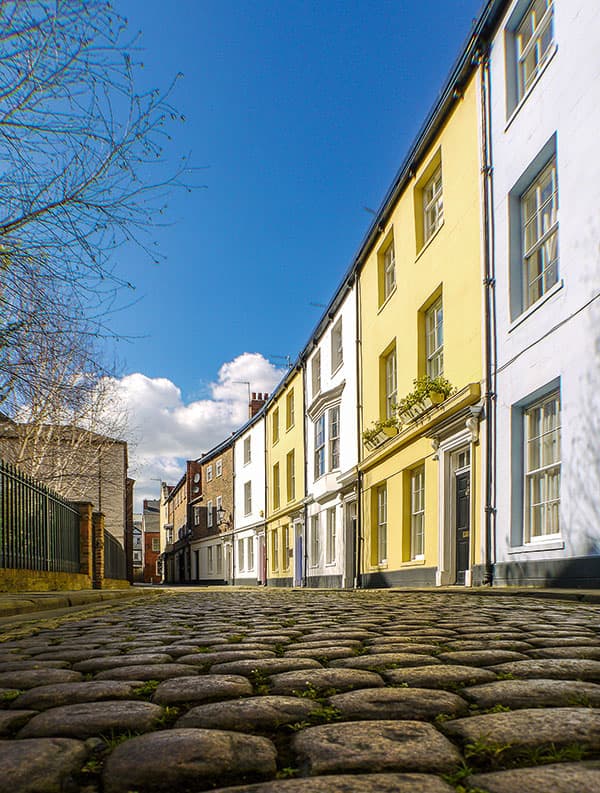
I like the choice of viewpoint in this image, where Rob Deyes has deliberately positioned the camera at a low angle to get a worm’s-eye view of the terraced houses running along the right of the frame. In doing so, he has managed to effectively hide the double yellow lines and emphasised the shiny cobblestones reflecting the yellow houses.
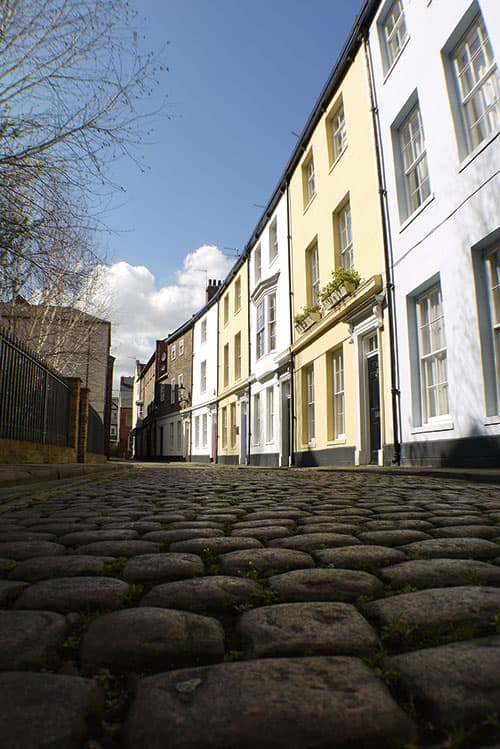
Before
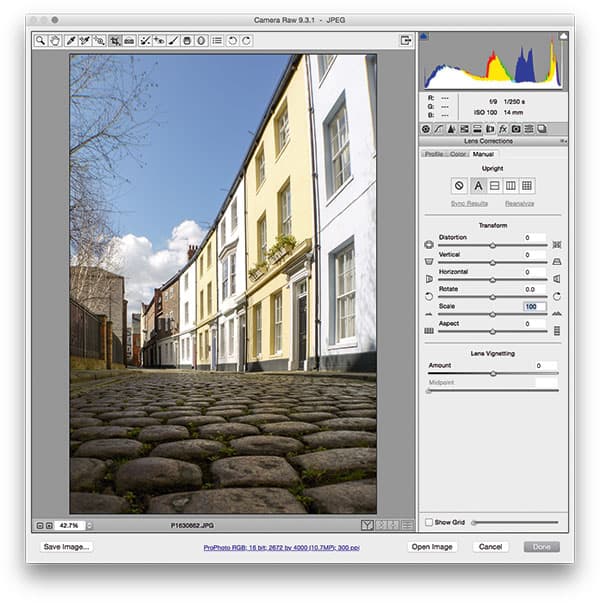
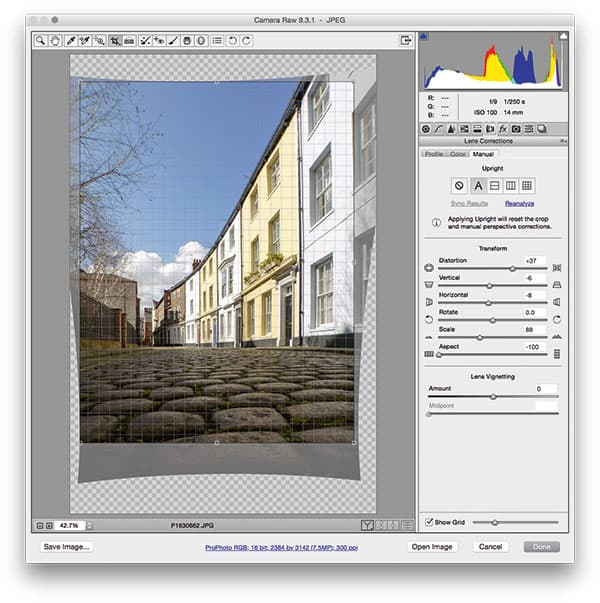
The 14-42mm lens Rob has used with his Panasonic Lumix DMC-G2 has led to some nasty barrel distortion and unfortunately there was no matching Camera Raw lens profile available with which to apply an automatic lens correction to resolve this. I therefore had to rely on the manual Transform sliders in the Lens Corrections panel to correct the photograph. This worked rather well and you can see in the following steps how, by applying a positive Distortion slider adjustment, I was able to get the curved edges to align perfectly to the grid overlay, through manual perspective corrections.
After
1: Apply an Upright adjustment
The easiest way to correct the perspective for a photograph such as this is to apply an Upright adjustment. I did this by going to the Lens Corrections panel and clicked on each of the Upright buttons in the Manual tab section to see which looked best. In this case, I found the Auto option worked best.
2 Transform adjustments
It’s always a good idea to check the Enable Lens Profile option in the Profile tab, but when the lens data is missing, use the Transform sliders to compensate for any geometric distortion that’s present. In this step I applied a +37 Distortion correction to remove the barrel distortion, and set the Aspect slider to -100 to stretch the image horizontally.
3 Basic tab adjustments
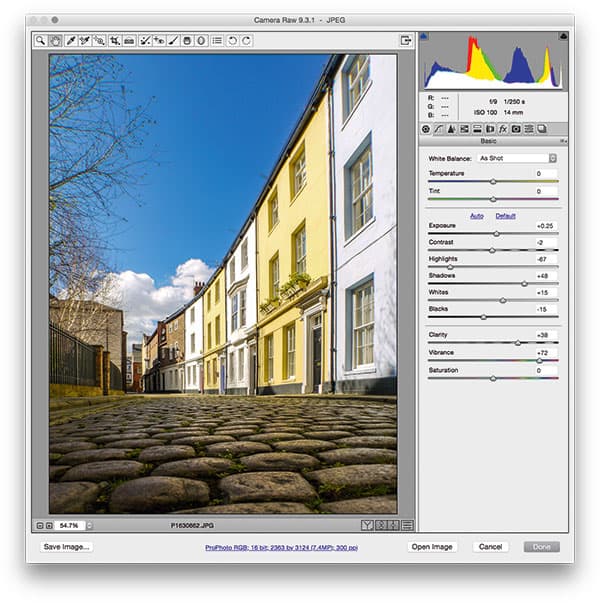
Finally, I cropped the photograph to trim and constrain the image area (and exclude the transparent pixels). Then I adjusted the Basic sliders to optimise the image and add more global contrast. I set Clarity to +38 to add more midtone contrast, and set Vibrance to +72 to boost the colour saturation.
