Filters are a landscape photographer’s best friend. They can be used to balance tricky exposures, stretch shutter speeds, and manipulate the way light is recorded. In short, no serious landscape photographer should ever leave home without at least a handful of filters in their kitbag. Some will argue that in this digital age, their relevance is on the wane, but as advocates of getting it right in-camera as much as possible, we’re here to explain why they will never become obsolete.
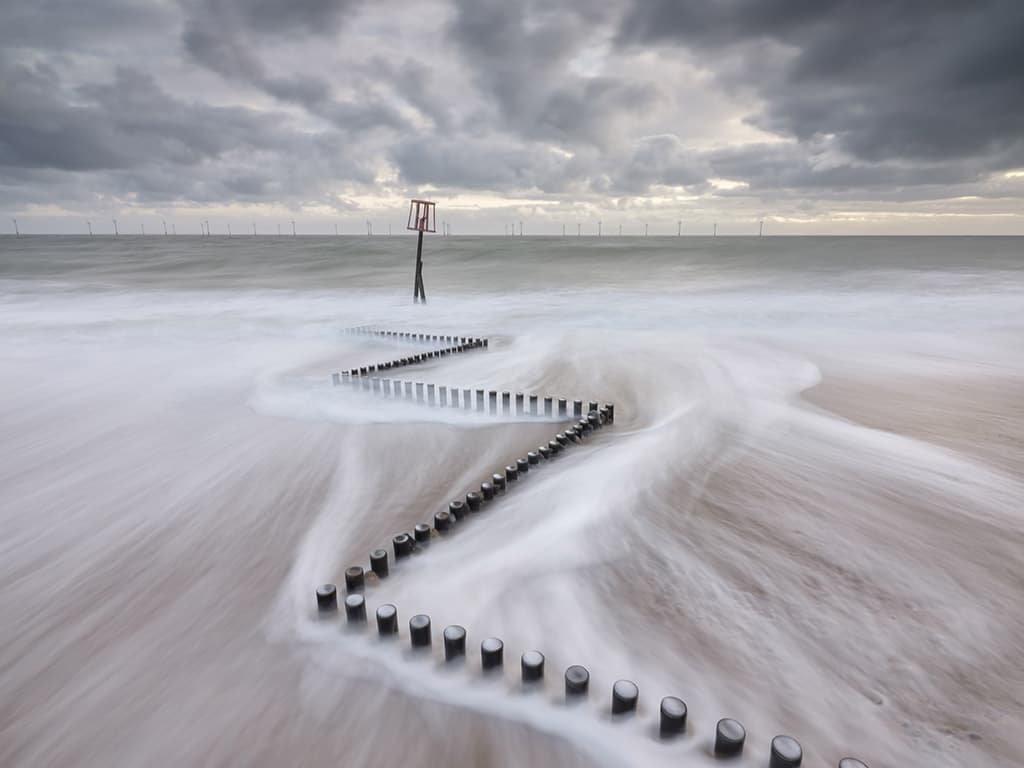
An exposure of 2.5 seconds meant that texture was retained in the water as the waves washed over the groyne in this beach scene. Fujifilm GFX 50R, 23mm lens, 2.5sec at f/16, ISO 200, Lee 4-stop IRND, Lee 0.6 medium ND grad
There are numerous types of filters available, and all have their uses, no matter how niche, but there are three types that all discerning landscape specialists need to know about: graduated neutral density filters, neutral density filters, and polarising filters. All three will have a profound effect on your photography, but which you use and how you use it will depend on your chosen subject and intended end result.
Graduated neutral density filters
Often referred to as ND grads, they are the most commonly used filters and feature a light-reducing coating that is dark grey at the top and clear at the bottom. They are designed to balance exposures and to maintain detail in both the sky and the foreground and are available in a variety of light-reducing strengths, typically from 1 through to 4 stops, although some manufacturers quote these strengths as 0.3 (1 stop), 0.6 (2 stops), 0.9 (3 stops), 1.2 (4 stops) and so on. Just to muddy the water, some brands also use filter factors: 2x (1 stop), 4x (2 stops), 8x (3 stops), 16x (4 stops) and so on. With extreme NDs, such as the Lee Filters Big Stopper, the amount of light reduction is quoted as 10 stops or 3.0 or 1000x.
Grads tend to be slot-in filters (see below) that slip onto a filter holder and allow you to carefully fine-tune the position of the graduated area according to the landscape before you. Filters can be moved down and up ib the holder or rotated to suit, and you can check the effect at the set aperture by using the camera’s depth of field preview – or of course by taking a test shot.
There are three main types of ND grads: hard, medium and soft. Hard ND grads feature a short, abrupt gradation from grey to clear and are ideal for landscapes with perfectly straight, clean horizons; medium ND grads feature a more gradual transition and are perfect for landscapes that include undulating elements such as rolling hills; and soft ND grads feature a lengthy transition and are best used in scenes with irregular horizons such as mountains or broken up by trees. ND grads can be ‘stacked’, inverted and angled, and their effects should be seamless.
If you’re a fan of sunset photography, it might be worth investing in a reverse ND filter. These are usually more expensive and the densest section of the filter is just above the centre to cut down light levels from a setting sun low on the horizon.
Neutral density filters
Also known as NDs, these filters also reduce the amount of light hitting the sensor, but unlike grads they are a solid netural tone. Designed to stretch exposure times and blur movement, NDs have become hugely popular in recent years, with the ‘Big Stopper’ effect of milky water and streaking clouds becoming almost cliche. Like grads, NDs are available in various light-reducing strengths, from 1 stop at their most subtle through to 15 stops (and more) at their most extreme. The latter has the power to transform a shutter speed of 1/60sec into an exposure of 8 minutes!
While more subtle NDs will darken a DSLR’s viewfinder, you can still compose and expose as normal. However, with more extreme NDs, you will need to adjust your technique accordingly. NDs that block 6 stops of light and above will render a DSLR’s viewfinder unusable so you will need to compose and expose your image before adding the filter, using a free app such as Lee Stopper Exposure Guide to work out the required shutter speed, taking into account the strength of the filter.
Most mirrorless cameras can compensate for a neutral density filter, brightening the viewfinder or monitor so you can stil see the scene to compose. However, as with a DSLR, the autofocus system may struggle because of the reduced amount of light reaching the sensor (autofocus sensor in the case of a DSLR). You may be better off framing up the picture and using manual focus before adding the filter, making sure you don’t nudge focus as you fit it to the lens front.
Note that not all NDs are entirely neutral and extreme NDs in particular may add colour casts to your images, which will need to be removed at the editing stage. The other option is to manually set a custom white-balance to get a more neutral result, so experiment with your filter on the camera to see which Kelvin value works best. For example, the original Lee Big Stopper always gave a strong blue cast and setting a white-balance of 10,000K produced more neutral pictures.
Polarisers
A polariser is perhaps the most versatile of the three filter types discussed here. They can be used to deepen blue skies and reduce or remove reflections from water, glass and painted metal surfaces. More importantly, their effects can’t be reproduced by editing software, making polarisers the most future-proof filter type. Polarisers are incredibly easy to use: you simply attach the filter to your lens or holder (most feature a recess or front attachment) and rotate it to achieve the desired effect. They are most effective when shooting subjects positioned at a right-angles to the sun, or with reflective surfaces such as water and glass, the best angle is around 45 degrees or less to the surface. If you want to learn more on this, do a web search on Brewster’s angle.
Take care, though, because it is easy to over-polarise, especially if the sky is already a nice blue, so try not to darken skies too much as the effect can look unnatural. It’s important to note that polarisers can reduce light by up to 2 stops and so act like mini NDs.
As a result, they’re often used together with NDs to combine the effects and further stretch exposure times. In addition, if you’re using a lens that rotates when focusing, remember to switch to manual and focus before turning the filter, because the desired polarising effect will be lost otherwise.
Filter types
There are two types of filters: slot-in and screw-in. ND grads and NDs tend to be slot-in types, although screw-in variable NDs are available, while polarisers are usually in circular mounts that either screw onto the lens or clip/slot into a filter holder. Slot-in filters ‘drop’ or ‘slot’ into a holder that attaches to the front of a lens via an adapter ring and allows for multiple filters to be used at the same time. Screw-in filters, on the other hand, attach directly to the front of a lens via the filter thread. Both types have their pros and cons and which you choose will often depend on budget, as drop-in filter systems tend to be more expensive because you need a holder and adaptor rings. There are dozens of filter manufacturers, and some of the most popular include B+W, Cokin, Formatt-Hitech, Haida H&Y, Hoya, Kase, Lee Filters, Marumi, NiSi, SRB and Tiffen.
Polarising filters: pro advice
Your guide: Ross Hoddinott – Ross Hoddinott is one of the UK’s best-known landscape photographers. Based in north Cornwall, Ross is a multi award-winning photographer and a Lee Filters Master. His first eBook is called The Essential Guide to Filters for Landscape Photography. Follow the link to visit Ross’s website.
If you only have room for one filter in your kit bag, a polariser is the best choice. It works like no other filter. By rotating it in its mount, you can block or regulate the effect of polarised light and therefore eliminate glare, reflections and restore natural colour saturation. Using one can bring your images to life and its effect is impossible to replicate using software. Although the direction that wavelengths of polarised light travel in is inconsistent, it is normally easy to identify the point of optimal contrast. Simply peer through the camera’s viewfinder – or enable live view – and slowly rotate the filter within its mount. As you do so, you will see reflections and glare come and go and the intensity of colours strengthen and fade. You have reached the filter’s optimal point when colours are at their most vibrant.
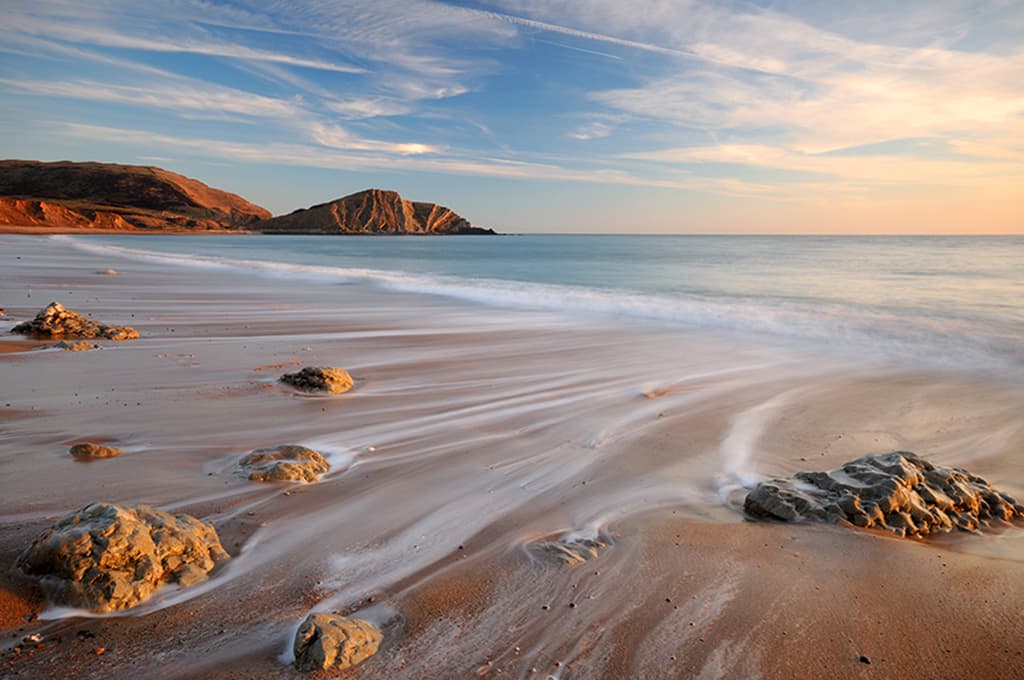
Worbarrow Bay, Dorset, UK. February 2008.
I’m a big fan of polarisers and regularly use one when shooting landscapes. They are great for producing images with extra punch and vibrancy. While they are best known for saturating clear blue skies, they are equally adept at eliminating reflections from water and glare from foliage. I always attach a polariser when shooting woodland interiors or close-ups of plants and leaves. If you are ever unsure whether a polariser will enhance a scene or not, just pop it on and take a look.
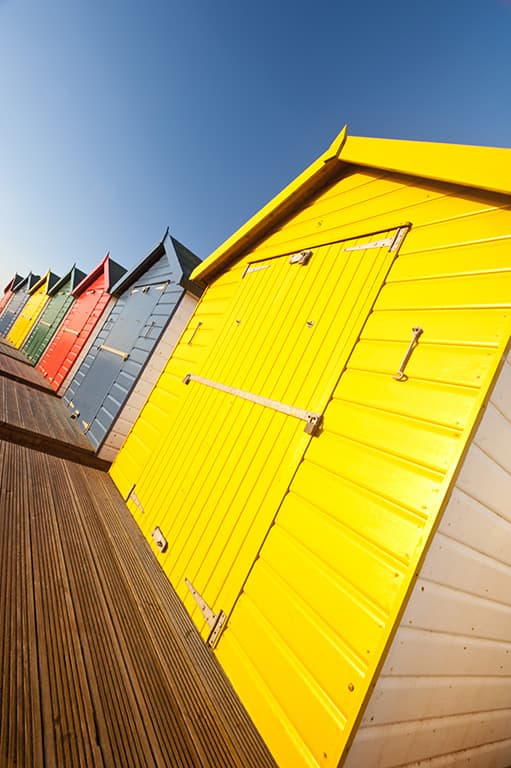
Polarisers are best known for saturating clear blue skies. Nikon D700, 17-35mm, 1/20sec at f/11, ISO 400
Sometimes their effect will be subtle, but still beneficial, and other times the filter’s effect can be like night and day, totally transforming your shot. It all depends on the prevailing lighting conditions. However, the degree to which you wish to polarise a scene or subject is very much down to your own discretion and taste so trust your instincts. A word of warning though: their effect can be very seductive and it’s easy to overdo it, but try to always retain a natural feel to your shots.
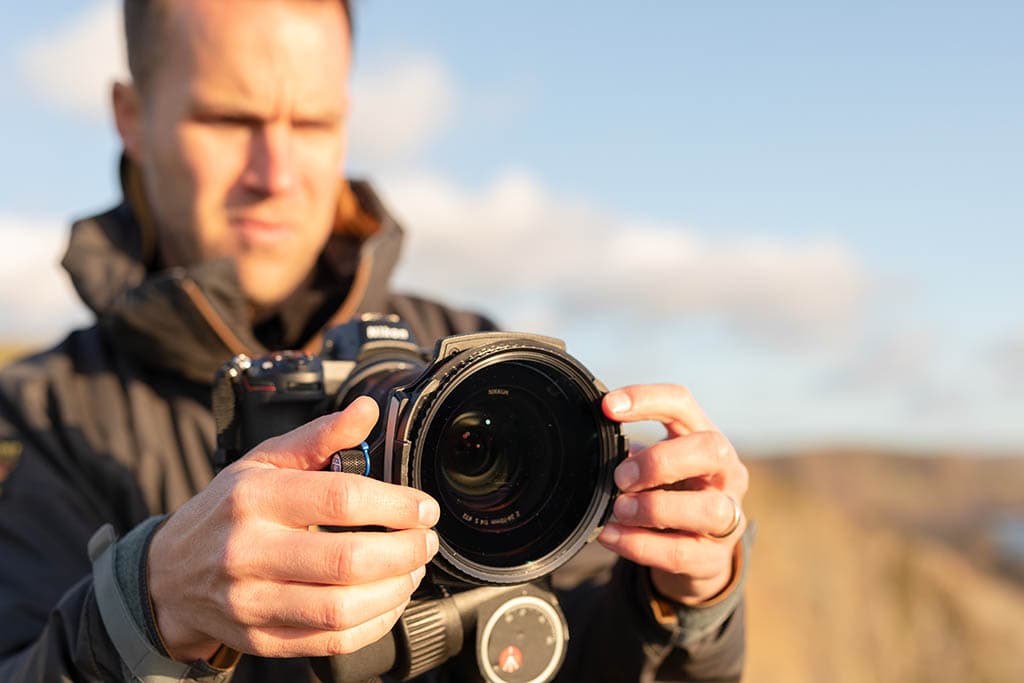
Using a polariser
1. Polarisers are typically in circular mounts, and screw-in models are available in a range of filter thread sizes to match different diameter lenses. However, if you regularly use a filter holder, you may prefer to buy a polariser that’s compatible with your system as this will enable you to combine filters more easily.
2. A wide variety of scenes suit using a polariser. When shooting landscapes with blue skies, the most pronounced effect will occur when at a 90-degree angle to the sun, but the strongest effect will not always produce the best results. Beware of uneven polarisation. This is when the level of polarisation varies in different parts of the sky and is a problem that’s most common in wideangle photos.
3. Polarisers absorb up to 2 stops of light, but your camera’s TTL metering will automatically compensate for this (unless you are using an older linear filter). Rotate the filter and watch as colours and reflections strengthen and fade. There is no golden rule to how much you should polarise a scene so adjust the filter intuitively until you achieve what you consider is the most visually pleasing effect.
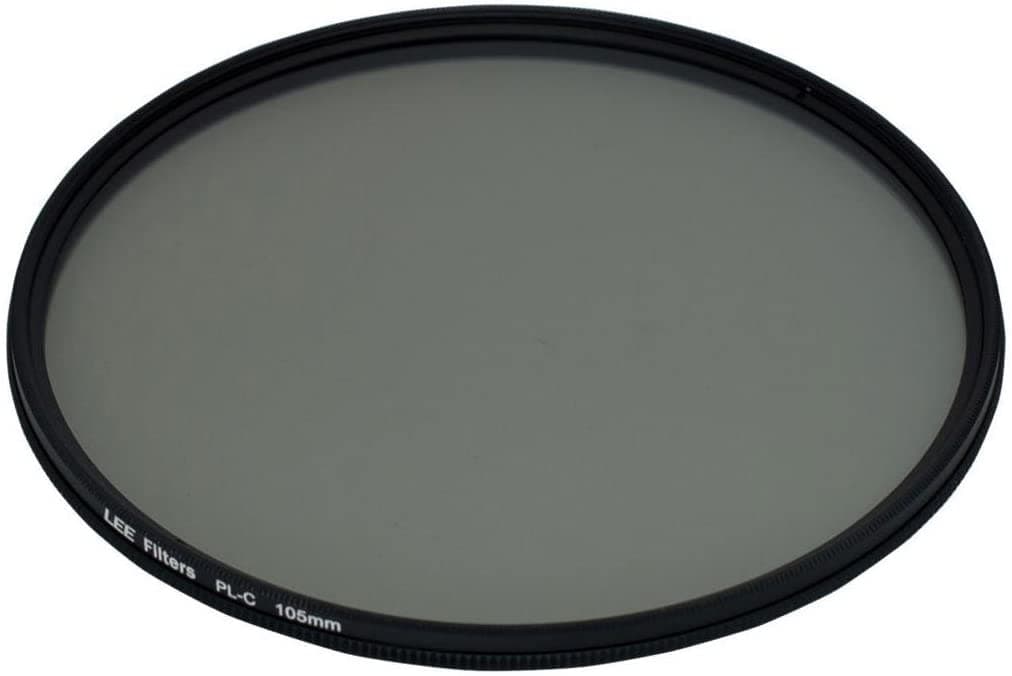
Ross’s filter of choice
Ross never leaves home without his Lee Filters 105mm Landscape Polariser (above), a slimline glass filter designed specifically for landscapers using wideangle lenses as wide as 17mm on full-frame cameras; just watch out for uneven polarisation with very wide lenses. As well as minimising glare and reflected light, this filter also features a subtle warm tint for boosting reds, browns and greens. Expect to pay around $255/£204. Visit leefiltersdirect.com.
Graduated Neutral Density filters: pro advice

Your guide: Justin Minns – Justin is a professional landscape photographer and workshop leader known for his atmospheric images of East Anglia. His clients include the National Trust and English Heritage and he is a Lee Filters Master. See his website.
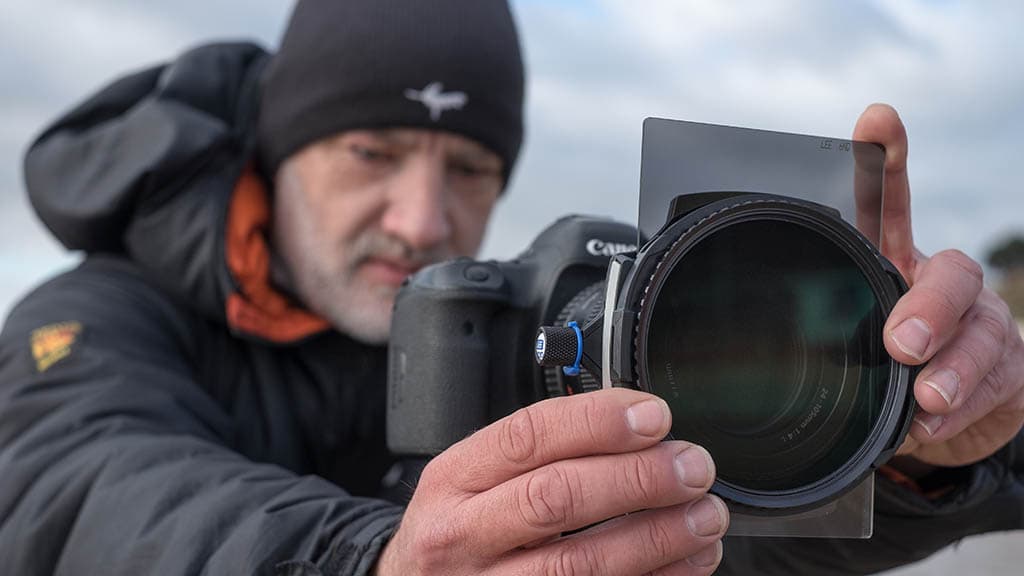
I mainly work around dawn and dusk when the light and conditions are at their best, but this does pose some technical problems. At this time of day the sky is often much brighter than the land and this difference in brightness can be greater than the dynamic range of the camera. This means that if the foreground is correctly exposed the sky will be too bright, whereas correctly exposing the sky will result in a very dark foreground. To get around this I use graduated neutral density filters, also known as ND grads.

Ice blue: Moraine Lake, Canada. Canon EOS 5D Mk IV, 16-35mm lens at 20mm, 5sec at f/11, ISO 100, Lee Filters Polariser and 0.9 soft graduated filter
Positioning the tinted part of a grad over the sky reduces the brightness and brings the dynamic range of the whole scene within that of the camera. I find in most cases filters give a more natural and immediate result than high dynamic range (HDR) photography and getting it right in-camera saves me time in front of the computer. As well as different strengths, a variety of graduations are available – soft, medium, hard and even very hard – to suit different landscapes.

The dunes at Southwold, Suffolk. Canon EOS 5D Mk IV, 16-35mm lens at 18mm, 1/25sec at f/16, ISO 100, Lee Filters 0.6 hard graduated filter
Hard grads are ideal for seascapes where there is a clean horizon, medium grads suit scenes when elements such as mountains protrude into the sky, while the smooth blend of a soft grad is useful where there is no definite transition between sky and foreground.
Using graduated filters
1. There is more than one way to use graduated filters, but my preferred method starts with composing the image with the camera mounted on a tripod, then switching the camera to live view and setting the aperture and ISO, and then manually setting the shutter speed so that the foreground is correctly exposed. This is your base exposure.
2. If the sky is too bright, adjust the shutter speed until the sky is correctly exposed and work out the difference between the two exposures. For a natural result use a filter 1 stop lighter than needed – so if the sky is 3 stops brighter than the land, use a 2-stop filter.
3. Carefully position the filter so that it covers the sky and blends with the land, angling the filter if necessary to cover the brightest part of the sky. If you are struggling to position the filter, the depth of field preview button can make it easier to see. Finally, set the base exposure and take the shot.
Justin’s filter of choice
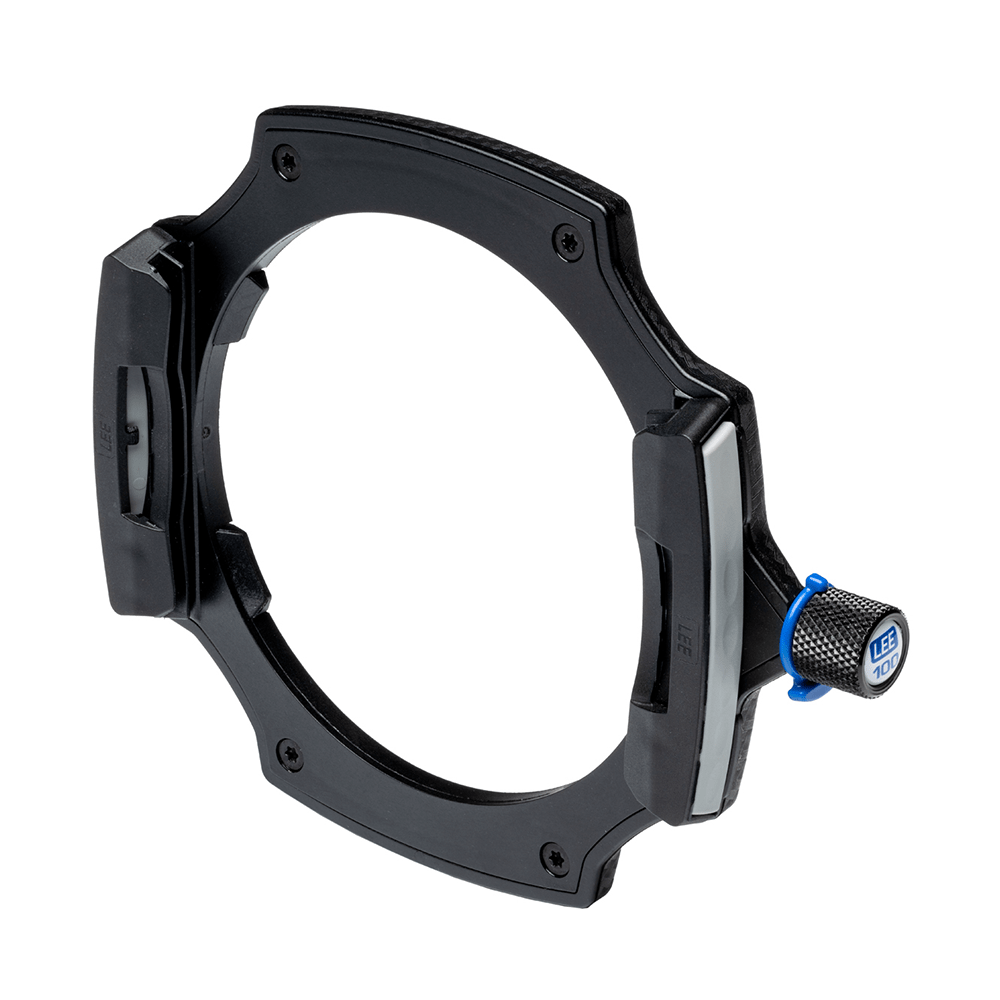
Justin uses Lee Filters’ Lee 100 System and would typically pack the following grads in his kitbag: 0.6 (2-stop) hard grad; 0.9 (3-stop) hard grad; 0.6 (2-stop) medium grad; 0.9 (3-stop) medium grad; 0.9 (3-stop) soft grad. A Lee 100 Landscape Kit featuring a filter holder, 0.6 medium grad and carry pouches costs $240/£192 – don’t forget to add adaptor rings to suit your lenses. Visit leefiltersdirect.com.
Neutral Density Filters: Pro advice
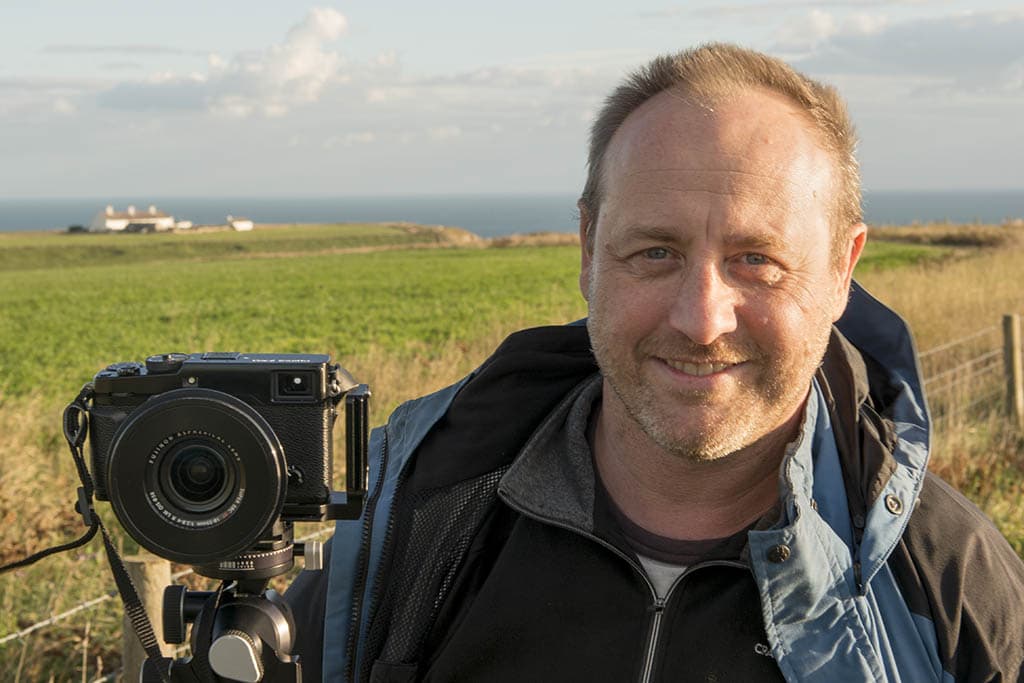
Your guide: Mark Bauer – Mark Bauer is a professional landscape photographer, workshop leader and the author of eight books, including The Landscape Photography Workshop. He is a regular contributor to the UK photographic press and a multiple award winner. Mark is also an ambassador for Lee Filters. See his website
Neutral density (ND) filters offer great creative potential. By reducing the amount of light reaching the sensor, they allow you to artificially extend your shutter speeds so that any moving elements, such as water or clouds, will blur in the frame. The effects can be quite ethereal: water takes on the appearance of swirling mist, and clouds look like brush strokes in the sky. Photography becomes an interpretive process rather than a simple record.
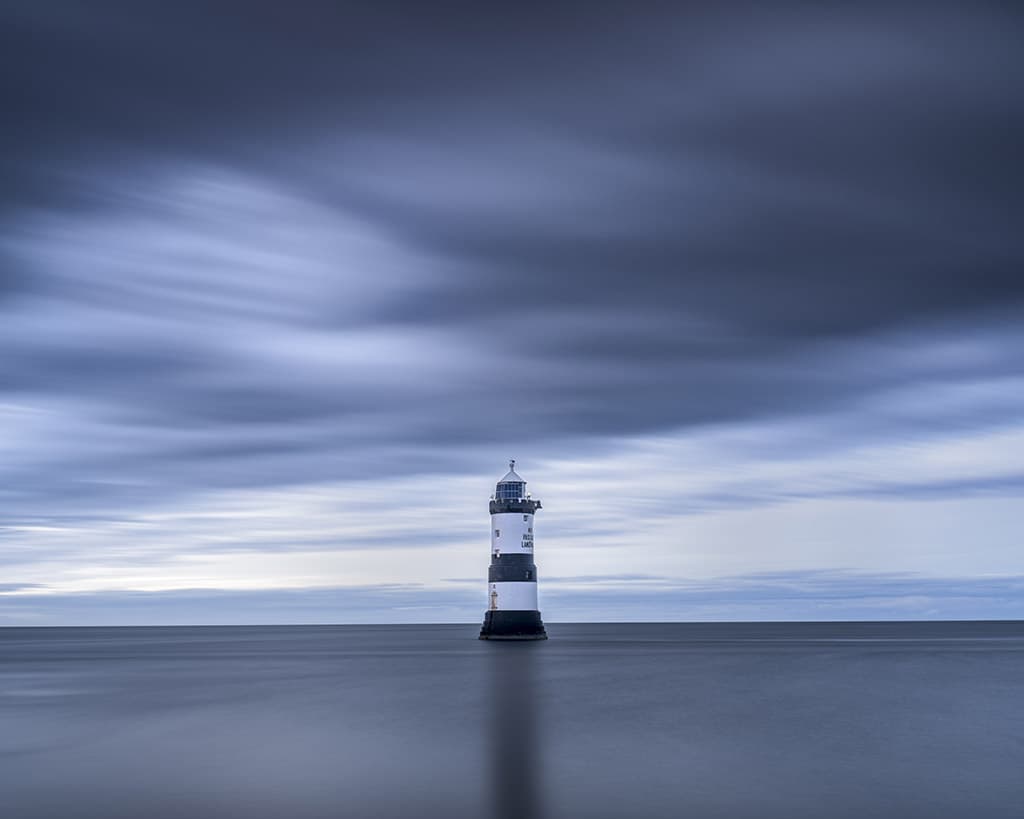
ND filters come in a variety of strengths up to around 15 stops, so which should you choose? The answer depends on the effect you want to create. With a really long exposure of 30 seconds or more, water will smooth completely, losing its texture. This can be useful to simplify a minimalist composition because it removes distractions such as ripples on the surface of the water. Too long an exposure, however, and clouds may also lose their texture and the sky becomes a blanket grey. With crashing waves, it can be effective to use shorter exposures of between 3 and 10 seconds, as this will help retain the texture in the water, adding interest to the composition.
And with waterfalls, I personally prefer shorter exposures, as texture improves their appearance. With filters up to about 6 stops, in most lighting situations you can meter and focus successfully with the filter in place. With denser filters though, certainly those of 10 stops or more, the camera’s meter and focusing can struggle, so follow these steps.

Using Neutral Density Filters
1. Go manual
Set manual exposure mode and manual focus (or use back button focus) to ensure focus is locked. Compose, focus and meter without the ND in place (but use any other filters necessary). Zoom in to check focus and use the histogram to check exposure. If necessary, make adjustments and reshoot.

2. Use an app
Calculate what the filtered exposure should be and remember that each stop requires a doubling of the exposure. You can do this manually, or use the ‘cheat sheet’ that most filter manufacturers supply. Alternatively, there are various apps which will do the calculation for you.

3. Set shutter speed
Fit the filter and set the shutter speed you calculated. For exposures longer than 30 seconds, set Bulb mode, which allows you to lock the shutter open for any length of time. If you’re using slot-in filters, put the filter in the slot nearest to the lens, with the foam gasket facing the lens and correctly positioned to avoid the risk of light leaks. On DSLRs, use the viewfinder eyepiece blind or cover the camera with a dark hat, again to avoid light seepage
Mark’s filter of choice
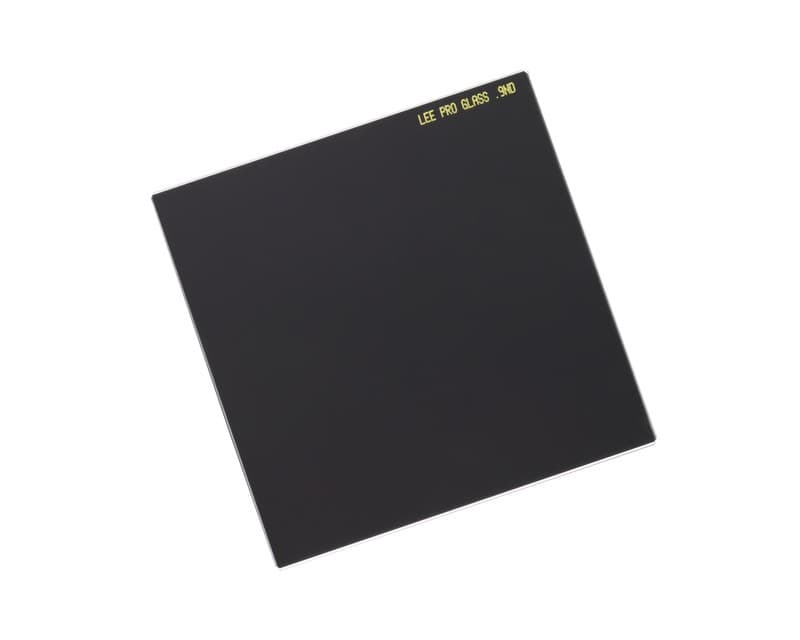
Mark prefers Lee Filters’ ProGlass IRND range for its ‘punchy but accurate colour and accurate stop values’ and always carries the following strengths: 4-stop, 6-stop, 10-stop and 15-stop. The 4-stop is his most-used ND filter as ‘it suits the light conditions I prefer to work in (dawn and dusk) and generates reasonably long but not excessively long shutter speeds’. ProGlass IRND prices start at around $255/£204. Visit leefiltersdirect.com.
Other filters available
UV
Also known as haze filters, UVs are designed to block ultraviolet light and cut through atmospheric haze, moisture and air pollution, all of which can degrade image quality. Once recommended for shooting near water, at high altitude or in snow, these clear screw-ins are now mostly used as protective filters due to digital sensors being nowhere near as sensitive to UV light as film.

Warming/cooling
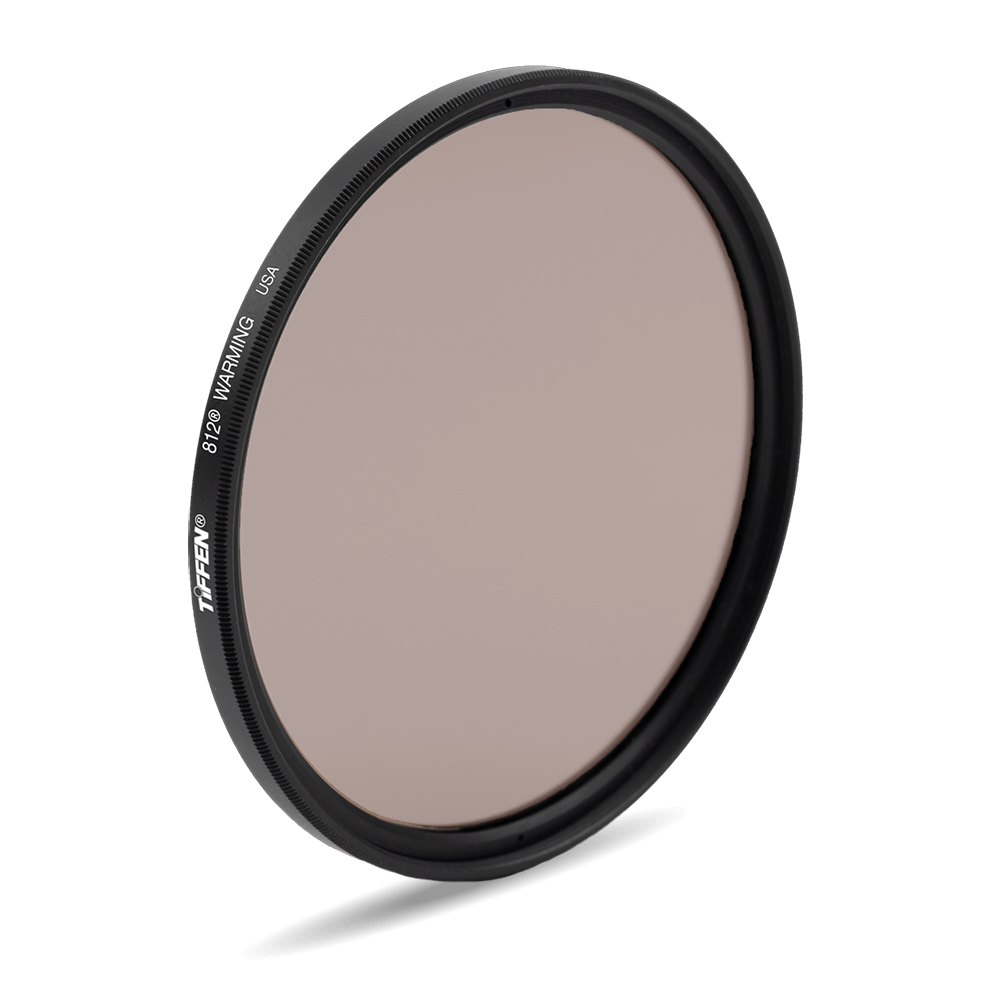
Used to correct or enhance colour casts and manipulate the white balance of light reaching the sensor or film, warming and cooling filters still have a part to play in the digital world, particularly when working with unusual light and shooting underwater. Also known as colour-compensating or colour-correcting filters, these screw-ins can reduce editing time and are great fun to experiment with.
Special effects
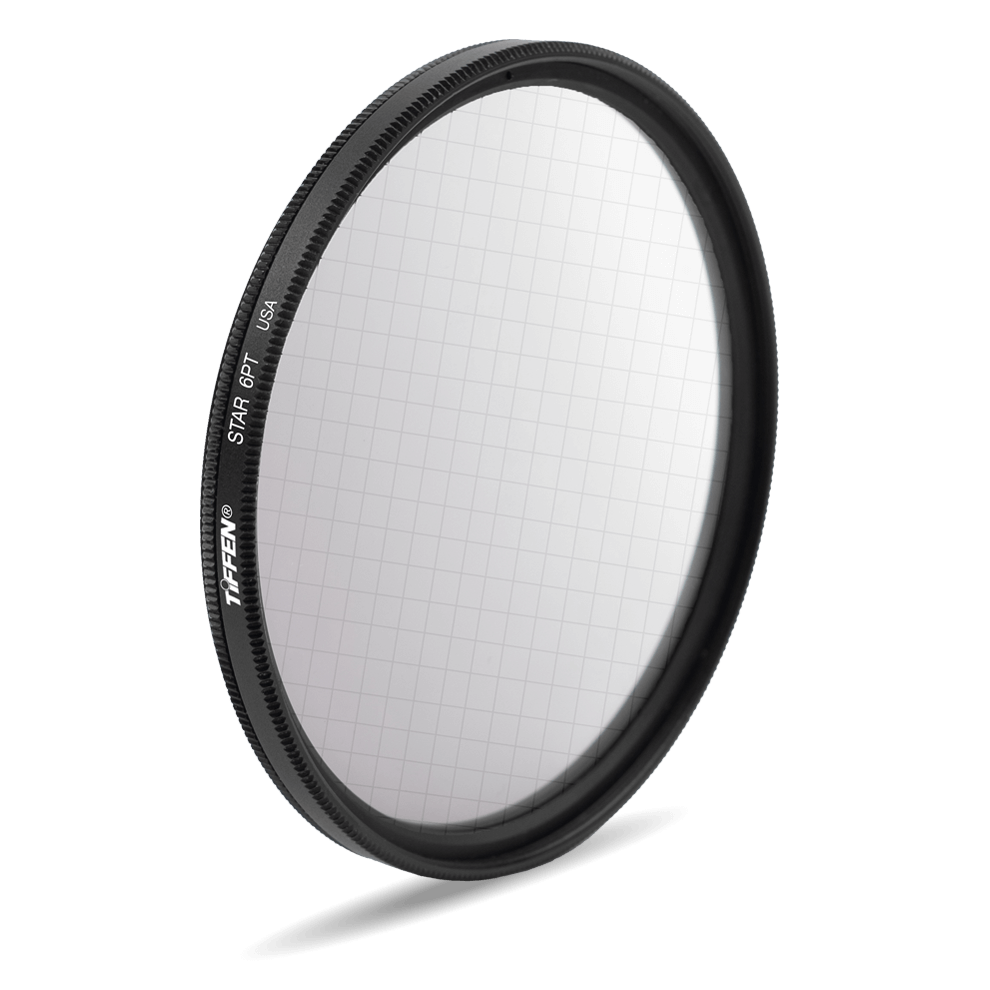
Want to add soft focus effects, turn street lights into eight-point stars or create dense fog? Then you’ll be needing a special effects filter. A catch-all term for screw-ins that add a wide variety of creative effects to your photographs, these filters are niche but are ideal for producing effects in-camera. Tiffen produces a Hollywood FX filter kit that includes a number of filmic filters.
Close-up
Technically a lens but often referred to as a filter, close-up or macro filters reduce a lens’ minimum focusing distance and offer a cheap alternative to dedicated macro lenses. They screw onto both prime and zoom lenses and are typically sold in sets of varying strengths, from +1 to +10 diopter options. If you’re thinking of dabbling in the wonderful world of macro, look no further.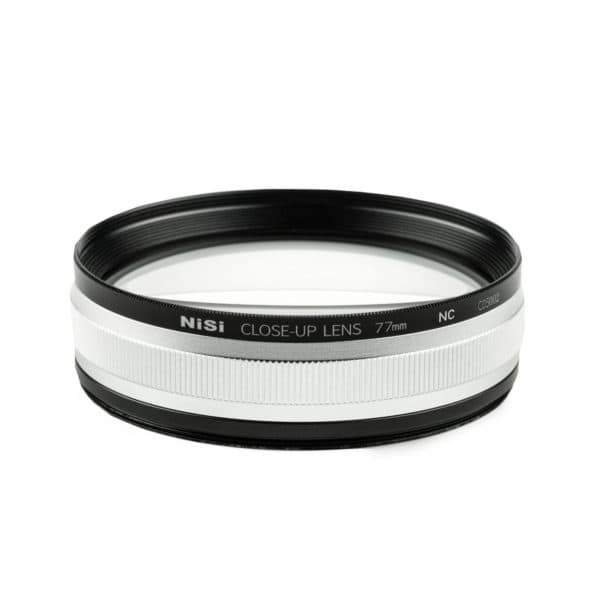 Infrared
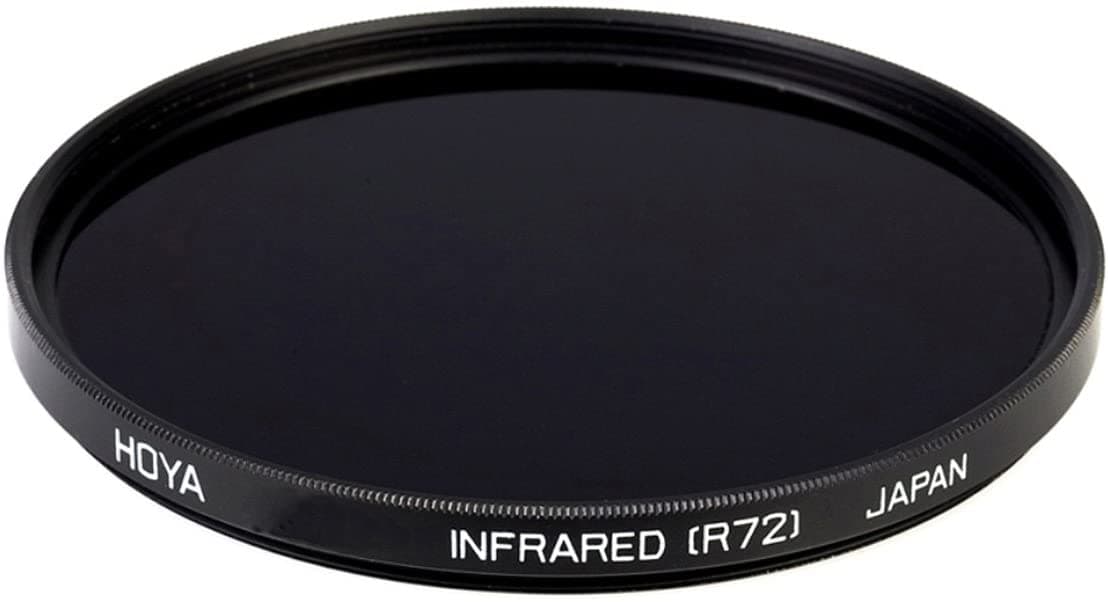
Cheaper than converting an old digital camera, IR filters block out all visible light and allow only infrared light through the lens. A long enough exposure will ensure that enough infrared light is able to penetrate a digital camera’s built-in IR filter and reach the sensor. These opaque filters render your viewfinder and live view obsolete so you’ll need to compose and focus beforehand, and adjustments to white balance, saturation and contrast will be needed at the editing stage.
Light pollution
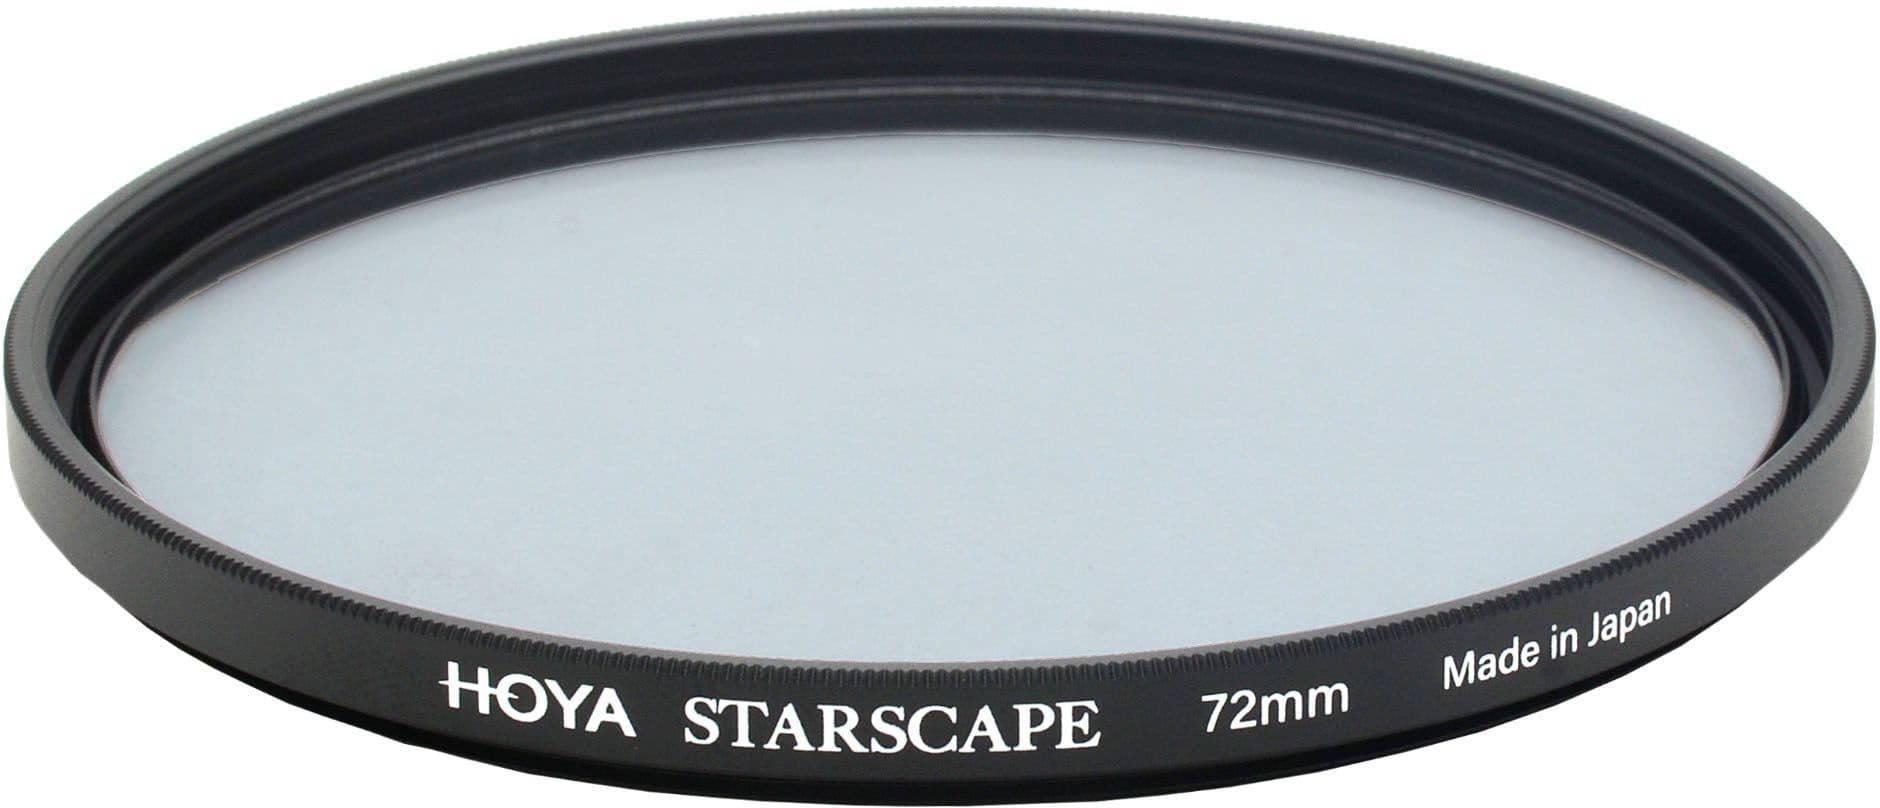
Designed to reduce the yellow and green colours that emanate from buildings, cars and street lights, these innovative glass filters are ideal for astrophotography as they will help to produce images with greater clarity, improved contrast and more natural colours. Hoya produces a slimline ‘Starscape’ light pollution filter that can be used on wideangle lenses.
Further reading
The top three filters you need for superb landscape shots
LEE 85 filter system on test
The best filters for landscape photography

