Time and photography go hand in hand. A photograph is a moment of time captured at a split second or a number of seconds/minutes/hours depending on the shutter speed. While modern cameras can capture some amazing results in just one frame, if you want to capture a long passing of time (i.e. the turning from day to night) then it’s best to shoot multiple frames and then blend them together.
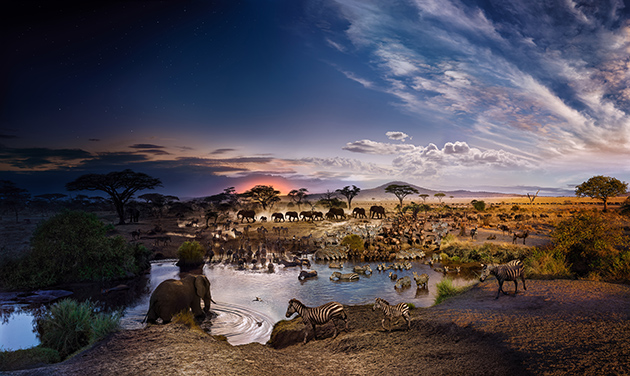
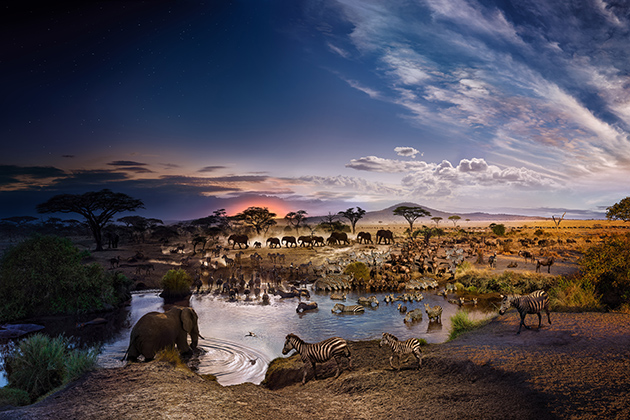
Stephen photographed this water resource for 26 hours from 18ft in the air. Credit: Stephen Wilkes
That is a basic outline of what Stephen Wilkes has done for his latest book Day to Night. Wilkes spent many years shooting iconic locations such as the African Serengeti, Times Square in New York City, Trafalgar Square in London and the Eiffel Tower in Paris to name just a few. In a TED talk on YouTube Wilkes reveals that he captured these places for long periods of time and then blended the images together for a flawless composition. For many of his composites Wilkes would shoot more than 1,500 exposures (even up to 2,000 images for some) from the same fixed angle. The durations of his shoots would last anywhere from 15 to 30 hours, and then at the post-production stage he painstakingly edited the final frames together, often over a period of several months. When you look closely at his city scenes you can see the same person/people in different places throughout the day, and even details such as their shadows move as the light changes. These small touches really add to the final effect.
If you’re thinking of doing something similar and to the same high degree, then this type of project requires much patience and technical expertise not only at the shooting stage, but also in the planning. In fact Wilkes waited more than two years to gain permission to photograph Pope Francis celebrating Easter Mass at the Vatican, and in 2013, he was lucky enough to capture the presidential inauguration of Barack Obama. He reveals in the TED talk, ‘Day to Night is a compilation about all the things I love about the medium of photography. It’s about landscape; it’s about street photography, colour, architecture, perspective, scale and history. When you spend 15 hours looking at a place you’re going to see things a little more differently than if you just walk up to something and take a picture.’
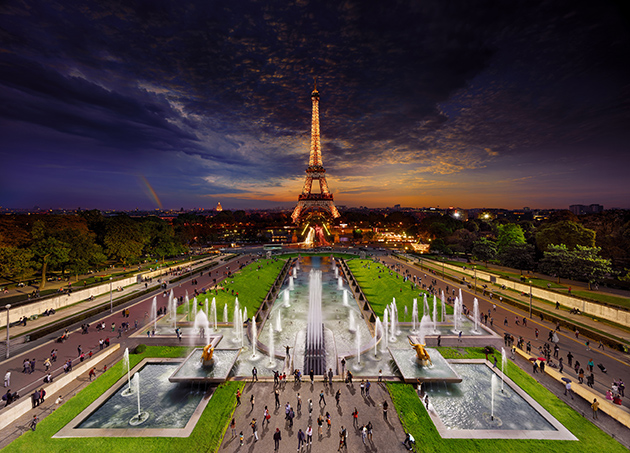
The Eiffel Tower in Paris changing from day (bottom half) to night (top half). Credit: Stephen Wilkes
Try it yourself
Wilkes shoots on the digital equivalent of an 8×10 camera. For many of us, having access to such a high-end kit isn’t an option, but don’t let that put you off. It is still possible to use standard kit and capture the same idea (just with a bit less resolution!). If you want to try this yourself then a sturdy tripod is an essential piece of kit for keeping your camera still in one place.
Wilkes shoots most of his composites from a high vantage point on a cherry picker, which for the majority of us is unlikely expenditure! Although being up high is an advantage it is not essential, and the main element to focus on when setting up your shot is getting a good composition. You want to find a strong angle that reveals interesting elements whatever the time of day. We set up our composition on the beach at Slapton Sands in Devon and captured the people moving around from day to night. To find out how, follow our simple steps.
Shooting and editing a day to night
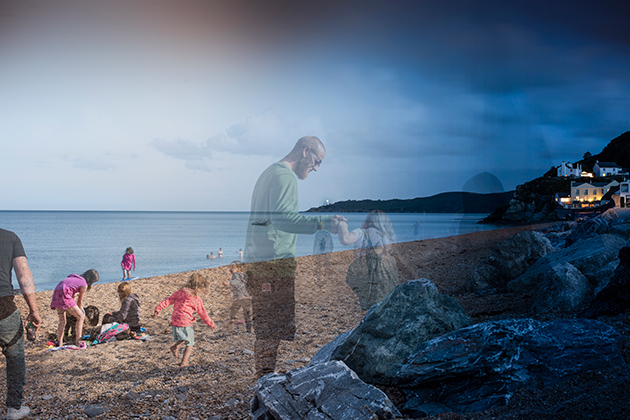
Although we didn’t come anywhere close to capturing 1,500 frames for our final result we still got a great result! Here’s how we did it
For our day to night interpretation we took a slightly different approach to Stephen Wilkes and used a ghosting effect to blend our images together. This meant that some of our figures overlapped. Whilst we don’t deny the technical expertise it took for Wilkes to complete his amazing day to night images and fully appreciate the amount of time he put in at the editing stage, we think ours is still a great result if you want to try this technique as a day project and have limited resources.
1. Composition
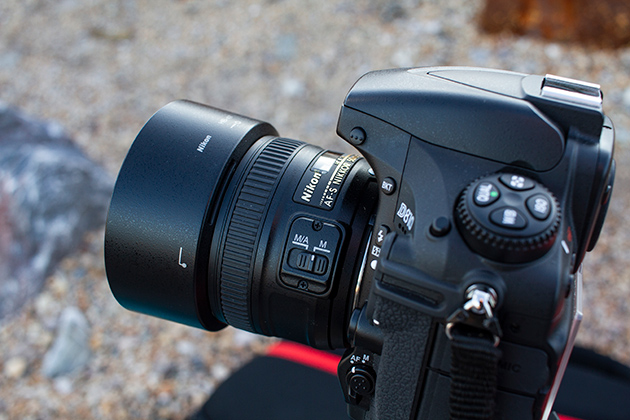
When the sun is still high in the sky set your camera up on a tripod. Once you’re happy with your composition lock it down securely into position. At this point you want to focus about a third of the way into your frame and check the focus is sharp. Once happy, switch the focus setting to the manual setting to lock it in place.
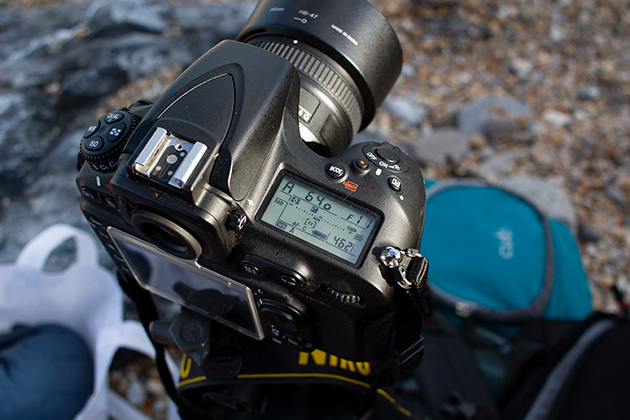
2. Camera settings
We opted to set our camera in the Aperture priority mode, and set our aperture to f/11 at ISO 200. We also dropped the exposure compensation by half a stop just to ensure the highlights didn’t blow. As we were in the Aperture priority mode as the light dropped, our shutter speed time increased and captured movement.
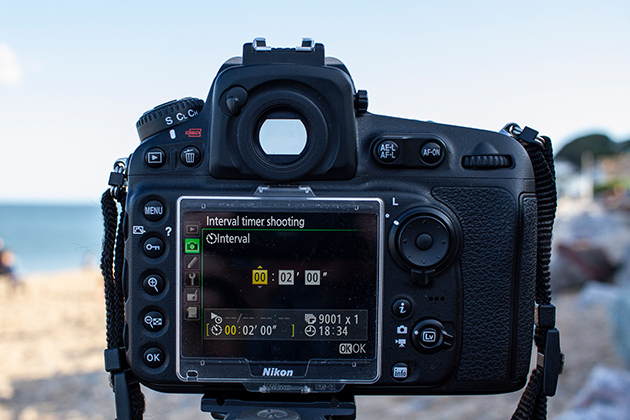
3. Interval shooting
Think about how often you want to shoot a frame. In the end we opted to take one every two minutes over a period of four hours which gave us 120 frames (plus a few extra that we shot manually) to work with. (However we only used a handful of these). We set our camera’s interval-shooting setting to take the images.
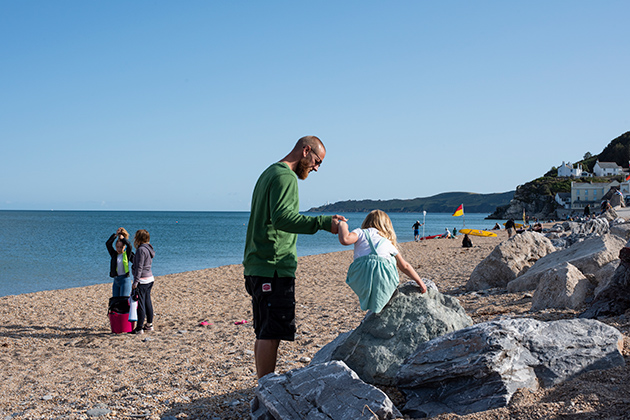
4. Keep an eye out
As you shoot keep watch for interesting happenings in the scene. You can always bypass your camera’s set timings and shoot a frame in between the scheduled exposures if the right element comes into the frame. In this case the girl playing with her father in the foreground made a lovely moment to capture.
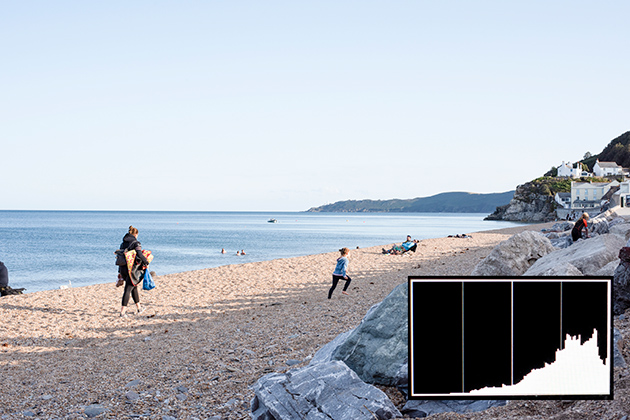
5. Check exposures
Finally as you or your camera is shooting, keep checking the histogram as it flashes up on the back screen to ensure your highlights haven’t blown. If your camera is over exposing turn the exposure compensation down a touch to compensate. It’s very important to keep an eye on this element throughout the shoot.
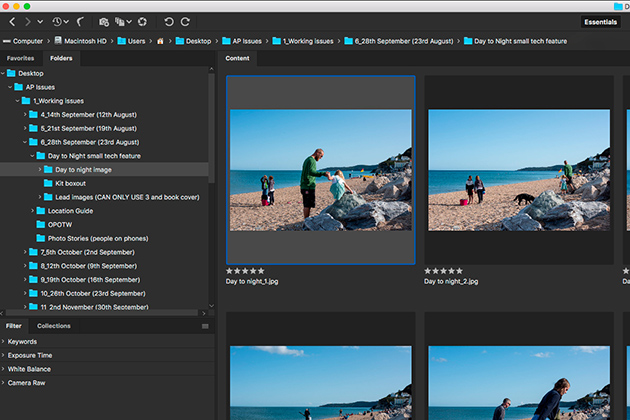
6. Get organised
Review your images in an organiser program such as Adobe Bridge and highlight any image that you think has a point of interest and good light – you want to have a range from day to night. We selected nine to work with in the end. Once you’ve selected your final images to blend, ensure you label them in the correct order.
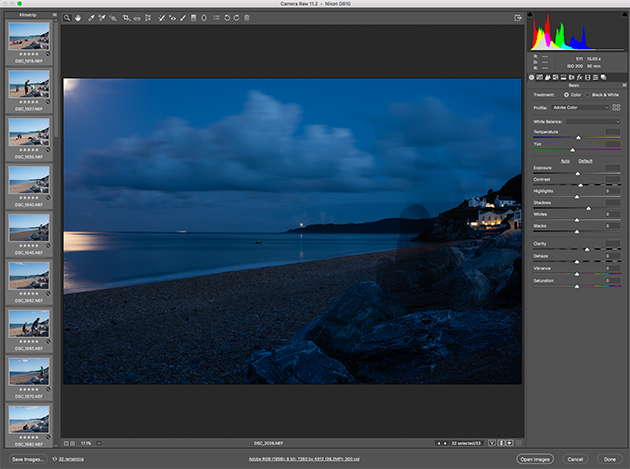
7. Raw batch adjustments
Open these images into ACR (or make raw adjustments if using another program) and tweak the images to check the exposure details are correct on each image. We also boosted the contrast and clarity on each frame. Click on Select All and open these in the main editor.
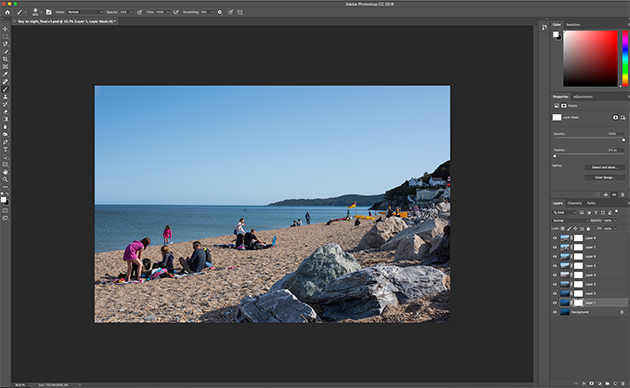
8. Layer masks
Have the darkest image on the bottom of the stack and import all the other images in the correct order (from dark to lightest on top). Use the Move tool to drag and drop while pressing down Shift as you let go. You will need to add a Layer Mask to each layer, apart from the background. Hide each layer above the background layer apart from the first.
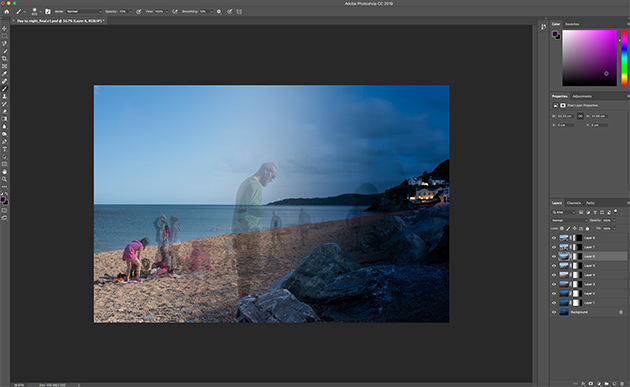
9. Use the Gradient tool
Go to the Gradient tool (Foreground to Transparent setting) with black selected as the foreground colour. On the layer mask, hold down Shift and draw (left to right) a straight line to remove as much of the scene as desired. Do the same for each layer, coming in a bit less each time so they blend. Finally use the Brush tool to pull/hide any parts of the scene.
Kit list
- Tripod A sturdy tripod is essential for keeping your camera still in one place. Make sure everything is locked securely into position. Avoid strong winds, and if there is a slight breeze weigh the tripod down with a bag.
- Interval shooting You either need a camera that has an interval- or timelapse-shooting feature or a plug-in remote shutter release that has that feature. The third option if you have neither of these things is to fire each shot manually. We’d recommend using some sort of remote release though to take the shot so you don’t move the camera.
- Editing software You need an image-editing program that can use layers to process all your final images together. We opted to use Photoshop CC; however there are other editing programs out there such as Photoshop Elements or Affinity Photo that can do just as good a job and cost less if you don’t have Photoshop CC to hand. Shop around.

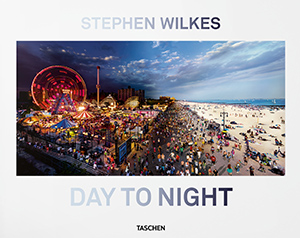 Day to Night is a hardback book with two fold-outs that showcases 60 panoramas capturing the changing of day to night. The photographer Stephen Wilkes spent nine years (2009-2018) creating these composites. Day to Night is 260 pages and measures 16.5 x 13in. It is published by


