Landscape and travel: David Clapp
I’ve been a Canon shooter for all of my professional career. I started with the EOS 5D and here I am at the EOS 5D Mark IV. I get loaned all sorts of kit from Canon UK, so I’ve worked with them all. I always shoot in raw and I shoot SD cards (just one). I hate straps so unless I need one for security reasons, I tend not to bother. My camera settings continually change to suit the environment.
I shoot in manual mode exclusively, but also choose aperture priority for a lot of travel imagery. I don’t mind using higher ISOs, as modern sensors are so clean. I do set an ISO maximum of around ISO 6400, but I only use this at night time. I switch between a 2-sec timer, bulb timer and single shot, with or without mirror lock-up, changing constantly to suit landscape, travel and astro landscapes.
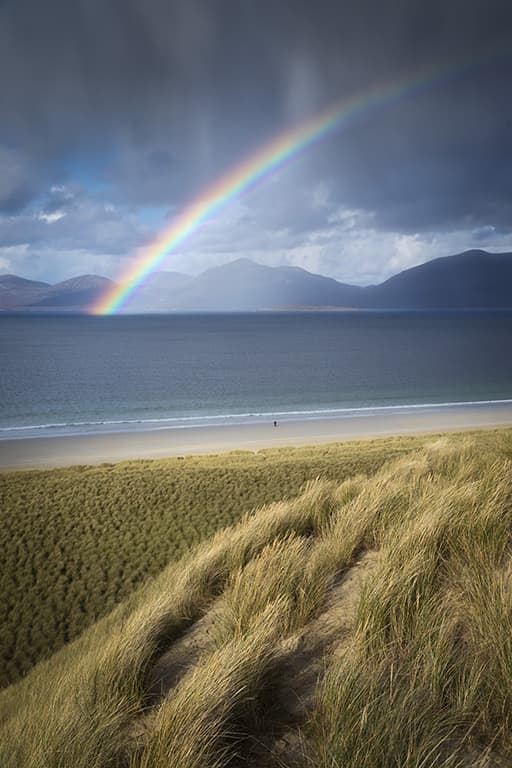
A double rainbow on the sand dunes at Luskentyre in the Isle of Harris, Outer Hebrides, Scotland
Canon EOS 5D Mark IV, 24-70mm, 1/640sec at f/8, ISO 400
I choose a K white balance mode, so I can continually ride the colour temperature to accurately reproduce the scene. When it comes to custom modes, I have three sets to suit outdoor and movement scenarios, which works so well for travel landscapes.
All the buttons have custom features assigned and with Canon’s R series I set aspect ratio to the M button. I always make the scene fit a ratio, not try to cram it into 3:2, which is a fundamental photography mistake. In addition to this, when it comes to composing a scene, I use grid modes in the viewfinder to align my images with precision.
Although many people use a 3×3, rule of thirds grid, I prefer a 6×4 grid which includes vertical and horizontal centre lines. This works so well for architecture. I keep the viewfinder as uncluttered as I can, removing all unnecessary icons.
Visit here for video-based lessons, Zoom talks and more.
David’s go-to kit
* Canon EOS 5D Mark IV
* Canon EOS 6D (Infrared)
* Canon EF 100-400 mm f/4.5-5.6 L IS II USM
* Canon EF 24-70 f/4L IS USM or the f/2.8 version for astro work
Portraiture: Damien Lovegrove
I use full manual exposure control on my GFX 50S. I don’t use the camera’s light meter or histogram to evaluate exposure, I use my eyes, together with the LCD/EVF to assess the exposure of my pictures.
If I want a dark moody portrait, I set the camera to deliver just that. This process does however require careful set-up of the LCD and EVF ahead of the shoot. My LCD and EVF are set up using the JPEG settings.
I use the Pro Neg S film simulation with highlight tone set to -1 and shadow tone set to -2. This has no effect on the raw file that I shoot but it does let me set the exposure very accurately by eye to match what I’ll get in Lightroom upon import.
Another important factor for me is getting the white balance spot on in camera. I’ve been using a minimalist, warm colour palette for a lot of my recent work and I have been influenced by Italian Renaissance painters in this regard. I use two lenses and start by selecting the maximum aperture.
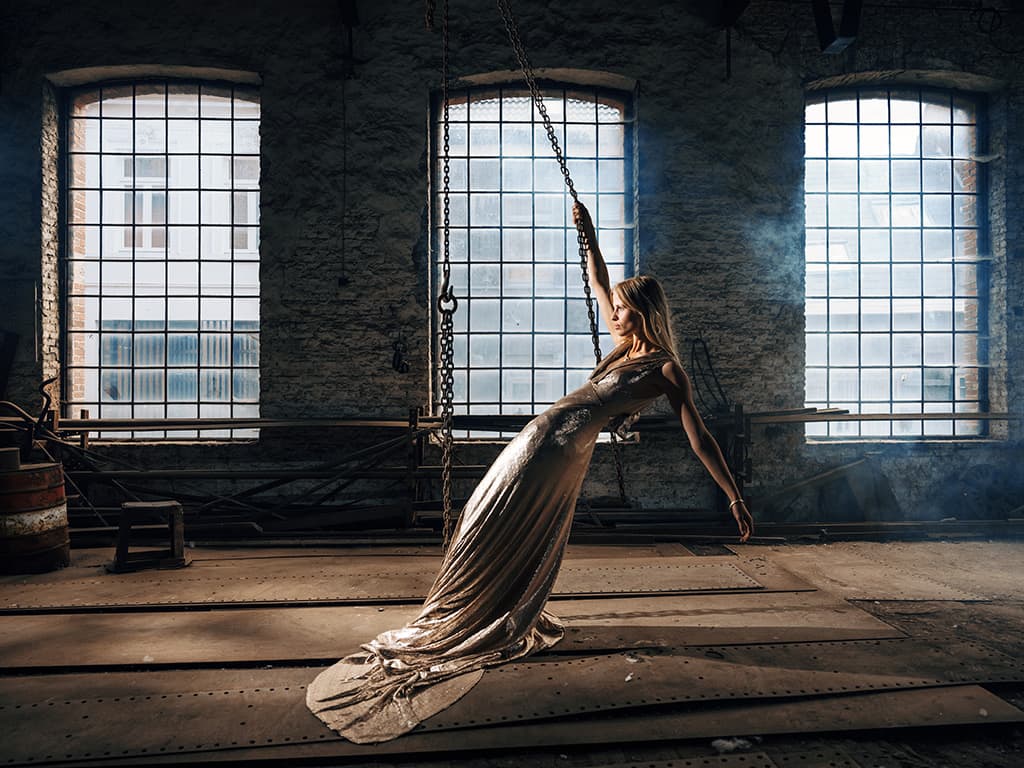
I lit Jolien from the left with a Godox AD200 fitted with a Scatterflash and added a puff of smoke
Fujifilm GFX 50S, 32-64mm,
1/125sec at f/4, ISO 100
I’ll then set the shutter speed to something suitable before adjusting the ISO as required for the desired exposure.
I shoot all my portraits using a tripod so I’m happy to use shutter speeds down to 1/8sec. I am also happy to use any ISO up to 6400. ISO 12,800 is the highest available, but I’ve never needed that, especially as I use a tripod for every shot.
As for my shooting process: I choose my camera position, rig my tripod, compose, set the white balance and exposure and then bring in my subject. I don’t do all the faffing around with my sitter in position. Once I’ve established the pose and subject position, I move my focus point to exactly the right place. I use the smallest focusing square in S mode.
Because I use a tripod, I have the number of focusing points set to 425 for extreme accuracy. Then it is time for me to relax, interact with my sitter and create the moment to be captured.
I don’t need to be looking at or through the camera at the time of exposure. I just concentrate on the moment. I have set up one of my function buttons to toggle ‘preview exposure in manual mode’ on and off. I use this function set to off when I’m using flash and I need to see the image clean, and I leave it switched it on at all other times.
I just have one 64GB UHS11 SD card in the camera and that does me just fine. I keep my LCD/EVF screens clear of any information so that all I see is the image.
I do occasionally use the inbuilt spirit level because I don’t like to have to straighten or crop my images in Lightroom. I find that a Pierpro L plate gives me the flexibility that I need for vertical shooting, and it is the best designed of the third-party units available for this camera.
See more at Damien’s website.
Damien’s go-to kit
* Fujifilm GFX 50S
* Fujinon GF32-64mm F4 R LM WR
* Fujinon GF110mmF2 R LM WR
Wildlife: Tesni Ward
Wildlife can be unpredictable at the best of times, so it’s essential that my camera is primed and ready for all eventualities. Whilst there’s no one size fits all, over time I’ve found what works best for me.
I have a primary and a secondary camera with different focal lengths, meaning no time is wasted changing lenses and most likely, missing the shot in the process! Both cameras will have the same settings and button functions so it’s an easy transition. I spend 95% of the time shooting in manual mode, which includes the ISO and white balance.
Typically, my shutter speed won’t drop below 1/500sec and I tend to prefer to shoot with my aperture wide open (f/2.8-f/4) to achieve a shallow depth of field. When it comes to ISO, I’m happy to push this to 3200 or even further in specific circumstances, using Topaz DeNoise in post-processing to minimise any grain and impact on image quality.
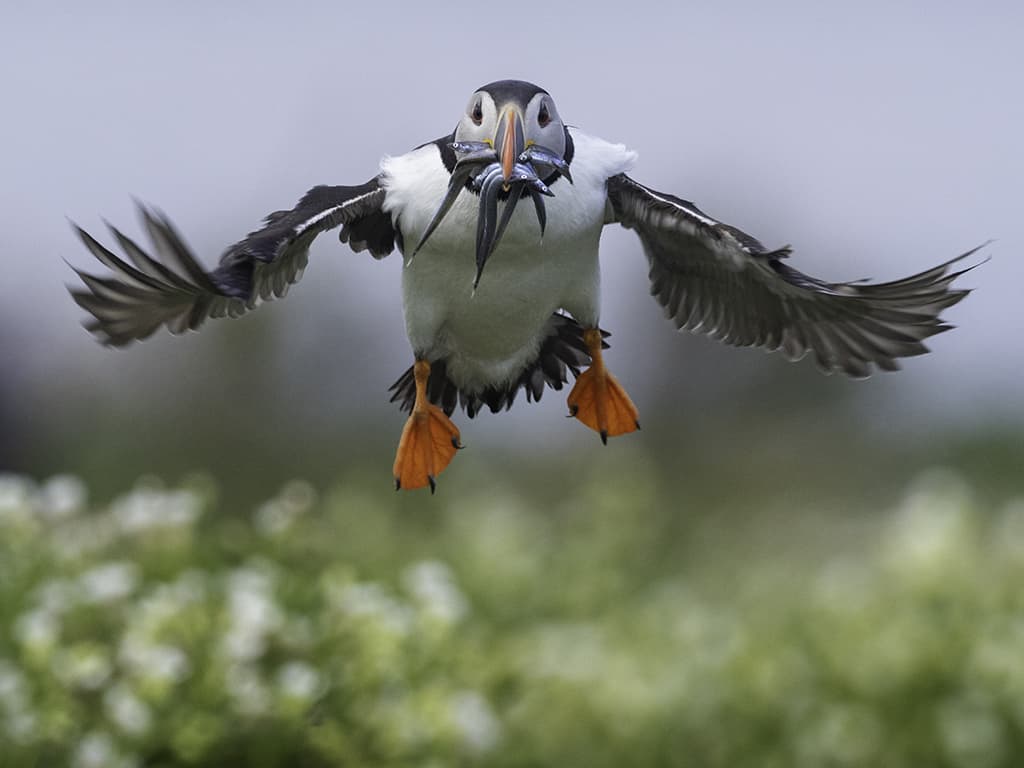
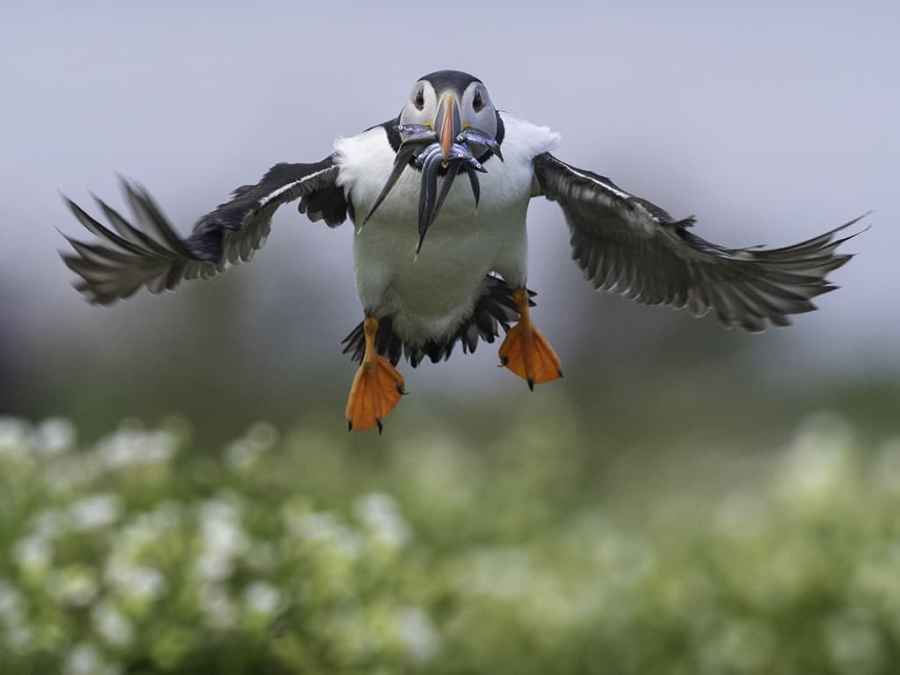
Puffin coming in to land on the Farne Islands, Northumberland
Olympus E-M1X, 420mm (300mm + 1.4x), 1/2500sec at f/5.6, ISO 800
I prefer back button focus and always shoot in C-AF because of this. As animals can go from static to erratic in a flash, I always have a sequential (burst) drive on but restrict the frame rate to anywhere between 6fps and 10fps so I can still take single shots when needed without filling my cards.
For memory cards, since I shoot exclusively in raw I have two UHS-II cards with an auto-switch function; so if one of them fills, the camera can keep going. I’ve changed the button functions to include focus peaking, a preset focus point, magnify and AF- Limiter.
In addition, I have my C1 mode set for birds in flight because this can often be unexpected and it’s impossible to change the settings quickly enough.
See more here or follow Tesni on Instagram @tesniward, @badger_diaries
Tesni’s go-to kit
* Olympus OM-D E-M1X (primary)
* Olympus OM-D E-M1 Mark III
* Olympus M.Zuiko Digital ED 300mm F4 IS PRO
* Olympus M.Zuiko Digital ED 40‑150mm F4‑5.6 R M. Zuiko
* Digital 1.4X Teleconverter MC‑14 and 2x Teleconverter MC‑20
Street: Damien Demolder
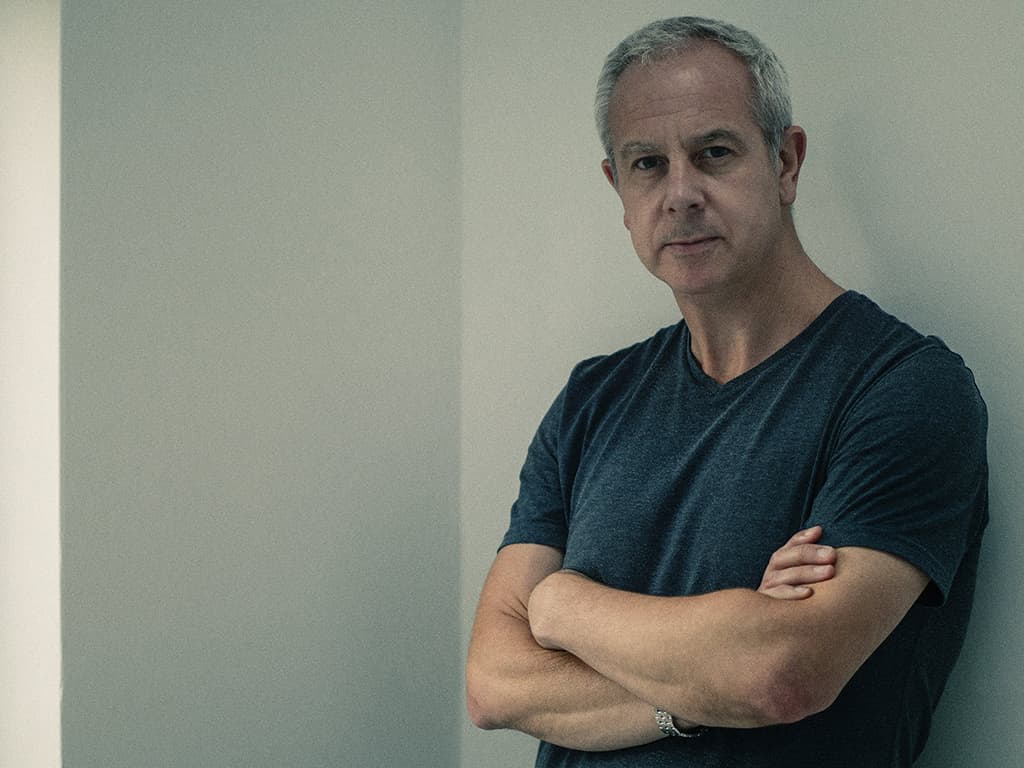
When shooting in the street my ability to react to changing situations is critical to me in getting the shots I want, so I keep my camera settings as simple as possible.
A lot of photographers feel a touchscreen has no place on a camera, but I’ve found them an absolute godsend, especially when I can get an AF point directly on a moving subject just by touching it.
Life is also a lot easier when we can navigate a menu system by touch, and even better when there’s a ‘quick menu’ that gives us direct access to the principal settings we want to change in a hurry.
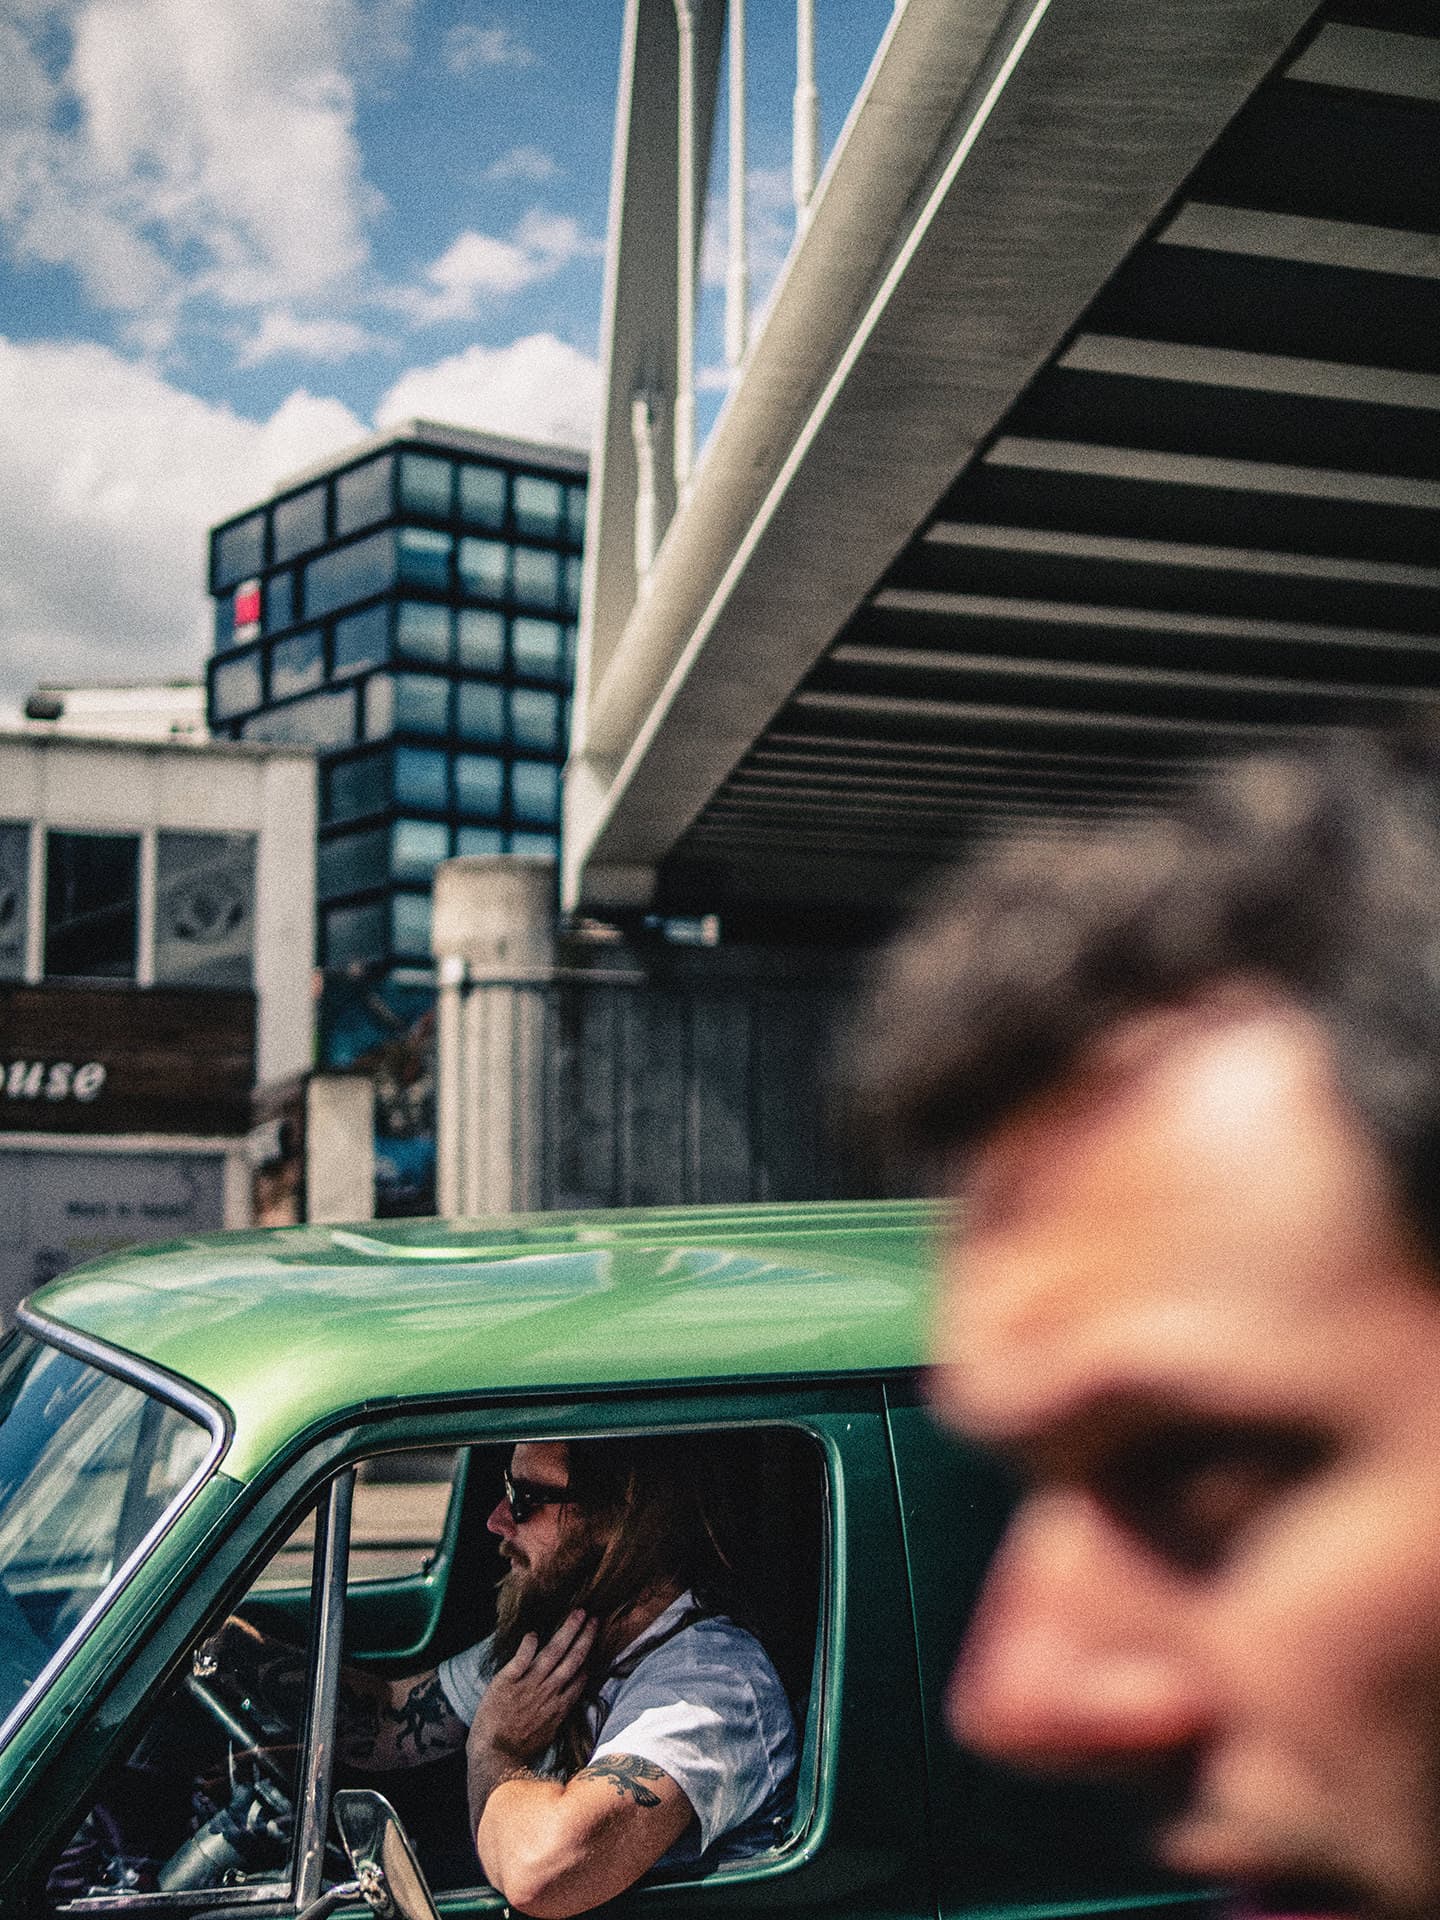
At The Lights, Shoreditch, London
Panasonic Lumix DC-GX9, 25mm, 1/16000sec at f/1.4, ISO 200
For street work I operate in aperture priority and tend to keep the aperture wide open to help lift the subject from the background. I like a shutter speed of 1/500sec or shorter, and will easily hit 1/16,000sec on a sunny day with f/1.2 or f/1.4. When conditions are darker my wide aperture allows me to maintain those short shutter speeds without cranking the ISO up too much, but I’m not afraid to use ISO 6400 when I need to.
I prefer a bit of grain to accidental subject movement or camera shake any day. Metering comes via an Evaluative reading with sometimes dramatic adjustment to compensate for brightness differences between the subject and its background, and I always shoot in AF-S and single shot drive – preferring to know when I need to press the trigger rather than relying on a high-drive burst that might miss the magic moment.
I rarely use a viewfinder as using the backscreen makes composition so much easier, and I keep the level active so I can ensure backgrounds are straight and non-distracting.
A neat little wrist strap ensures I never drop my Lumix GX9, but when I’m out with the S1R I wrap the full strap around my wrist too.
See more on Damien’s website or follow him on Facebook @demolder, Twitter @damiendemolder and Instagram @damien.demolder
Damien’s go-to kit
* Panasonic Lumix DC-GX9
* Panasonic Lumix DC-GX880
* Panasonic Lumix DC-G9
* Panasonic Lumix DC-S1R
* Panasonic Leica DG Summilux 25mm f/1.4 ASPH
* Panasonic Leica DG Nocticron 42.5mm f/1.2 ASPH
* Panasonic Lumix S Pro 50mm f/1.4
Sport: Tony O’Brien
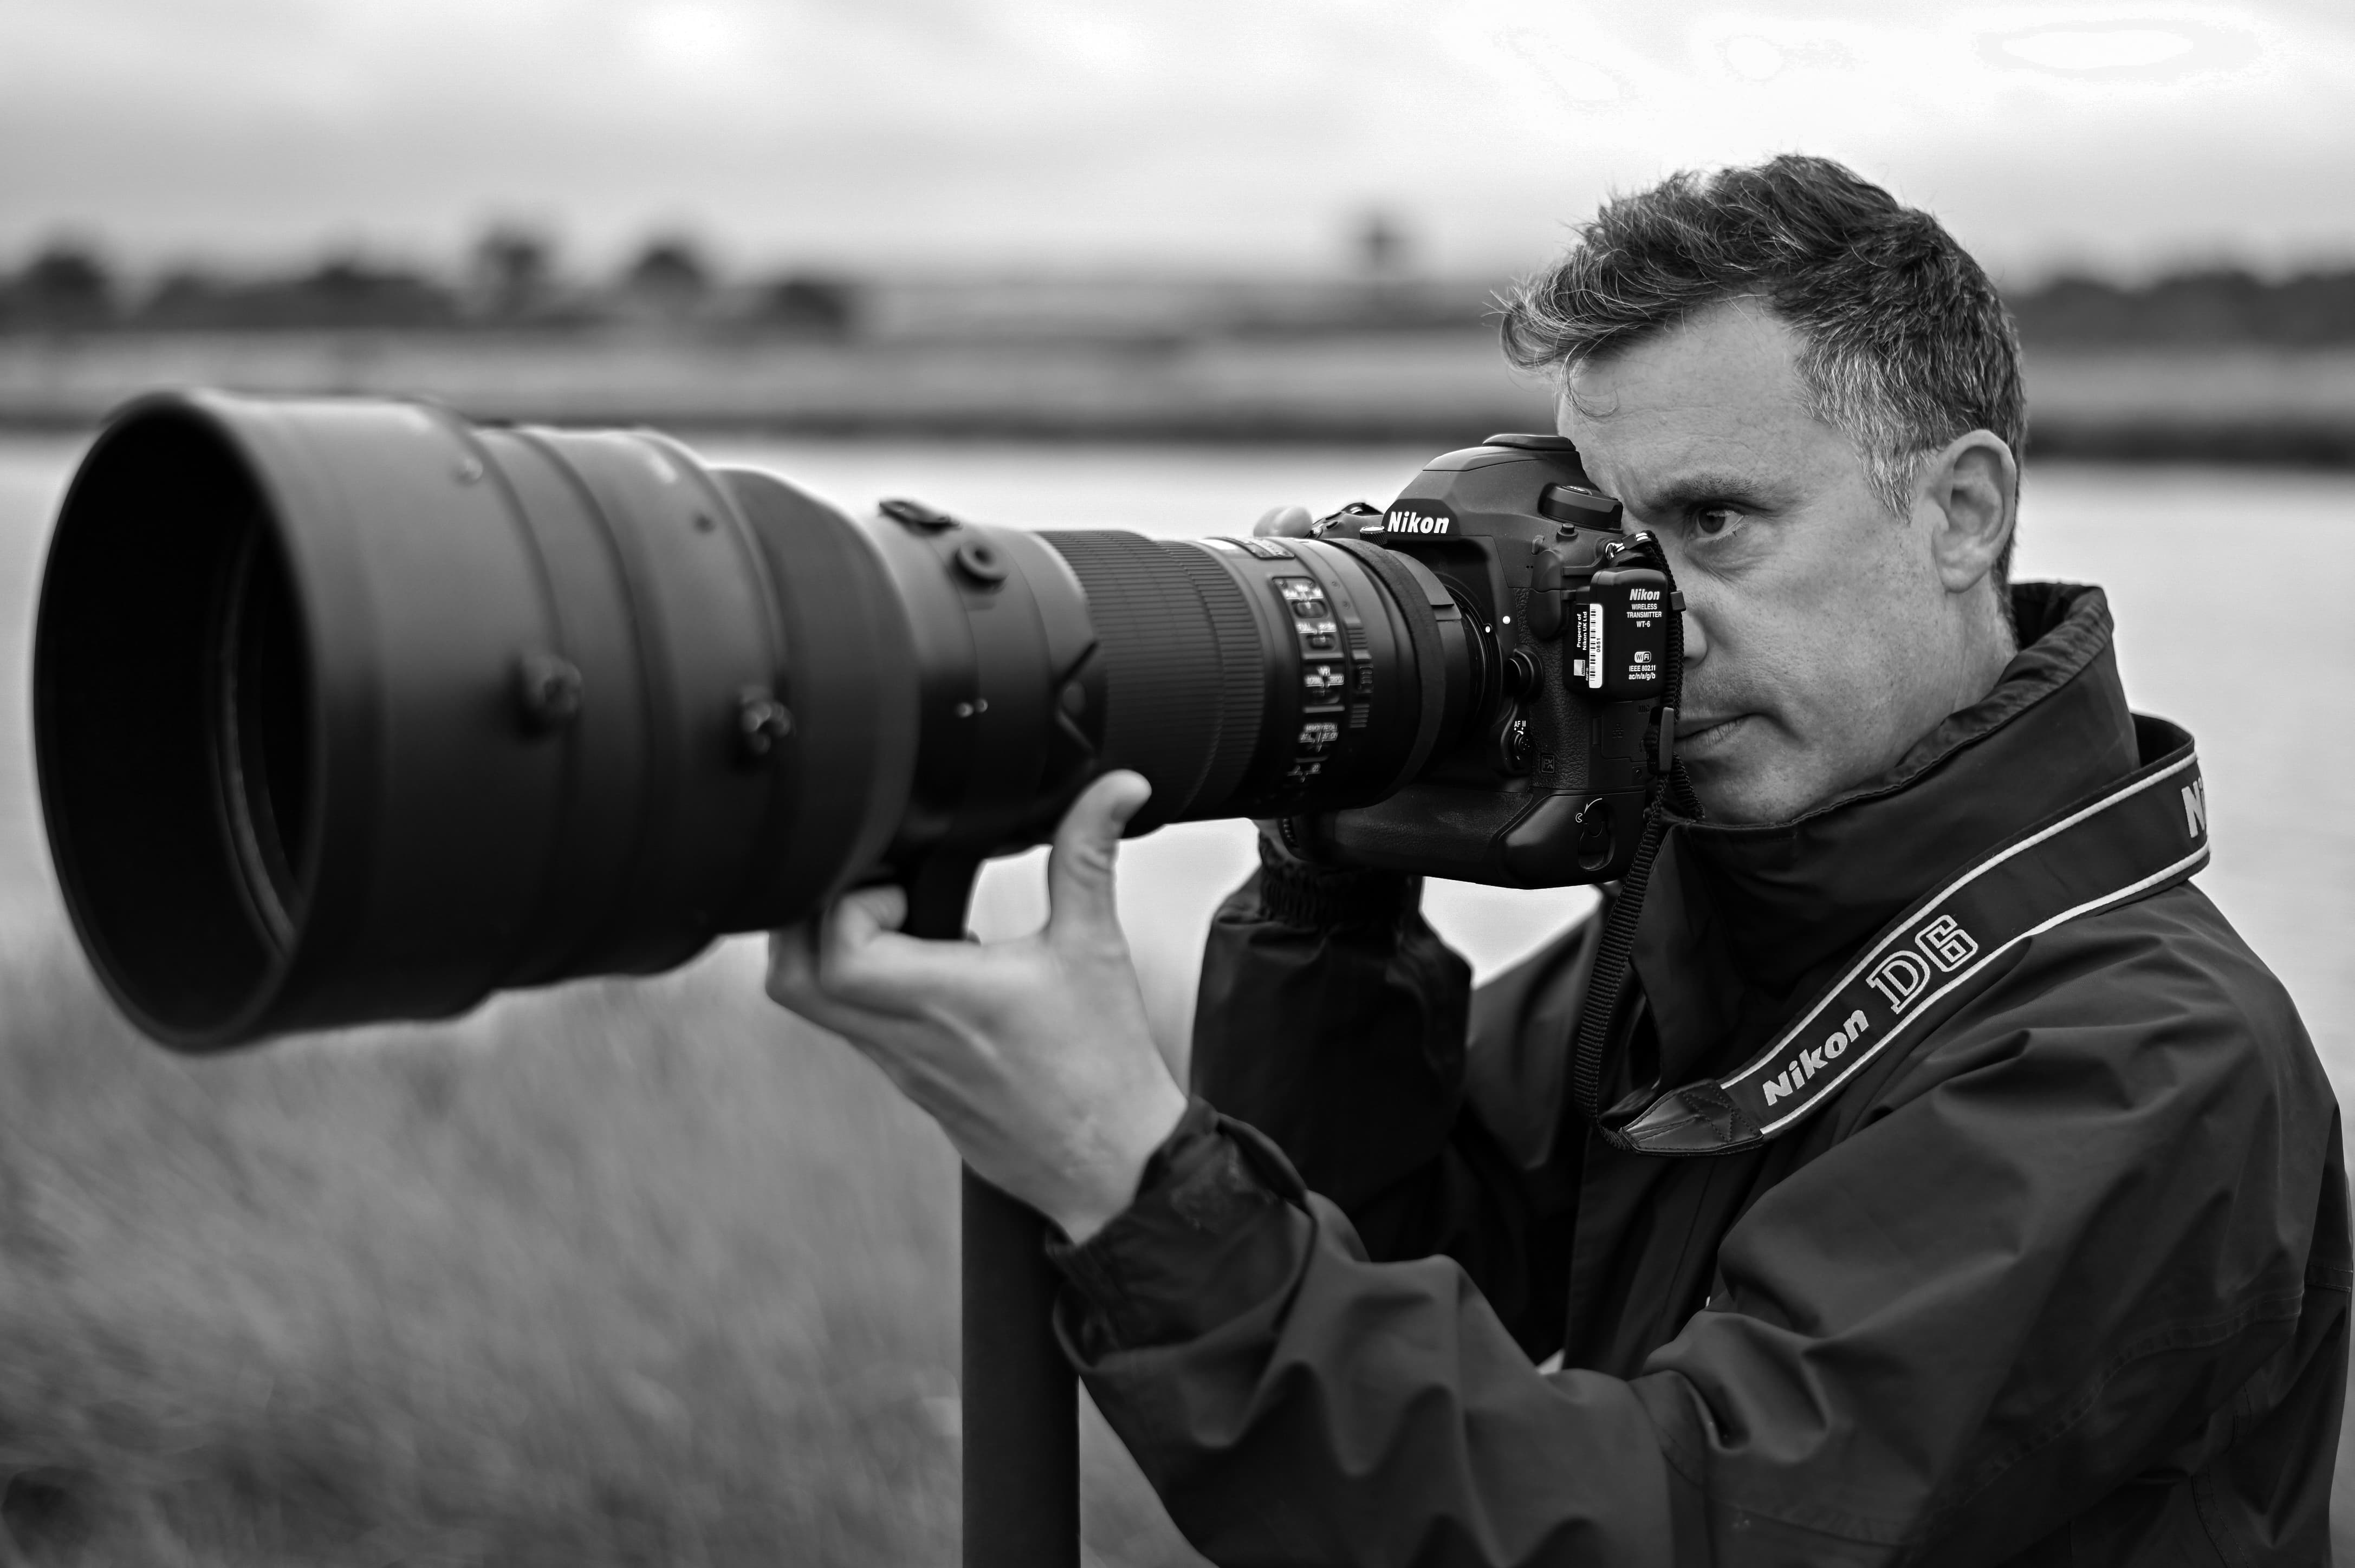
I often get asked how I set my camera up and it comes down to how you like to work. What suits me may not suit you.
My main camera body is the Nikon D6. I only shoot JPEGs for work and I make use of the dual card slots purely for overflow purposes.
With regards to autofocus, I only use back button AF. I prefer the shutter button to be independent of the autofocus system. I still use manual focus at times so this really helps me to quickly shift from AF to MF.
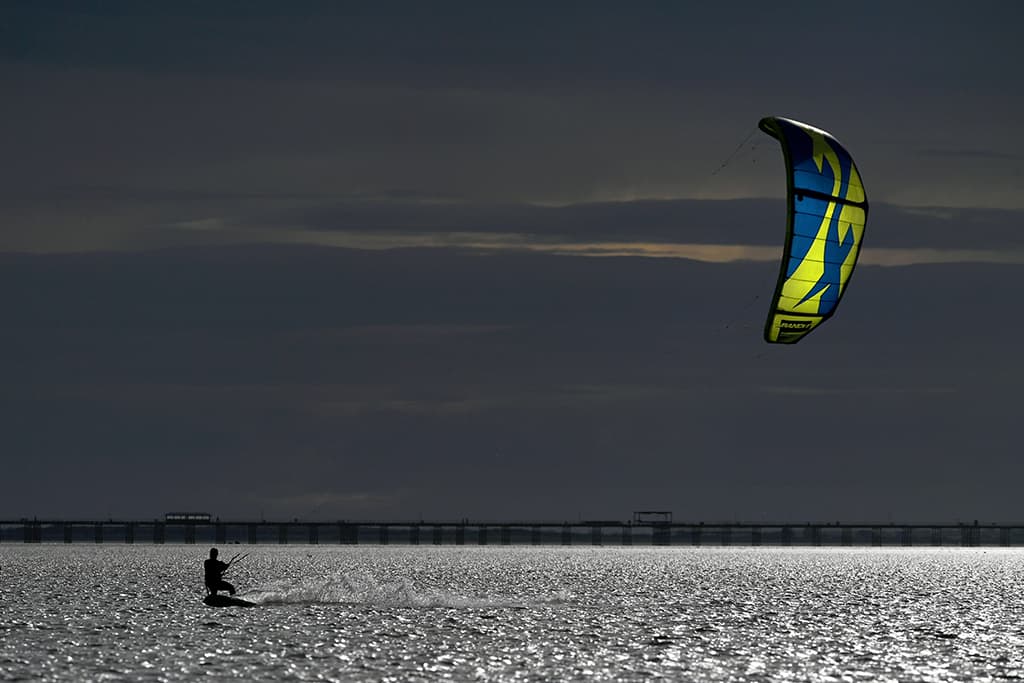
Kitesurfing at Southend on Sea, Essex
Nikon D6, 400mm, 1/8000sec at f/6.3, ISO 100
I use all of the AF patterns for different sport subjects. However, I tend to use the 3D tracking AF on the D6 the most.
I always use spot metering as I want to know exactly what I am metering for and not an average exposure. It’s very quick to meter for highlights or shadows with this system and great for really using exposure as a tool. I set the drive mode to maximum on all my cameras to ensure I don’t miss a single piece of action.
I keep the ISO as low as possible and rarely touch Auto ISO. On my D6, I make use of one function button for selecting a different AF pattern and exposure settings. I have another set to connect with a network for transmission. I tend to use the former if a situation arises where say you have 5 stops or so difference, like a football pitch half in shadow.
See more on Tony’s website.
Tony’s go-to kit
* Nikon D6, D5 (x2), D4s, D4
* AF-S NIKKOR 400mm f/2.8E FL ED VR
* AF-S NIKKOR 70-200mm f/2.8E FL ED VR
* AF-S NIKKOR 24-70mm f/2.8E ED VR
* AF-S NIKKOR 14-24mm f/2.8G ED
* AF-S Teleconverter TC-14E III and TC-20E III
Close-up: Petar Sobol
I prepare myself early in the morning, so I am ready in the meadow looking for insects before sunrise. This is important as they are still sleeping, and temperature is low enough to keep them in a hibernation state, so they stay quite still.
I always take photos of living insects, in nature, which is challenging due to multiple factors that can influence the final result. I use a tripod with focusing rails and set up how many steps I want and how big or small a step I require between each shot.
Then I take several sets of photos in order to make sure that there is no movement, whether from the insects, or to check the stem or flower hasn’t moved if there is a slight breeze. It is important to be very patient and persistent with your approach. I use manual exposure mode for full control.
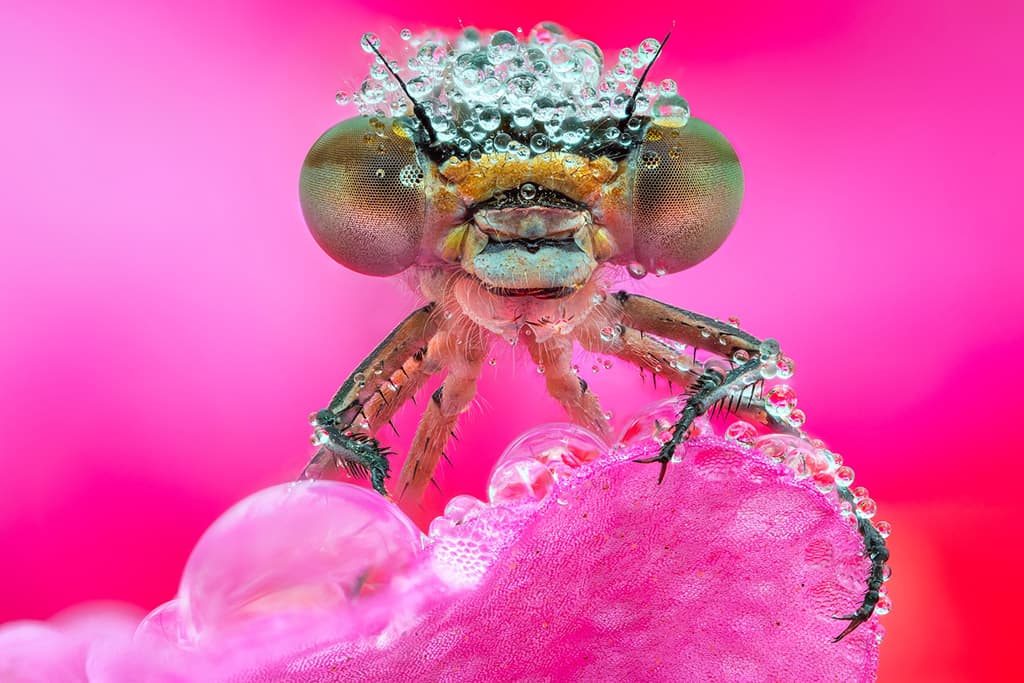
Crimson world, Gorican, Croatia. Sony A7R IV, 25mm, 1/5sec at f/4, ISO 200
If the weather is still, I will select the slowest shutter speed at a given aperture to keep ISO as low as I can. I typically select an aperture value between f/5.6 and f/11. If I’m not able to focus stack, I sometimes close my aperture right down to f/22. I always shoot raw, but leave the camera set to auto white balance.
I find Sony to be really precise, so I barely have to make any adjustments. I use multi-metering mode and eventually adjust exposure for +/-0.7EV. Drive mode is usually at single shot for focus stacking, but high-speed shooting comes in handy when I need photos of insects in flight, or if they are moving quickly.
I have customised a number of buttons to get direct access to the focus magnifier as this is very useful for precisely checking where the focus is. Focus peaking is also a very handy addition when using manual focusing. Everything else I adjust myself as I know my camera inside-out.
See more Peter’s website or follow him on Instagram @petarsharpeyesabol
Peter’s go-to kit
* Sony Alpha 7R IV
* Sony FE 90mm F2.8 Macro G OSS
* Sigma APO Macro 180mm F2.8 EX DG OS HSM
* Laowa 25mm F2.8 2.5-5x
* Ultra Macro Tripod and electronic rails
Documentary: Peter Dench
I spent the first decade of my 23-year career (to date) shooting exclusively on medium format Mamiya film cameras. There were only 10-12 frames. I always seemed to be halfway through a roll.
I was frugal with each frame, terrified not to overshoot and miss that decisive moment. One frame, one wind, look hard and wait. I never trusted ‘pushing’ the ISO of film and kept it between 250 and 400, using flash in low light.
After moving to digital in 2007, many of my analogue disciplines remain. I use single-frame capture and manual exposure mode with centre point focus. This gives me complete control and only myself to blame if things go wrong. When I get a new digital camera, I spend the first few hours turning most menu items off.
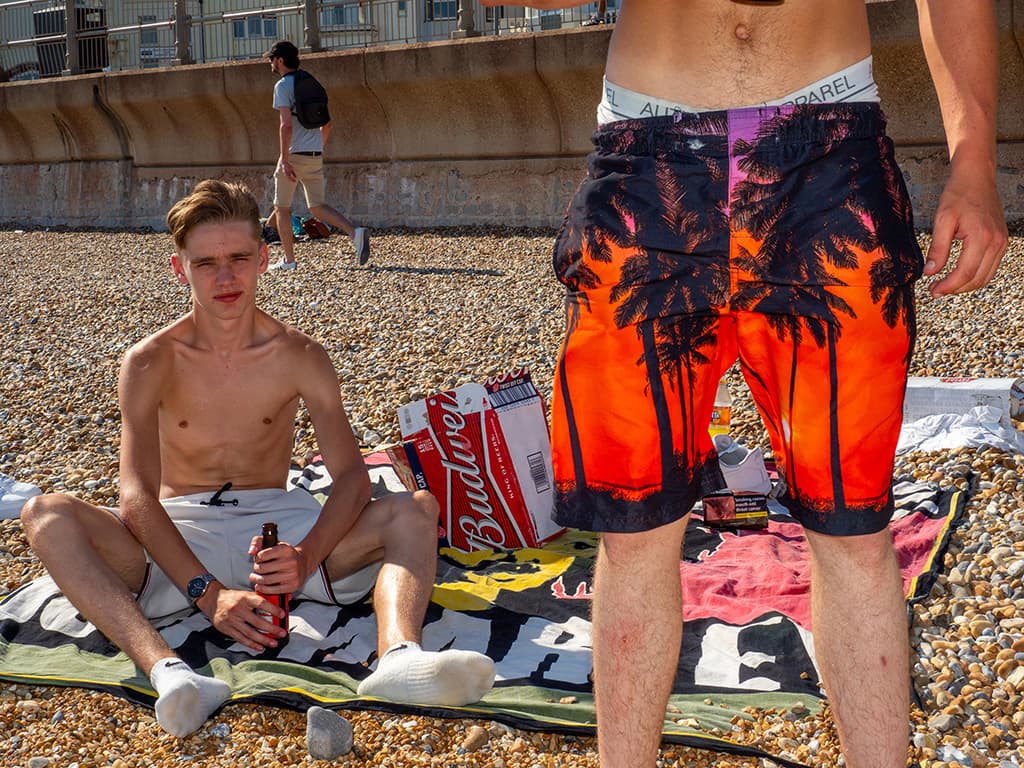
Friends Oren (left) and Sonny enjoy a beer in the sunshine on a hot day at Hastings beach as earlier lockdown restrictions continue to be eased.
I want the camera to be as simple as possible and capture what I’m seeing as quickly as possible. I set the aperture around f/11 and shutter speed to 1/200sec. I get a very large number of messages asking about kit – darlings, I’m an artist not a technician!
Of course, it would be foolish to completely ignore all the brilliant and mind-boggling improvements in camera technology. I use a function where the effects of setting adjustments can be confirmed in real time prior to release of the shutter. I use autofocus and the audio beep that indicates image focus is set. I will enable image stability, in-camera white balance, occasionally face-priority and I am partial to a personalised, soft-leather neck-strap.
See more on Peter’s website or follow on Twitter @peterdench and Instagram @denchphoto
Peter’s go-to kit
* Olympus OM-D E-M1 Mark III
* Olympus M.Zuiko Digital ED 12-100mm F4 IS PRO
* Olympus M.Zuiko Digital ED 12‑40mm F2.8 PRO
* Olympus FL-900R Flash
Architecture: Jeremy Walker
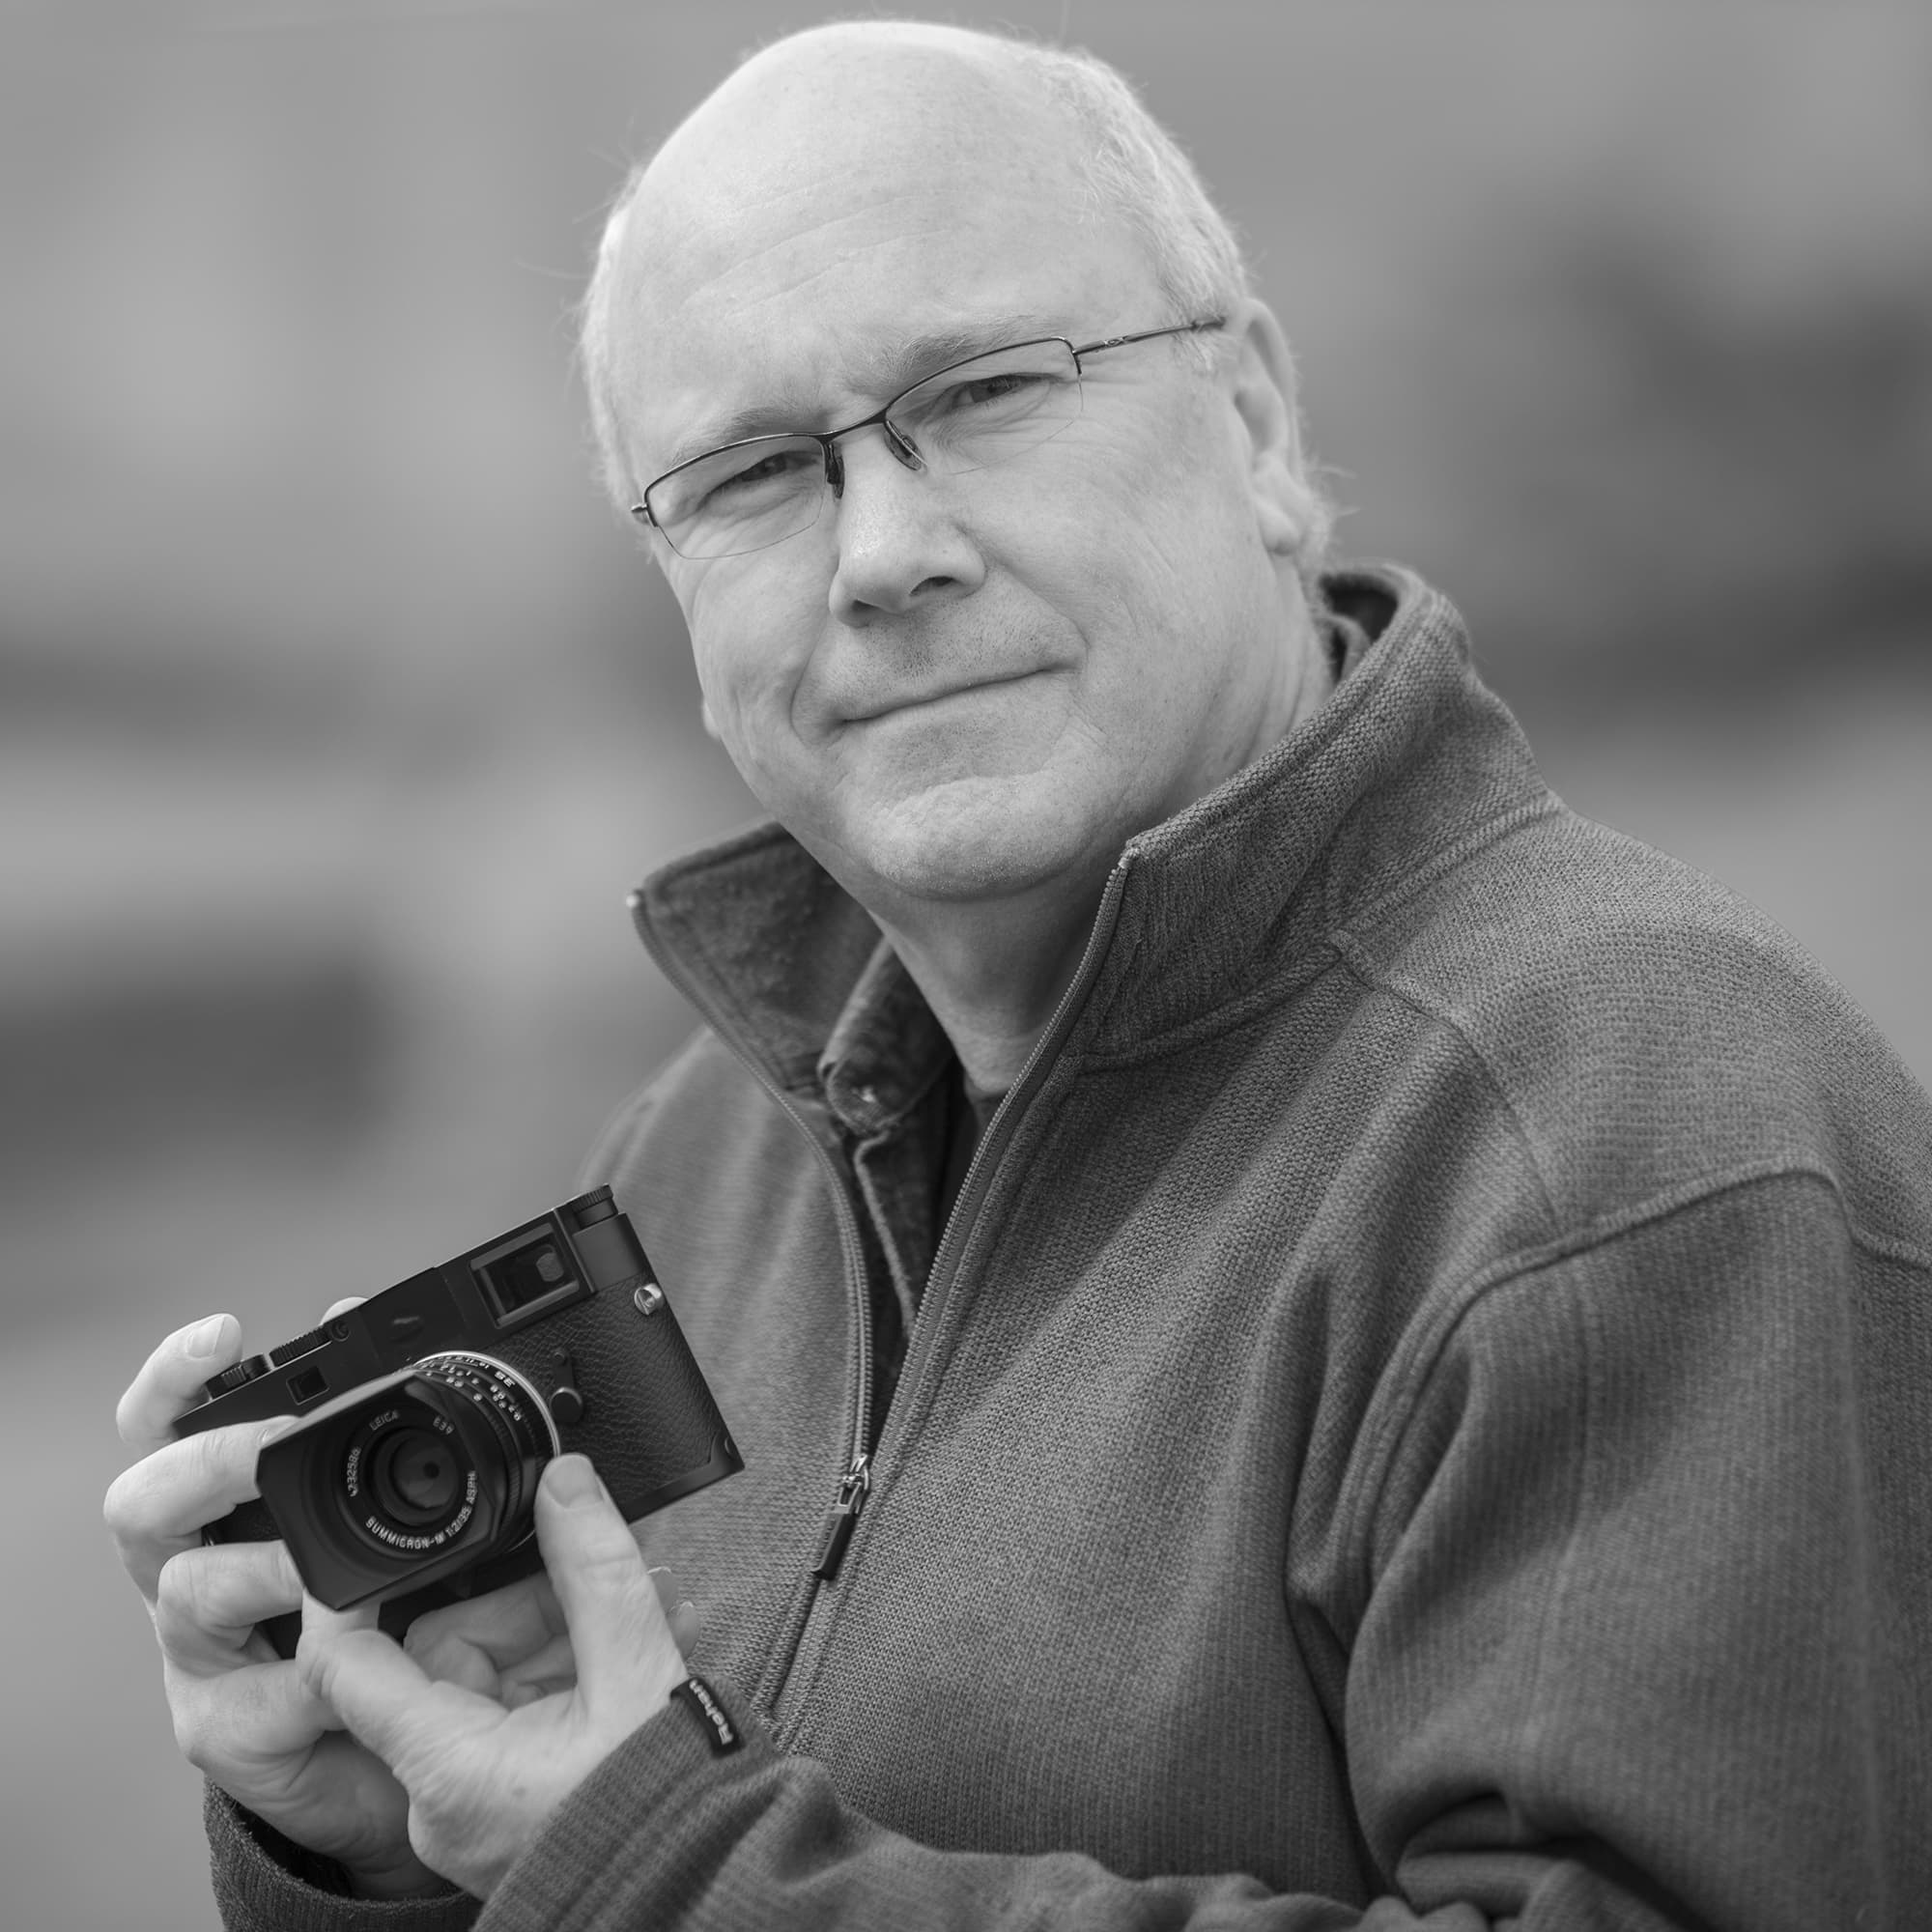
My go-to kit combos are small and discreet, and you can work without having an obvious camera bag on your back – everything simply fits into a jacket pocket.
The Leica M10 is wonderfully simple: it has manual control for shutter speeds and aperture settings or aperture priority, no modes, functions or myriad buttons to think about.
The camera is invariably set to aperture priority with an ISO of 1600, keeping the shutter speeds reasonably fast. The lens is usually set to f/5.6 or f/8, the images are shot in raw and white balance set to Auto.
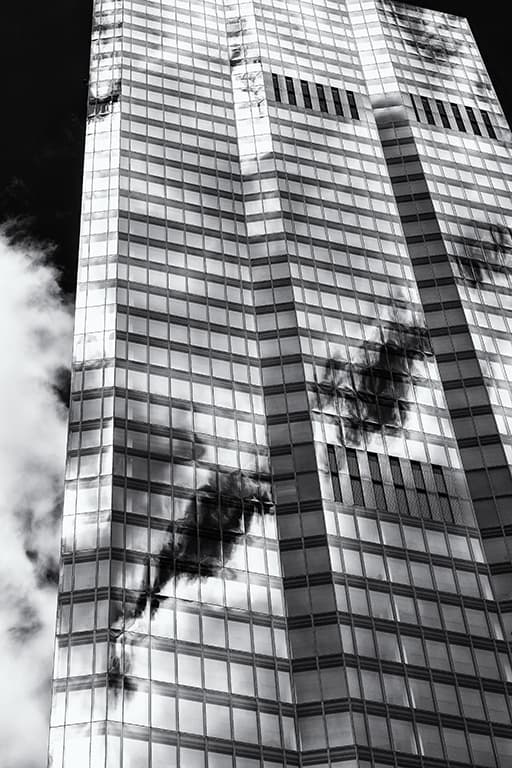
22 Bishopsgate, the tallest office building in London Leica M10, 50mm, 1/1000sec at f/8, ISO 200
There are no drive modes as such, just single-frame shooting or continuous. The camera is always set to single-shot mode as I am a fan of waiting and watching for the right moment. Much of what I shoot in an urban environment I visualise as black & white and the camera monitor will be set accordingly.
The focusing mechanism on a Leica M camera is very old-school, a coupled rangefinder with two patches that converge when the image is in focus. There is no autofocus. It is a system that takes some getting used to and does not suit everybody.
For pure speed you pre-focus and know you will have a zone of sharpness at any given distance, aperture and lens combination. The only accessory that I might use is a neck or wrist strap, in plain black.
Jeremy has just produced his first book, Landscape, available from his website
Jeremy’s go-to kit
* Leica M10
* Leica Elmarit-M 28mm f/2.8 ASPH
* Leica Summicron-M 50 f/2

