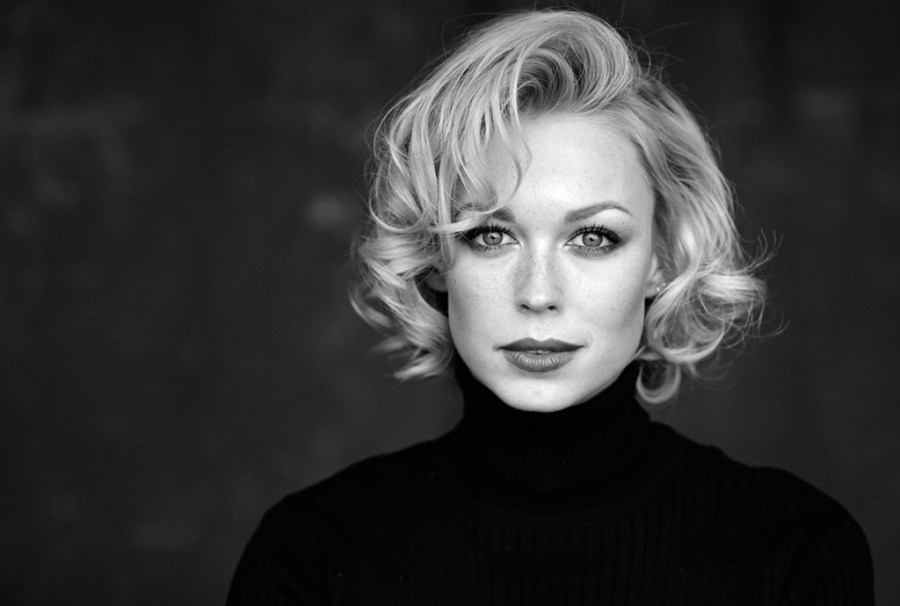
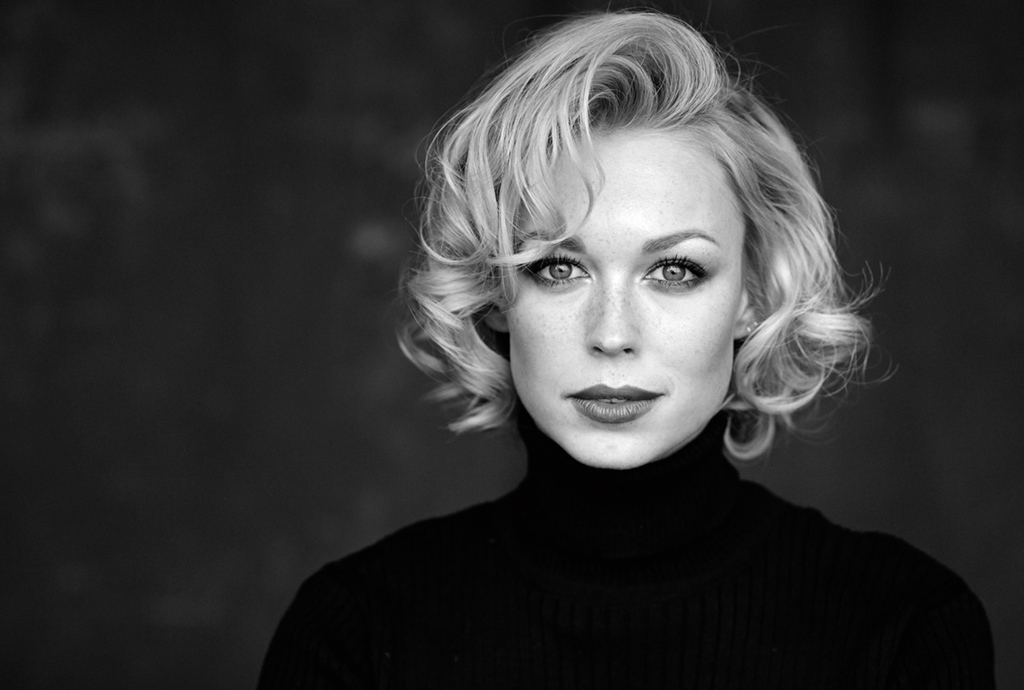
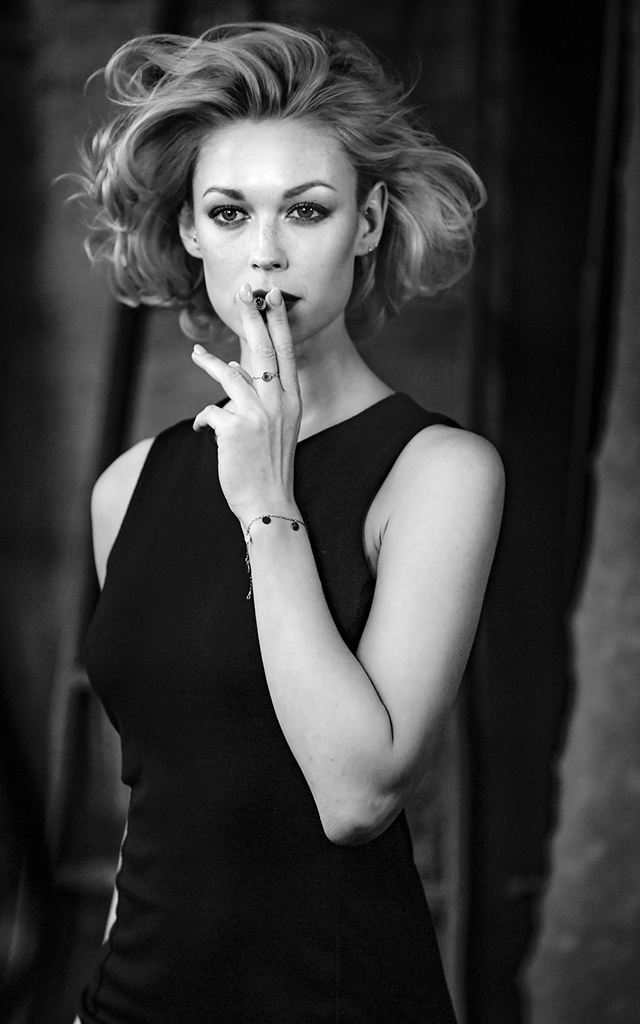
These powerful black and white portraits shot by Peter Müller combine a sense of emotion along with conveying the essence of his subjects. What is most unique about Peter’s work is that he likes to get it right in-camera, without any need to retouch his images later on.
Peter has built a reputation as one of Europe’s finest portrait photographers and cites his main influences as the late Peter Lindbergh and fellow Rotolight ‘Master of Light’ Greg Gorman.
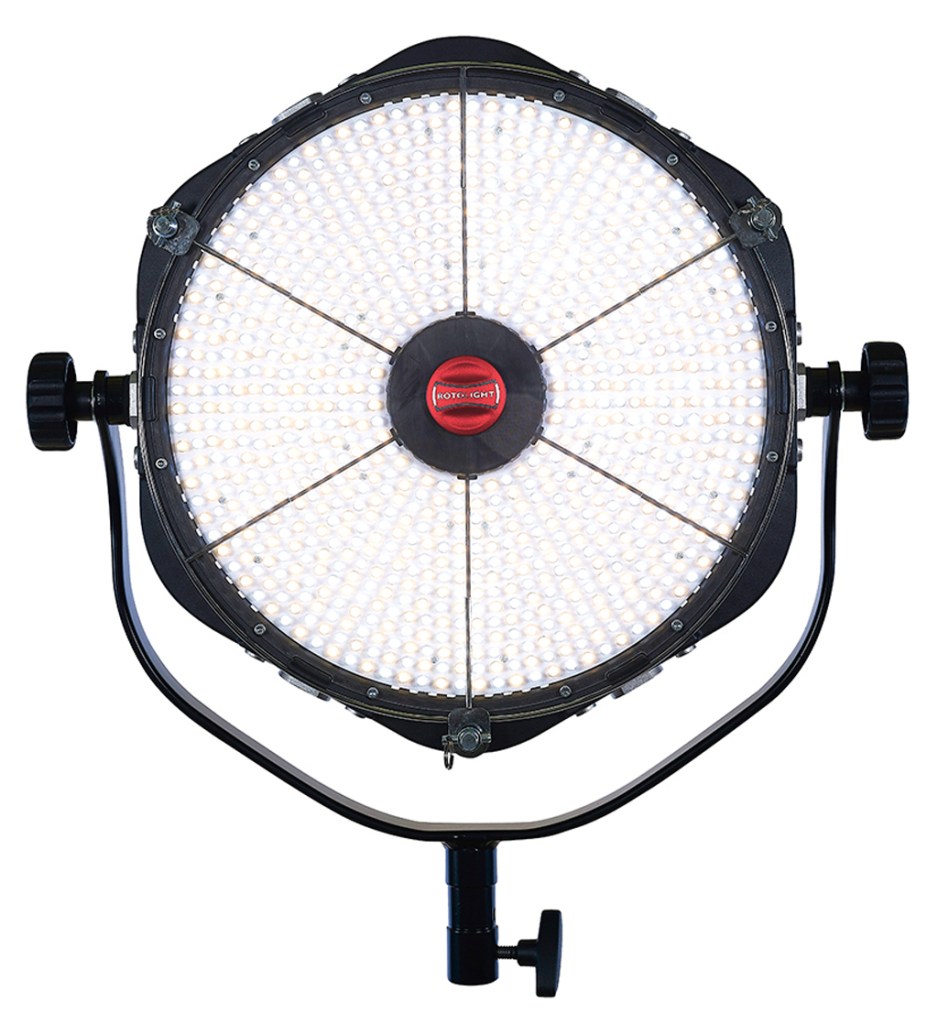
To help creatively light his portraits, Peter regularly deploys a range of Rotolight LED lights, all of which have High Speed Sync (HSS) flash capabilities. For his studio work, he tends to rely on either the Anova PRO 2 or the AEOS units. In order to supplement natural light for his location shoots Peter will tend to turn to the NEO 2 unit, which has the benefit of being lightweight, easy to carry and yet flexible in both light and HSS flash capabilities. Yet Peter tends to only deploy flash for his commercial work, relying on combinations of ambient light and Rotolights for his other work.
Peter’s go-to camera system is Nikon, with his black and white work primarily shot on a Nikon D5 DSLR. His occasional colour fashion work is usually shot on a Nikon D810 camera. He estimates that ‘about 89%’ of his pictures are shot with a Nikkor 70-200mm f/2.8 zoom lens, which he uses ‘only with open apertures, so f/2.8 or f/3.2’, and he tends to shoot at ISO values from 640 up to around 3200.
Getting it right in-camera
Peter explains: ‘I try to shoot as perfectly as possible in-camera. I try to create and give myself, and the model, a space in which the light is perfect. I try to create a light setting in which if she gets two steps in front of me, two steps back, if she turns right or left… it’s fine. That allows me to have the confidence that if she stays in my space I don’t have to work on my pictures later on because the light in all this part of the square is good enough for my final picture.’
During shoots, he directs his subjects and reveals he sometimes shoots up to 150 images in just a two-minute period. He says, ‘I never look at the back of my camera; I just shoot. I trust that my camera is doing what it has to do and that my focus is where it has to be. I rely 100% on the quality of my camera. I trust my camera more than my eyes that it is sharp and it’s always the case.’
Discussing his shooting approach of RAW+JPEG, Peter reveals, ‘The JPEG in my camera is monochrome, so with RAW+JPEG the JPEG is always monochrome. In the Nikon, I can go on to the monochrome setting and what I do is I have a very soft contrast, almost no contrast. The contrast setting in the Nikon could be from zero to -5 to +5 and mine is on -1. I don’t want any contrast. In post-production, I can add contrast or more sharpness to my picture but I cannot delete it if it is already there. So, I shoot very soft.’
He adds, ‘More or less the only things I do in post-production are crop the frame, straighten the frame and then I add contrast or light or both or clarity, what’s needed to give the picture exactly the look I want to see. But I do all that in the JPEG. I only convert the raw file to black & white if my JPEG is so rotten – the whites are gone or the blacks are gone, whatever – that I can’t use it any more. Then I try to bring down the raw [file] to the level where I need it and then convert it to black & white.’
Peter deploys combinations of the Anova PRO 2, NEO 2 and AEOS Rotolights for his shoots, sometimes to fill in backlit subjects from the front or side and often as rim lights. He sometimes even ‘over-lights’ set-ups to darken the background and concentrate attention on the subject’s face.
How to use rim & fill lights on a black & white portrait
1. Without Rotolights
The studio Peter was working in has large windows, with walls in between, giving him large amounts of ambient light coming into his shooting set-up. This image shows what the model looks like purely shot with ambient light, without the use of any additional lighting from his Rotolight set-up. He later deployed two Rotolights to add in both rim lighting from the side and fill lighting to the front left for eliminating shadows that might be caused by the walls between the windows.
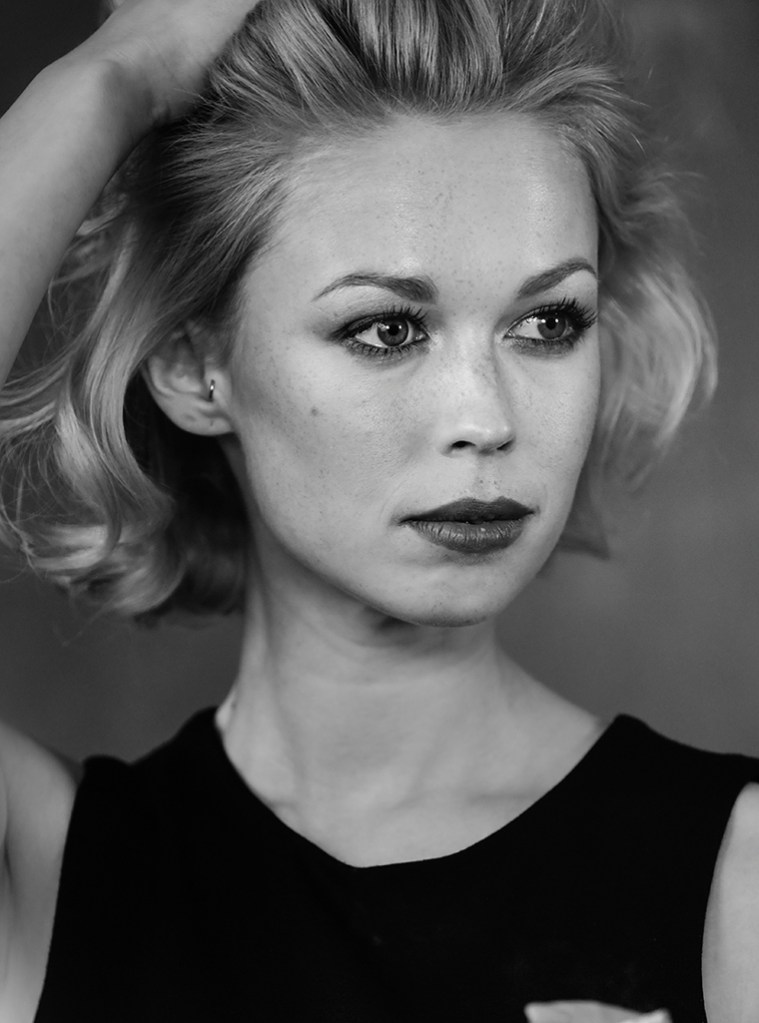
2. Head and shoulders portrait
With two Rotolight Anova PRO 2 lights in place for rim and fill lighting Peter shot the model looking to the left. Peter explains, ‘I try to use the Rotolights to mix the lights. You can see that there is not too much difference between the shots without and with light because it’s always my main concern that you don’t initially see that there was additional light to the ambient light. That’s part of my style.’ The settings were Nikon D5 and focal length was 160mm, 1/800sec at f/2.8; ISO 1000.
3. Head and body, seated portrait
This head-on portrait again uses rim lighting to the left of the model and fill lighting from an Anova PRO 2 to the front left. As with many of Peter’s portraits the idea is to set up the lighting and be happy with it for the duration of the shoot without adjusting it regularly. He reveals, ‘Rotolights are really easy to work with and it doesn’t give you this artificial look of ash and so on.’ The shooting settings were Nikon D5 and focal length 170mm, 1/800sec at f/2.8; ISO 1000.
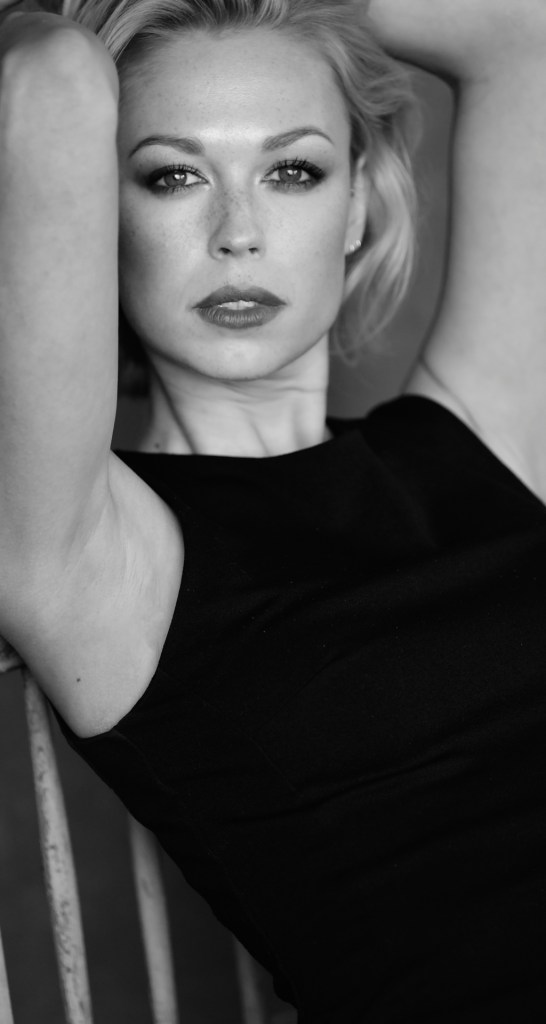
4. Body length portrait
This longer-length body portrait demonstrates Peter’s subtle mix of ambient and artificial light. He reveals, ‘If you see the full set, my main light was from the window and between the windows there are walls. I used one light to give a rim light from the back, so it’s not too dark, and the other one was positioned where shadows might hit her because she was moving back and forth – that acted like a fill light to extend the window light.’ Shooting settings were Nikon D5 and focal length 150mm, 1/1600sec, f/2.8; ISO 1000.
‘Over-lighting’ a location portrait
The lighting set-up
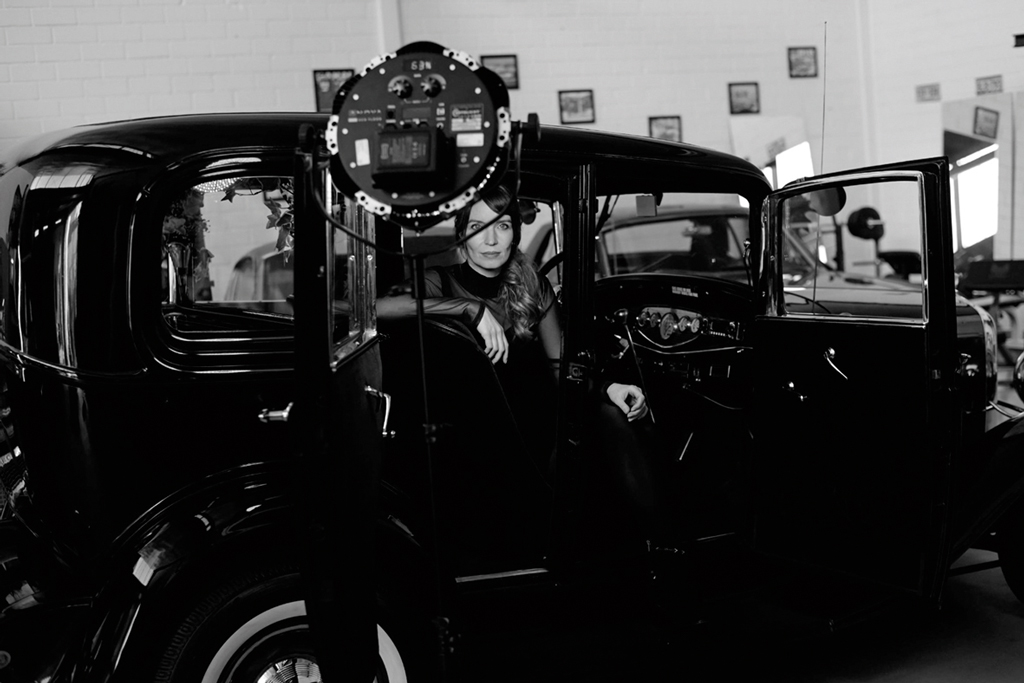
Peter Müller explains, ‘What we have here is the famous German photographer Katrin Schöning and you can see the Rotolight Anova PRO 2 in shot. She asked me to take a picture of her. What you see is the set-up where I need this one Rotolight to light. It’s not totally in front of her, more from the left side. You can see all this ugly ambient light, pictures on the wall and there’s another car out – it was shot in the garage of a vintage car dealer.’
‘Over-lighting’ technique
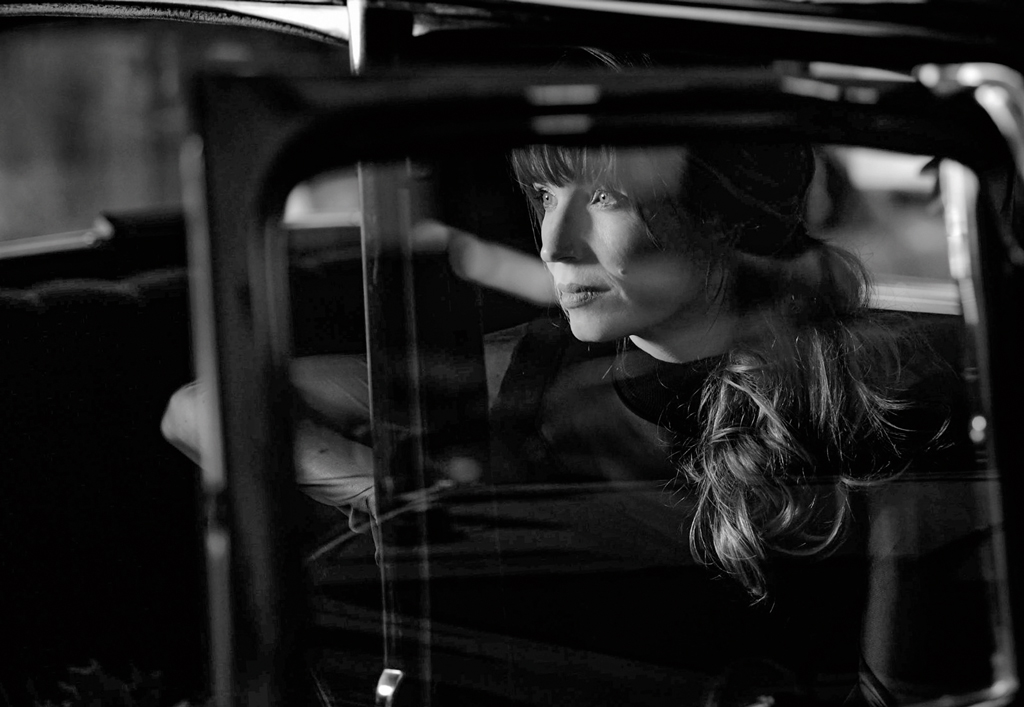
Peter reveals, ‘I shot this frame through the open car door. I put the Anova PRO 2 on 63% but I normally wouldn’t need that light to be that bright. I put it that bright so I could then turn my camera to a lower speed or a higher speed to get only her face lit and all the surroundings as dark as possible. I used that technique because I don’t want to see all of this crap – the frames, other cars and ugly walls. It’s a technique I often use; I highlight the subject with more light than I need so that all of the ambient light around gets darker. The reason why we put the Rotolight on 63% is that it was a good combination for still seeing a little bit of the car. If I’d put it on 100% you wouldn’t see any of the car. I just wanted to keep the information that she might be in a car and that it was shot through a window.’
How to use fill-in lights on a strongly backlit scene
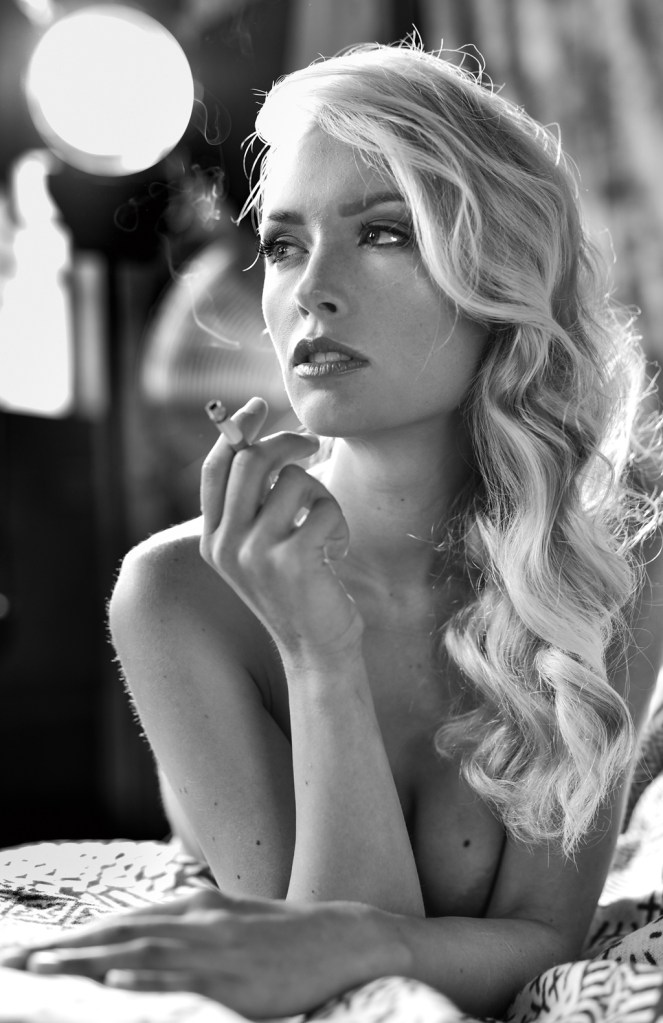
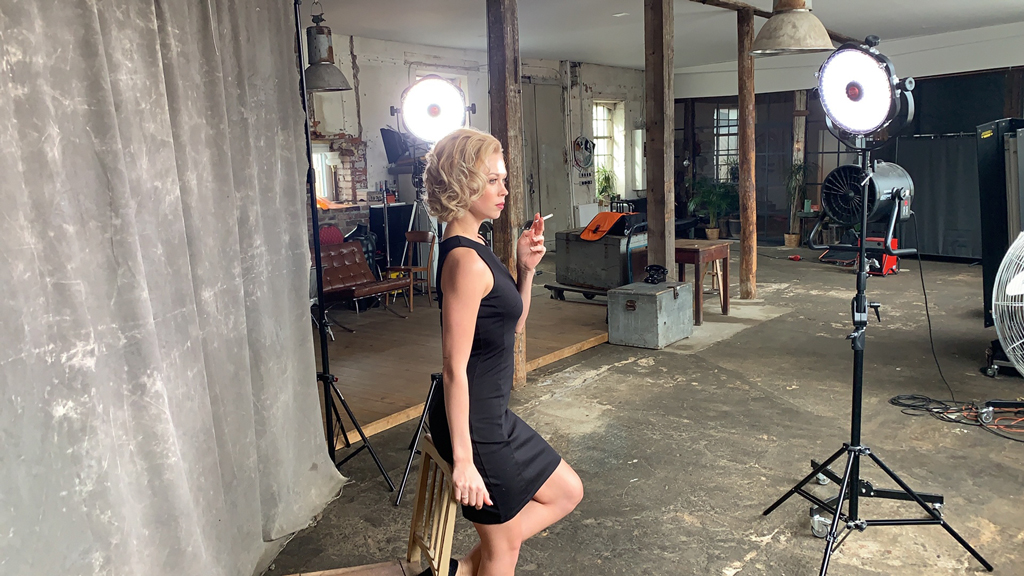
Peter Müller says, ‘In the top left-hand corner this ball of light is a 2000W HMI light and then you see the window light. The sun is out and the HMI light goes on her shoulder and into the top of her hair. So this is where all these reflections in the picture come from. To go against all of this light I used three Rotolights – two Anova PRO 2s and one NEO 2. I just wanted a flat light, so I put one on one metre, the second was on 120 and the next one was on 140 like they were square, very close together. She was more or less looking in one Anova but on a face level. The second one was beside her on a similar level but a little higher and more to the right. The last one was more or less on her hair level. All these lights were set on 100%.’
He adds, ‘It’s a combination of ambient light, Rotolights and other lights. I wanted this harsh rim light on her and to see the smoke of her cigarette. As you can imagine with 2000 watts going against your camera it had lots of flare in it. I needed more light from the front so I could work a little bit against this HMI. Even so, I had to use Lightroom to bring a little bit more light to her body. The point is if I have light situations like this I always try to get a compromise. I underlit her body on purpose to enable me to highlight it a bit more in Lightroom, but then I had a good combination of the front and the back information.’
Peter’s top tips for stunning black & white portraits
Know your camera well
The moment anyone is in front of my camera they are the most important person in my life; not my wife, not my son, no one else. To make you feel that you are the most important person means that you have 100% of my concentration and attention. If, after every second shot, you’re looking at the back of your camera to find out if the model’s eye is sharp or whatever you can imagine that the model doesn’t trust you and will think, ‘Does the guy know what he’s doing? He’s always checking the camera’. Most people don’t even talk to the models; they just look at the camera. The model doesn’t know if it’s good, bad or that you like what they’re doing. So, know and trust your camera. It should be an extension of your eye and your arm, nothing more.
Get the light right
Try to put the effort in so that you have the right light for the way you want to shoot the portrait – then you don’t have to adjust light during the session. Create one lighting set-up in which you believe that you can have a left shot, a right shot, you have the shadows where you want them etc. Make sure you’re not, after every second shot, going back to adjust the light. What you should do is, in the beginning, place the model, your assistant or your make-up artist in the set and play around a little bit at the time when it’s not important. The other person knows it’s not a shooting session yet; I’m testing and finding out the best light. If you really want to shoot well, trust the light and don’t change it.
Peter’s kit list for stunning black and white portraits:
- Anova PRO 2 An LED light and High-Speed Sync (HSS) flash unit that combines continuous light with HSS wireless flash. It offers a 10,7000m lux output at 3 feet with a 72W power consumption.
- AEOS Offers both powerful constant LED illumination and HSS flash with up to two hours’ runtime on a 95w/h battery. Ideal as a location light, it weighs just 1.4kg and has integrated handles.
- NEO2 Offers a combination of bright, constant LED illumination and High Speed Sync (HSS) flash. It comes in at under £200 and with no recycling time you never miss a shot.
- Nikon D5 This pro DSLR incorporates a 153-point AF system and an FX-format CMOS image sensor and a 180K-pixel RGB metering system to aid accurate subject recognition and image detail.
About Peter Müller:
Peter Müller is a photographer and co-owner of NOIRStudio in Frankfurt, Germany, in partnership with Jean Noir. He is known for his emotive black & white portraits that are shot in-camera and require little retouching. He holds workshops around the world that explain how he conveys emotion and tells stories in his images.
You can discover more of his work at www.500px.com/petermuller.
Related content:
- Best cameras for black and white photography in 2023
- Black and white street photography: Tips and techniques from the experts
- Complete guide to black and white photo editing
- Complete guide to Portrait photography – How to get started
Follow AP on Facebook, Twitter, Instagram, YouTube and TikTok.

