Our no-nonsense guide to how to overcome common pitfalls and capture your best-ever video footage…
In the third part of our video series Amateur Photographer, in association with London Camera Exchange, continues our in-depth guide to shooting video. In this series we will arm you with all the information and knowledge needed to become a competent and confident video shooter. Along with explaining camera settings, recommending equipment and demystifying all the videography jargon, we’ll walk you through all the steps to get you recording your first movie…
In part 1 of this series we looked at How to set up your camera to shoot video and in part 2 we revealed our Essential gear guide.
Solutions to challenges
Picture the scene… you’ve spent a day out with your cameras shooting video and when you get back to your computer and download the footage, you’re less than impressed with the results. The truth is there are a number of recurring problems that videographers (especially those new to filmmaking) bump into, but it’s also true that there are straightforward solutions to these challenges.
At the top of the list are challenges surrounding the steadiness of your footage. When you walk around handholding a camera to shoot stills, you probably give little thought to how steady you are holding the camera and this is natural when capturing stills – but handholding a camera to shoot video footage is a completely different ball game and can lead to shaky footage that will lose the attention of prospective viewers quickly.
Controlling exposure
Additionally, because when you shoot movies, you are using a set shutter speed (1/50sec, 1/100sec etc), you’re always going to run into problems with controlling the exposure in your frame – especially when working in challenging lighting conditions, such as bright sunny days or low light indoor locations.
As with any challenge, there are solutions out there – some of these will need the videographer to refine their techniques, while other solutions present themselves in the shape of gear and accessories. Either way, if you follow our tips and suggestions, you should see the overall quality of your video increase, leading to a more enjoyable experience with your hybrid camera. Better still, you don’t have to break the bank to level up your kitbag and overcome the most common of video challenges…
9 Common Video Problems & How to Fix Them
1 – Problem: Poor audio
Solution: Use an external microphone (Rode VideoMic Go II)
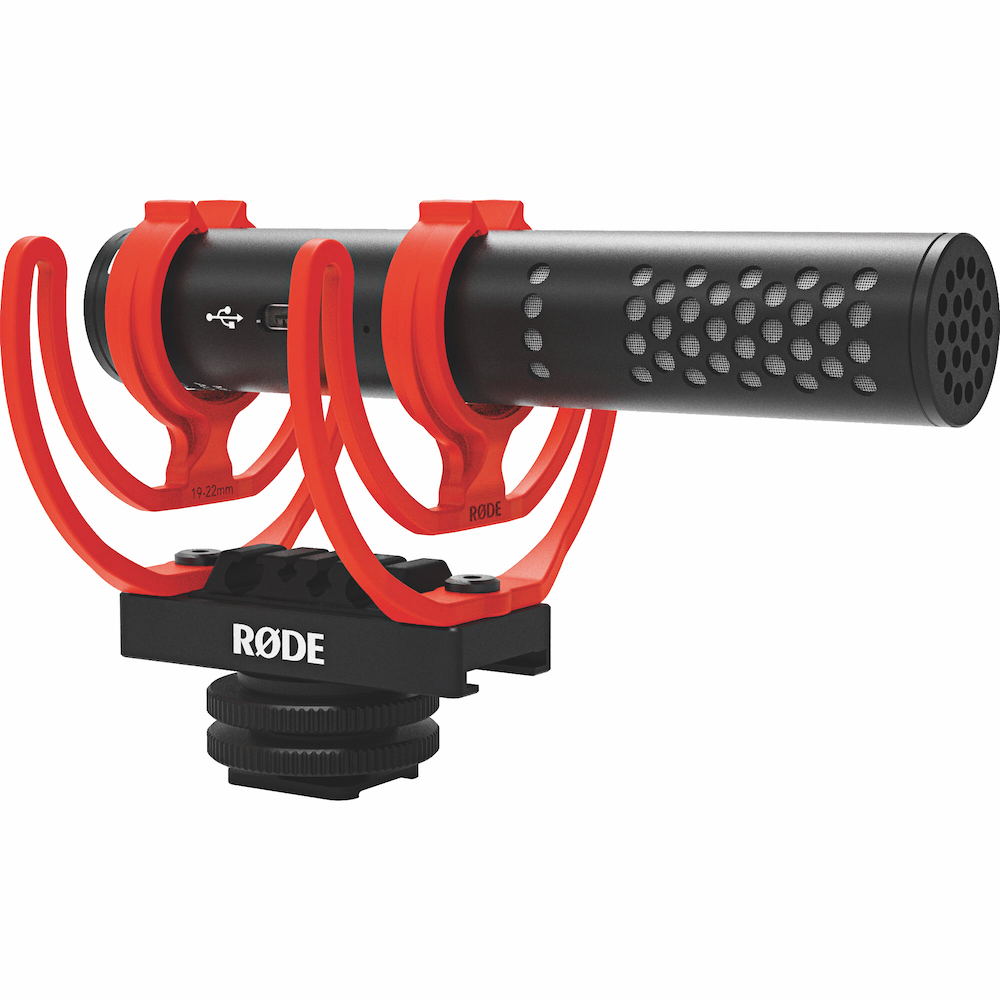
You can cure poor audio by using an external mic, such as the Rode VideoMic Go II
One of the most important rules when it comes to recording video is to make sure your audio is clear and usable. The reality is that viewers will forgive slightly shaky footage or colours that are just a little bit off, but crackly audio will have people turning off in a millisecond. Although most cameras have internal mics, these are best not to be relied on and, instead, you’ll need an external microphone. These devices can be radio mics or hotshoe mics and are designed to pick up clear audio that will sound crisp and audible. This audio will compliment your video footage rather than distract from it.
2 – Problem: Overexposure
Solution: Control light with a variable ND filter
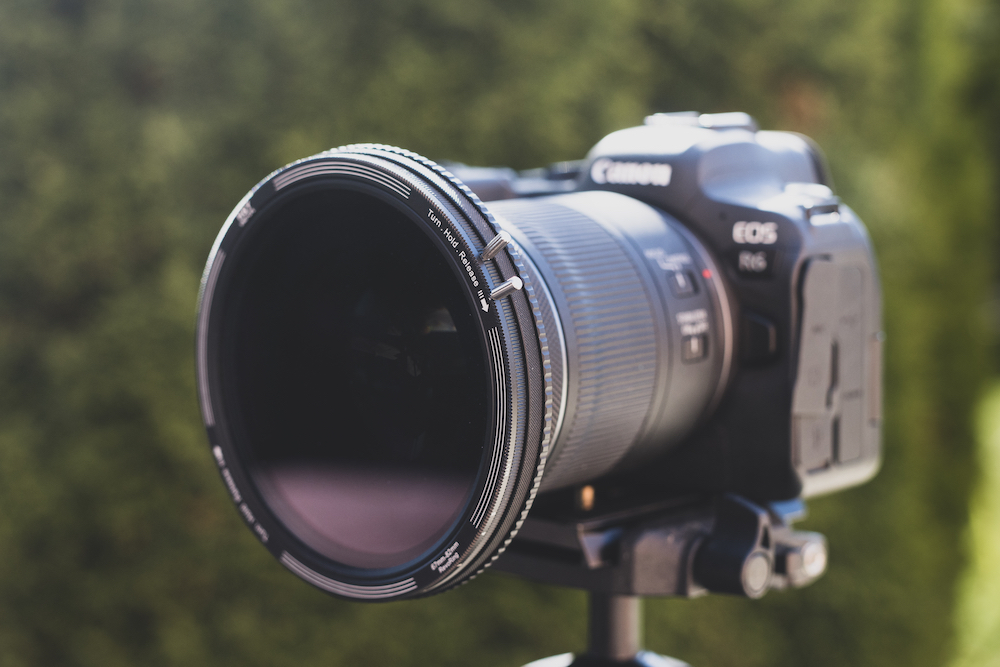
You can cure overexposure by deploying a variable Neutral Density filter
When you capture video, your camera is set to a specific shutter speed – for example 1/50sec or 1/100sec – and, when met with bright conditions, this can often lead to the frame becoming overexposed. Some cameras (such as compacts, bridge cameras and pro video cameras) have built-in ND filters so you can reduce this risk but, if not, you’ll need a physical ND filter to level out your exposure. Simply using one strength of ND filter may be quite cumbersome, so the solution is to invest in a variable ND filter. These accessories vary the amount of light that can pass through the filter and you can adjust this by turning the filter (much in the same way as a circular polarising filter). They are typically more pricey than a standard ND filter but are far more useful to videographers and more affordable options are always available.
3 – Problem: Shaky footage
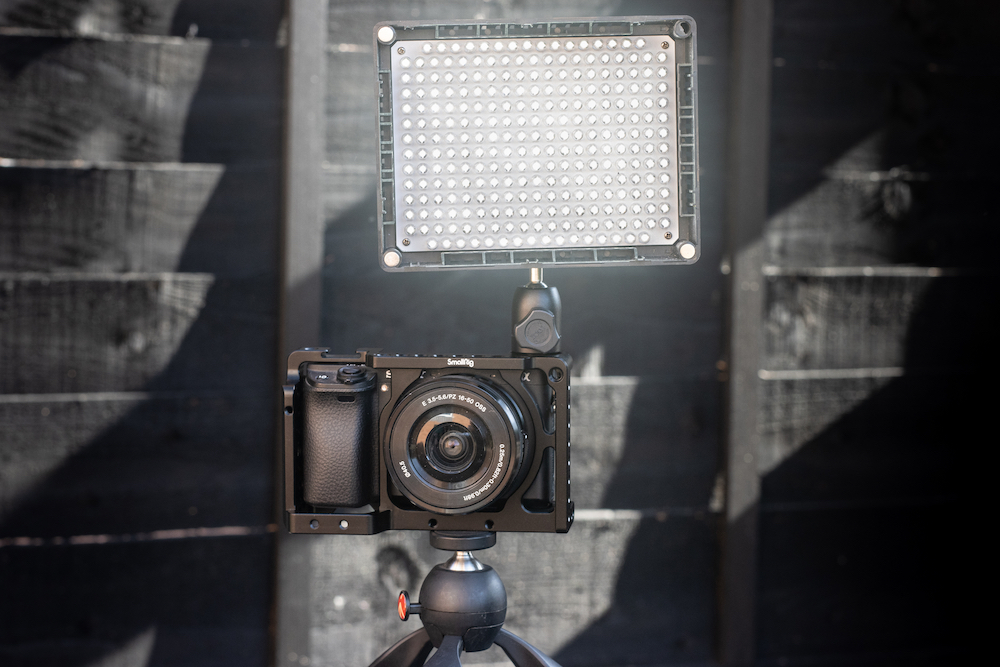
Solution: Grab a gimbal (Zhiyun Crane M2 Handheld Gimbal £189)
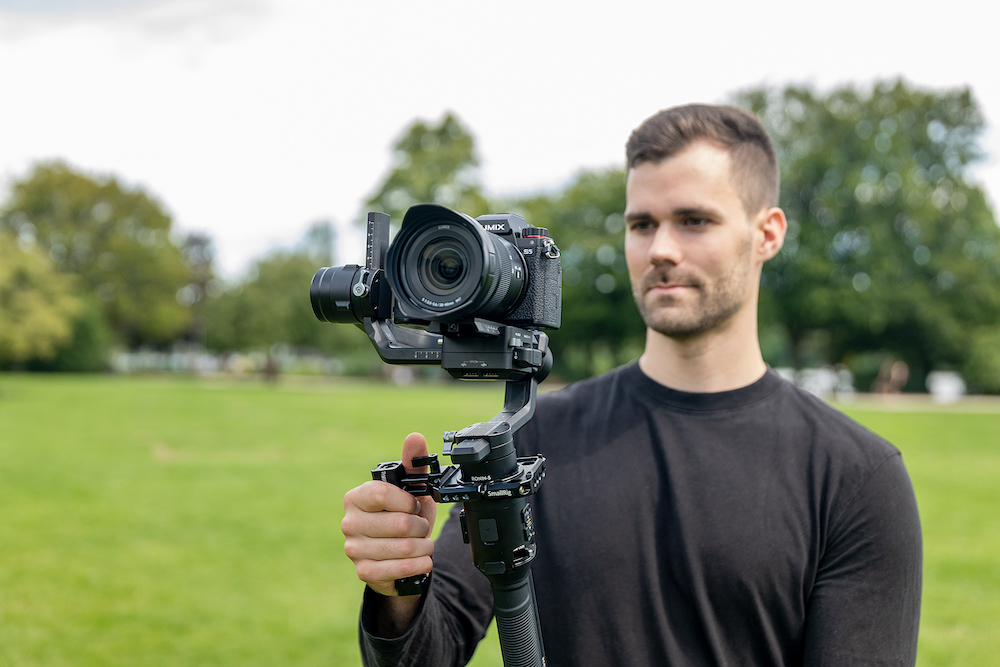
Shaky footage can be avoided by deploying a gimbal to steady your camera
If you’re trying to make your video footage look more professional, then it’s important to introduce movement into the scene. However, if you try and do this handheld then it’s more than likely the net result will be a backwards step in quality, with shaky, amateur-looking footage. The solution is to invest in a gimbal that will offer stabilisation to your camera movement. These days gimbals are both lightweight and hugely advanced; packed with cutting edge features and selectable modes to allow you to fine-tune the stabilising effect.
4 – Problem: Small monitor
Solution: Use an external monitor (Atomos Shinobi monitor £299)
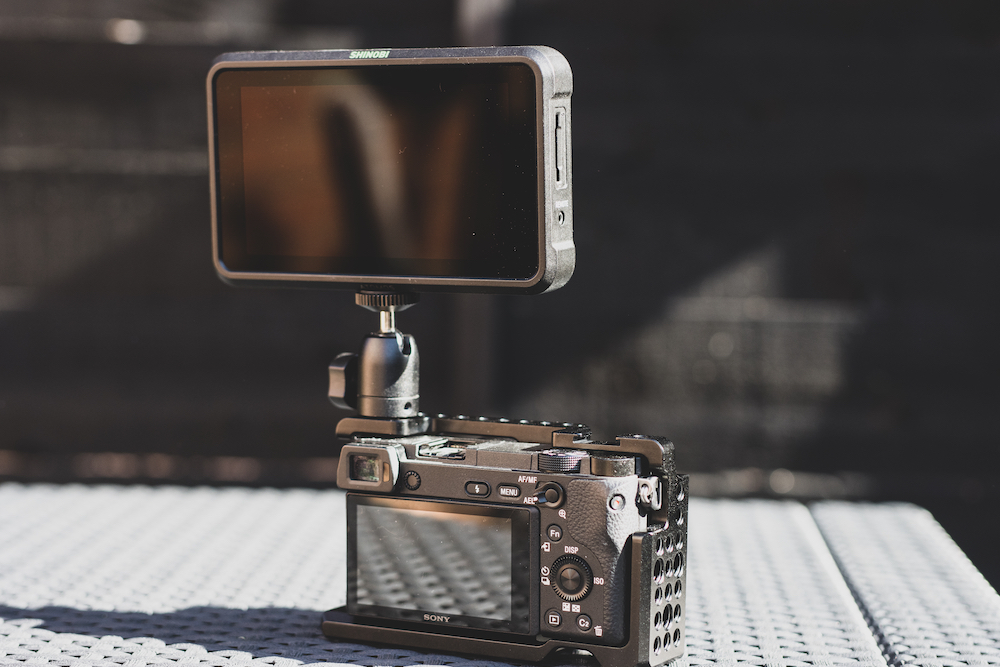
Viewing via an external monitor will give a bigger, brighter and clearer view of scenes
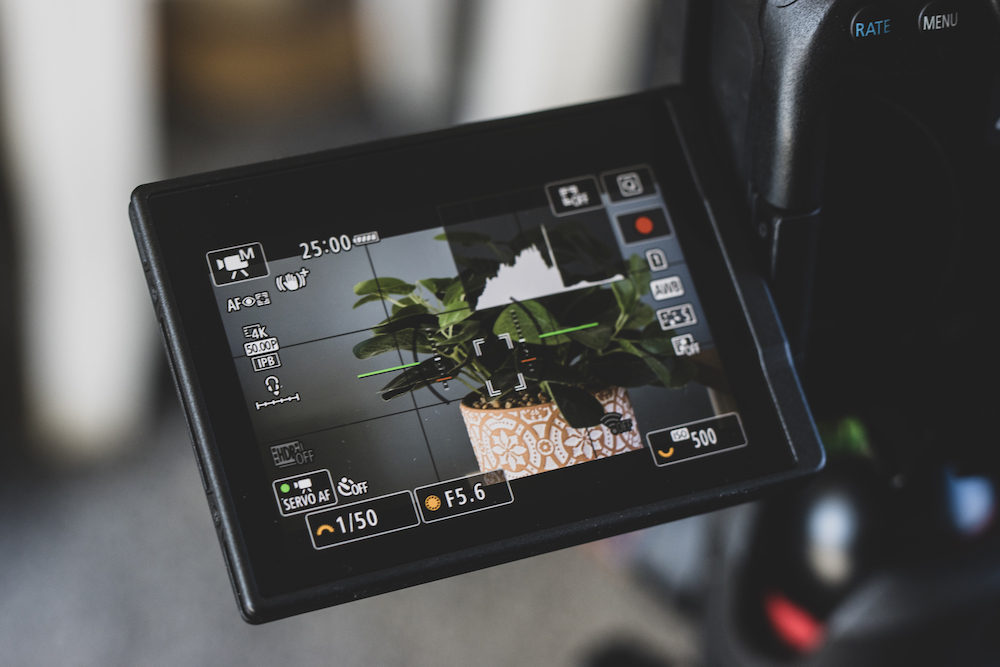
Successful videographers must forensically observe the scene and this is sometimes harder to do if your camera has a smaller LCD – especially if you are shooting on a bright day and the screen is susceptible to suffering from glare. The solution is to upgrade to an external monitor and the Atomos Shinobi is one of the best around. Connecting via HDMI, you’ll get a bigger, brighter and clearer view of your scene.
5 – Problem: Running out of memory
Solution: Invest in a high-capacity SD card
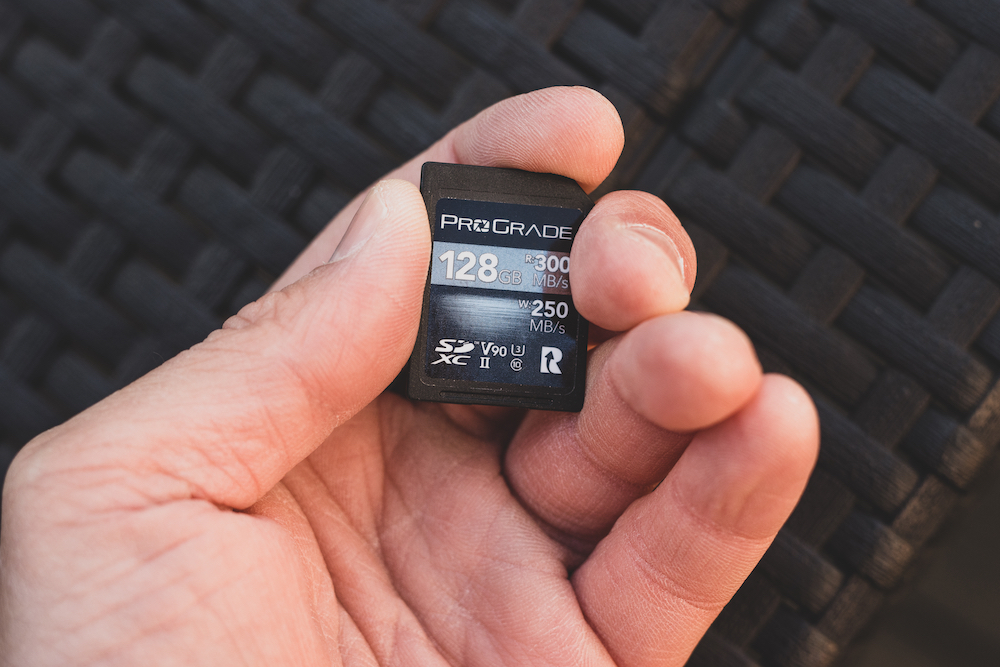
It’s worth investing in a high-capacity SD card to give you more memory for video files
If you are new to video, and are just starting to experiment with capturing footage, you’ll probably have been surprised with just how fast SD cards can fill up – especially if you are shooting in ultra high-quality 4K. There are a couple of different solutions to this challenge and the first is to invest in some higher capacity memory cards – remember, if you are filming 4K footage you ideally want a V60 or V90-spec card that will allow for rapid read and write speeds. Another solution is to change the format you film your movies in – .MP4 files are more compressed than .MOV files, so they take up less room on the card. If your camera offers dual card slots, with some devices you can set things up so once one card is full, the camera will instantly start recording to the spare card – this means you’ll be swapping media in and out less often.
6 – Problem: Boring footage
Solution: Shoot with a shallow depth-of-field
Shooting with a shallow depth-of-field can help to bring ‘boring’ footage to life
This common pitfall will be instantly recognisable to anyone who has downloaded their footage and been greeted with uninspiring footage. Flat, one-dimensional footage will be enough to bore any viewer… but it doesn’t have to be this way. Ever since the days of the Canon EOS 5D Mark II, photographers have been taking advantage of the DSLR cameras’ – and now mirrorless cameras’ – ability to shoot on fast, affordable lenses (often primes) to create impactful footage that features a shallow depth-of-field, which keeps your subject sharp, but blurs the background. The best thing is that to achieve this look won’t cost big money as even an entry-level ‘nifty fifty’ prime, like Canon’s RF 50mm f/1.8 lens, costs just £200 while older DSLR glass like the Canon EF 50mm f/1.8 can be picked up on used gear websites for just over £50.
7 – Problem: Poor lighting
Solution: Pack some portable lighting – Leofoto FL-L96 LED Photo Video Fill Light (£69.99) or Rotolight NEO 2 (currently £159)
Shooting in low light or indoors can be helped with LED lighting to fill in shadows or add special effects
Fail to light a scene properly and you’ll either be left with underexposed footage or you’ll have to ramp up the ISO, which will eventually compromise the overall quality of the footage. Often you’ll be able to use natural light to your advantage, but if you are shooting in low light or indoors then some alternative thinking is called for. Using an LED light to fill in shadows will balance out exposure levels and incorporating a fast aperture into the scene will help matters further. LED lights are not just for providing illumination however – many models offer various special effects modes, replicating the lighting of fire, lightning and police lights, which could come in useful if you want to get more creative with effects in your movie making.
8 – Problem: Samey footage
Solution: Mix up the pace with slow-motion sequences
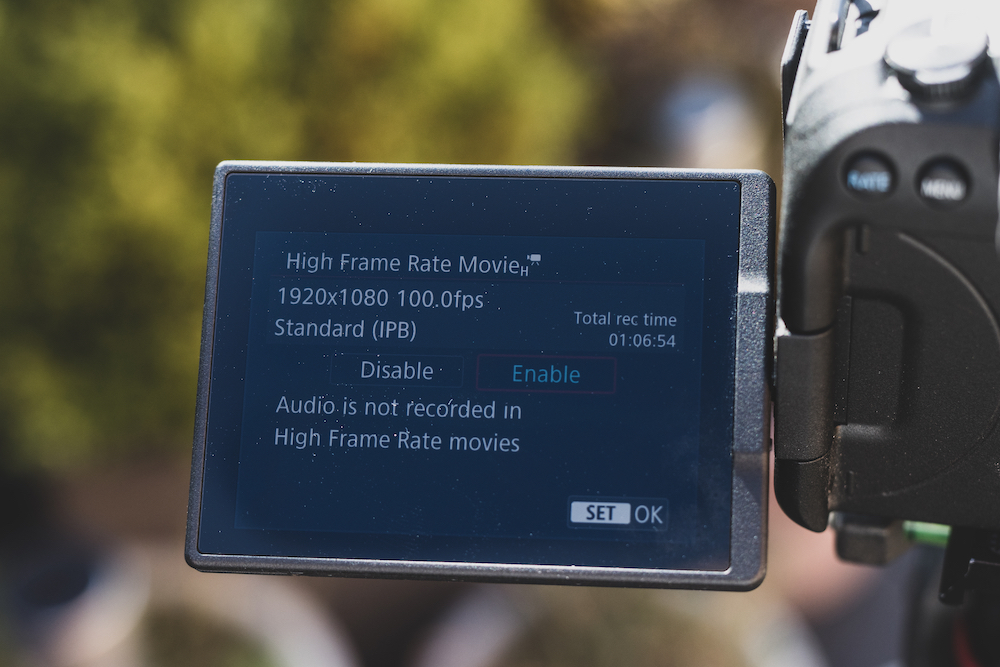
To avoid ‘samey footage’ you should mix up frames rates, especially to add slow-mo to sequences
Watch any trailer or promo film and you can expect to see at least some slow-motion sequences. Why? Well, one common pitfall videographers can fall into is keeping all the footage fairly one dimensional. Cutting from one locked off static shot to another can become boring. The quickest way to mix this up is to add in some slow-motion footage and this can be done in two ways. For greater resolution, you can choose to shoot at 4K 60p (if your camera allows) and then use this footage at half-speed. However, for really slowed down footage, you may have to drop the resolution down to Full HD as it’s here where most cameras offer a 120p mode, enabling you a 4x slow-motion ratio and this is what will make a difference when filming scenes such as waves crashing into the shore. Filming in slow-motion can prove addictive, so use it sparingly.
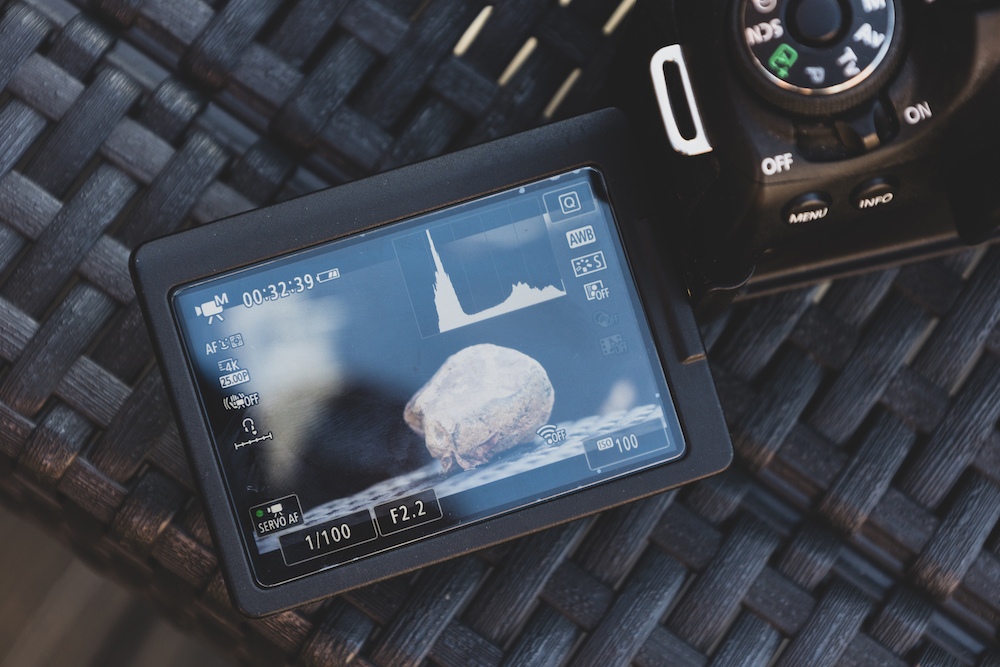
9 – Problem: Flickering in footage when filming under lights
Solution: Change your shutter speed
To avoid flickering in footage… record test footage, check it and then adjust your shutter speed
If you are shooting indoors, the problem of flickering from artificial lights can completely ruin your video footage. The phenomenon will be evident and appears as a band moving downward through your footage, rendering it useless, but all you need to do to solve this issue is two things. Firstly, whenever you’re filming inside, record a test sequence and watch it back to detect any flickering. If there is some present, you will need to change your shutter speed – so if it is set to 1/100sec, adjust the shutter speed to 1/60sec and then repeat the process to make sure your footage is now clear from flicker issues.
Related articles:
How-to guide to shooting video Pt. 1: how to set up your camera to shoot video
How-to guide to shooting video Pt.2: essential gear guide
How shutter speeds work when shooting video
Top 17 Essential accessories for video
Follow AP on Facebook, Twitter, Instagram, and YouTube.